 8
8
anidées AI6 Review
Assembly & Finished Looks »A Closer Look - Inside

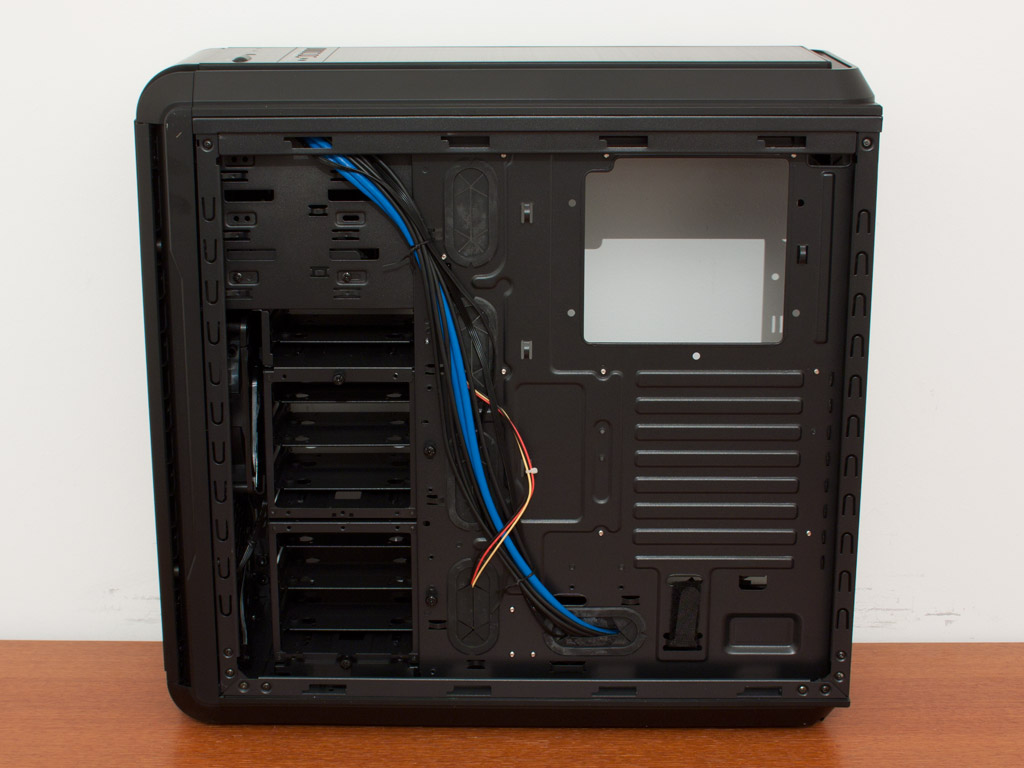
To gain access to the interior of the chassis, simply remove the pair of thumb screws holding each side in place. The interior layout is quite traditional, but the paint job is very fine and of high quality. Multiple openings in the motherboard tray should allow for excellent cable routing, resulting in a clean interior. A large hole in the motherboard tray allows for easy access to CPU cooler backplates without having to remove the entire board in the process.


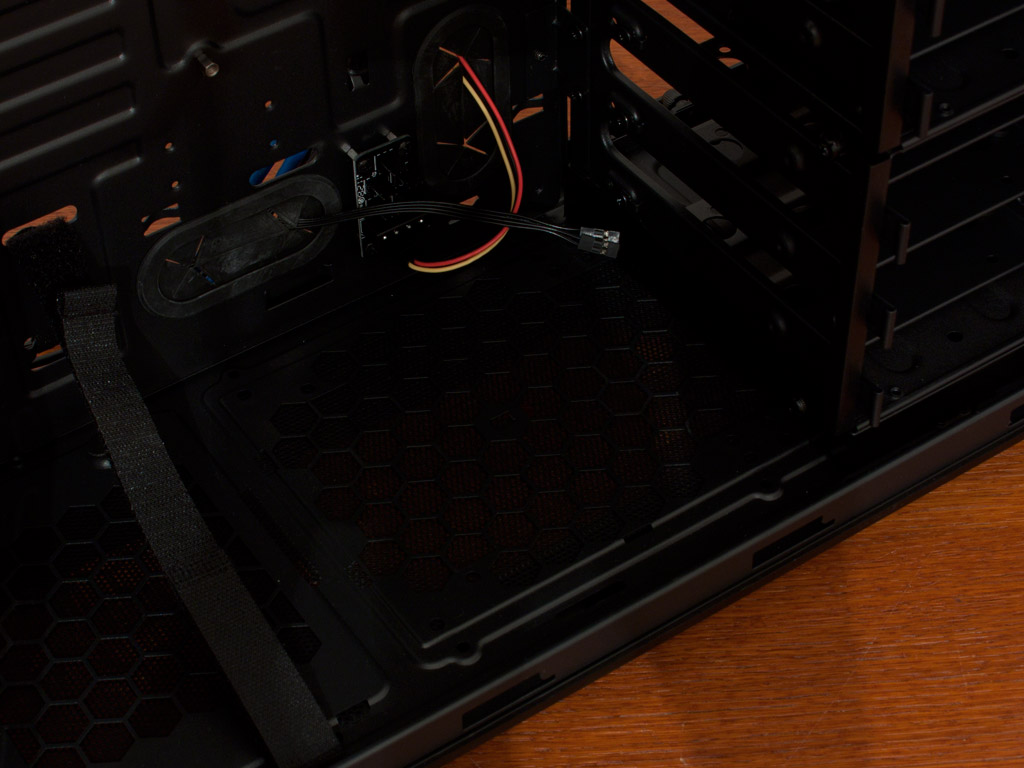
There are two small PCBs found within the AI6. The bottom one has a Molex and six 3-pin connectors. One of these is used to connect to the top PCB for an additional three free connectors for fans. While this is excellent for cable management and should benefit those who will install more fans within the enclosure, the basic setup does not allow the fans to be controlled in any way. This means that all attached units will run at full speed. One could solve this, by attaching one of the 3-pin connectors to the motherboard or fan controller and leave the Molex plug free. If you do so, ensure that having multiple fans connected in such a way does not overpower the board or controller.

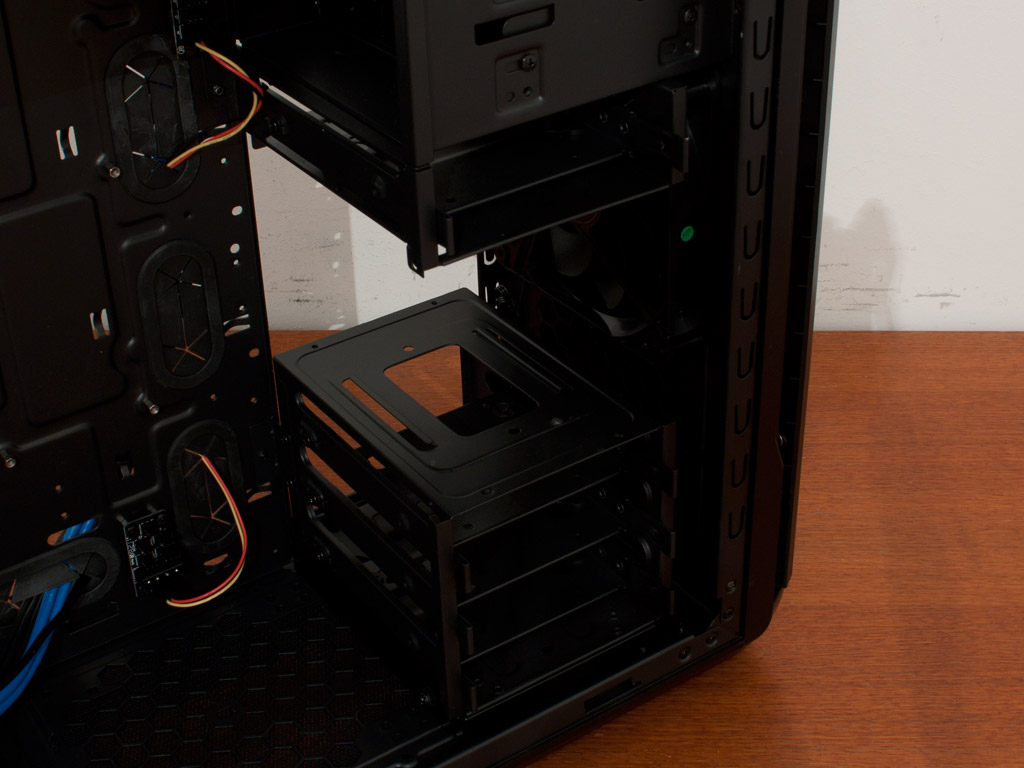


The AI6 can hold up to seven hard drives. These are divided into three cages and the ability to remove the bottom two. Doing so will leave you with one bay, so that you could still go for four super long graphics cards and still have a functional system.
You may install up to two fans in the front of the chassis. anidées includes a single 140 mm unit here right from the start.


In the rear, you have the PSU bay on the bottom. A Velcro strip is used to secure a unit along with the use of traditional screws. This is a pretty cool little touch and should be sufficient for those not planning to move their system much, allowing the exclusion of screws in such a scenario. Above that are the motherboard expansion slots, each protected by a separate cover and held in place by thumb screws. In the top you have a single 120 mm exhaust fan with a 3-pin connector.

You may install two 120 or 140 mm fans in the ceiling of the chassis. Thanks to the perfect spacing, placing a 240 or 280 mm radiator here should not be an issue as well, as long as there is no pump attached directly to the radiator and the connectors face downward.


The cables within the chassis are nothing out of the ordinary. anidées has chosen to go for a 20-pin header for the USB 3.0 I/O but has not included an adapter to attach it to a 2.0 plug. While this is not a big issue considering there are four such connectors already present, it would have been a nice touch for a case of this price point. Interstingly enough, the audio cable only has an HD Audio header, which seems appropriate as the days of AC'97 based audio have come and gone.
Apr 18th, 2024 15:28 EDT
change timezone
Latest GPU Drivers
New Forum Posts
- cooling vrm on cheap motherboard for 5950x (16)
- Gigabyte gpu model differences? (47)
- DDR5 RAM Speeds and the future (35)
- What's your latest tech purchase? (20262)
- [GPU-Z Test Build] Resizable BAR shows as "Yes" when Supported but Disabled (23)
- Asus 7 PIN fans to standard 4 pin PWM? (10)
- What phone you use as your daily driver? And, a discussion of them. (1452)
- Should the CDPR make the Fallout 5 instead? (5)
- FINAL FANTASY XIV: Dawntrail Official Benchmark (53)
- XFX RX560 1024 shaders 16 CU 4GB from Aliexpress (2)
Popular Reviews
- Horizon Forbidden West Performance Benchmark Review - 30 GPUs Tested
- PowerColor Radeon RX 7900 GRE Hellhound Review
- Fractal Design Terra Review
- Corsair 2000D Airflow Review
- Minisforum EliteMini UM780 XTX (AMD Ryzen 7 7840HS) Review
- Creative Pebble X Plus Review
- Thermalright Phantom Spirit 120 EVO Review
- FiiO KB3 HiFi Mechanical Keyboard Review - Integrated DAC/Amp!
- ASUS GeForce RTX 4090 STRIX OC Review
- NVIDIA GeForce RTX 4090 Founders Edition Review - Impressive Performance
Controversial News Posts
- Sony PlayStation 5 Pro Specifications Confirmed, Console Arrives Before Holidays (108)
- NVIDIA Points Intel Raptor Lake CPU Users to Get Help from Intel Amid System Instability Issues (102)
- US Government Wants Nuclear Plants to Offload AI Data Center Expansion (98)
- Windows 10 Security Updates to Cost $61 After 2025, $427 by 2028 (82)
- Developers of Outpost Infinity Siege Recommend Underclocking i9-13900K and i9-14900K for Stability on Machines with RTX 4090 (82)
- TechPowerUp Hiring: Reviewers Wanted for Motherboards, Laptops, Gaming Handhelds and Prebuilt Desktops (71)
- Intel Realizes the Only Way to Save x86 is to Democratize it, Reopens x86 IP Licensing (70)
- AMD Zen 5 Execution Engine Leaked, Features True 512-bit FPU (63)