 3
3
Antec ISK 600M Review
Value & Conclusion »Assembly


Installing the motherboard is done by traditional means, with the use of spacers and screws. You can route the cables away nicely if you put some time into placing them correctly before installing the board of your choice. Long GPUs of up to 312 mm should also fit into the Antec ISK 600M, which would allow you to build a pretty potent gaming rig.

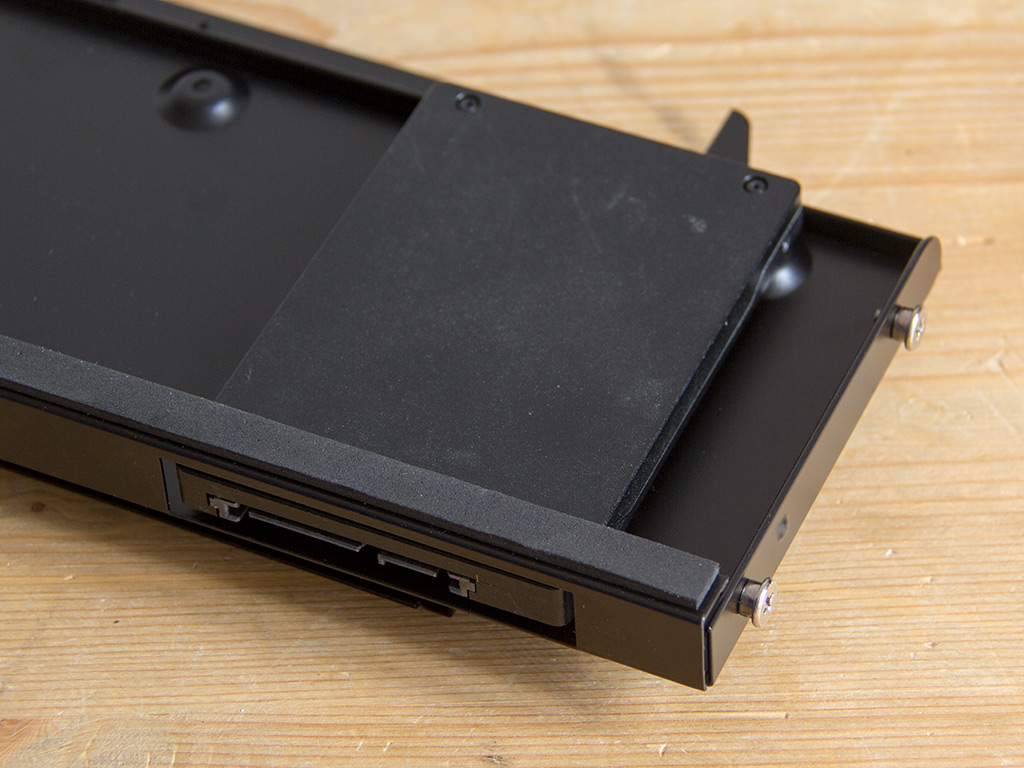
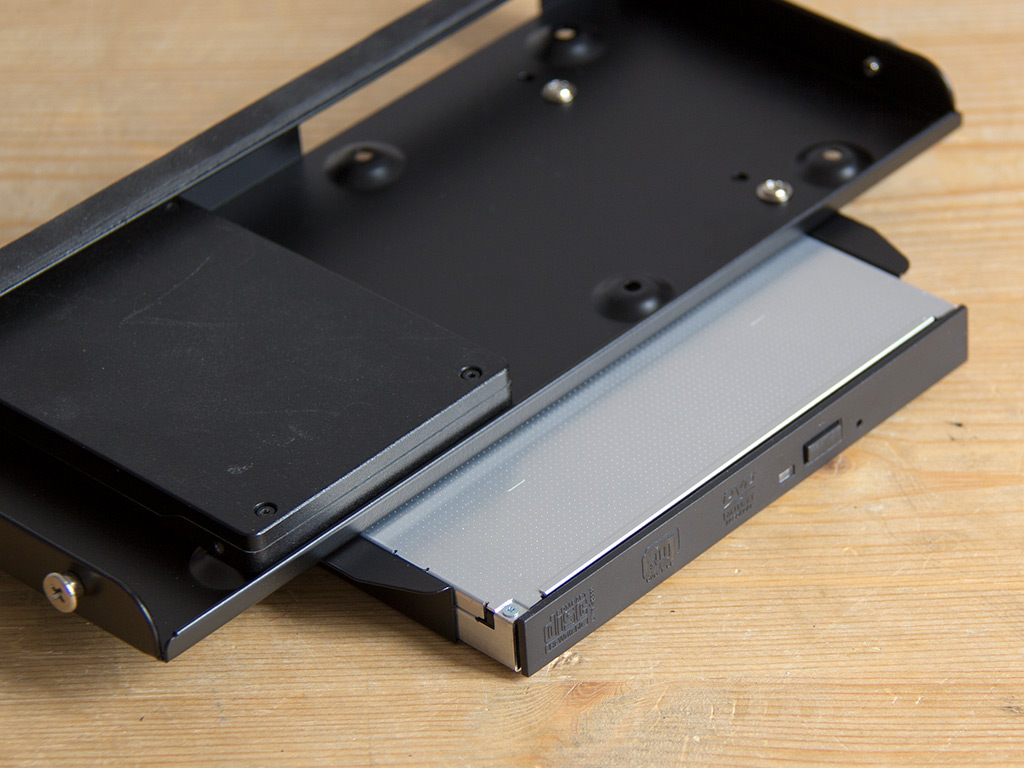
Next up, you should fill the forward tray, including the ODD bay. There is absolutely no reason to take the tray for the slimline drive off the others, but we did so for this review. If you have 2.5'' drives to install first, you should do so before anything else since the optical drive will block off those mounting holes. Once the HDD is in place, fill the ODD bay. All this is done with the included screws. Luckily, Antec also included the special mini-screws to hold the slimline drive in place.
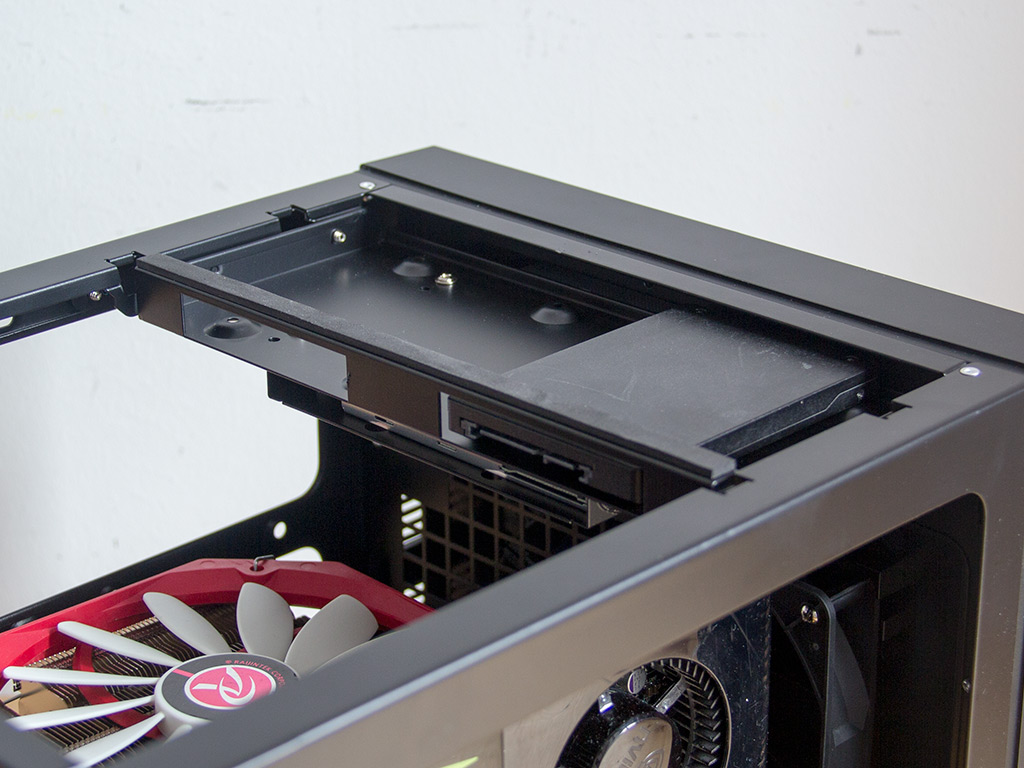
The last step requires you to slide the tray back into the top of the chassis. There are no actual screws to pin it down as you will use the top cover to put pressure on it, which will make it stay in place on its own.

Installing a 3.5" drive requires you to use the screws to pin the drive down, onto the bay of your choice. There is plenty of space in the rear for that optional fan, and the HDD connectors face into the chassis, which makes reaching them a breeze.
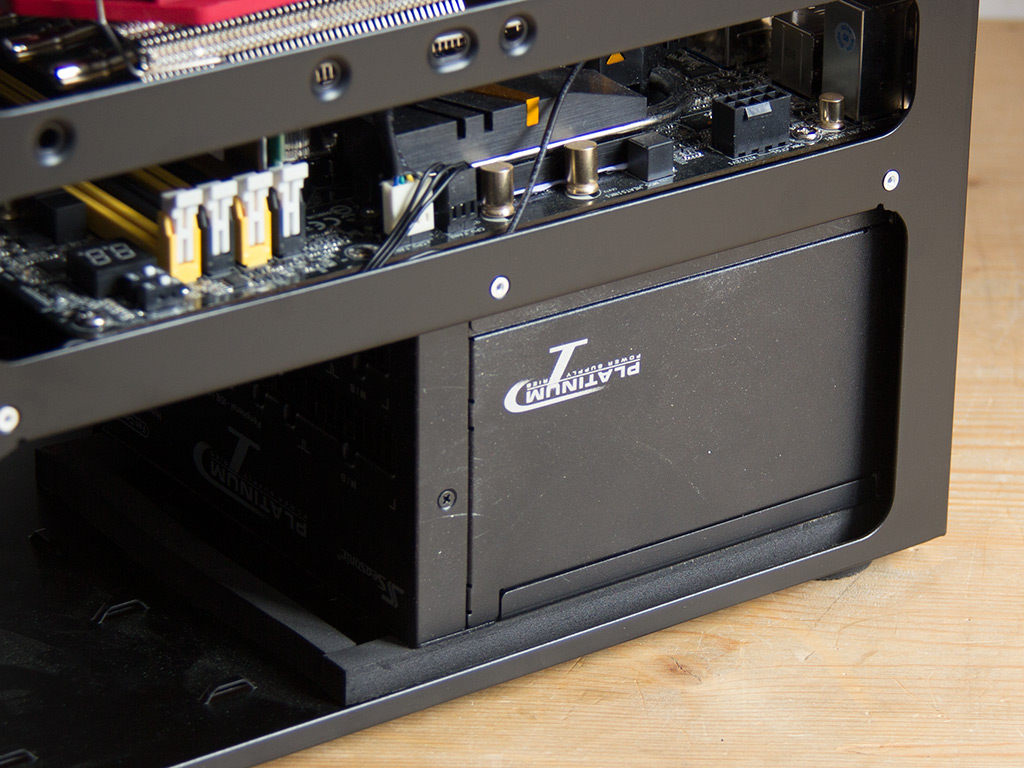
You should have no issue installing a large PSU as there is lots of space. Antec also ensured that the foam lining and its opening on the floor are long enough to line up with the fan in larger power supplies.


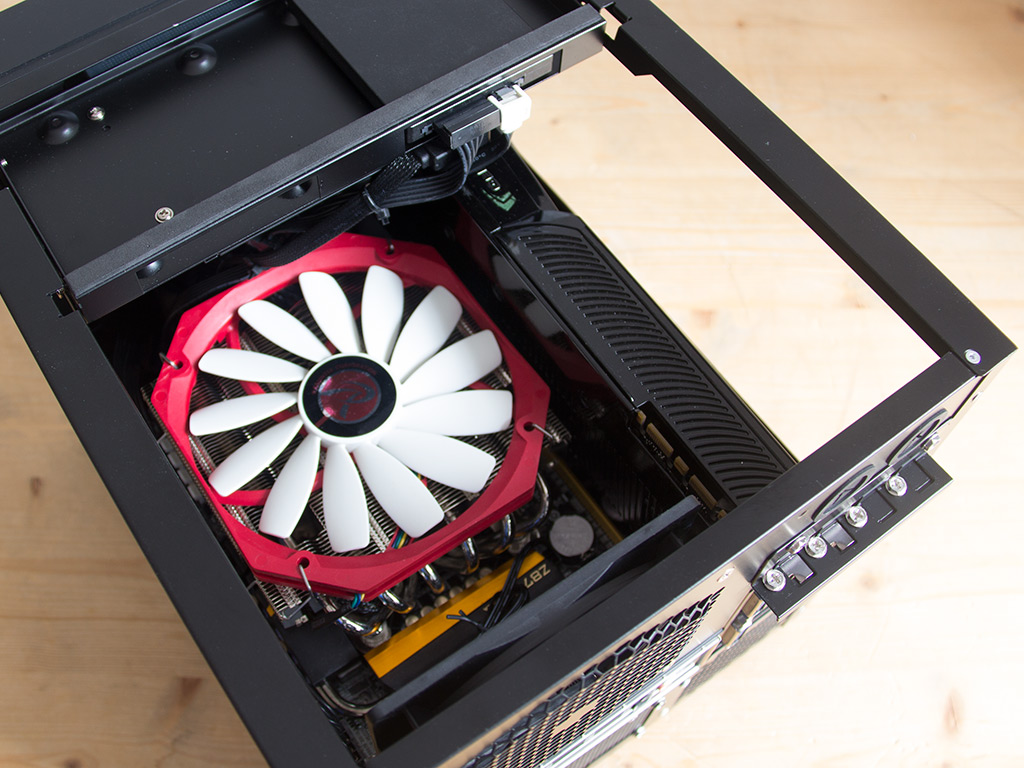
With everything installed, the ISK 600M makes a very good impression. While the PSU's cable mess and its leads are inside the bottom compartment, the top area around the CPU is virtually cable-free.
Finished Looks


Turned on, the Antec ISK 600M makes a great impression. The choice to move the LED to the front panel's underside was a good one as its indirect glow really does work well. Those looking to use the chassis in a dark HTPC environment will find it to be a welcome change.
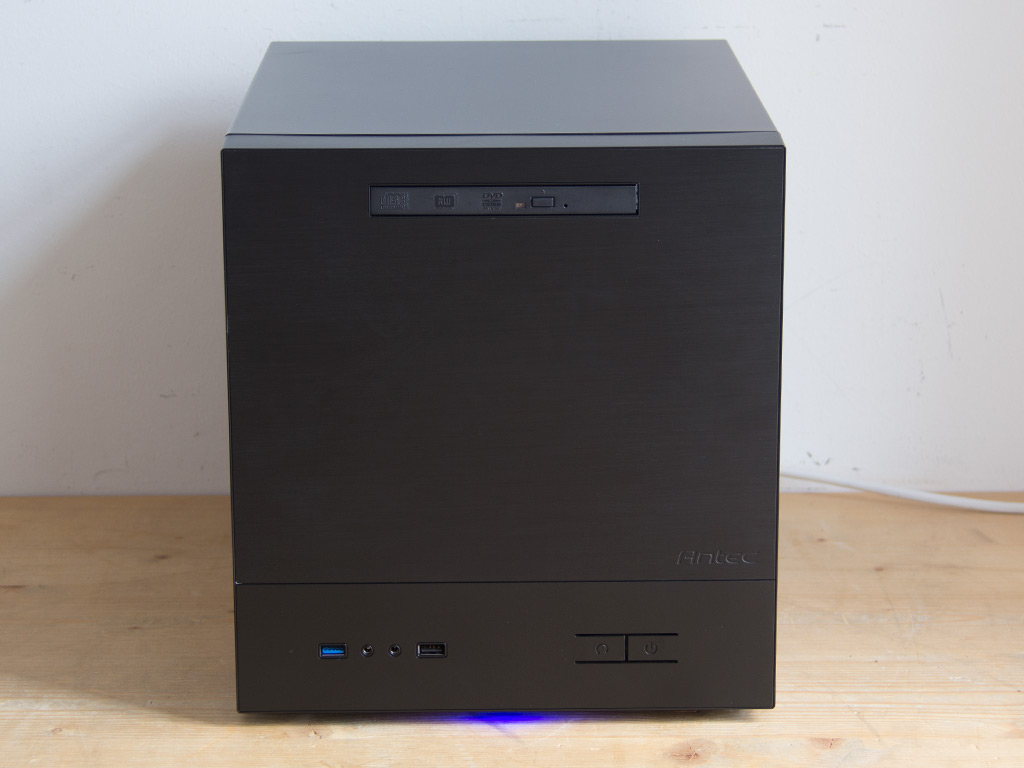
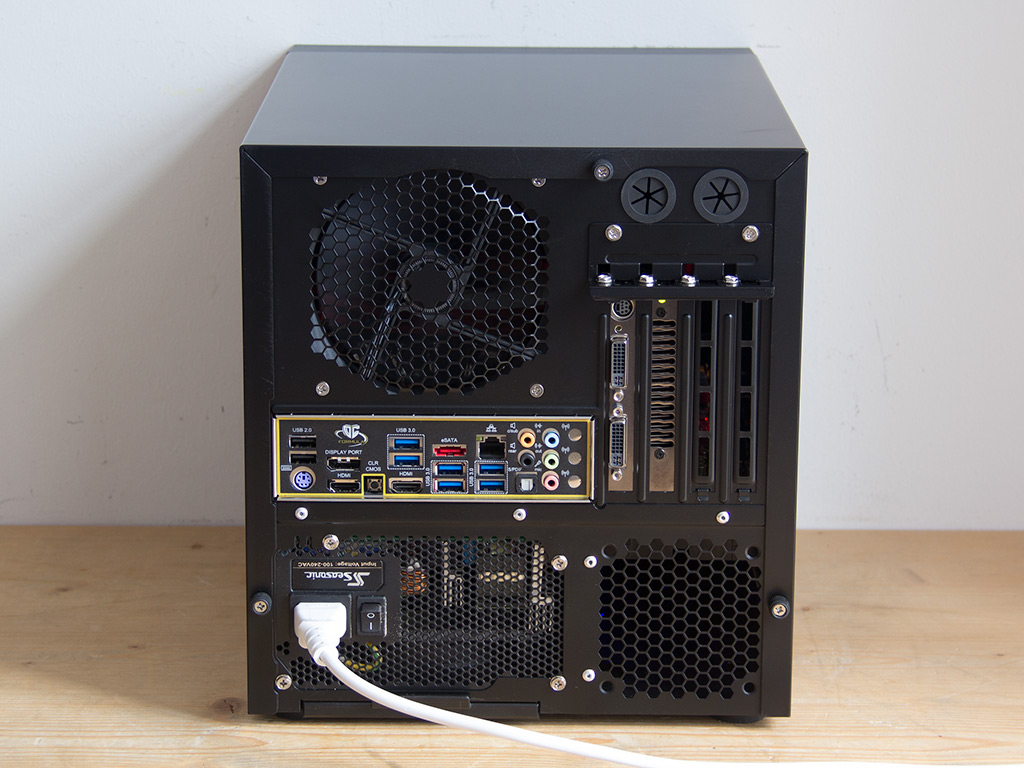
This slight change also considerably cleaned up the front panel's overall look, leaving you with nothing but the essentials, which, once again, is great in a home-theater PC scenario. Everything in the rear is readily accessible, and all the connectors are where you would expect them to be.

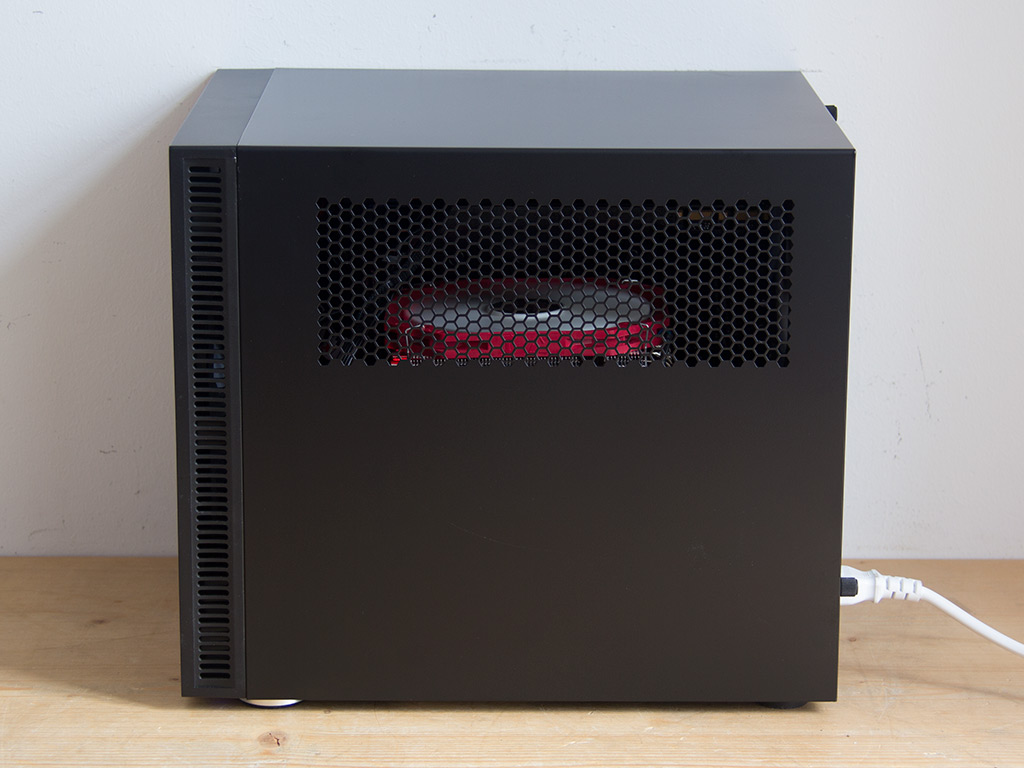
Both side panel openings line up perfectly for any fans within the case. The GPU fan on one side can access fresh air, and any optional side fans you would install are right behind the opposite side's larger vent.
Apr 29th, 2024 01:07 EDT
change timezone
Latest GPU Drivers
New Forum Posts
- What's your latest tech purchase? (20373)
- Does charging protection matter? (25)
- Legion Pro 7i, i9-13900HX. PL2 limit reason in log file (3)
- Dialing in the overlock on my new 12600kf, matured silicon process showing great results... (2)
- GS110EMX switch slowing down my gigabit fiber Uploads .. Why ? what setting ? (2)
- AMD Ryzen 9 7950X3D $542 after promo (2)
- Post your Cinebench 2024 score (451)
- Your PC ATM (34525)
- Share your AIDA 64 cache and memory benchmark here (2921)
- Inconsistent cpu-z frequncies (3)
Popular Reviews
- Ugreen NASync DXP4800 Plus Review
- HYTE THICC Q60 240 mm AIO Review
- MOONDROP x Crinacle DUSK In-Ear Monitors Review - The Last 5%
- Upcoming Hardware Launches 2023 (Updated Feb 2024)
- ASUS GeForce RTX 4070 Ti Super TUF Review
- FiiO K19 Desktop DAC/Headphone Amplifier Review
- Thermalright Phantom Spirit 120 EVO Review
- ASUS Radeon RX 7900 GRE TUF OC Review
- AMD Ryzen 7 7800X3D Review - The Best Gaming CPU
- Logitech G Pro X Superlight 2 Review - Updated with 4000 Hz Tested
Controversial News Posts
- Windows 11 Now Officially Adware as Microsoft Embeds Ads in the Start Menu (140)
- Sony PlayStation 5 Pro Specifications Confirmed, Console Arrives Before Holidays (117)
- NVIDIA Points Intel Raptor Lake CPU Users to Get Help from Intel Amid System Instability Issues (106)
- AMD "Strix Halo" Zen 5 Mobile Processor Pictured: Chiplet-based, Uses 256-bit LPDDR5X (103)
- US Government Wants Nuclear Plants to Offload AI Data Center Expansion (98)
- AMD's RDNA 4 GPUs Could Stick with 18 Gbps GDDR6 Memory (95)
- Windows 10 Security Updates to Cost $61 After 2025, $427 by 2028 (84)
- TechPowerUp Hiring: Reviewers Wanted for Motherboards, Laptops, Gaming Handhelds and Prebuilt Desktops (82)