 11
11
BitFenix Ghost Review
A Closer Look - Inside »A Closer Look - Outside
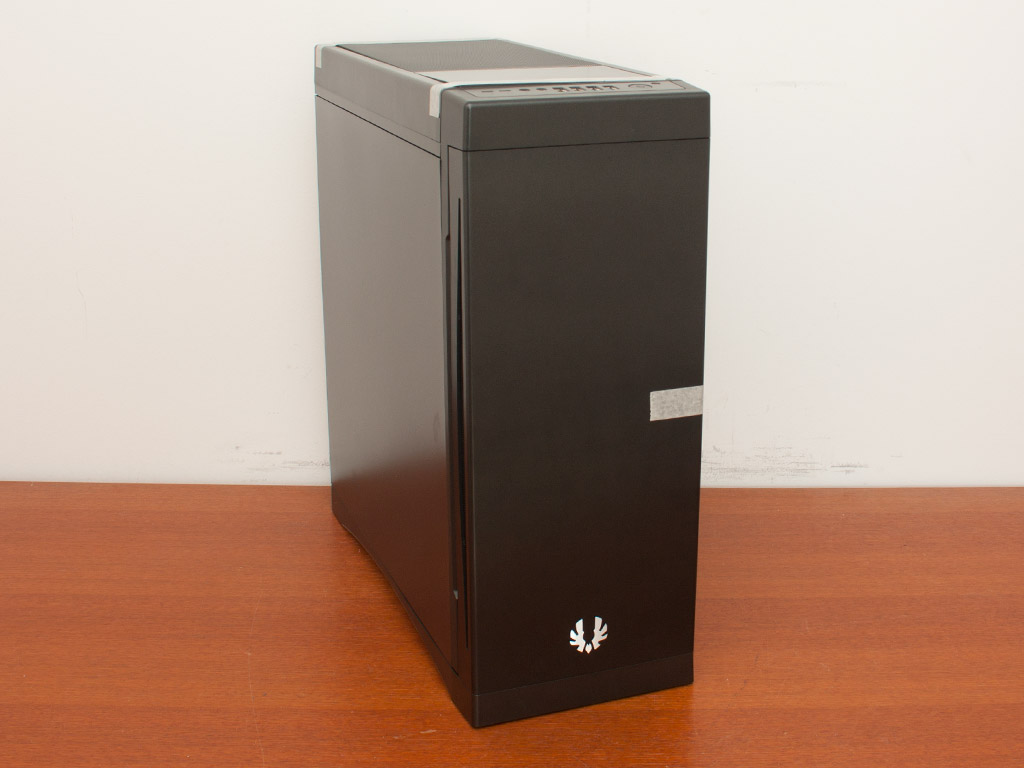
A lot of tape holds all the separate parts of the chassis in place during transport. According to BitFenix, they have applied a special type of coating onto the surface and the plastic that they have dubbed "NanoChrome". The paint apparently holds metal particles that make the chassis shine, and the color of plastic and metal pieces more uniform. Whatever it is, the result is quite nice, and there is a noticeable difference to other "gunmetal cases" out there.
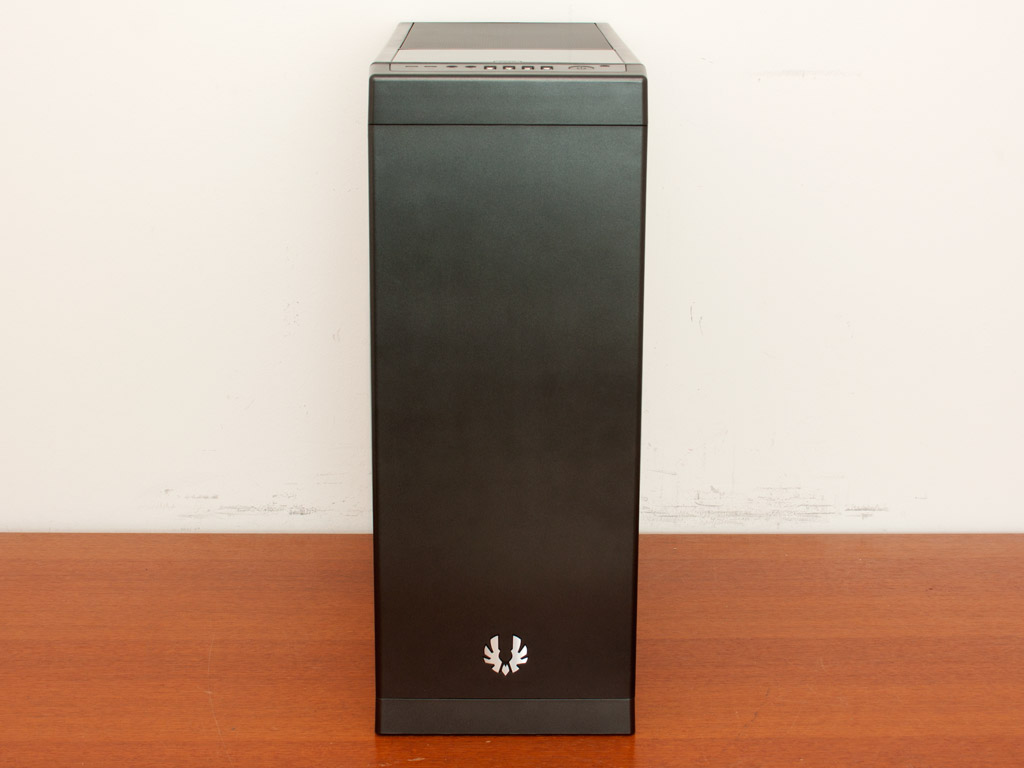

BitFenix has designed the front door in such a way that it has a bit of space between the cover and the drive bays, allowing for fan controllers to be installed inside. Such a special design allows you to open the door to the left or to the right with very little effort. There are little clips in place to hold the door on the side of your choice. Make sure you switch them over when changing the configuration. I, being impatient, ended up breaking these clips. BitFenix should simply ship these separately, just like the other parts of the chassis. Luckily, the door still works flawlessly even with these clips gone. I would suggest that you do not apply them, which would allow you to go back and forth between opening the panel either way without going through any additional steps.
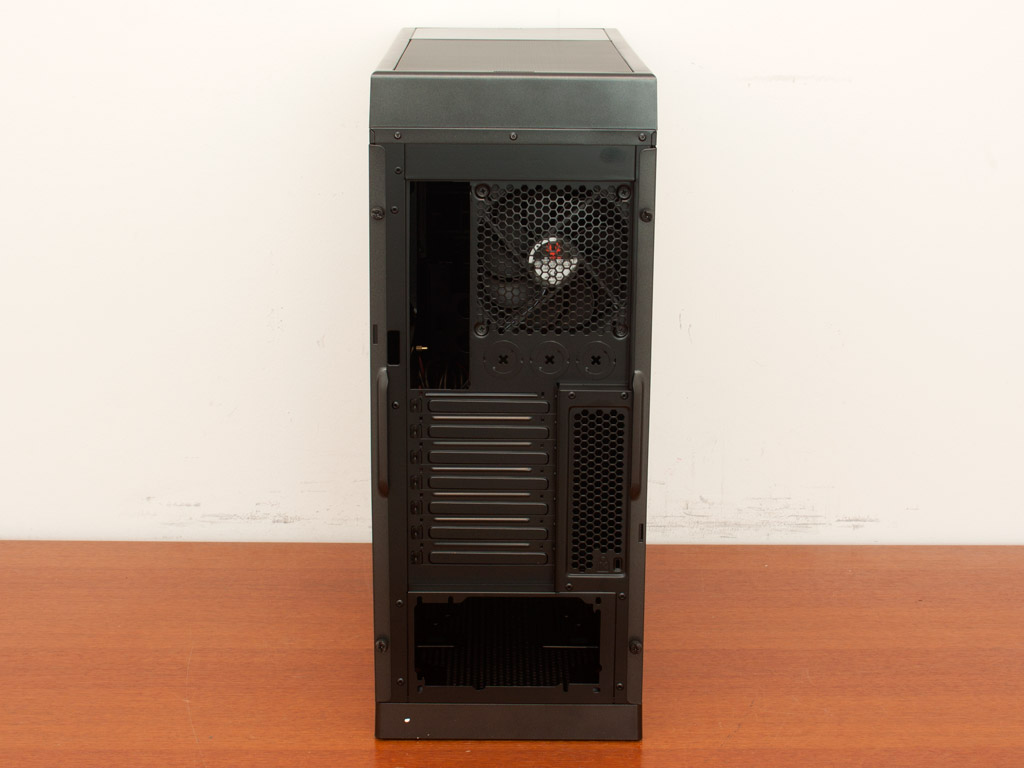

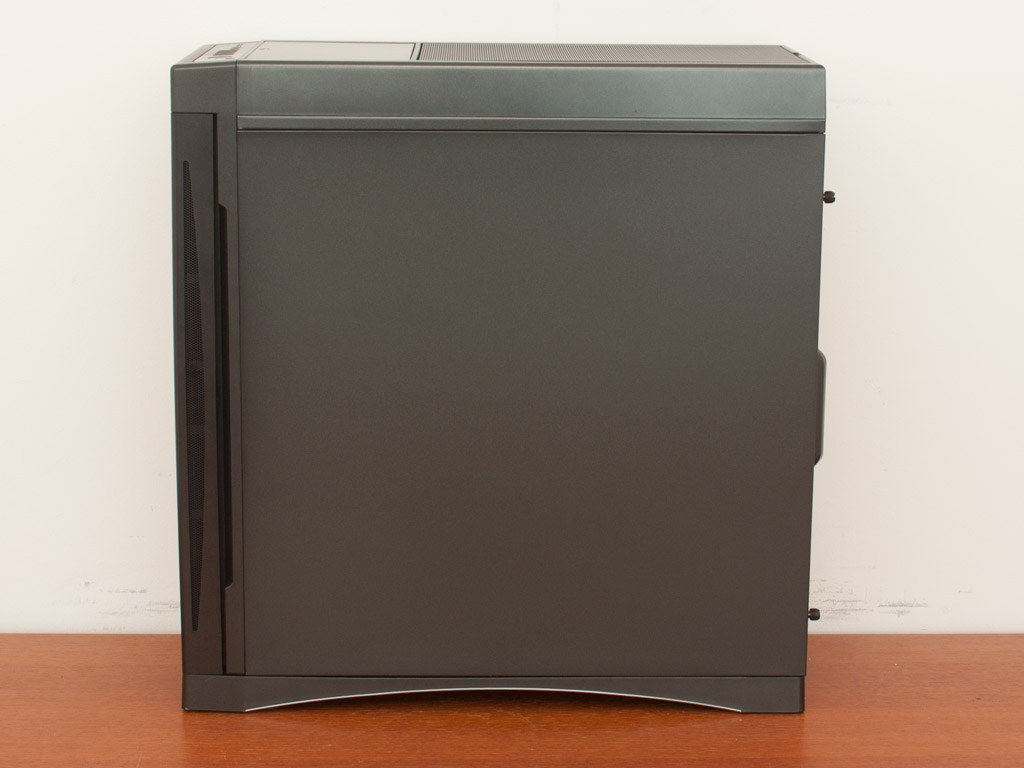
In the rear, the general configuration is just fine for a modern chassis. The PSU bay has been placed on the bottom, but the top fan is backed up into the chassis instead of lining up with the rest of that rear metal sheet. This means that you have a bit less space for large CPU coolers inside the case. Both side panels of the Ghost are completely solid and are lined with sound dampening materials inside.

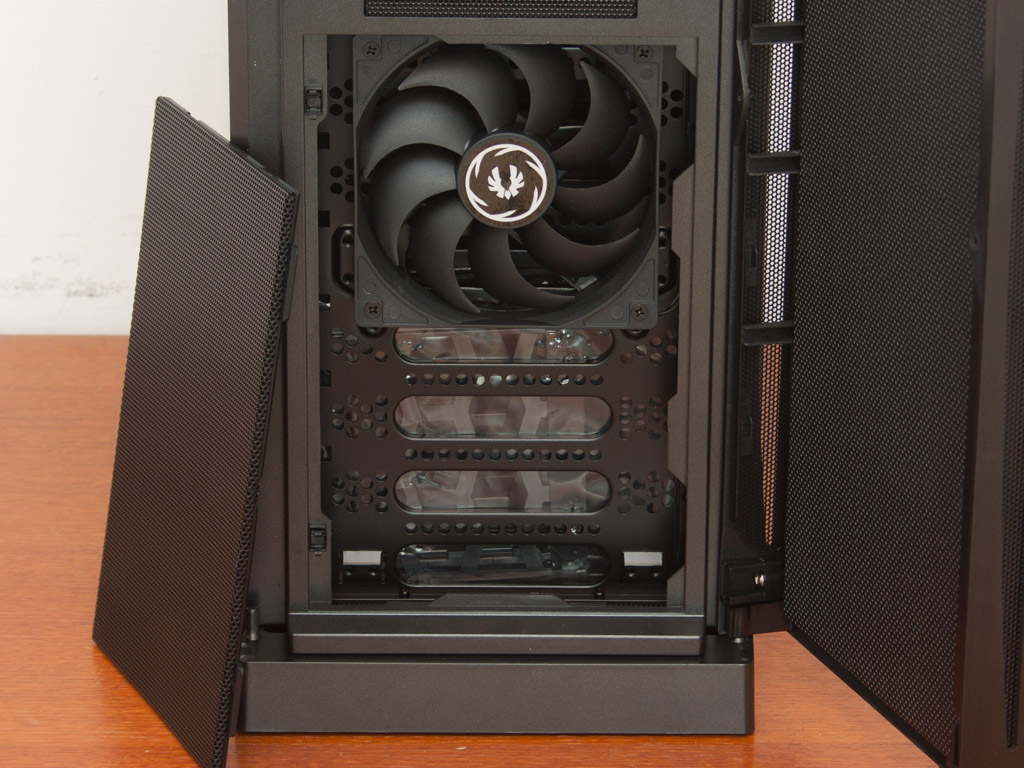

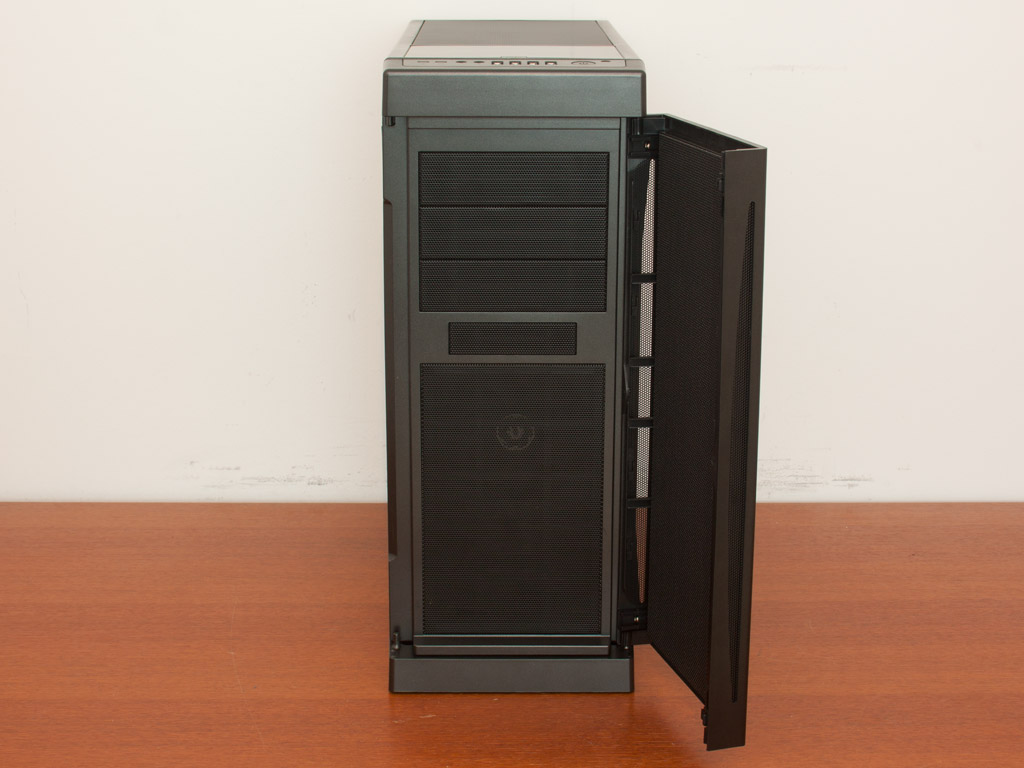
Taking a closer look at the front, the bottom half is covered by a metal-mesh panel that is easily removed by pressing on its top edge. Behind it, you will find a single 120 mm BitFenix Spectre in the top spot. You may install an additional one below it. The top area holds the external drive bays. It is refreshing to see that BitFenix has included a dedicated 3.5" bay along with three 5.25" ones. Each of these is filled with a metal-mesh cover.


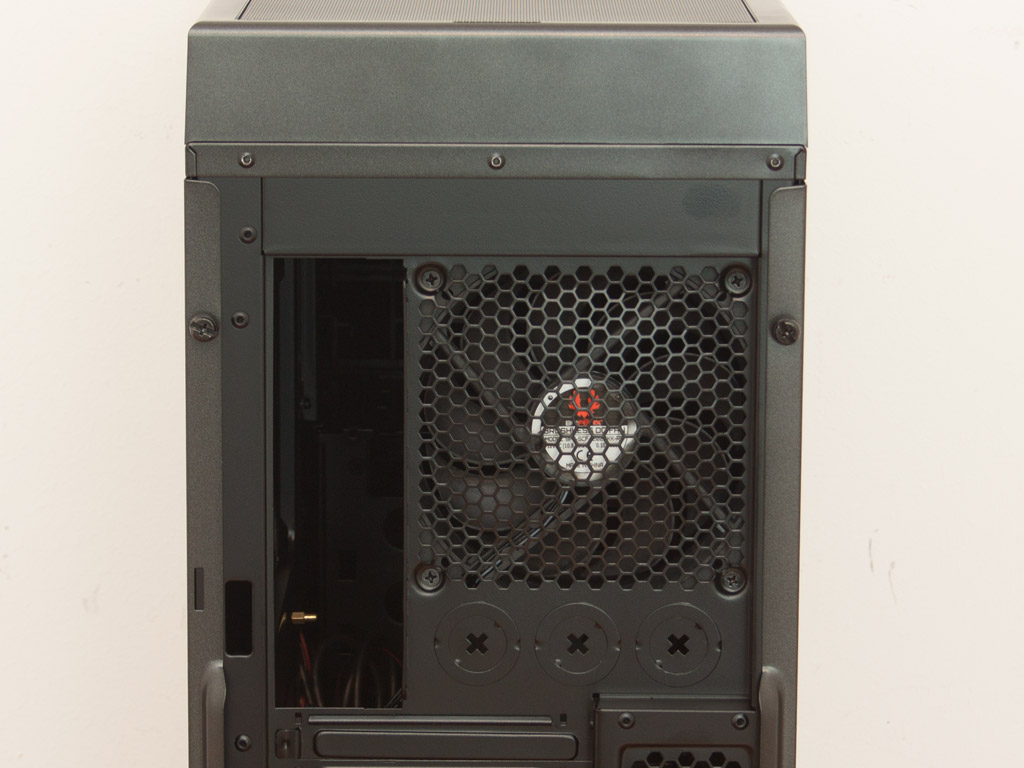
In the rear, the aforementioned bottom PSU bay comes with two sets of screw-holes, which makes installing the unit with the fan facing up or down possible. Above that are the seven expansion slots next to which is a small air vent. Between this area and the 120 mm exhaust-fan are three pre-cut holes to route water cooling out of the rear. Interestingly enough, BitFenix does not include any grommets for these. You will have to find some that fit if you do want to use this feature. The rear fan is also of the BitFenix Spectre variety, which means you can rest assured that it is actually quiet.

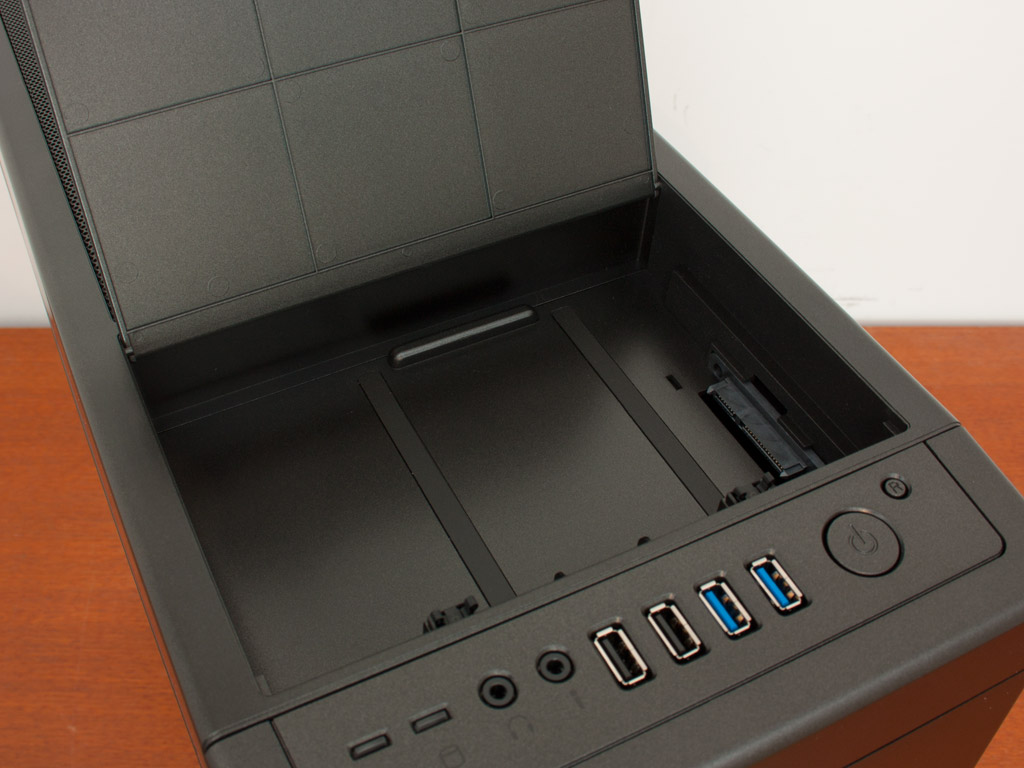
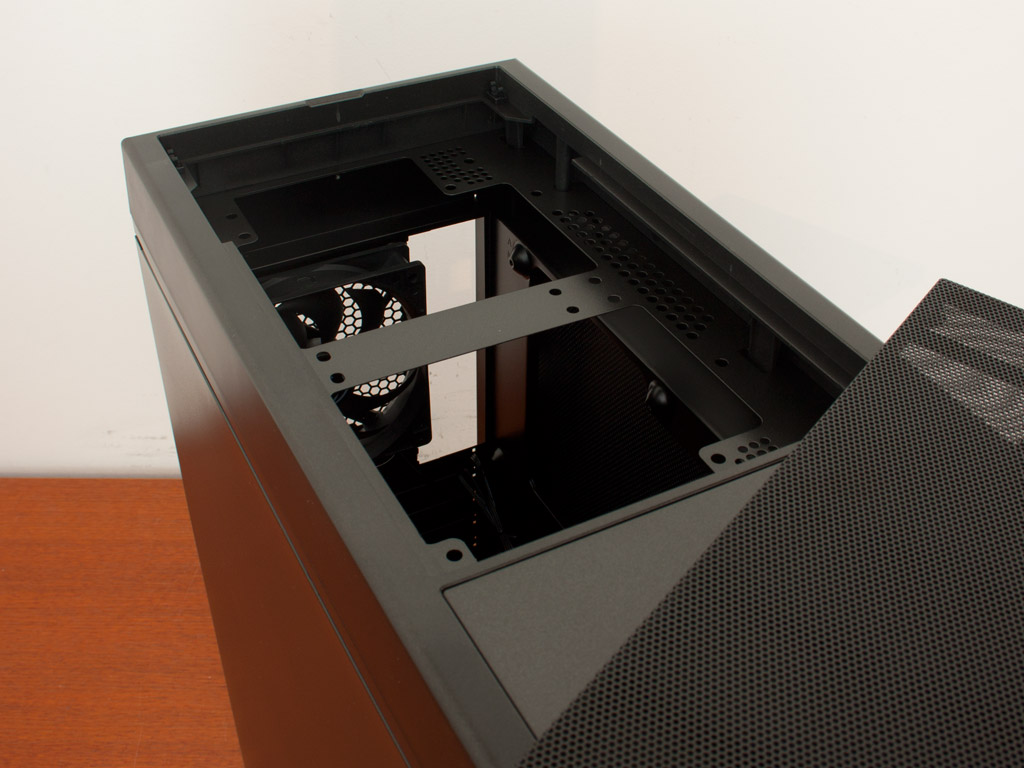
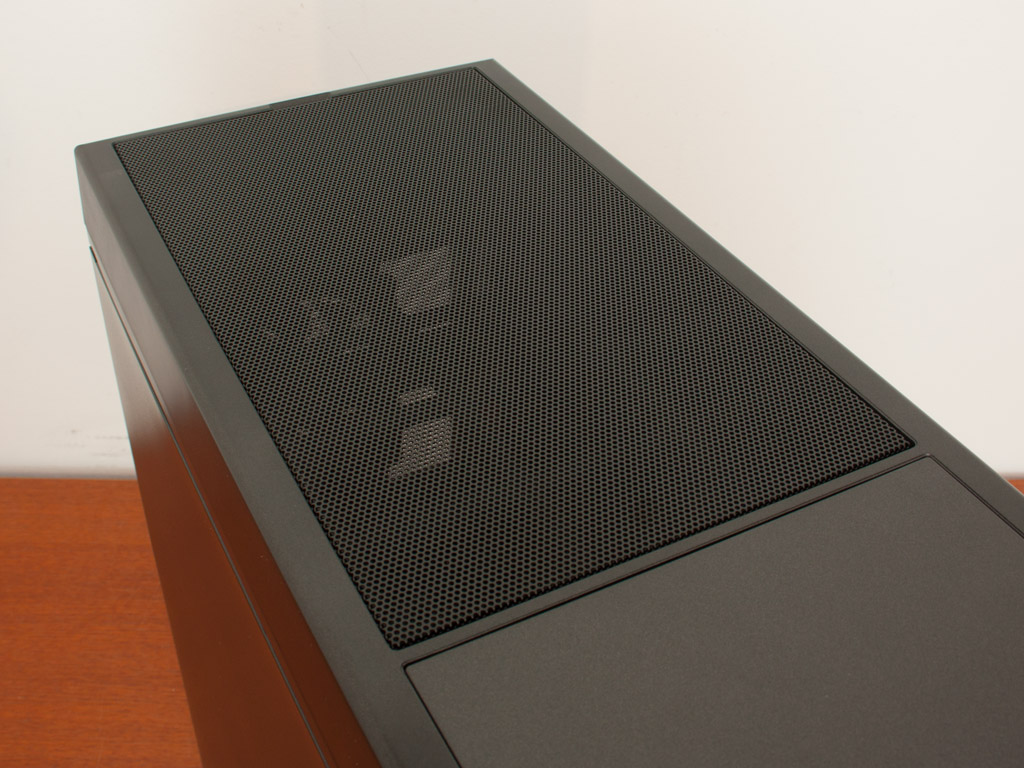
You will find the I/O panel at the front edge of the top. The chassis comes with the classic set, including audio connectivity, two USB 2.0, and two USB 3.0 plugs. Right behind those is a 3.5" hot-swap bay, hidden behind a plastic cover. To the rear of the top is another large metal mesh-cover under which you will find a fairly spacious compartment for one 200 mm and two 120/140 mm fans. Thanks to the space, a 240 mm radiator should easily fit in here as well. The biggest downside here is the fact that this basically destroys any real sound dampening of the BitFenix Ghost. You cannot call a case sound dampened and leave a large vented opening in the top of the chassis. BitFenix should have included some sort of screwed-on cover that the user could remove to install fans or radiators.
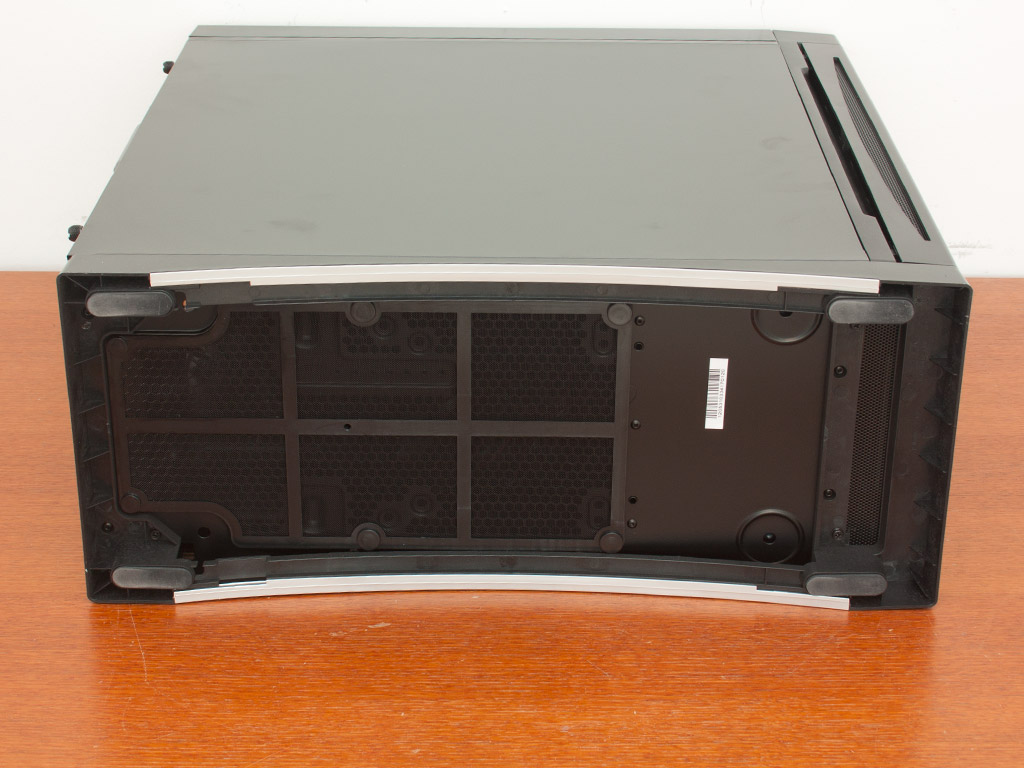
A unique feature is the underside of the chassis, because it is curved and has everything in place for BitFenix Alchemy 30 cm LED strips, including a route for cables into the chassis. We also got a pair of such strips with orange LEDs for this review, but more about that later.
May 11th, 2024 09:48 EDT
change timezone
Latest GPU Drivers
New Forum Posts
- The Filthy, Rotten, Nasty, Helpdesk-Nightmare picture clubhouse (2627)
- Free Games Thread (3794)
- LOL ASUS says this is $200 in repair, Steve from gamers Nexus smokes ASUS, Steam Deck til I die boys!!!! (46)
- X79 and/or rampage IV OC'ing thread for those of us still left.... (2356)
- I don't think Ryzen 9900x3d is just being announced next month, I think it's launching next month. (38)
- Who here likes big monitors? 42inch and bigger gang? (9)
- Motherboard only has one USB header, i need possibly four! can I use a splitter cable? (10)
- POLL: Can you see the difference past 60fps (gaming/other) (62)
- Arc OC'ing, anyone? (12)
- NVME underperforming (11)
Popular Reviews
- Bykski CPU-XPR-C-I CPU Water Block Review - Amazing Value!
- CHERRY XTRFY M64 Pro Review
- ZMF Caldera Closed Planar Magnetic Headphones Review
- ThundeRobot ML903 NearLink Review
- Corsair MP700 Pro SE 4 TB Review
- Corsair iCUE Link RX120 RGB 120 mm Fan Review
- Upcoming Hardware Launches 2023 (Updated Feb 2024)
- AMD Ryzen 7 7800X3D Review - The Best Gaming CPU
- Finalmouse UltralightX Review
- ASUS Radeon RX 7900 GRE TUF OC Review
Controversial News Posts
- Intel Statement on Stability Issues: "Motherboard Makers to Blame" (265)
- AMD to Redesign Ray Tracing Hardware on RDNA 4 (206)
- Windows 11 Now Officially Adware as Microsoft Embeds Ads in the Start Menu (171)
- NVIDIA to Only Launch the Flagship GeForce RTX 5090 in 2024, Rest of the Series in 2025 (144)
- Sony PlayStation 5 Pro Specifications Confirmed, Console Arrives Before Holidays (119)
- AMD's RDNA 4 GPUs Could Stick with 18 Gbps GDDR6 Memory (114)
- NVIDIA Points Intel Raptor Lake CPU Users to Get Help from Intel Amid System Instability Issues (106)
- AMD Ryzen 9 7900X3D Now at a Mouth-watering $329 (104)