 12
12
CoolIT Freezone Review
Performance »Installation
The installation of the Freezone is fairly straight forward. The unit is sent pre-filled/assembled so there is no need to leak test and bleed the system. It's literally a matter of bolting the unit in place. CoolIT provides a very thorough manual; It walks you through every step of the installation with good detail.
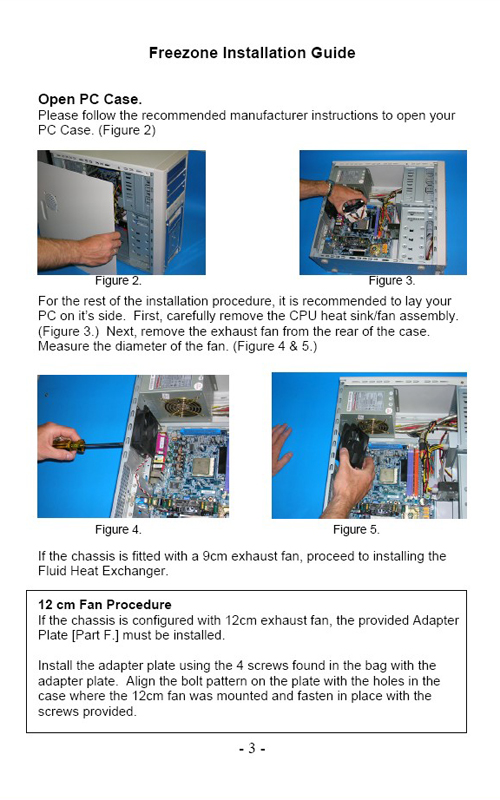
The first few pages are mainly system preparation. The opening of the case, removal of the rear case fan, removal of the cradle, and cleaning up of the CPU.
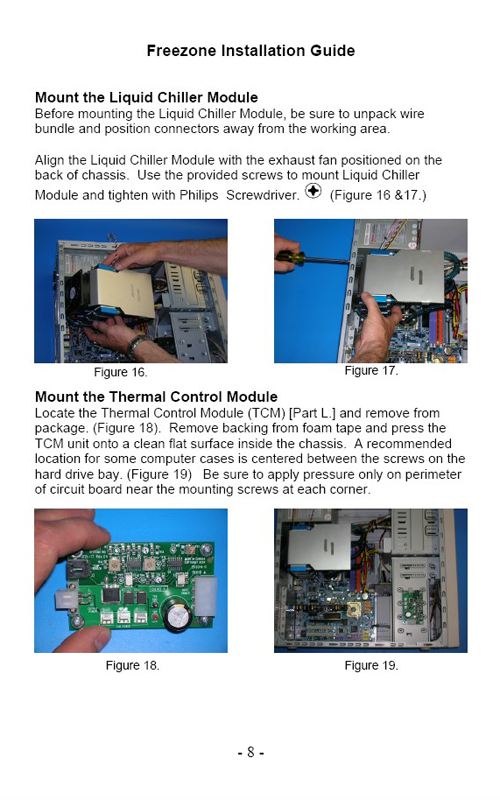
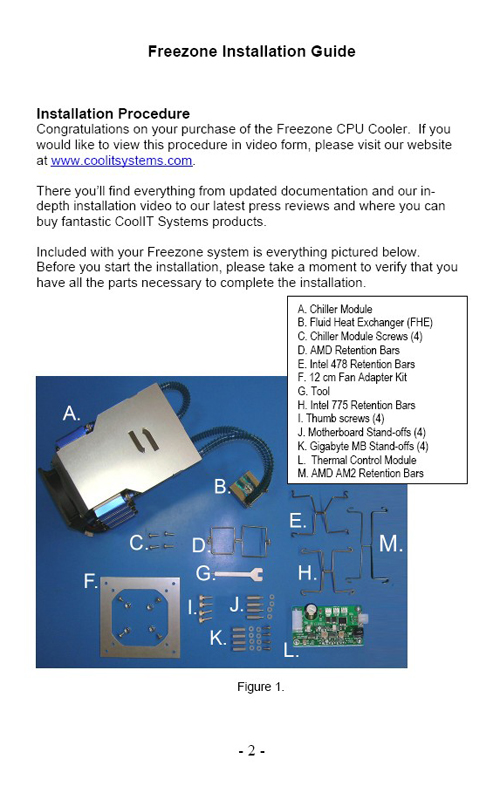
Pages five through six deal with the mounting of the water block, or the "Fluid Heat Exchanger'. The system has support for all AMD systems, Intel 775, and S478.
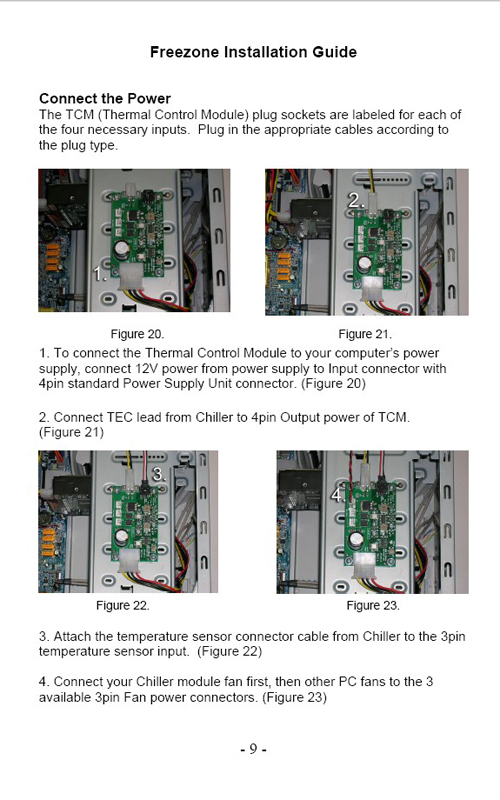
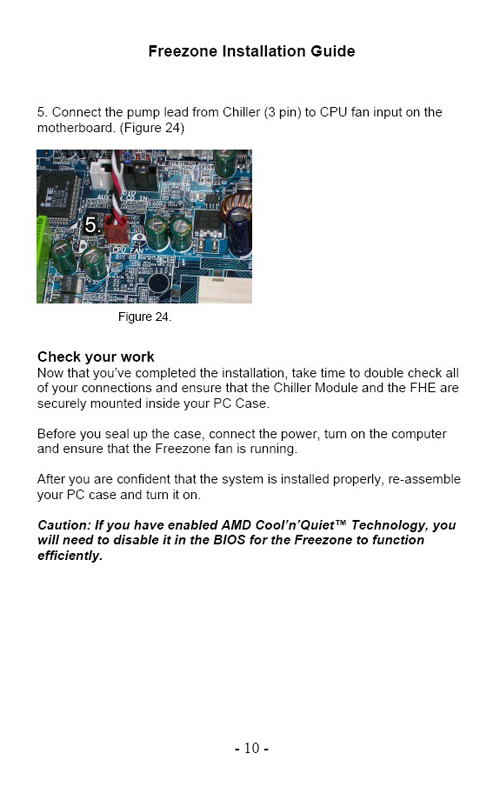
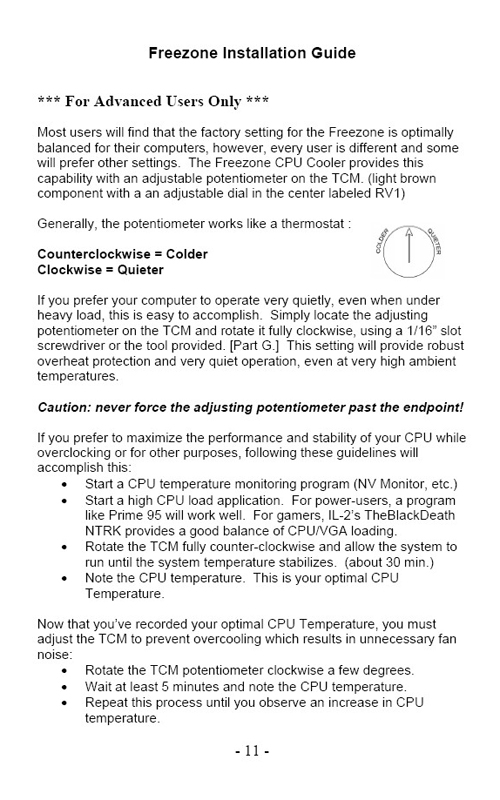
Pages nine and ten are the finishing touches such as mounting the Thermal Control Unit, and wiring. Page elven explains the adjustments that can be made on the system for better performance or quieter operation. On page twelve, there are a few lines continuing about adjustments to the system and the rest of the manual deals with warranty and disclaimers.


The system was tested on an AMD Socket 939 system, so the first step was to remove the cooler mounting cradle. Once removed, two stand offs screwed into the back plate of the cradle. There was no need to remove the motherboard from the tray which is a nice convenience. When I was putting the standoffs in, they didn't turn much before they were tight - Maybe two full turns. When I went to finish tightening the standoffs with the provided tool, I actually stripped the first standoff. I took another standoff and started over more carefully and realized it was going to do the same thing again, so I decided to remove the motherboard and just try putting a standoff into the back plate. What I found was there was very little thread catching the bolts in the plate.
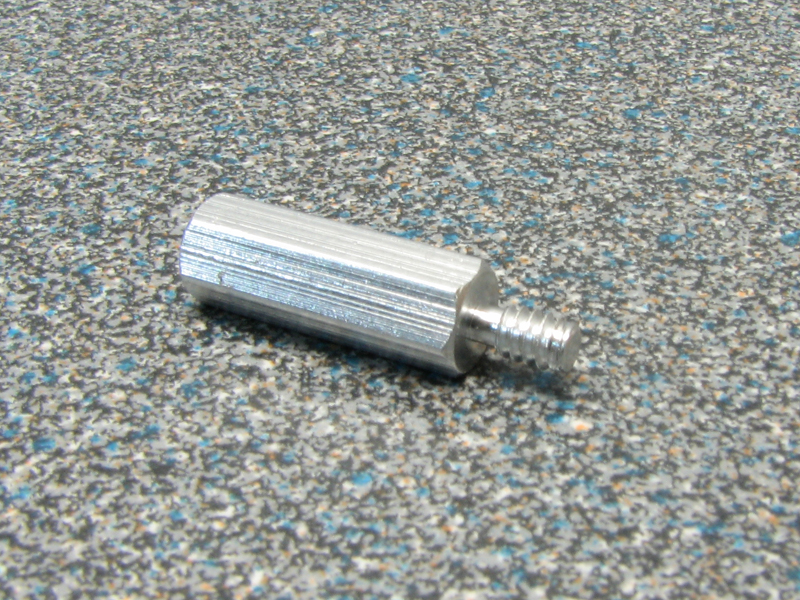
It gets better however; I was remounting the cooler, and as I was tightening the bolt into the standoff (wasn't ever near being tight either) I stripped another standoff. Now I was left with one good standoff, and no way the mount the cooler. The standoffs should have had longer threads to be better secured into the backplate and to help prevent users from stripping the threads like I did.
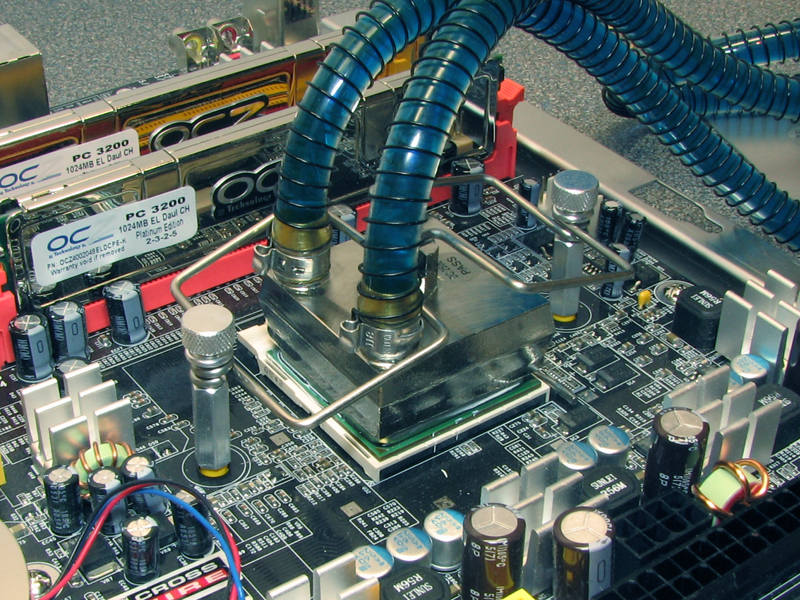
Once the standoffs were in place, the block just needs to be lined up and then the retention modules secured into the standoffs. The easiest way I found was to clip the retention modules into the block first, then just slightly thread the thumb screws into the standoffs. Once the block is lined up and the thumbs screws started, the screws should be tightened in an alternating fashion to prevent the block from pulling to one side and messing up the thermal paste or even bending something.


After the block is properly mounted, the Chiller unit can be secured onto the case. If the case has a 120mm rear fan, an adapter is needed to mount the chiller. The adapter provided is just an Aluminum plate that bolts onto the 92mm fan, and then the chiller can be installed the same way as it would be in a case with a 92mm rear fan.

Upon having the block mounted and the 120mm plate adapter mounted if so needed, it's just a matter of bolting the cooler to the case and then doing a little bit of wiring.

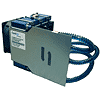
Installing the thermal control module is just a matter of finding a place in the case where it's out of the way, but easy to get at. Once a location is found, the TCM is attached to the case via two sticky pads pre-applied to the back of the TCM. A 12V Molex connector is then required, followed by the unit's fan, thermal sensor, and the four pin power connector for the TECs.

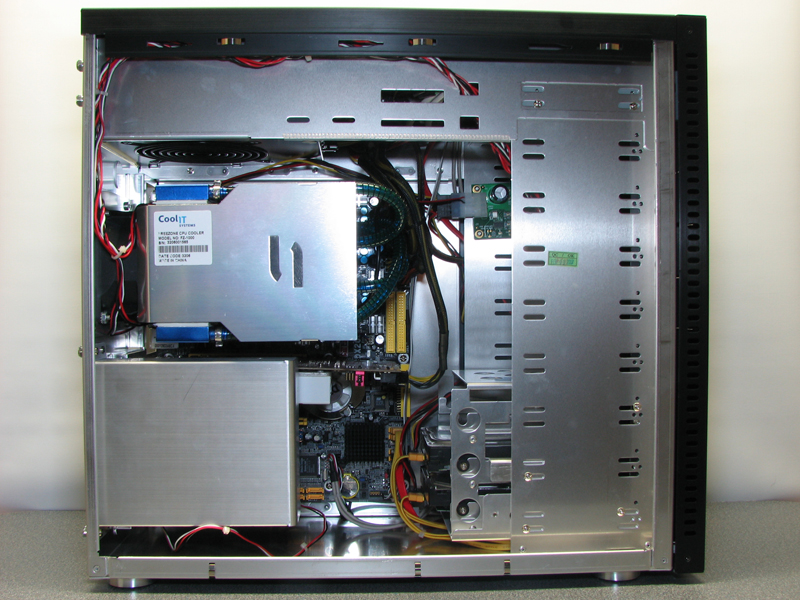
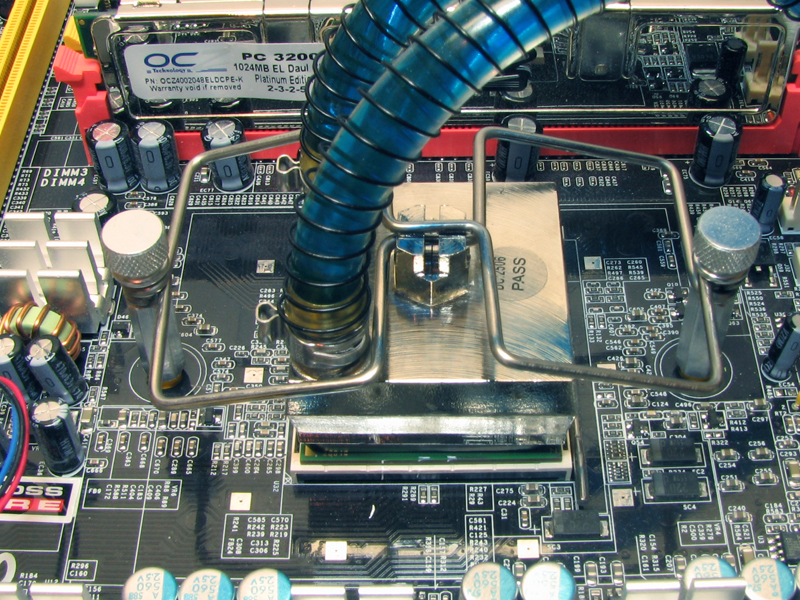
When it's all completed it will look something like this (minus the super messy wiring job). Now let's see how this puppy works.
May 13th, 2024 02:29 EDT
change timezone
Latest GPU Drivers
New Forum Posts
- AIO Water Cooler vs Tower Air Cooler (0)
- Which RAM for AMD 7950X3D (0)
- How to optimize my PC by overclocking my system (11)
- Ryzen Owners Zen Garden (7308)
- What's the best tube I can get for Schiit Vali 3 headphone amp under $30? (0)
- Having issues with 2 EDP Other limits and PL1 (3)
- Cyberpunk 2077 Game Discussion (2125)
- Why does my PC shut down even though it's connected to a UPS? (86)
- Anime Nation (12788)
- Xeon Owners Club (8704)
Popular Reviews
- ZMF Caldera Closed Planar Magnetic Headphones Review
- Corsair MP700 Pro SE 4 TB Review
- Bykski CPU-XPR-C-I CPU Water Block Review - Amazing Value!
- ThundeRobot ML903 NearLink Review
- Upcoming Hardware Launches 2023 (Updated Feb 2024)
- CHERRY XTRFY M64 Pro Review
- AMD Ryzen 7 7800X3D Review - The Best Gaming CPU
- ASUS Radeon RX 7900 GRE TUF OC Review
- Corsair iCUE Link RX120 RGB 120 mm Fan Review
- Sapphire Radeon RX 7900 GRE Pulse Review
Controversial News Posts
- Intel Statement on Stability Issues: "Motherboard Makers to Blame" (266)
- AMD to Redesign Ray Tracing Hardware on RDNA 4 (224)
- Windows 11 Now Officially Adware as Microsoft Embeds Ads in the Start Menu (171)
- NVIDIA to Only Launch the Flagship GeForce RTX 5090 in 2024, Rest of the Series in 2025 (151)
- Sony PlayStation 5 Pro Specifications Confirmed, Console Arrives Before Holidays (119)
- AMD's RDNA 4 GPUs Could Stick with 18 Gbps GDDR6 Memory (114)
- AMD Hits Highest-Ever x86 CPU Market Share in Q1 2024 Across Desktop and Server (109)
- AMD Ryzen 9 7900X3D Now at a Mouth-watering $329 (104)