 2
2
Cooler Master Centurion 6 Review
Value & Conclusion »Assembly
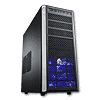
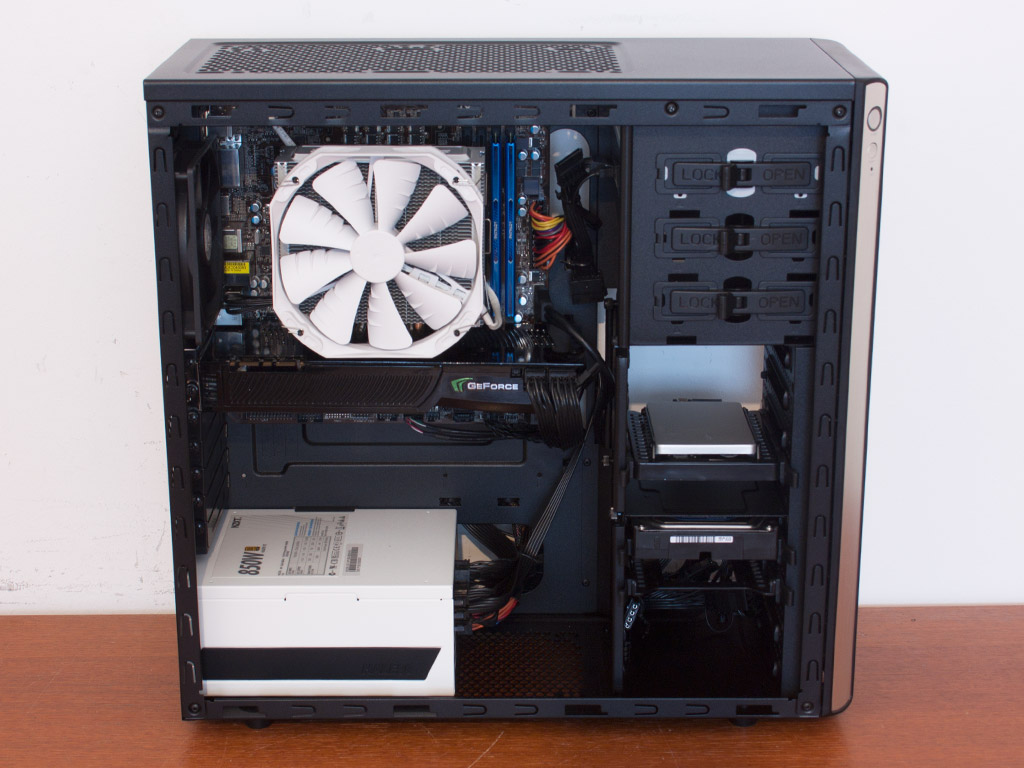
Installing a motherboard is easily done by traditional means. Simply place it on the standoffs and screw it down properly. There is plenty of space for large CPU cooler or long graphics cards—even without removing the side panel of the hard drive bay.


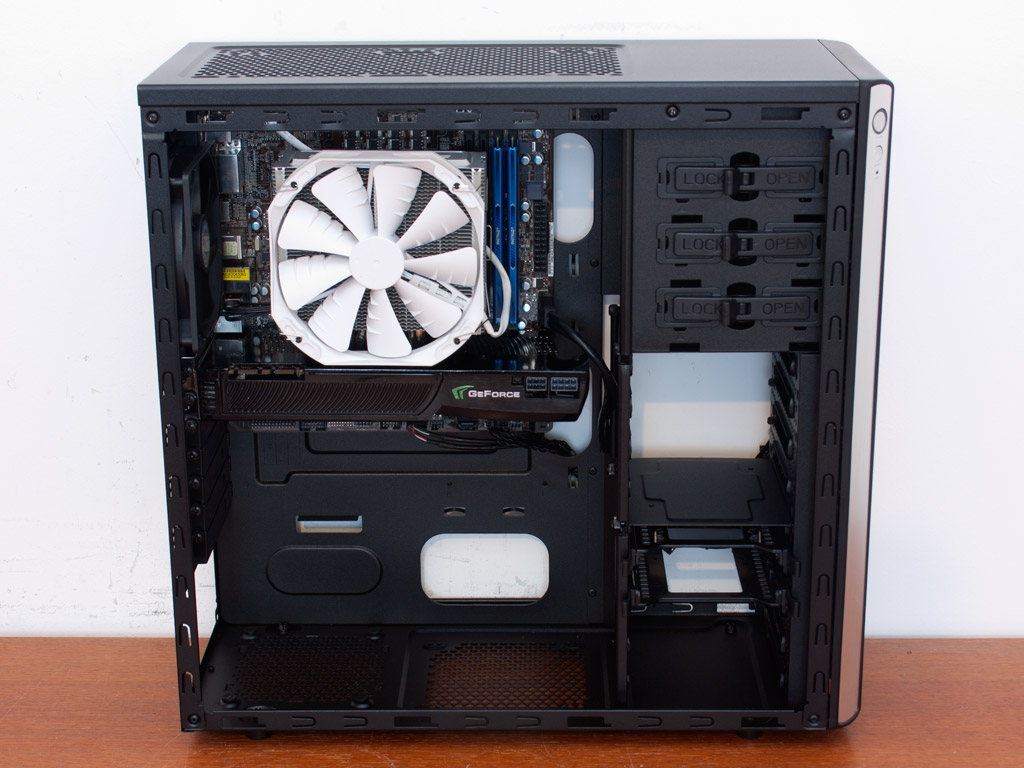
You may install up to two 2.5" drives onto the pair of trays provided with the Centurion 6. These utilize a pair of plastic rails each, which allows you to easily slide them into the bay of your choice, but screws are required when installing the drives onto the plastic tray of your choice.

Once ready, simply slide the entire contraption into the bay until it snaps into place. It holds quite well, so you should not have to worry about them moving during transport.
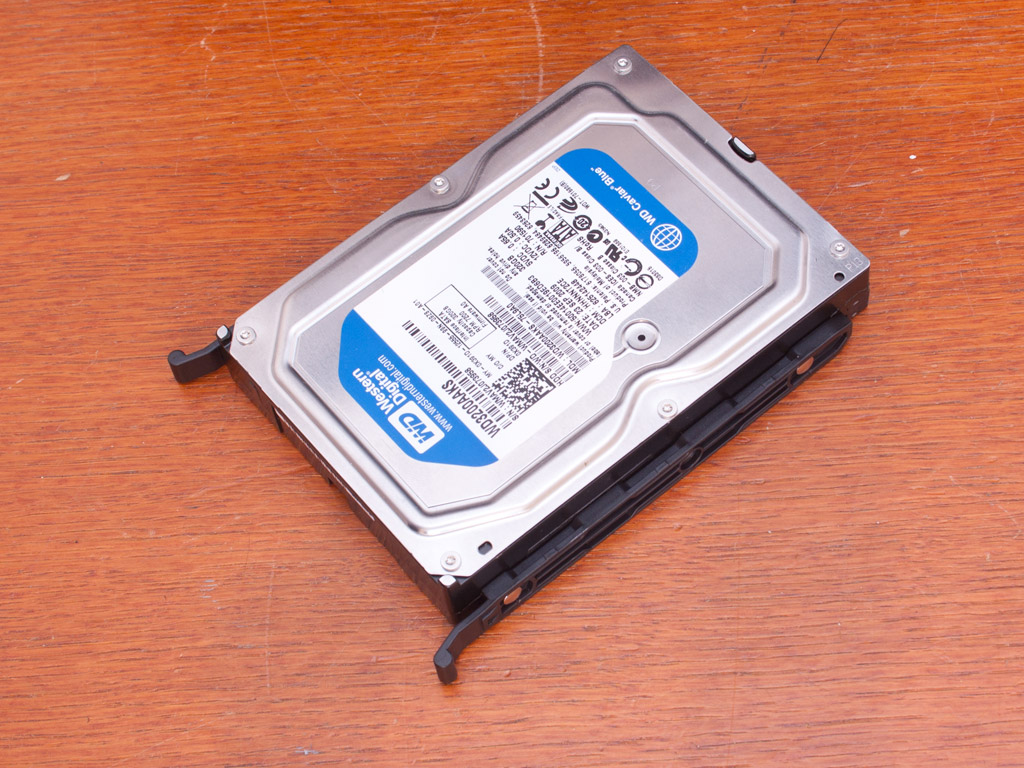
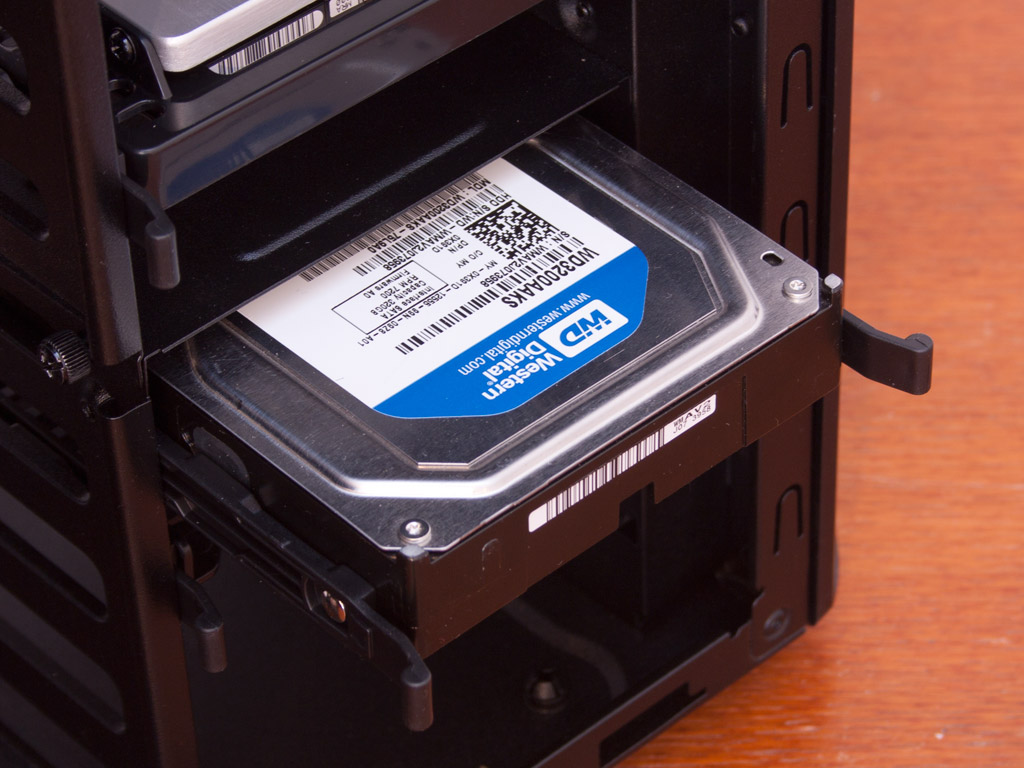

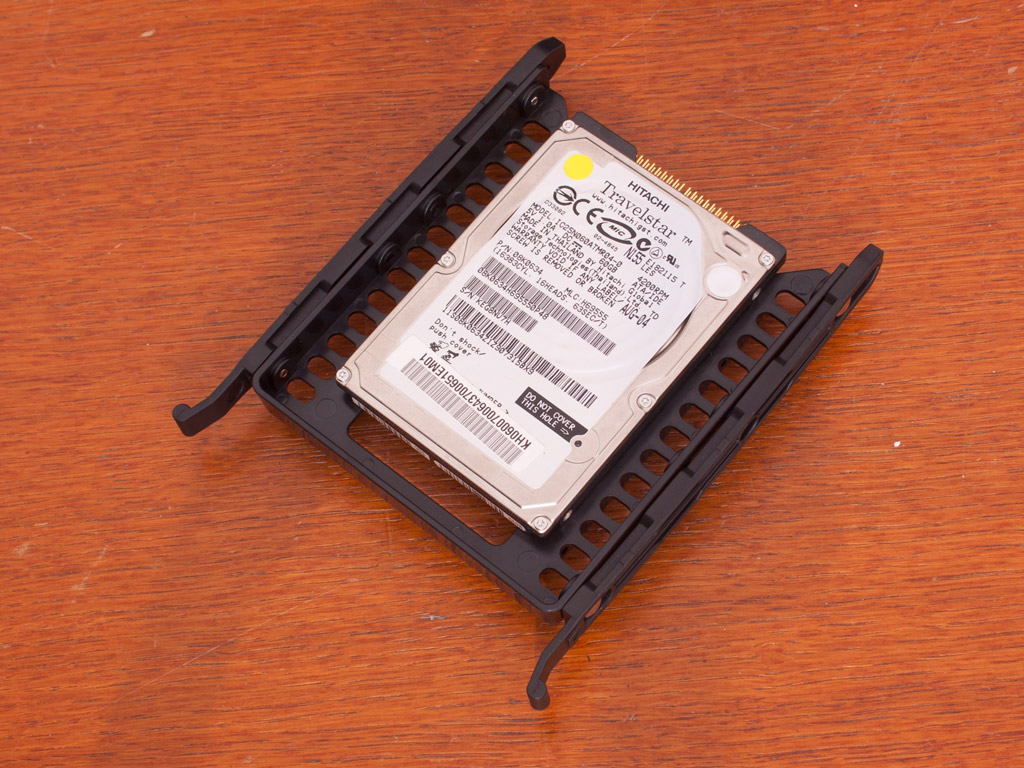
However, getting 3.5" hard drives ready for the chassis does not require any tools or screws. Just clip the rails onto the drive and slide it in. As these are identical to the ones attached to the 2.5" trays, they hold just as well.
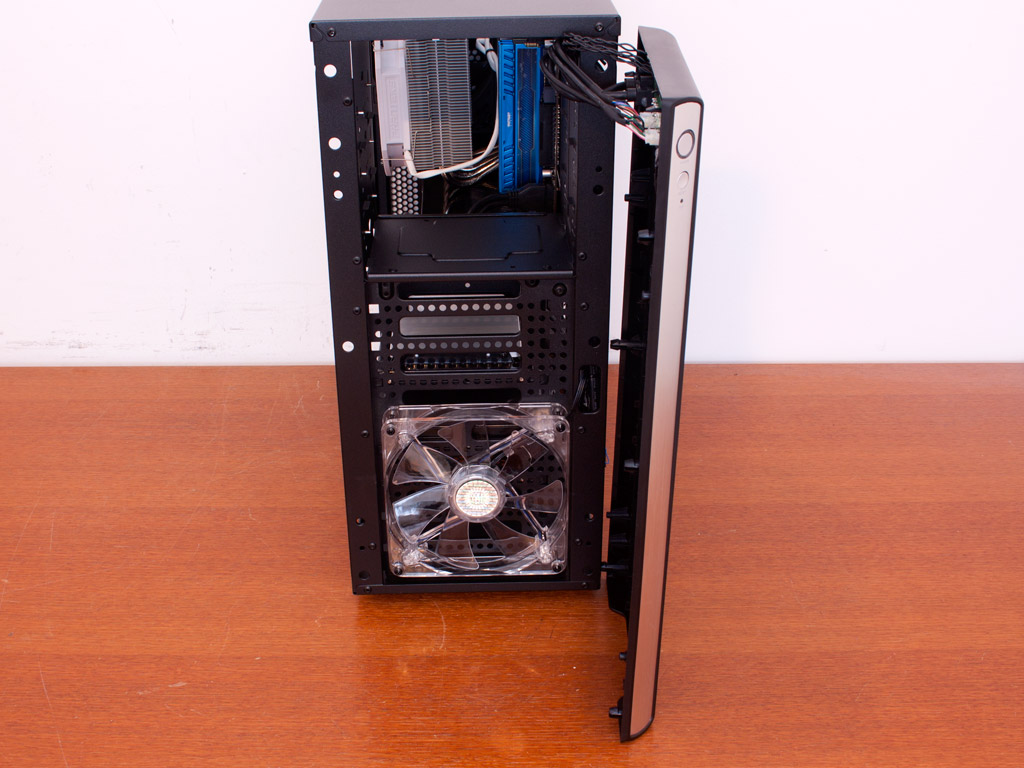
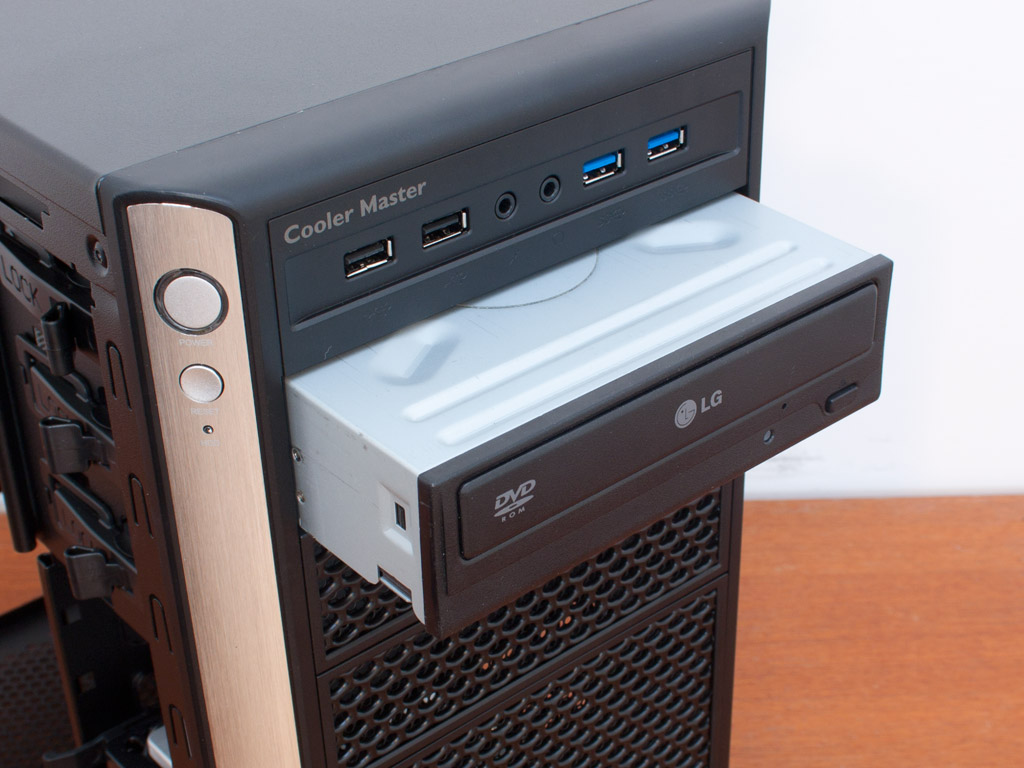
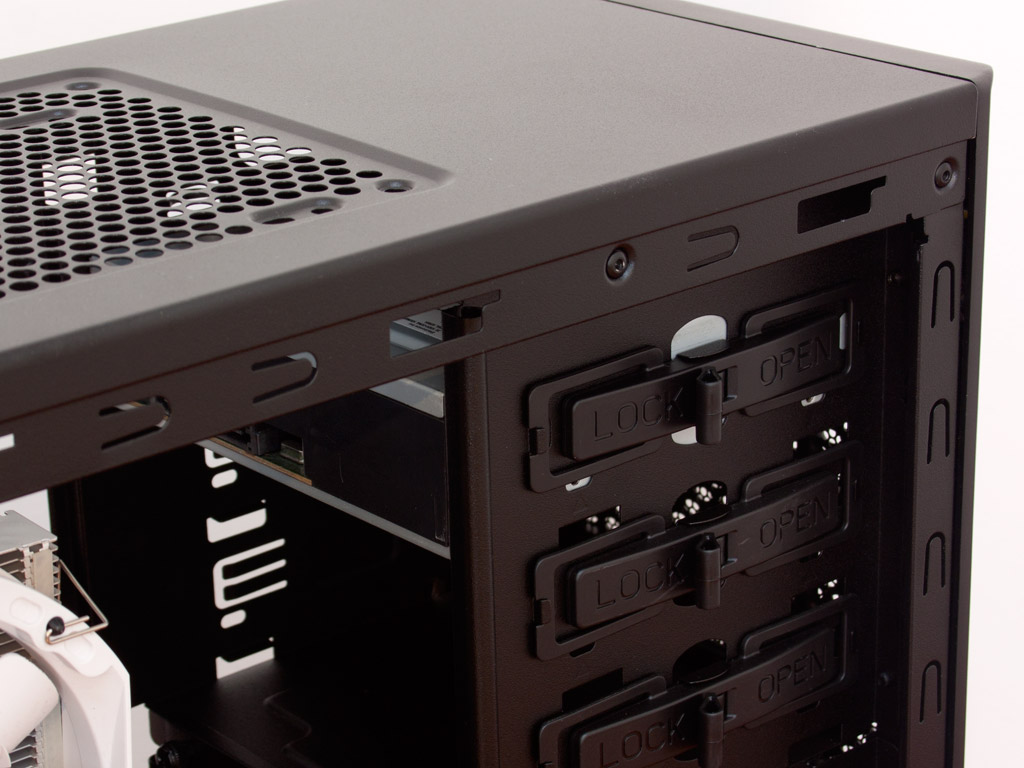
To install an optical drive, you will first have to remove the cover of your choice. Doing so is done by pulling the entire front off, which also reveals the pre-installed 140 mm LED equipped intake fan in the front. Once the bay is free, simply slide the drive into place and flip the lock. Unfortunately, while functional, the lock does not work as well as screws, so you should at least use one to pin the ODD down properly.
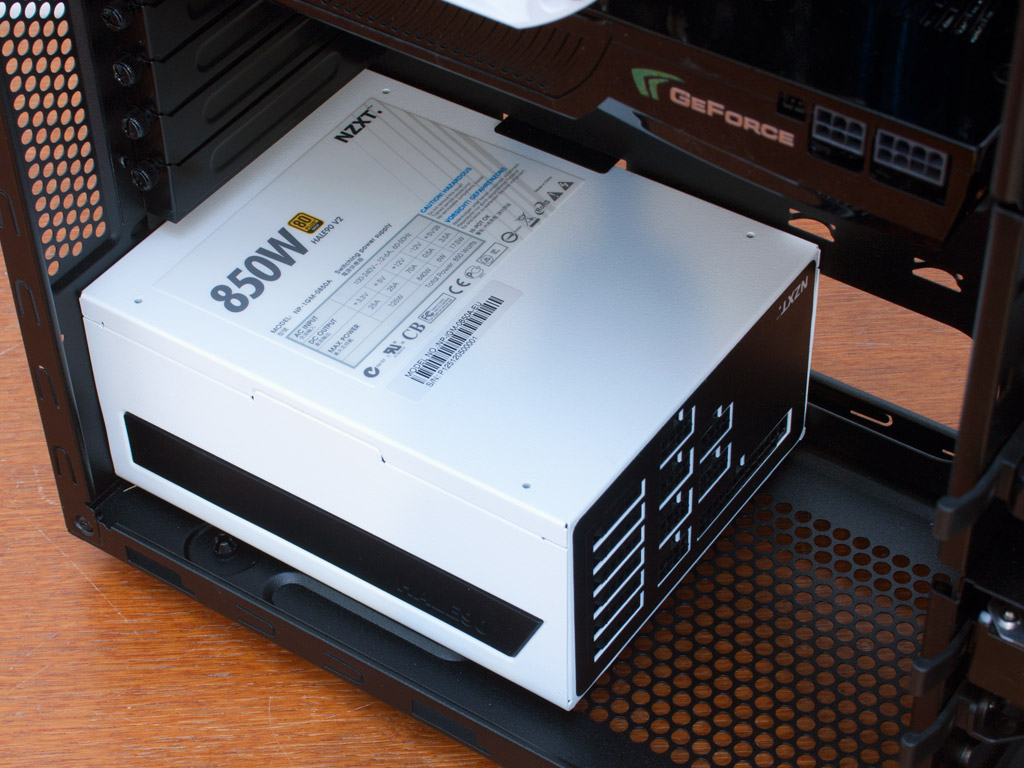
Adding the power supply to the chassis is easily done. Simply screw it down with the included parts and move on. There is plenty of space for even the longest units as long as no floor-mounted fan is included in your setup.

With everything in place, the Centurion 6 makes a very good impression. If Cooler Master would have included rubber grommets, things would turn out to be even better. I have hidden most of the cables below the hard drive, using numerous zip ties to pin major leads down properly.
Finished Looks

After putting the side panels in place and turning the chassis on, it becomes apparent that the case has ties to the previous Centurion generation, although it is actually quite different.


A blue ring lights up around the power button when the system is turned on, and the front fan lights up in the same color quite vividly. The fans within the case are sufficiently silent, but there are quieter ones out there.

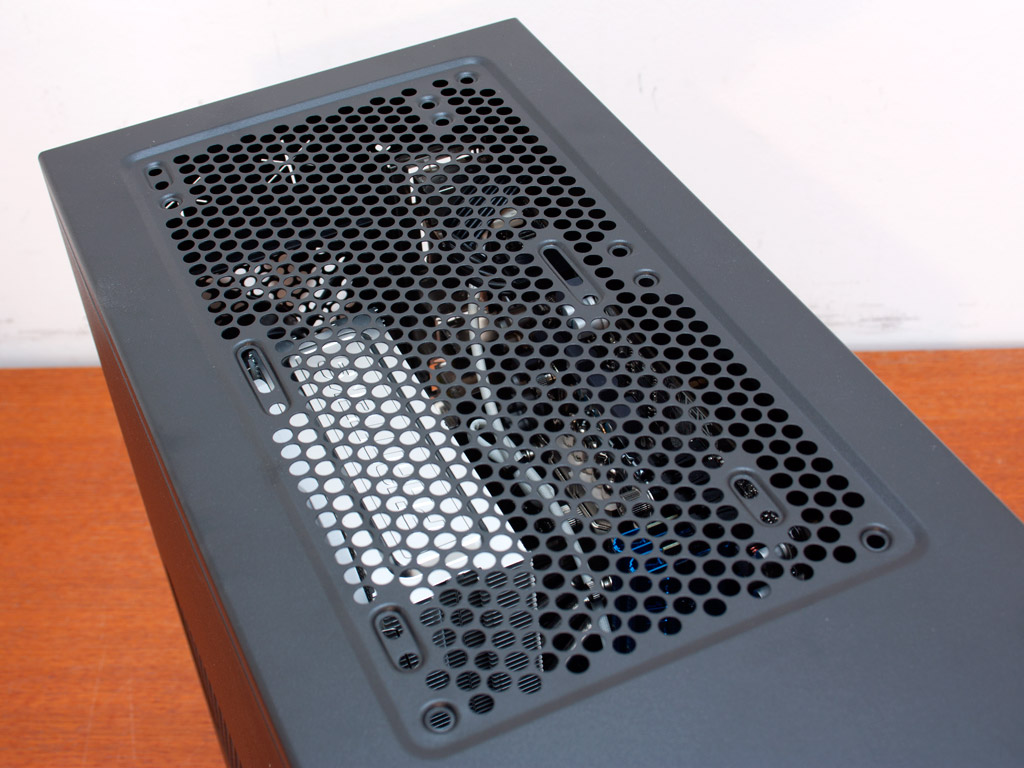
One can decipher the GeForce logo of the graphics card while looking through the vent of the side panel, which makes this opening a well-placed one for cooling the top expansion bays should you decide to install additional fans there. You can also see the components within the case clearly by looking through the opening at the ceiling of the case. This also means that noise can escape, and dust will make its way into the case through this vent after prolonged use.


At first sight, there is nothing out of the ordinary when looking at the rear of the case, but Cooler Master has included that plastic clip, which is a simple and effective deterrent to thieves, but its plastic nature will not keep those dead-set on nabbing something away.
May 13th, 2024 07:30 EDT
change timezone
Latest GPU Drivers
New Forum Posts
- AIO Water Cooler vs Tower Air Cooler (12)
- Purchased an AX1200i PSU as part of some forward planning, what tier is this PSU? (63)
- Cyberpunk 2077 Game Discussion (2127)
- Soundbar or 2.1 speaker for virtual 3d audio in PC games... (15)
- have LGA 1155 motherboard which xeon processor will fit ? (7)
- What's the best tube I can get for Schiit Vali 3 headphone amp under $30? (1)
- Long AM5 POST times (149)
- Why does my PC shut down even though it's connected to a UPS? (87)
- Flash VBIOS to turn RX 580 2048SP into RX 570 (39)
- PSU Option for my PC (12)
Popular Reviews
- ZMF Caldera Closed Planar Magnetic Headphones Review
- Corsair MP700 Pro SE 4 TB Review
- Bykski CPU-XPR-C-I CPU Water Block Review - Amazing Value!
- ThundeRobot ML903 NearLink Review
- Upcoming Hardware Launches 2023 (Updated Feb 2024)
- CHERRY XTRFY M64 Pro Review
- AMD Ryzen 7 7800X3D Review - The Best Gaming CPU
- ASUS Radeon RX 7900 GRE TUF OC Review
- Corsair iCUE Link RX120 RGB 120 mm Fan Review
- Sapphire Radeon RX 7900 GRE Pulse Review
Controversial News Posts
- Intel Statement on Stability Issues: "Motherboard Makers to Blame" (266)
- AMD to Redesign Ray Tracing Hardware on RDNA 4 (224)
- Windows 11 Now Officially Adware as Microsoft Embeds Ads in the Start Menu (172)
- NVIDIA to Only Launch the Flagship GeForce RTX 5090 in 2024, Rest of the Series in 2025 (152)
- Sony PlayStation 5 Pro Specifications Confirmed, Console Arrives Before Holidays (119)
- AMD's RDNA 4 GPUs Could Stick with 18 Gbps GDDR6 Memory (114)
- AMD Hits Highest-Ever x86 CPU Market Share in Q1 2024 Across Desktop and Server (111)
- AMD Ryzen 9 7900X3D Now at a Mouth-watering $329 (104)