 20
20
Cooler Master Cosmos II Review
Value & Conclusion »Assembly

Installing the mainboard within the Cosmos II is done by traditional means. Simply place the spacers in the appropriate locations and screw the board down on them. There is plenty of space around, so that the biggest graphics cards and CPU coolers will easily fit. Thanks to the numerous openings, cable management should be a breeze.
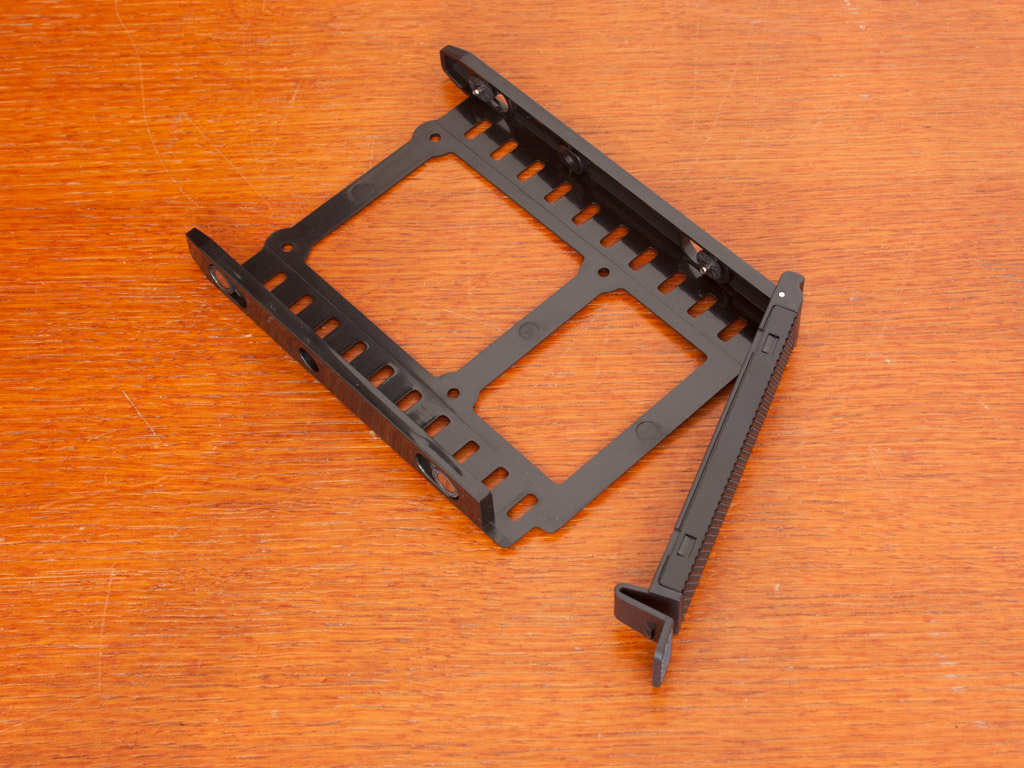


Installing the hard drives is quite easy, as placing a 3.5 inch unit inside the provided trays does not require any screws or tools. Each of the plastic units may also hold a 2.5 inch variant, which needs to be secured with black little screws.


Once filled, simply slide the trays into the cage of your choice and lock things down by pushing down the front cover until it snaps into place. For those who are still worried about it coming loose, it is also possible to screw the tray down.


Installing an optical drive is quite simple. Each of the covers is easily removable, but feel a bit cheap for a chassis of this price class. I would have liked to see a spring loaded mechanism for example. Once removed, just push the drive into place and press the big button to lock it down. In the end, the drive still has a bit of wiggle room, so it would be prudent to use a single screw to pin things down properly. Overall, while functional, the 5.25 inch bays do not really make the proper impression for a chassis in this price range.

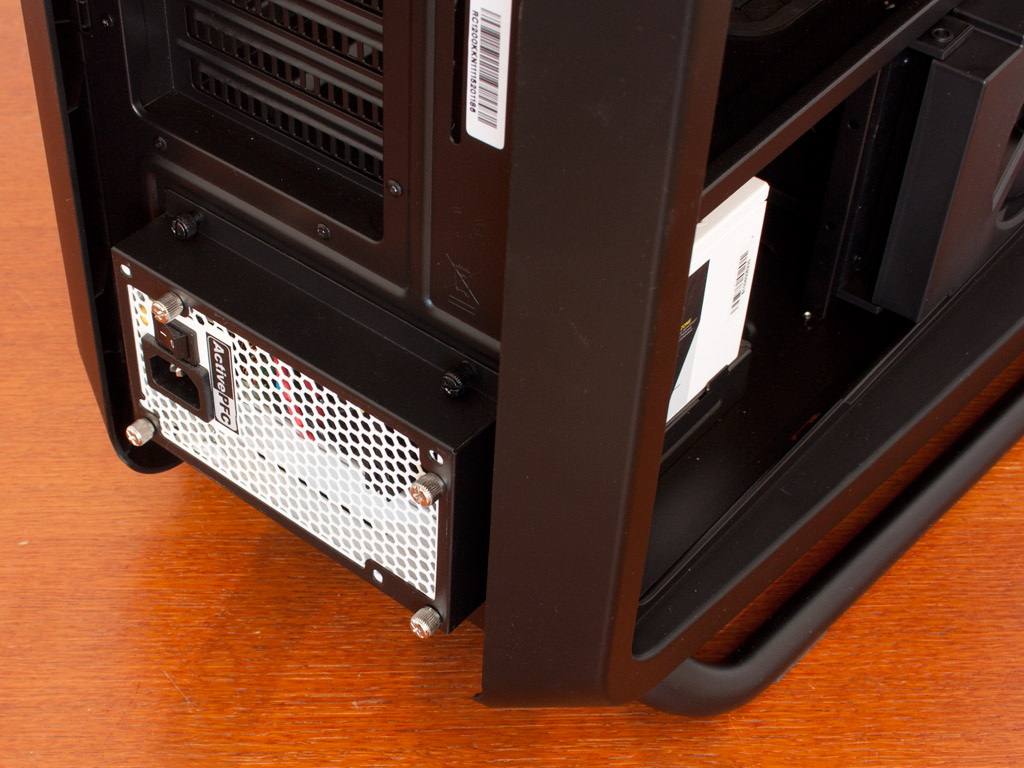
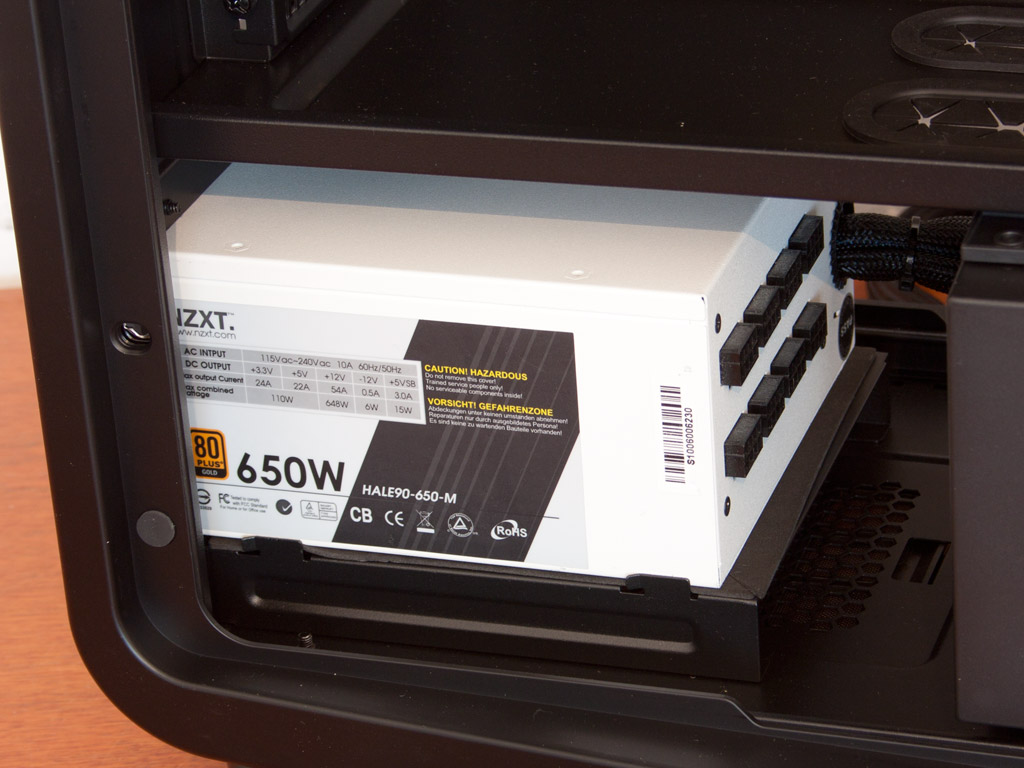
Due to the frame that extends the rear of the chassis, you need to prepare the PSU with that first and then slide the whole contraption into place. It can be pushed in easily and there is plenty of space, even for longer units. For those employing the longest PSUs, things may get a tad bit tight though.


Once everything is installed, the chassis makes a great impression. As you can see, the big cable mess is hidden nicely behind the motherboard tray. Even with all this cabling bunched up there, closing the door in one swift motion is quite easy and painless.
Finished Looks
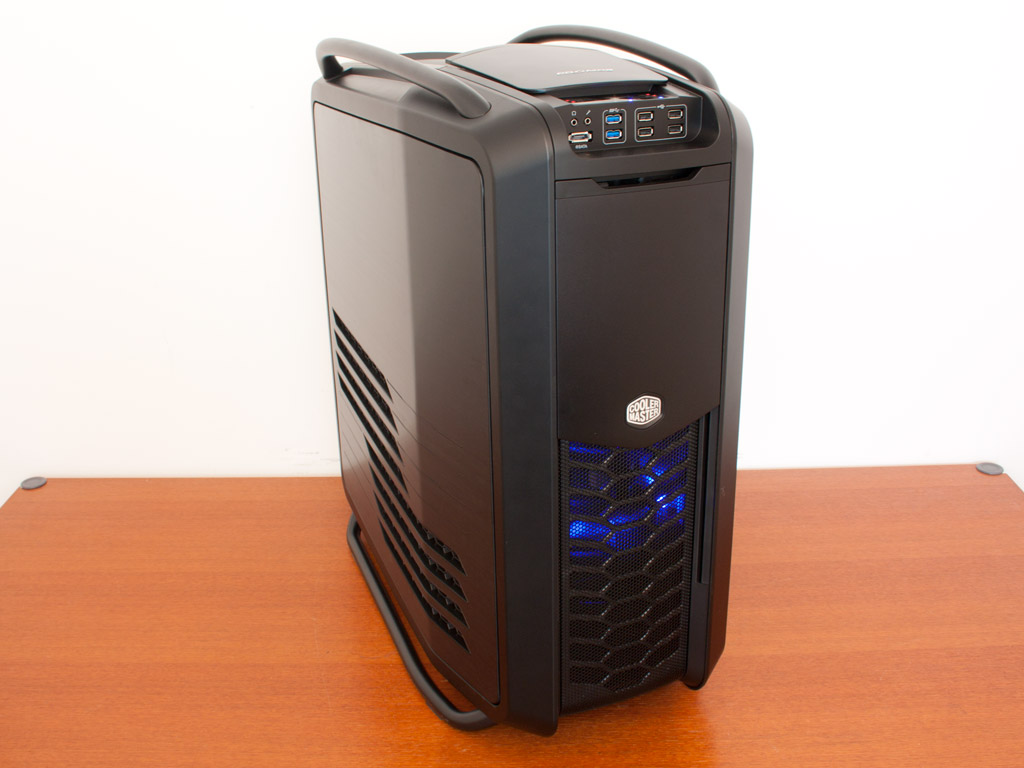
Once turned on, the Cooler Master Cosmos II looks beautiful. the red and blue LEDs in the front and top go extremely well with the chassis. Drives are covered nicely, so that they do not disturb the overall look of the case.


You may adjust the speed of the fans by location individually. At the lowest setting they all spin quite slowly, making them silent to anyone standing next to the chassis. At full force, they are very noticeable but push quite some air on the other hand. The LED lighting on the panel changes accordingly from blue, to violet (blue & red at the same time) and red. Every time you press a button there is a loud beeping sound.


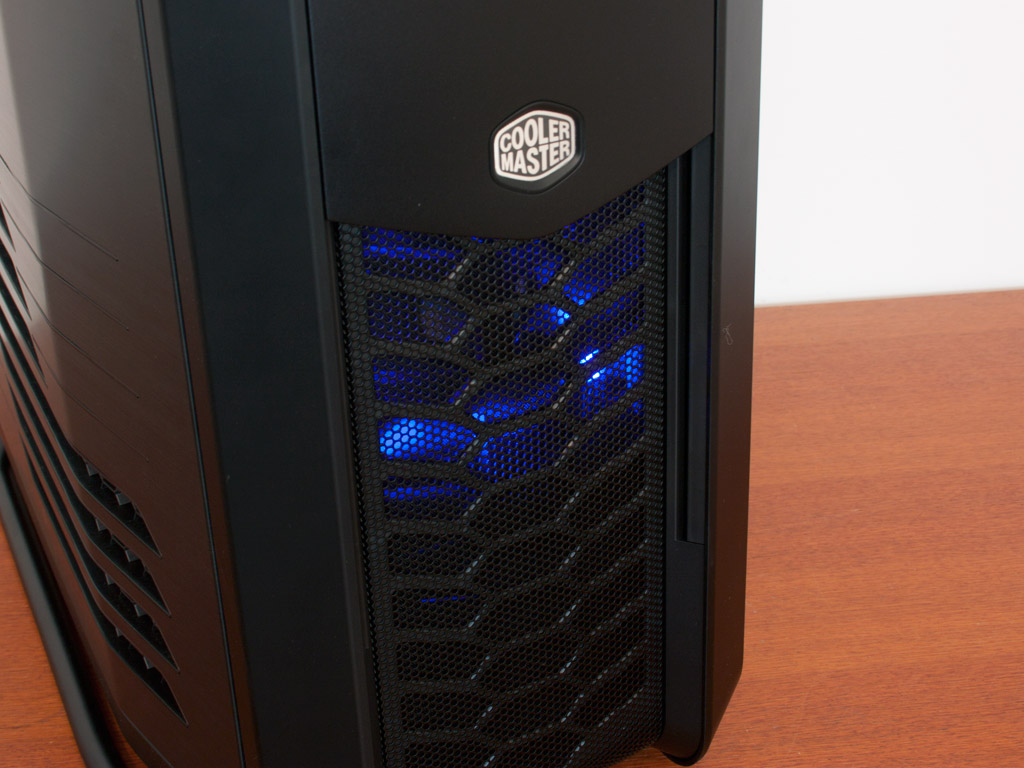
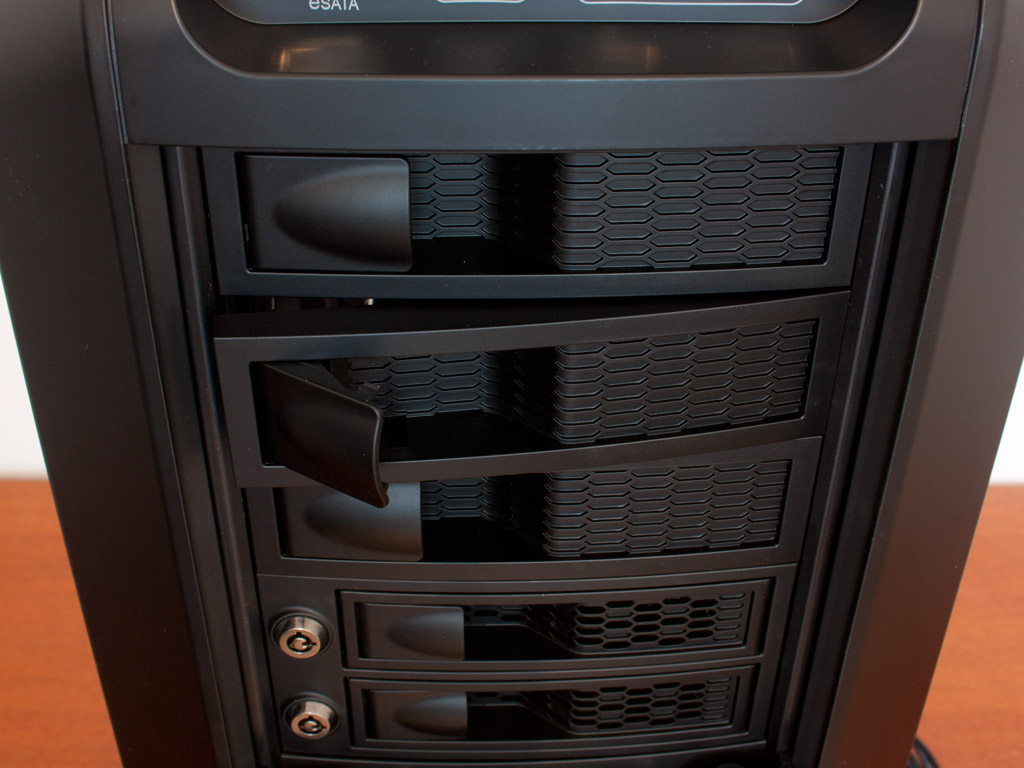
The hot swap is simple but very effective. There is no sliding tray or the likes. Simply push the drive in and lock it into place with the door. You may also toggle the LED light of the front 200 mm fan on or off on the control panel - pretty cool stuff.
May 12th, 2024 11:40 EDT
change timezone
Latest GPU Drivers
New Forum Posts
- LOL ASUS says this is $200 in repair, Steve from gamers Nexus smokes ASUS, Steam Deck til I die boys!!!! (71)
- Dell Workstation Owners Club (3080)
- Purchased an AX1200i PSU as part of some forward planning, what tier is this PSU? (48)
- Post your Cinebench 2024 score (454)
- I don't think Ryzen 9900x3d is just being announced next month, I think it's launching next month. (57)
- AMD FX funny cooling (6)
- Air makes its way from the reservoir into the radiator. (19)
- Looking for a new case, cube shaped only. (0)
- Overclock AMD Ryzen 9 5900X On ROG STRIX B550-A GAMING After New Bios Update. (0)
- LOWER SSD PRICES (13)
Popular Reviews
- ZMF Caldera Closed Planar Magnetic Headphones Review
- ThundeRobot ML903 NearLink Review
- Corsair MP700 Pro SE 4 TB Review
- Bykski CPU-XPR-C-I CPU Water Block Review - Amazing Value!
- CHERRY XTRFY M64 Pro Review
- Upcoming Hardware Launches 2023 (Updated Feb 2024)
- ASRock NUC BOX-155H (Intel Core Ultra 7 155H) Review
- AMD Ryzen 7 7800X3D Review - The Best Gaming CPU
- Corsair iCUE Link RX120 RGB 120 mm Fan Review
- ASUS Radeon RX 7900 GRE TUF OC Review
Controversial News Posts
- Intel Statement on Stability Issues: "Motherboard Makers to Blame" (266)
- AMD to Redesign Ray Tracing Hardware on RDNA 4 (215)
- Windows 11 Now Officially Adware as Microsoft Embeds Ads in the Start Menu (171)
- NVIDIA to Only Launch the Flagship GeForce RTX 5090 in 2024, Rest of the Series in 2025 (147)
- Sony PlayStation 5 Pro Specifications Confirmed, Console Arrives Before Holidays (119)
- AMD's RDNA 4 GPUs Could Stick with 18 Gbps GDDR6 Memory (114)
- AMD Ryzen 9 7900X3D Now at a Mouth-watering $329 (104)
- AMD Hits Highest-Ever x86 CPU Market Share in Q1 2024 Across Desktop and Server (103)