 12
12
Cooler Master HAF XB Review
Value & Conclusion »Assembly


As the motherboard sits on top of all the other components, you should start filling the bottom first. The 3.5 inch hot-swap bay can easily be utilized by popping a drive into the black plastic tray. The unit actually slides apart, so you can drop a drive in there without having to force it past any pins, and without flexing the tray in the process - very cool!


Putting a 2.5 inch drive into place is quite easy and does not require any tools. Simply put the rails in place and push the drive in. I am not sure what it was, but I was unable to push the drive in far enough for the plastic hooks of the rails to snap into place. After trying various drives I ended up bending the back of the cage a bit to give the drive a millimeter or two extra, which made it fit. I assume that something went wrong in the cage's bending process.


Thanks to the clipped-on front covers, you won't need any tools for the ODD bay either. Once free, simply slide things in and flip the lock. This contraption does hold the drive alright, but I would still suggest using a screw or two - just to make sure. Up to this point, you do not need any tools under normal circumstances, which is quite refreshing.


One does need to whip out the screw driver to secure the PSU into place. Using quite the short 600W unit myself, you can rest assured that any standard-sized variant of a power supply has ample room to fit. With this part in place, the bottom half has been filled, and we are ready to move to the top area. You do have to make sure to place your cables properly before putting the filled motherboard tray back into place, which allows you to avoid a cable mess within the top half.


Installing the motherboard is dead easy since you can do it without the confines of the chassis getting in the way. If you have spent a minute on routing the cables to the right areas, the top half remains really clean and free of any obstructions - perfect for test bench and general system alike. As you can see, the large CPU cooler easily fits within the HAF XB.


Once the board is in place, putting all the expansion cards into place and connecting them represents the last step of the installation process. You should also be able to install long graphics cards effortlessly. Thanks to the placement of the two front fans, all expansion slots get access to fresh air. As you can see, I have routed various cables past the motherboard tray's side. There is enough room between the tray and the outer shell to do so.
Finished Looks
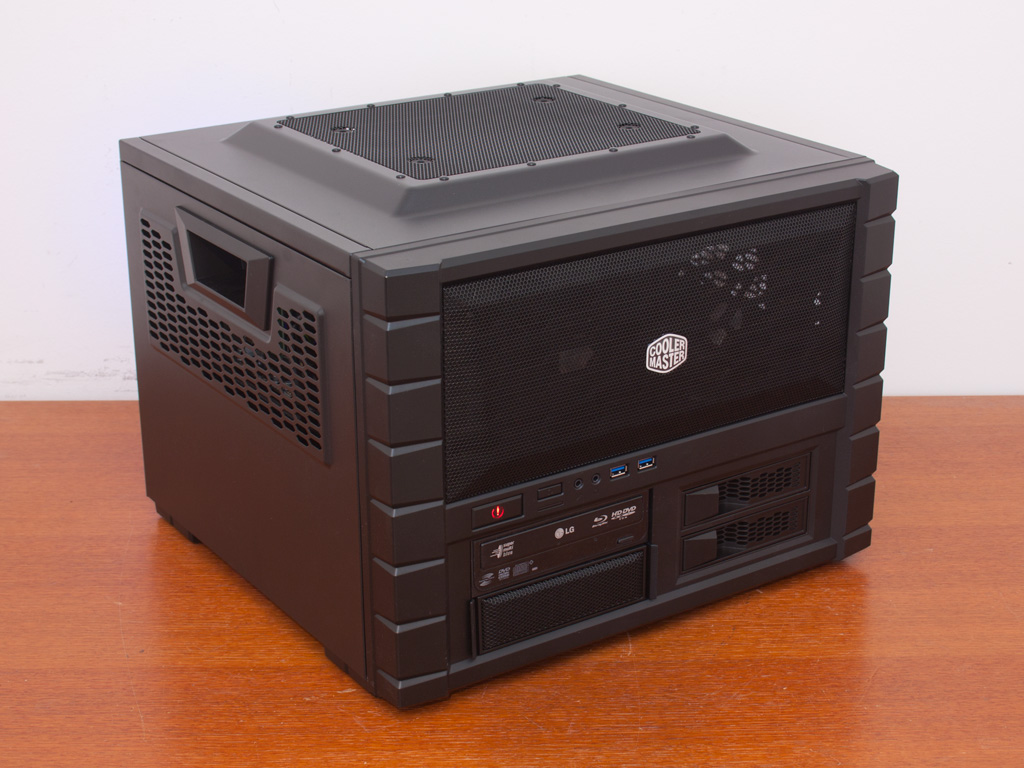

With everything assembled, the HAF XB makes an excellent impression. All the important stuff in the front is easily accessible, and the fans push noticeable amounts of air without being too loud. The red power LED is embedded in the large power button. Having such a big one is great as you can easily feel for it without having to look - perfect for when you are poking around inside of your system to check if things are working properly.
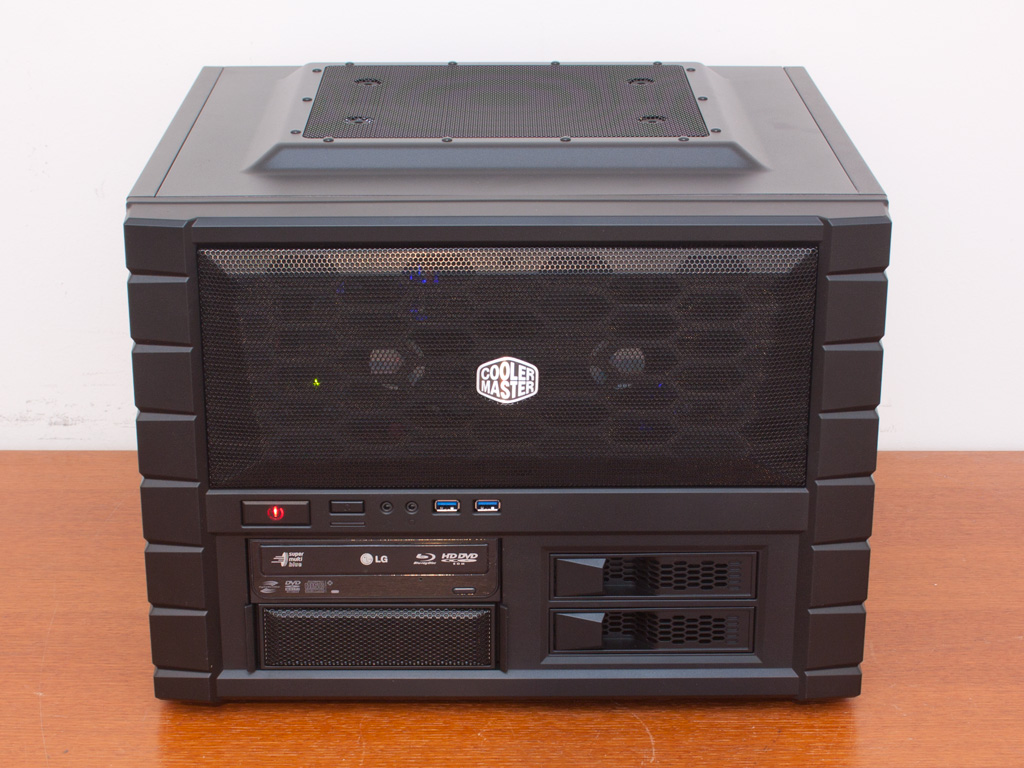

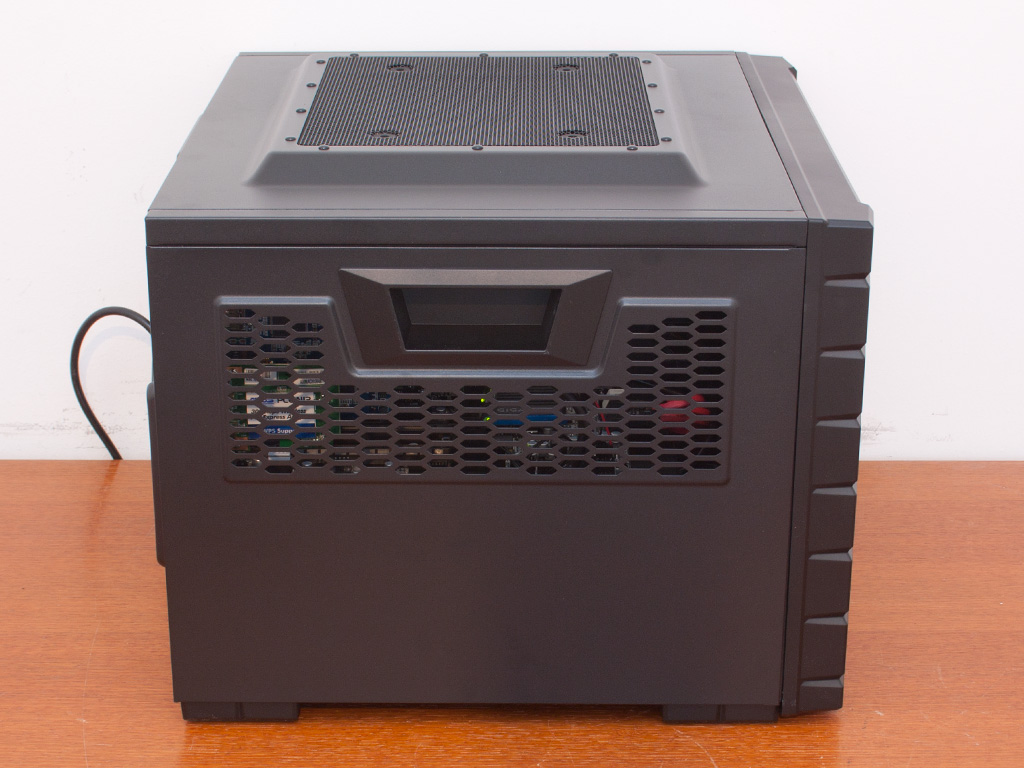

Everything in the front works flawlessly. No vibration noise comes from the ODD, although it does not look perfect, while the hot-swap bays work just as advertised. In the rear, the connectors of the motherboard are a tad bit harder to reach because they are recessed slightly, and both sides of the chassis allow for light elements and noise from within the system to escape its confines while letting in fresh air - an adequate compromise for such a case.
Apr 26th, 2024 00:51 EDT
change timezone
Latest GPU Drivers
New Forum Posts
- What's your latest tech purchase? (20341)
- Horizontal black lines popping up on my screen? (0)
- Which new games will you be buying? (316)
- Alphacool CORE 1 CPU block - bulging with danger of splitting? (20)
- Black screen after muting (5)
- What phone you use as your daily driver? And, a discussion of them. (1481)
- What are you playing? (20530)
- Secure boot already open help (0)
- TPU's Nostalgic Hardware Club (18465)
- Post your Speedometer 3.0 Score (36)
Popular Reviews
- Fractal Design Terra Review
- Thermalright Phantom Spirit 120 EVO Review
- Corsair 2000D Airflow Review
- ASUS GeForce RTX 4090 STRIX OC Review
- NVIDIA GeForce RTX 4090 Founders Edition Review - Impressive Performance
- ASUS GeForce RTX 4090 Matrix Platinum Review - The RTX 4090 Ti
- MSI GeForce RTX 4090 Suprim X Review
- Gigabyte GeForce RTX 4090 Gaming OC Review
- MSI GeForce RTX 4090 Gaming X Trio Review
- MSI GeForce RTX 4090 Suprim Liquid X Review
Controversial News Posts
- Sony PlayStation 5 Pro Specifications Confirmed, Console Arrives Before Holidays (117)
- Windows 11 Now Officially Adware as Microsoft Embeds Ads in the Start Menu (110)
- NVIDIA Points Intel Raptor Lake CPU Users to Get Help from Intel Amid System Instability Issues (106)
- AMD "Strix Halo" Zen 5 Mobile Processor Pictured: Chiplet-based, Uses 256-bit LPDDR5X (101)
- US Government Wants Nuclear Plants to Offload AI Data Center Expansion (98)
- AMD's RDNA 4 GPUs Could Stick with 18 Gbps GDDR6 Memory (88)
- Developers of Outpost Infinity Siege Recommend Underclocking i9-13900K and i9-14900K for Stability on Machines with RTX 4090 (85)
- Windows 10 Security Updates to Cost $61 After 2025, $427 by 2028 (84)