 11
11
Cooltek W1 Review
A Closer Look - Inside »A Closer Look - Outside

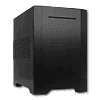
Taking a first look at the W1, it makes a bit of a menacing impression. Straight edges, a shield-like front, and air vents along the top and on its side panels really make the W1 look good. Cooltek speaks of a timeless design in their marketing materials, and I dare say that their statement is not far fetched.
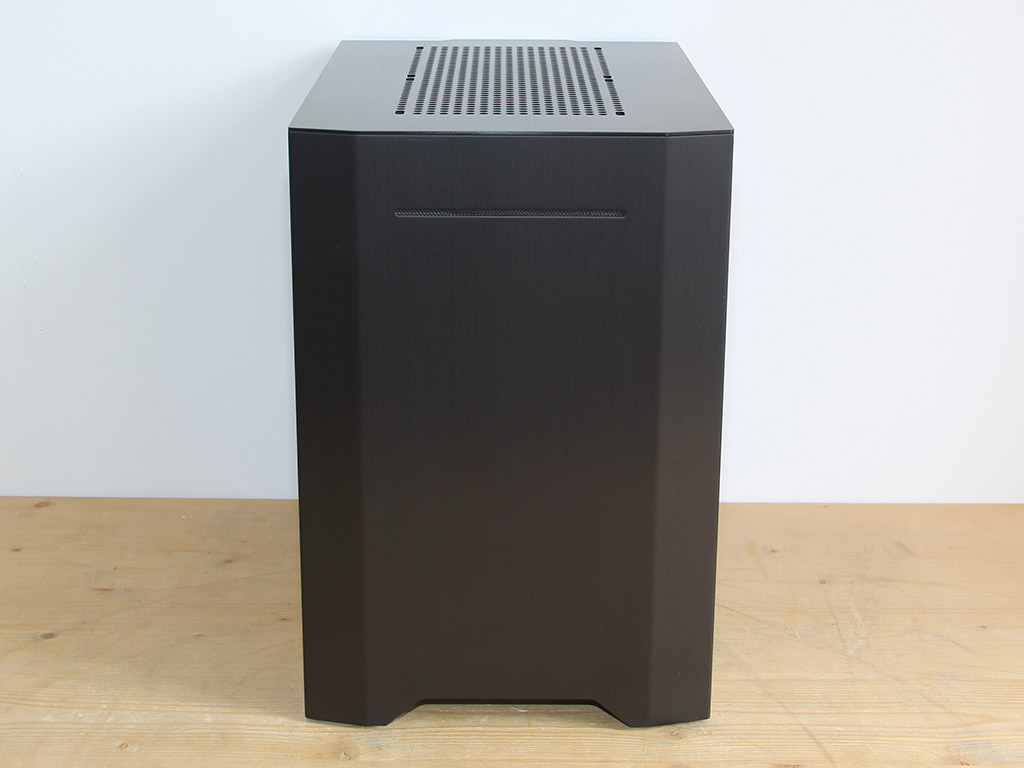
The front of the W1 is completely solid, and there is no mention of Cooltek anywhere, which is odd. I would have expected a subtle logo somewhere. The only visible item in the front is the slimline drive bay. It requires a slot-loading optical drive. To maximize the compatibility with such devices, Cooltek has left out an eject button, which may be a bit annoying to some. Turning the chassis around, we can see a large 140 mm fan behind a metal mesh cover - a nice little touch for a chassis of this size.


We received the version without a window. This variant instead comes with a row of vents that run along where the graphics card will be. Turning the chassis 180°, the obverse panel is completely solid, but it does hold the I/O in form of two USB 3.0 and the usual audio connectivity. The I/O is pretty basic, and Cooltek does not include a USB 3.0 to 2.0 adapter, so users of older motherboards will have to shell out a few bucks to connect these to such a system.
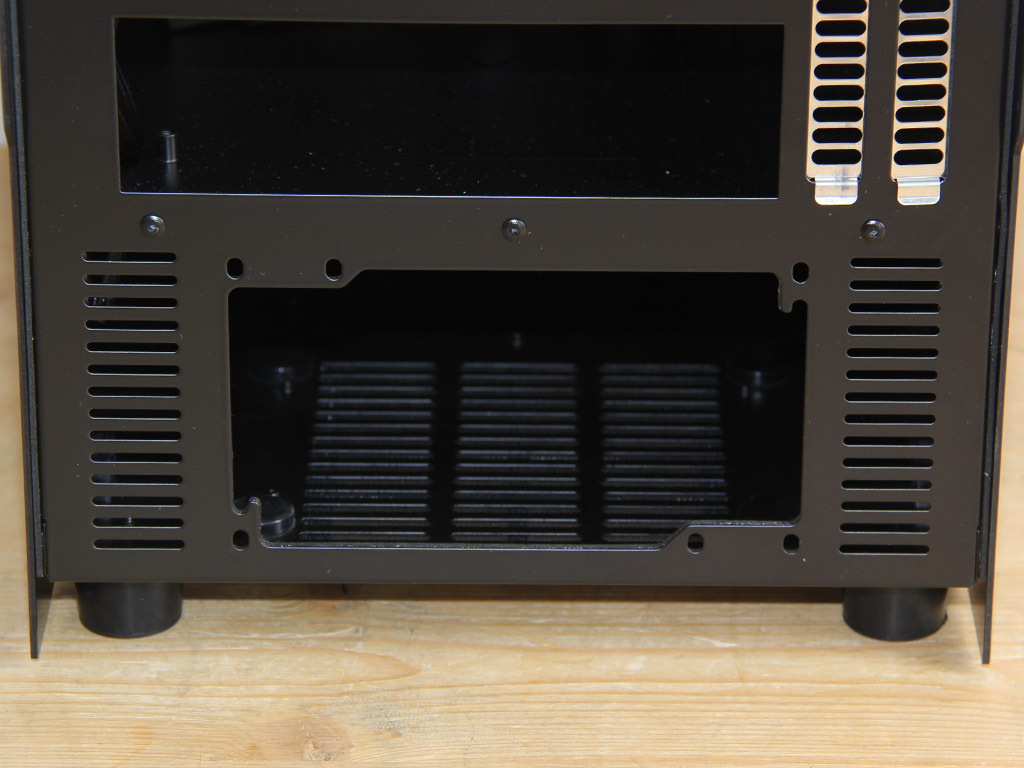
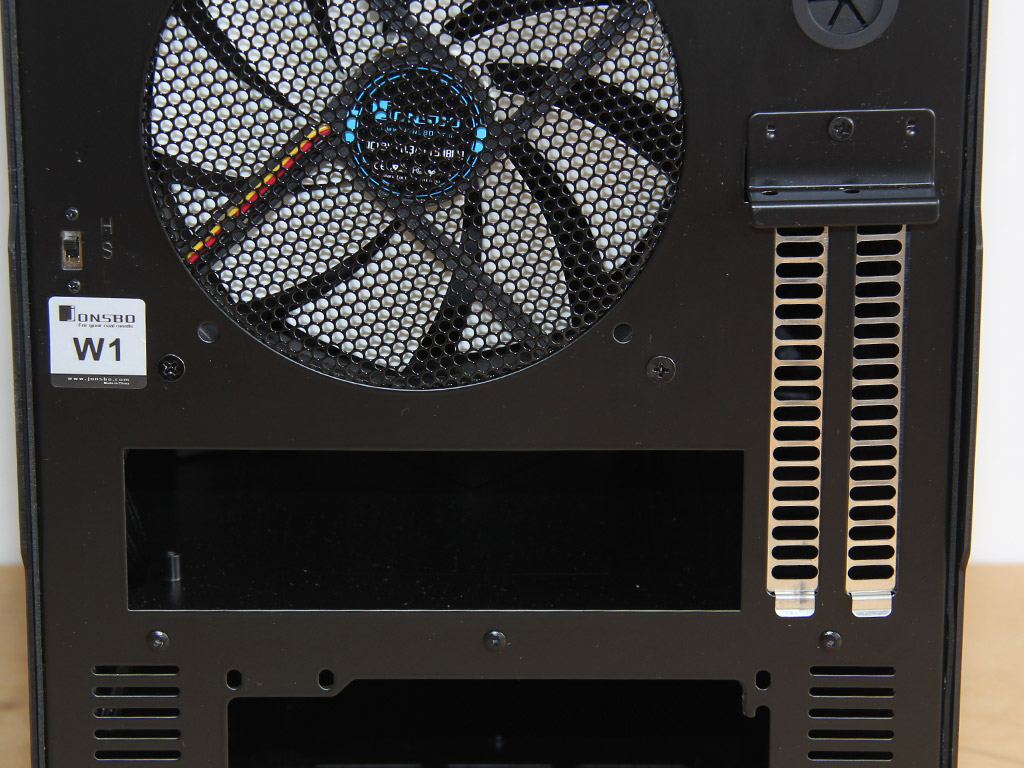

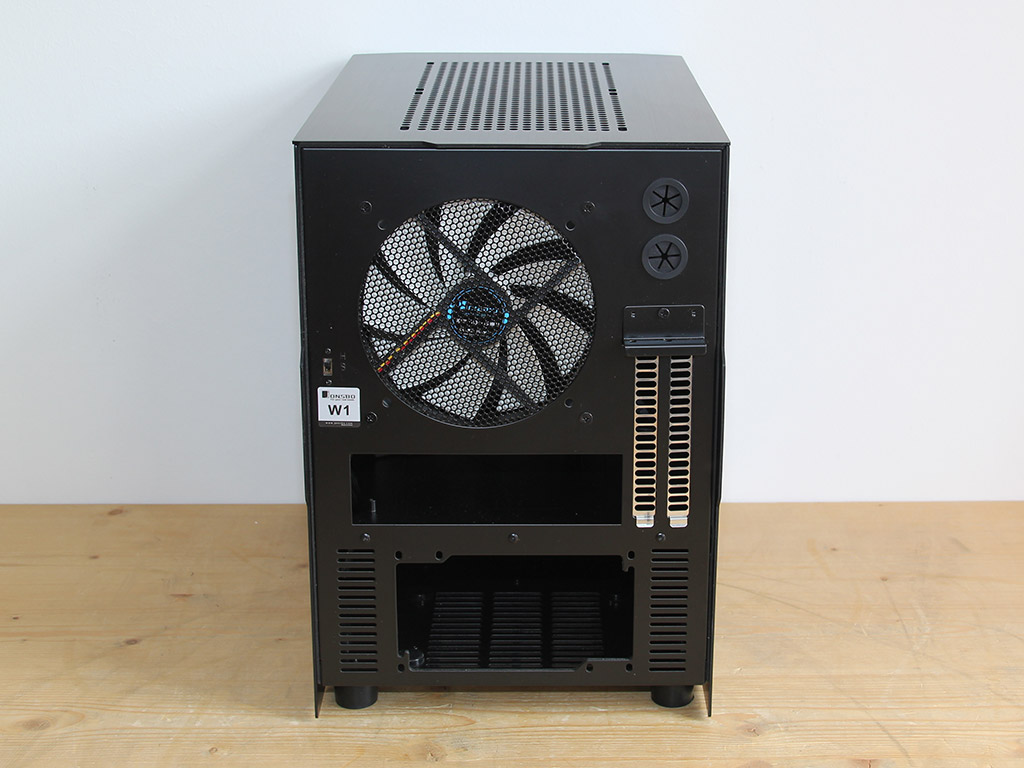
You will find the PSU bay on the bottom in the rear, with plenty of space to the left and right, so you should be able to hide some of the loose cables there. There are two sets of mounting holes, which gives you the choice of installing your PSU with the fan either facing up- or downward. Above the PSU bay is the motherboard cutout, alongside the two expansion slots. Even though Mini-ITX boards only come with a single expansion slot, it is nice to see two such slots as they allows you to employ a dual-slot graphics card. The 140 mm fan is clearly visible. Instead of a vent or the classic metal grill, Cooltek used a metal-mesh cover. To the right of the cover are two openings through which you can route water-cooling tubes out the back.

Another nice little feature is the fan controller in the rear. While it is rather simple as it only has two settings, it will do just fine, allowing you to run the cooling units at a lower speed to keep overall noise output in check.
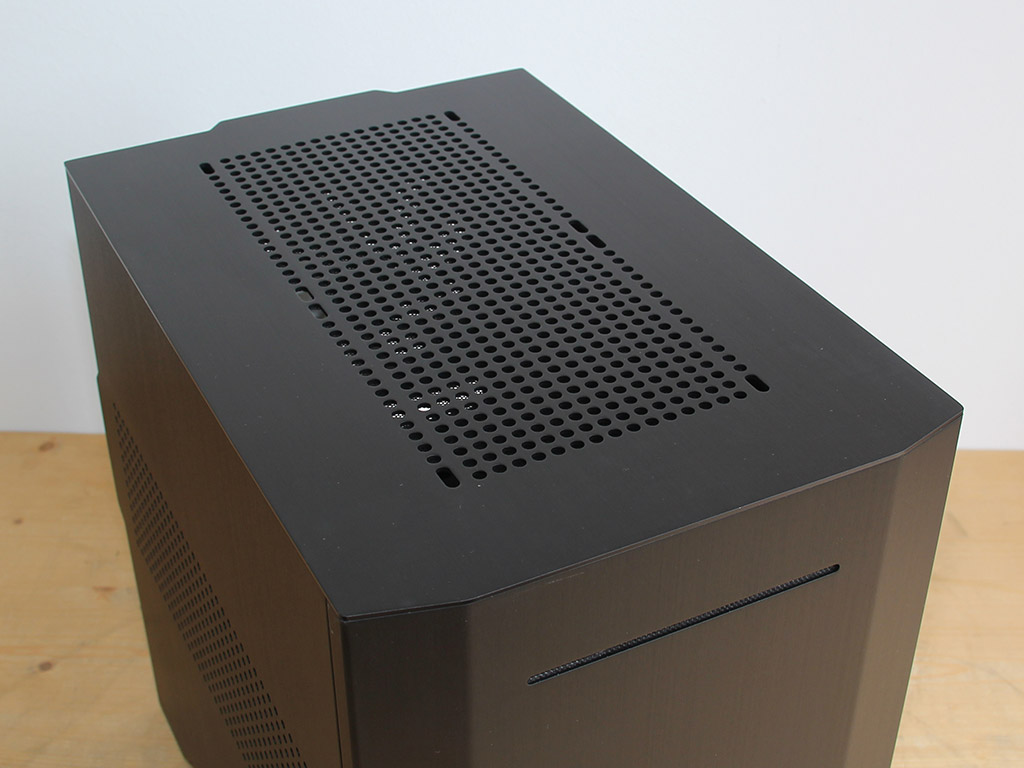


The top panel is completely flat, but has enough room for two additional 120 mm or 140 mm fans. A basic metal-mesh dust filter covers these vents, which should stop the big stuff from getting into the case. You may simply pull it off to reveal the interior, which should make installing items much easier as you have near-unobstructed access to the top compartment. Taking a look at the chassis' underbelly, there is a dust filter protecting the PSU bay's intake area, while four rubber feet ensure the chassis doesn't budge around on your working surface.
Apr 26th, 2024 17:34 EDT
change timezone
Latest GPU Drivers
New Forum Posts
- What's your latest tech purchase? (20354)
- 5800x (and other Zen 3 chips) PBO settings/Temperature fix (934)
- Only EDP Other in Core? (2)
- Alphacool CORE 1 CPU block - bulging with danger of splitting? (30)
- Dell Workstation Owners Club (3061)
- Xeon Owners Club (8700)
- Secure boot already open help (10)
- hacked (77)
- Best SSD for system drive (92)
- looking to build a new system and im considering asrock brand but i have some doubts/concerns. (4)
Popular Reviews
- HYTE THICC Q60 240 mm AIO Review
- MOONDROP x Crinacle DUSK In-Ear Monitors Review - The Last 5%
- Upcoming Hardware Launches 2023 (Updated Feb 2024)
- Alienware Pro Wireless Gaming Keyboard Review
- Thermalright Phantom Spirit 120 EVO Review
- FiiO K19 Desktop DAC/Headphone Amplifier Review
- ASUS Radeon RX 7900 GRE TUF OC Review
- AMD Ryzen 7 7800X3D Review - The Best Gaming CPU
- Ugreen NASync DXP4800 Plus Review
- Sapphire Radeon RX 7900 GRE Pulse Review
Controversial News Posts
- Windows 11 Now Officially Adware as Microsoft Embeds Ads in the Start Menu (135)
- Sony PlayStation 5 Pro Specifications Confirmed, Console Arrives Before Holidays (117)
- NVIDIA Points Intel Raptor Lake CPU Users to Get Help from Intel Amid System Instability Issues (106)
- AMD "Strix Halo" Zen 5 Mobile Processor Pictured: Chiplet-based, Uses 256-bit LPDDR5X (103)
- US Government Wants Nuclear Plants to Offload AI Data Center Expansion (98)
- AMD's RDNA 4 GPUs Could Stick with 18 Gbps GDDR6 Memory (95)
- Developers of Outpost Infinity Siege Recommend Underclocking i9-13900K and i9-14900K for Stability on Machines with RTX 4090 (85)
- Windows 10 Security Updates to Cost $61 After 2025, $427 by 2028 (84)