 12
12
Corsair Carbide 200R Review
Value & Conclusion »Assembly

Installing a motherboard within the Carbide 200R is done by traditional means. Simply use the included screws to secure the board onto the black spacers. As you can see, there is plenty of space all around for a large CPU cooler and long graphics cards. This should make system integrators quite happy since the chassis can be used for a wide range of different configurations.
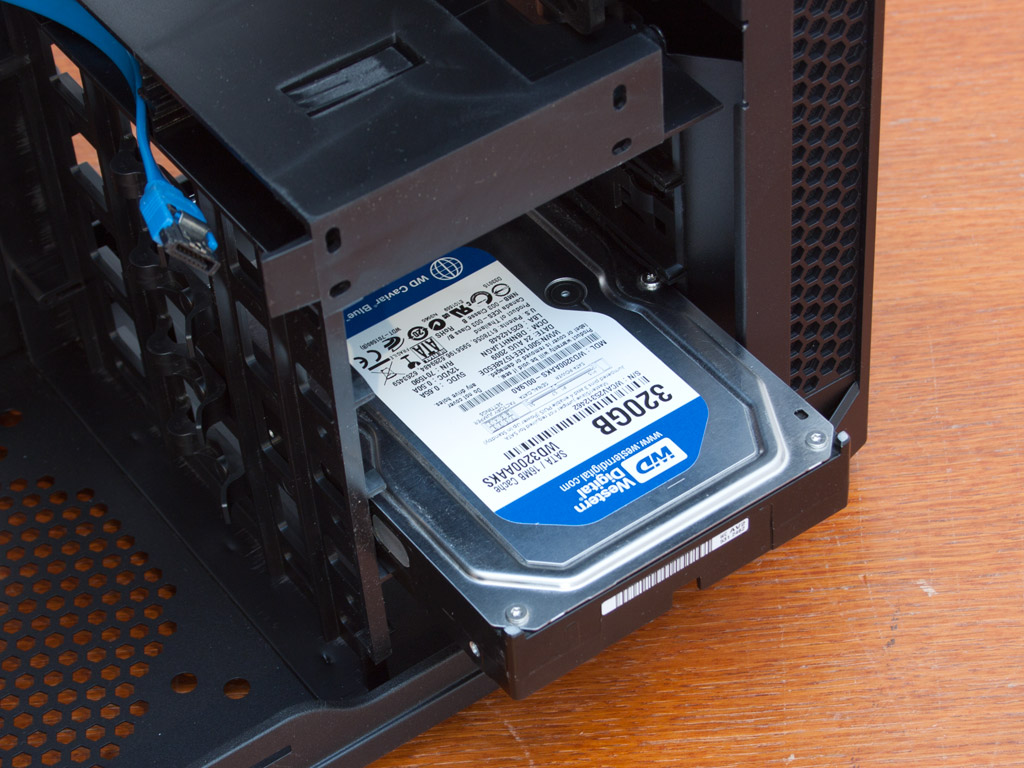


Putting hard drives into the 200R is dead simple. Just pick the 3.5" bay of your choice and slide the drive into place while keeping the pin equipped plastic part away from the drive. Once in place, just let go and the pin will snap down into the center screw hole on the side of the drive. Even though the entire cage is made of plastic, it is sturdy enough and there is very little play. You may, for those worrying about vibrations or the drive coming lose, also use screws to further secure the unit. Installing a 2.5" drive is straight forward as well. Push the drive into the bay of your liking and secure it with two of the supplied screws.


Installing the optical drive bay is done quite quickly as well. Once the bay is free, slide the drive into the cage until the metal fin snaps down onto it. While this contraption holds quite well, I do suggest using a single screw to hold it down for good.

Adding the power supply requires the trusted and true screw and screw driver method. There is plenty of space for even the longest unit, so you won't have to worry about any compatibility issues.


With everything in place, the Carbide 200R makes a very good impression. The interior is still really clean, although the missing grommets mean that the cables cannot be hidden away as nicely. Most cables are run properly down the L-shaped trench, and there are plenty of possibilities to tie cables down on this side.
Finished Looks
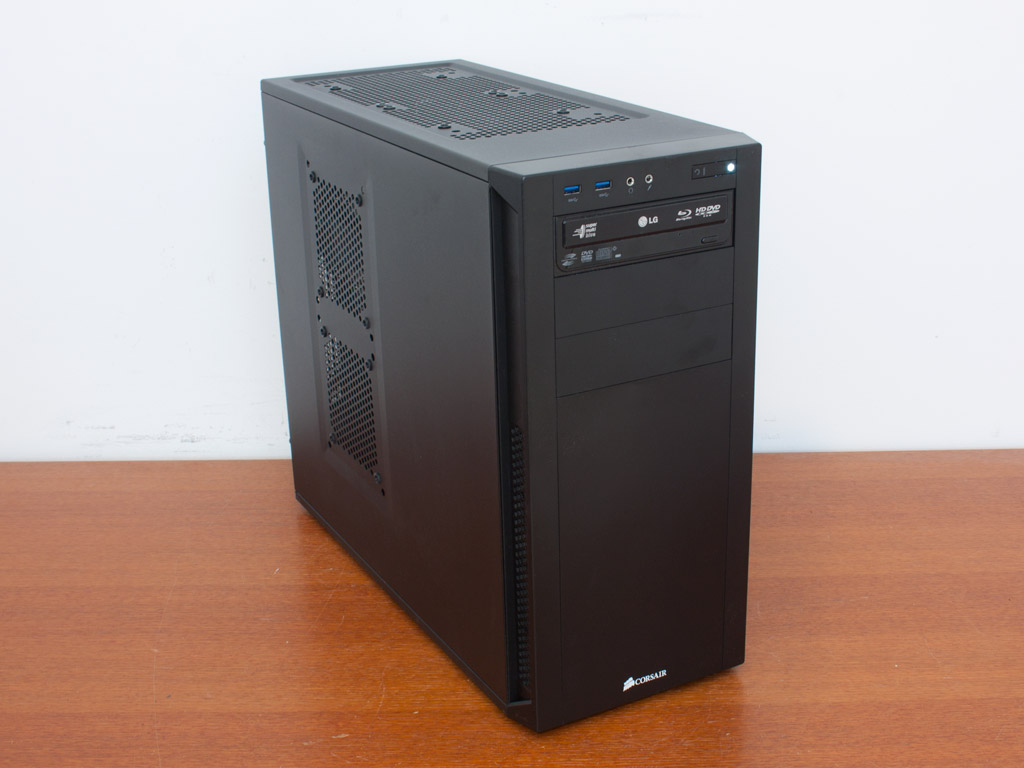
With the side panels in place, the Corsair Carbide 200R hides what is inside quite nicely. You would not know if there are 2000 or just 300 US Dollars of parts within the case. This combination of cool, understated looks and compatibility is a potent one.


The drive lines up perfectly with the chassis, while the white power LED is the perfect choice for this chassis. Everything is where you would expect to be in the rear; easily accessible and unobstructed. One can clearly see the large CPU cooler through the side-panel opening. It is a close call, but fits just fine. If you plan to use fans on the panel, be sure that your CPU cooler is compact enough.
Apr 25th, 2024 05:02 EDT
change timezone
Latest GPU Drivers
New Forum Posts
- Meta Horizon OS (16)
- Core i5-6300U (14)
- (Anti) SFF fun house (351)
- Alphacool CORE 1 CPU block - bulging with danger of splitting? (4)
- The TPU UK Clubhouse (24786)
- Github comments used to push malware via Microsoft repo urls (3)
- Bizarre Throttlestop issue (5)
- GTX 1070 Ti - TDP Issues - Always Power Throttling (5)
- What phone you use as your daily driver? And, a discussion of them. (1471)
- What's your latest tech purchase? (20337)
Popular Reviews
- Fractal Design Terra Review
- Thermalright Phantom Spirit 120 EVO Review
- Corsair 2000D Airflow Review
- Minisforum EliteMini UM780 XTX (AMD Ryzen 7 7840HS) Review
- ASUS GeForce RTX 4090 STRIX OC Review
- NVIDIA GeForce RTX 4090 Founders Edition Review - Impressive Performance
- ASUS GeForce RTX 4090 Matrix Platinum Review - The RTX 4090 Ti
- MSI GeForce RTX 4090 Suprim X Review
- MSI GeForce RTX 4090 Gaming X Trio Review
- Gigabyte GeForce RTX 4090 Gaming OC Review
Controversial News Posts
- Sony PlayStation 5 Pro Specifications Confirmed, Console Arrives Before Holidays (116)
- NVIDIA Points Intel Raptor Lake CPU Users to Get Help from Intel Amid System Instability Issues (106)
- AMD "Strix Halo" Zen 5 Mobile Processor Pictured: Chiplet-based, Uses 256-bit LPDDR5X (101)
- US Government Wants Nuclear Plants to Offload AI Data Center Expansion (98)
- Windows 10 Security Updates to Cost $61 After 2025, $427 by 2028 (84)
- Developers of Outpost Infinity Siege Recommend Underclocking i9-13900K and i9-14900K for Stability on Machines with RTX 4090 (84)
- Windows 11 Now Officially Adware as Microsoft Embeds Ads in the Start Menu (80)
- TechPowerUp Hiring: Reviewers Wanted for Motherboards, Laptops, Gaming Handhelds and Prebuilt Desktops (78)