 13
13
Fractal Design Define R5 Review
Assembly & Finished Looks »A Closer Look - Inside


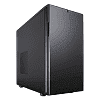
To access to the interior, simply detach the thumbscrews holding each panel in place. Fractal Design attached the thumbscrews that hold the back panel to the metal frame firmly, but those of the main panel can be removed easily enough. The side is covered with sound-dampening material, and the air vent has been recessed slightly as two sets of mounting holes are present, one for 120 mm and the other for 140 mm fans.
The R5's interior layout looks to be very traditional at first. There is virtually no plastic within the chassis, which has become a rare sight these days. Turn the enclosure around and you will see a big opening for the motherboard's CPU area and an L-shaped trench alongside where the motherboard will go.


There are two interesting aspects here: First, the Velcro strips that hold the cables in place. Having seen those on Phanteks cases, I am surprised it took other brands this long to jump on the bandwagon. That said, Fractal Design's implementation is much simpler, but just as effective. There are also the two white 2.5" mounting plates that are held in place by a thumbscrew each. As these have been situated a little ways off the case, connecting cables to the drives you mount onto these should not be a problem.

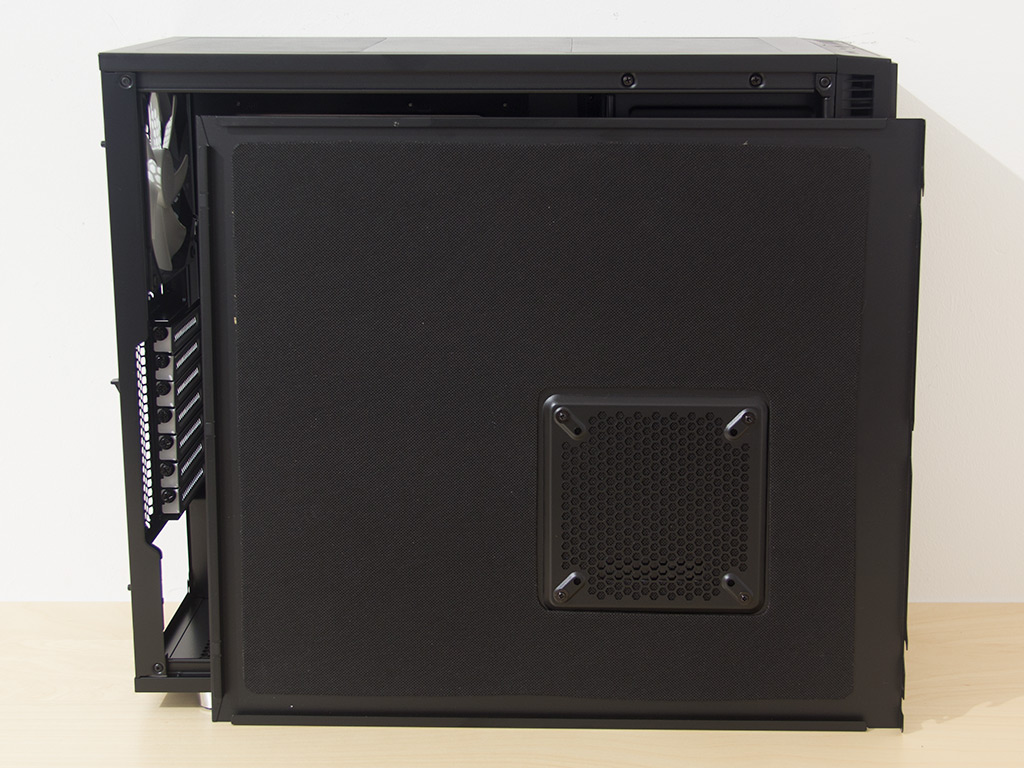
In the very top of the front are the two 5.25" drive bays. As has been the case with past Define enclosures, you will use thumbscrews to hold these drives in place. Below these are the two hard-drive cages with enough room for eight drives in total.


You may remove the drive at the top or rotate it 90 degrees to make its end face toward the chassis. While there is little reason to do so, it is nice to have the option.

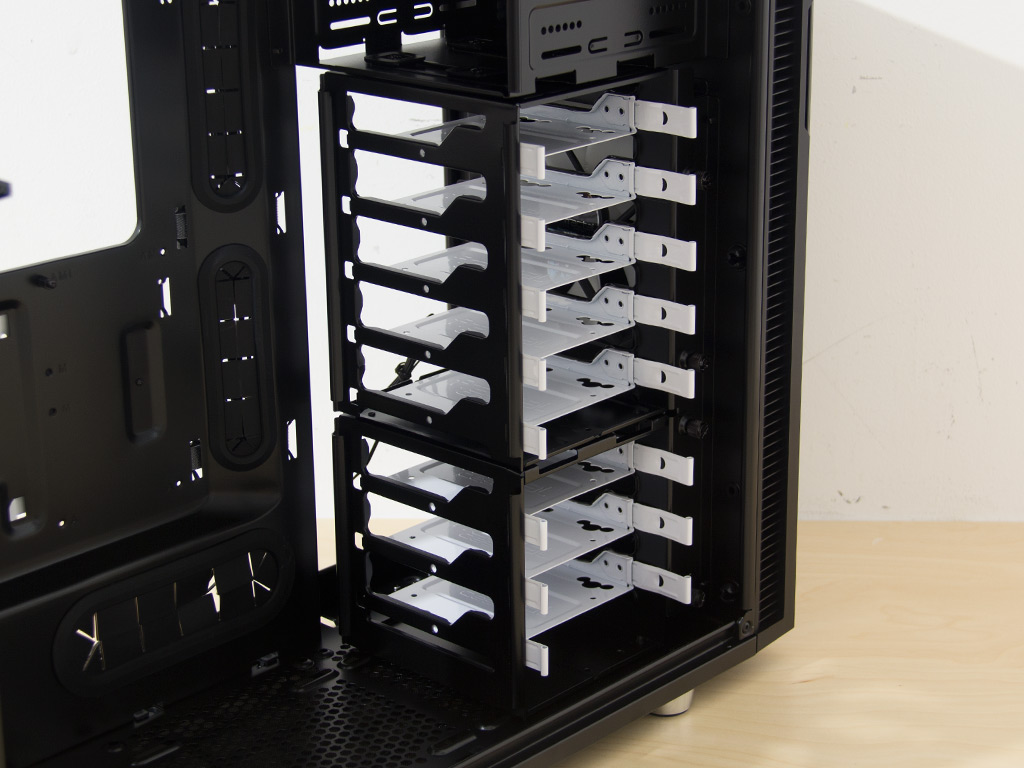
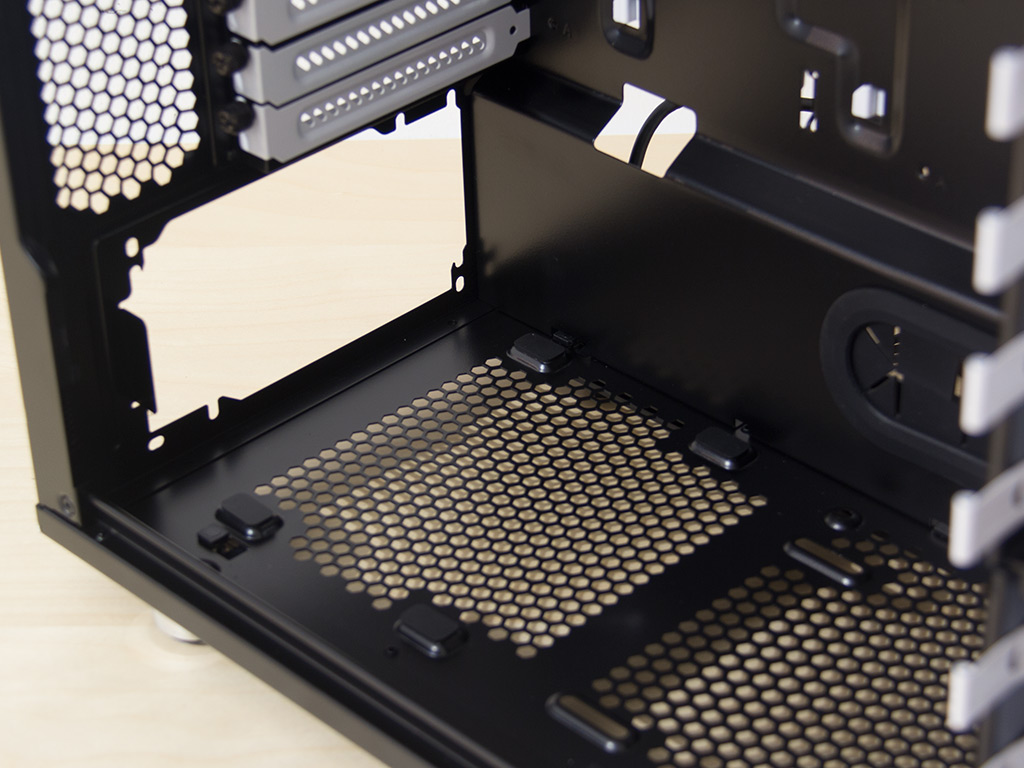
But the versatility does not end there: You may remove everything, which gives you enough room for a 280 mm radiator on the floor. You may leave the 5.25" drive bays and the bigger hard-drive tray in place or go for nothing but hard drives by removing the ODD cage completely. Remove everything and there is also enough room for a thin 420 mm radiator in the ceiling or a thick 360 radiator in the front.

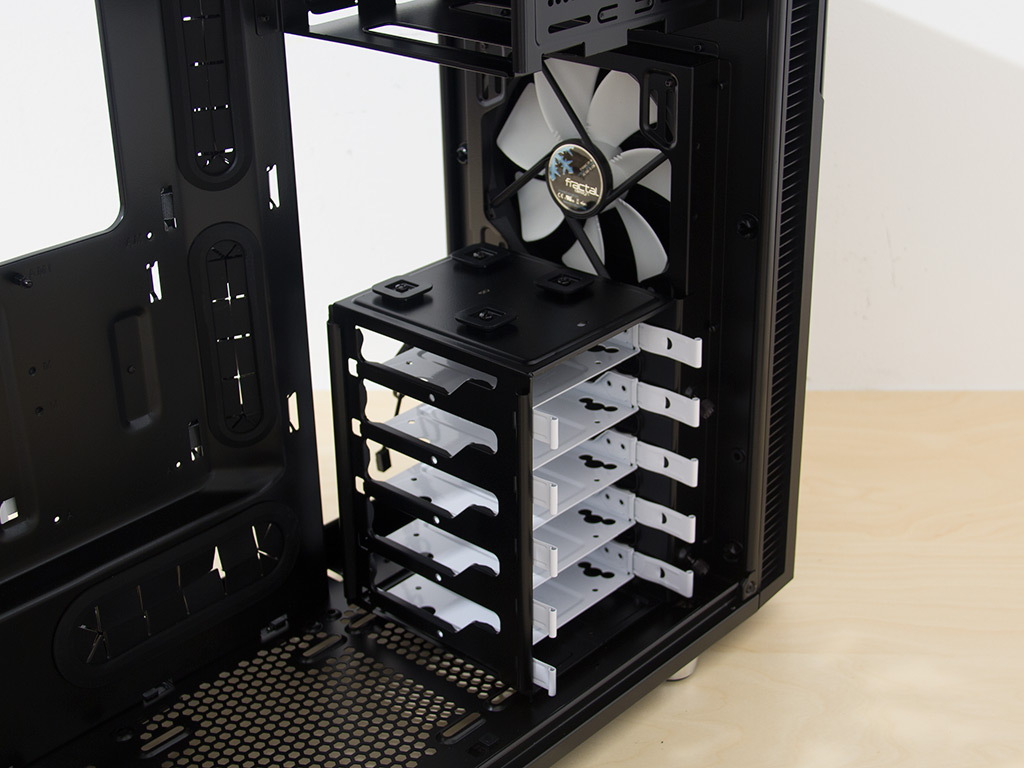

You may also remove the bottom feet of the larger HDD cage to screw it onto the floor of the chassis, the spot the smaller ones were originally in. If you still need the smaller cage, there is that possibility as well, right next to it; that is, so long as you use a fairly short power supply.


You will find the aforementioned 140 mm fan in the rear. Below it are the seven motherboard expansion slots, each protected by its own white cover, held in place by a thumbscrew. The PSU in the bottom will rest on four foam tips, which should be enough to kill any vibrations it may pass onto the frame.


All the cables within the Define R5 are sleeved black and of the default variety, so you should run into no issues while connecting these to a modern motherboard. As the chassis comes with both USB 2.0 and 3.0, there is no need for Fractal Design to include a 3.0 to 2.0 adapter.
Apr 26th, 2024 02:15 EDT
change timezone
Latest GPU Drivers
New Forum Posts
- What's your latest tech purchase? (20342)
- What phone you use as your daily driver? And, a discussion of them. (1483)
- Best SSD for system drive (81)
- AMD RX 7000 series GPU Owners' Club (1087)
- im new to throttelstop and i think i messed it up by copying others any hints would be very much aprreciated (3)
- Horizontal black lines popping up on my screen? (4)
- Which new games will you be buying? (316)
- Alphacool CORE 1 CPU block - bulging with danger of splitting? (20)
- Black screen after muting (5)
- What are you playing? (20530)
Popular Reviews
- Fractal Design Terra Review
- Thermalright Phantom Spirit 120 EVO Review
- Corsair 2000D Airflow Review
- ASUS GeForce RTX 4090 STRIX OC Review
- NVIDIA GeForce RTX 4090 Founders Edition Review - Impressive Performance
- ASUS GeForce RTX 4090 Matrix Platinum Review - The RTX 4090 Ti
- MSI GeForce RTX 4090 Suprim X Review
- Gigabyte GeForce RTX 4090 Gaming OC Review
- MSI GeForce RTX 4090 Gaming X Trio Review
- MSI GeForce RTX 4090 Suprim Liquid X Review
Controversial News Posts
- Sony PlayStation 5 Pro Specifications Confirmed, Console Arrives Before Holidays (117)
- Windows 11 Now Officially Adware as Microsoft Embeds Ads in the Start Menu (112)
- NVIDIA Points Intel Raptor Lake CPU Users to Get Help from Intel Amid System Instability Issues (106)
- AMD "Strix Halo" Zen 5 Mobile Processor Pictured: Chiplet-based, Uses 256-bit LPDDR5X (101)
- US Government Wants Nuclear Plants to Offload AI Data Center Expansion (98)
- AMD's RDNA 4 GPUs Could Stick with 18 Gbps GDDR6 Memory (88)
- Developers of Outpost Infinity Siege Recommend Underclocking i9-13900K and i9-14900K for Stability on Machines with RTX 4090 (85)
- Windows 10 Security Updates to Cost $61 After 2025, $427 by 2028 (84)