 13
13
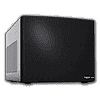
Fractal Design NODE 304 Review
Value & Conclusion »Assembly

Installing the motherboard is done by traditional means. Don't let my using an Intel stock cooler fool you as there is ample space for tower coolers of up to 165 mm height, which translates to tower coolers with 120 mm fans, within this compact case. Thanks to the open sides, you should have no issue reaching all the connections on the board. Just be sure you think ahead and get everything attached before filling up the case.

Make sure to install the PSU before any other part, as large components will end up blocking the bay, so you won't be able to fill them up later on. The Tesla R2 unit fits within the confines of the Node 304 perfectly. Even though Fractal Design mentiones a maximum of 160 mm PSUs, even the Tesla R2 with 165 mm fits - which is great! Those wanting to use a modular PSU, will have to find one with 1400 mm length at most.
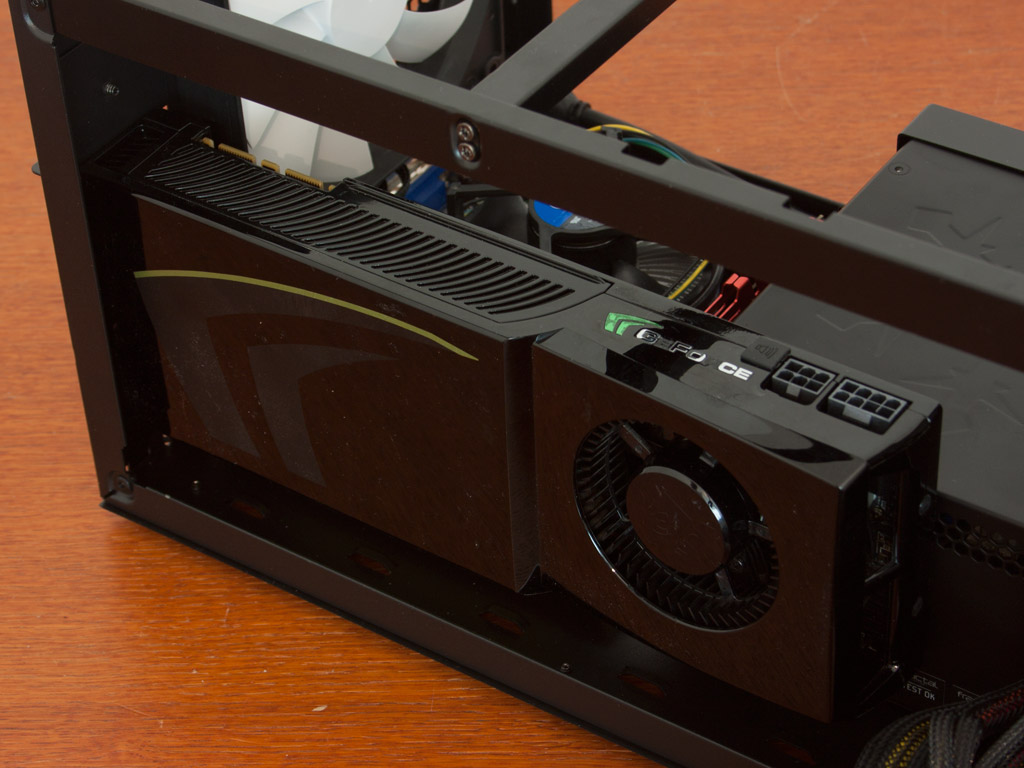
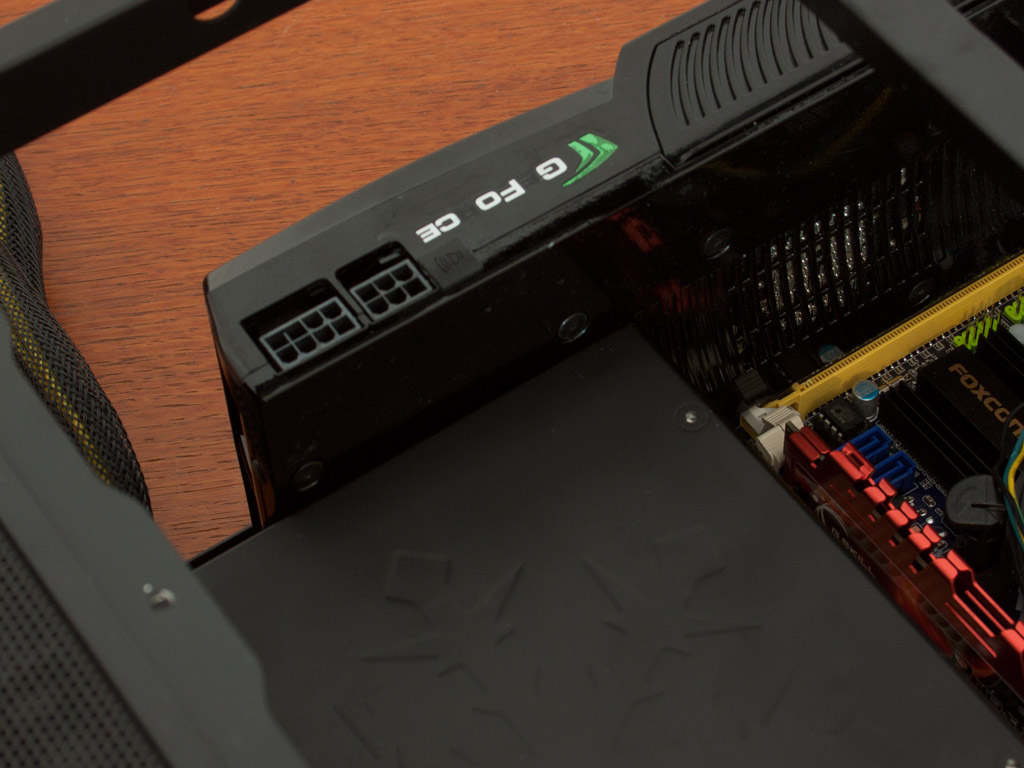
Thanks to the three separate hard-drive cages, you may remove one to install a full-length GPU within the case. You have to watch the length of the PSU as our Fractal Design power supply came dangerously close. I would have liked to see the inclusion of a hard plastic sheet as an insulating barrier between the GPU and the PSU. You will, on top of that, not be able to use a modular PSU if you install a large graphics card into the Node 304 since that side of the power supply is partially covered.


Installing a hard drive is quite easy because you can comfortably place each unit into a white hard-drive cage on your work bench instead of fiddling around inside the confines of the Node 304. The mounting holes for the 3.5" unit are rubber mounted, but the 2.5" drives do not have such an anti-vibration measure. Once in place, simply drop the cage into the spot of your choice. As I am using a long graphics card, the number of total drives is reduced from six to four - still plenty for most scenarios.


With everything in place, the Node 304 still has some room to breathe. There is still plenty of room above the CPU area, which further underlines the fact that you may install a larger cooling unit. The graphics card is not obstructed by anything either, so that it may draw in fresh air from the large side-vent once the case is closed off.
Finished Looks


When turned on, a white LED light on the underside of the chassis denotes the running state of the system. As there are no external drive bays, it looks more like a data center than, say, a gaming rig. Thanks to the fan controller switch in the back, you can get the system to quiet down nicely, and I would just leave the setting on low all the time since there are plenty of vents to supply the unit with fresh air. All the connectors in the rear are easily accessible as well - just like you would expect.


If you look really close at the image above, you will see the graphics card behind the vent covered by a dust filter. The large opening ensures that none of them are covered by non-reference cards, even if they happen to have multiple fans. The opening on the other side is located right by the PSU bay, which allows it to push air out that way as well - just like you would have it do in a traditional chassis.
Jun 27th, 2025 07:49 CDT
change timezone
Latest GPU Drivers
New Forum Posts
- MSI Titan 18 Dragon Edition (Norse Myth) Intel 285HX Optimisation (0)
- What's your latest tech purchase? (24133)
- SLI is really not Dead if you Have a SLI rig (101)
- Microcenter GPU Stock status (155)
- Hatsune Miku x ASUS TUF Gaming Build (51)
- I just installed the split water cooling yesterday, and I hope to see yours (0)
- How to quickly & easily fix coil-whine(coil choke noise) (1164)
- Your PC ATM (35475)
- PCIe5(AM5) vs PCIe4(AM4) (13)
- DTS DCH Driver for Realtek HDA [DTS:X APO4 + DTS Interactive] (2220)
Popular Reviews
- ASRock Phantom Gaming Z890 Riptide Wi-Fi Review
- Sapphire Radeon RX 9060 XT Pulse OC 16 GB Review - Samsung Memory Tested
- SCHENKER KEY 18 Pro (E25) Review - Top-Tier Contender
- AMD Ryzen 7 9800X3D Review - The Best Gaming Processor
- Upcoming Hardware Launches 2025 (Updated May 2025)
- Lexar NQ780 4 TB Review
- Sapphire Radeon RX 9070 XT Nitro+ Review - Beating NVIDIA
- NVIDIA GeForce RTX 5060 8 GB Review
- Intel Core Ultra 7 265K Review
- AMD Ryzen 9 9950X3D Review - Great for Gaming and Productivity
TPU on YouTube
Controversial News Posts
- Intel's Core Ultra 7 265K and 265KF CPUs Dip Below $250 (280)
- NVIDIA Grabs Market Share, AMD Loses Ground, and Intel Disappears in Latest dGPU Update (203)
- Microsoft Partners with AMD for Next-gen Xbox Hardware (105)
- NVIDIA Launches GeForce RTX 5050 for Desktops and Laptops, Starts at $249 (100)
- Intel "Nova Lake‑S" Series: Seven SKUs, Up to 52 Cores and 150 W TDP (100)
- Reviewers Bemused by Restrictive Sampling of RX 9060 XT 8 GB Cards (88)
- NVIDIA GeForce RTX 5050 Reportedly Scheduled for July Release (87)
- GPU IPC Showdown: NVIDIA Blackwell vs Ada Lovelace; AMD RDNA 4 vs RDNA 3 (77)