 1
1
G.Skill F2-4200PHU1-512SA Review
Performance & Overclocking »A closer look

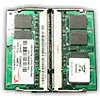
The sticker gives you the required info in case your motherboard BIOS allows you to change the timings. The IBM Lenovo X60s BIOS does not need this, it takes the info from the SPD chip of the memory module.

G.SKILL uses BGA chips with their own logo on it. I would think they buy blank chips from one of the big manufacturers and print their logo on it.
Installation
The installation procedure depends on the notebook but is generally really easy. All you have to do is remove a couple of screws. Before doing so please check if you lose your warranty by changing memory on your own.

Remove two screws on the bottom to get to the memory module slots. Don't forget to shut down your system. If you go to hibernation mode and boot after the installation Windows startup will crash because it does not expect a different memory size. When it does Windows will prompt you on the next reboot if you want to do a regular startup, everything will work fine then. But you might lose some data. Also removing the battery is a good precaution in case there is still some voltage going around the memory modules when the notebook is powered off.

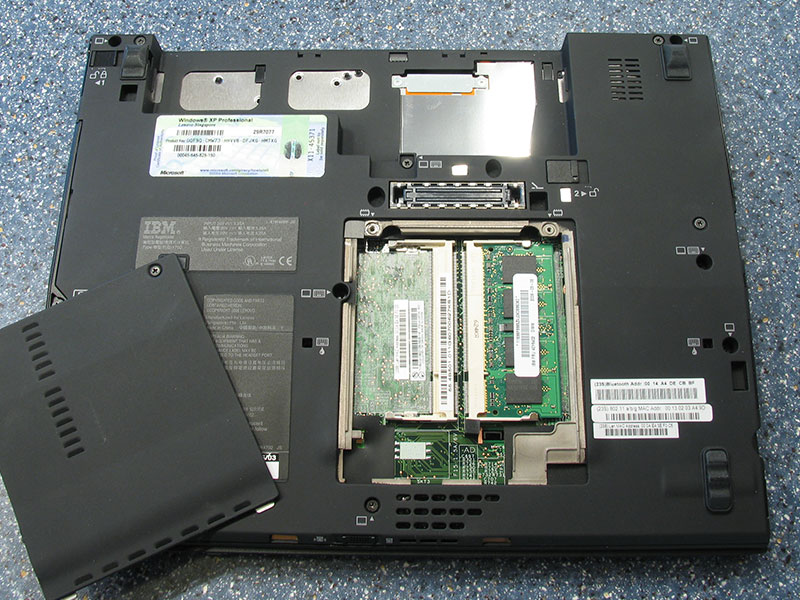


Take out the stock 1x 512 MB stick. In order to remove the module, you gently press two metal clips to the outside and the memory comes out easily.
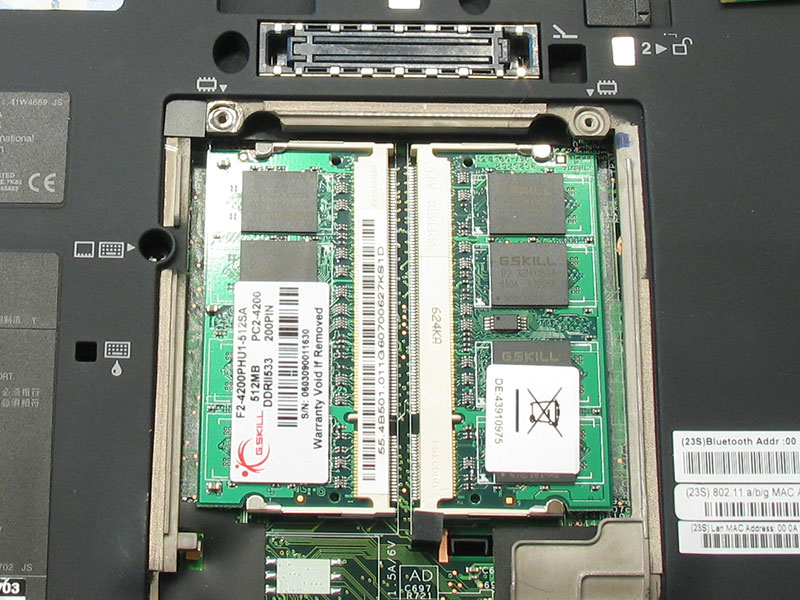

Now put in the two shiny new G.SKILL memory modules and screw back the lid.

After power up the BIOS shows you that everything went well with the installation and your system now has 1 GB of memory installed.
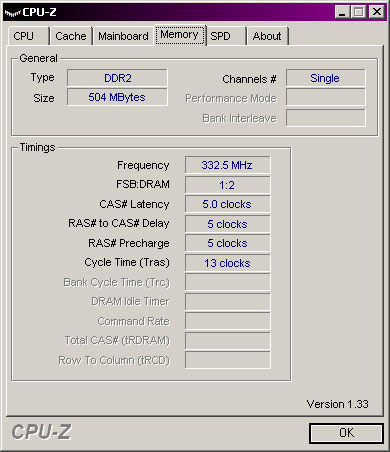
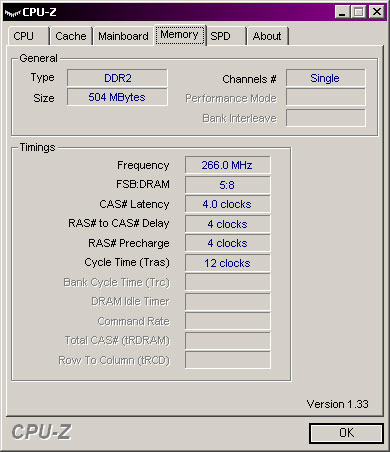
On the left you have the CPU-Z readout with the stock memory, note the 333 MHz but at rather slow timings. On the right is the new G.SKILL memory, it's running slower at 266 MHz but comes with better timings of 4-4-4-12.
Apr 26th, 2024 23:42 EDT
change timezone
Latest GPU Drivers
New Forum Posts
- Is this a hardware problem ? Live kernel 193 (0)
- Help me to OC my 5700X (11)
- 5800x (and other Zen 3 chips) PBO settings/Temperature fix (935)
- Realtek Modded Audio Driver for Windows 10/11 - Only for HDAUDIO (5690)
- What's your latest tech purchase? (20355)
- AAF Optimus DCH Audio Modded Driver for Windows 10/11 - For ALL HDAUDIO Enumerator Chips (654)
- Your PC ATM (34510)
- Black screens leading to restarts (Event ID 18) on AMD platform since changing graphics card (43)
- FINAL FANTASY XIV: Dawntrail Official Benchmark (73)
- Rare GPUs / Unreleased GPUs (1877)
Popular Reviews
- Ugreen NASync DXP4800 Plus Review
- HYTE THICC Q60 240 mm AIO Review
- MOONDROP x Crinacle DUSK In-Ear Monitors Review - The Last 5%
- Quick Look: MOONDROP CHU 2 Budget In-Ear Monitors
- Upcoming Hardware Launches 2023 (Updated Feb 2024)
- Thermalright Phantom Spirit 120 EVO Review
- FiiO K19 Desktop DAC/Headphone Amplifier Review
- Alienware Pro Wireless Gaming Keyboard Review
- CeBIT 2008: Akasa Review
- Corsair iCUE Link XC7 RGB Elite CPU Water Block Review
Controversial News Posts
- Windows 11 Now Officially Adware as Microsoft Embeds Ads in the Start Menu (135)
- Sony PlayStation 5 Pro Specifications Confirmed, Console Arrives Before Holidays (117)
- NVIDIA Points Intel Raptor Lake CPU Users to Get Help from Intel Amid System Instability Issues (106)
- AMD "Strix Halo" Zen 5 Mobile Processor Pictured: Chiplet-based, Uses 256-bit LPDDR5X (103)
- US Government Wants Nuclear Plants to Offload AI Data Center Expansion (98)
- AMD's RDNA 4 GPUs Could Stick with 18 Gbps GDDR6 Memory (95)
- Developers of Outpost Infinity Siege Recommend Underclocking i9-13900K and i9-14900K for Stability on Machines with RTX 4090 (85)
- Windows 10 Security Updates to Cost $61 After 2025, $427 by 2028 (84)