 3
3
HighSpeed PC 'Top Deck' Tech Station large Review
Value & Conclusion »Installing Hardware
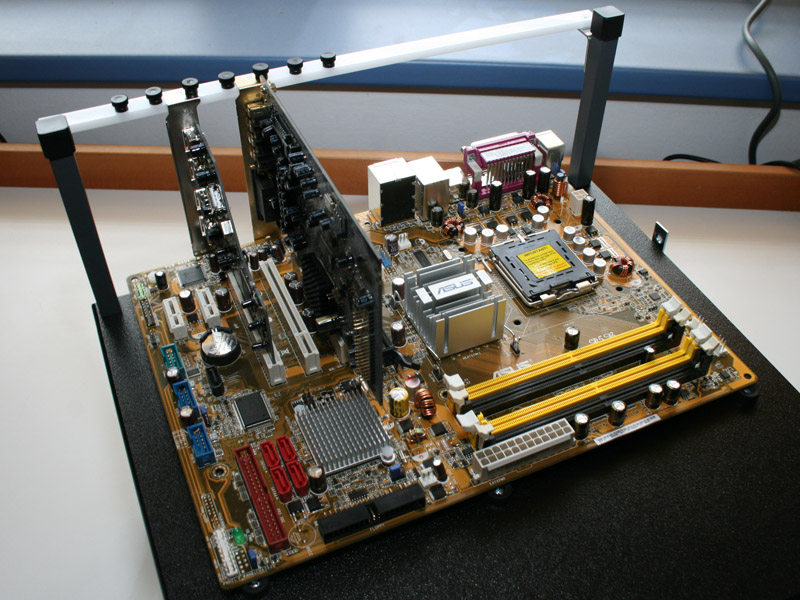

From this point on, the installation of the hardware was quite simple and straight forward. Anyone who has built a system before, will know what to do right away. The mainboard is placed on the standoff and secured in place. Then the add-in cards can be inserted and secured on the white plastic bar, just as they would be in a traditional case.

The next step would be to install the ATX connector kit. Just plug the right parts into the appropriate front panel connector on your mainboard, it's as simple as that.

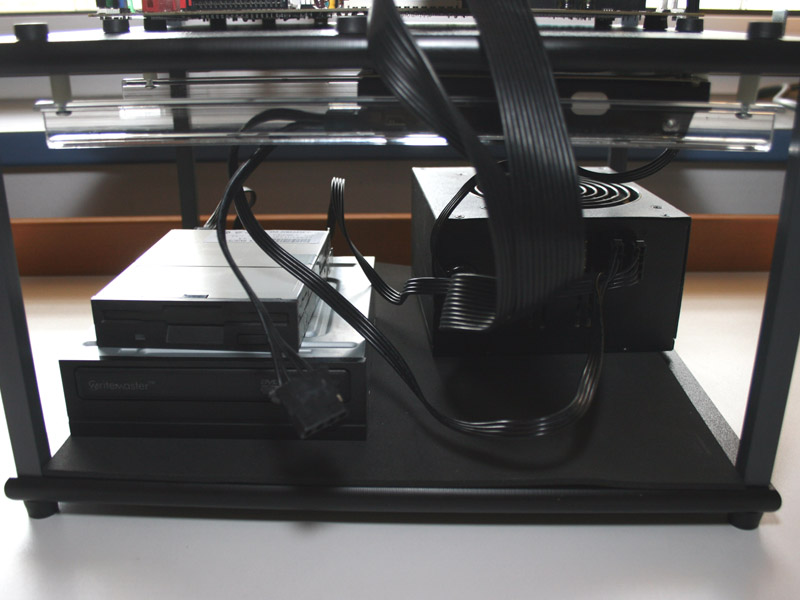
The hard drive slides in quite nicely and there is just enough play on either side of the drive. Any optical and floppy drives are stacked on the included antistatic pad. The power supply can be placed anywhere on the bottom shelf as well. You are completely free to arrange the parts to best fit your needs or add additional components for watercooling for example.
Finished Look

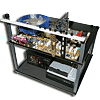
Once all components were setup in a way that worked best for me, the station was picked up and placed at the intended corner of my test bench. Even when filled with hardware, the construction of the Top Deck Tech Station did not budge or bend at all during transportation. As mentioned before, the fan has been placed in a fashion to blow across the underside of the upper shelf.
To show you how much weight the Tech Station can carry, W1zzard made me stand on top of it.

As you can see the TechStation didn't break down from my 75 kilos, the top shelf did flex a little bit but once I stepped off it bent back and looks like new.
May 4th, 2024 14:26 EDT
change timezone
Latest GPU Drivers
New Forum Posts
- Only some humans can see refresh rates faster than others, I am one of those humans. (96)
- SSD RAM CACHING (Especially Writing) (6)
- X670 owners, what kind of PCH temps do you you see? (7)
- Everytime i plug something into my wall, it stutters, and it never goes away (1)
- i9-12900K 16 Running Hot (3)
- Want to upgrade the network at home but need some advice/suggestions (0)
- Alphacool CORE 1 CPU block - bulging with danger of splitting? (93)
- RX 6800 causing stuttering when typing text (Low 2D/IDLE Clocks?) (14)
- Free Games Thread (3776)
- Why does my PC shut down even though it's connected to a UPS? (81)
Popular Reviews
- Finalmouse UltralightX Review
- Meze Audio LIRIC 2nd Generation Closed-Back Headphones Review
- ASRock NUC BOX-155H (Intel Core Ultra 7 155H) Review
- Montech Sky Two GX Review
- Gigabyte GeForce RTX 4070 Ti Super Gaming OC Review
- Upcoming Hardware Launches 2023 (Updated Feb 2024)
- HYTE THICC Q60 240 mm AIO Review
- Cougar Hotrod Royal Gaming Chair Review
- Alienware Pro Wireless Gaming Keyboard Review
- Ugreen NASync DXP4800 Plus Review
Controversial News Posts
- Intel Statement on Stability Issues: "Motherboard Makers to Blame" (236)
- Windows 11 Now Officially Adware as Microsoft Embeds Ads in the Start Menu (167)
- AMD to Redesign Ray Tracing Hardware on RDNA 4 (128)
- Sony PlayStation 5 Pro Specifications Confirmed, Console Arrives Before Holidays (117)
- AMD's RDNA 4 GPUs Could Stick with 18 Gbps GDDR6 Memory (114)
- NVIDIA Points Intel Raptor Lake CPU Users to Get Help from Intel Amid System Instability Issues (106)
- AMD "Strix Halo" Zen 5 Mobile Processor Pictured: Chiplet-based, Uses 256-bit LPDDR5X (103)
- AMD Ryzen 9 7900X3D Now at a Mouth-watering $329 (103)