 3
3
Phanteks Enthoo Pro Review
Assembly & Finished Looks »A Closer Look - Inside

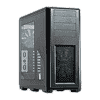
Simply remove the thumbscrews holding each panel in place to access the interior. The interior of the Pro has been painted in the same color as the exterior, and the enclosure has also been designed with cable management in mind, which translates into 27 mm of space behind the motherboard tray. This is more than enough for you to easily route and hide cables.
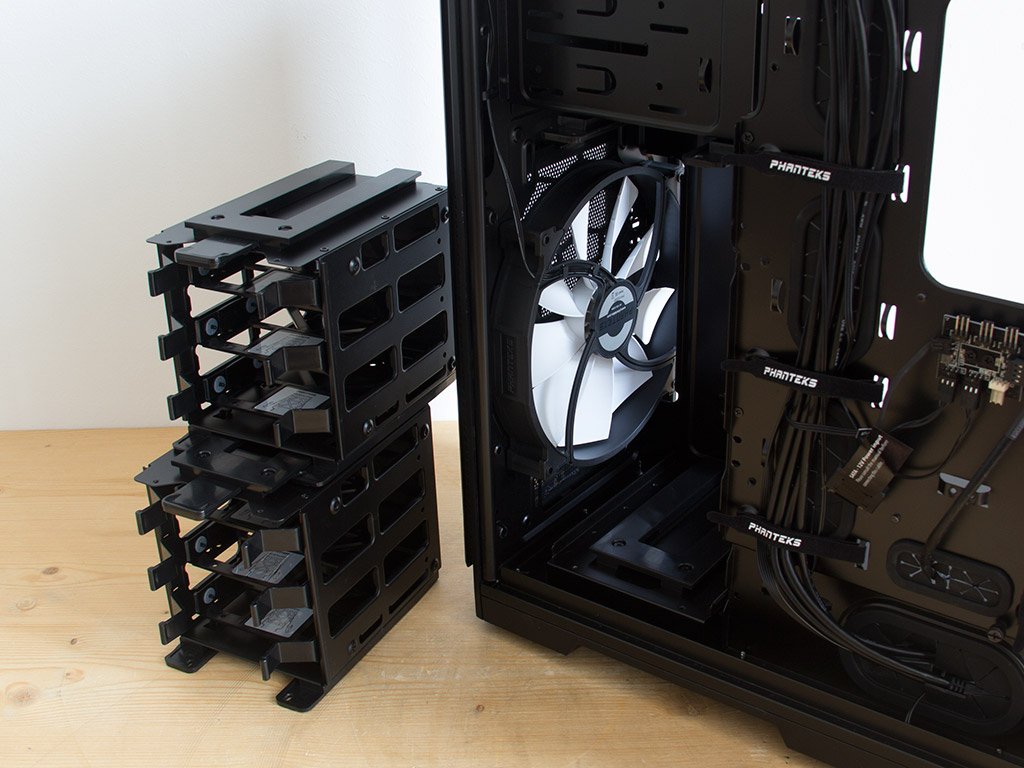
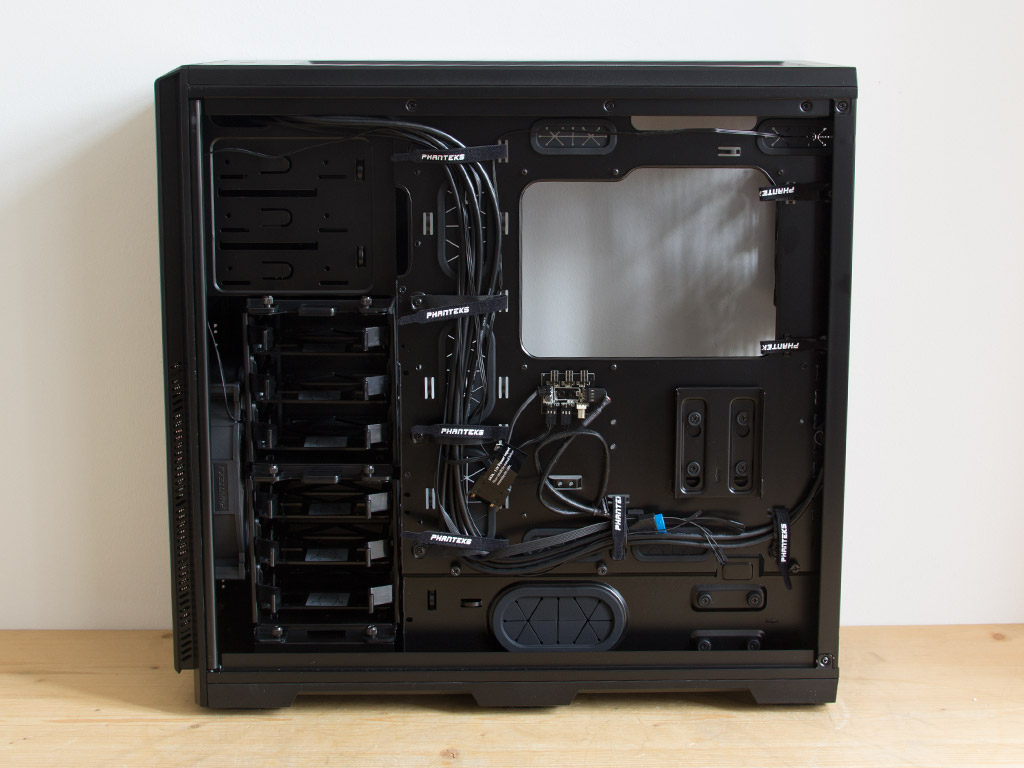
You can easily access the six 3.5" hard-drive trays through this side. The trays are grouped into two cages of three. Each cage can be removed to free up space for, say, liquid-cooling components. The cages are held in place by thumbscrews and offer plastic latches, which makes their removal and installation a breeze.
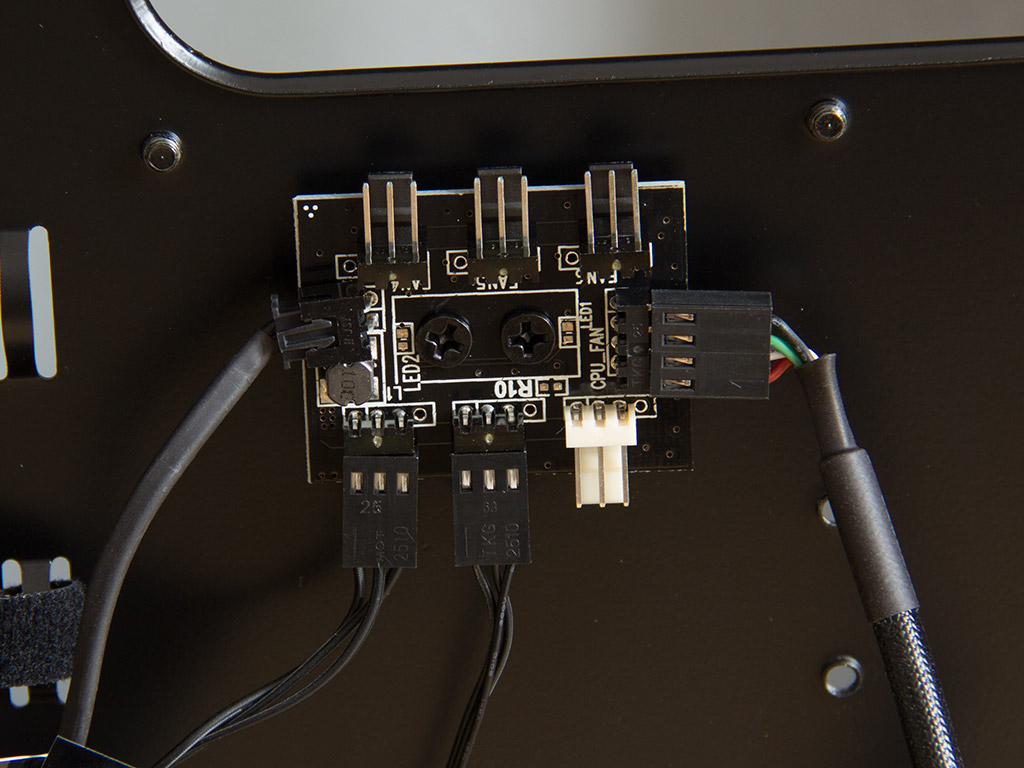

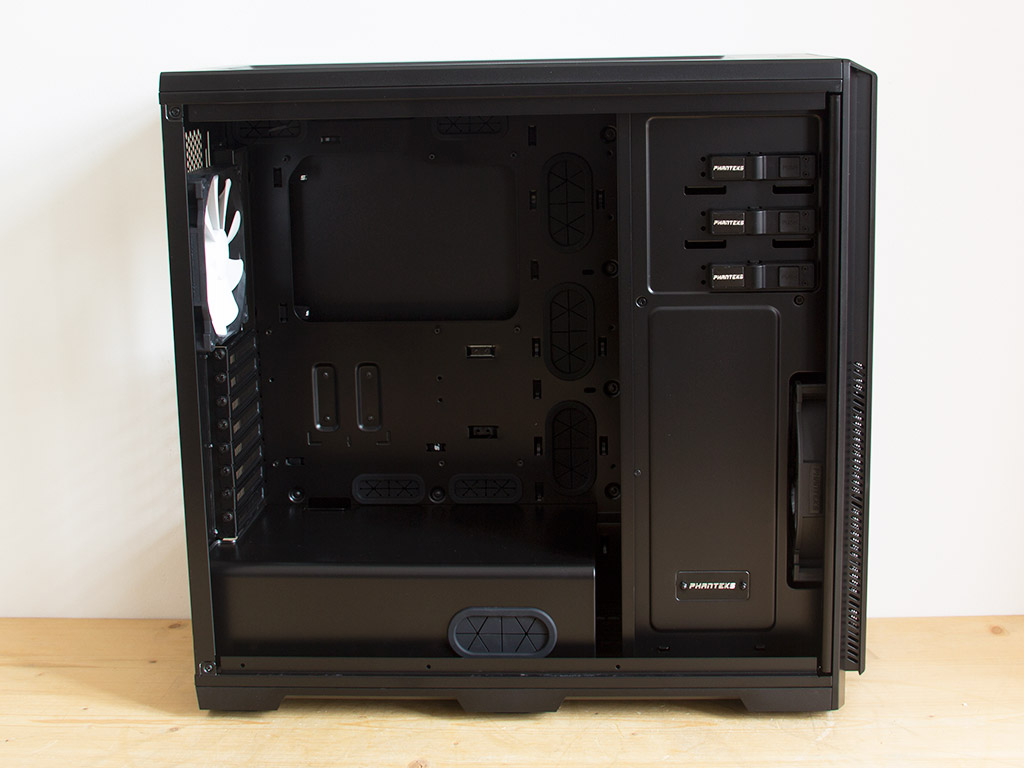
Thanks to the space, Phanteks included various extras behind the motherboard tray. Not only is there a large opening for the CPU cooler as you will also find numerous rubber-grommet-covered routing holes and a PCB for up to six fans, which keeps the cable clutter to a minimum and allows you to control those fans via a single motherboard header. This is especially important with a large radiator setup. On top of that is another mounting position for such a PCB, which would make for a total of 12 attachable fans. Plenty of Phanteks-branded Velcro strips allow for easy and clean cable management within the Pro, so you will end up with a clean system once everything has been said and done.

You will also find two spots for 2.5" SSDs, one of which is filled with a tray. This is perfect for SSDs you do not plan to remove—like those for an OS or the system's applications and games. Even though there are two such placements, you will only receive one right out of the box as the second bracket has to be bought separately.
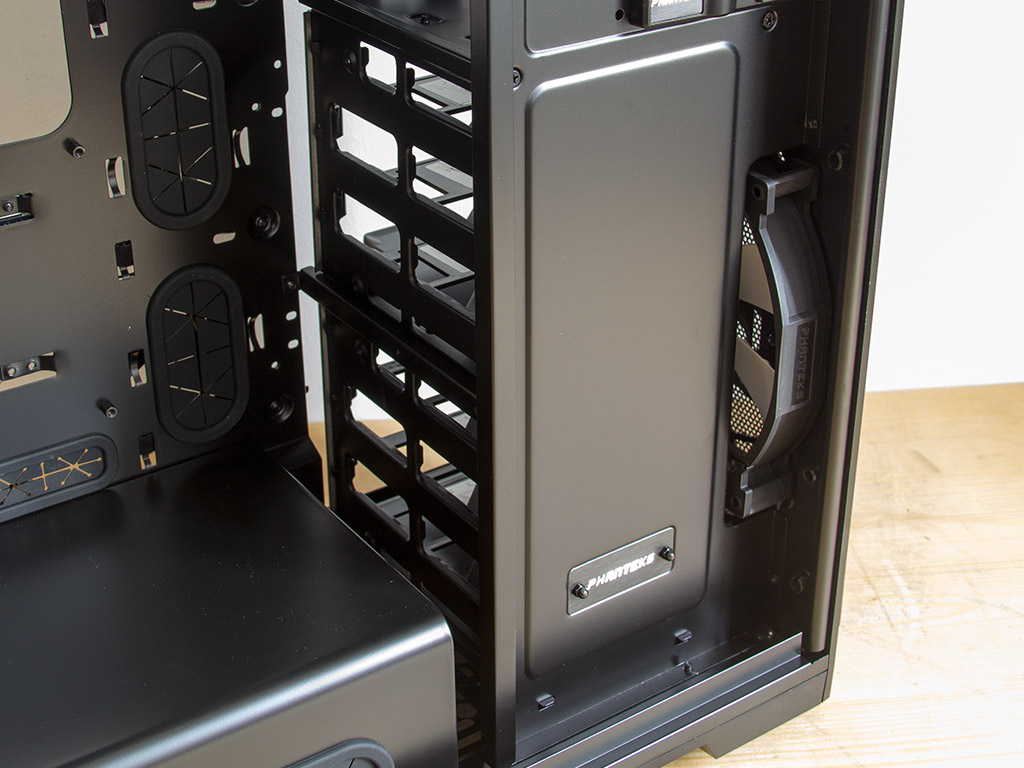

A solid metal piece lines the entire area in the front. In the bottom is a Phanteks plaque you may swap out for a different one, which is appealing to both modders and system integrators. Above that are the three 5.25" bays. Each features a tool-less locking mechanism Phanteks put their logo on. You may also mount fans here. These would blow air into the chassis through the front, pushing some across your HDDs.


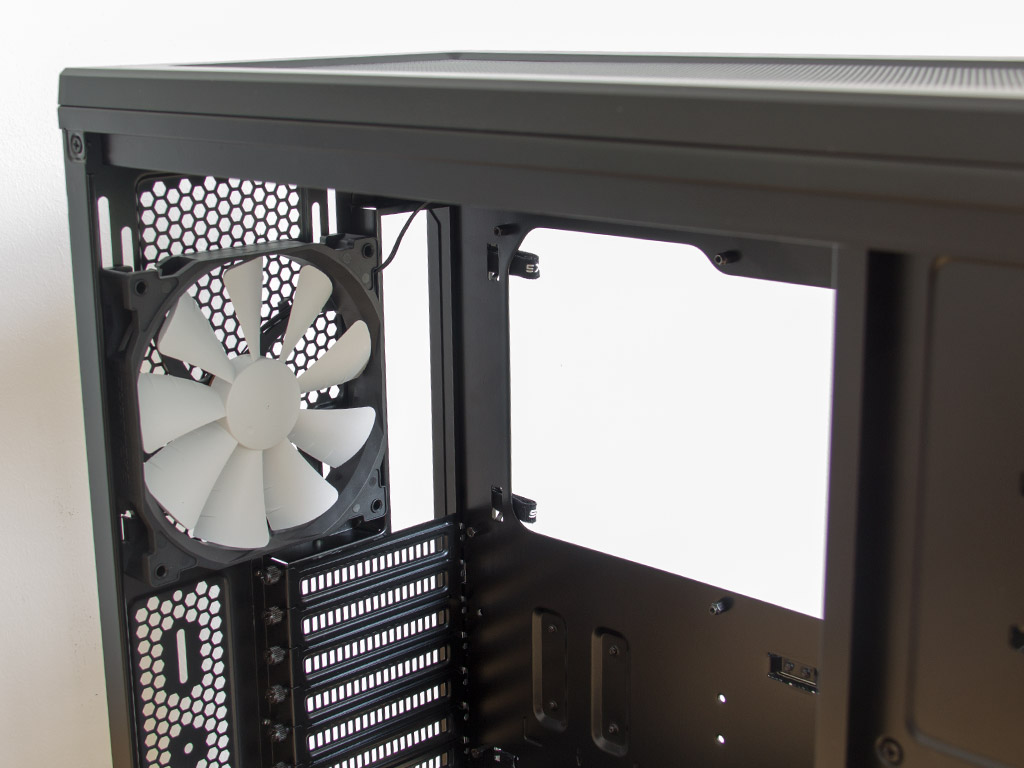
Turning the focus to the rear, the bottom-mounted PSU bay is hidden underneath a PSU cover. The cover comes with an opening on its side should you want to route cables straight up for, say, your graphics cards. Above that are the eight motherboard slots, each protected by individually removable covers that are held in place by thumbscrews. In the very top is a Phanteks 140 mm retail fan; it is set to blow air out the back of the case.
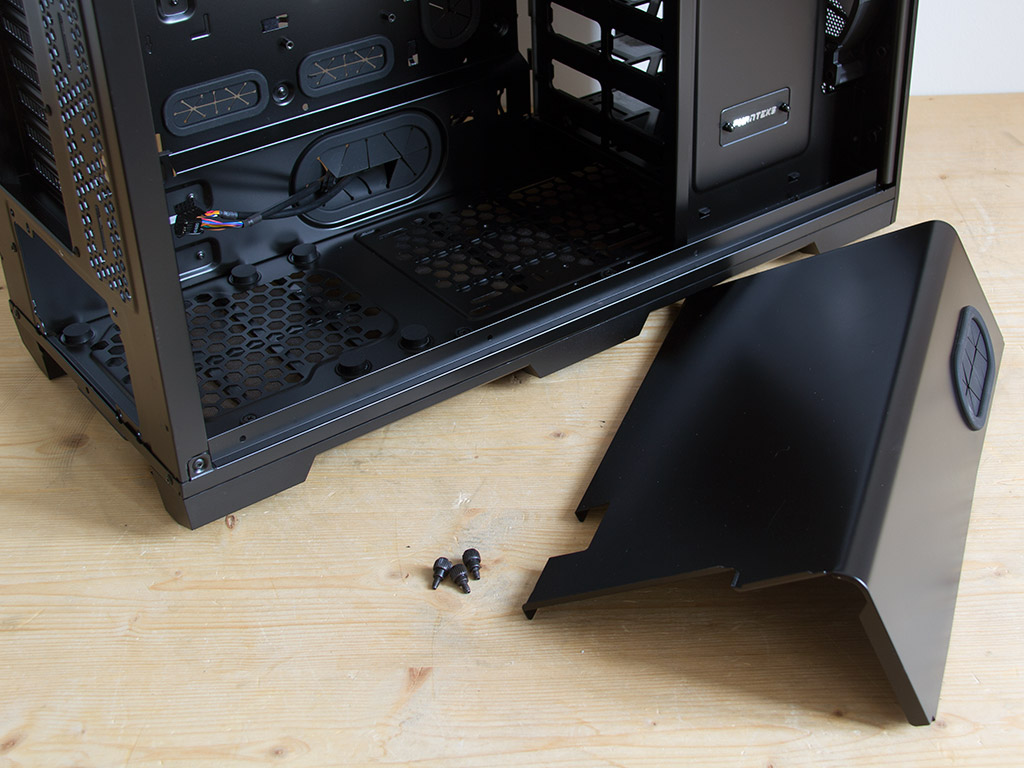
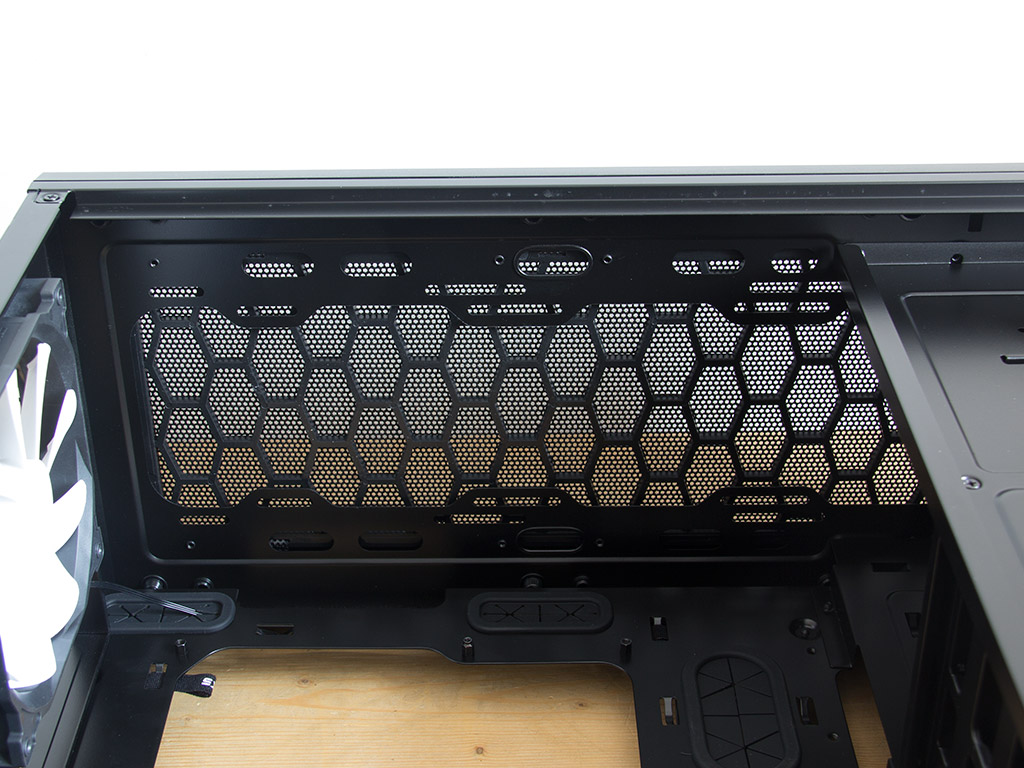
You may remove the PSU cover by unscrewing all three thumbscrews, and you will have to do so in order to install the power supply. Doing so will also reveal the actual bay and the rubber mounts the PSU will sit upon as an anti-vibration measure. There is enough space in the top for up to three additional fans. You may obviously also install a radiator there instead.
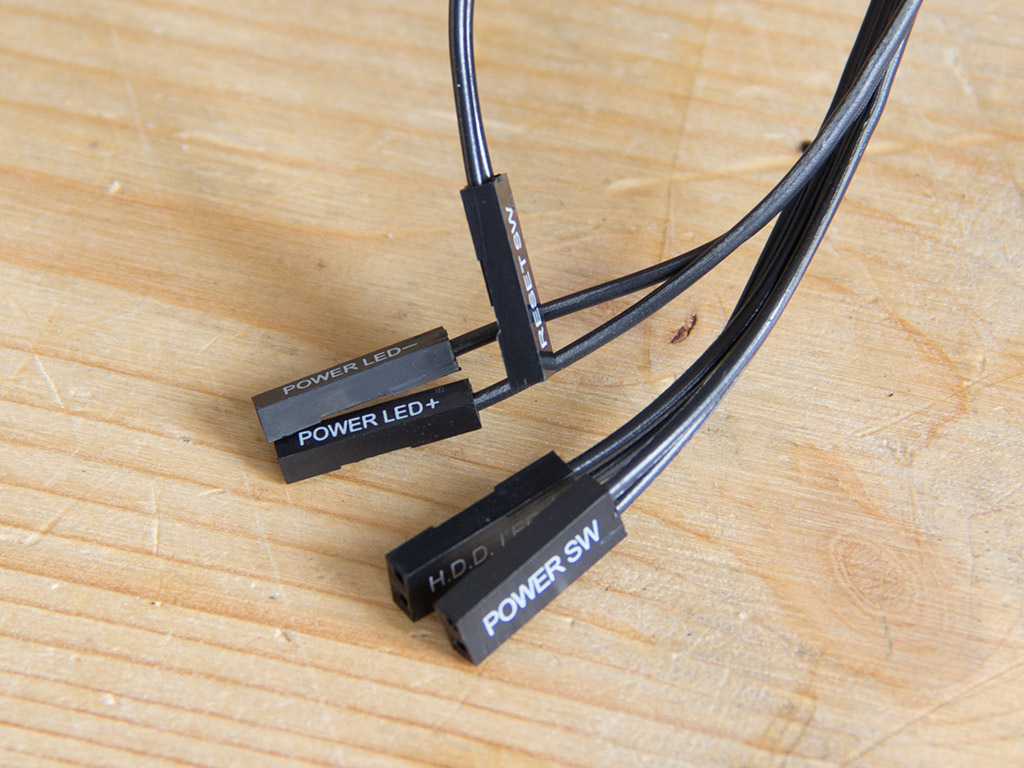
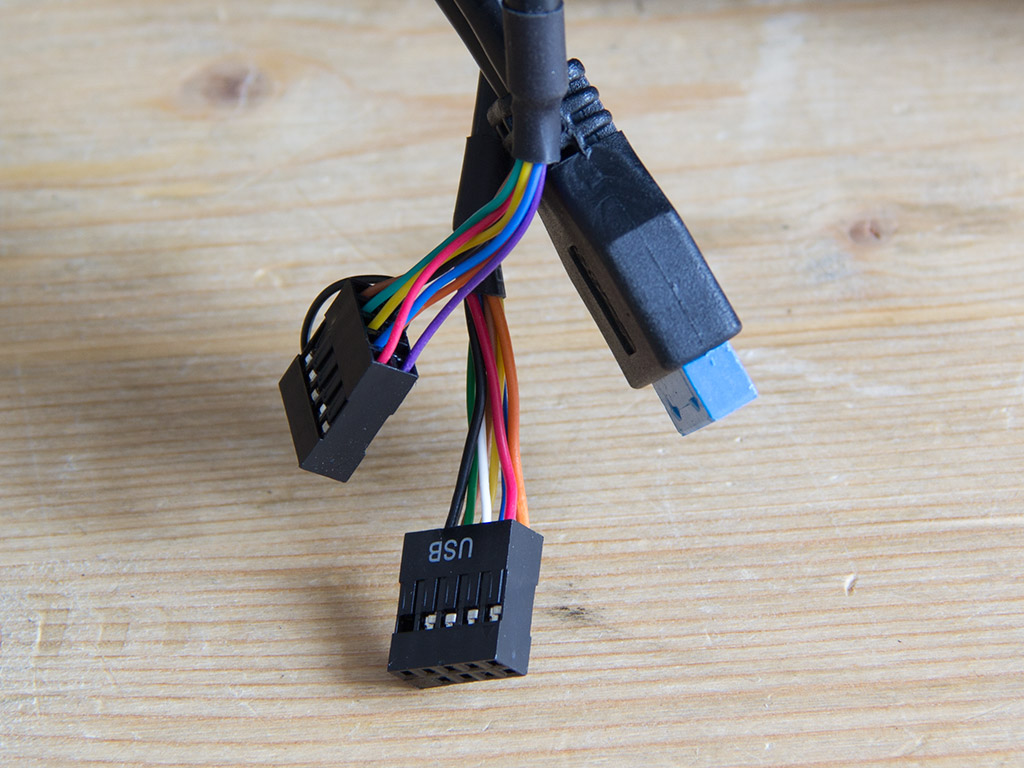
All the I/O and cables are of the standard variety. The cables are all sleeved black, so you can keep things looking cool inside the chassis. Nothing else worth mentioning here really, so lets move along.
Apr 29th, 2024 09:57 EDT
change timezone
Latest GPU Drivers
New Forum Posts
- Is it better for zero RPM PSUs to place the fan on top? (12)
- HP Workstations Owners Club (322)
- Does charging protection matter? (31)
- Why MS buying all of these Studios is bad for Gaming (25)
- What's your latest tech purchase? (20388)
- Z790 ACE MAX? (3)
- EK seems to be having major issues (53)
- Graphics cards (6)
- Old high quality PSU, or semi-old mid-quality PSU? (8)
- Dialing in the overlock on my new 12600kf, matured silicon process showing great results... (8)
Popular Reviews
- Ugreen NASync DXP4800 Plus Review
- HYTE THICC Q60 240 mm AIO Review
- Upcoming Hardware Launches 2023 (Updated Feb 2024)
- MOONDROP x Crinacle DUSK In-Ear Monitors Review - The Last 5%
- FiiO K19 Desktop DAC/Headphone Amplifier Review
- Thermalright Phantom Spirit 120 EVO Review
- AMD Ryzen 7 7800X3D Review - The Best Gaming CPU
- ASUS Radeon RX 7900 GRE TUF OC Review
- ASUS GeForce RTX 4070 Ti Super TUF Review
- PNY GeForce RTX 4070 Super Verto Review
Controversial News Posts
- Windows 11 Now Officially Adware as Microsoft Embeds Ads in the Start Menu (146)
- Sony PlayStation 5 Pro Specifications Confirmed, Console Arrives Before Holidays (117)
- Intel Statement on Stability Issues: "Motherboard Makers to Blame" (108)
- NVIDIA Points Intel Raptor Lake CPU Users to Get Help from Intel Amid System Instability Issues (106)
- AMD "Strix Halo" Zen 5 Mobile Processor Pictured: Chiplet-based, Uses 256-bit LPDDR5X (103)
- US Government Wants Nuclear Plants to Offload AI Data Center Expansion (98)
- AMD's RDNA 4 GPUs Could Stick with 18 Gbps GDDR6 Memory (96)
- TechPowerUp Hiring: Reviewers Wanted for Motherboards, Laptops, Gaming Handhelds and Prebuilt Desktops (85)