 0
0
QNAP TS-209 Pro Turbo Station Review
Performance »Installation

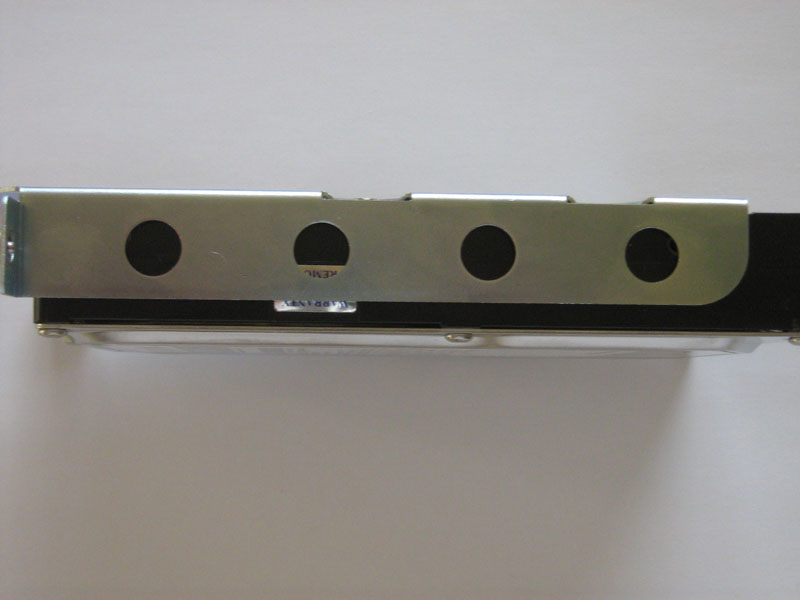
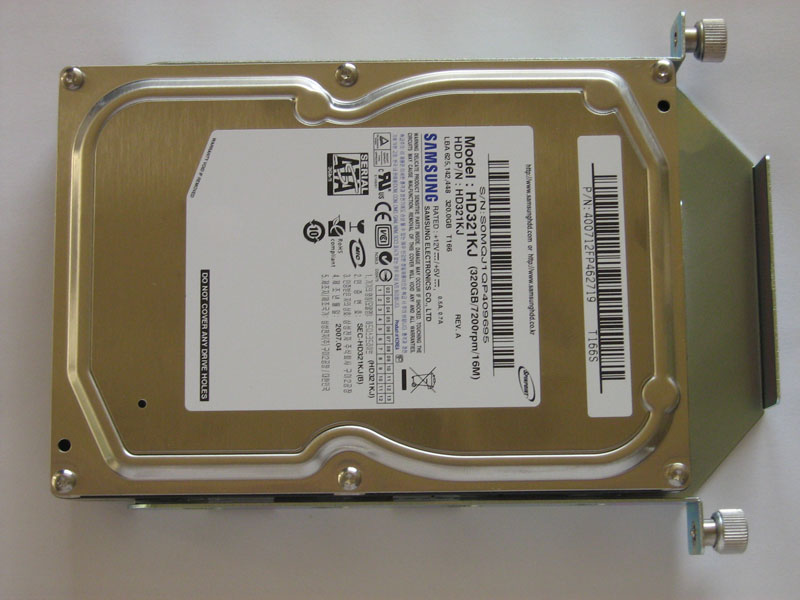
You screw a metal caddy to the harddisks before you slide them into the TS-209 Pro.
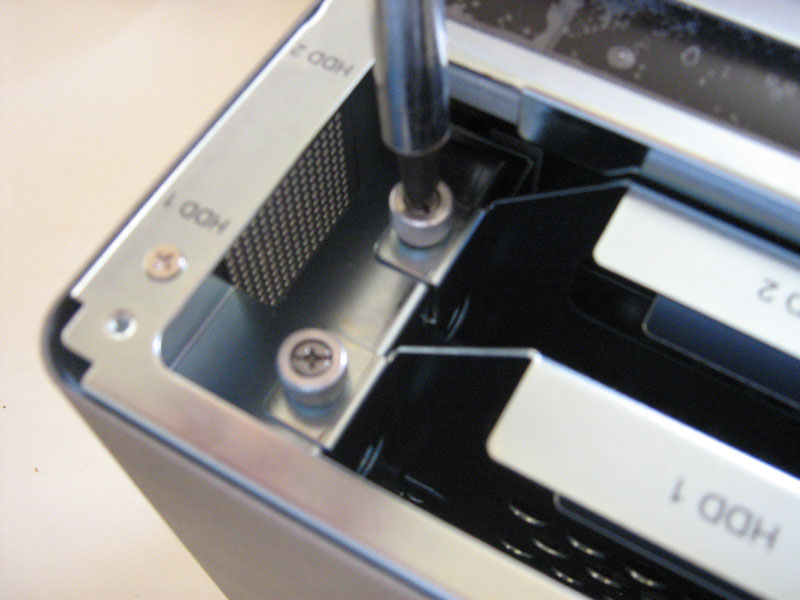
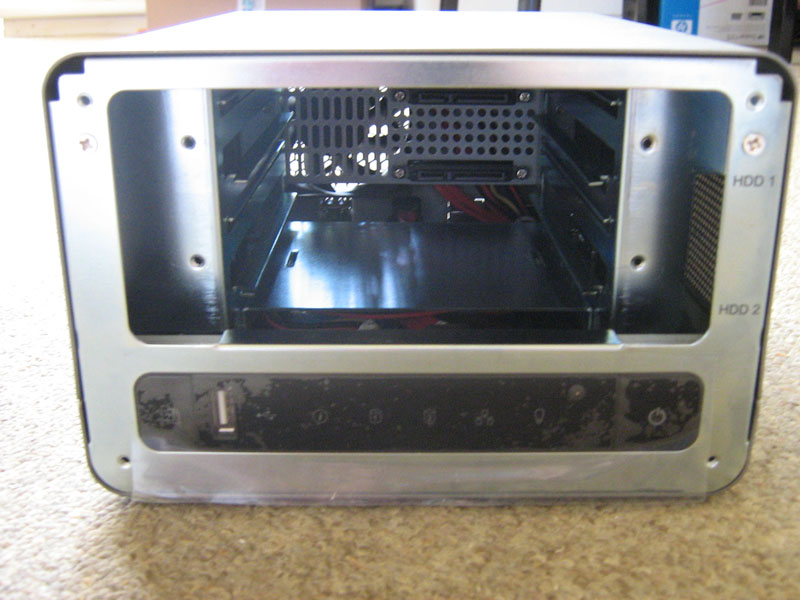
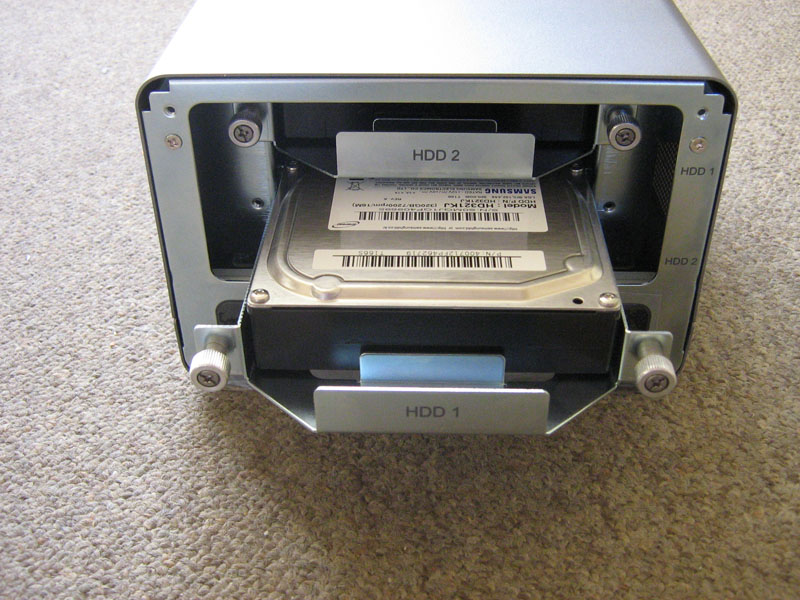
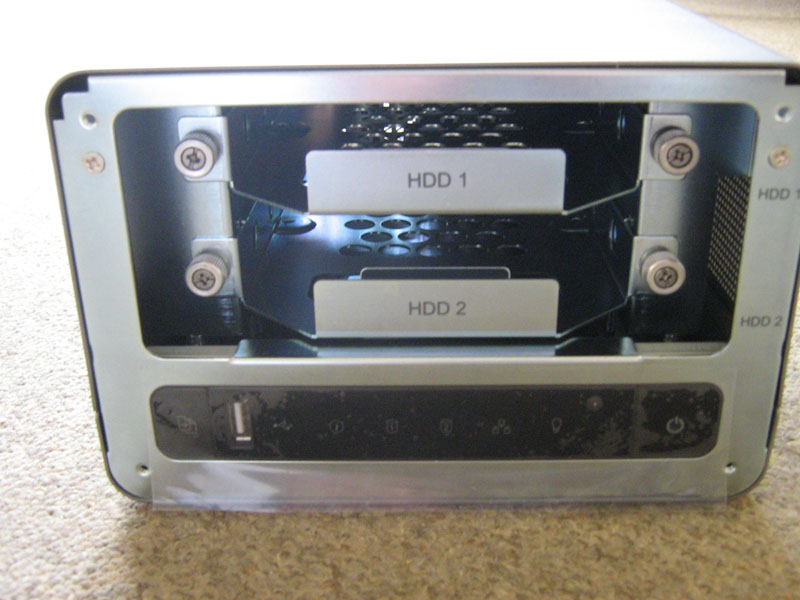
Changes to the installed drives can be done while the unit is turned on since the slots are fully hotswappable. This also prevents downtime from a failing disk when using RAID1.


To assist you with installation the manual unfolds into a huge sheet covering basic installation.


Installation is done via the QNAP finder, just like most QNAP products. The finder will locate the QNAP NAS device on the network and then allows you to do a basic setup. It will let you change the device's name, set up the harddisk(s) - basically makes the device work.

The setup asks for standard settings like time and network settings. After that the drive(s) have to be initialized. You can choose between RAID 0, 1 and JBOD. Additionally you can choose not to use RAID. For our tests I mainly used RAID 1. Everything will look the same and during benchmarks there won't be a difference due to network limitations.
After drive initialization a firmware image is asked, select the one you want and never look back at these settings again, unless of course you require some firmware update.
Services
Most of the services featured are identical to the earlier reviewed TS-109 pro, therefor I skipped most. The list is very long and suits the needs of about any home or small business user.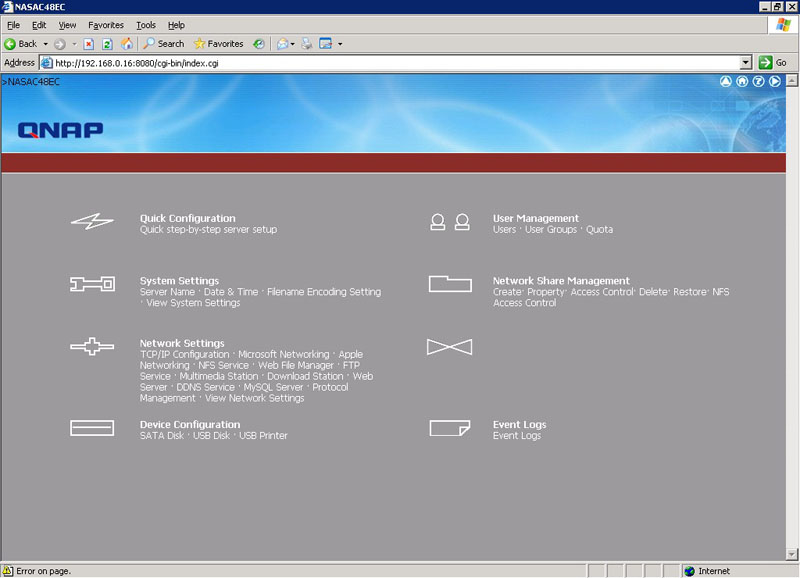
As you can see everything can be setup from the web interface. It pretty much explains itself. You can enable/disable services and each page contains a few handy options for the service.
For a list of services check out the TS-109 review.
The only real difference are the RAID options, which allow you to redefine the array. The complete list of services is quite impressive yet still easy to overlook.
Apr 28th, 2024 08:43 EDT
change timezone
Latest GPU Drivers
New Forum Posts
- DeepCool factory tour - very interesting (5)
- Aorus laptop 15p kd i7 11800h rtx 3060 (0)
- Which PSU to take? (13)
- Throttlestop I7-9750H is there a risk with raising PL1 and PL2? (9)
- Best SSD for system drive (111)
- XFX RX470 8GB no video and error 43 (31)
- Vintage hardware question! (1)
- problems flashing default bios to dual-bios rx 480 card (7)
- Help me identify rx 580 card ? (4)
- Whats the difference between TUF gaming 4070 ti super oc and non oc? (25)
Popular Reviews
- Ugreen NASync DXP4800 Plus Review
- HYTE THICC Q60 240 mm AIO Review
- Upcoming Hardware Launches 2023 (Updated Feb 2024)
- MOONDROP x Crinacle DUSK In-Ear Monitors Review - The Last 5%
- Thermalright Phantom Spirit 120 EVO Review
- FiiO K19 Desktop DAC/Headphone Amplifier Review
- AMD Ryzen 7 7800X3D Review - The Best Gaming CPU
- ASUS Radeon RX 7900 GRE TUF OC Review
- Intel Core i9-14900KS Review - The Last of its Kind
- Alienware Pro Wireless Gaming Keyboard Review
Controversial News Posts
- Windows 11 Now Officially Adware as Microsoft Embeds Ads in the Start Menu (139)
- Sony PlayStation 5 Pro Specifications Confirmed, Console Arrives Before Holidays (117)
- NVIDIA Points Intel Raptor Lake CPU Users to Get Help from Intel Amid System Instability Issues (106)
- AMD "Strix Halo" Zen 5 Mobile Processor Pictured: Chiplet-based, Uses 256-bit LPDDR5X (103)
- US Government Wants Nuclear Plants to Offload AI Data Center Expansion (98)
- AMD's RDNA 4 GPUs Could Stick with 18 Gbps GDDR6 Memory (95)
- Developers of Outpost Infinity Siege Recommend Underclocking i9-13900K and i9-14900K for Stability on Machines with RTX 4090 (85)
- Windows 10 Security Updates to Cost $61 After 2025, $427 by 2028 (84)