 6
6
Seasonic Platinum Series Fanless 460 W Review
A Look Inside & Component Analysis »Packaging
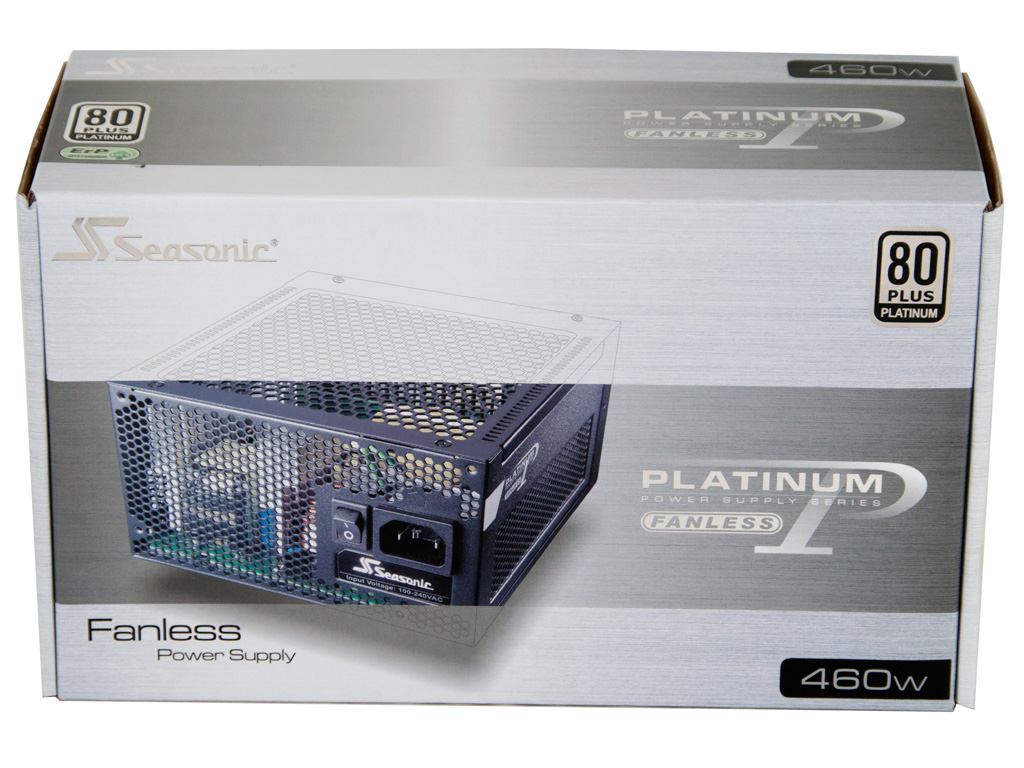


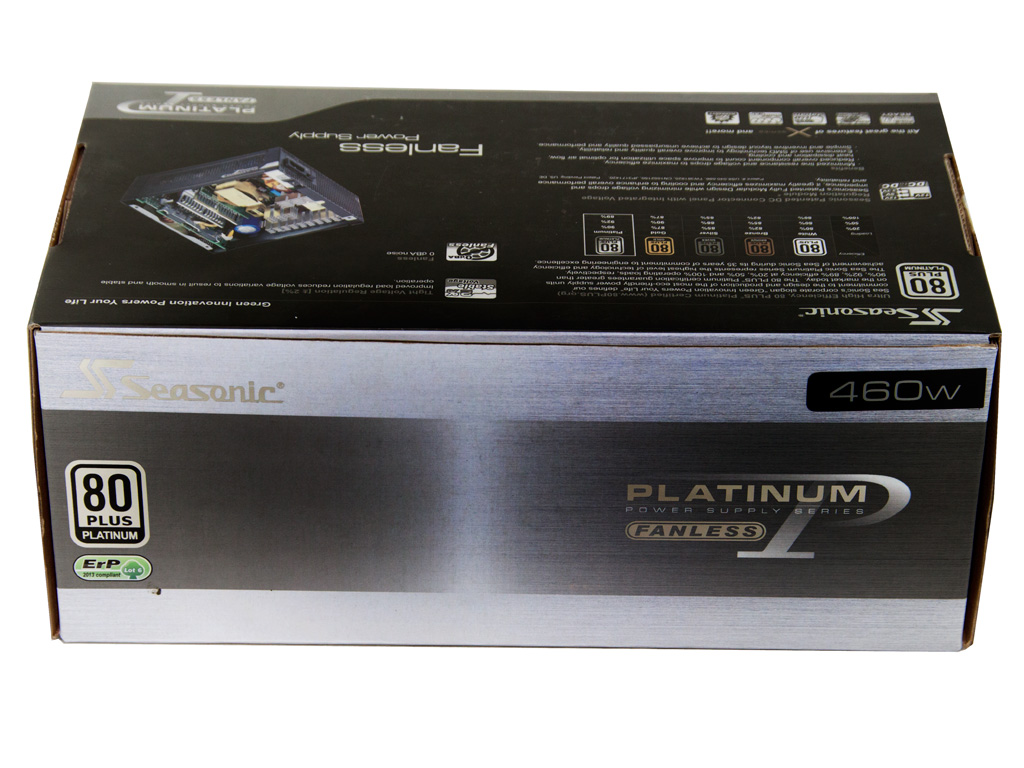
The small package features a platinum-colored backdrop as a direct reference to the PSU's official efficiency certification. In the top-right corner resides the Platinum badge, and Seasonic's logo is located in the opposite corner. The middle of the front also has a photo showcasing the unit's front side. The PSU's capacity is highlighted against a black background found close to the bottom-right corner of the box.


One of sides has a photo of the unit's modular panel, while the other side has a list of the unit's technical characteristics and the power specifications table.
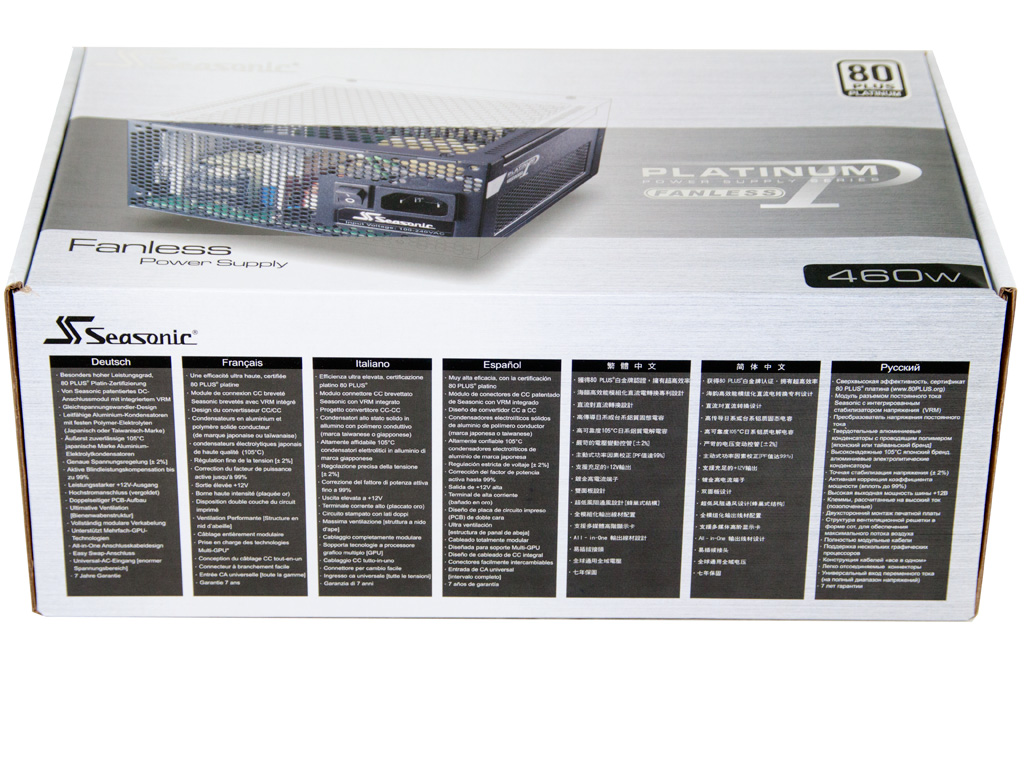

The top side only has the series description along with the EuP 2013 and Platinum badges. A multilingual features description is given on the opposite side.
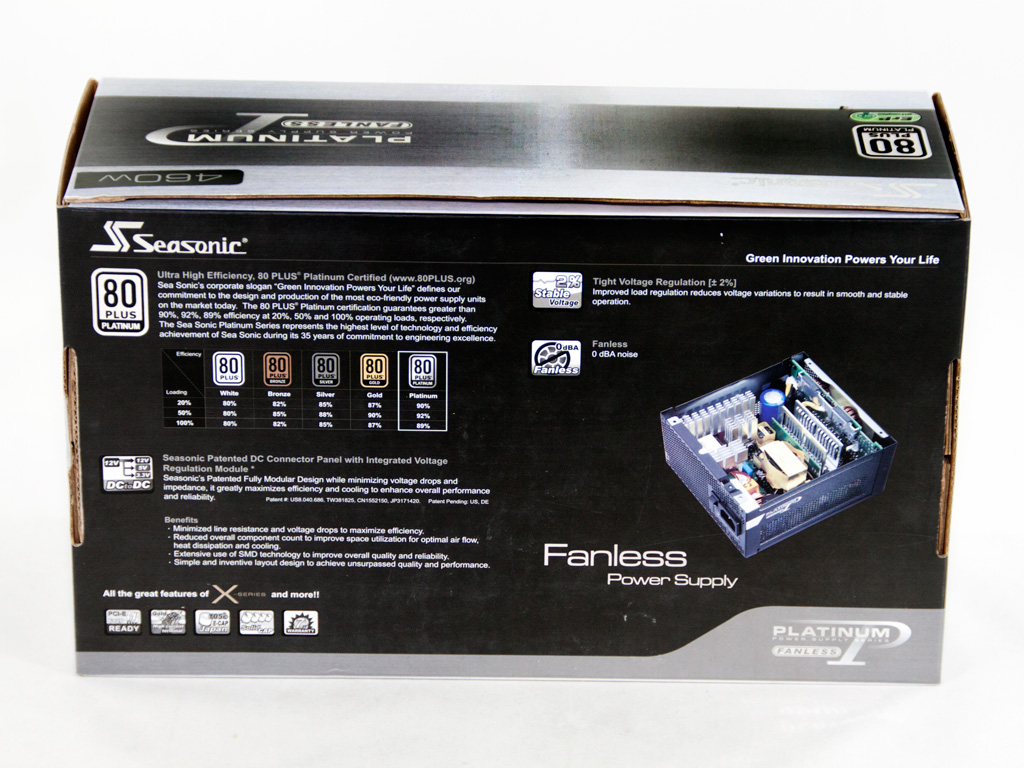
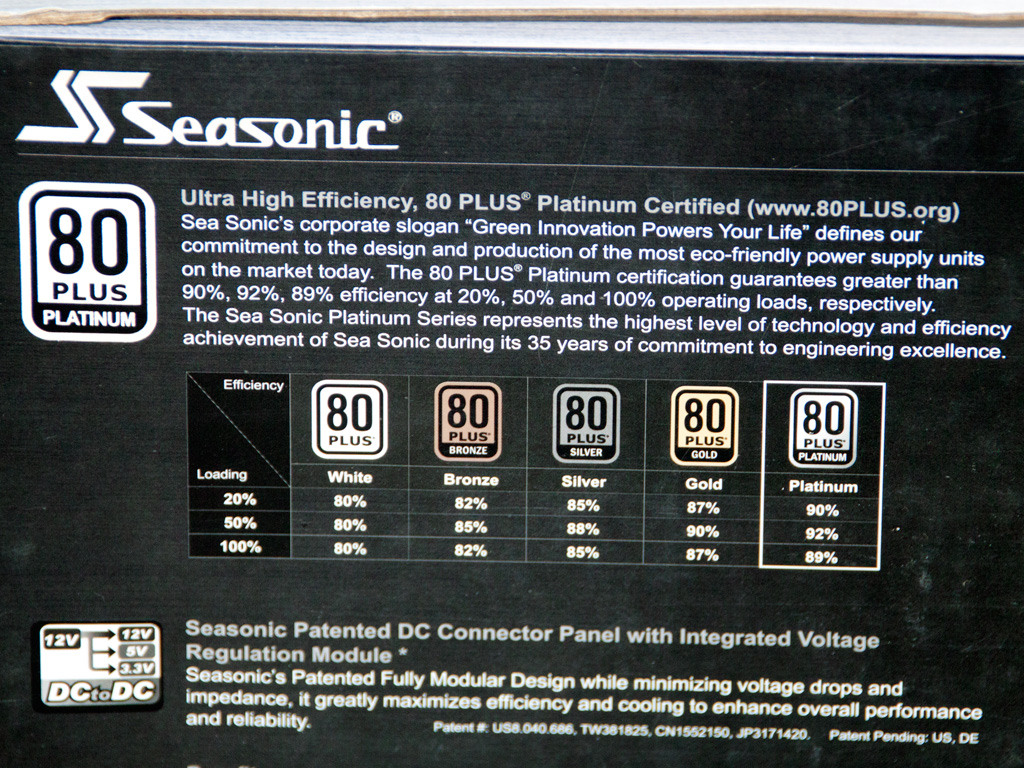


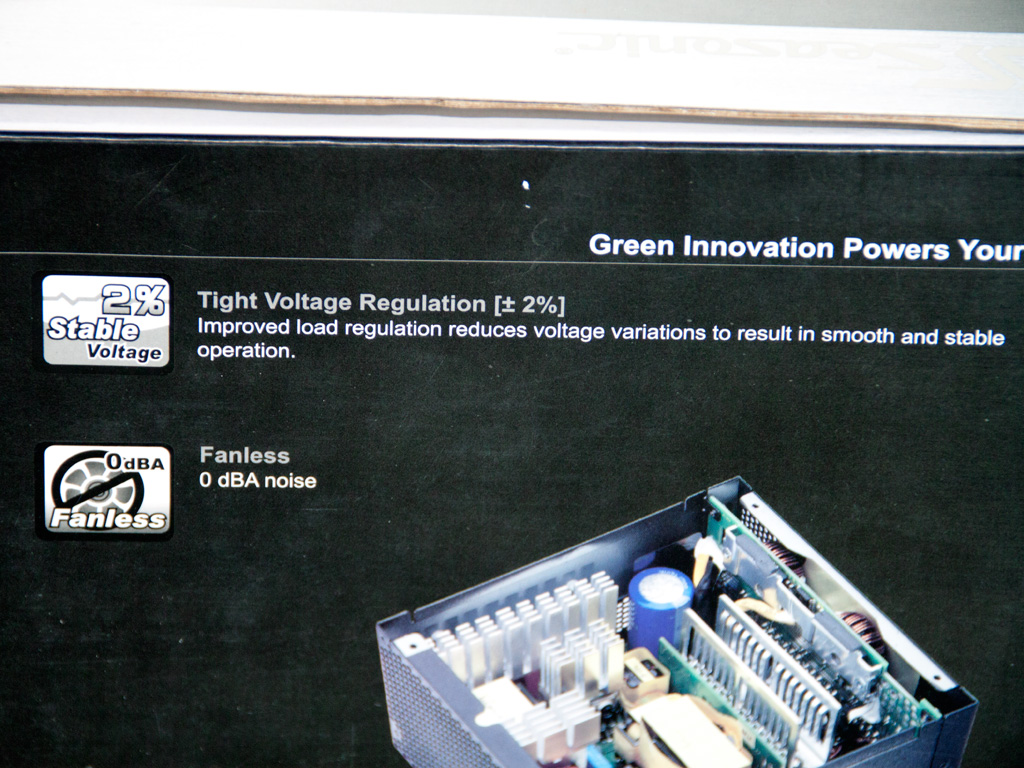

The rear side provides some useful information about the official 80 Plus standard certifications and has some paragraphs that explain the PSU's most significant features. This side also has an interesting photo of the unit's internals and a statement by Seasonic: Their new fanless Platinum PSUs offer a couple new features in addition to all the features of the previous X-series units.
Contents
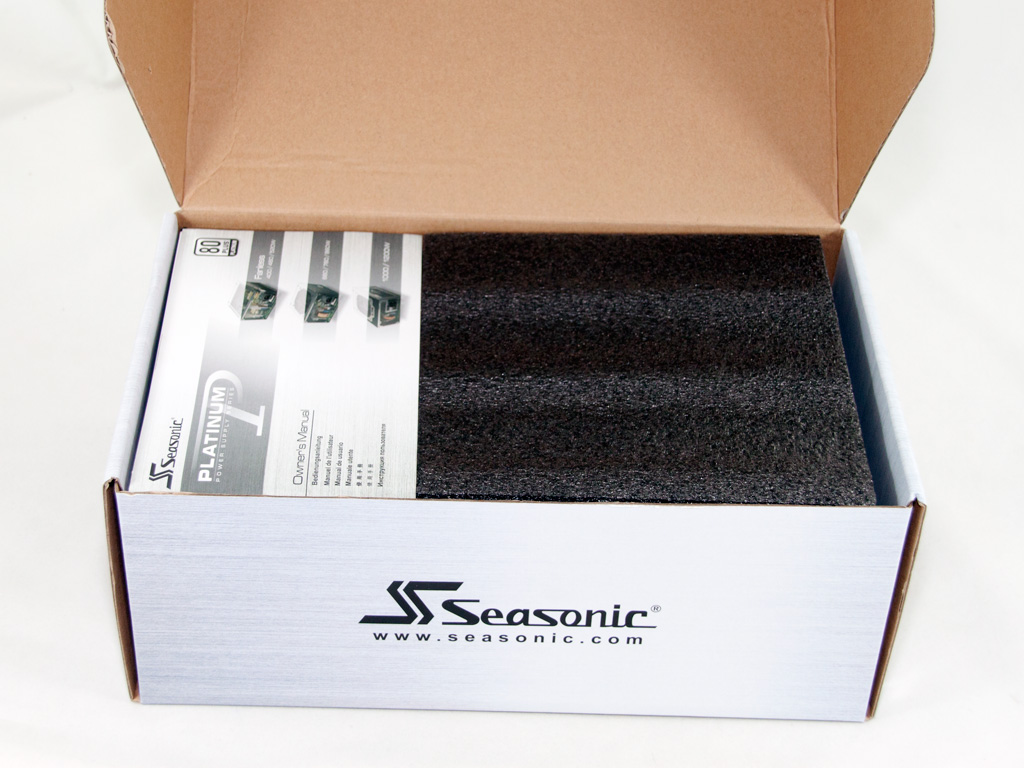


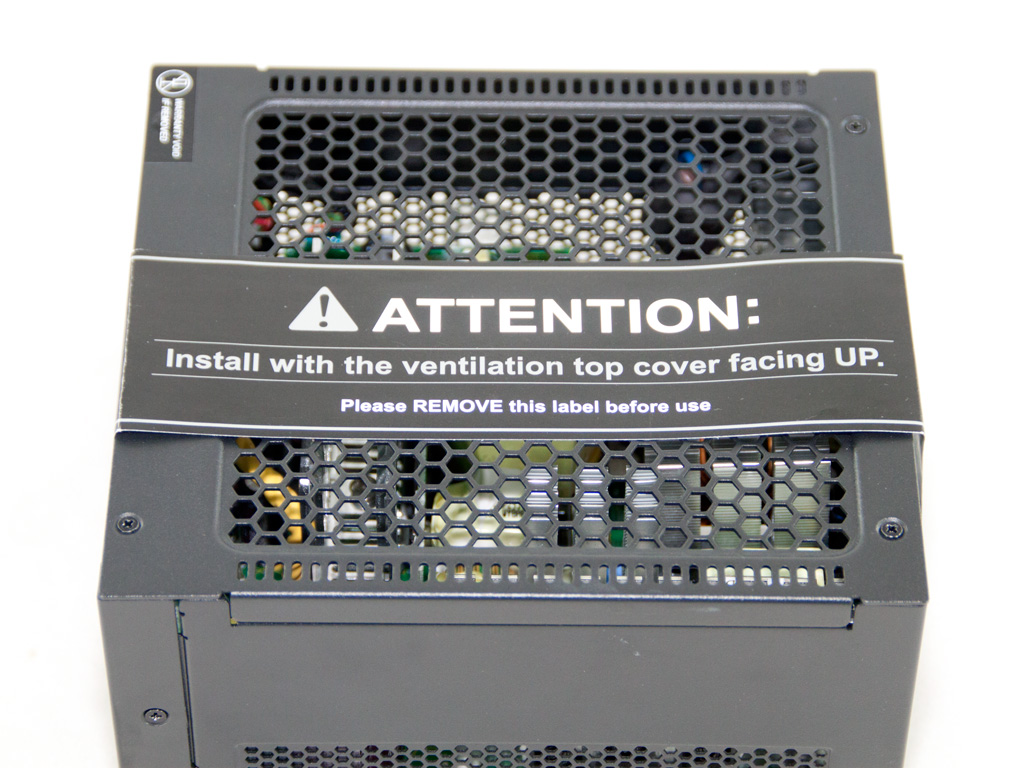
Like all Seasonic products, this one is adequately protected by packing foam. It is also stored inside a nice velvet bag, which makes the high price Seasonic asks for the unit a little more agreeable. We also found a notification label on the PSU informing us that it should be installed with the top ventilation cover facing up. For everyone that forgot some of the basics behind physics: hot air is lighter than cold air and travels up. Installing the PSU with the top ventilation cover facing down would trap all the hot air inside the PSU, and trapped hot air creates overheating issues.


A nice, large pouch holds what few modular cables there are and the AC power cord. The bundle is pretty rich and includes several Velcro straps, some zip ties, a set of fixing bolts, a case badge, and the user's manual.
Exterior


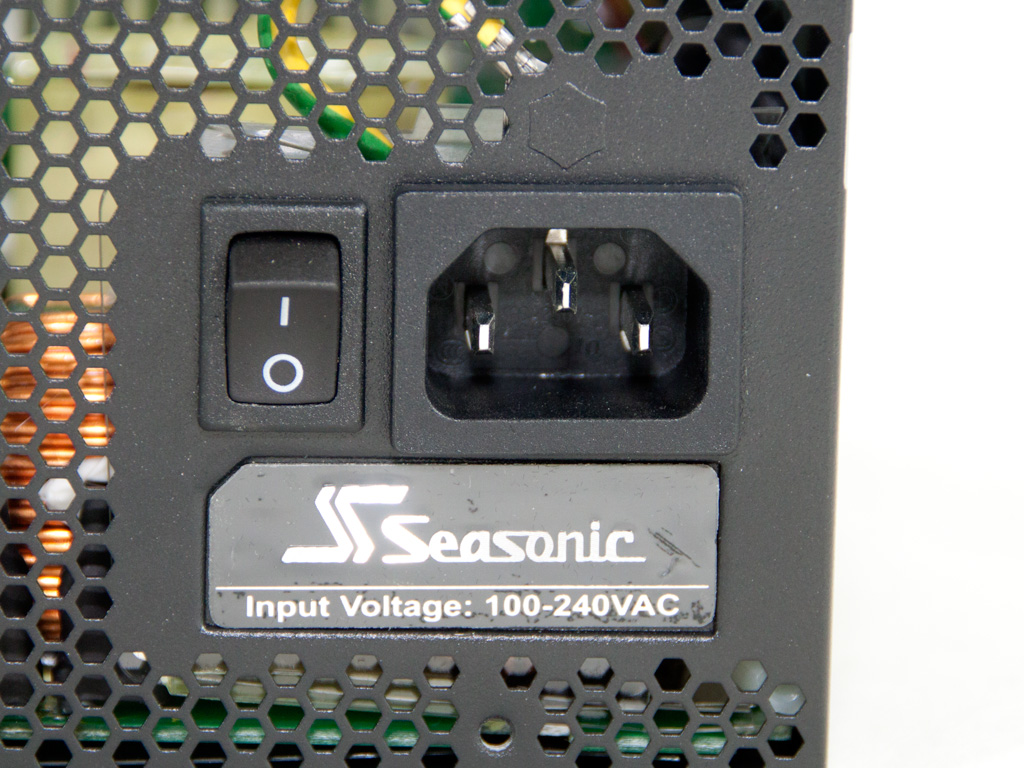

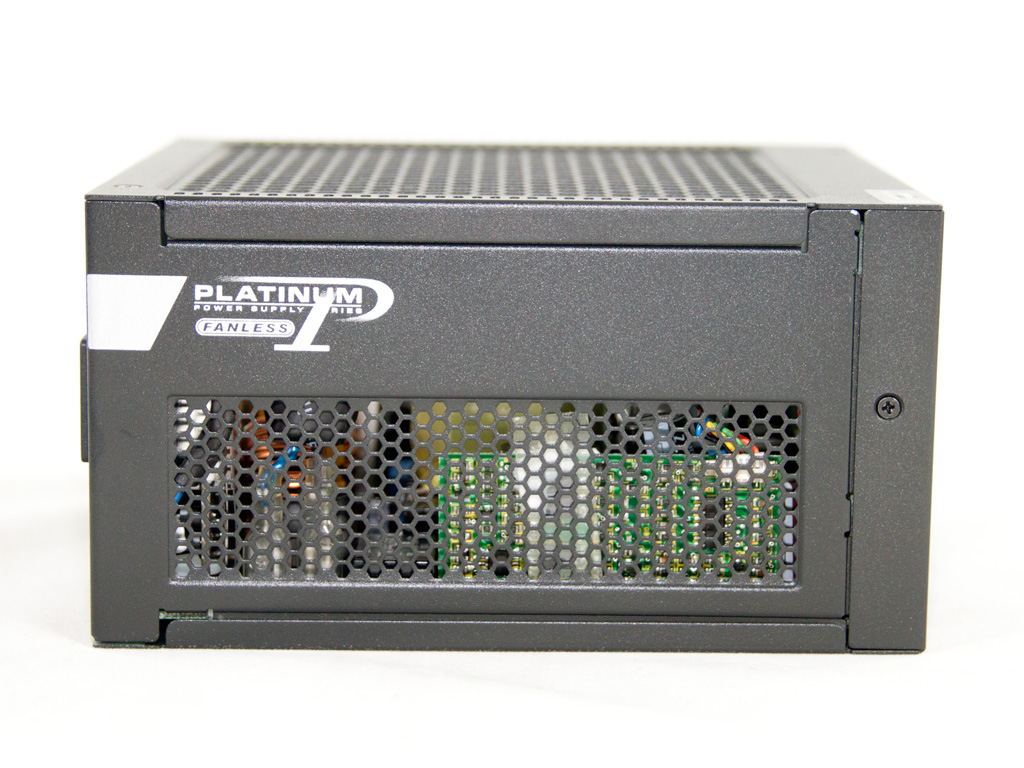
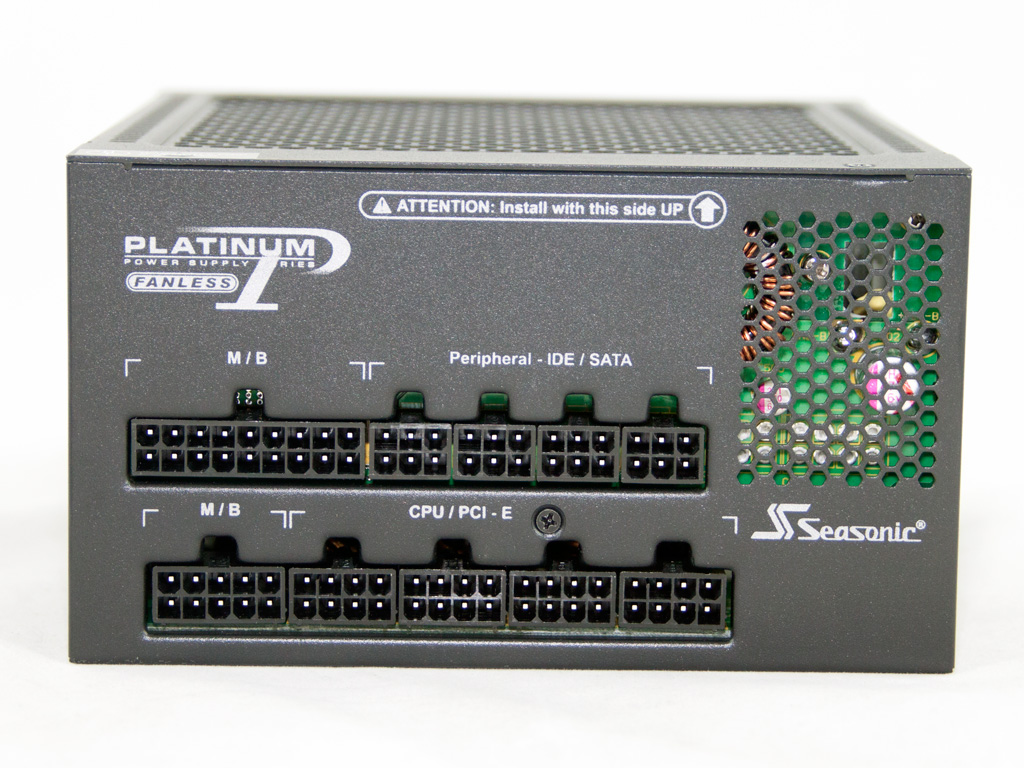


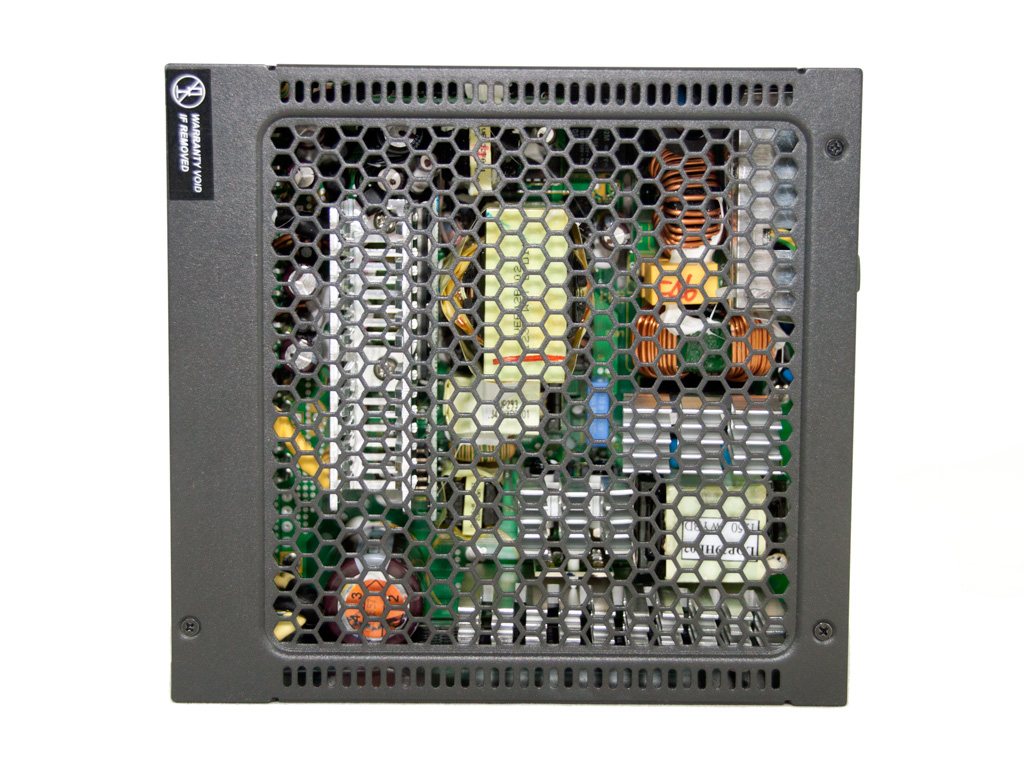

The enclosure looks like Swiss cheese. It is full of ventilation holes to allow for optimal airflow. We find a useful on/off switch at the front, besides the essential AC receptacle. The decals on the sides are very small because the vents occupy most of the real estate. The rear side has plenty of modular sockets and connecting everything will even leave you with a spare 8-pin socket, which would allow you to increase your EPS or PCIe cable count if you were to get an additional one. The specifications label is installed on the bottom side, while the top side of the unit grants a clear view the internals through all the holes it features.
May 13th, 2024 04:37 EDT
change timezone
Latest GPU Drivers
New Forum Posts
- Looking for a new case, cube shaped only. (5)
- PSU Option for my PC (11)
- Purchased an AX1200i PSU as part of some forward planning, what tier is this PSU? (59)
- LOL ASUS says this is $200 in repair, Steve from gamers Nexus smokes ASUS, Steam Deck til I die boys!!!! (77)
- Cyberpunk 2077 Game Discussion (2126)
- AIO Water Cooler vs Tower Air Cooler (8)
- Which RAM for AMD 7950X3D (3)
- Soundbar or 2.1 speaker for virtual 3d audio in PC games... (12)
- How to optimize my PC by overclocking my system (11)
- Ryzen Owners Zen Garden (7308)
Popular Reviews
- ZMF Caldera Closed Planar Magnetic Headphones Review
- Corsair MP700 Pro SE 4 TB Review
- Bykski CPU-XPR-C-I CPU Water Block Review - Amazing Value!
- ThundeRobot ML903 NearLink Review
- Upcoming Hardware Launches 2023 (Updated Feb 2024)
- CHERRY XTRFY M64 Pro Review
- AMD Ryzen 7 7800X3D Review - The Best Gaming CPU
- ASUS Radeon RX 7900 GRE TUF OC Review
- Corsair iCUE Link RX120 RGB 120 mm Fan Review
- Sapphire Radeon RX 7900 GRE Pulse Review
Controversial News Posts
- Intel Statement on Stability Issues: "Motherboard Makers to Blame" (266)
- AMD to Redesign Ray Tracing Hardware on RDNA 4 (224)
- Windows 11 Now Officially Adware as Microsoft Embeds Ads in the Start Menu (171)
- NVIDIA to Only Launch the Flagship GeForce RTX 5090 in 2024, Rest of the Series in 2025 (151)
- Sony PlayStation 5 Pro Specifications Confirmed, Console Arrives Before Holidays (119)
- AMD's RDNA 4 GPUs Could Stick with 18 Gbps GDDR6 Memory (114)
- AMD Hits Highest-Ever x86 CPU Market Share in Q1 2024 Across Desktop and Server (110)
- AMD Ryzen 9 7900X3D Now at a Mouth-watering $329 (104)