 2
2
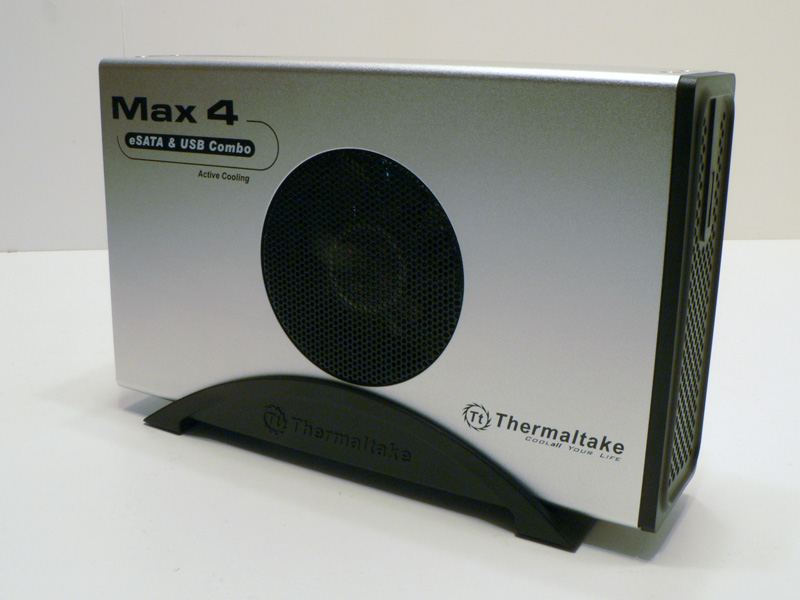
Thermaltake Max 4 Active Cooling Enclosure Review
Performance »Assembly
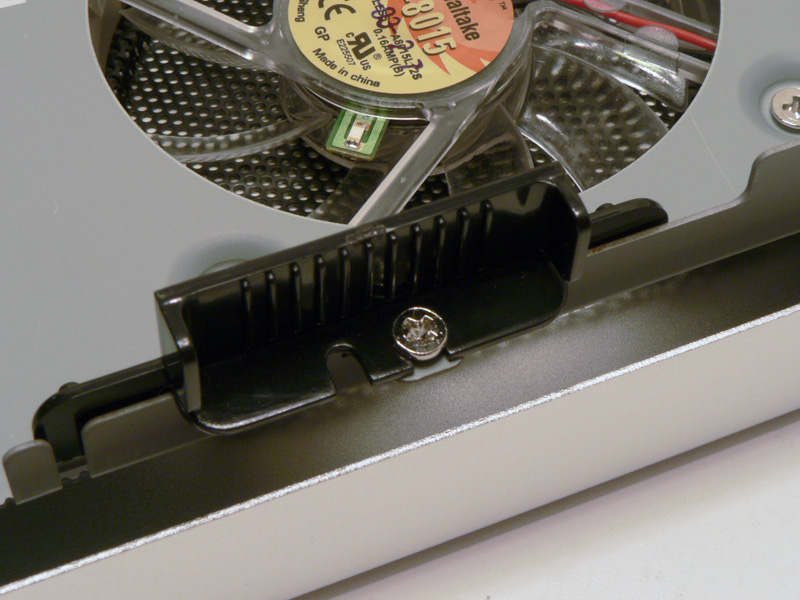

To install a hard disk drive in the Thermaltake Max 4, the right side cover needs to be removed by taking out the four screws as shown earlier. There are two black plastic mounting tabs inside the unit, with one on each side. Removing the single screw from each one allows the tabs to come free.

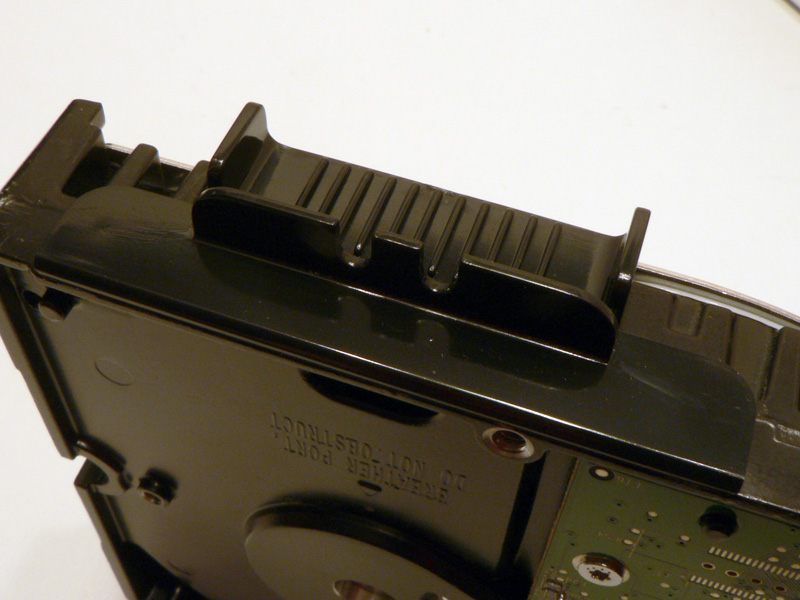
The drive being installed in the Max 4 is a Western Digital Raptor. Place one mounting tab on each side of the drive, inserting the small round bumps on each of the tabs into the screw holes on the side of the drive. Since the tabs do not stay in by themselves, they must be held in place until the next step is complete.
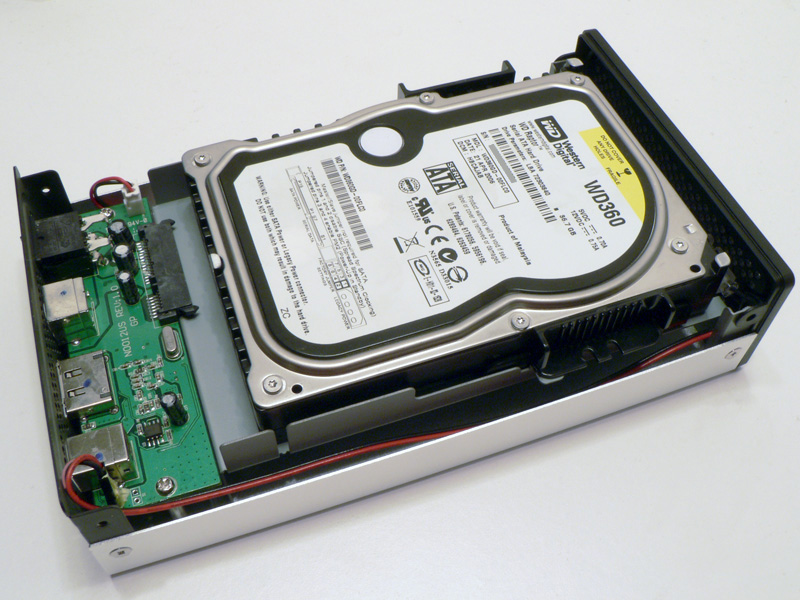

Lay the drive down on top of the open chassis. While holding on to the drive and the tabs, slide both of them toward the PCB until the connection is made and the screw holes line up under the mounting tabs.


Insert the two screws through the mounting tabs and tighten the screws until they are snug. The connection may not seat completely, but there should be sufficient contact.

Place the right side panel back on and replace the four screws to hold everything together. Set the assembled enclosure on top of the black plastic stand to place it upright.
Apr 25th, 2024 20:04 EDT
change timezone
Latest GPU Drivers
New Forum Posts
- Post your Speedometer 3.0 Score (35)
- Core PL1 + GPU PL1 + Ring EDP OTHER (10)
- Size on Disk Excessively Different than Size (8)
- Best SSD for system drive (80)
- Dell Workstation Owners Club (3055)
- Which new games will you be buying? (315)
- BSOD if I touch the pcache offset voltage in throttlestop (i9-13900hx lenovo pro 7i) (23)
- Alphacool CORE 1 CPU block - bulging with danger of splitting? (16)
- How to check flatness of CPUs and coolers - INK and OPTICAL INTERFERENCE methods (112)
- TPU's Nostalgic Hardware Club (18464)
Popular Reviews
- Fractal Design Terra Review
- Thermalright Phantom Spirit 120 EVO Review
- Corsair 2000D Airflow Review
- Minisforum EliteMini UM780 XTX (AMD Ryzen 7 7840HS) Review
- ASUS GeForce RTX 4090 STRIX OC Review
- NVIDIA GeForce RTX 4090 Founders Edition Review - Impressive Performance
- ASUS GeForce RTX 4090 Matrix Platinum Review - The RTX 4090 Ti
- MSI GeForce RTX 4090 Suprim X Review
- MSI GeForce RTX 4090 Gaming X Trio Review
- Gigabyte GeForce RTX 4090 Gaming OC Review
Controversial News Posts
- Sony PlayStation 5 Pro Specifications Confirmed, Console Arrives Before Holidays (117)
- Windows 11 Now Officially Adware as Microsoft Embeds Ads in the Start Menu (107)
- NVIDIA Points Intel Raptor Lake CPU Users to Get Help from Intel Amid System Instability Issues (106)
- AMD "Strix Halo" Zen 5 Mobile Processor Pictured: Chiplet-based, Uses 256-bit LPDDR5X (101)
- US Government Wants Nuclear Plants to Offload AI Data Center Expansion (98)
- AMD's RDNA 4 GPUs Could Stick with 18 Gbps GDDR6 Memory (88)
- Developers of Outpost Infinity Siege Recommend Underclocking i9-13900K and i9-14900K for Stability on Machines with RTX 4090 (85)
- Windows 10 Security Updates to Cost $61 After 2025, $427 by 2028 (84)