 0
0
Thermaltake W2 GPU waterblock Review
Performance »The waterblock
Instantly upon opening the box, you realize that the waterblock is quite small. The base is protected with transparent plastic, to ensure a scratch-free surface for the user. Interestingly, there are no seals on the block, it is brazed shut. This ensures no leaks from the waterblock itself, but also makes it impossible to change barbs on the block. A Tt sticker is present on the top of the waterblock.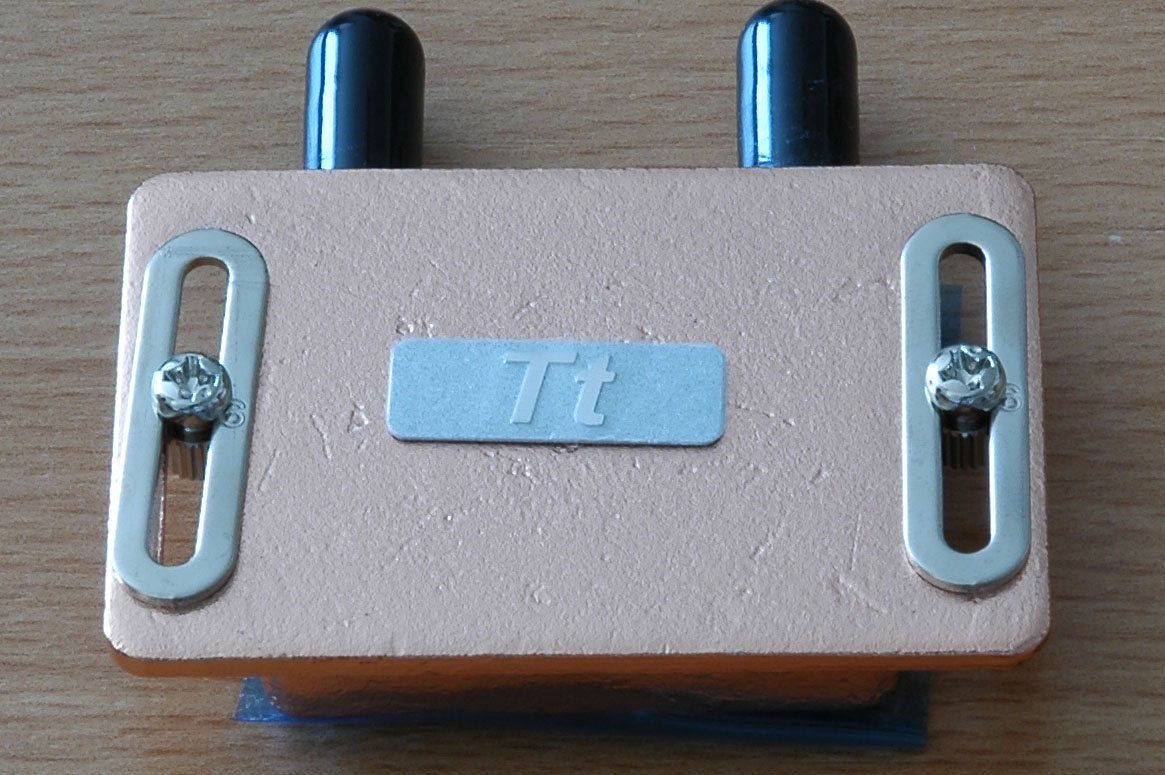
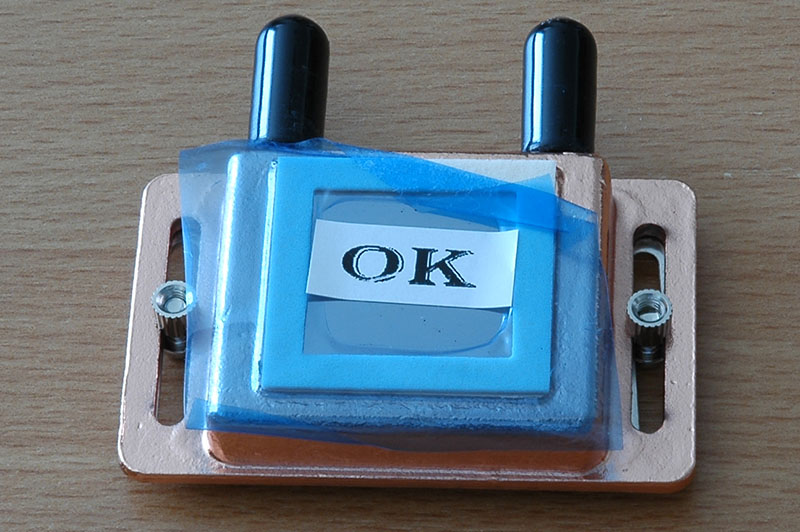
The bottom side of the block has a cushion on it. This prevents the block from shorting out circuitry on the core, but also stops users from mounting the block onto graphic cards with large GPU cores. The bottom of the block is flat and lapped to a mirror finish, faint milling marks can be seen.

Installation
I decided that I would install the block on my Gainward 6800 Ultra, but unfortunately, I did not succeed. Here, the cushion was the problem – the core of the 6800 Ultra is simply too big. Also, there is a HSI bridge right under the core. I could not get the block to cover both of these, so I opted to install the block on a Sapphire Radeon X800GT.First, I removed the plastic caps covering the barbs, and slid on the tubing provided. The clamps do a good job of holding it on, I tugged at the tubing several times and it did not come off. I then screwed in the 3/8” barbs, no Teflon tape was necessary as the barbs come with o-rings.

I would like to point out one sad thing though. To me, it seems as if words like “restriction” and “flow rate” mean nothing to the people at Thermaltake. The tubing has a very small ID, and adds to the overall restriction in a water cooling loop.

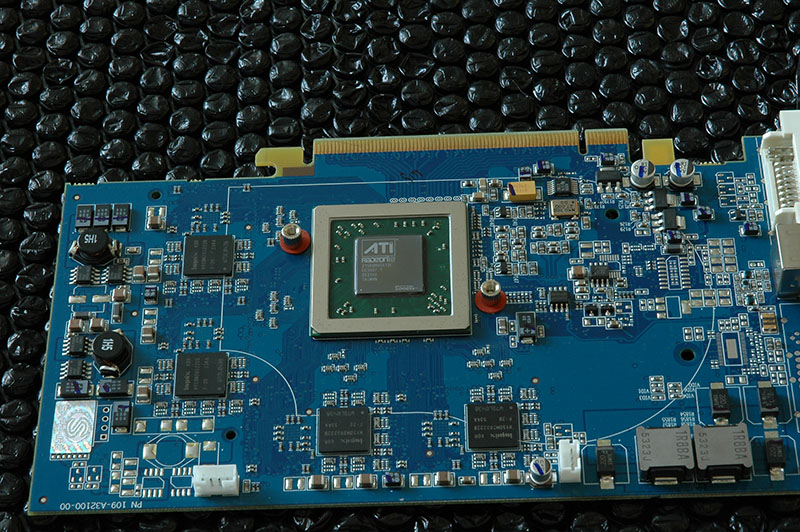
Next, I removed the original cooler and cleaned up the thermal paste.

Following the instructions, I installed two screws with fibre washers through the card, and secured the rear bracket:

The instructions say nothing about how much you should tighten the screws, so I tightened them as hard as I could. This resulted in the bracket bending.
I applied a thin layer of Arctic Silver Ceramique on the core and installed the block.

The whole setup looked like this:

Installed, the card with the waterblock takes up very little space, you can mount a card in the slot right next to it:

Apr 26th, 2024 03:51 EDT
change timezone
Latest GPU Drivers
New Forum Posts
- Which new games will you be buying? (320)
- Alphacool CORE 1 CPU block - bulging with danger of splitting? (21)
- TPU's Nostalgic Hardware Club (18467)
- Best SSD for system drive (82)
- What phone you use as your daily driver? And, a discussion of them. (1484)
- What's your latest tech purchase? (20342)
- AMD RX 7000 series GPU Owners' Club (1087)
- im new to throttelstop and i think i messed it up by copying others any hints would be very much aprreciated (3)
- Horizontal black lines popping up on my screen? (4)
- Black screen after muting (5)
Popular Reviews
- Fractal Design Terra Review
- Thermalright Phantom Spirit 120 EVO Review
- Corsair 2000D Airflow Review
- ASUS GeForce RTX 4090 STRIX OC Review
- NVIDIA GeForce RTX 4090 Founders Edition Review - Impressive Performance
- ASUS GeForce RTX 4090 Matrix Platinum Review - The RTX 4090 Ti
- MSI GeForce RTX 4090 Suprim X Review
- Gigabyte GeForce RTX 4090 Gaming OC Review
- MSI GeForce RTX 4090 Gaming X Trio Review
- MSI GeForce RTX 4090 Suprim Liquid X Review
Controversial News Posts
- Windows 11 Now Officially Adware as Microsoft Embeds Ads in the Start Menu (118)
- Sony PlayStation 5 Pro Specifications Confirmed, Console Arrives Before Holidays (117)
- NVIDIA Points Intel Raptor Lake CPU Users to Get Help from Intel Amid System Instability Issues (106)
- AMD "Strix Halo" Zen 5 Mobile Processor Pictured: Chiplet-based, Uses 256-bit LPDDR5X (101)
- US Government Wants Nuclear Plants to Offload AI Data Center Expansion (98)
- AMD's RDNA 4 GPUs Could Stick with 18 Gbps GDDR6 Memory (88)
- Developers of Outpost Infinity Siege Recommend Underclocking i9-13900K and i9-14900K for Stability on Machines with RTX 4090 (85)
- Windows 10 Security Updates to Cost $61 After 2025, $427 by 2028 (84)