 0
0
Viako Mini Letter ML-55 E-350 Wifi Review
Assembly & Finished Looks »A Closer Look - Outside
Before I start, let me mention, that Viako ships the Mini Letter ML-55 E-350 with the mainboard and the PCIe WiFi card pre-installed. I have taken the board out for the pictures below, so that you get a feel for what you will have to deal with when you just buy the "ML-55 Power Kit" instead of a barebone.
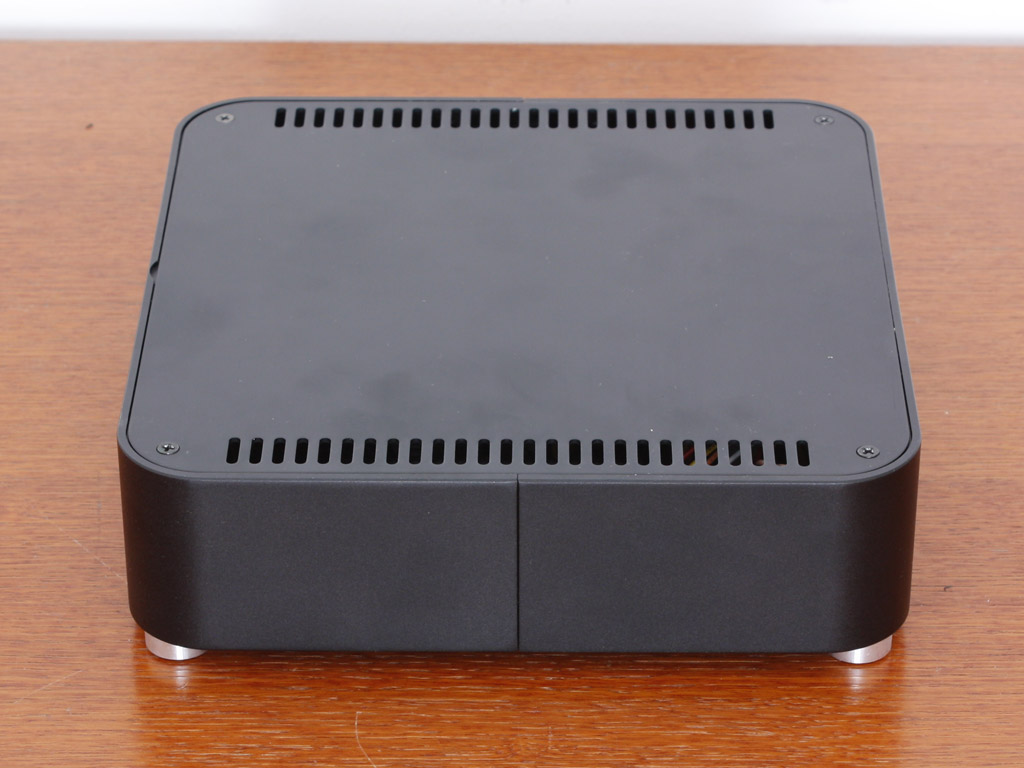
Not knowing what to expect, I am rather surprised by the overall quality of the chassis. Viako has chosen to use various metals to construct the chassis. The basic form is simple but effective and the case makes an excellent impression. Only the large, silver power button disturbs the overall looks of the black chassis. Maybe it would have been a good thing to go with a black button, while keeping it silver for the silver version of the enclosure.


The case itself is 55 mm high, plus the four silver feet below. Viako has chosen not to include any connectivity up front. I would have loved to see at least some USB connectivity. The larger cases from the company offer such a feature, so if this is important to you, you can opt for one of those models. The entire rear area is taken by the opening for the mainboard. Nothing else to see here - move along.
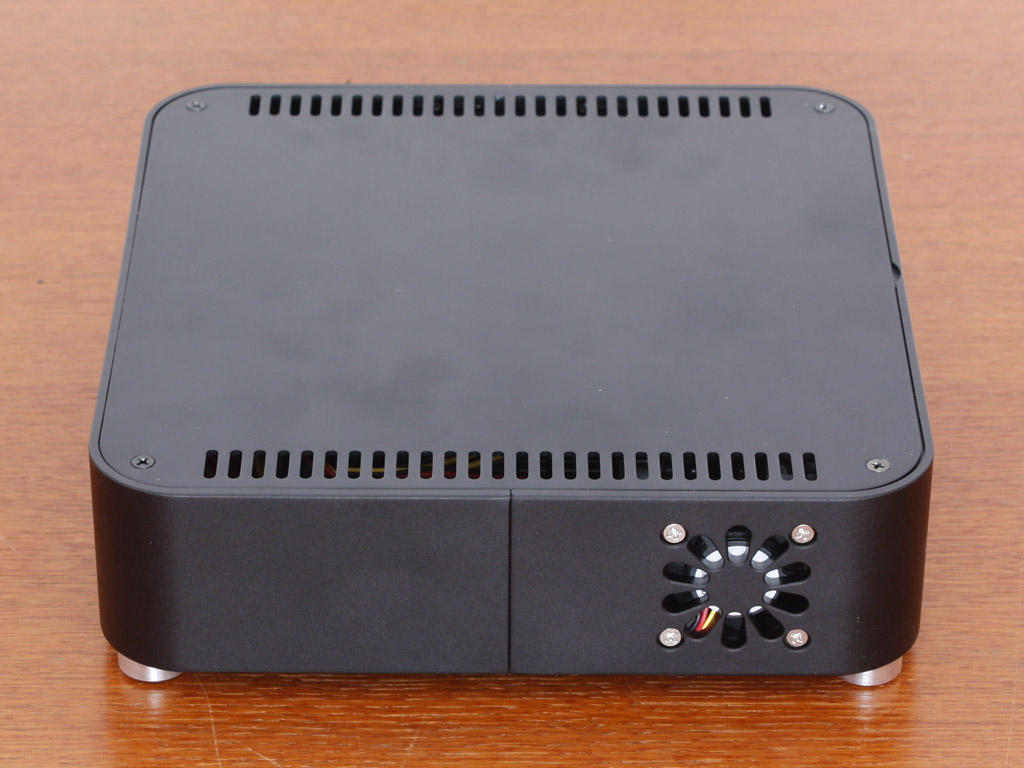
Taking a alook at the sides, it becomes apparent that the case is formed by two symmetrical "u-shaped" parts which are connected so that there are no screws visible on the outside. There is a single 40 mm fan on one side, which luckily is not very noisy at all. It is secured by plain silver screws. Once again, I would have liked to see black ones used in this area. to go with the color of the chassis.
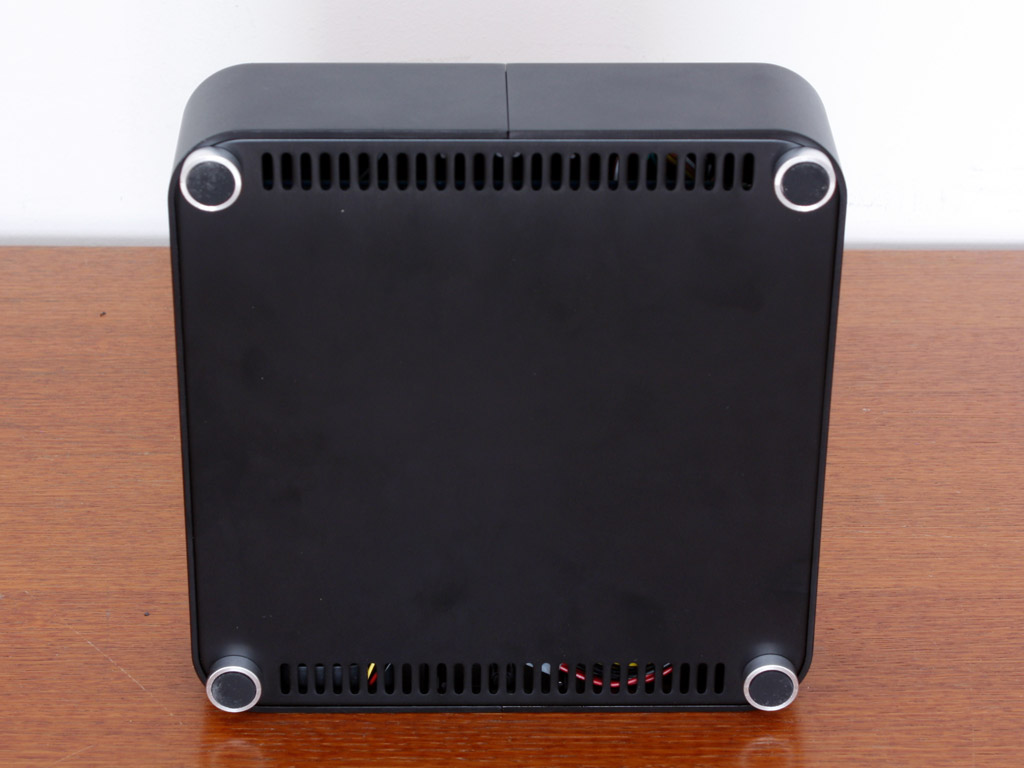
Taking a quick look on the underside, there are similar air vents as on the top, running down either side of the chassis. The four feet are of adequate quality and give the unit that "HiFi look".
A Closer Look - Inside

To gain access to the chassis, simply remove the four black screws holding the top cover in place. The inside is very simple and only the power conversion PCB can be found inside.


This converter has been placed across the front of the chassis, which may be one of the reasons why no front panel connectivity is provided. The single 40 mm fan comes with a 3-pin header so that you can allow the mainboard to adjust the overall speed of the cooling unit to keep noise down to a minimum. As you can see, the mainboard stand-offs are part of the case floor.
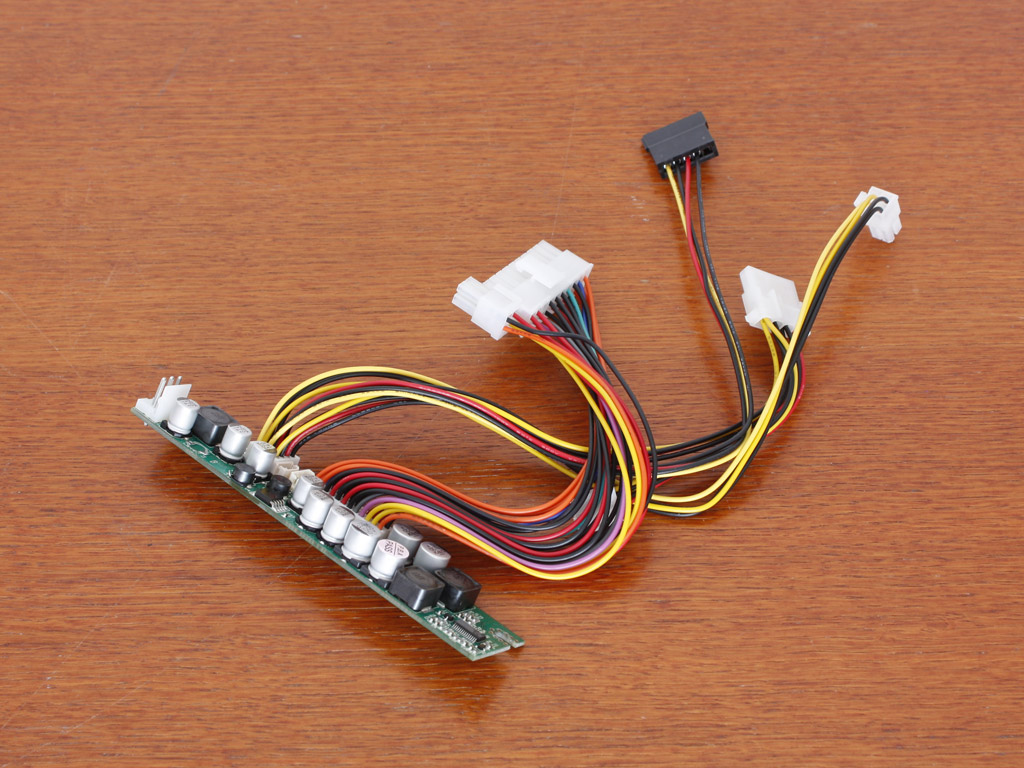

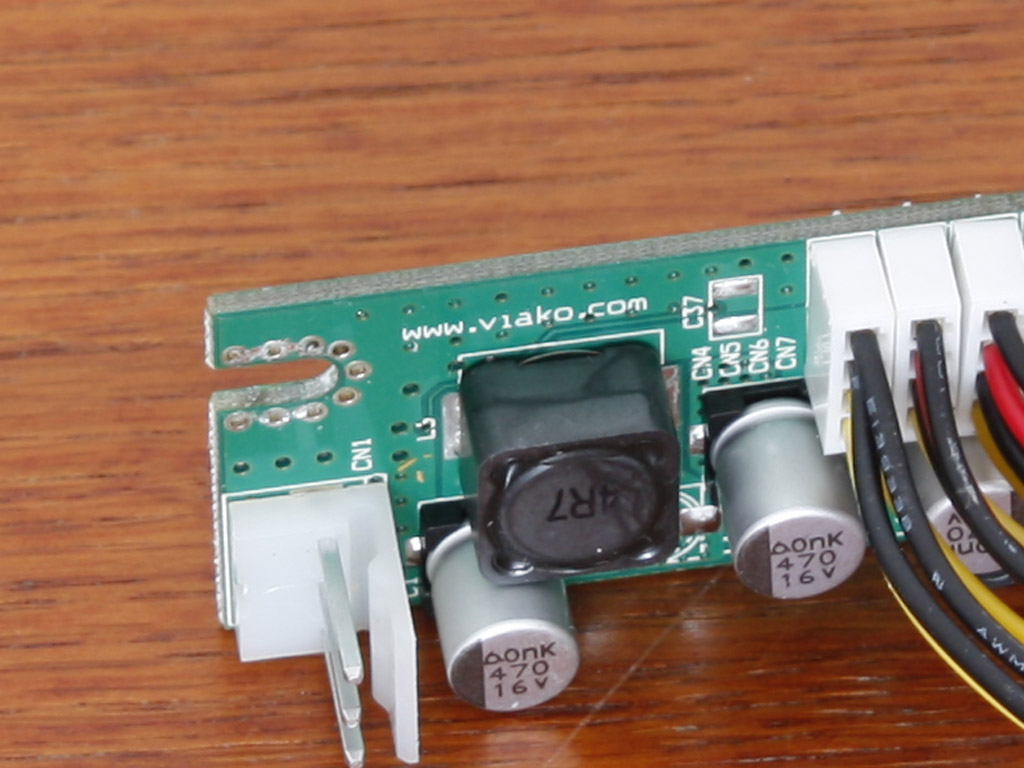
The converter seems of high quality, using solid state capacitors and clean soldering. All cables are attached by a connector and not simply soldered unto the PCB. The unit actually carries the Viako brand name.
May 13th, 2024 04:56 EDT
change timezone
Latest GPU Drivers
New Forum Posts
- Flash VBIOS to turn RX 580 2048SP into RX 570 (39)
- AIO Water Cooler vs Tower Air Cooler (9)
- PSU Option for my PC (12)
- Looking for a new case, cube shaped only. (5)
- Purchased an AX1200i PSU as part of some forward planning, what tier is this PSU? (59)
- LOL ASUS says this is $200 in repair, Steve from gamers Nexus smokes ASUS, Steam Deck til I die boys!!!! (77)
- Cyberpunk 2077 Game Discussion (2126)
- Which RAM for AMD 7950X3D (3)
- Soundbar or 2.1 speaker for virtual 3d audio in PC games... (12)
- How to optimize my PC by overclocking my system (11)
Popular Reviews
- ZMF Caldera Closed Planar Magnetic Headphones Review
- Corsair MP700 Pro SE 4 TB Review
- Bykski CPU-XPR-C-I CPU Water Block Review - Amazing Value!
- ThundeRobot ML903 NearLink Review
- Upcoming Hardware Launches 2023 (Updated Feb 2024)
- CHERRY XTRFY M64 Pro Review
- AMD Ryzen 7 7800X3D Review - The Best Gaming CPU
- ASUS Radeon RX 7900 GRE TUF OC Review
- Corsair iCUE Link RX120 RGB 120 mm Fan Review
- Sapphire Radeon RX 7900 GRE Pulse Review
Controversial News Posts
- Intel Statement on Stability Issues: "Motherboard Makers to Blame" (266)
- AMD to Redesign Ray Tracing Hardware on RDNA 4 (224)
- Windows 11 Now Officially Adware as Microsoft Embeds Ads in the Start Menu (171)
- NVIDIA to Only Launch the Flagship GeForce RTX 5090 in 2024, Rest of the Series in 2025 (151)
- Sony PlayStation 5 Pro Specifications Confirmed, Console Arrives Before Holidays (119)
- AMD's RDNA 4 GPUs Could Stick with 18 Gbps GDDR6 Memory (114)
- AMD Hits Highest-Ever x86 CPU Market Share in Q1 2024 Across Desktop and Server (110)
- AMD Ryzen 9 7900X3D Now at a Mouth-watering $329 (104)