 16
16
Xigmatek Utgard Review
Assembly & Finished Looks »A Closer Look - Inside
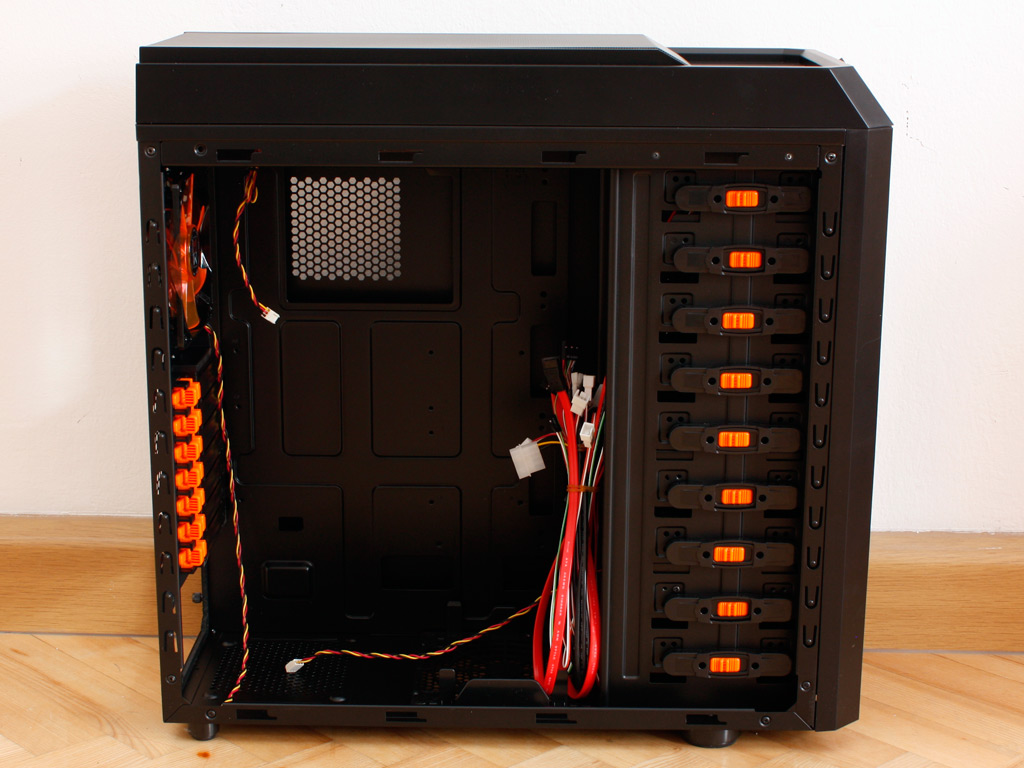

Removing both side panels is easily accomplished by unscrewing a pair of thumb screws on each. As I mentioned before, the entire interior is painted black, while a few accents have a bright orange color. The overall interior layout is nothing out of the ordinary, but that was to be expected for a 79 Euro enclosure. A large opening in the mainboard tray should give you easy access to the CPU cooler backplate if needed. Xigmatek has folded all major edges, thus you should not have to worry about cutting yourself during the assembly process. You may pull off the entire front with a firm tug. This reveals that all drive bays, even the ones in front of the HDD and FDD adapters are covered by metal shields.


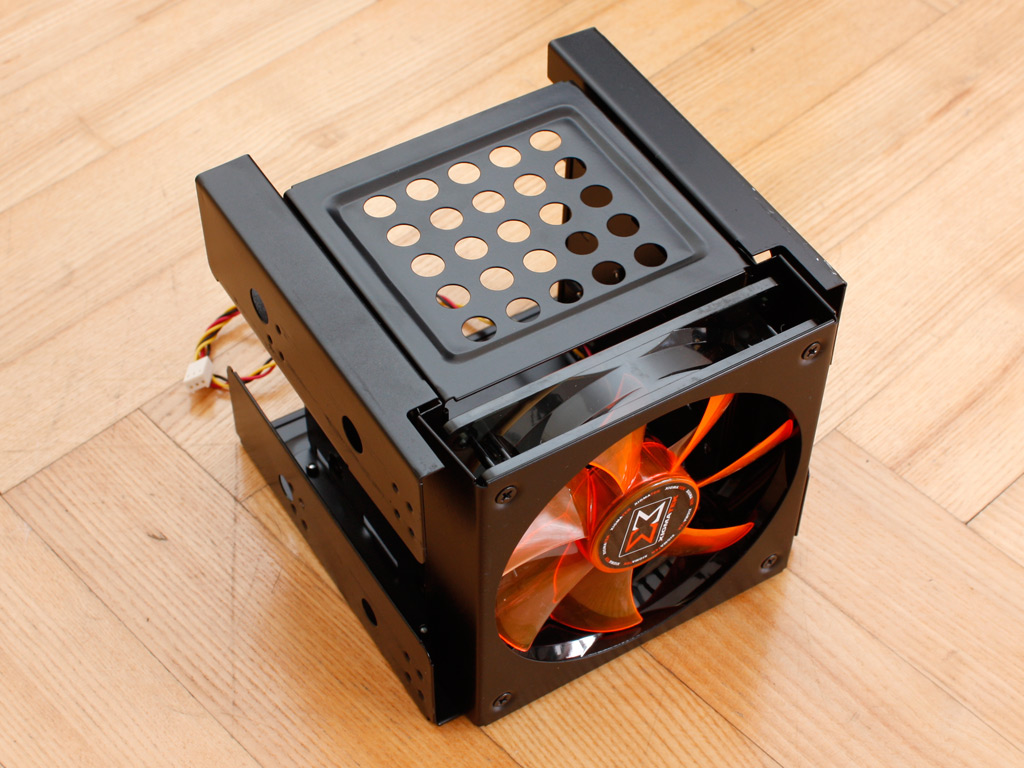

Taking a quick look at the nine 5.25 inch drive bays, they all have plastic sliding locks on them. These are fixed unto the metal sheet, which should translate into a better grip for installed devices - but more on that later. You may install up to three hard drives with the help of the included cage. The drives are actively cooled by a 120 mm fan in the front. A 5.35 to 3.5 inch adapter bracket can also be found in one of the drive bays. Both can easily be removed as long as the chassis is empty, but as we will see later on, reinserting them is not such an easy task.
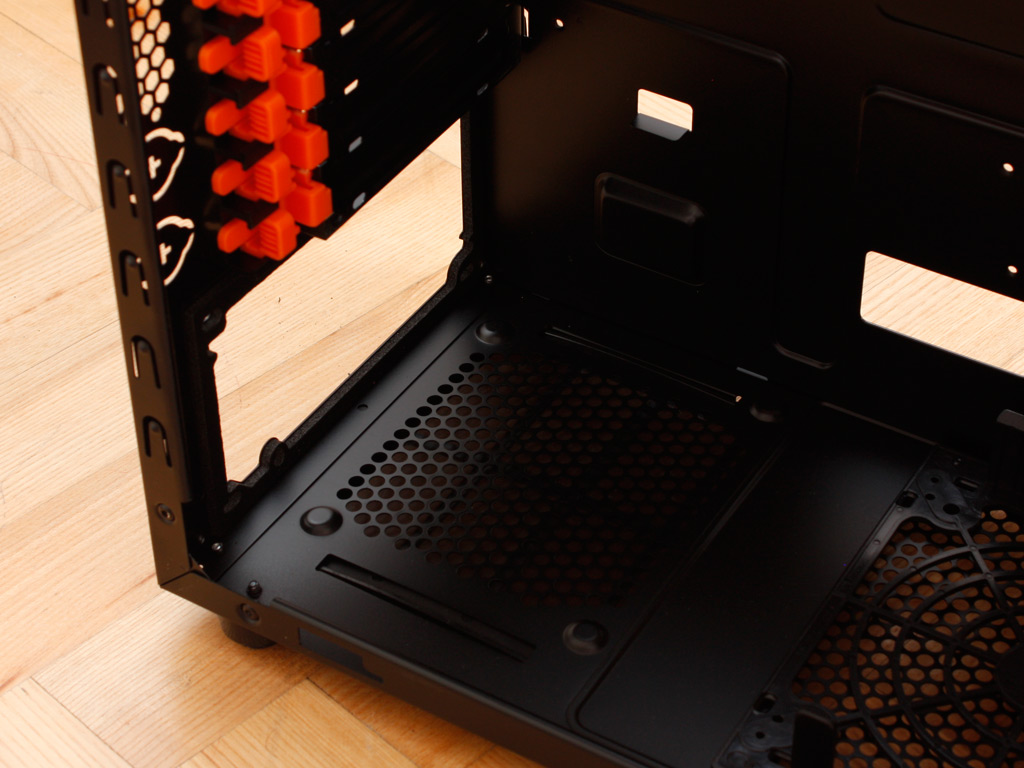
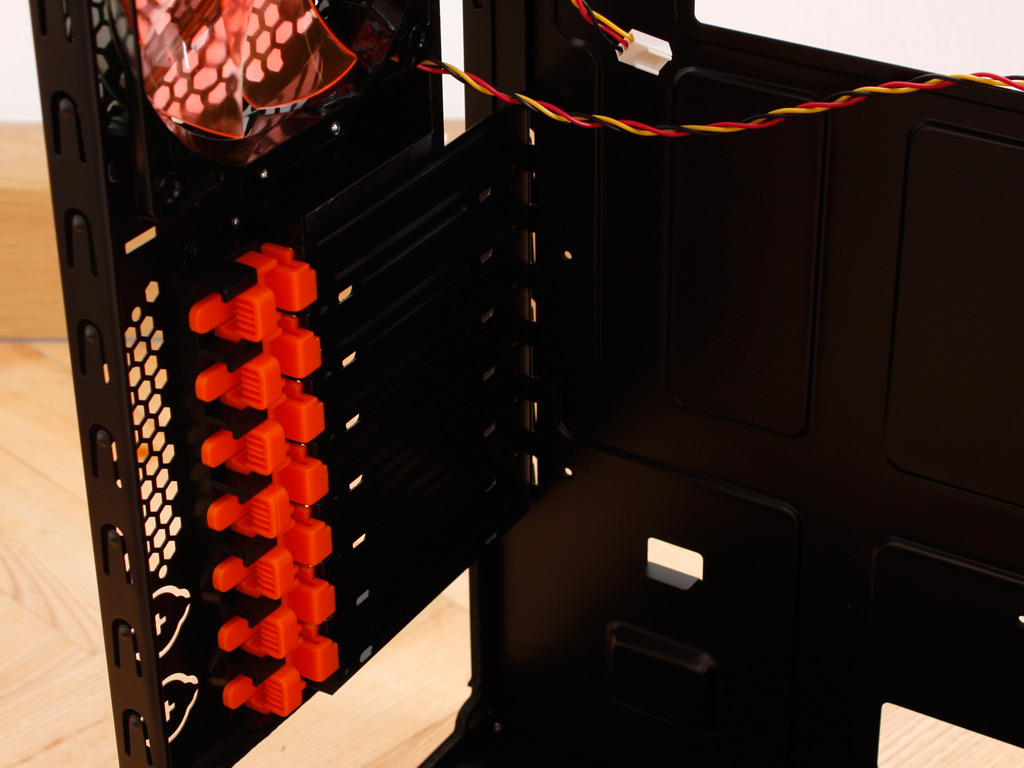


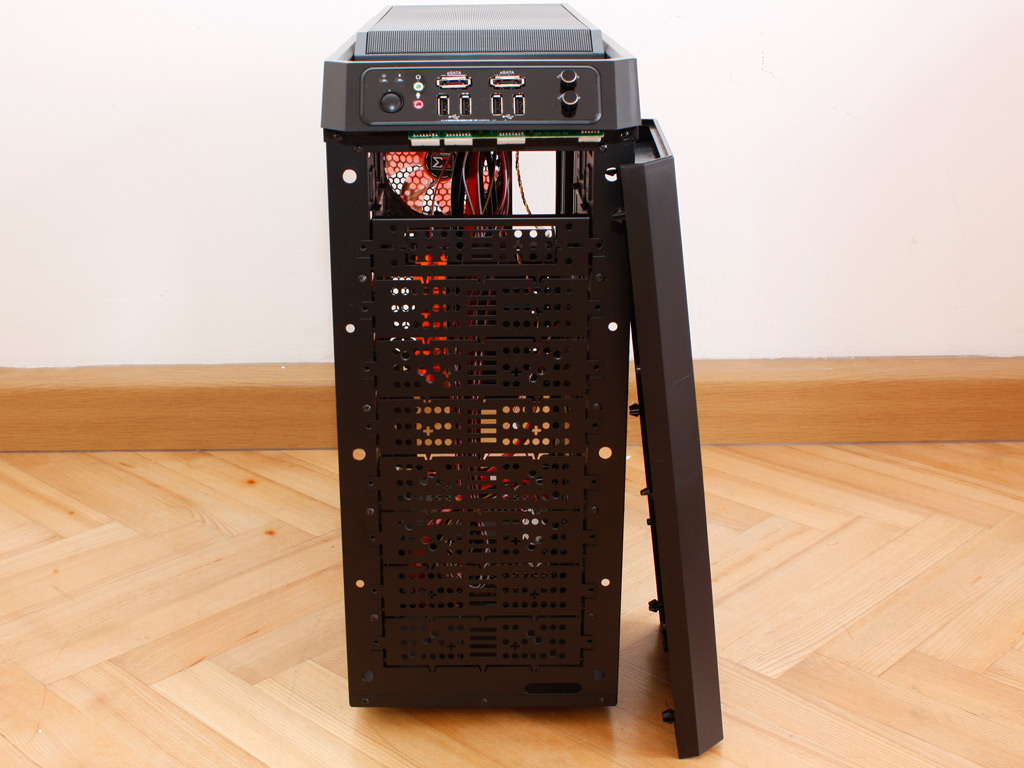
Turning our focus to the rear, we have the PSU bay on very bottom. It is lined with a thin layer of foam to reduce any chance of vibration in this area. Above that are the seven mainboard expansion slots, which are protected by individual covers. Xigmatek has employed a plastic screw-less system for these card and while I am no fan of such systems, this one seems rather promising. At the very top the 120 mm exhaust fan can easily be seen. All the cooling units in the Utgard have RPM reporting capability as all of them have three wired mainboard connectors.


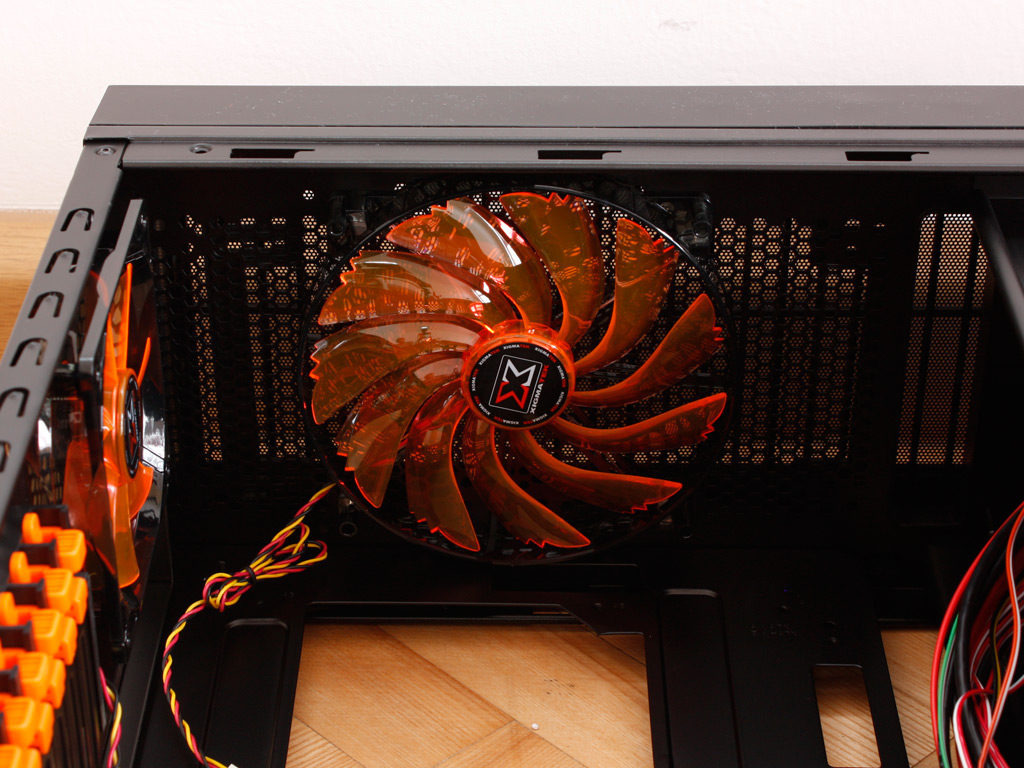
While you may install four fans on the side panel, Xigmatek also gives you the option for an additional one on the flooring of the chassis. All openings in this area of the case are covered by dust filter, with the one of the PSU being easily removable. Interesting enough, Xigmatek seems to have taken a generic air filter and placed it over the opening of the power supply, as it features four holes and dimension which do not match with the rest of the vent. While this is certainly a cost saving measure, it has no adverse effect. The last cooling unit is the afore mentioned 170 mm unit in the ceiling. It blows air out the top of the case and may be removed in case you are using a water cooling setup.
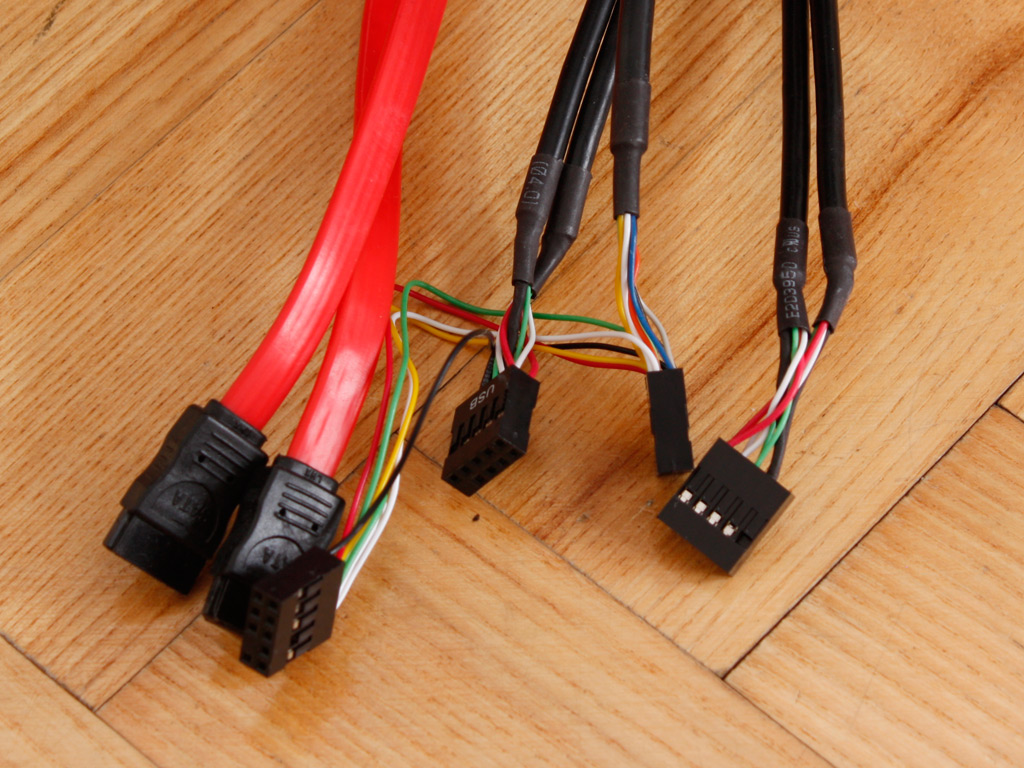
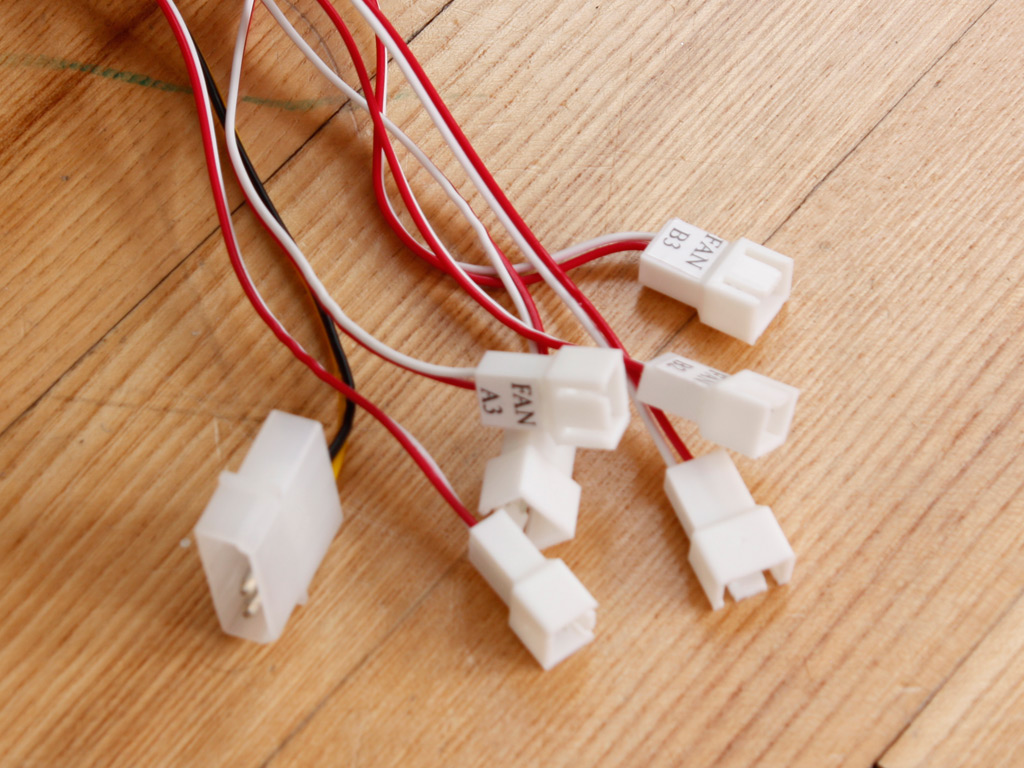
While the bulk of cables within the Xigmatek Utgard are nothing out of the ordinary, it does include a Molex connector to power the six fan / two channel controller built into the front panel. These six connectors are clearly labled A1 to A3 and B1 to B3. This feature greatly adds to the cable clutter within the Utgard, so be prepared for a tad bit more work when cleaning things up as a final step during installation.

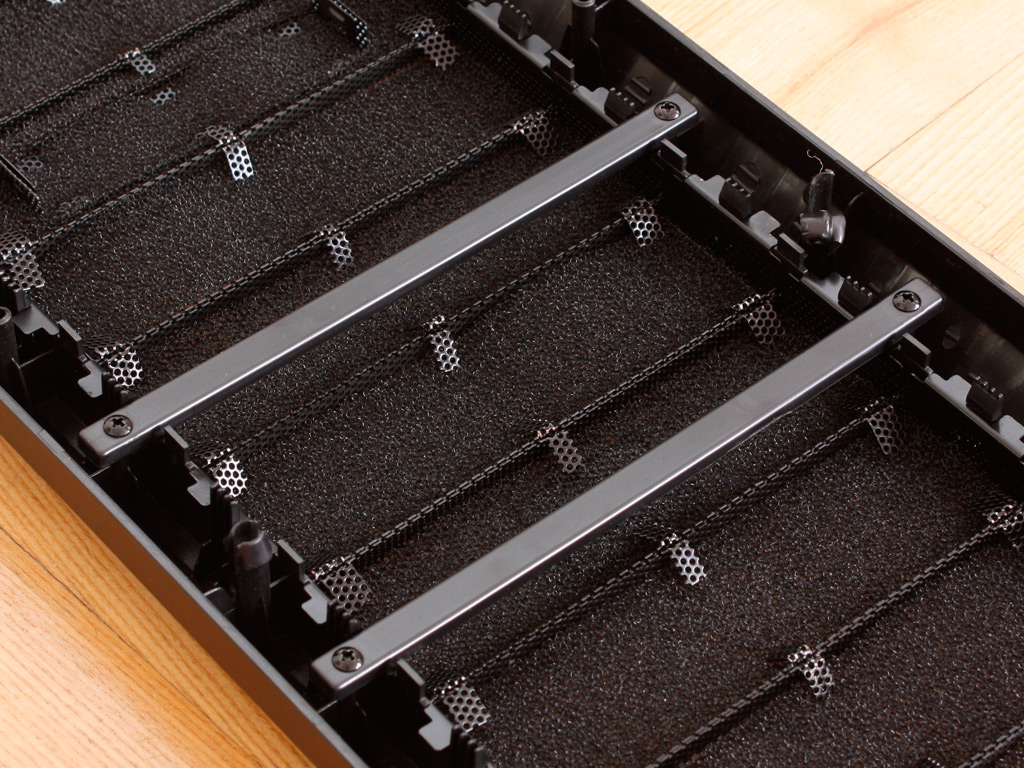
Before we dive into the assembly process, the front panel was removed to take above picture. I noticed that one of the clips, intended to hold the front panel in place is completely bent out of shape. While this is no big concern as the remaining five clips managed to keep things from falling apart, it does leave you questioning the quality control of the chinese plant producing the case or front panel. On the positive side, there are two plastic beams, which add structural strength to the entire front contraption. You will have to remove these to give way to the drive bays behind them.
May 18th, 2024 04:10 EDT
change timezone
Latest GPU Drivers
New Forum Posts
- is there anyway to verify my motherboard actually has a gen5 gpu slot without a gen5 card? (14)
- Do you use Linux? (258)
- Homeworld 3 [Official Thread] (47)
- AMD Ryzen 7 7800X3D $344 (0)
- Not getting the performance I should be with the components I have (14)
- What's your latest tech purchase? (20558)
- Ryzen Owners Zen Garden (7389)
- Is 6000MHz C36 DDR5 memory too much for 12600KF with XMP? (12)
- Cannot locate ASRock rx6800 Challenger pro OC VBIOS update (0)
- EK seems to be having major issues (96)
Popular Reviews
- Ghost of Tsushima Performance Benchmark Review - 35 GPUs Tested
- Homeworld 3 Performance Benchmark Review - 35 GPUs Tested
- Lofree Edge Ultra-Low Profile Wireless Mechanical Keyboard Review
- Silverstone Shark Force 120 mm Fan Review
- Enermax REVOLUTION D.F. X 1200 W Review
- Sapphire Radeon RX 7900 GRE Pulse Review
- Upcoming Hardware Launches 2023 (Updated Feb 2024)
- TerraMaster D8 Hybrid Review
- AMD Ryzen 7 7800X3D Review - The Best Gaming CPU
- ZMF Caldera Closed Planar Magnetic Headphones Review
Controversial News Posts
- Intel Statement on Stability Issues: "Motherboard Makers to Blame" (268)
- AMD to Redesign Ray Tracing Hardware on RDNA 4 (227)
- Windows 11 Now Officially Adware as Microsoft Embeds Ads in the Start Menu (172)
- NVIDIA to Only Launch the Flagship GeForce RTX 5090 in 2024, Rest of the Series in 2025 (154)
- AMD Hits Highest-Ever x86 CPU Market Share in Q1 2024 Across Desktop and Server (139)
- AMD RDNA 5 a "Clean Sheet" Graphics Architecture, RDNA 4 Merely Corrects a Bug Over RDNA 3 (130)
- AMD's RDNA 4 GPUs Could Stick with 18 Gbps GDDR6 Memory (114)
- AMD Ryzen 9 7900X3D Now at a Mouth-watering $329 (104)