 10
10
Xilence Interceptor Pro Review
Value & Conclusion »Assembly - HPTX Area

Installing the motherboard in the main area is done by traditional means, using the included golden spacers. There is loads of space around the board, thanks to the HPTX size.

The individual hard drive bays are not black, but are made of metal nonetheless. The front cover also acts as a locking mechanism and is spring loaded properly.
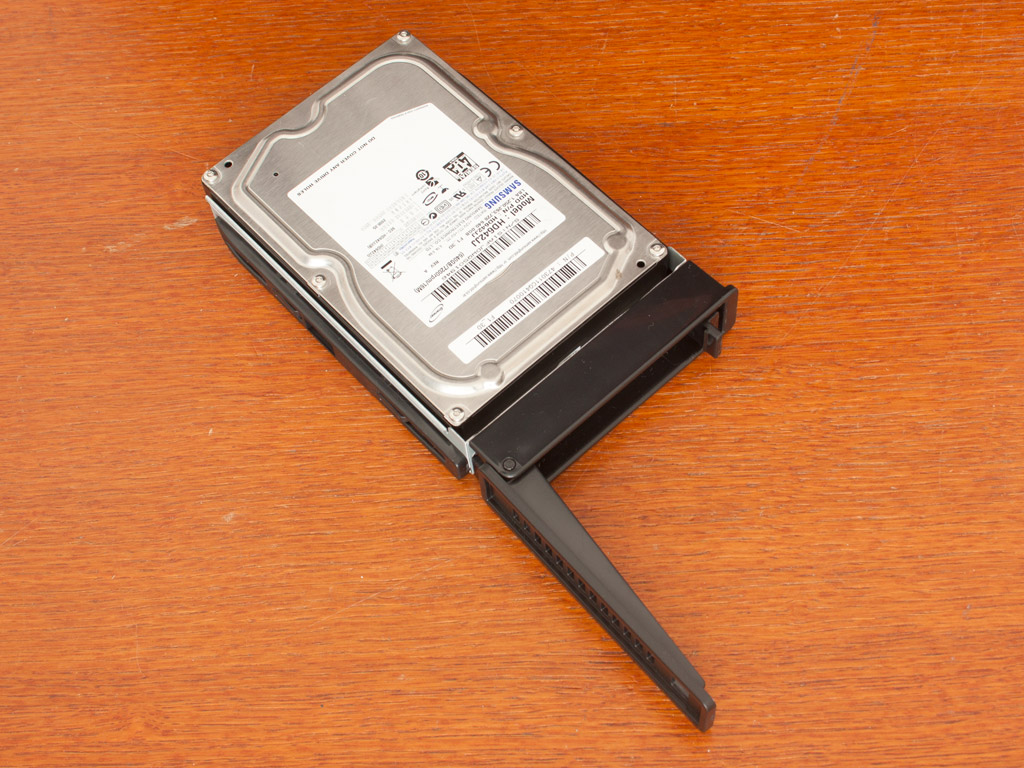

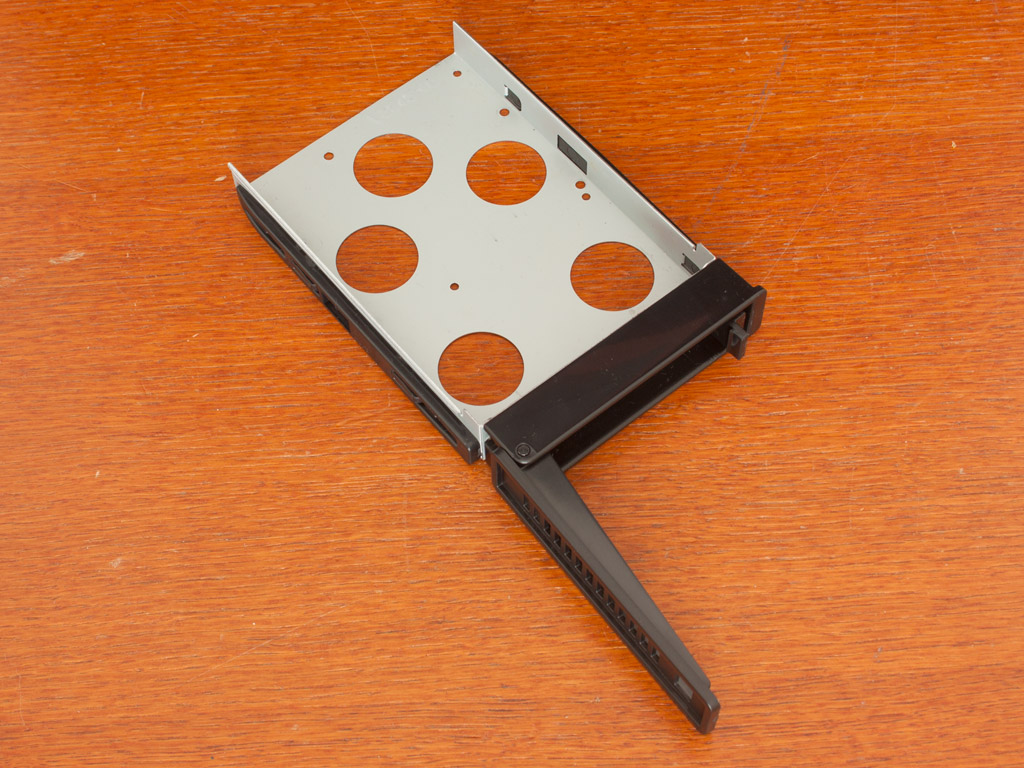
Due to the design of the trays, you will still need to use screws to install the actual drives within them. While this is a bit tedious, the fact that most of the bays in the chassis are of this type also means that you should be able to have plenty of space for all your drives. Both 3.5 or 2.5 inch variants will fit perfectly fine, thanks to the proper placement of the mounting holes. Once installed into the tray, simply slide the drive into place and close the cover to lock it down.


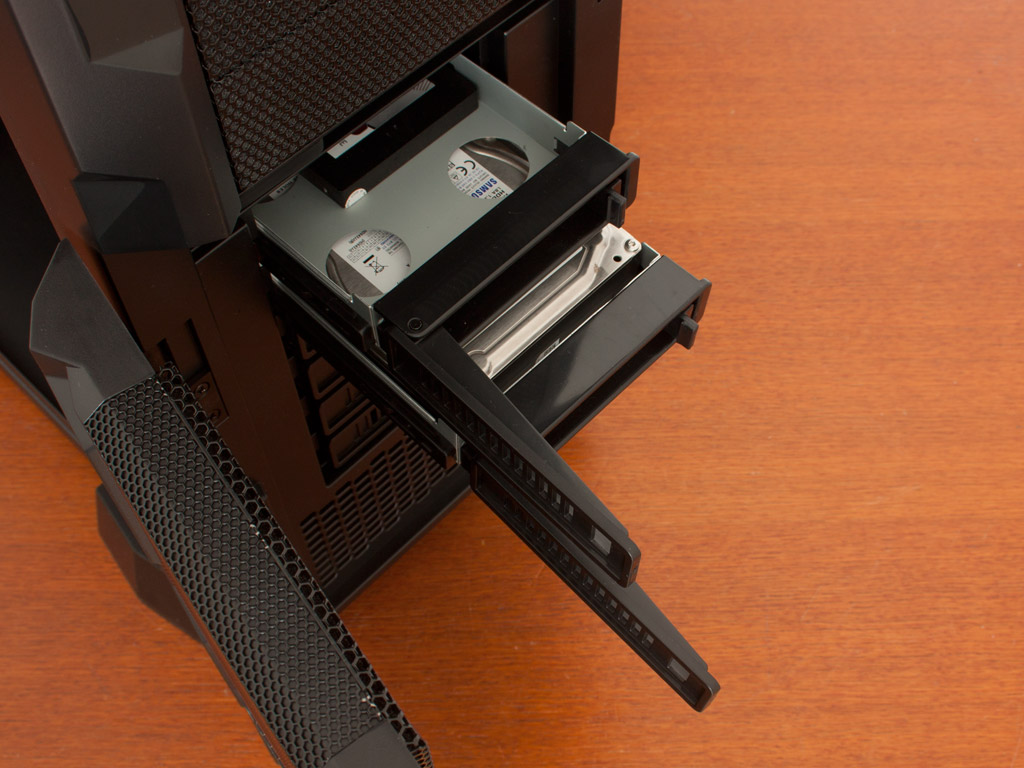
The 2.5 inch bays are something else entirely. The tray is made of plastic and does not require any screws. Instead, one has to simply open them up, put the drive in place and close it. With this casing you may slide the drive into the 2.5 inch hot-swap bay of your choice. This system is dead simple but works like a charm.


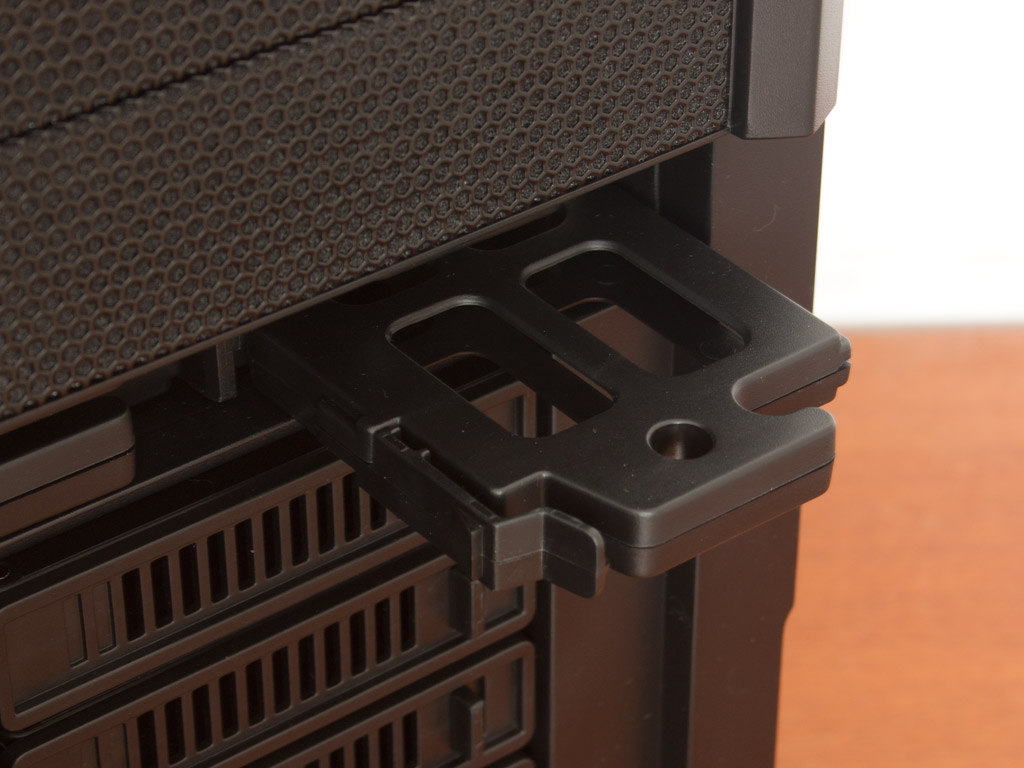
Installing an optical drive is quite easy as well. Once the bay is open, slide the drive in place and turn the red knobs, to screw the embedded screws into the ODD. It will hold just as if you were using traditional screws, but without the need for tools.

The power supply is actually held in place by normal screws, so there is nothing to see here. It works and that is all there is to tell.

I strongly suggest installing the feet as early as possible, as you avoid scratching both the working surface and the chassis underside by doing so. A good time would be when installing the motherboard, as you will have to put the Interceptor Pro down on its side then anyways.


With everything in the HPTX area in place, the chassis makes a very good and very clean impression. This is not only due to the intelligently placed openings in the motherboard tray, but also because of the PCBs used for the drive bays.
Assembly - ITX Area


With the HPTX area filled and ready to go, the next step would be the top compartment. Installing the ITX board is done with screws as well. You just have to make sure to use a short screw driver and/or remove the top cover to gain proper access to these. Xilence has also included a handful of thumb screws, which have remained unused up to this point. So you may also be able to use these instead. Once the board is in place, the SFX power supply goes right above it. We are using a Silverstone 450W SFX in this build.

As the hard drive use the same mounting as the ones in the main chassis area, simply slide the drive into place and lock it down. As mentioned before, you may use either 2.5 or 3.5" drives here. The entire cage is removable, so you could theoretically use the space for longer graphics cards, as long as they are single slot - or water cooled.


The same rule applies to ODD as to the HDDs. The system employed is the same one, so you can expect the same results. With a total of four bays in the top compartment the Interceptor Pro caters to the bulk of ITX boards which come with either two or four SATA ports nowadays.
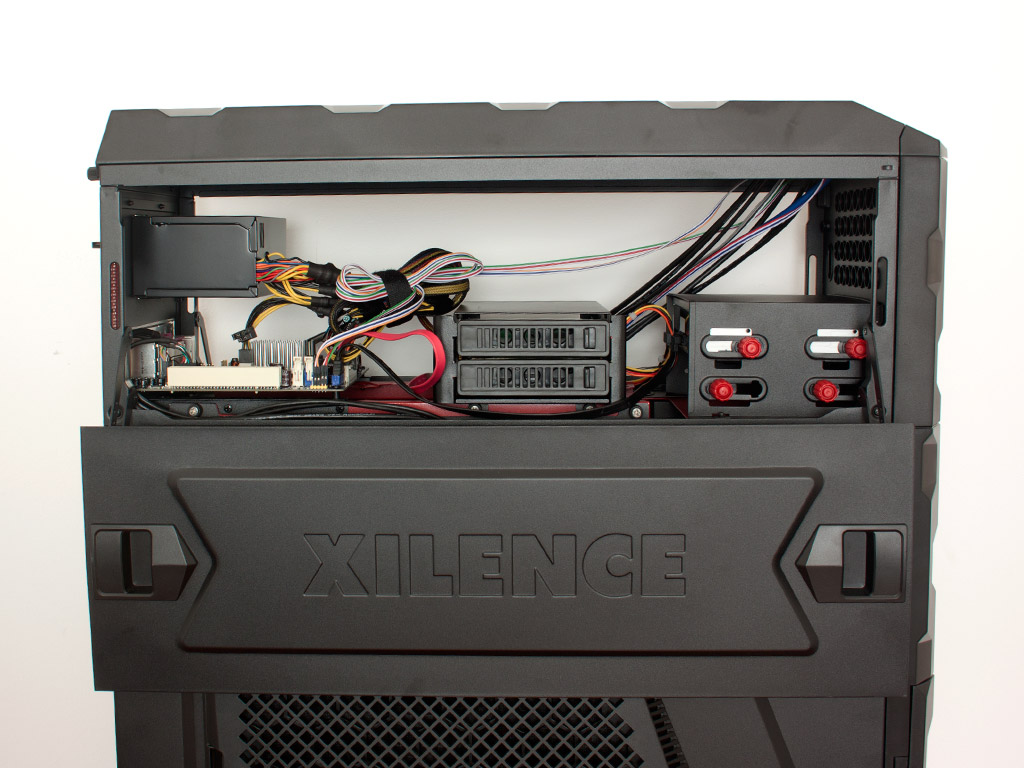

With everything in place, the ITX area still has quite a bit of space, so you could use it to hold pumps or reservoirs for example.
Finished Looks


Once everything is closed up and the chassis turned on for the first time, it makes a pretty menacing impression. Xilence has chosen well to light up the front fans with red LEDs, as this really adds to the chassis. You can see the white CPU fans turning in the tiny window, which also lets you view a few of the LEDs of the motherboard.


While both the fans in the front work fine and are not loud, they both seem do have a distinctive rattling noise when running. This may be due to the door construction or the blades hitting something. On top of that the bottom fan seemed to have a bad connection as it simply stopped running in the middle of the photo shoot. I expect this to be an isolated incident, but you should be weary that the operating noise of the fans may be a tad annoying if you end up getting some that run the way these do. Both optical drives look great within the chassis and hint at the fact, that there are two systems in one case.


Taking a quick look at the rear, this is where things become obvious. Everything is where it should be and two power cables have been used to run to either system within the Interceptor Pro.
Apr 26th, 2024 02:20 EDT
change timezone
Latest GPU Drivers
New Forum Posts
- What's your latest tech purchase? (20342)
- What phone you use as your daily driver? And, a discussion of them. (1483)
- Best SSD for system drive (81)
- AMD RX 7000 series GPU Owners' Club (1087)
- im new to throttelstop and i think i messed it up by copying others any hints would be very much aprreciated (3)
- Horizontal black lines popping up on my screen? (4)
- Which new games will you be buying? (316)
- Alphacool CORE 1 CPU block - bulging with danger of splitting? (20)
- Black screen after muting (5)
- What are you playing? (20530)
Popular Reviews
- Fractal Design Terra Review
- Thermalright Phantom Spirit 120 EVO Review
- Corsair 2000D Airflow Review
- ASUS GeForce RTX 4090 STRIX OC Review
- NVIDIA GeForce RTX 4090 Founders Edition Review - Impressive Performance
- ASUS GeForce RTX 4090 Matrix Platinum Review - The RTX 4090 Ti
- MSI GeForce RTX 4090 Suprim X Review
- Gigabyte GeForce RTX 4090 Gaming OC Review
- MSI GeForce RTX 4090 Gaming X Trio Review
- MSI GeForce RTX 4090 Suprim Liquid X Review
Controversial News Posts
- Sony PlayStation 5 Pro Specifications Confirmed, Console Arrives Before Holidays (117)
- Windows 11 Now Officially Adware as Microsoft Embeds Ads in the Start Menu (112)
- NVIDIA Points Intel Raptor Lake CPU Users to Get Help from Intel Amid System Instability Issues (106)
- AMD "Strix Halo" Zen 5 Mobile Processor Pictured: Chiplet-based, Uses 256-bit LPDDR5X (101)
- US Government Wants Nuclear Plants to Offload AI Data Center Expansion (98)
- AMD's RDNA 4 GPUs Could Stick with 18 Gbps GDDR6 Memory (88)
- Developers of Outpost Infinity Siege Recommend Underclocking i9-13900K and i9-14900K for Stability on Machines with RTX 4090 (85)
- Windows 10 Security Updates to Cost $61 After 2025, $427 by 2028 (84)