- Joined
- May 27, 2011
- Messages
- 208 (0.04/day)
Thank you guys 
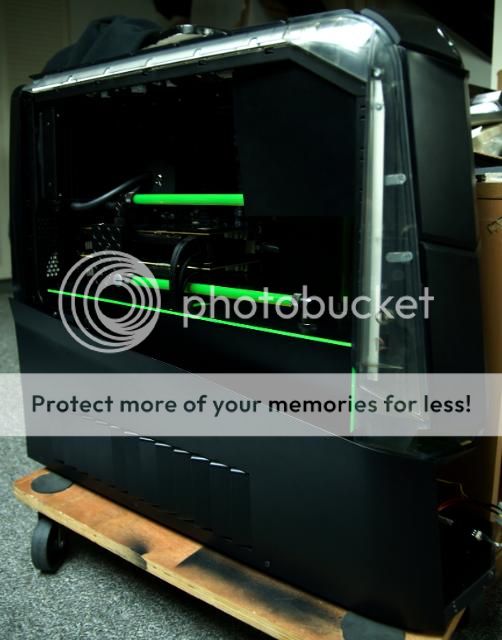
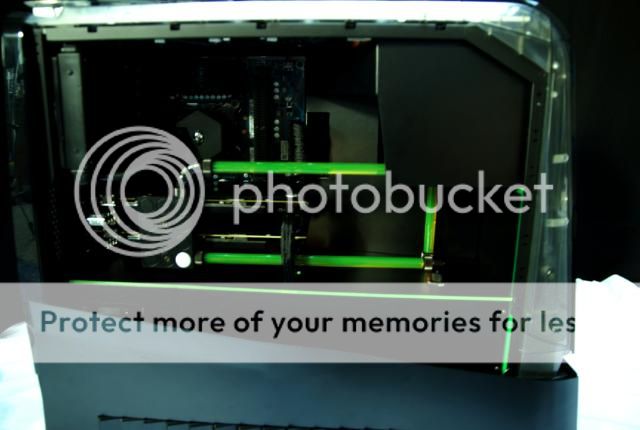
Think it's a nice gadget, internal is always dark even with the lights on. So never have to use a torch. Also on the back there's a light for the IO and GPU's...also very handy.
Btw. batteries are NiMH and rechargeable
For the life of my I cant figure out why they have a PCB to power all of the extras in that case just to leave you swapping out AA batteries to play with some LEDs that are widely already available in 12V systems. Sorry that just seems slightly retarded to do in a case.
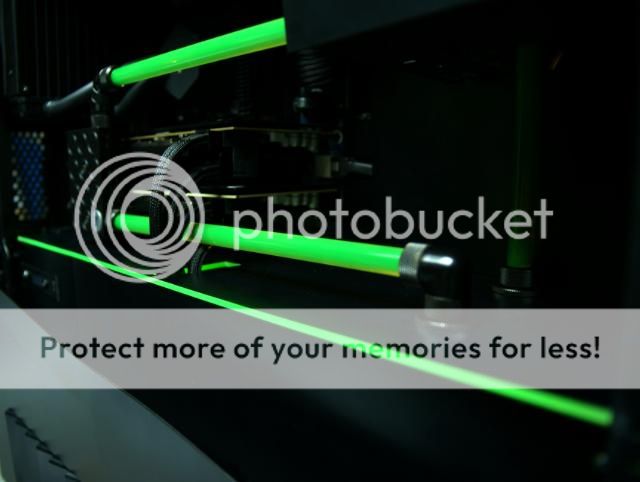
The modding is pretty sweet though!
Think it's a nice gadget, internal is always dark even with the lights on. So never have to use a torch. Also on the back there's a light for the IO and GPU's...also very handy.
Btw. batteries are NiMH and rechargeable


")


")