• Welcome to TechPowerUp Forums, Guest! Please check out our forum guidelines for info related to our community.

CYBERPUNK 2077 YAIBA KUSANAGI

Joined
Feb 3, 2018
Messages
257 (0.09/day)
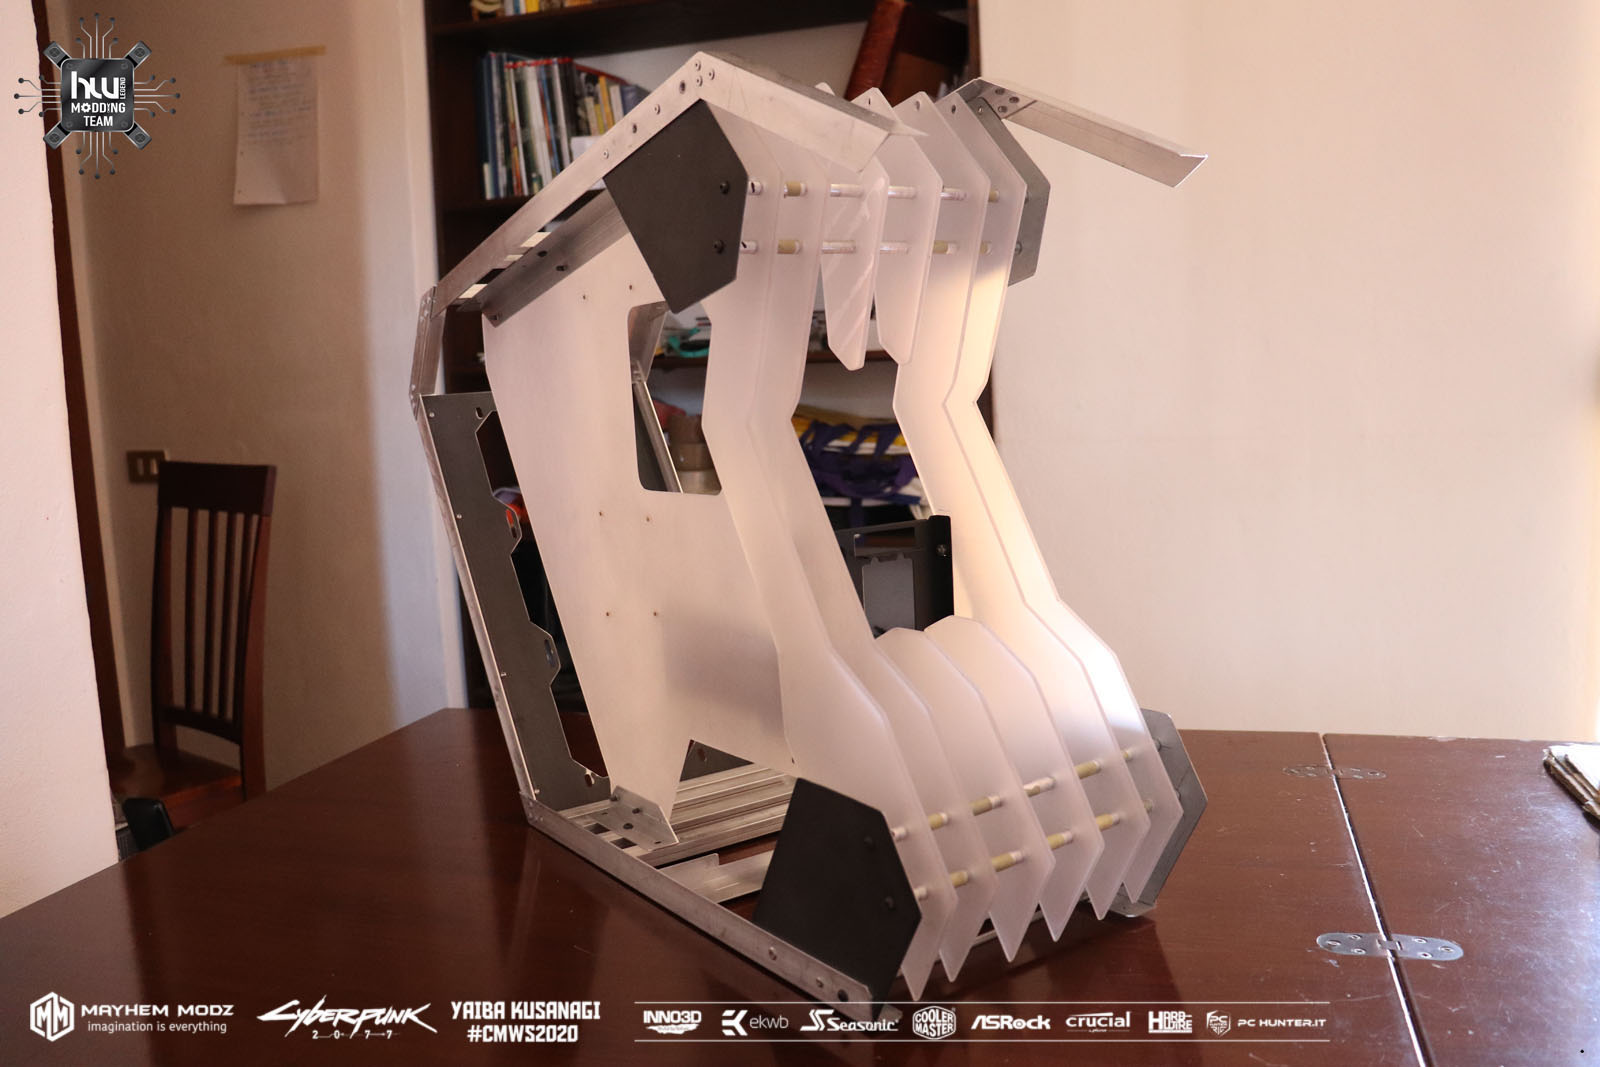
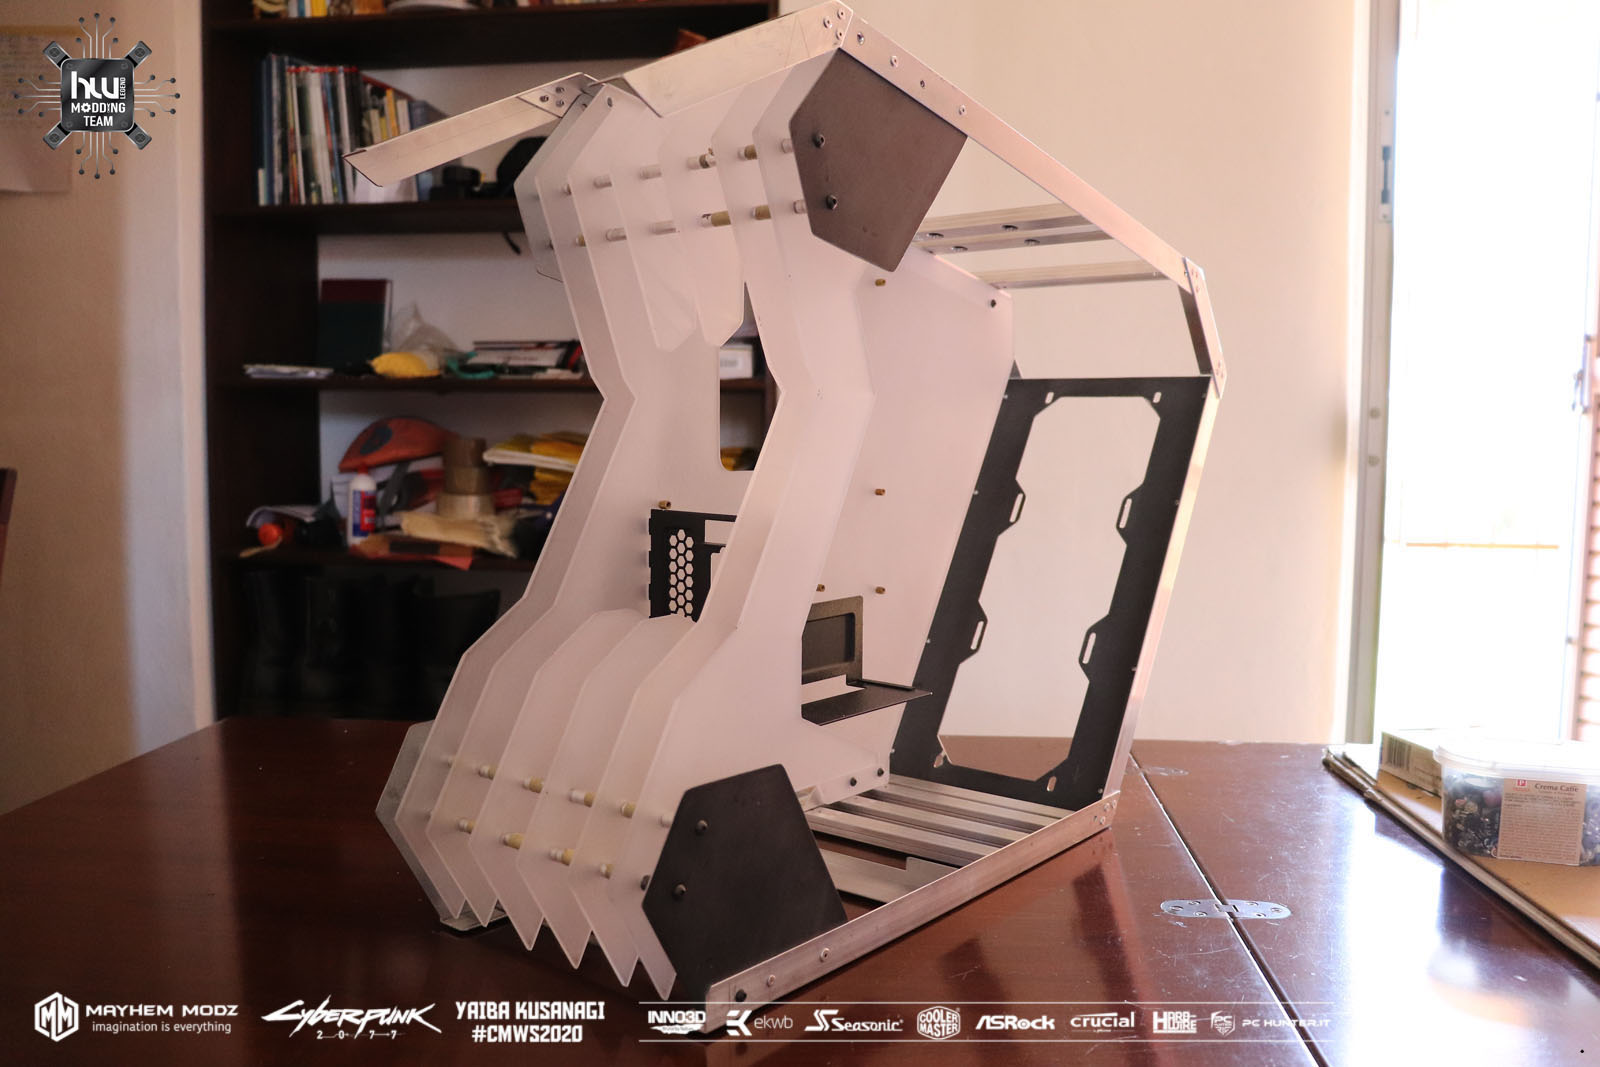
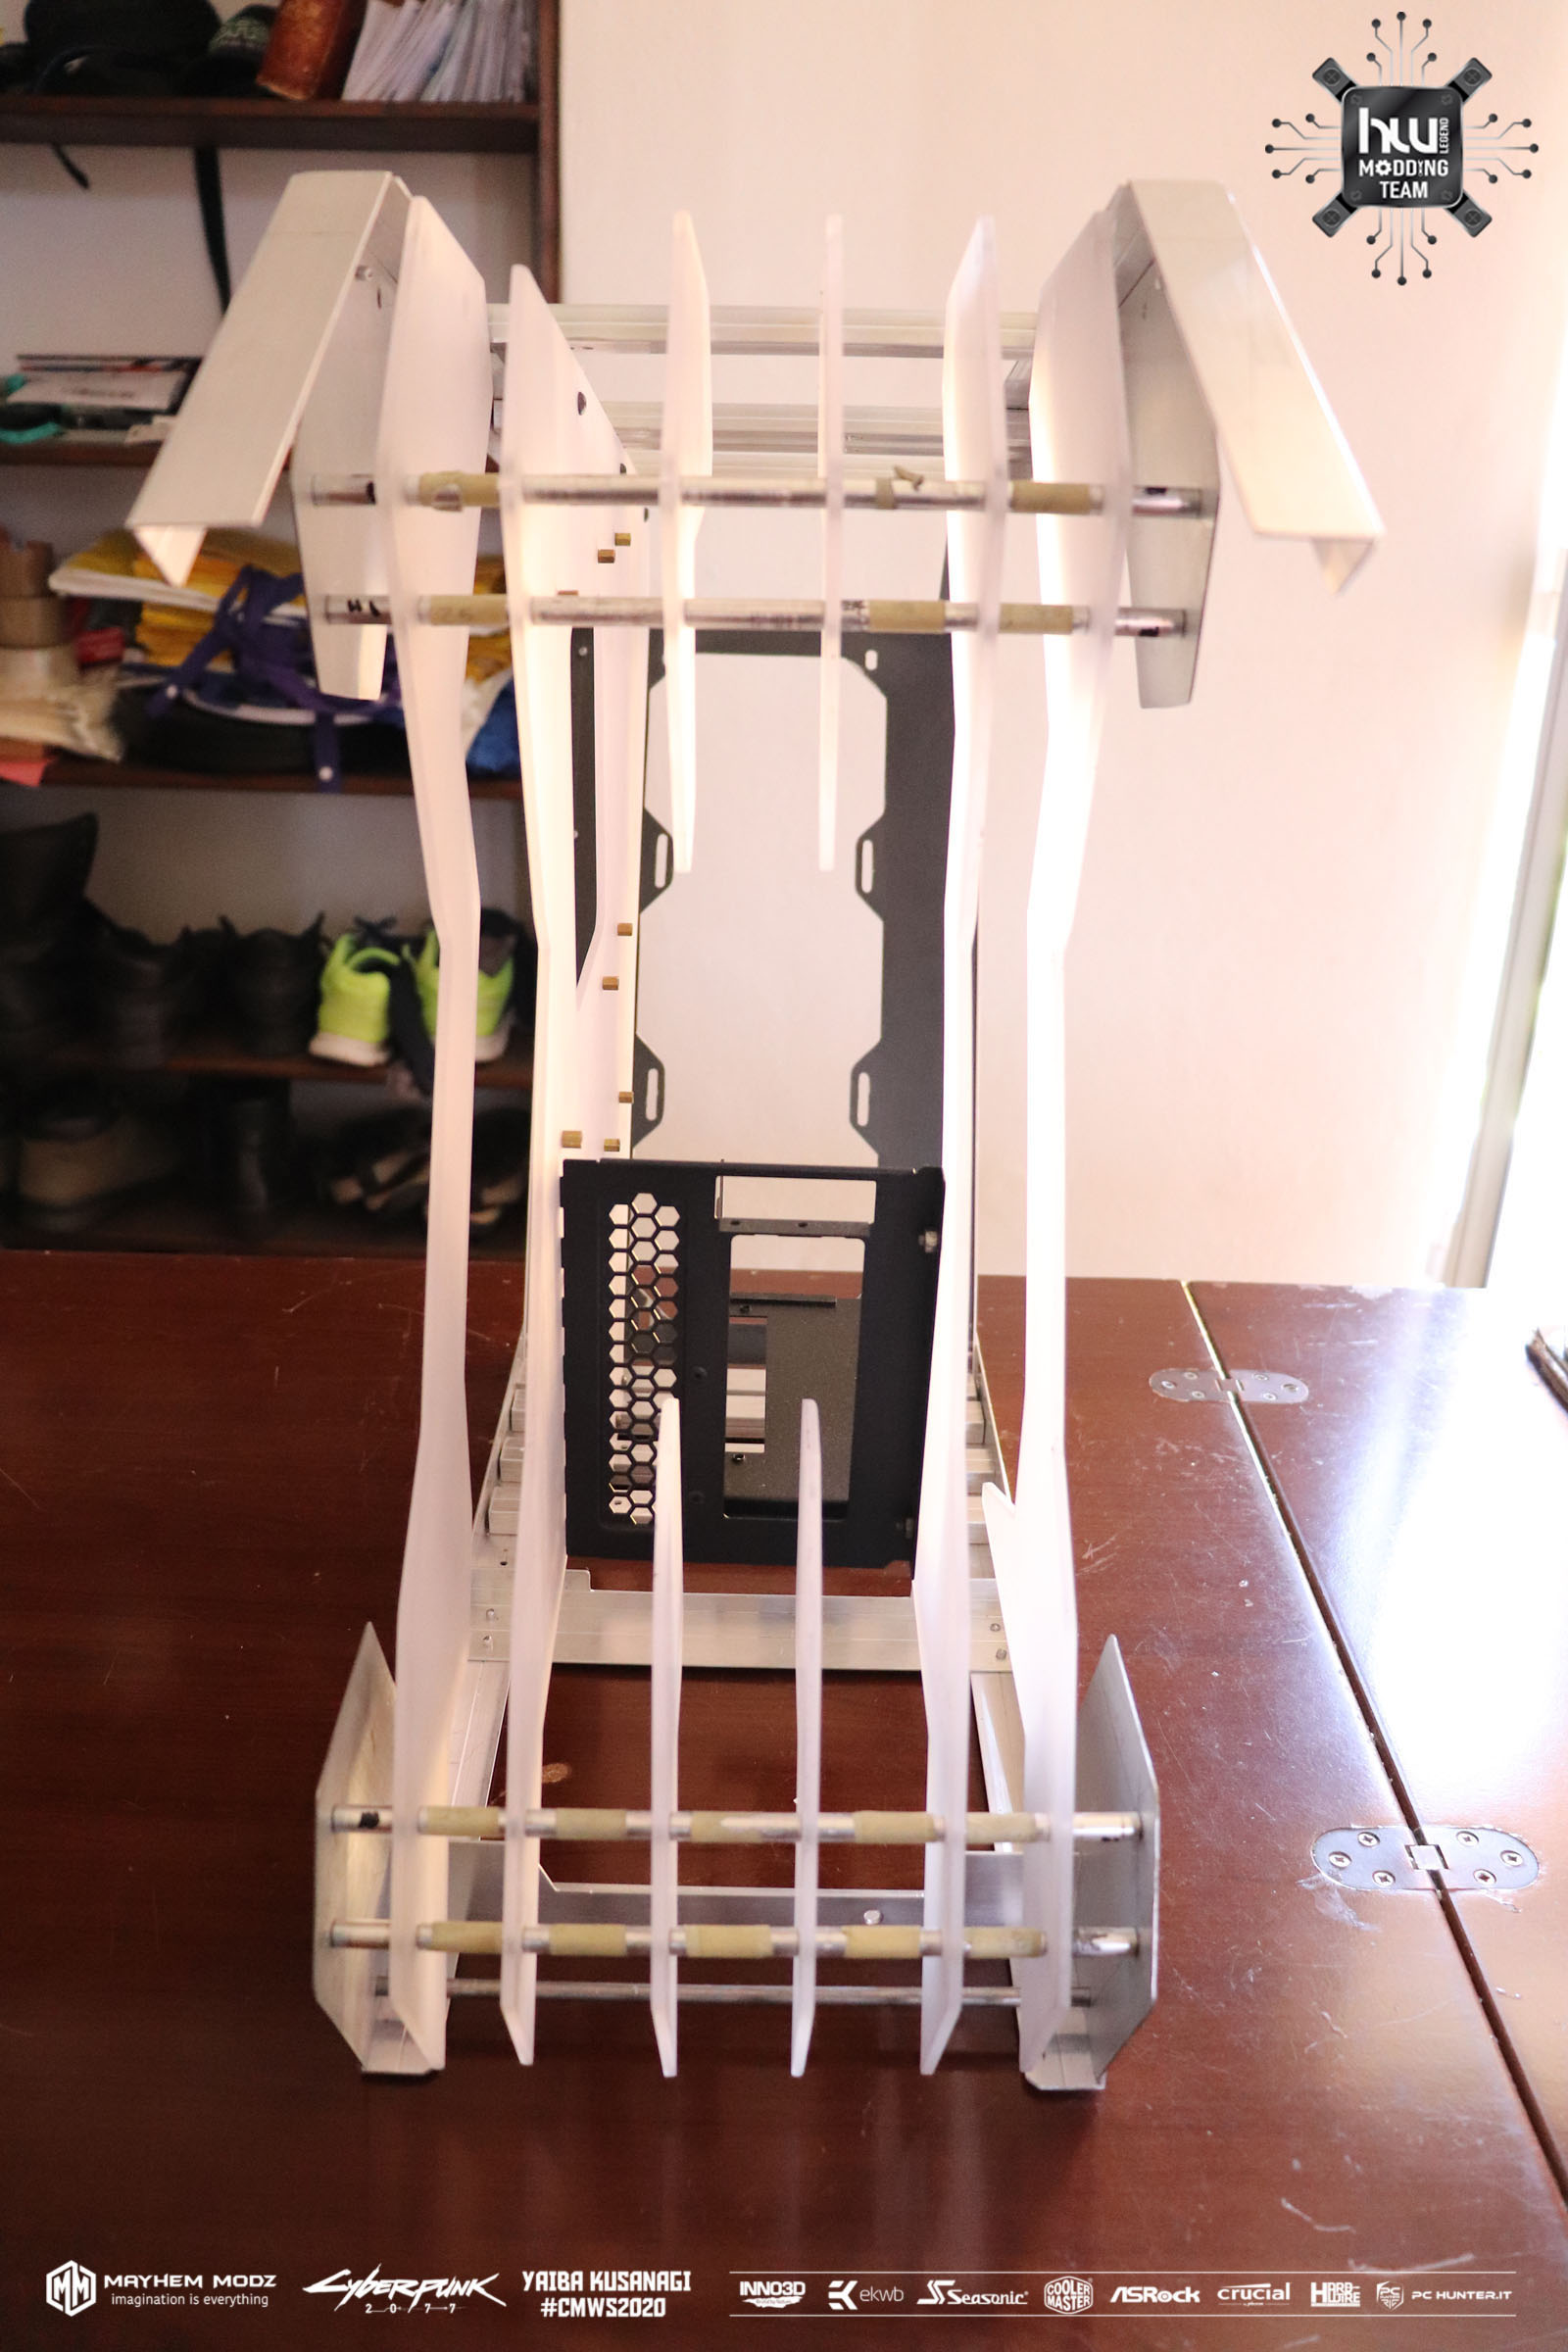
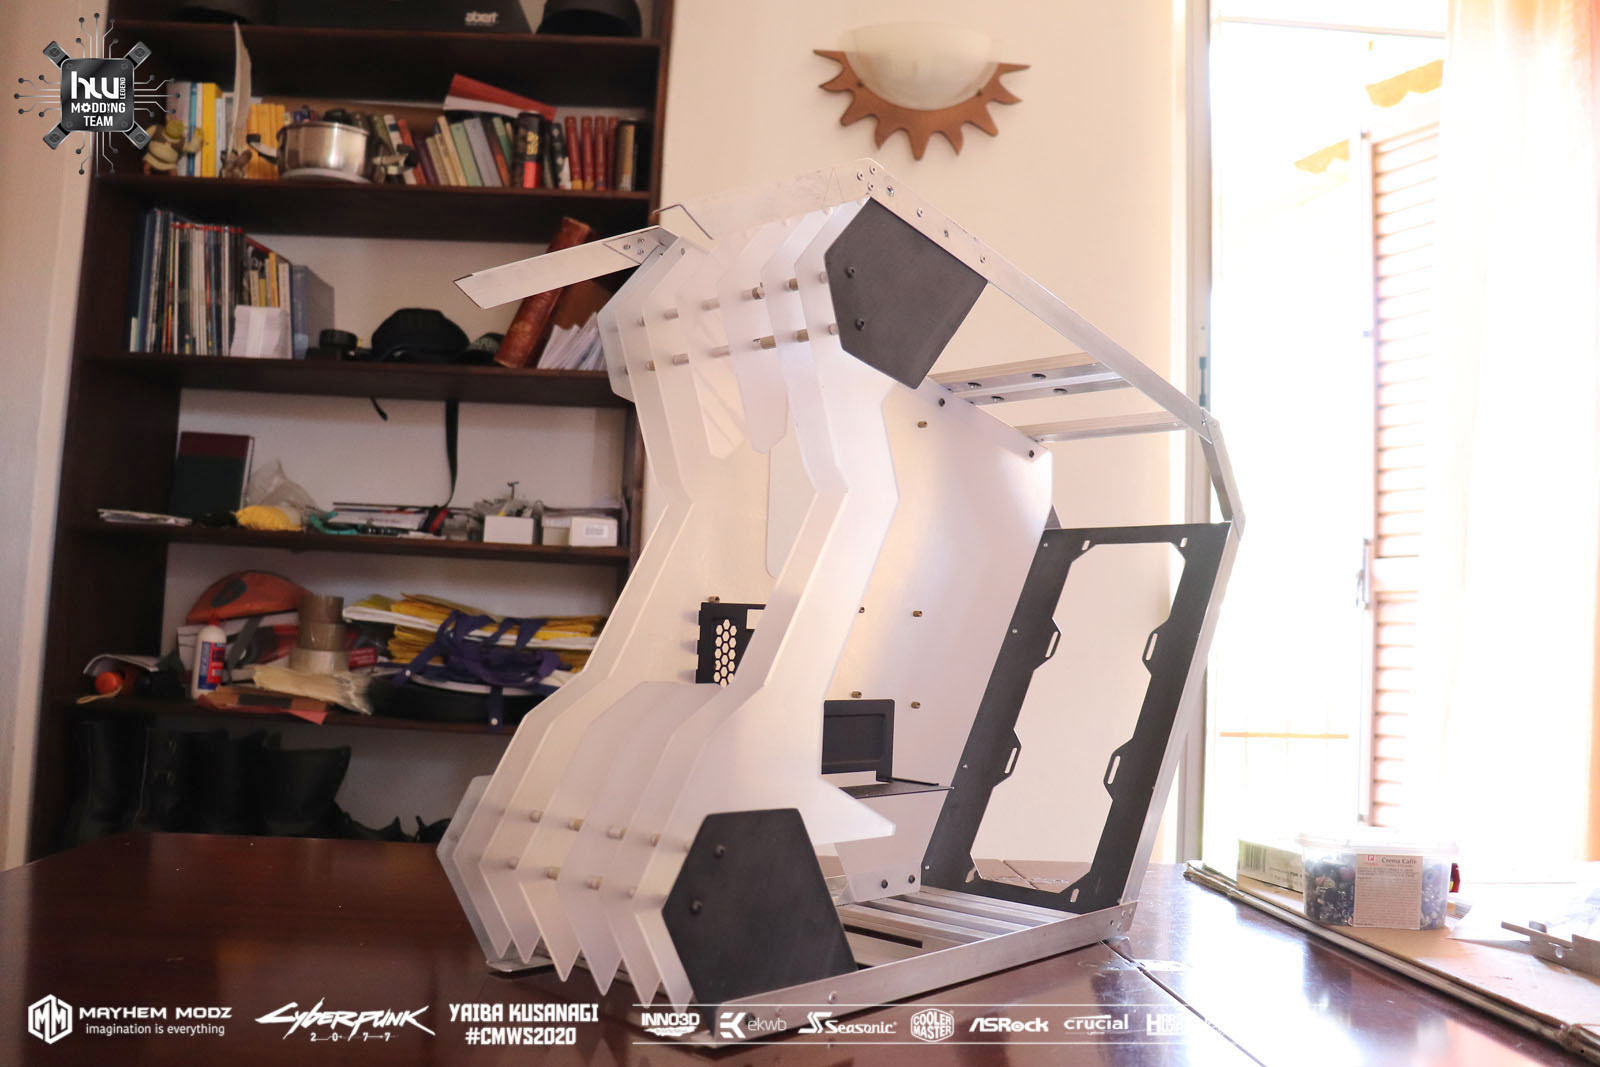
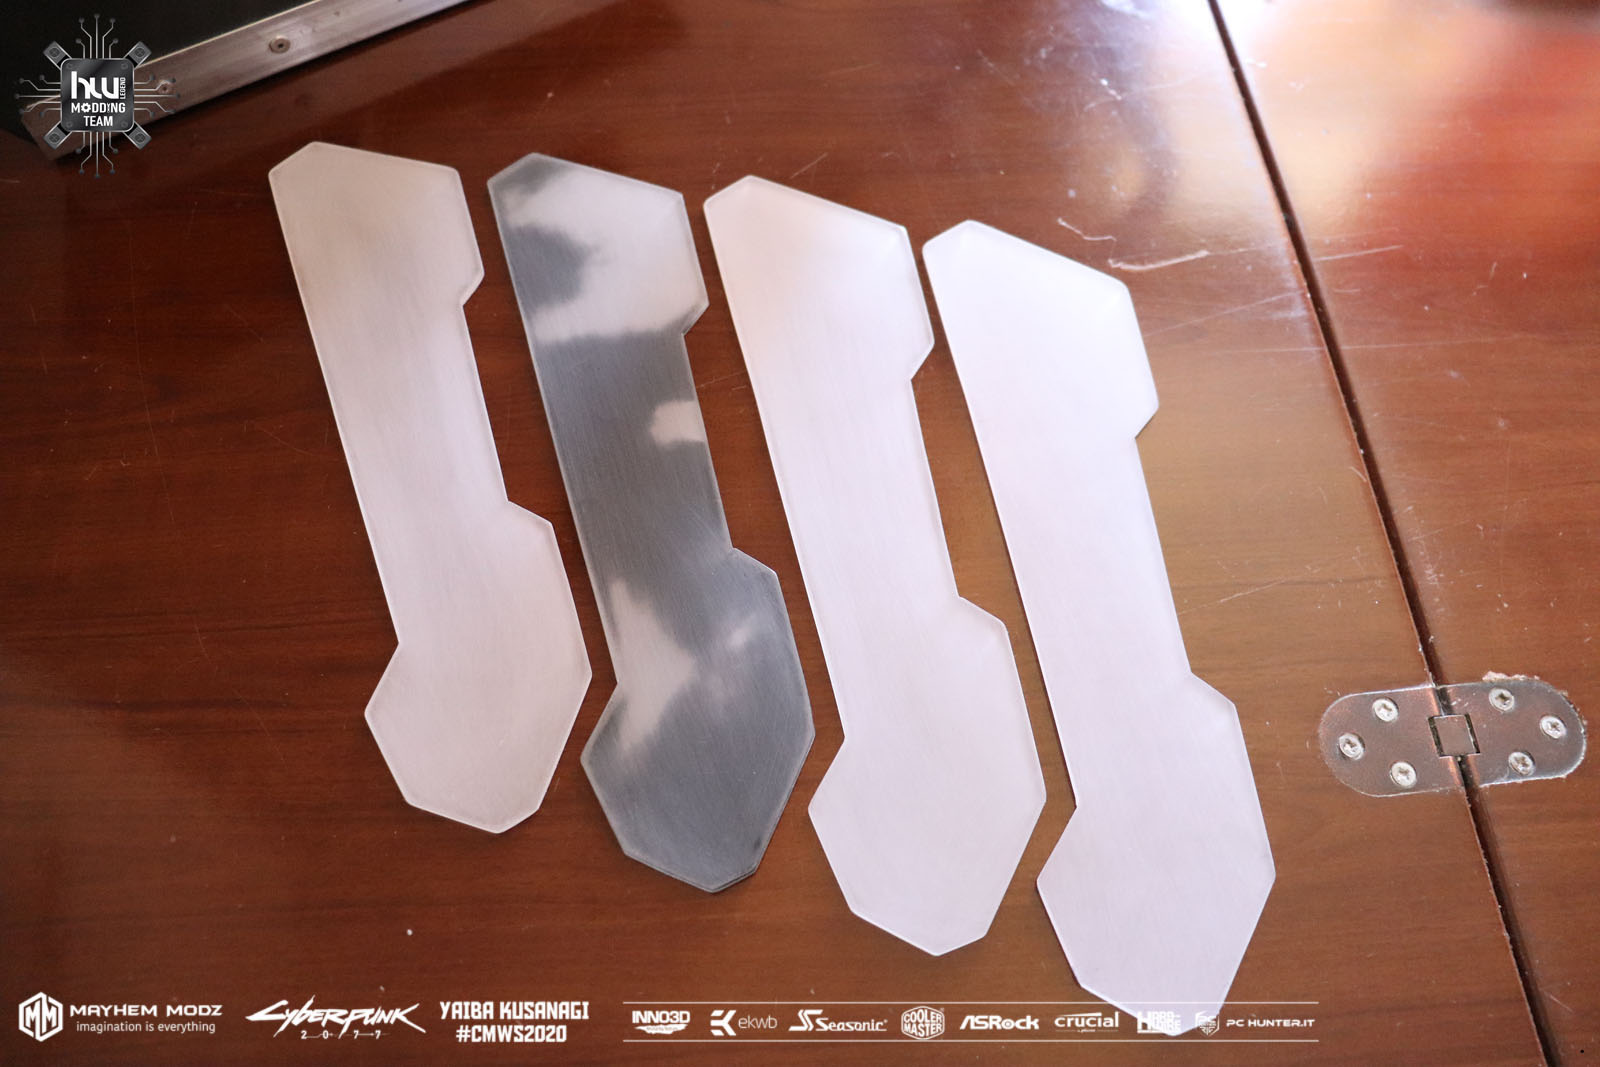
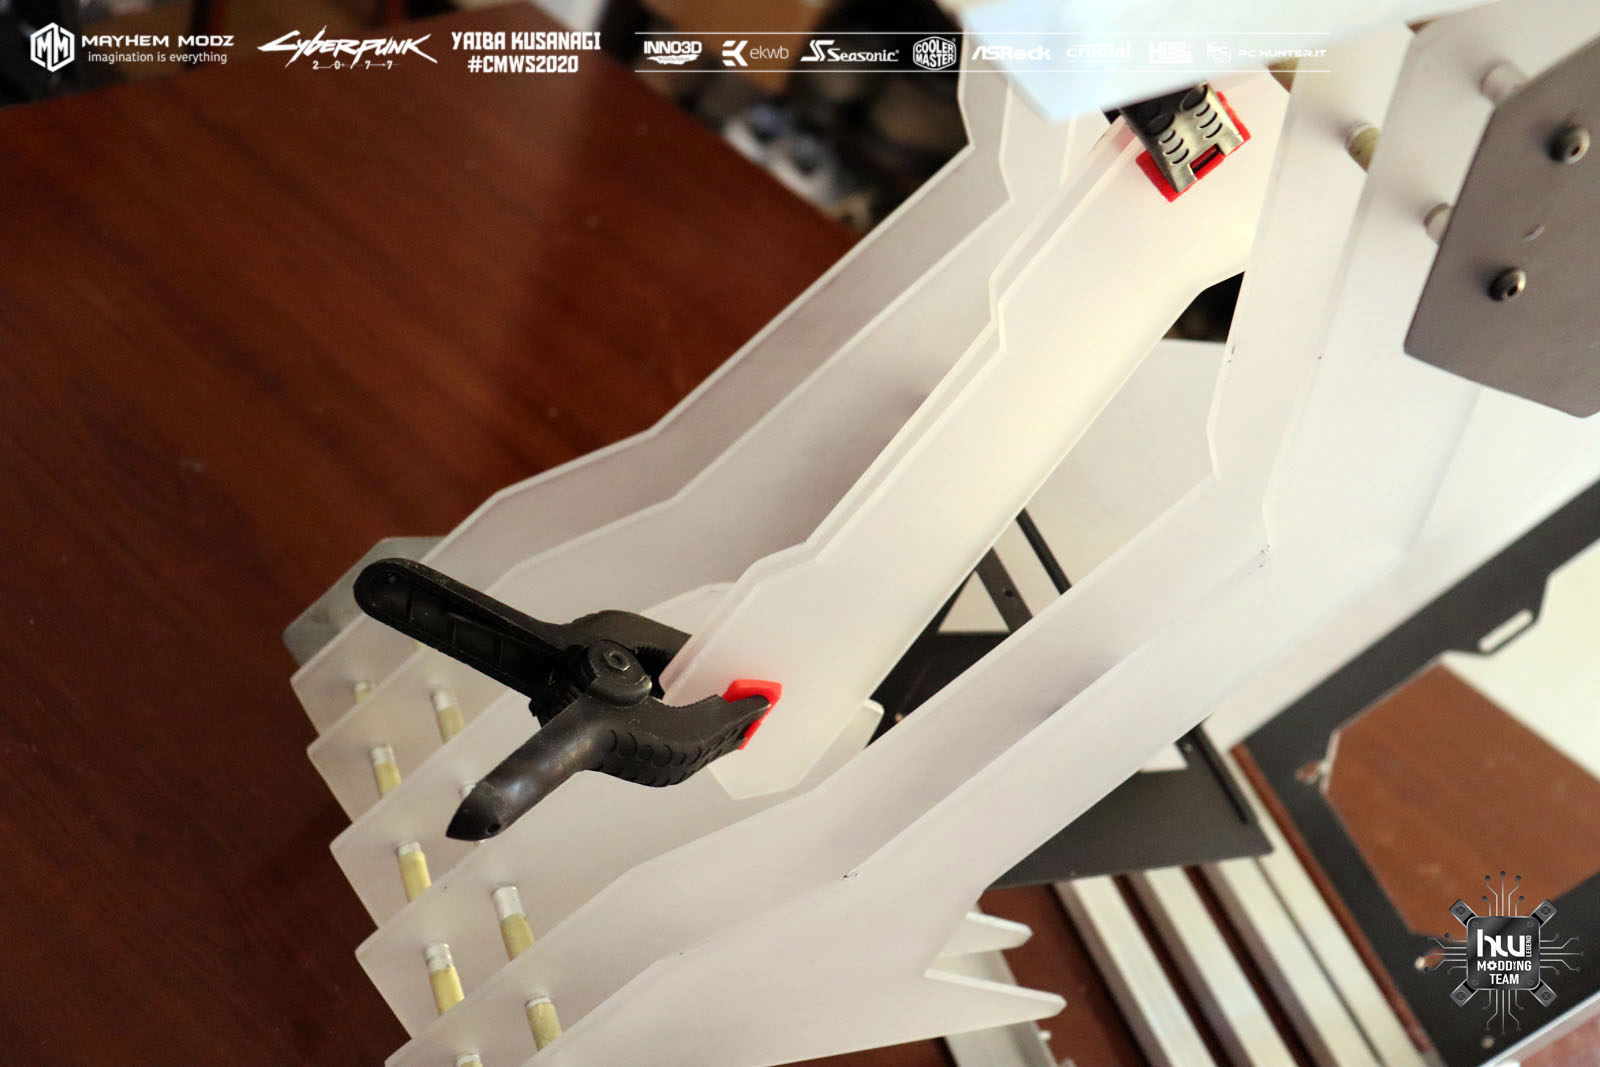
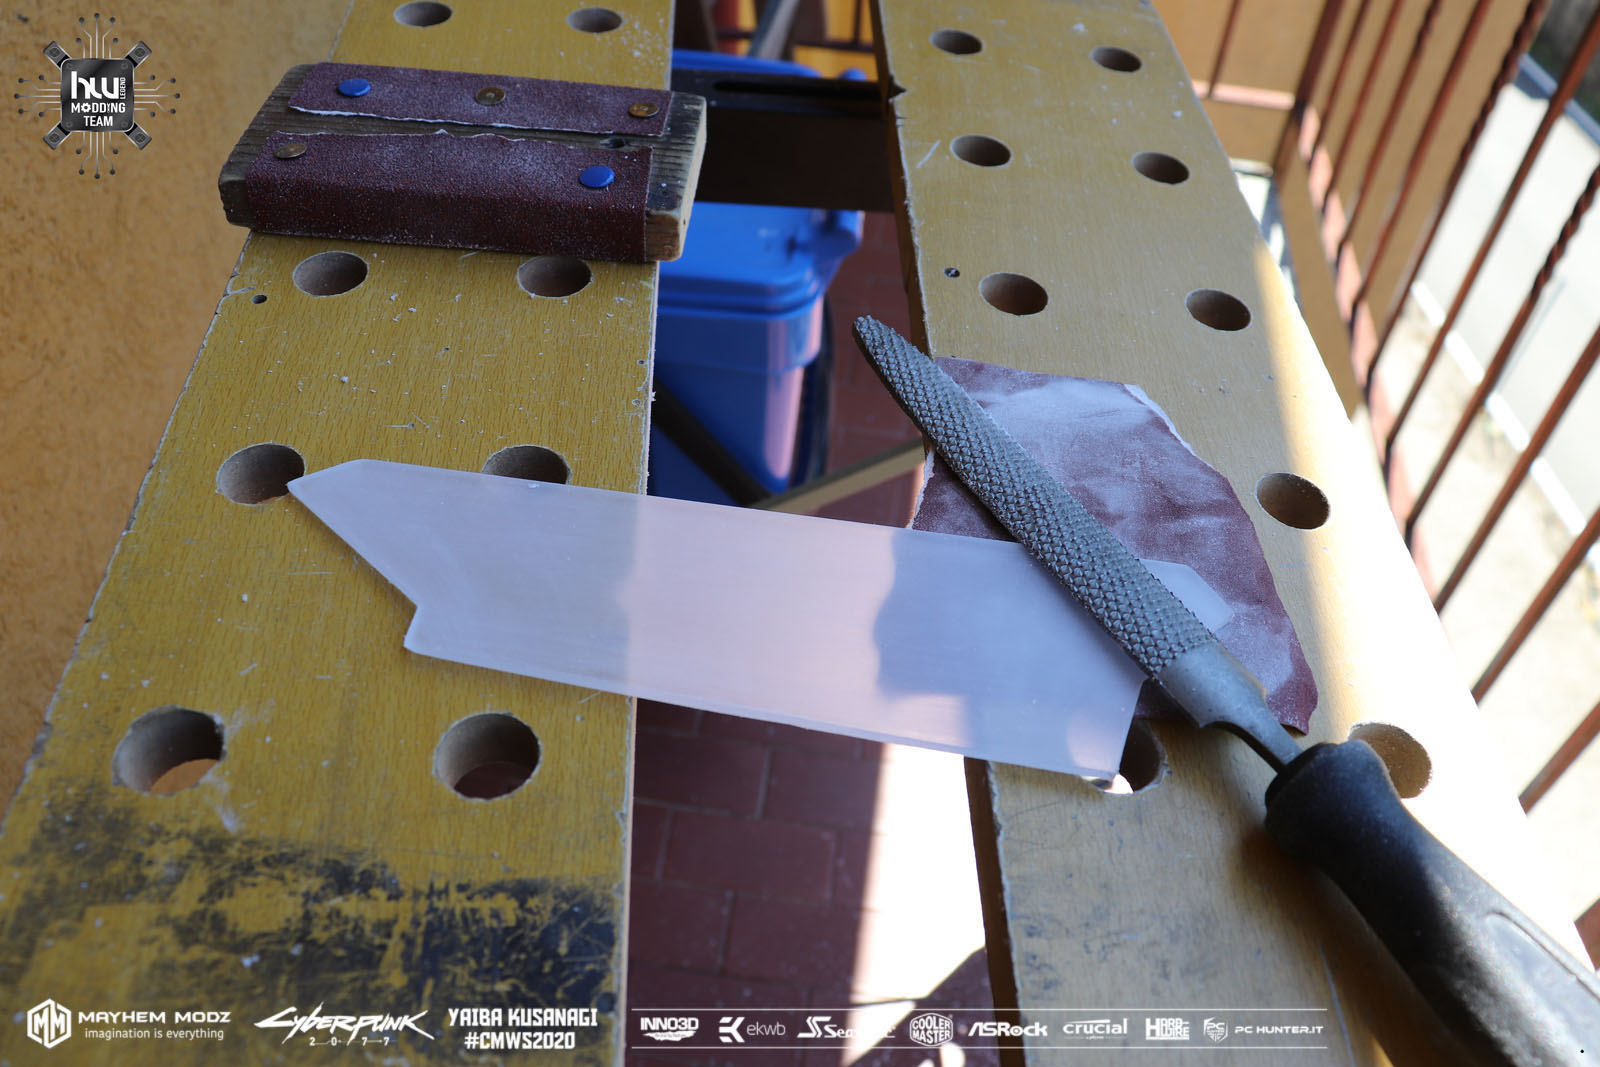
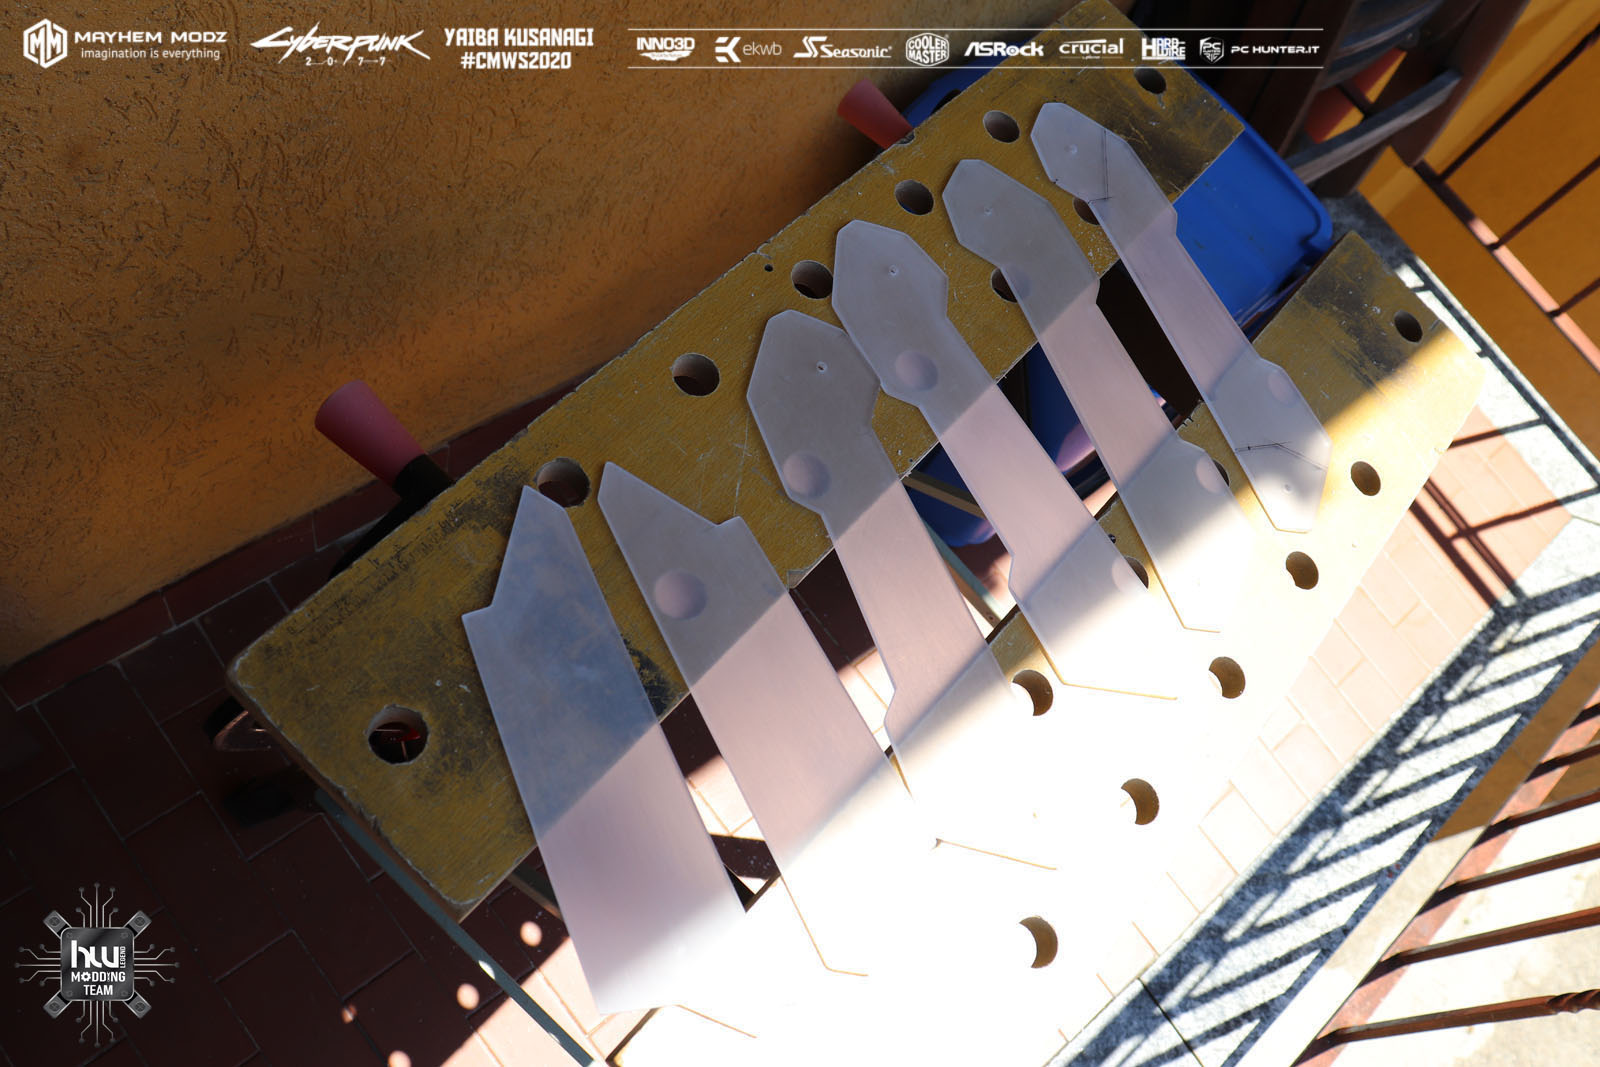
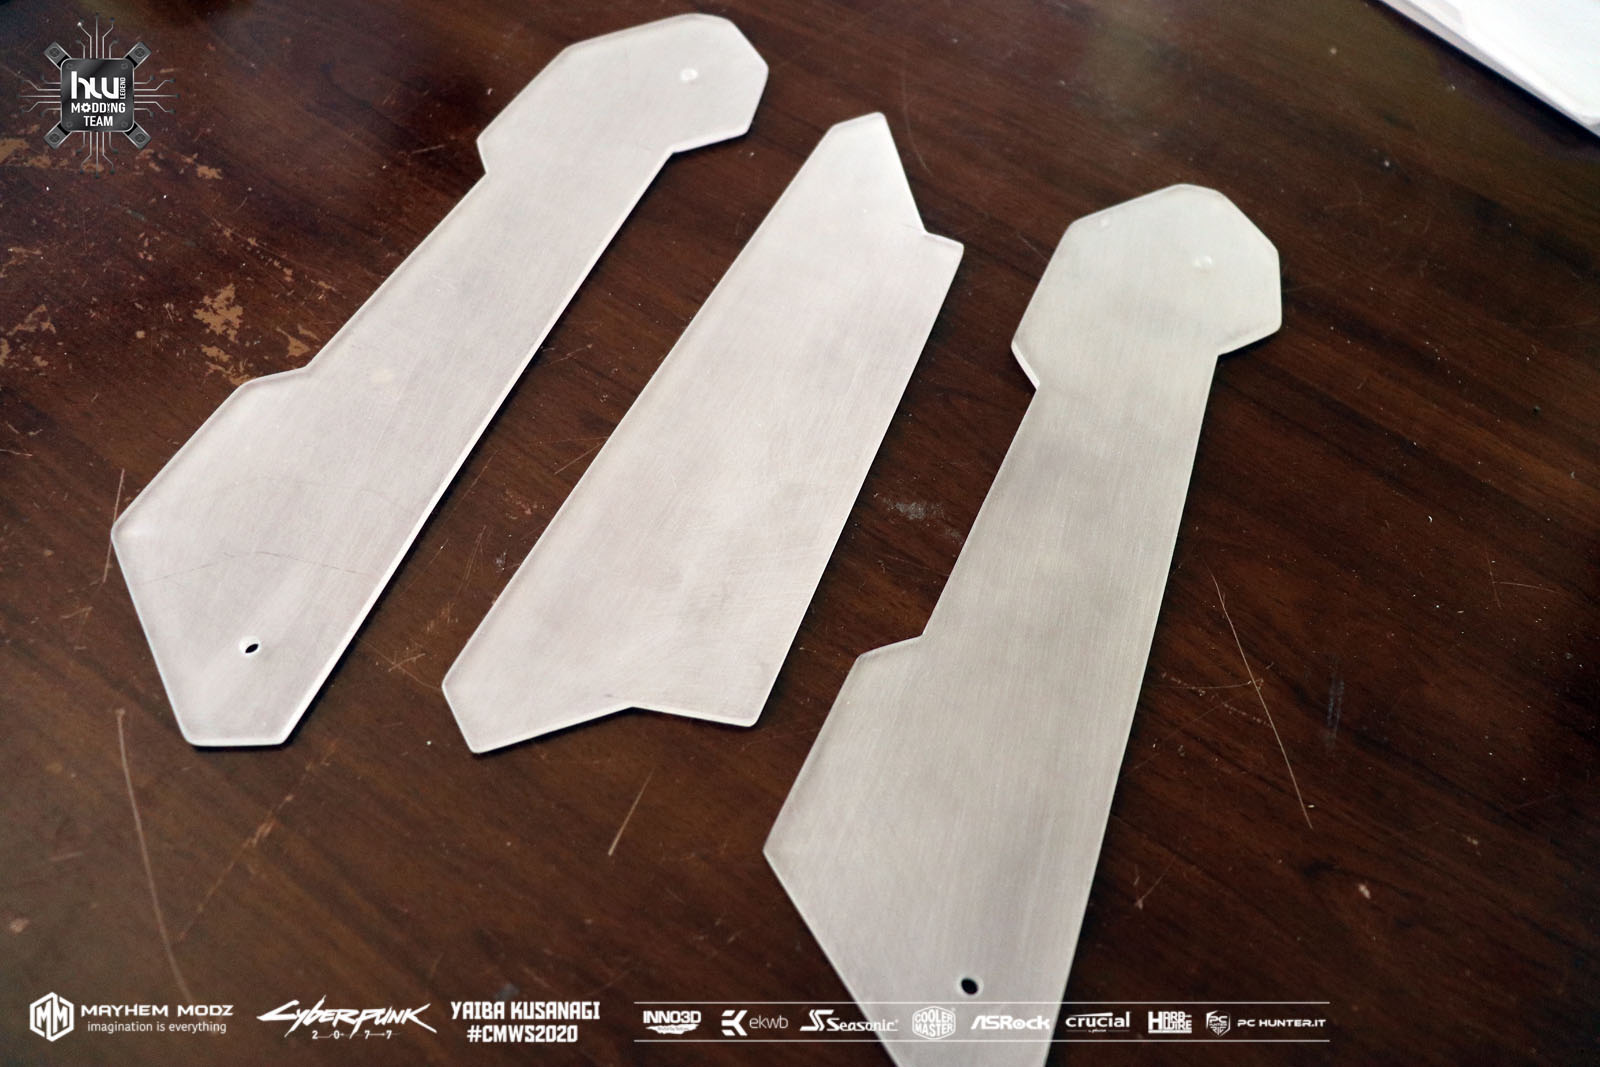
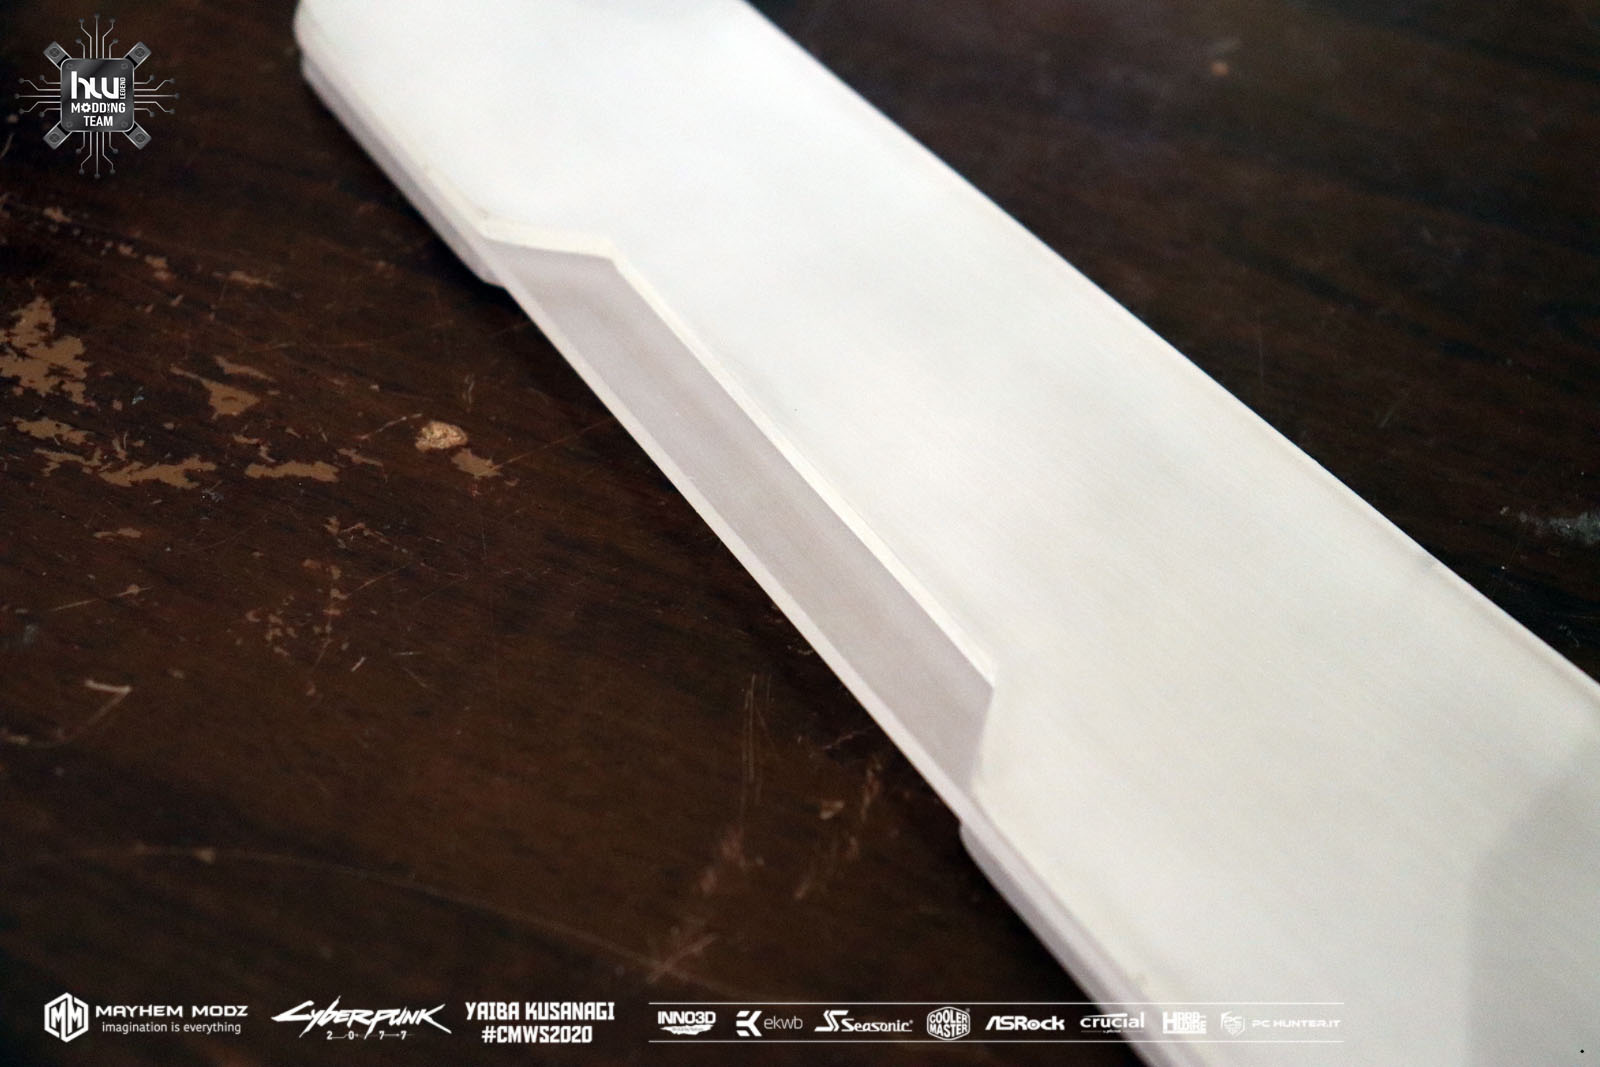
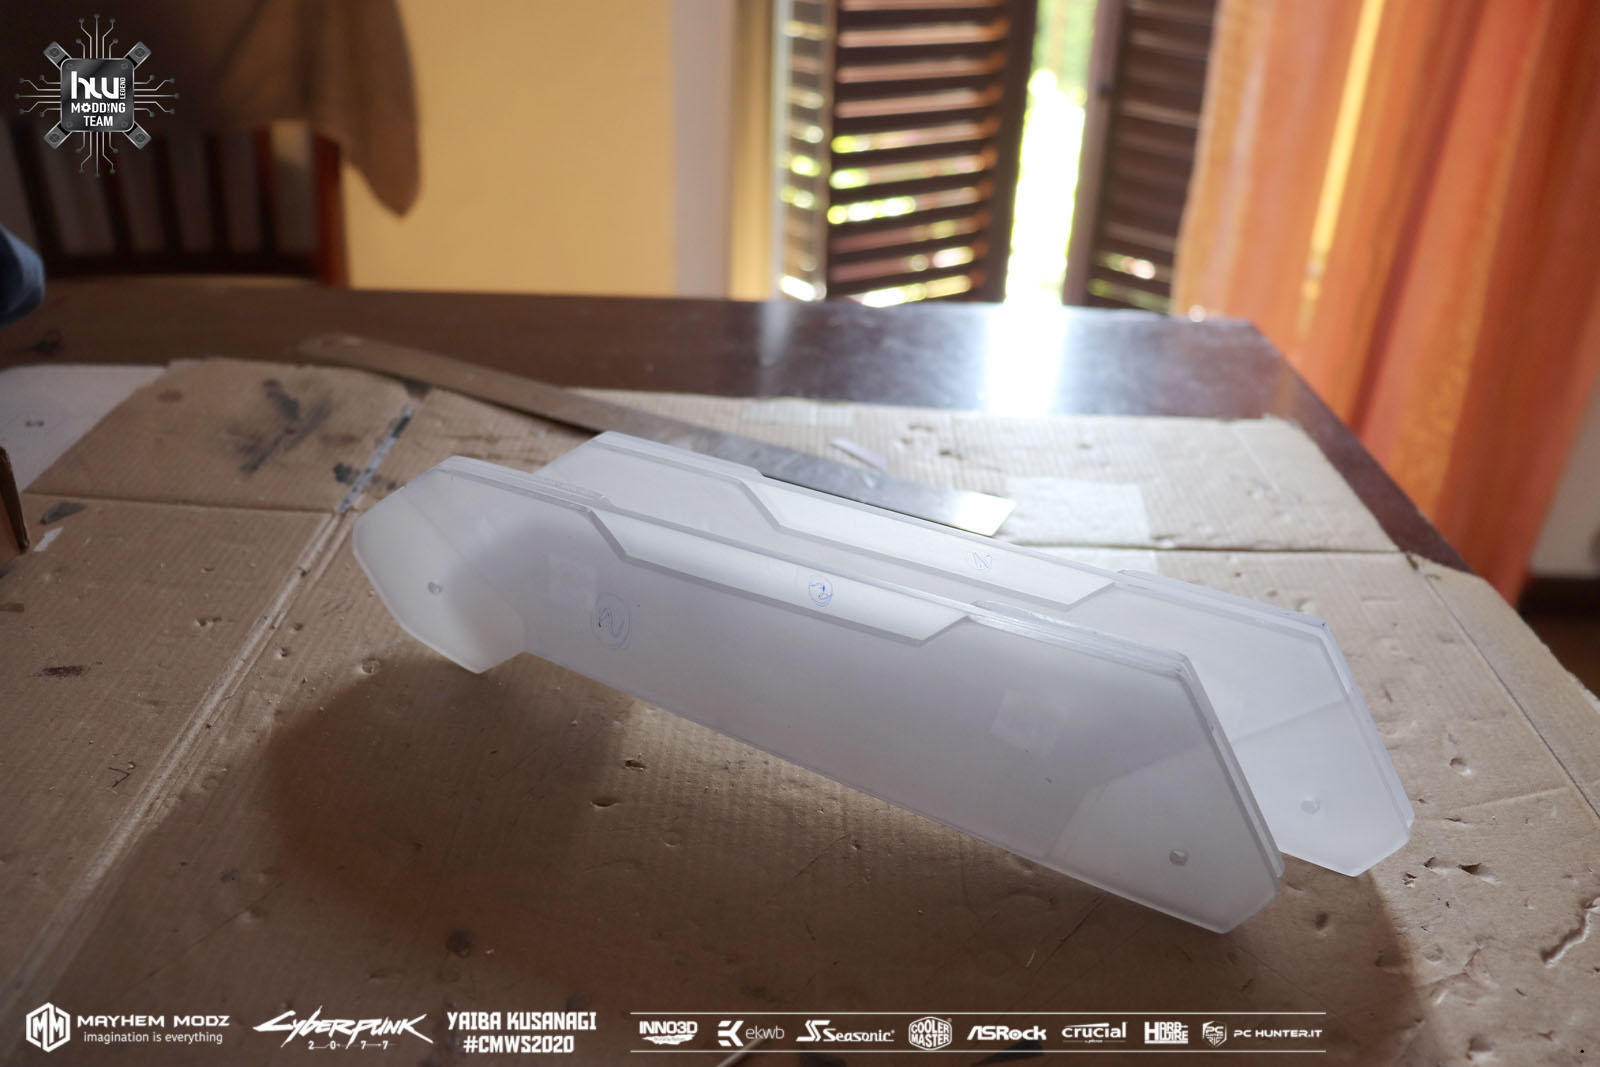
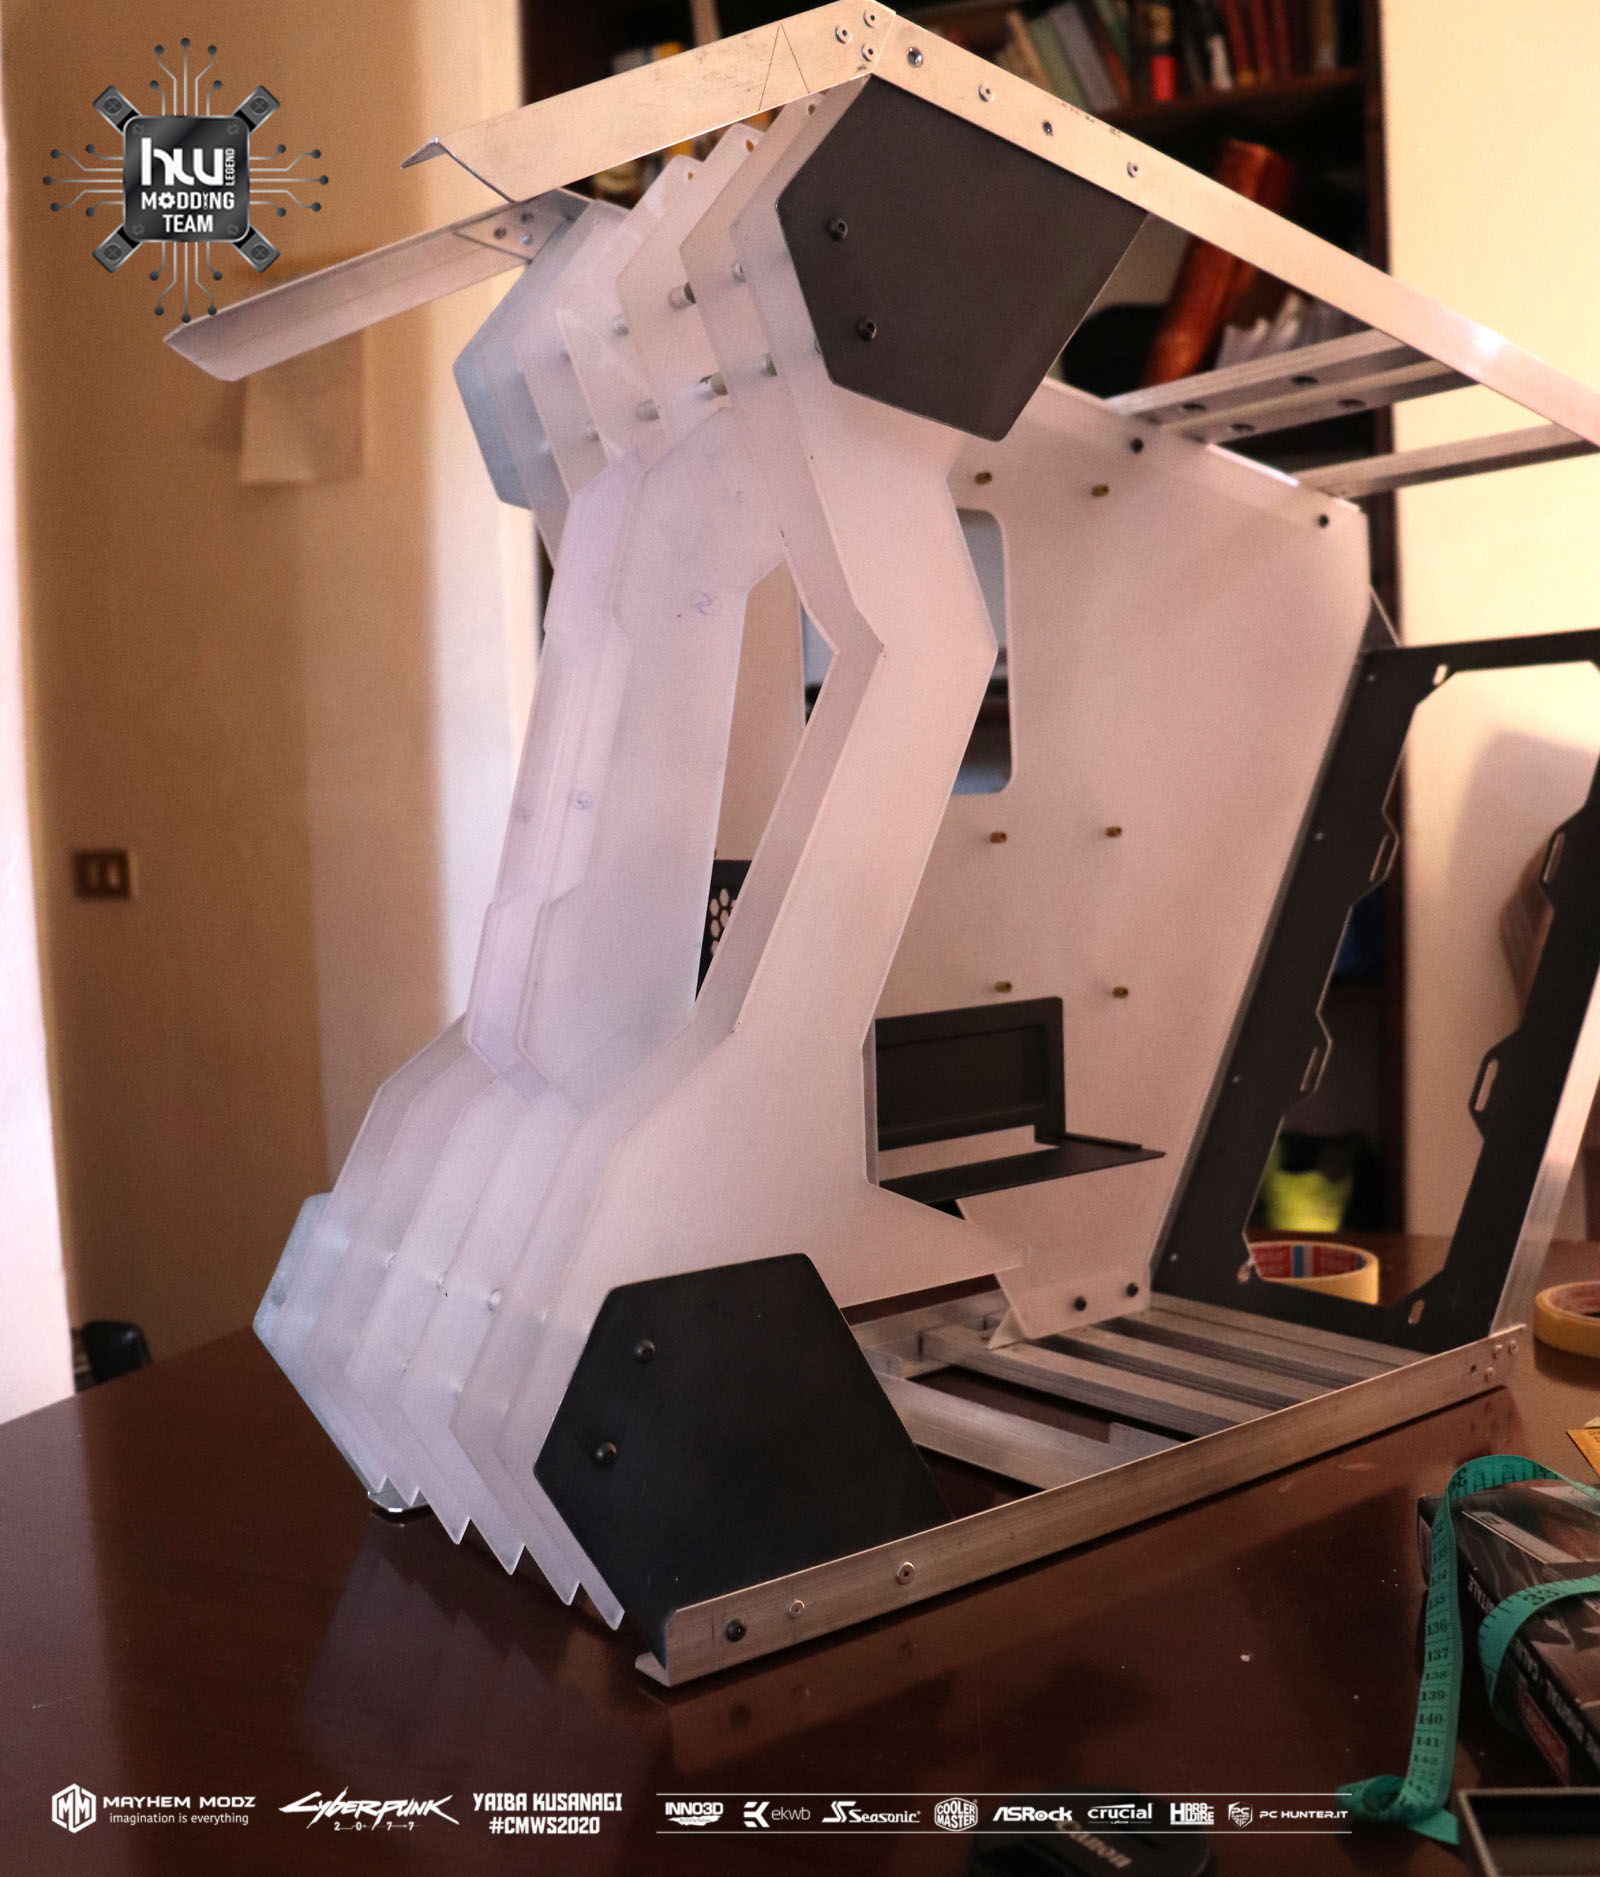
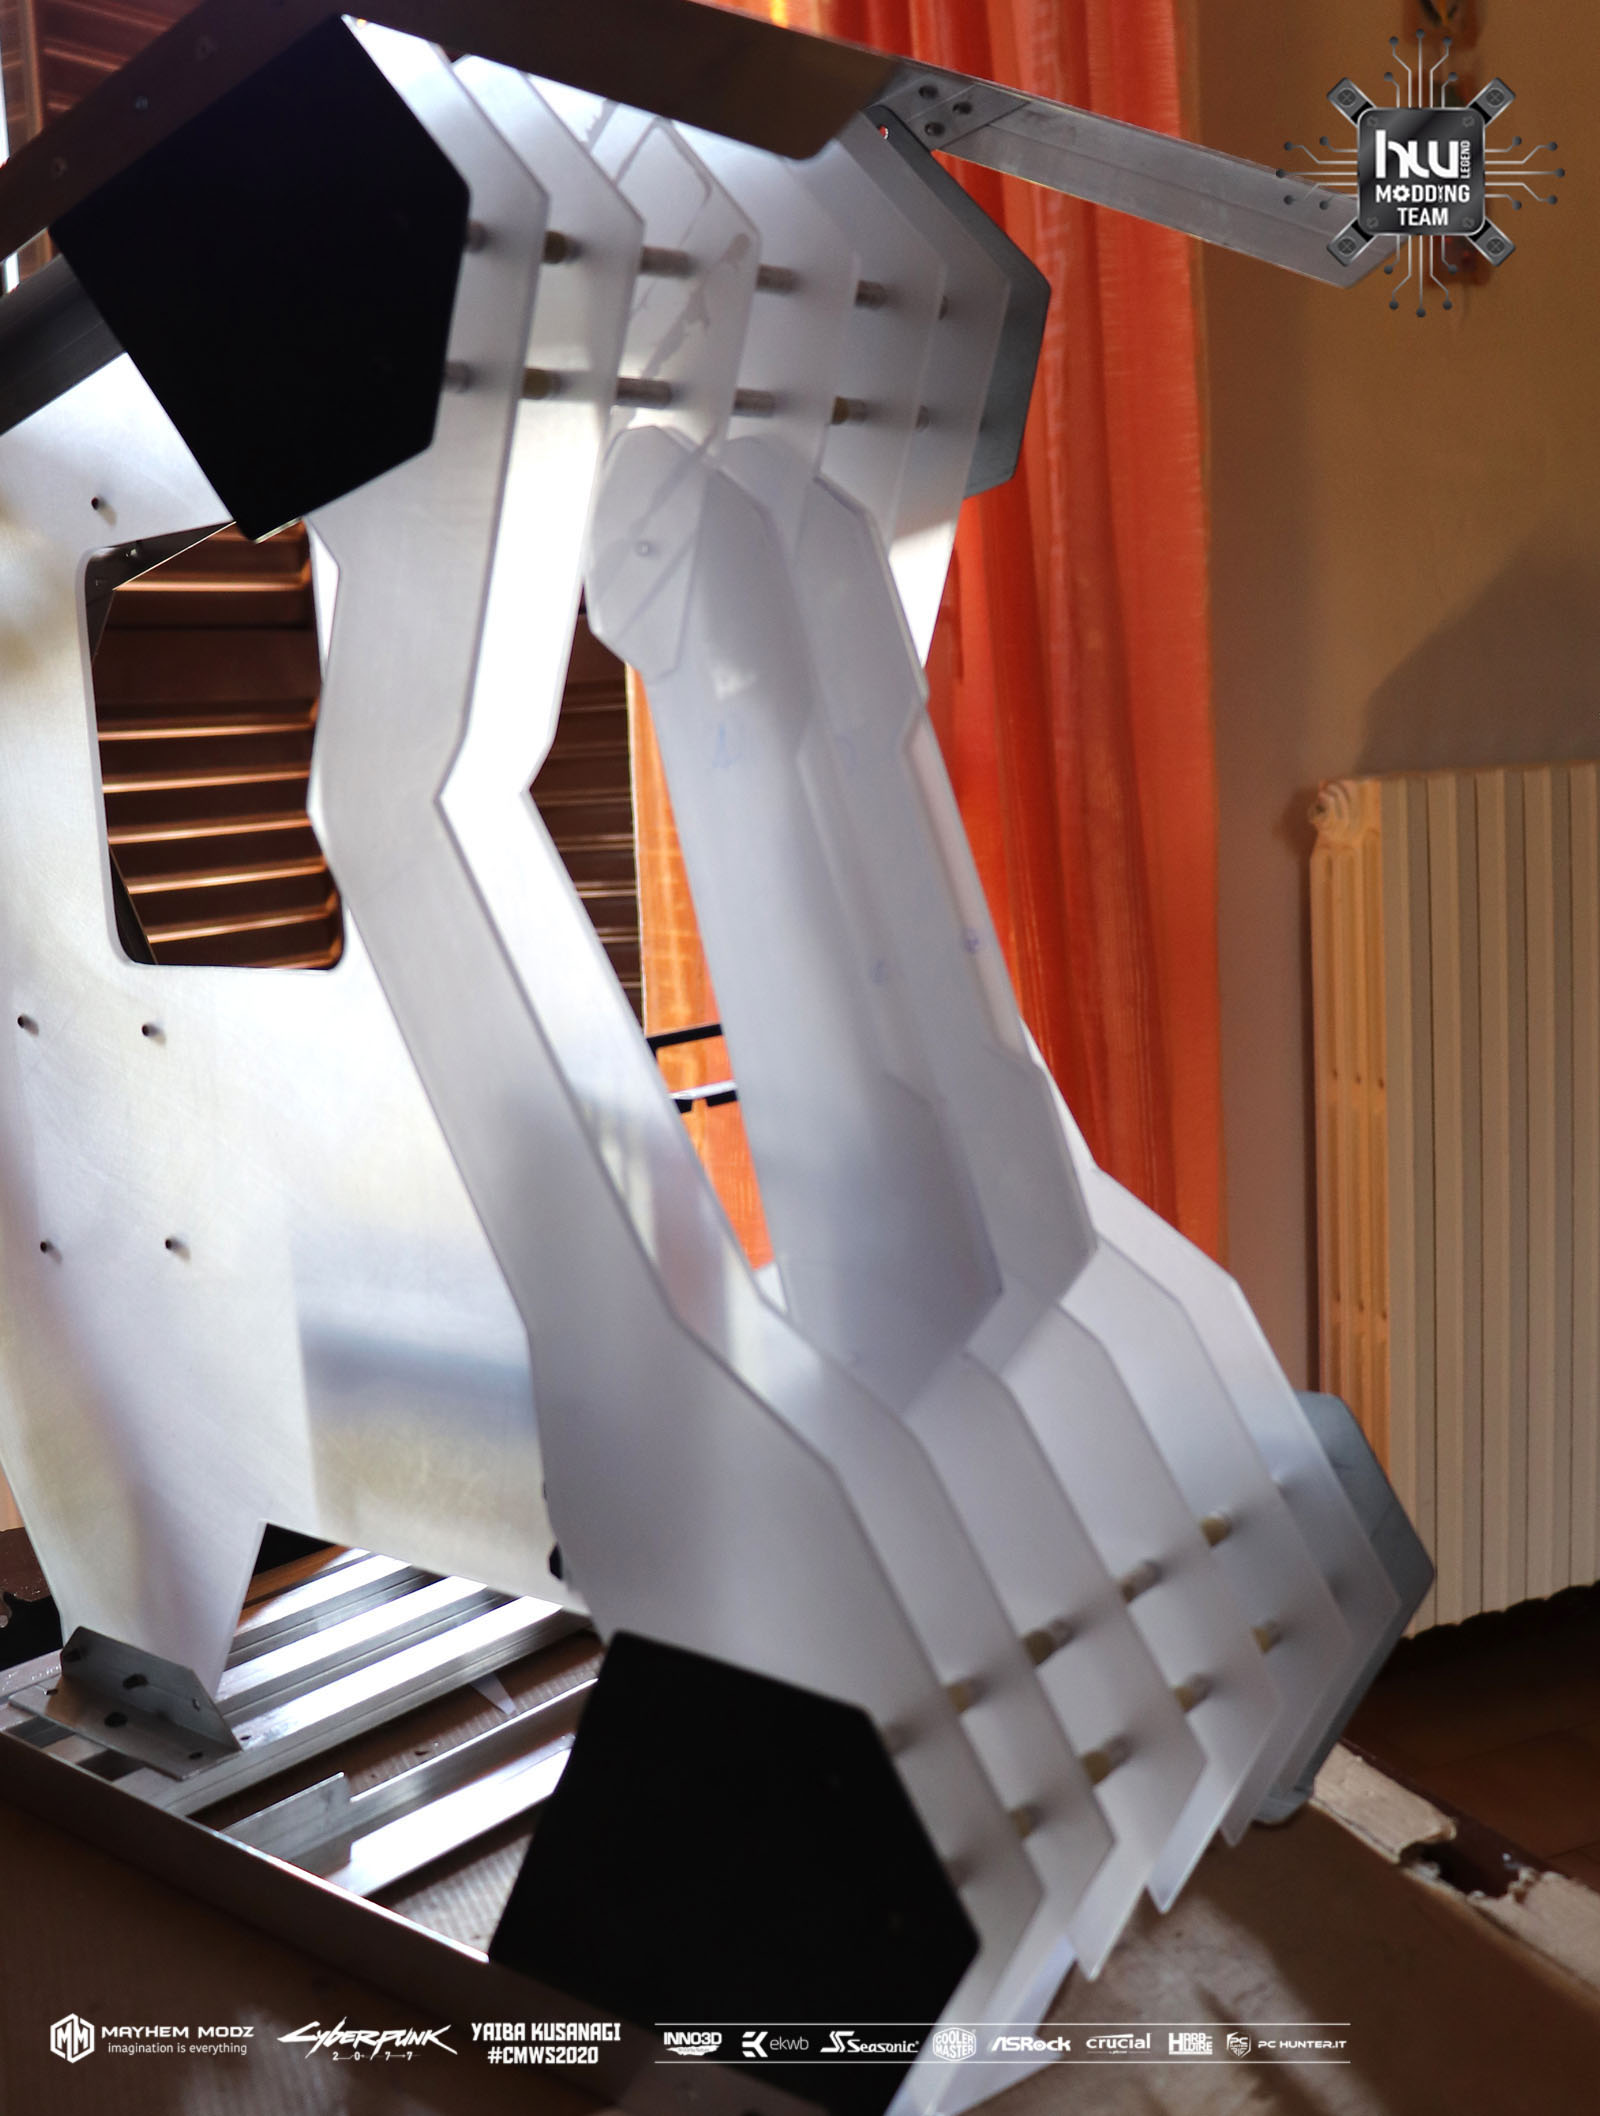
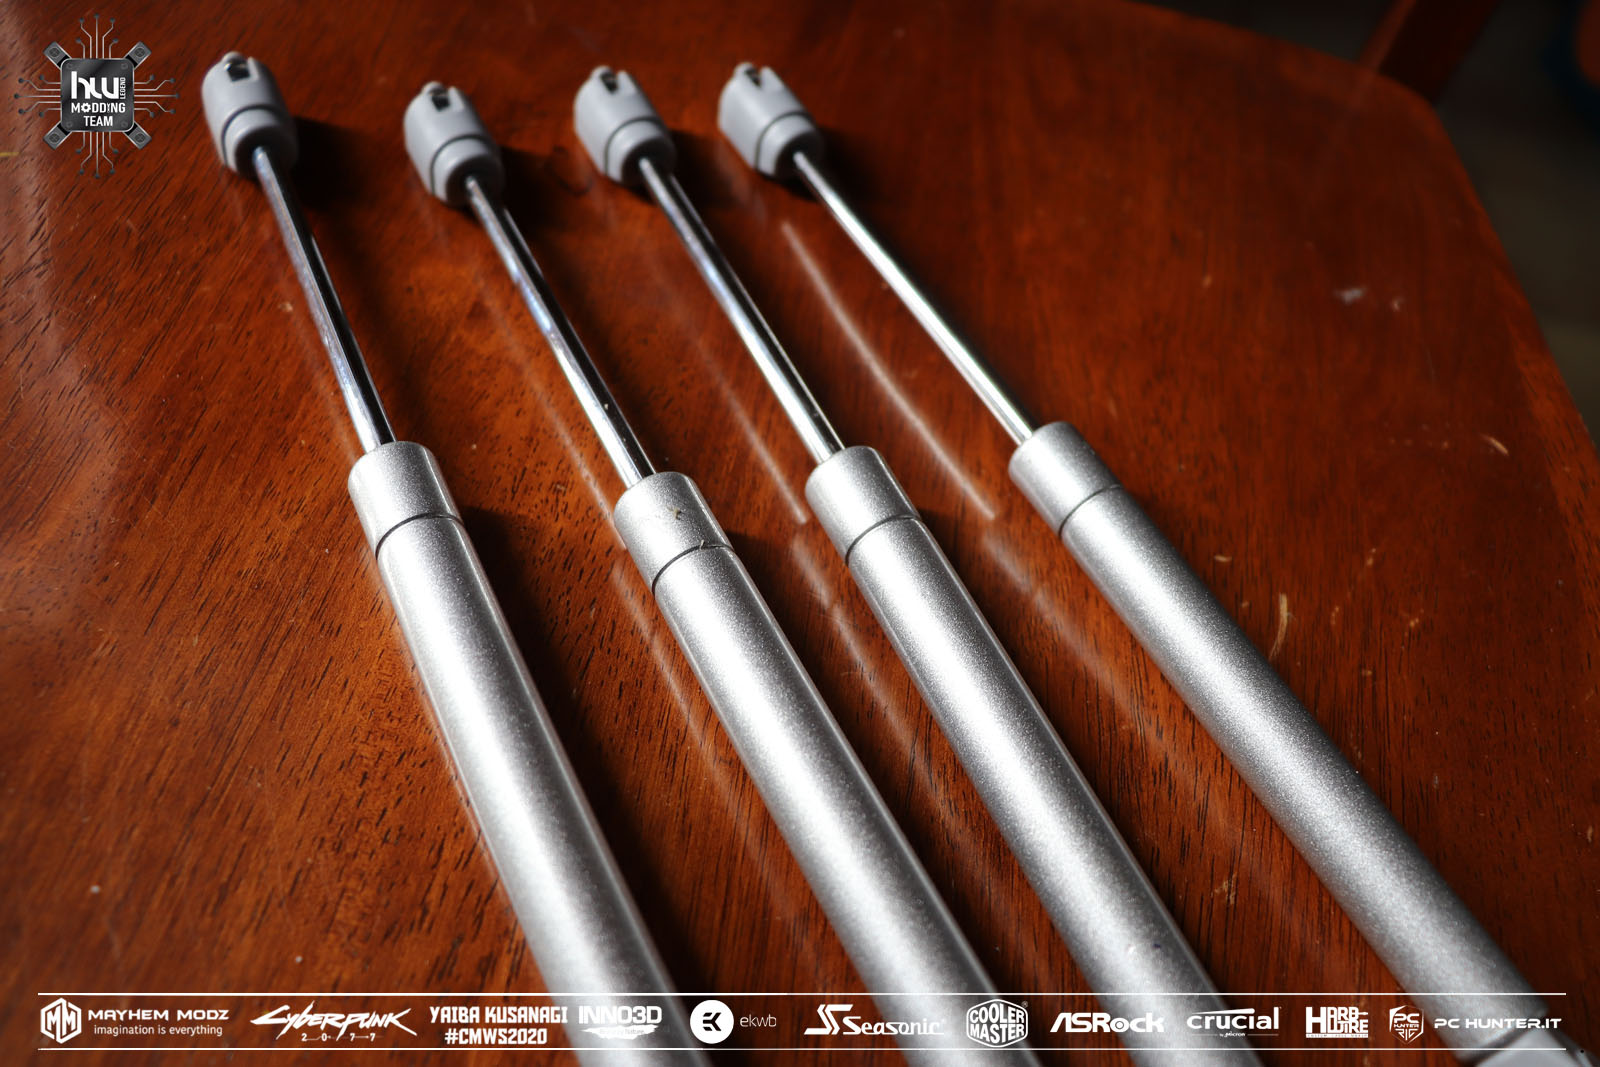
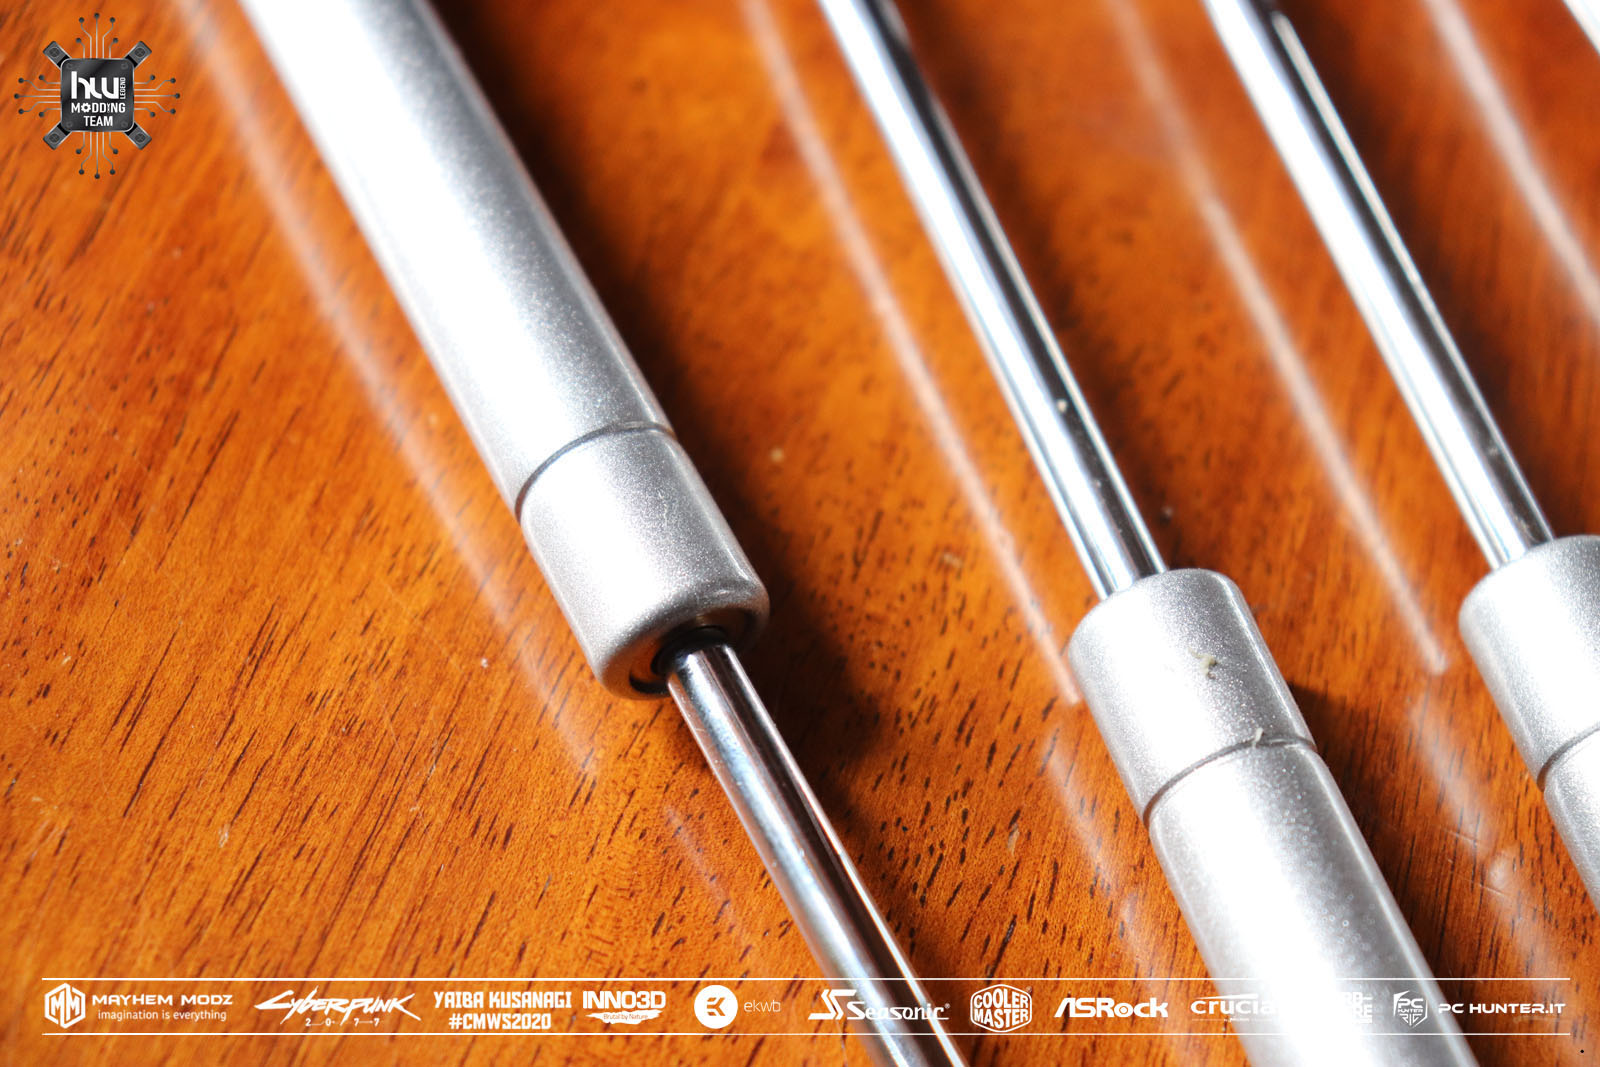
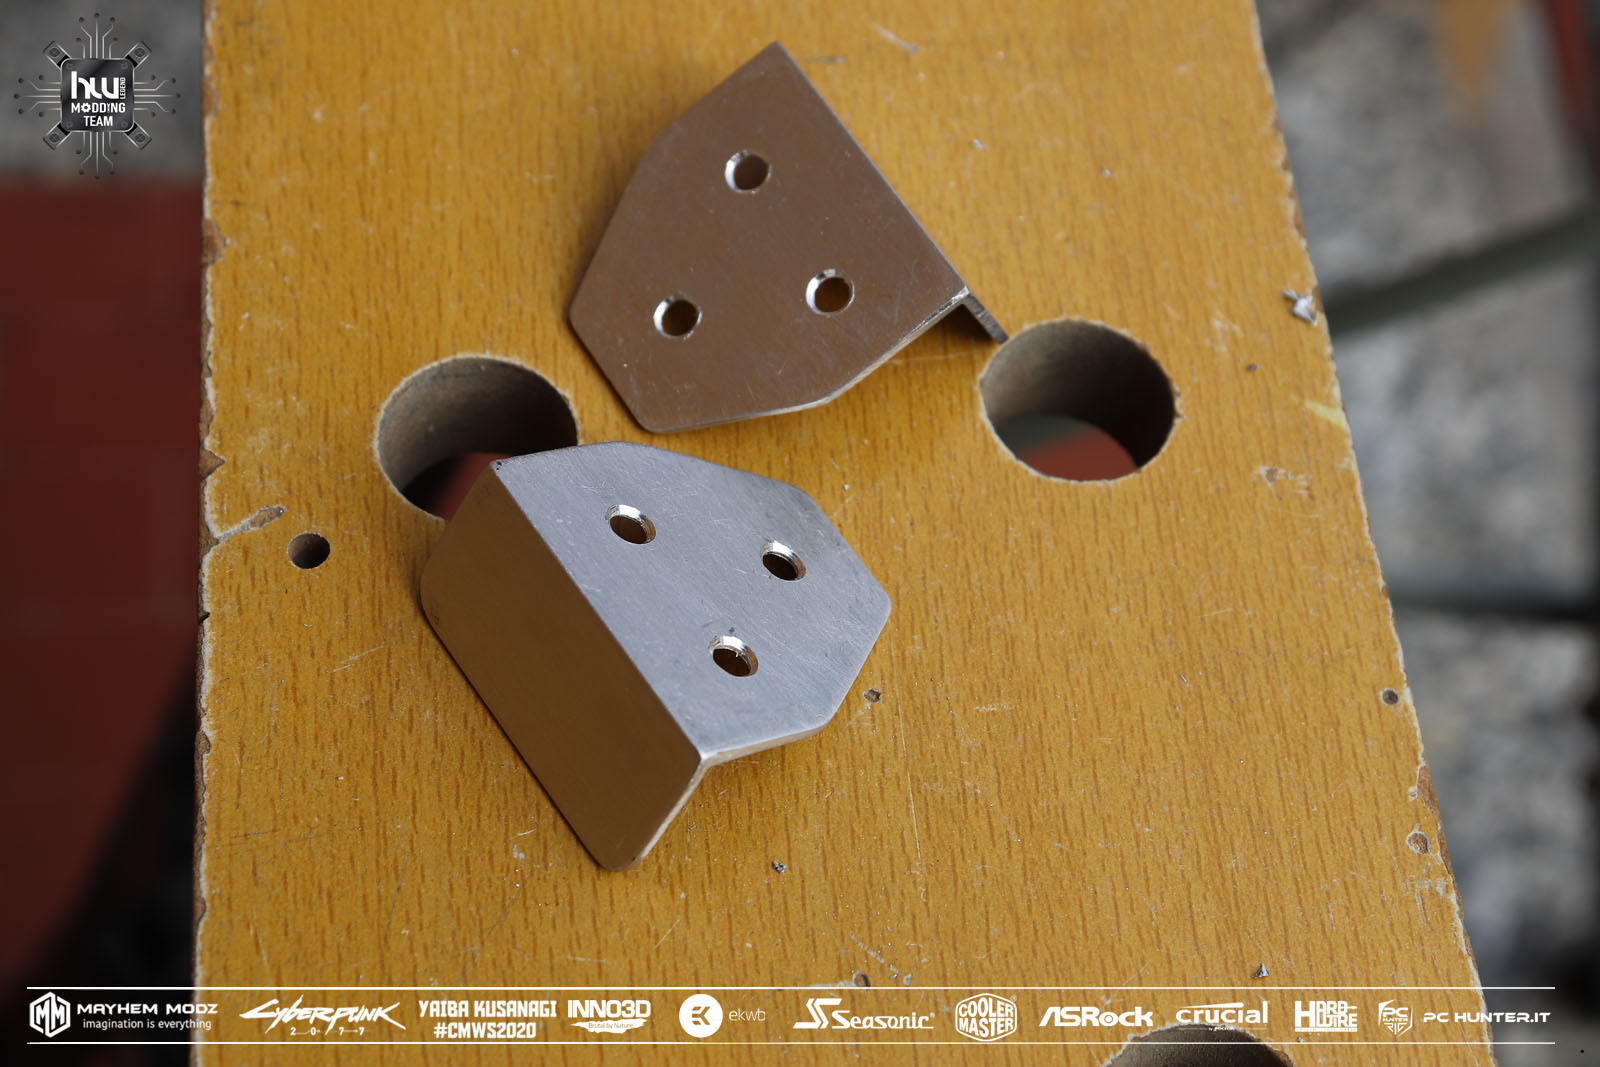
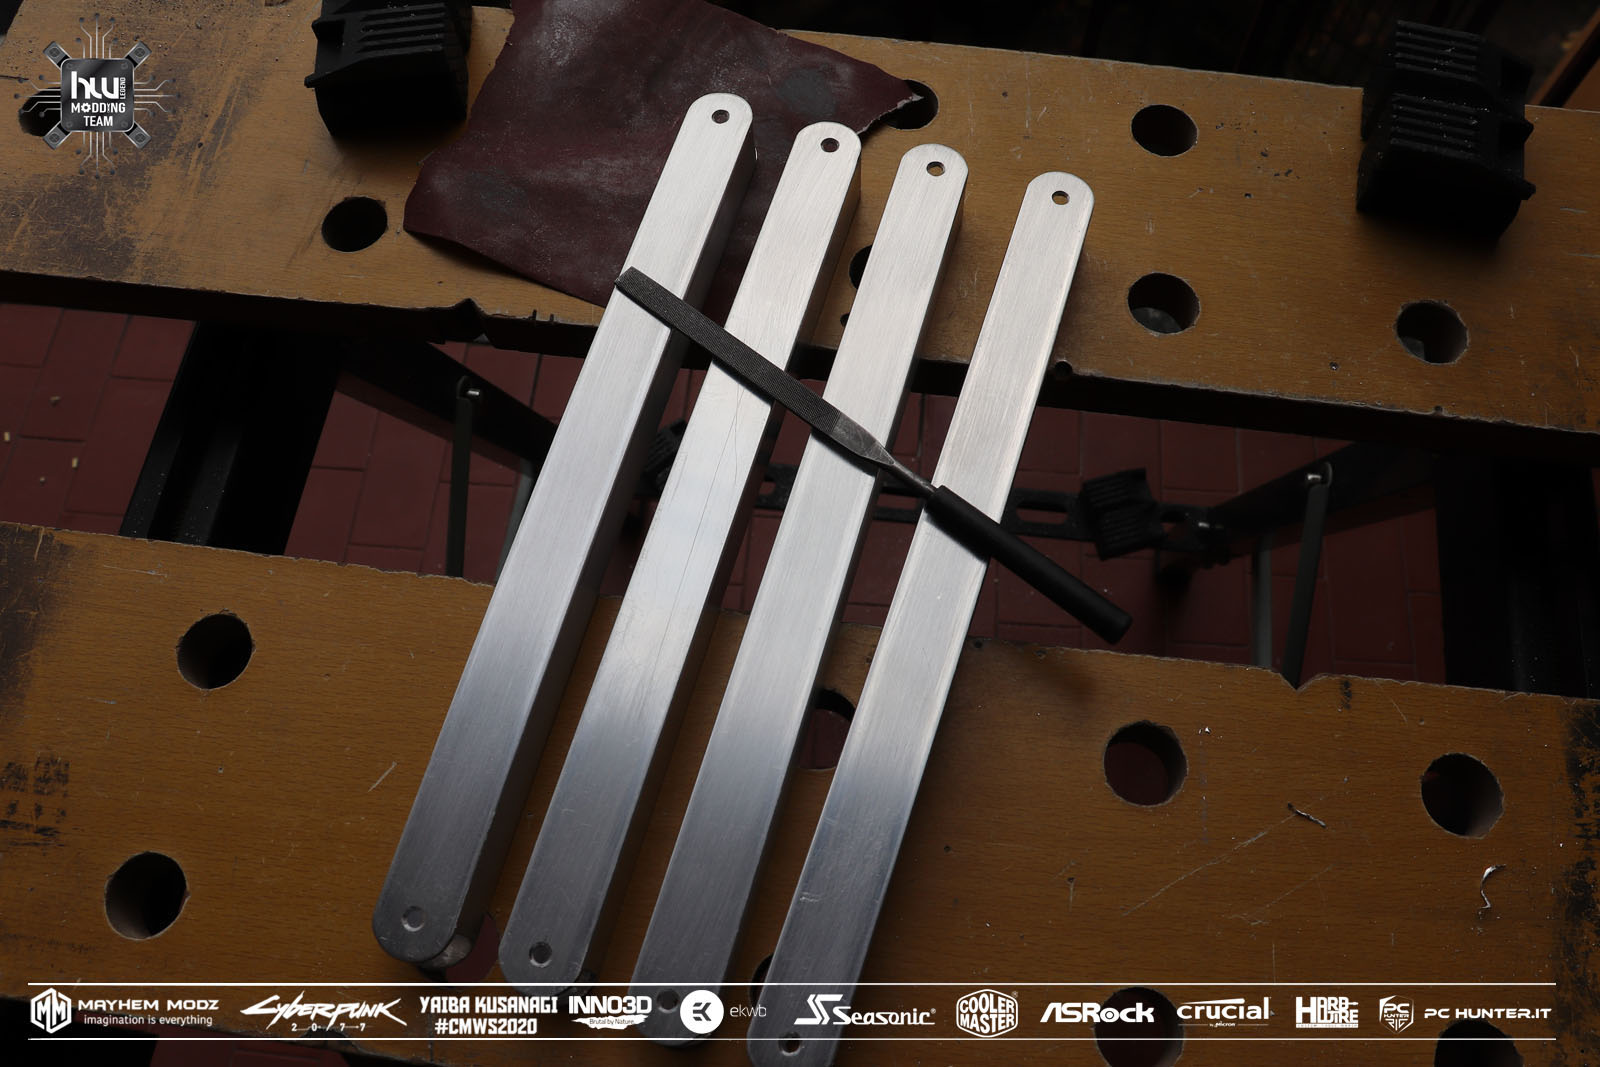
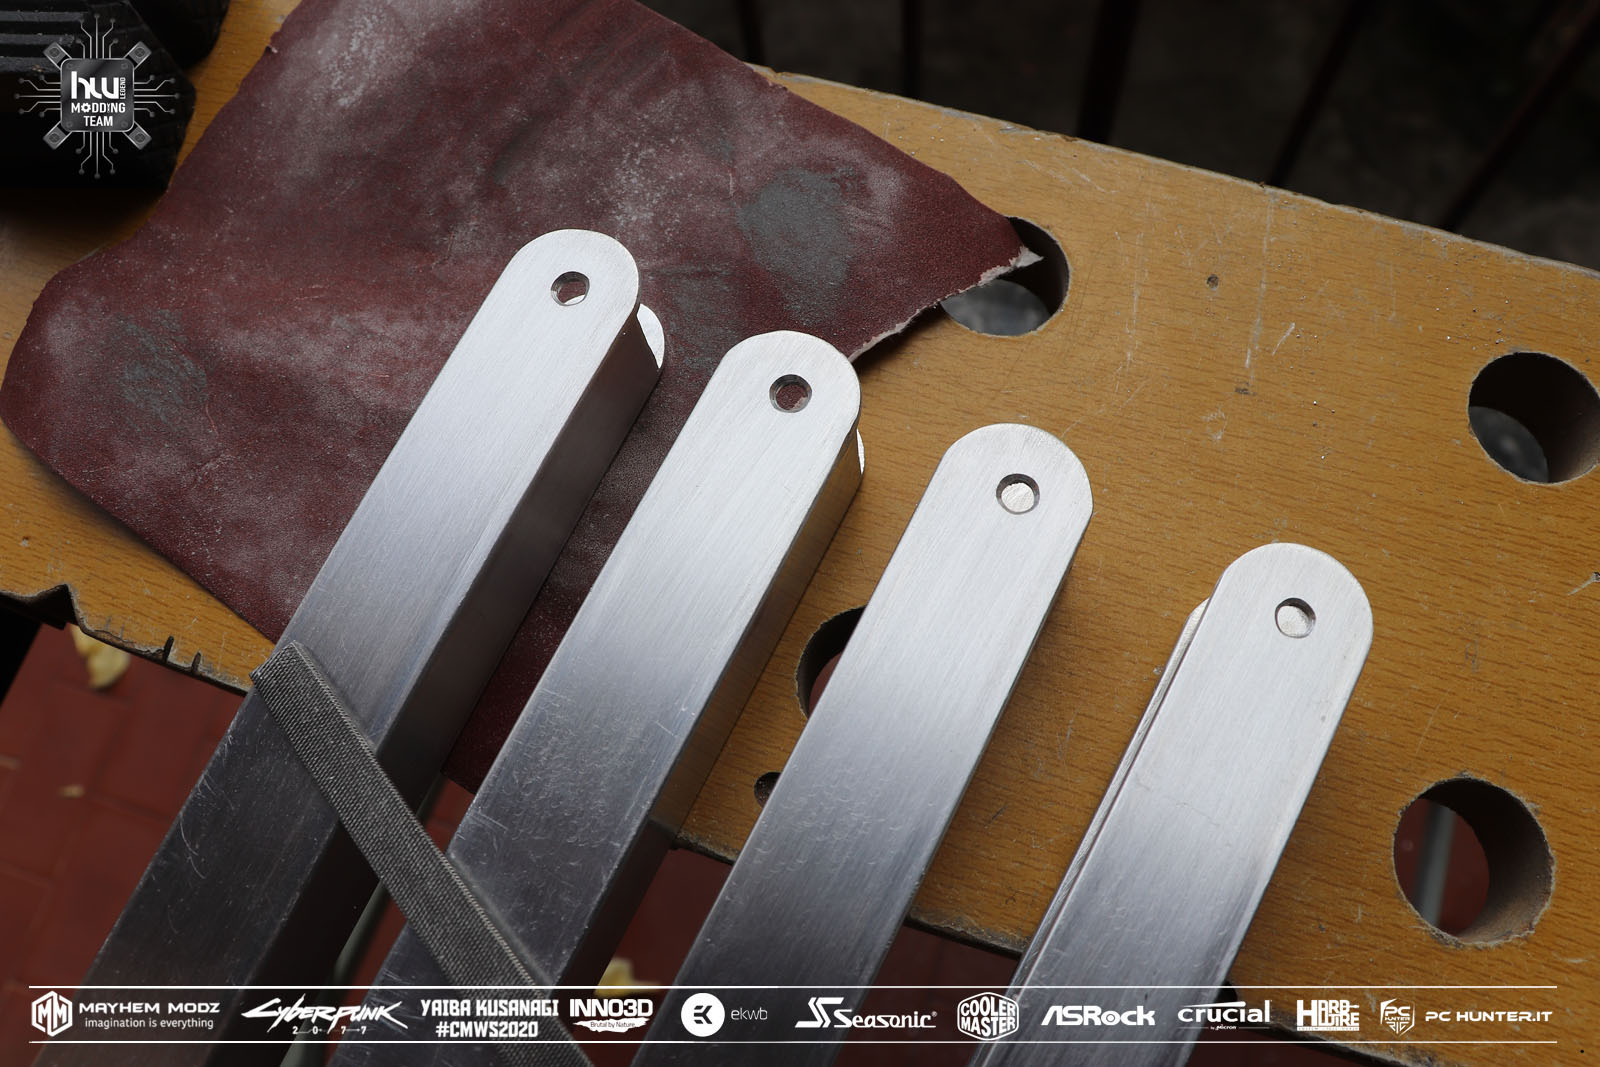
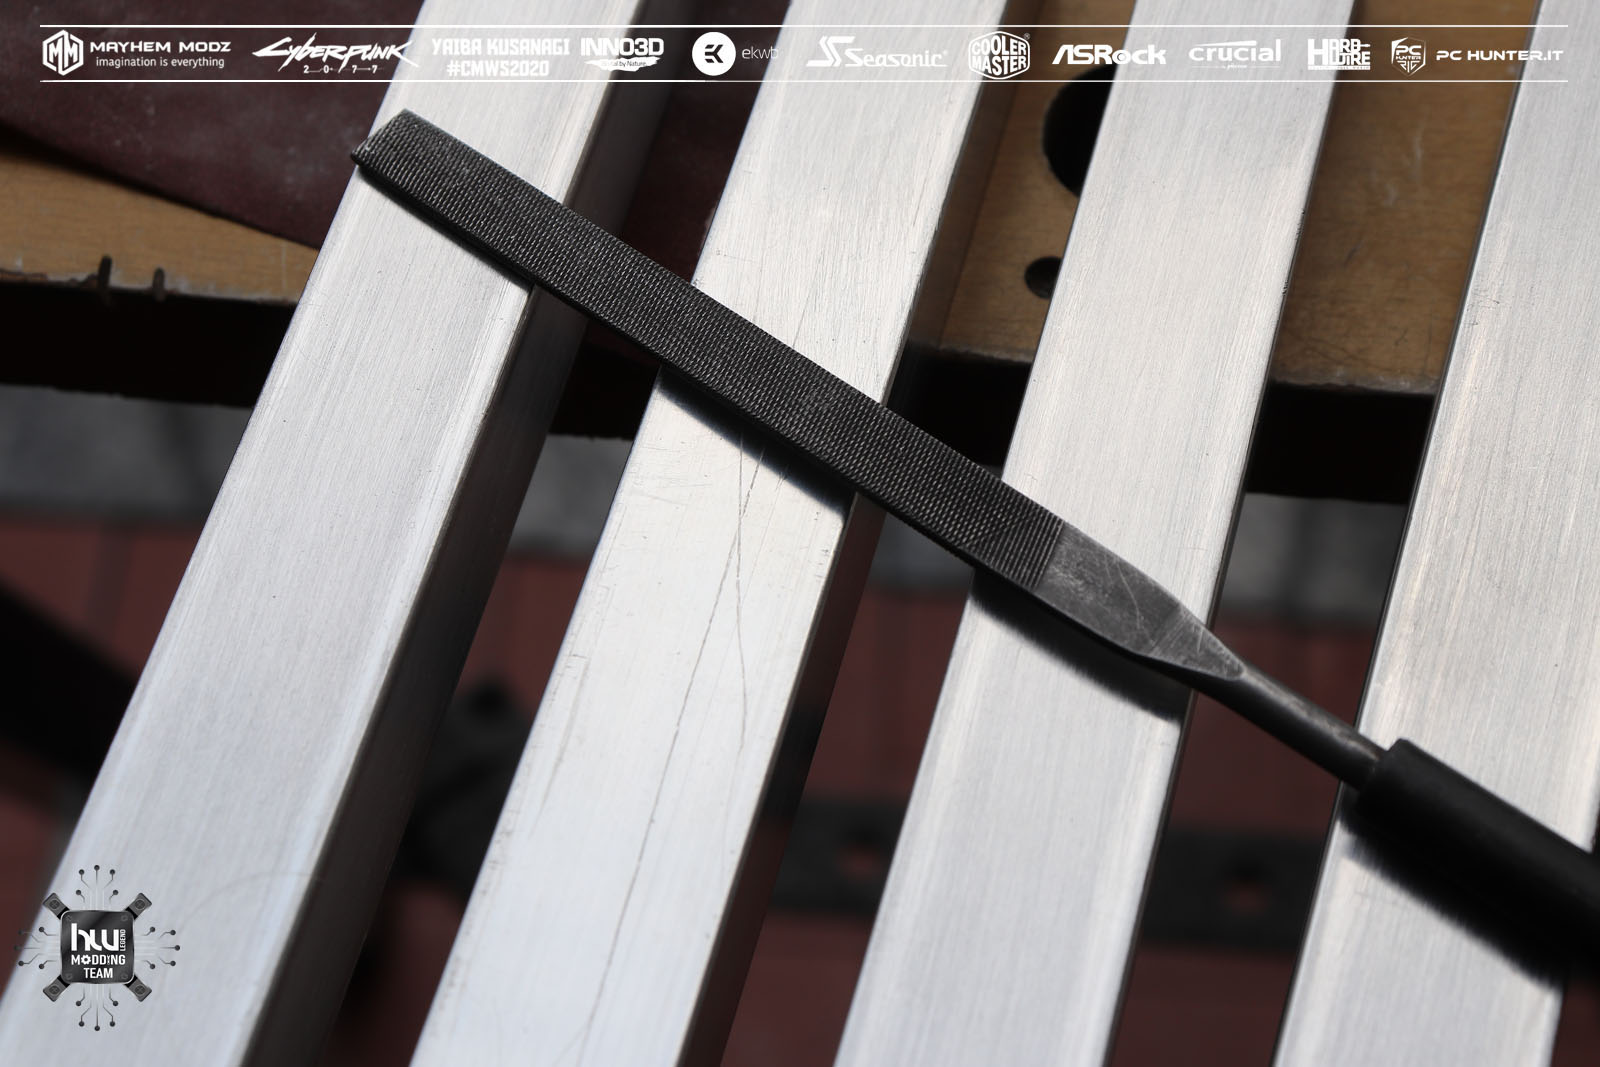
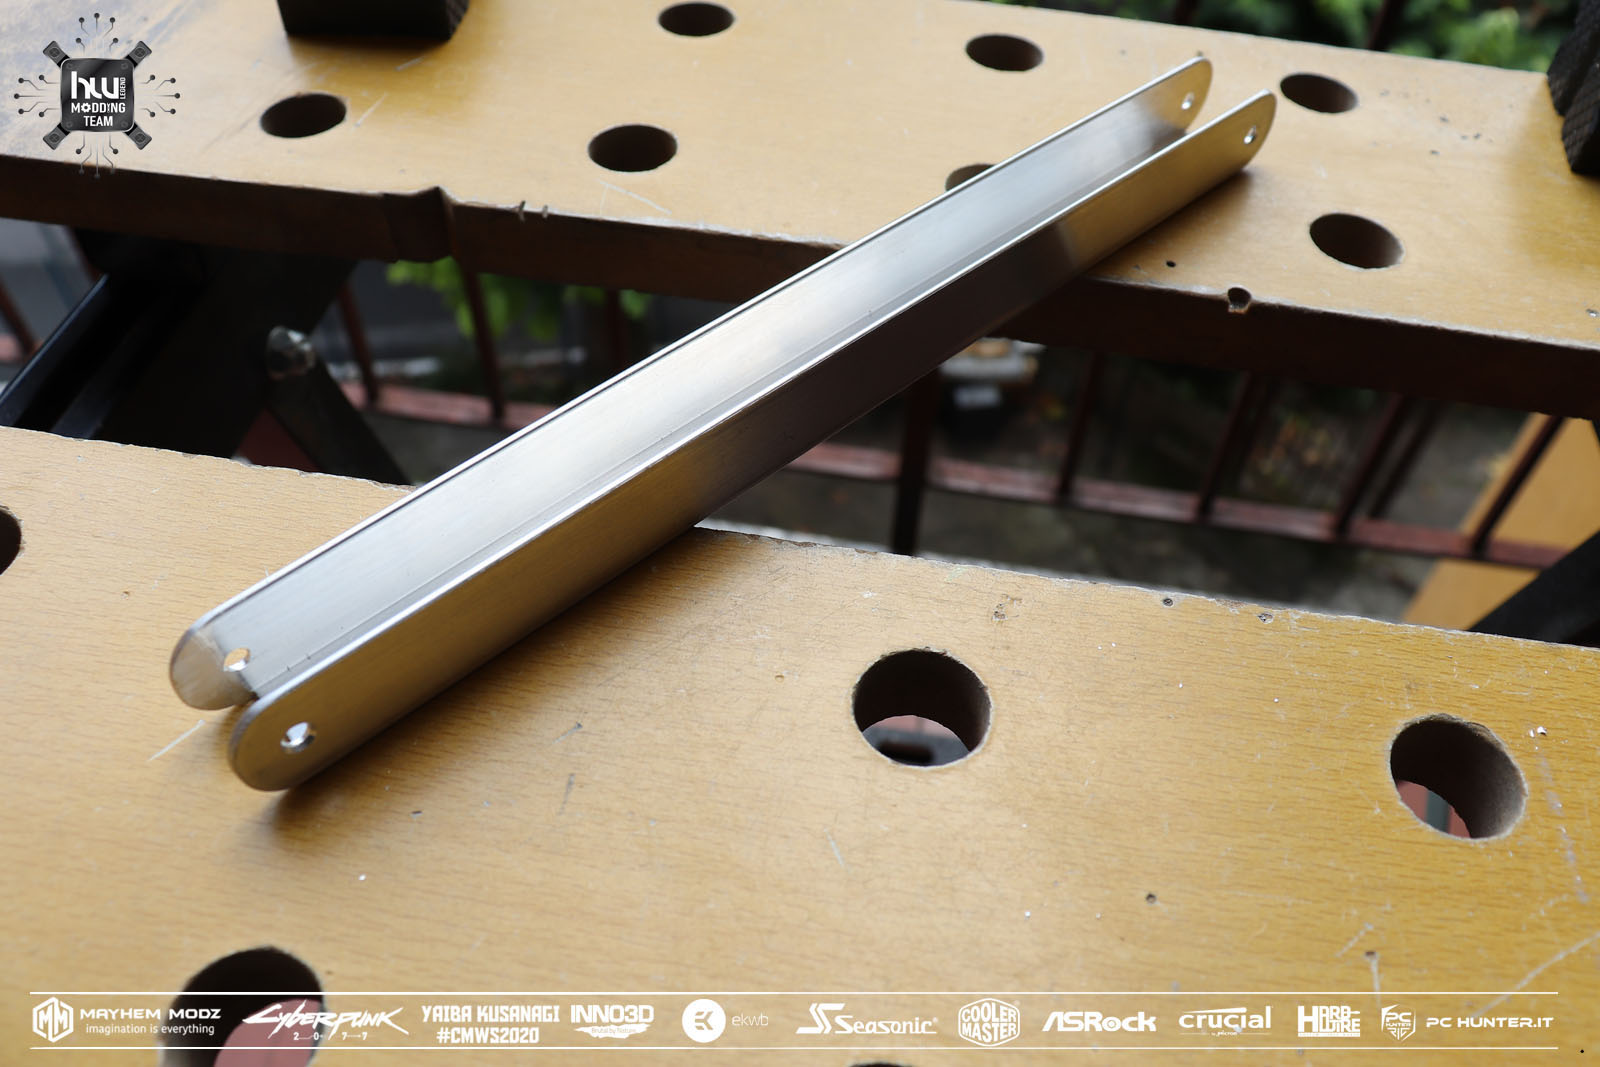
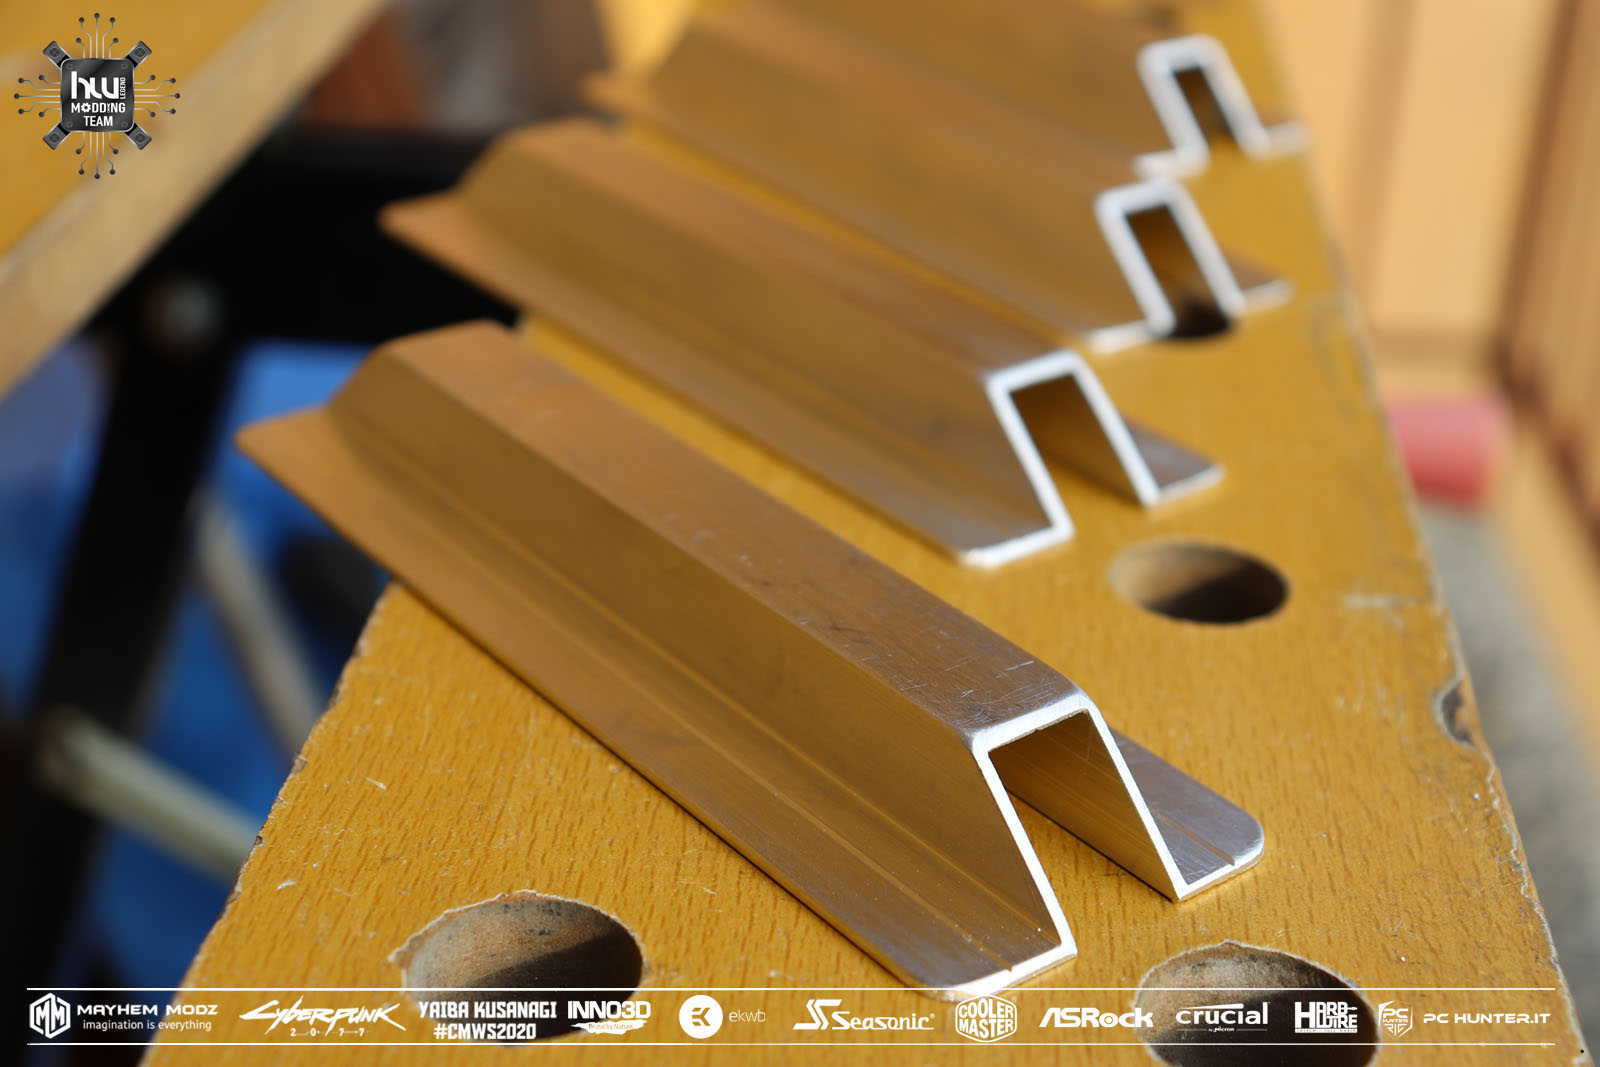
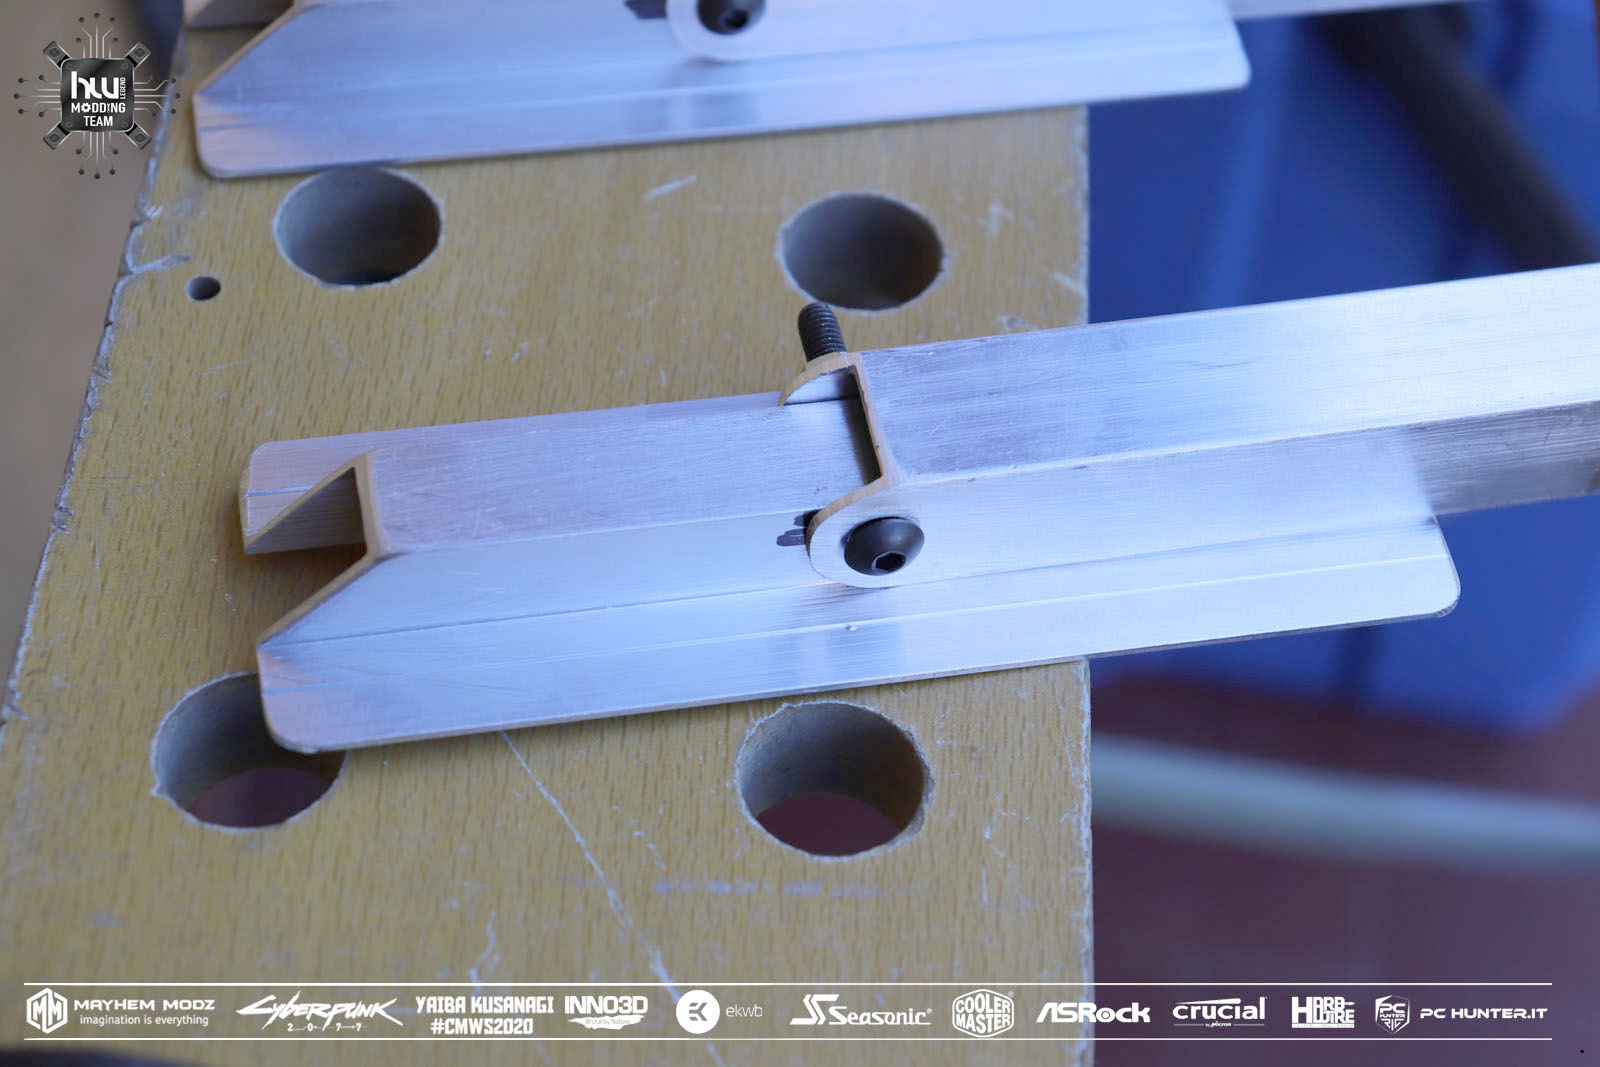
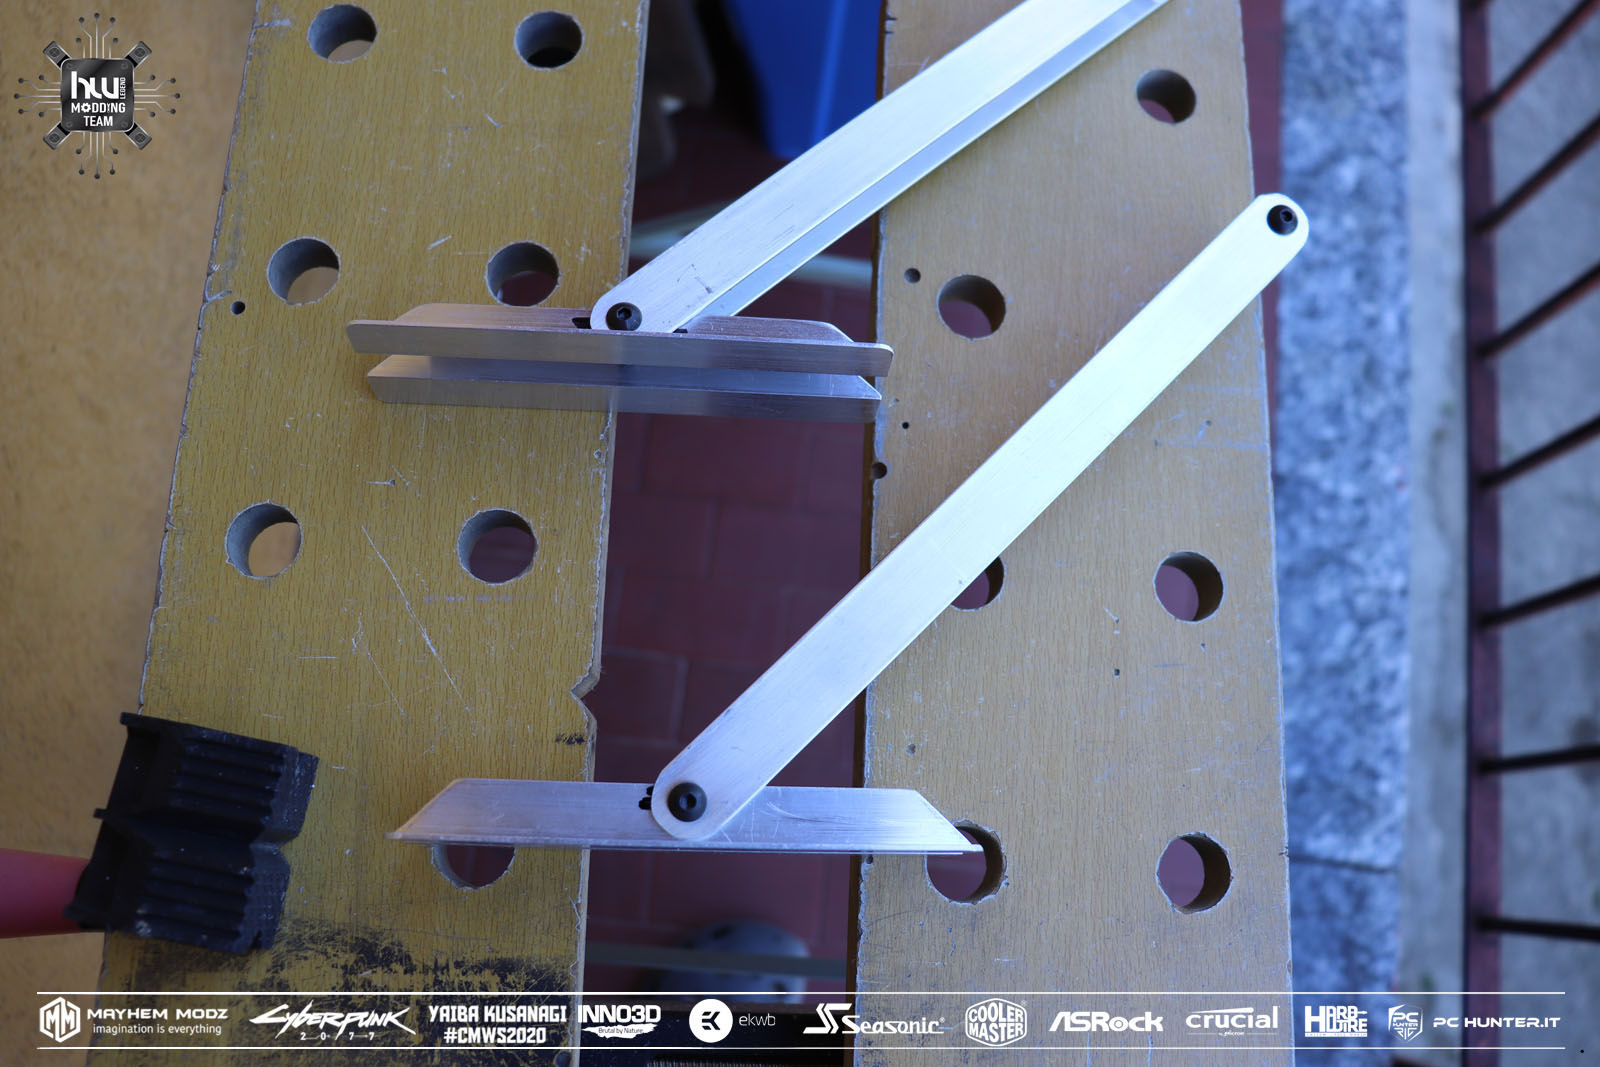
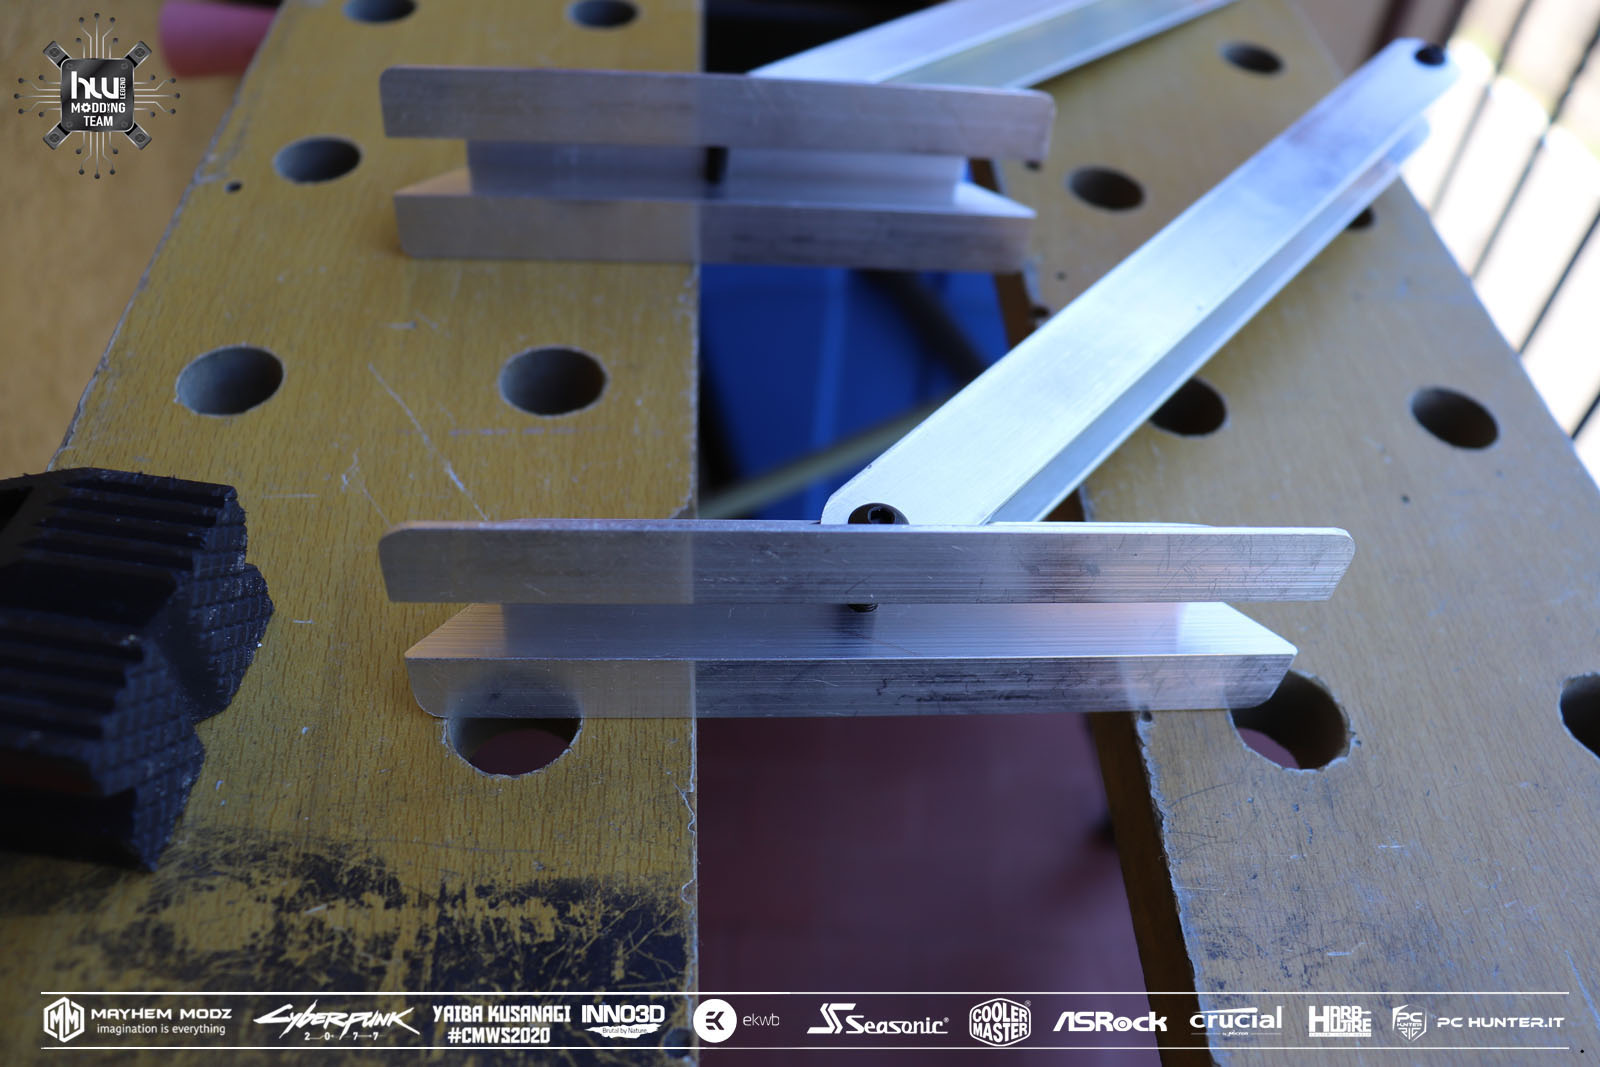
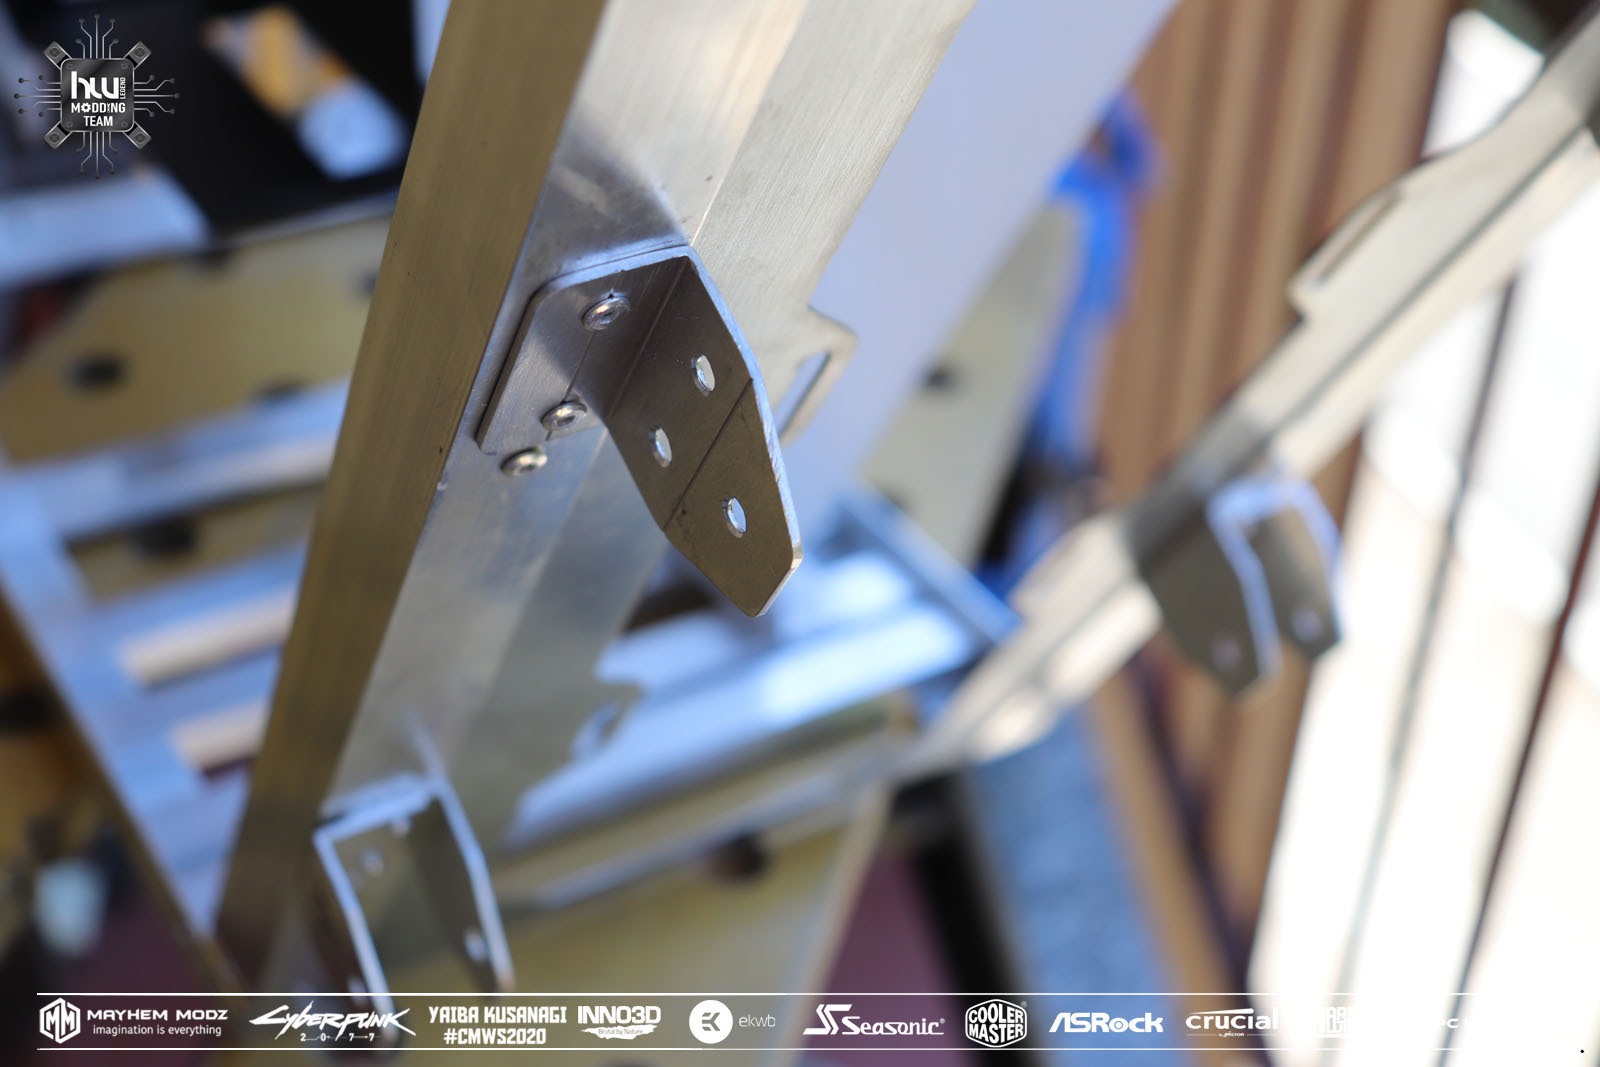
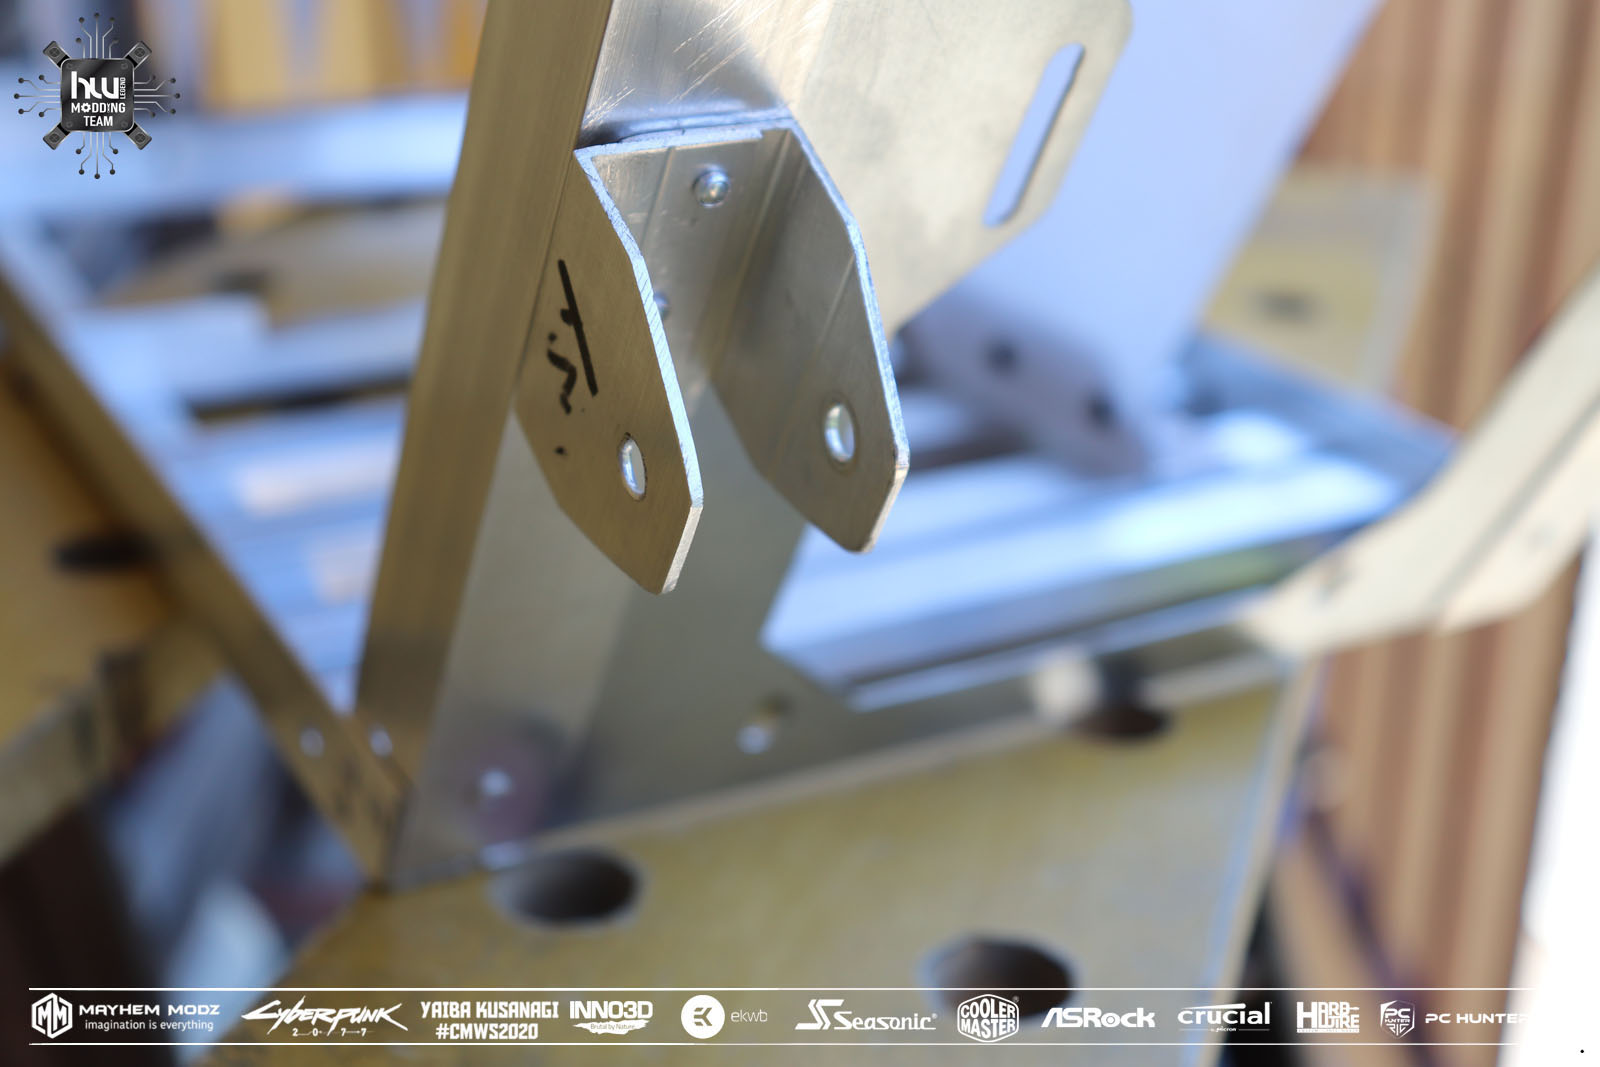
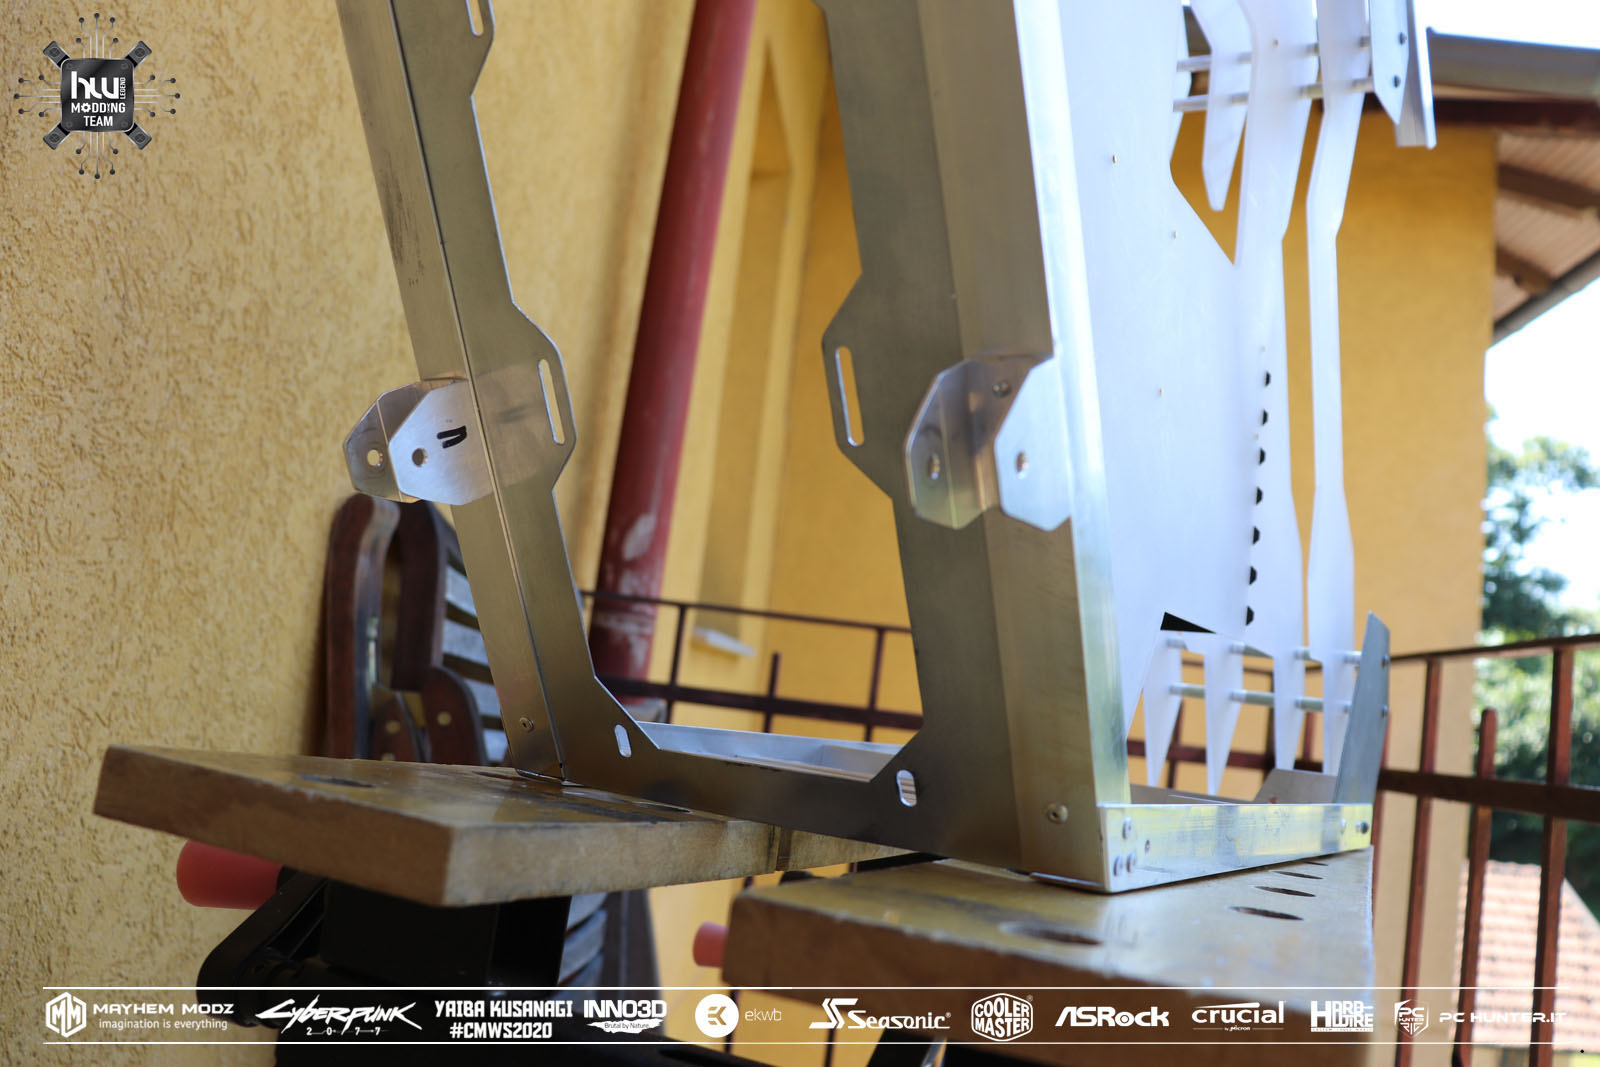
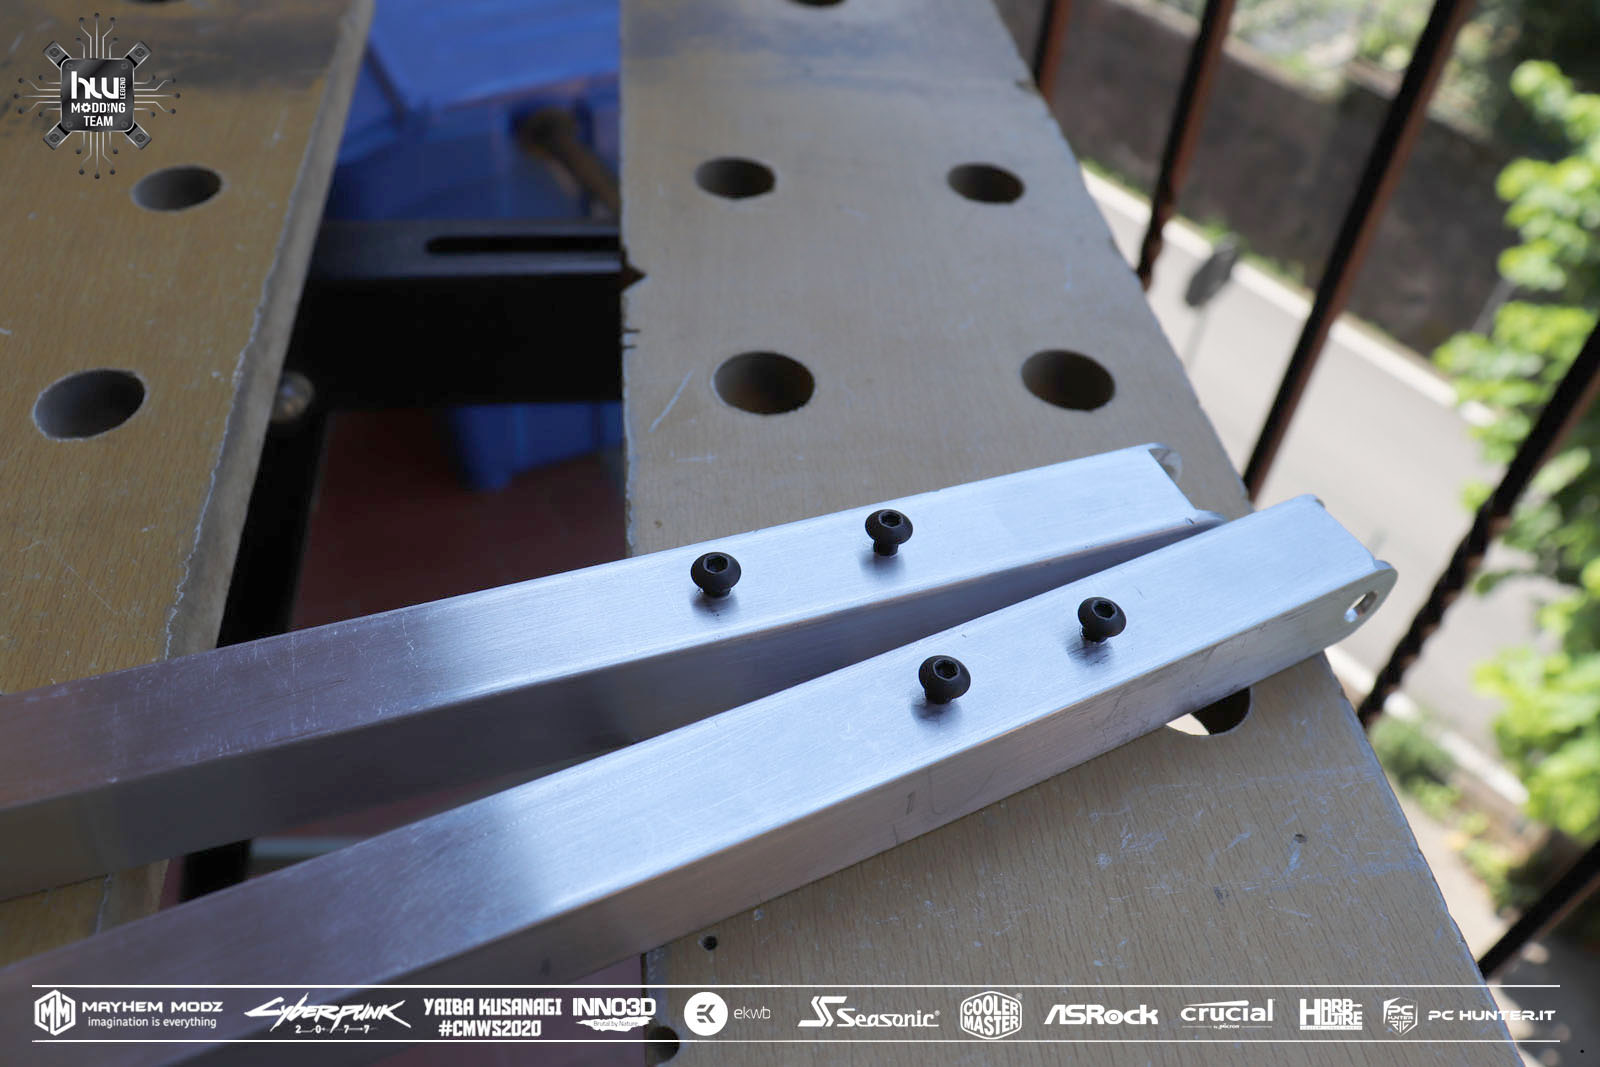
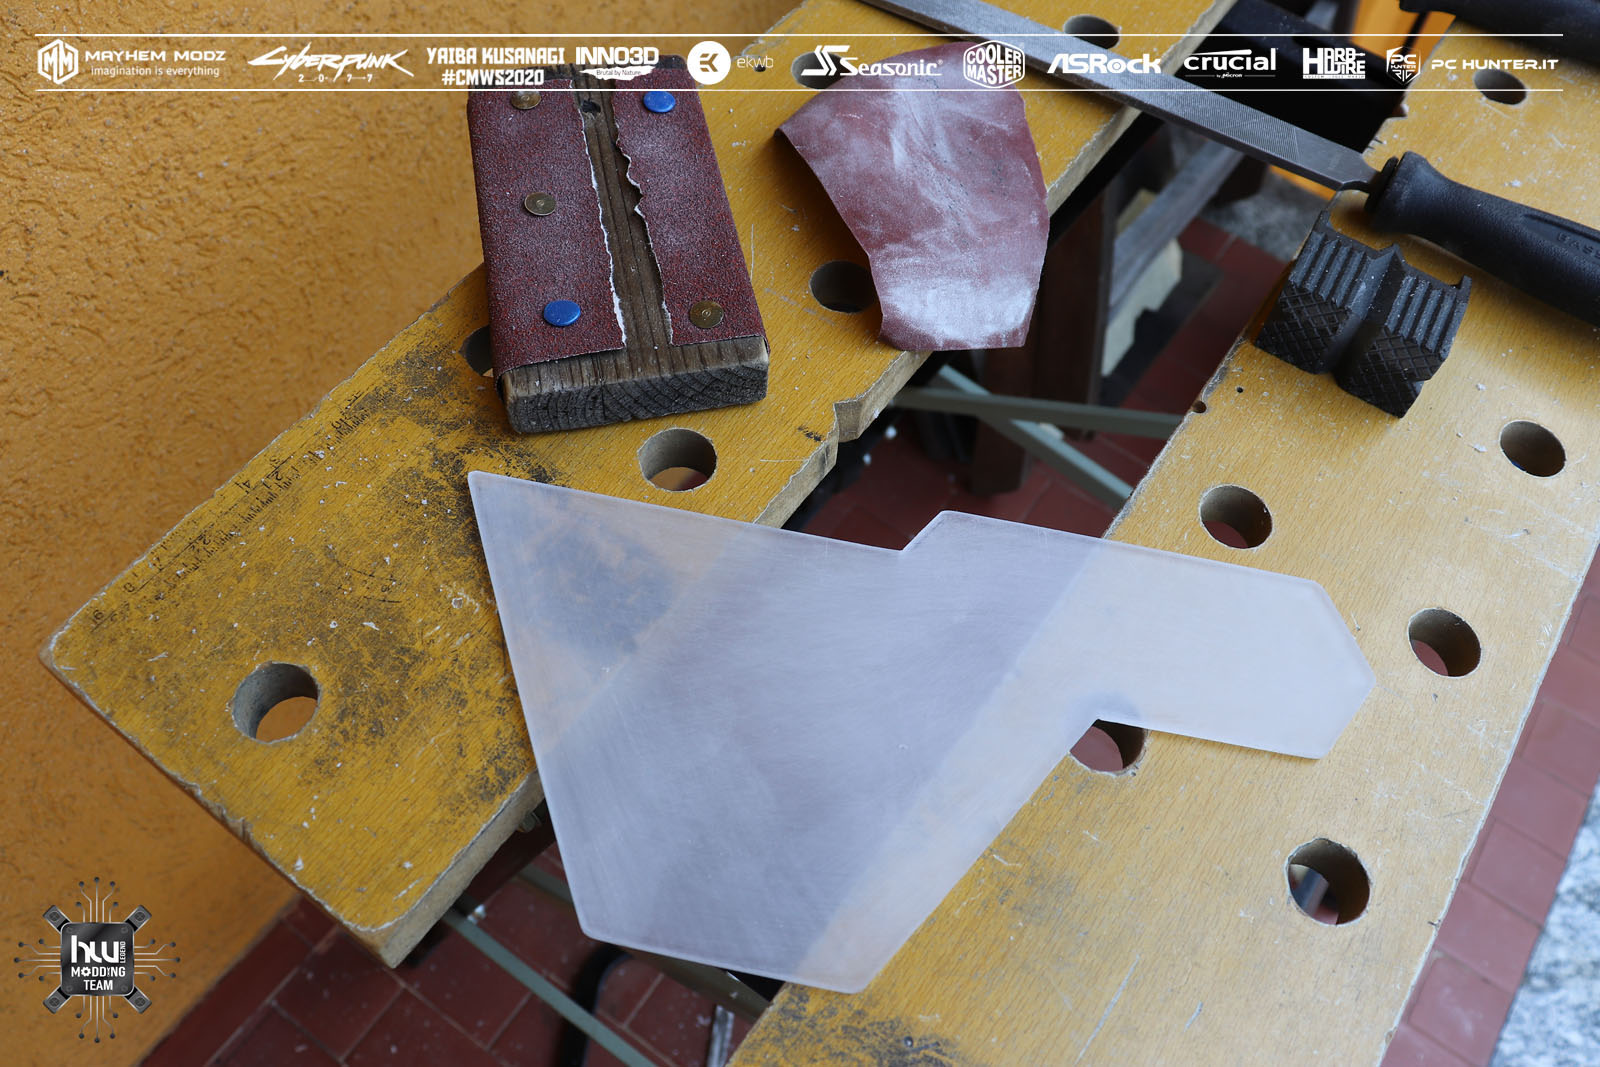
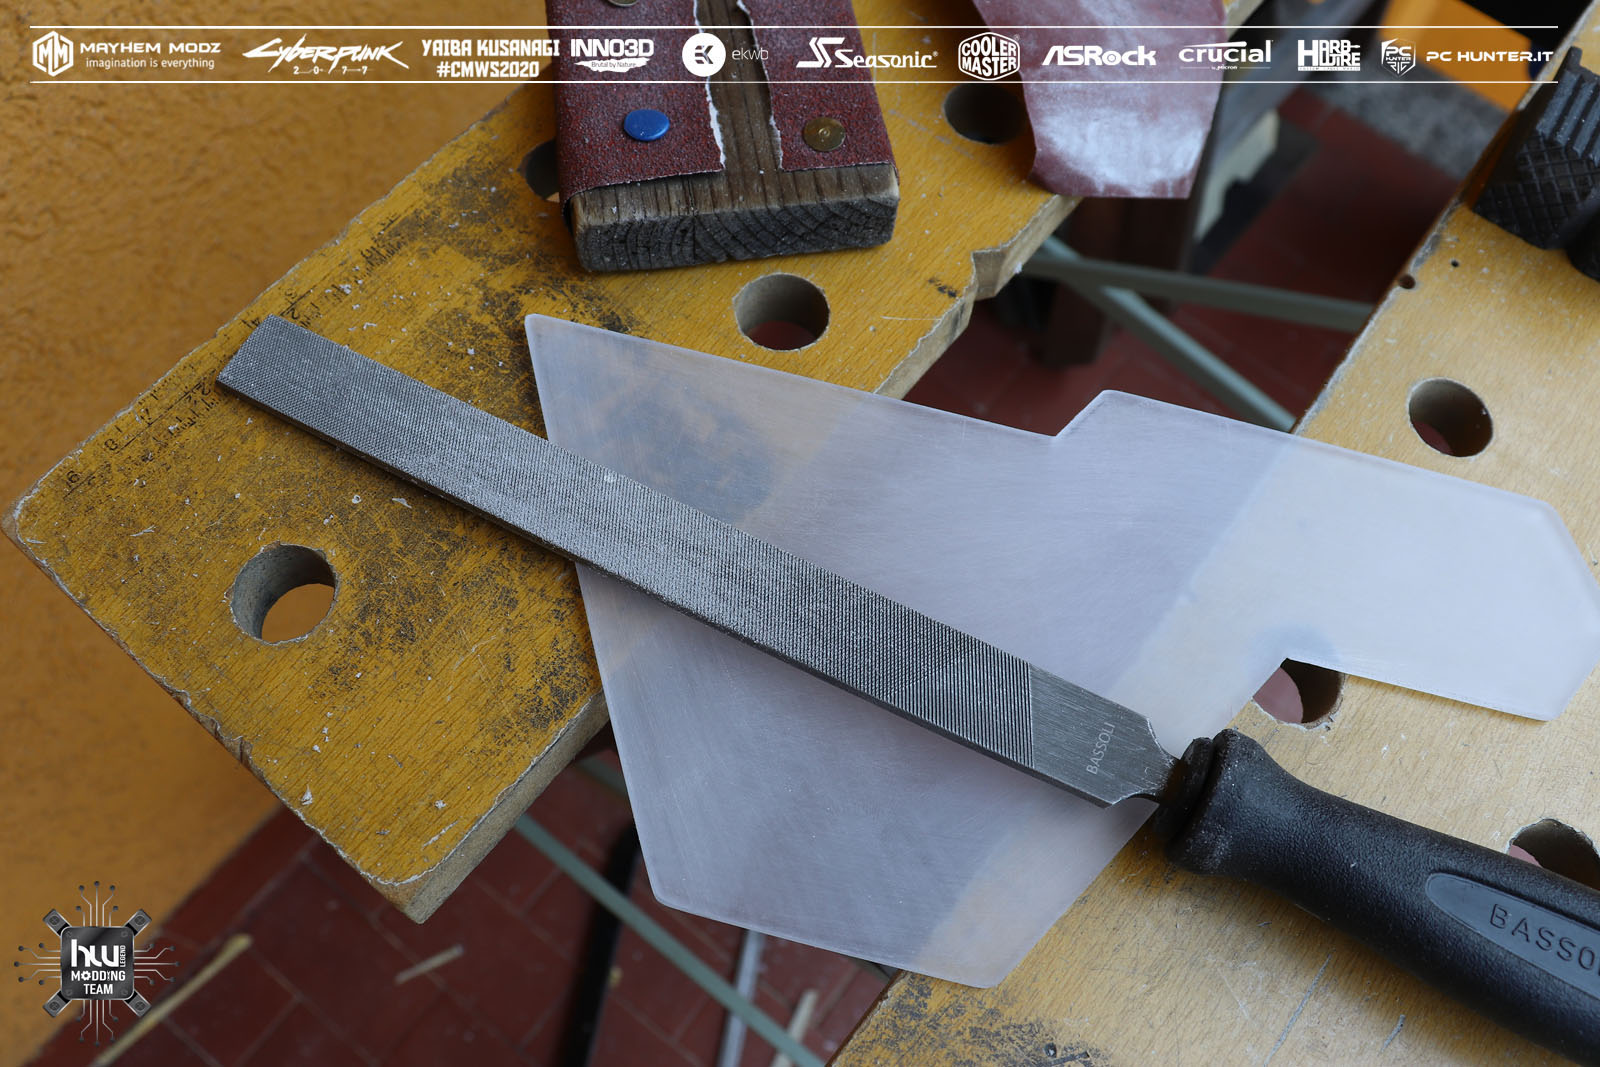
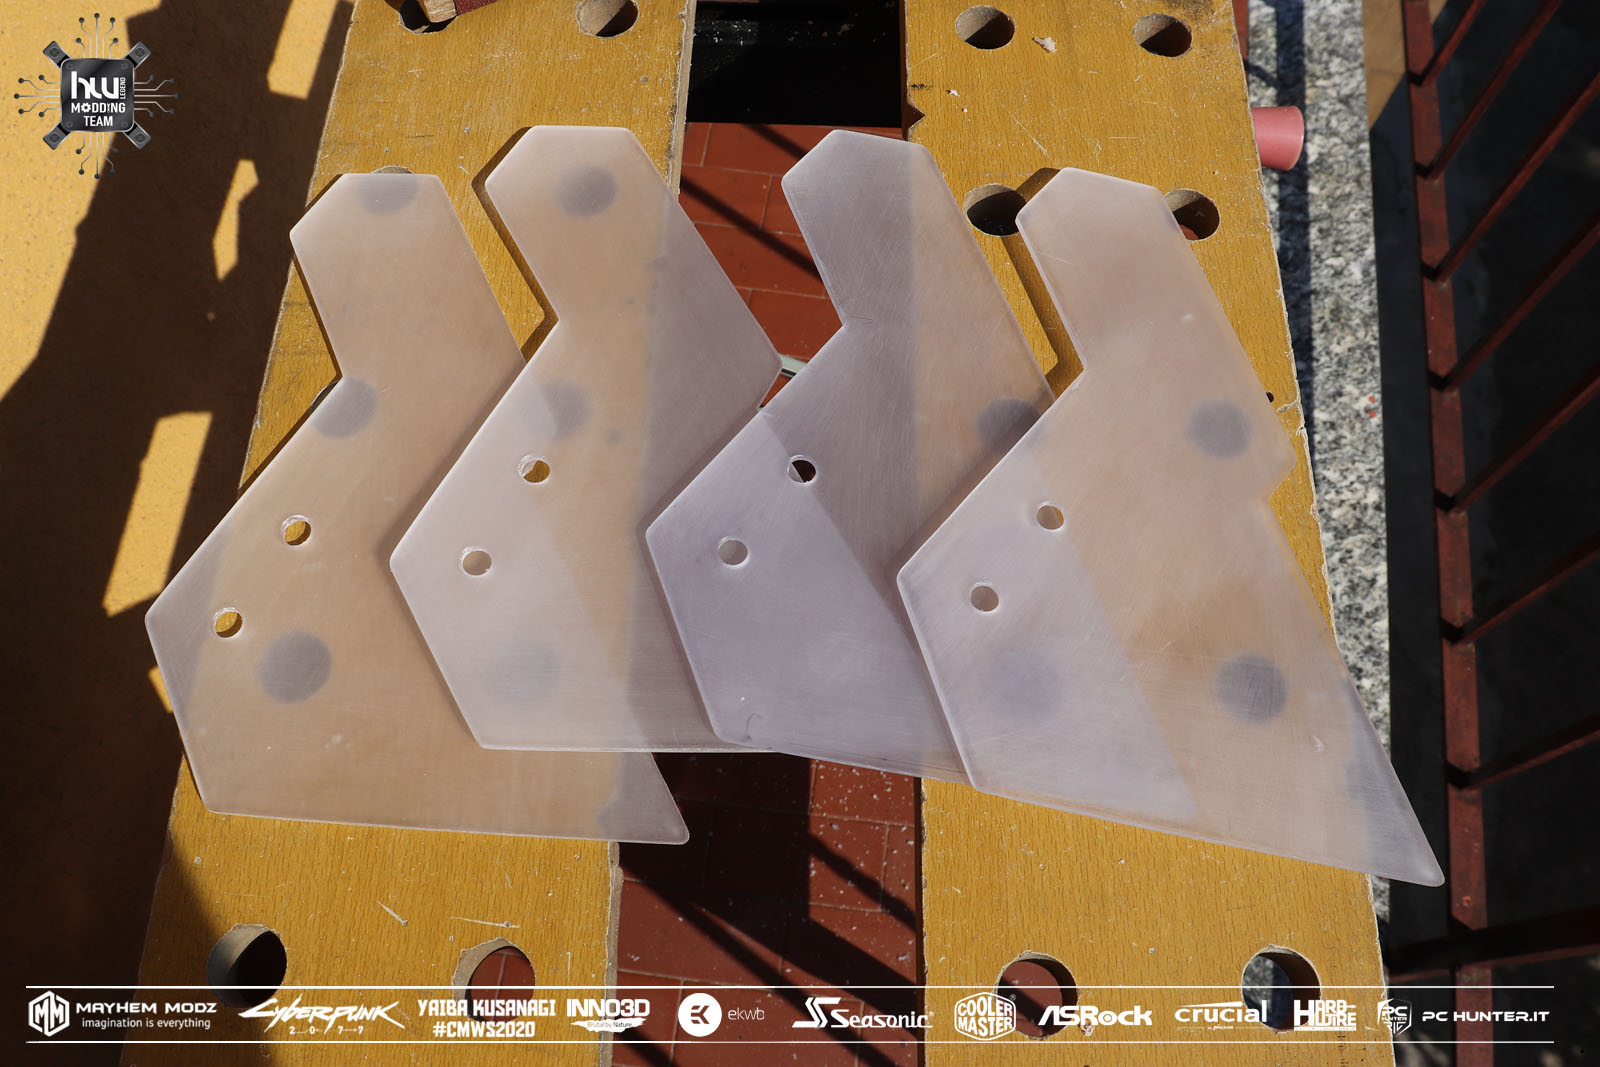
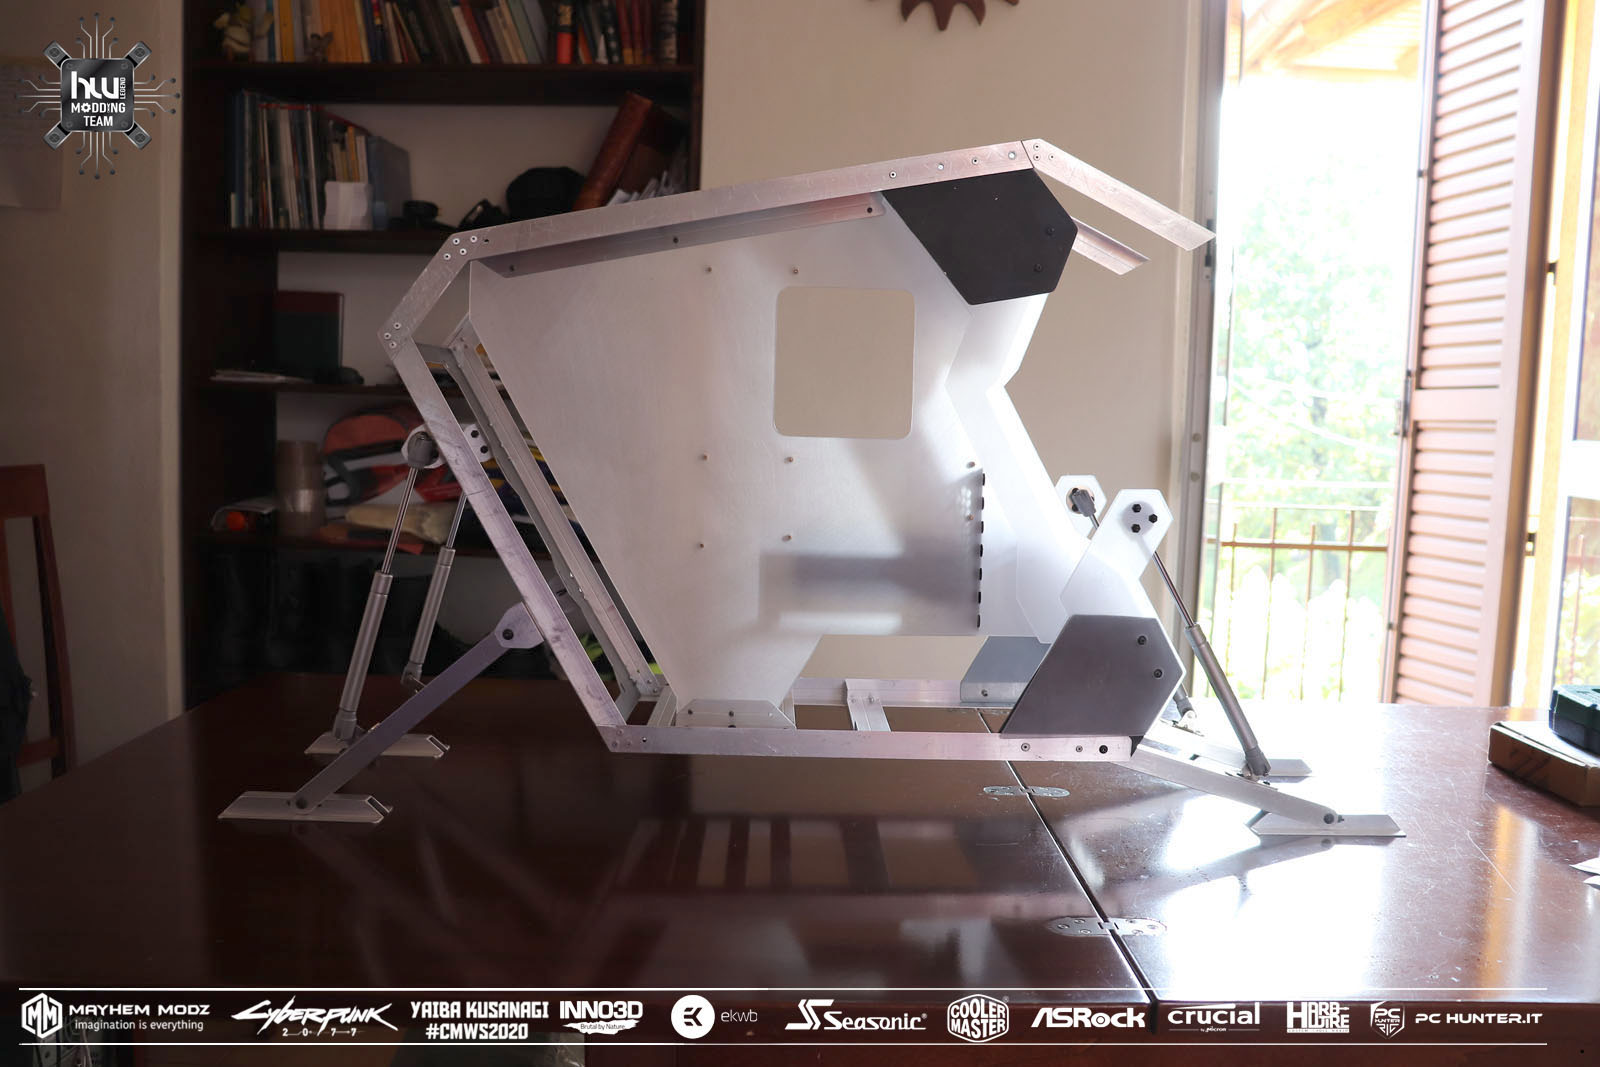
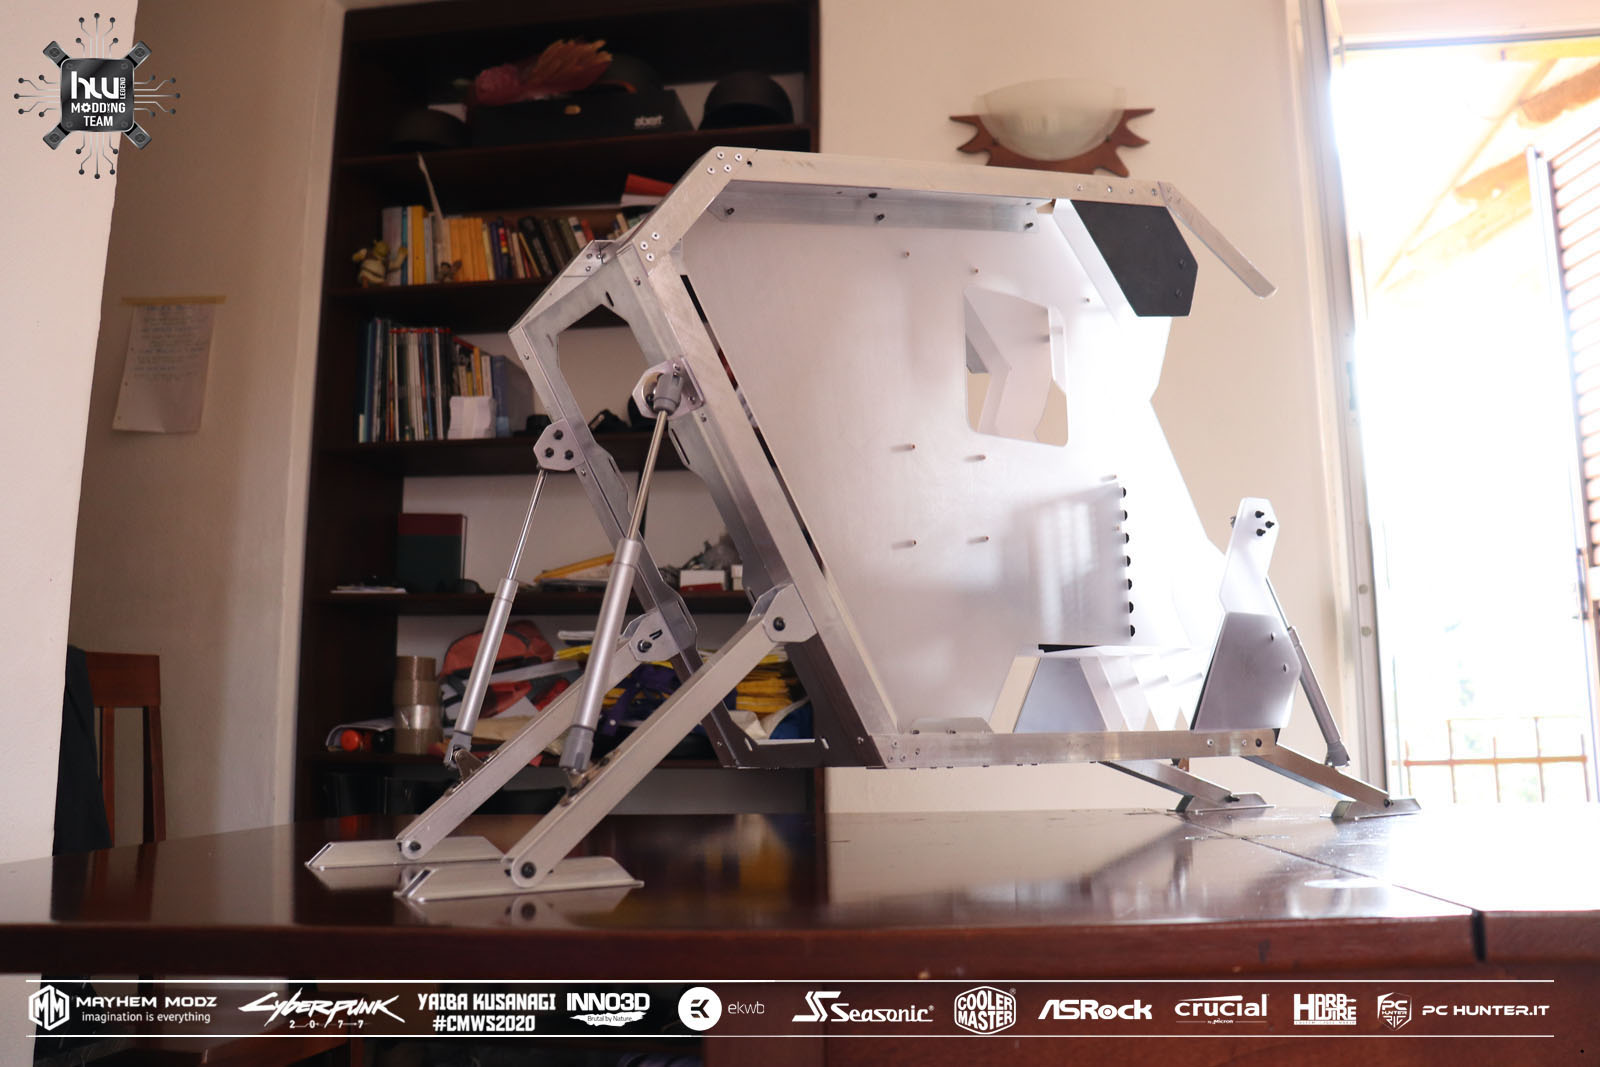
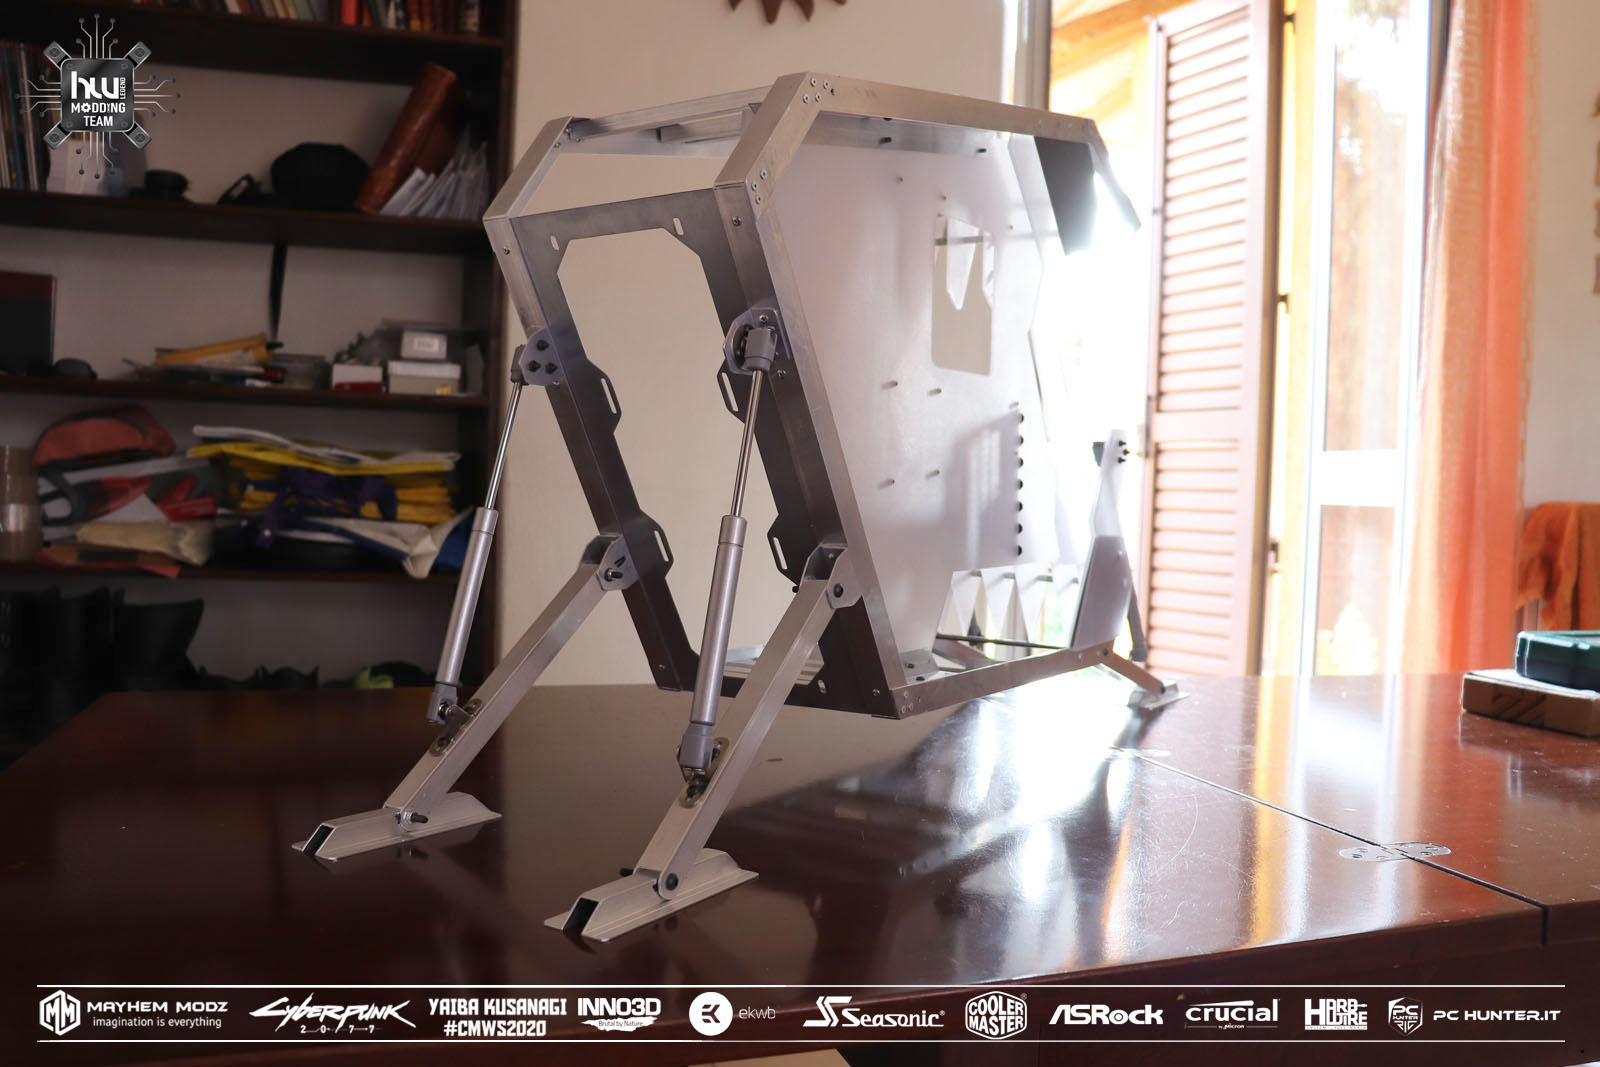
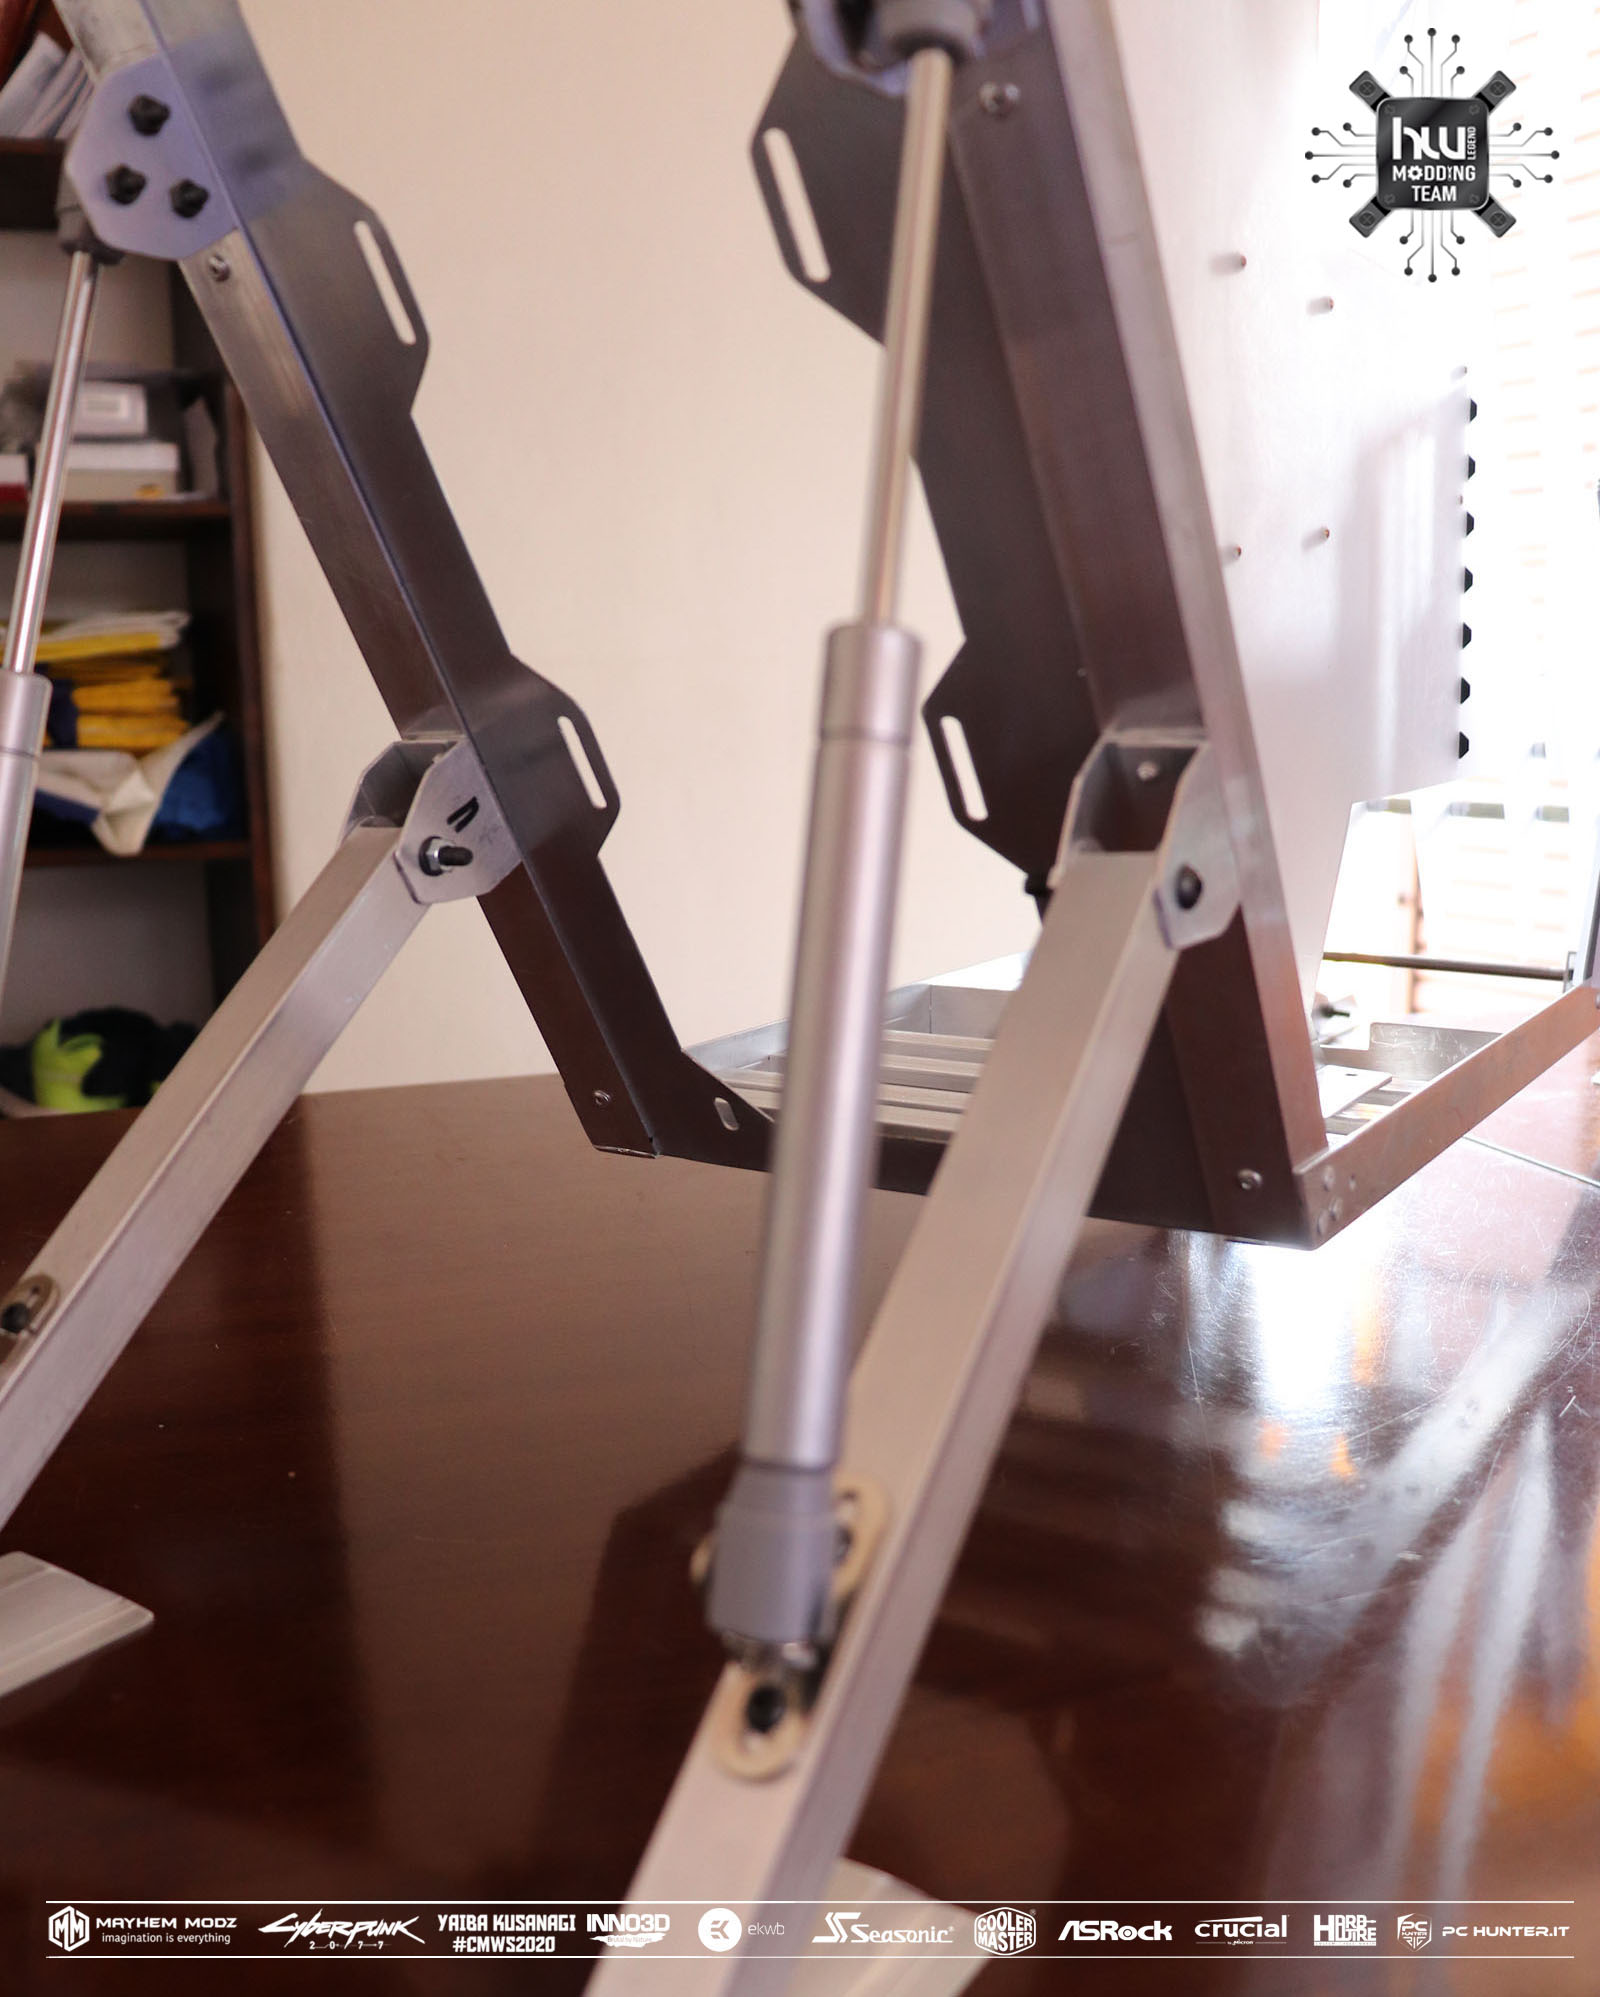
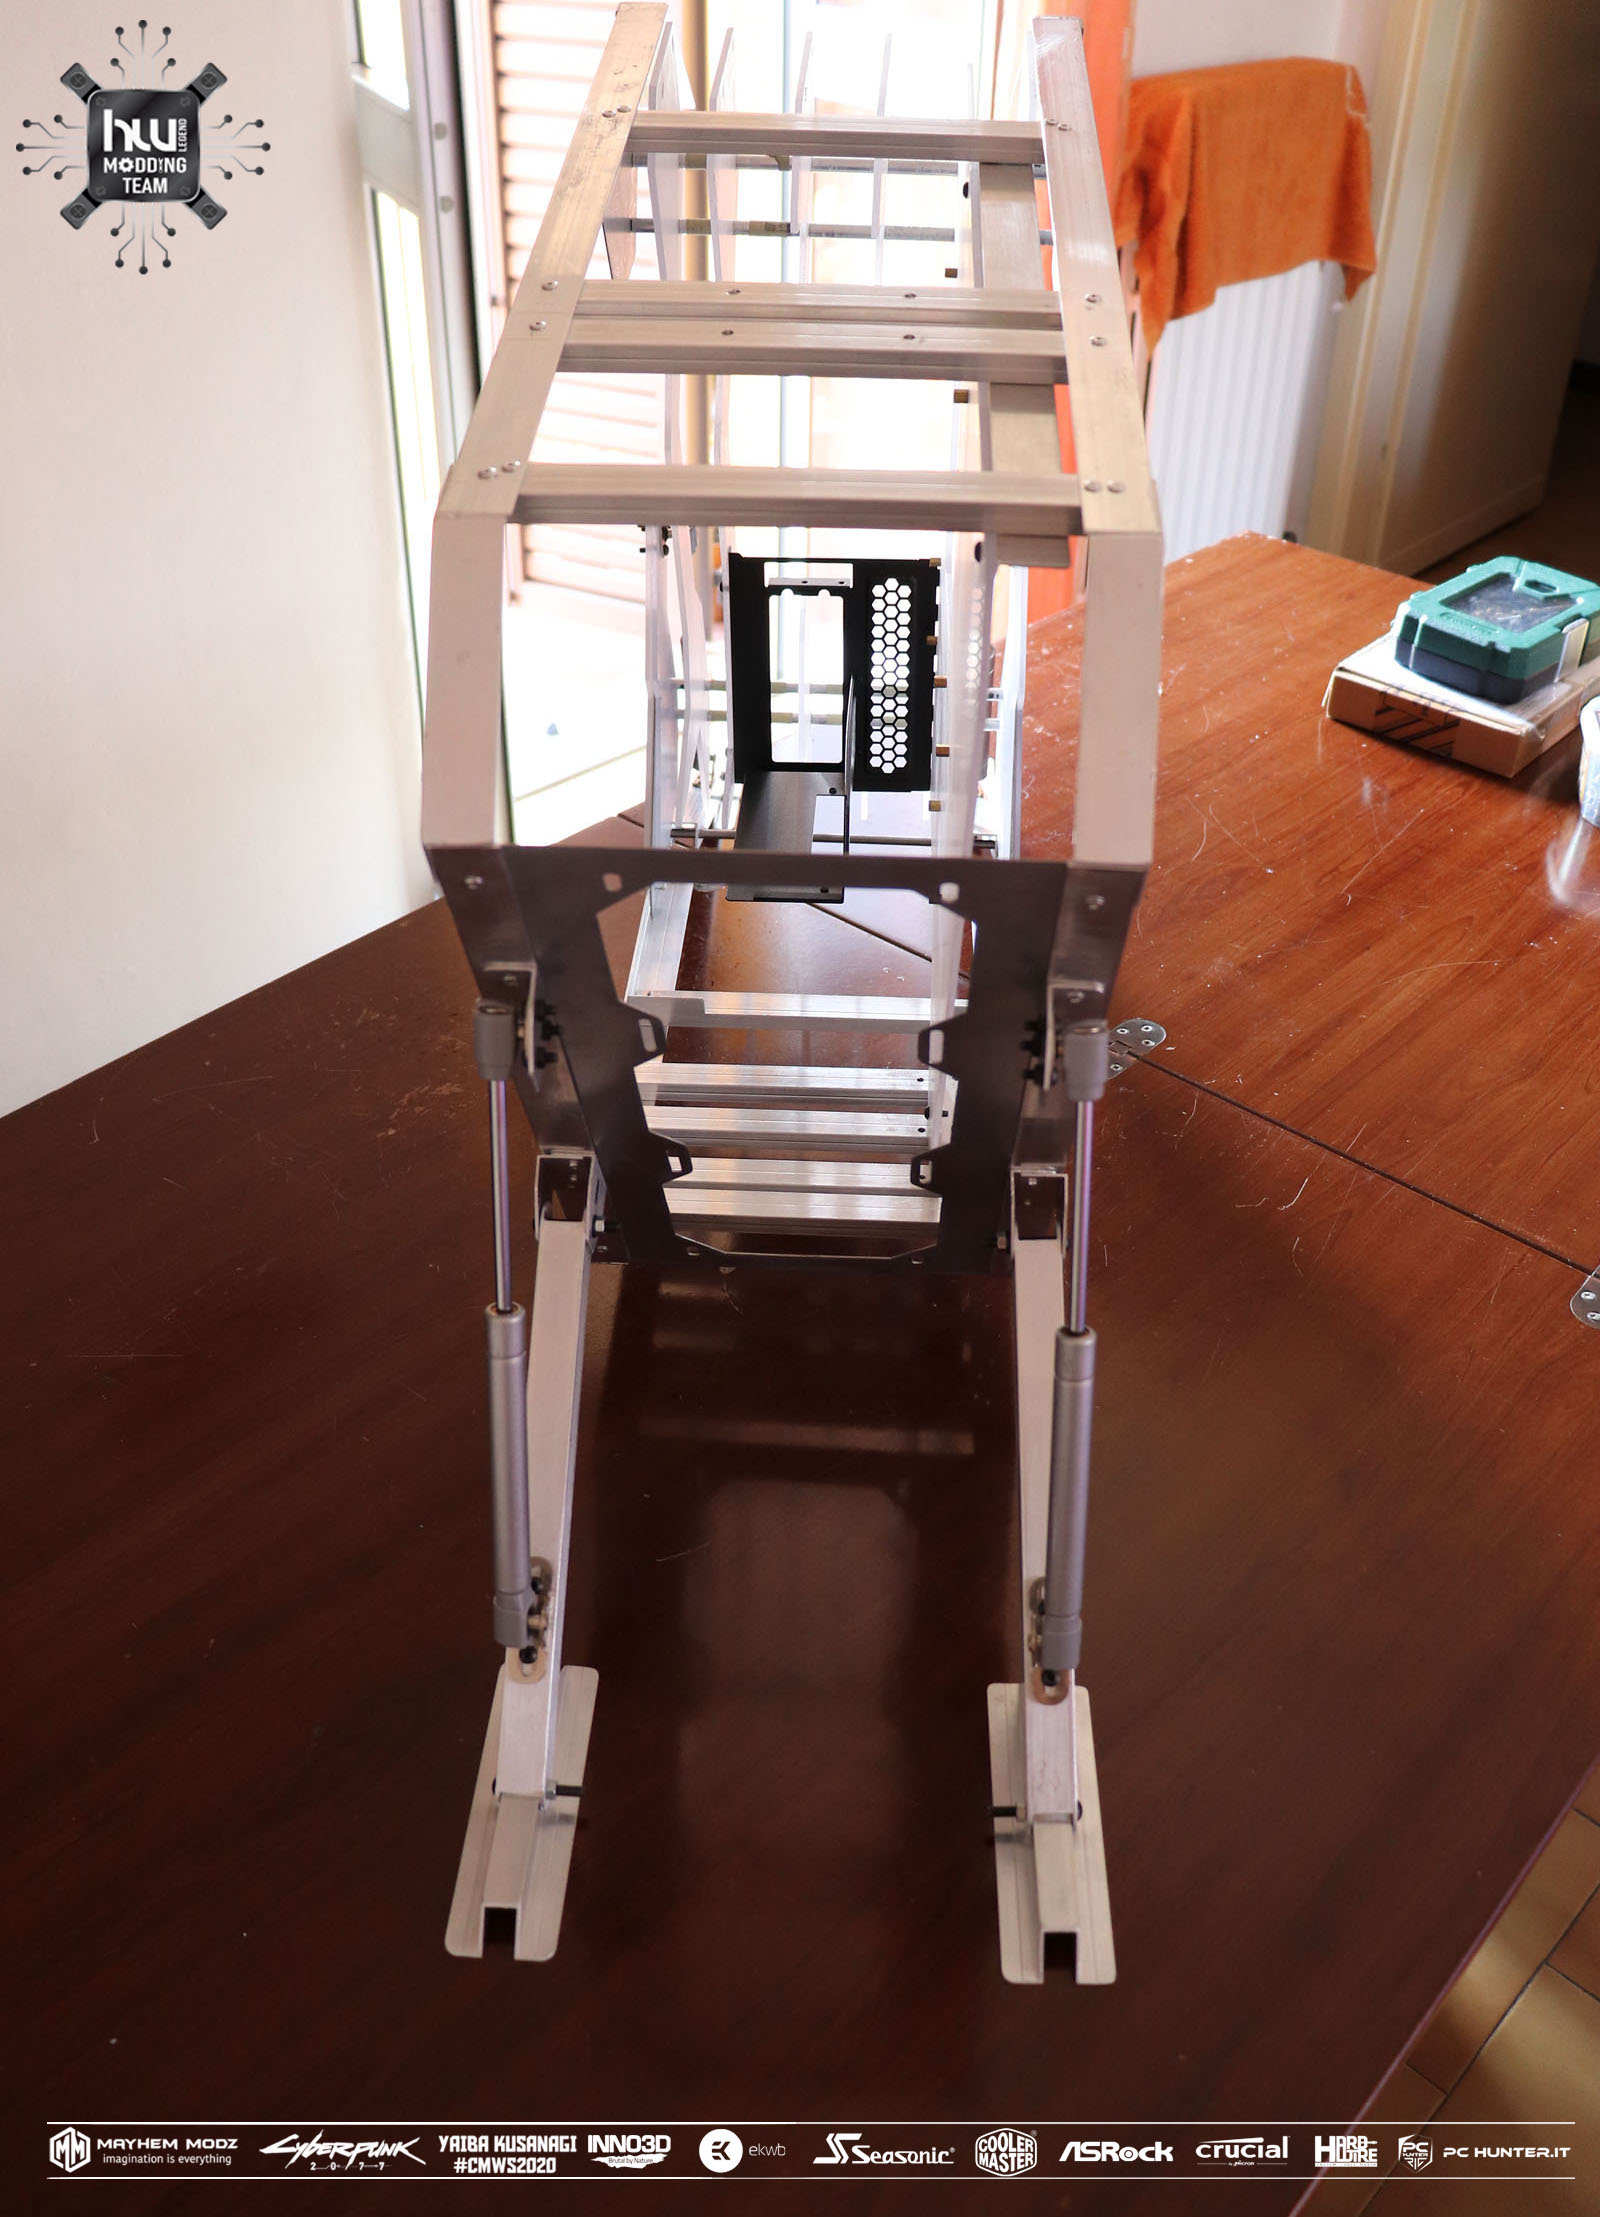
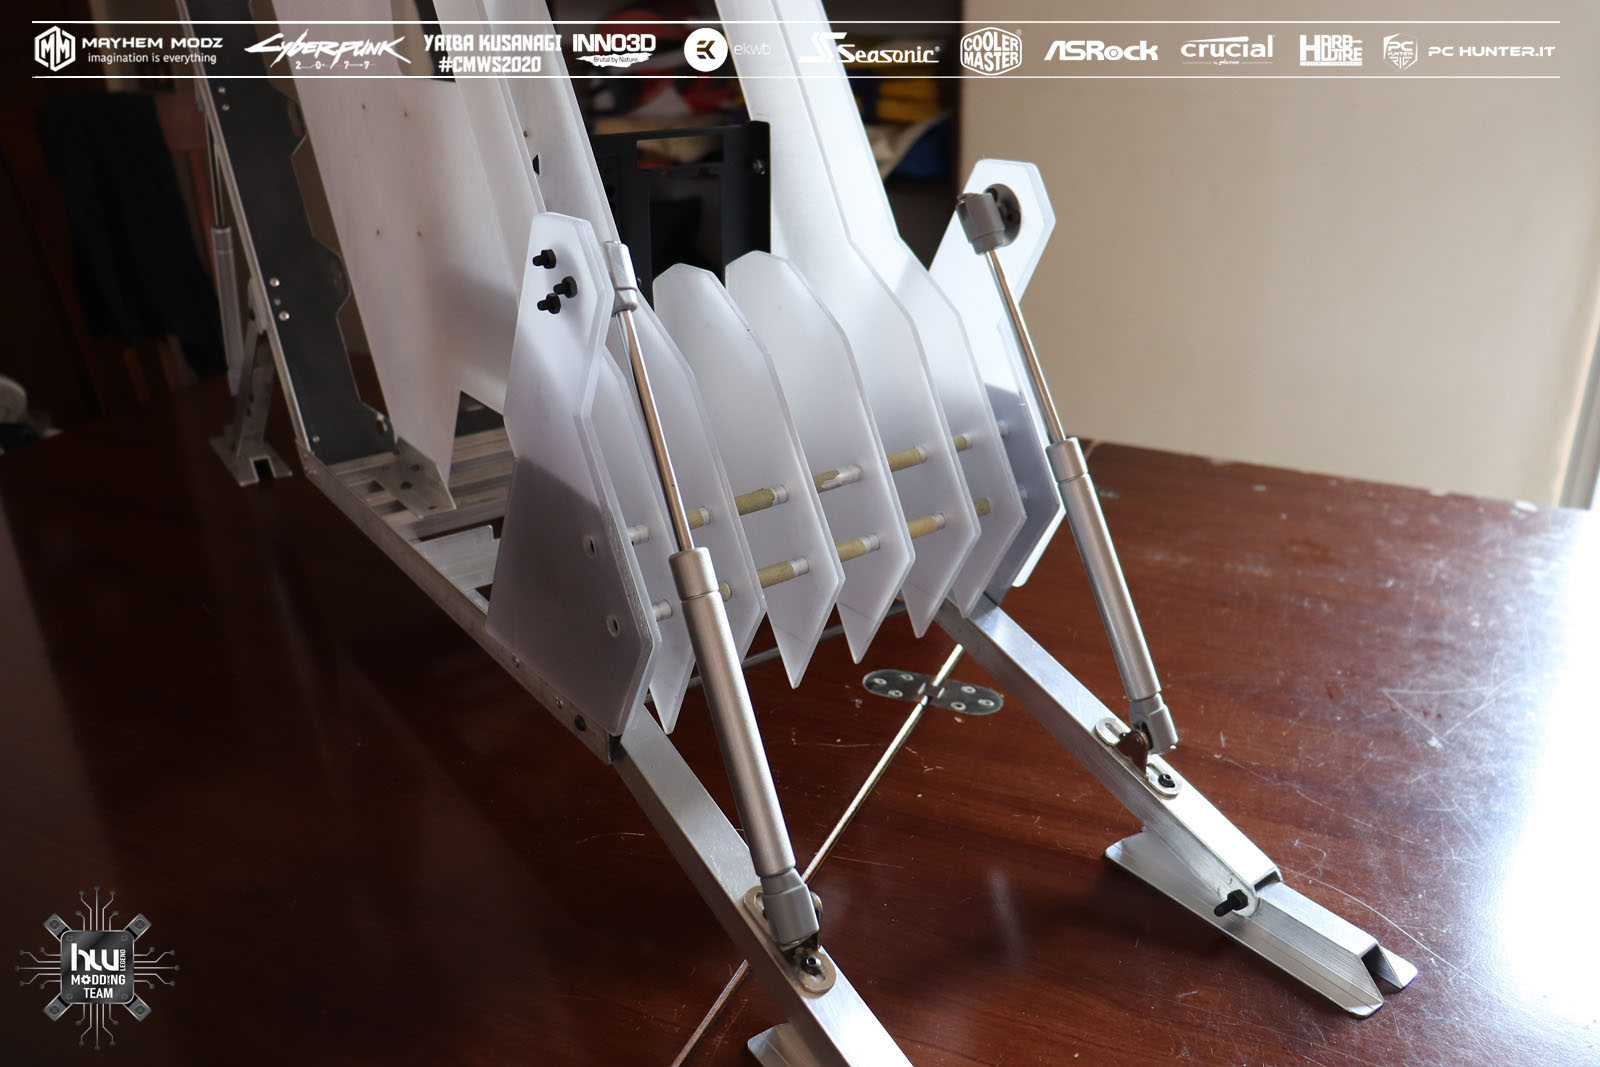
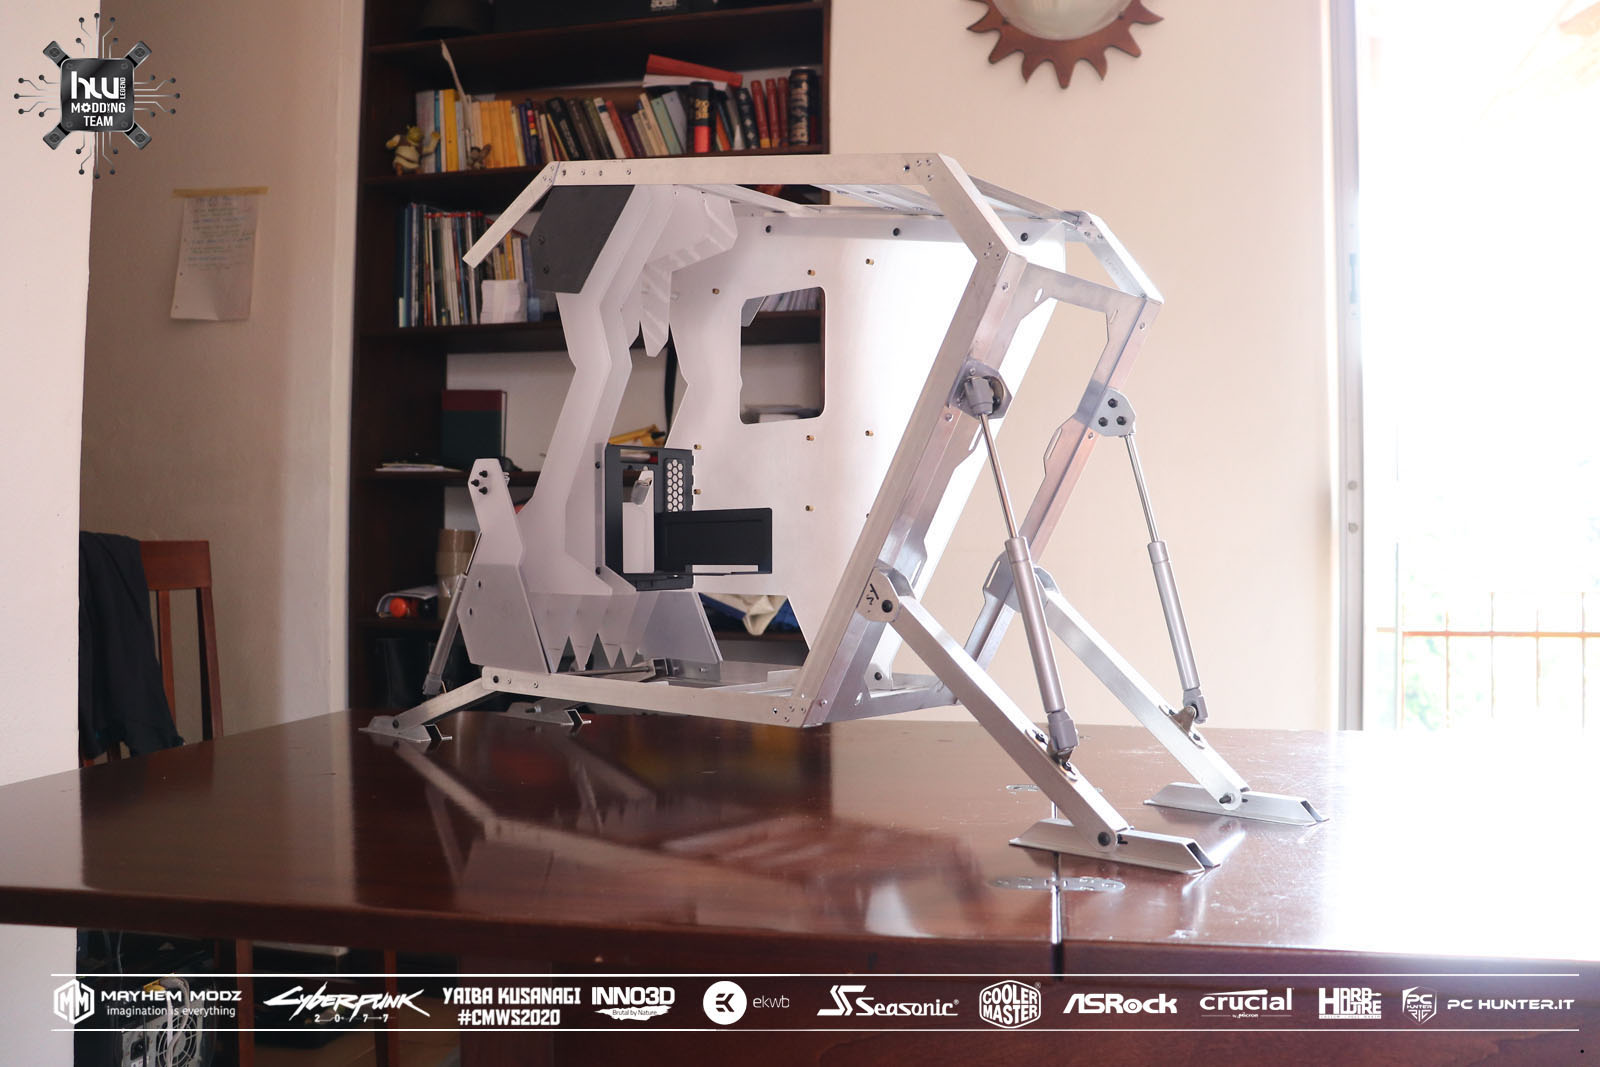
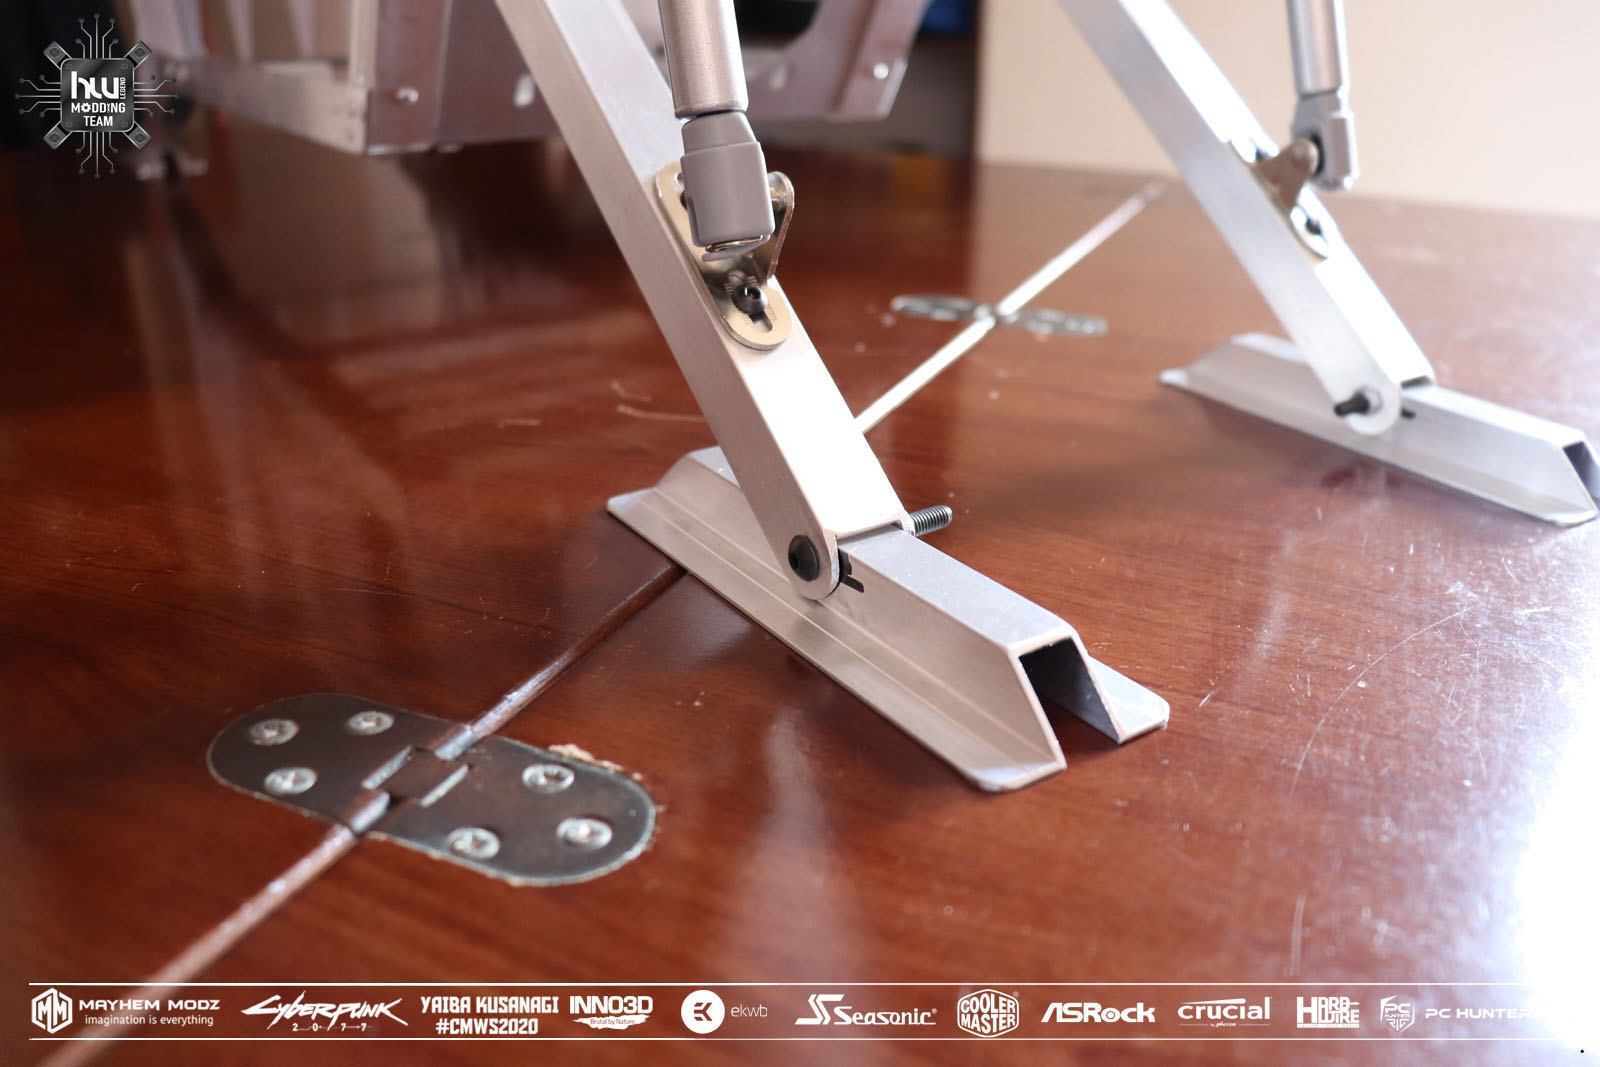
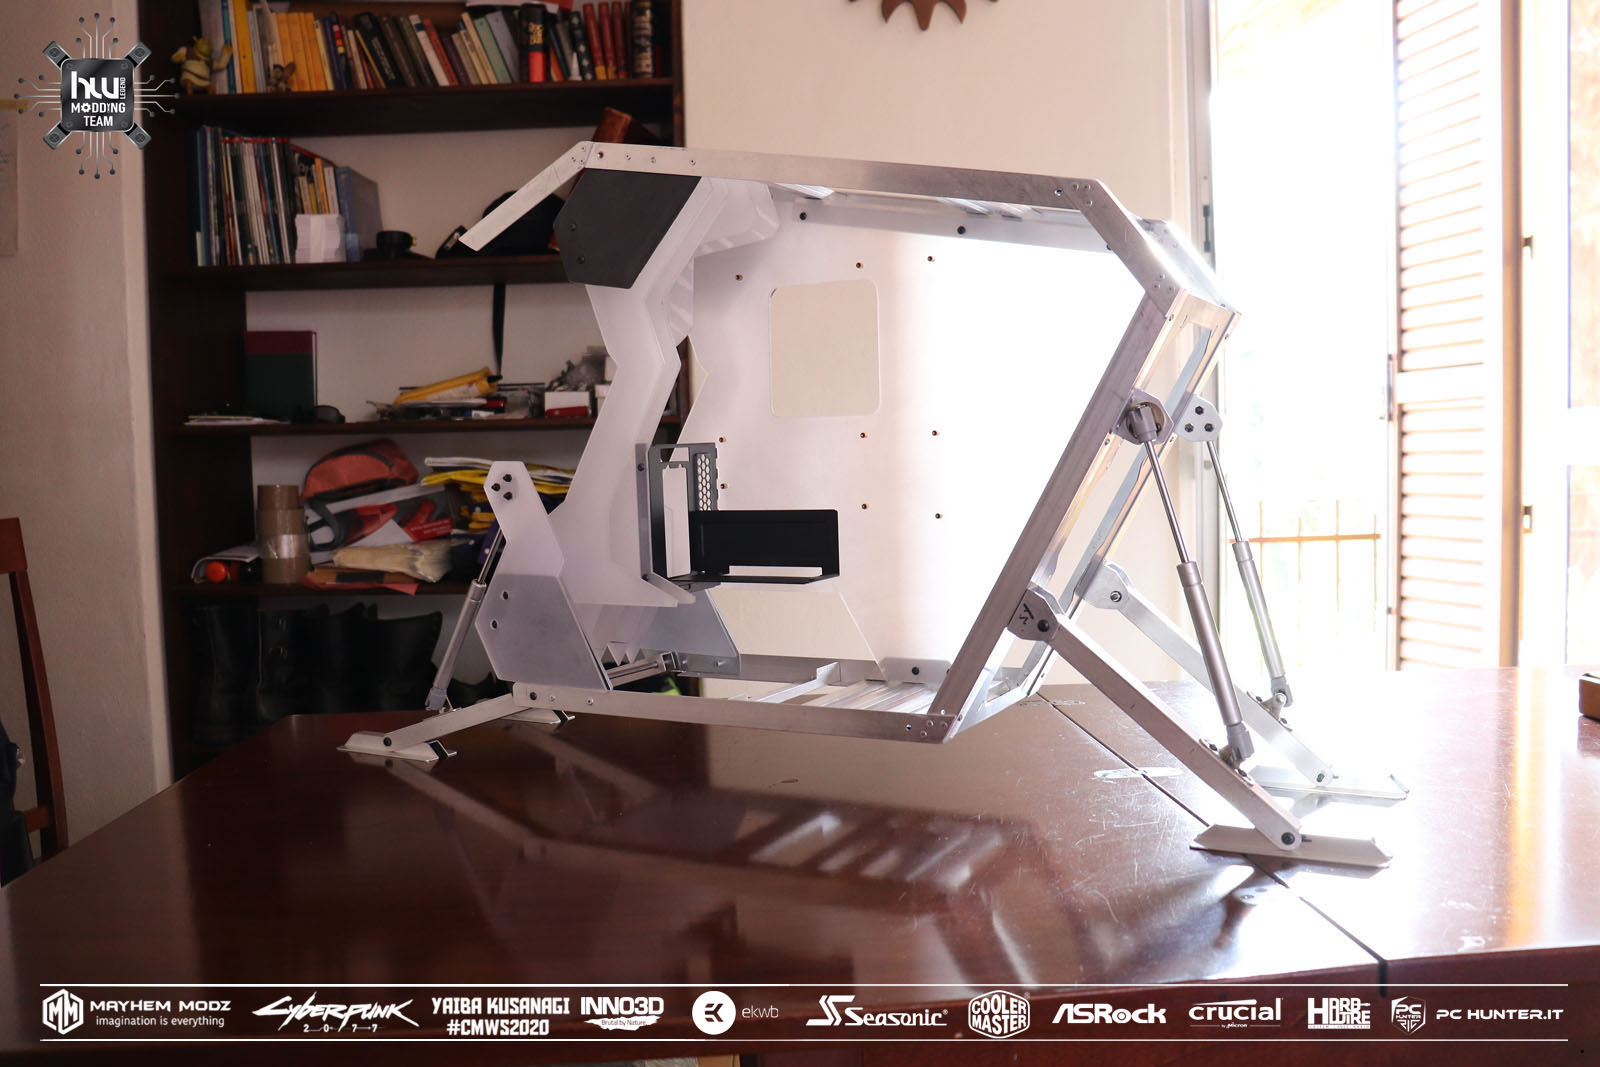
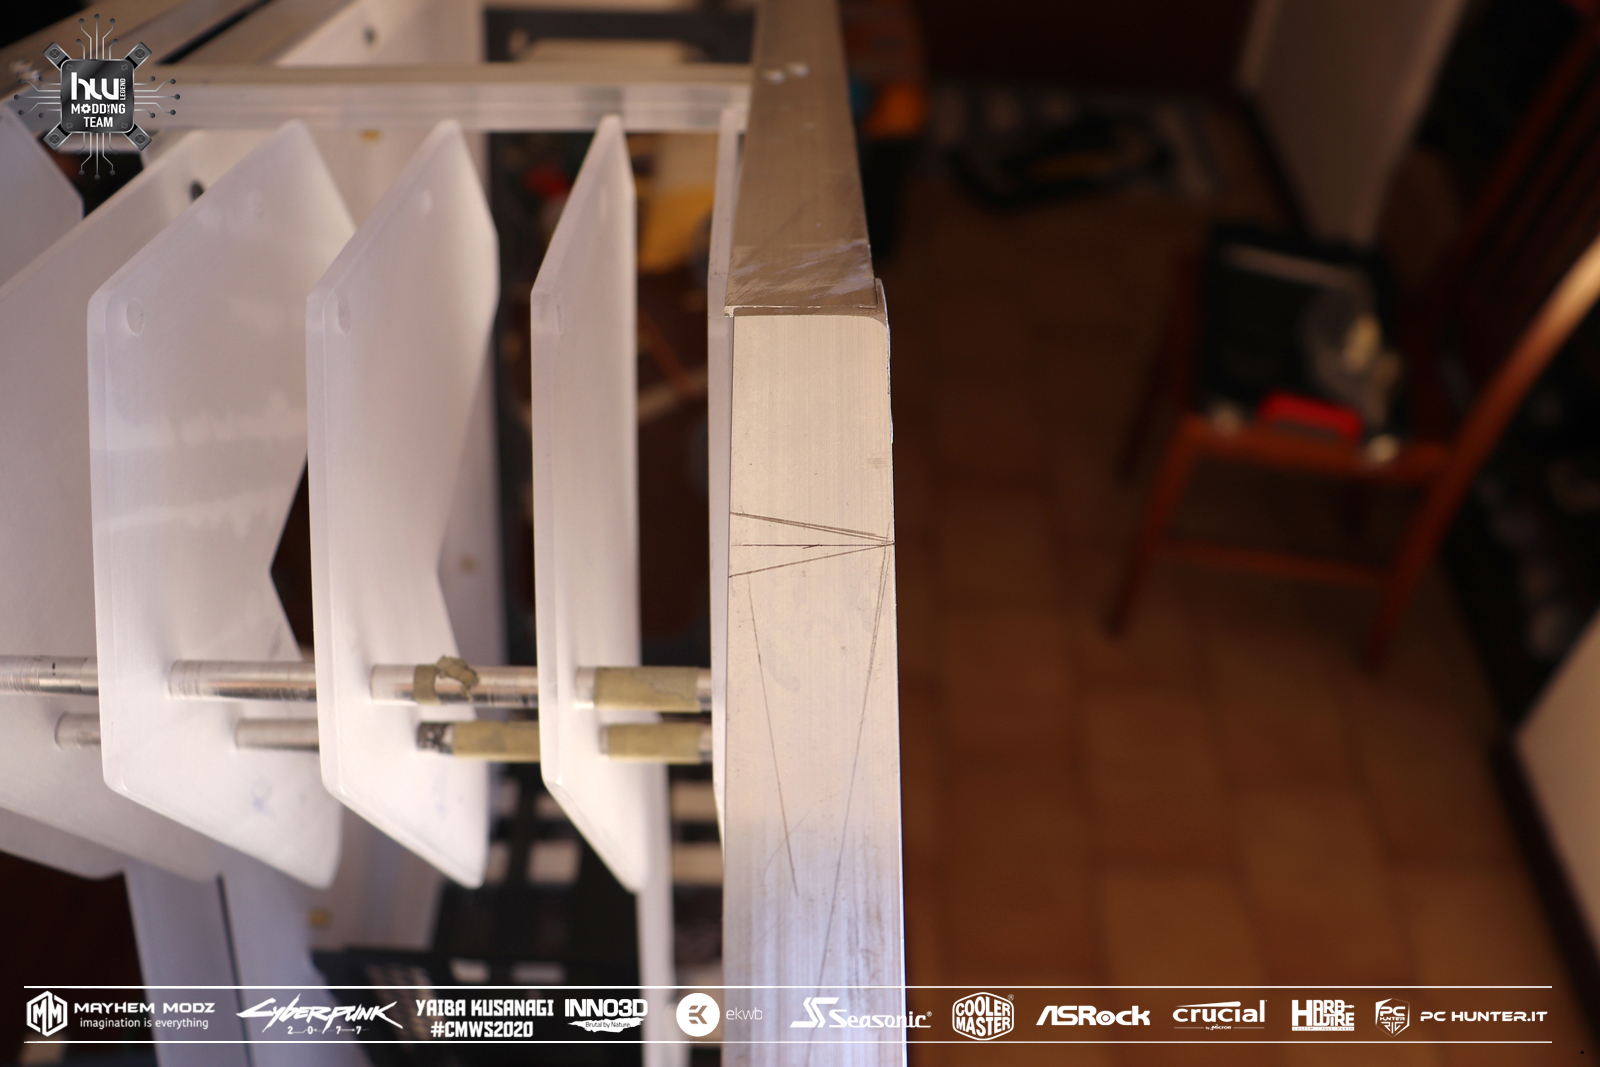
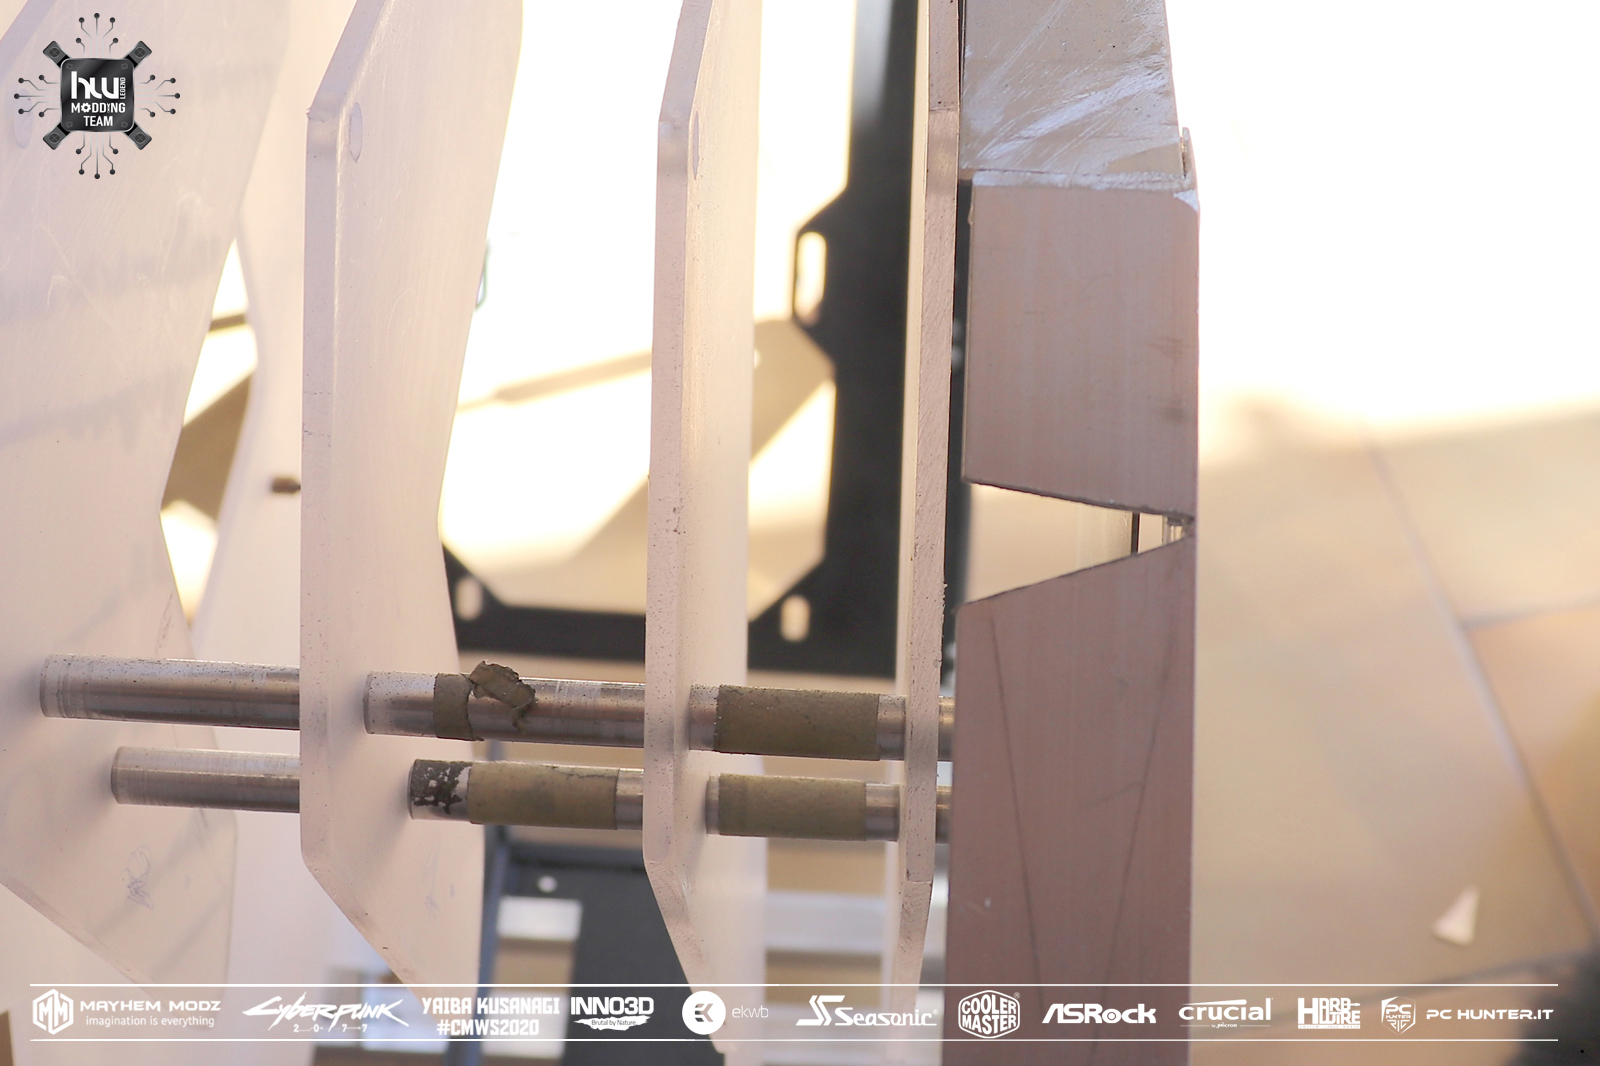
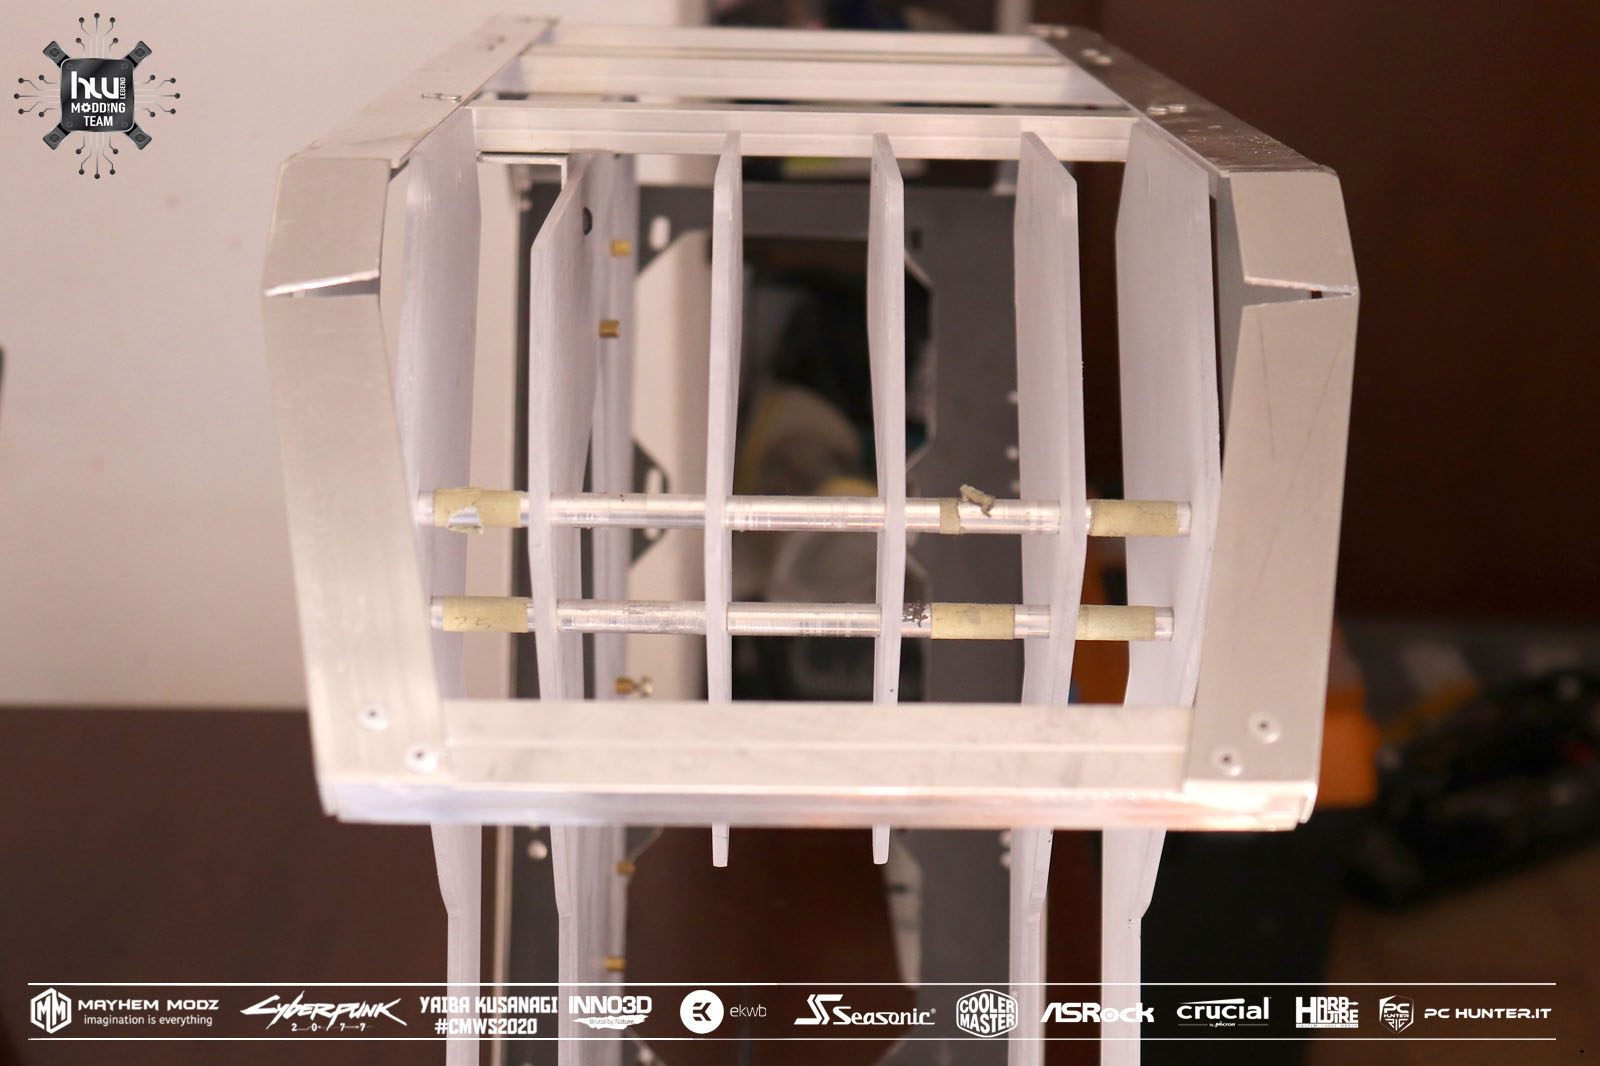
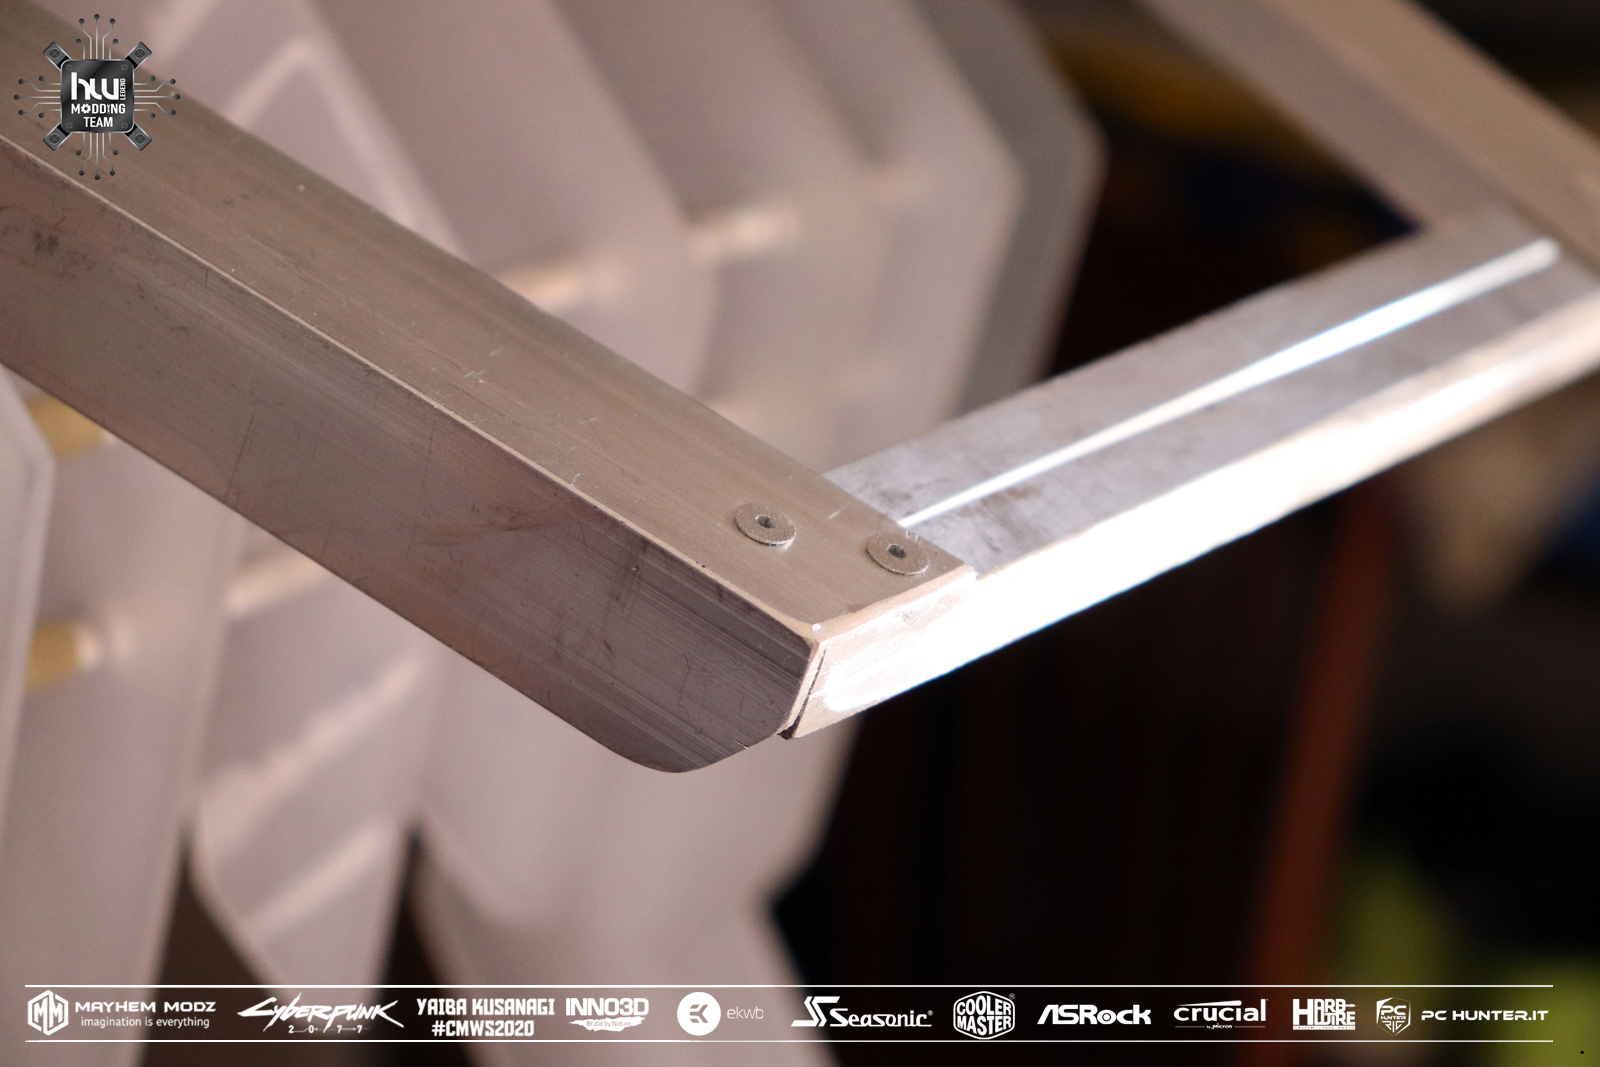
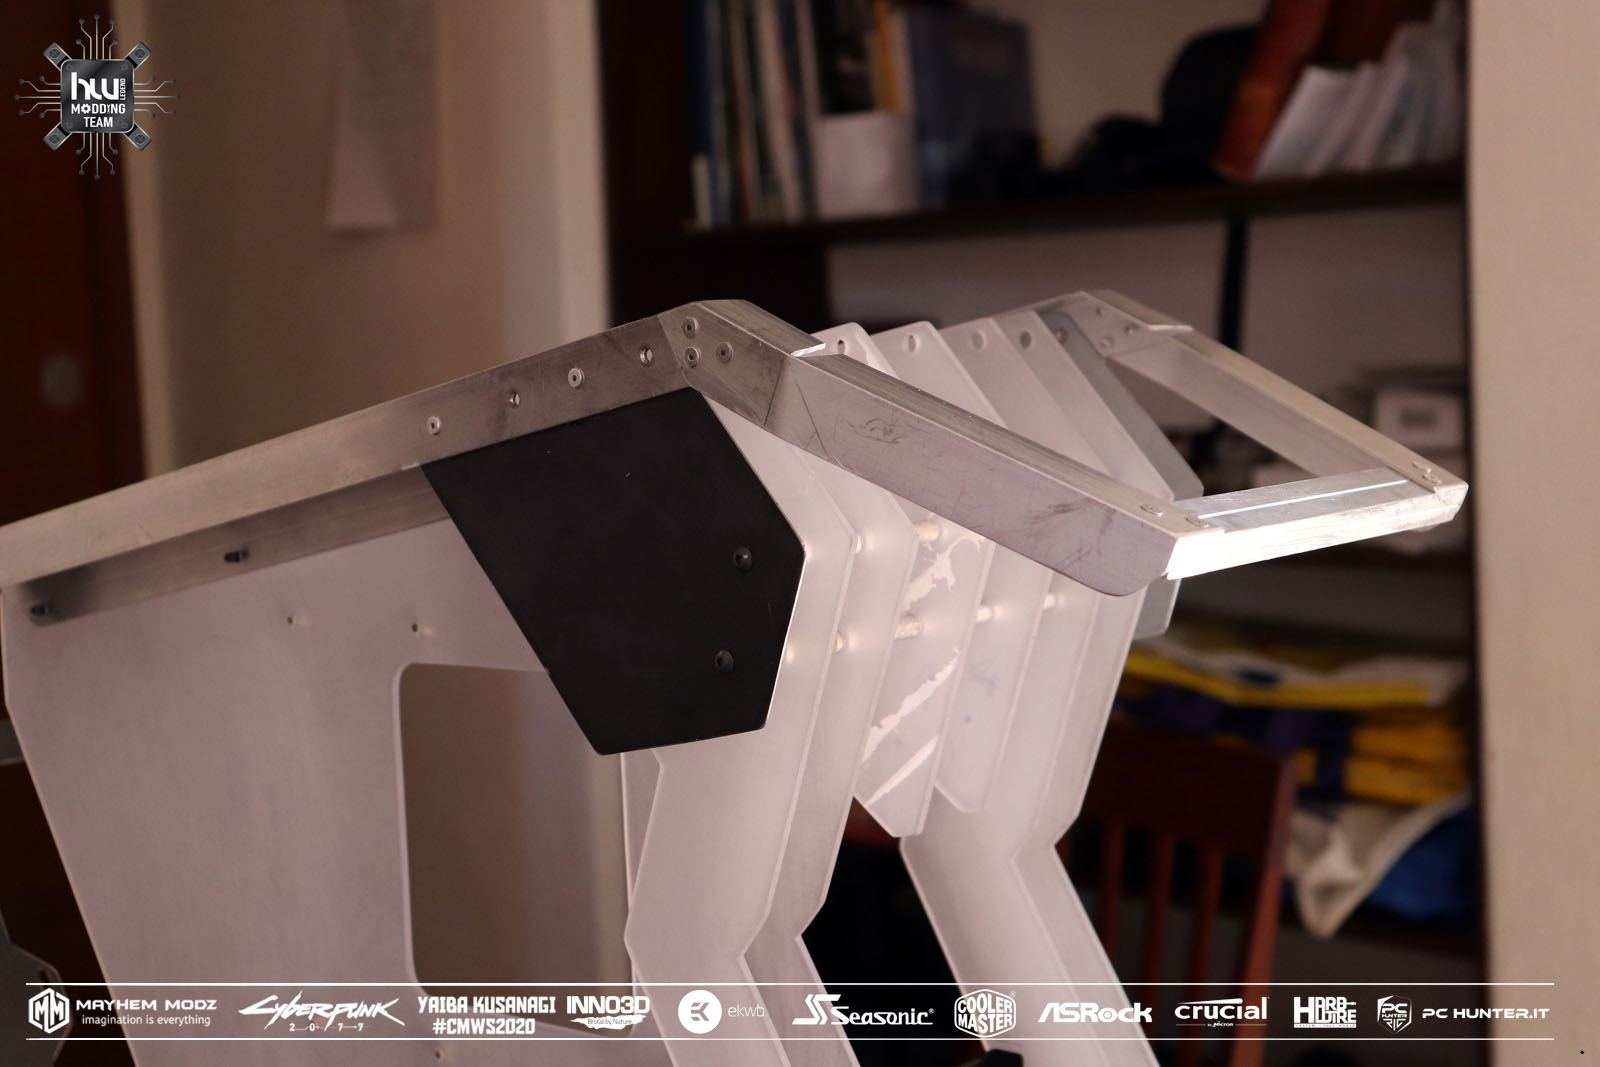
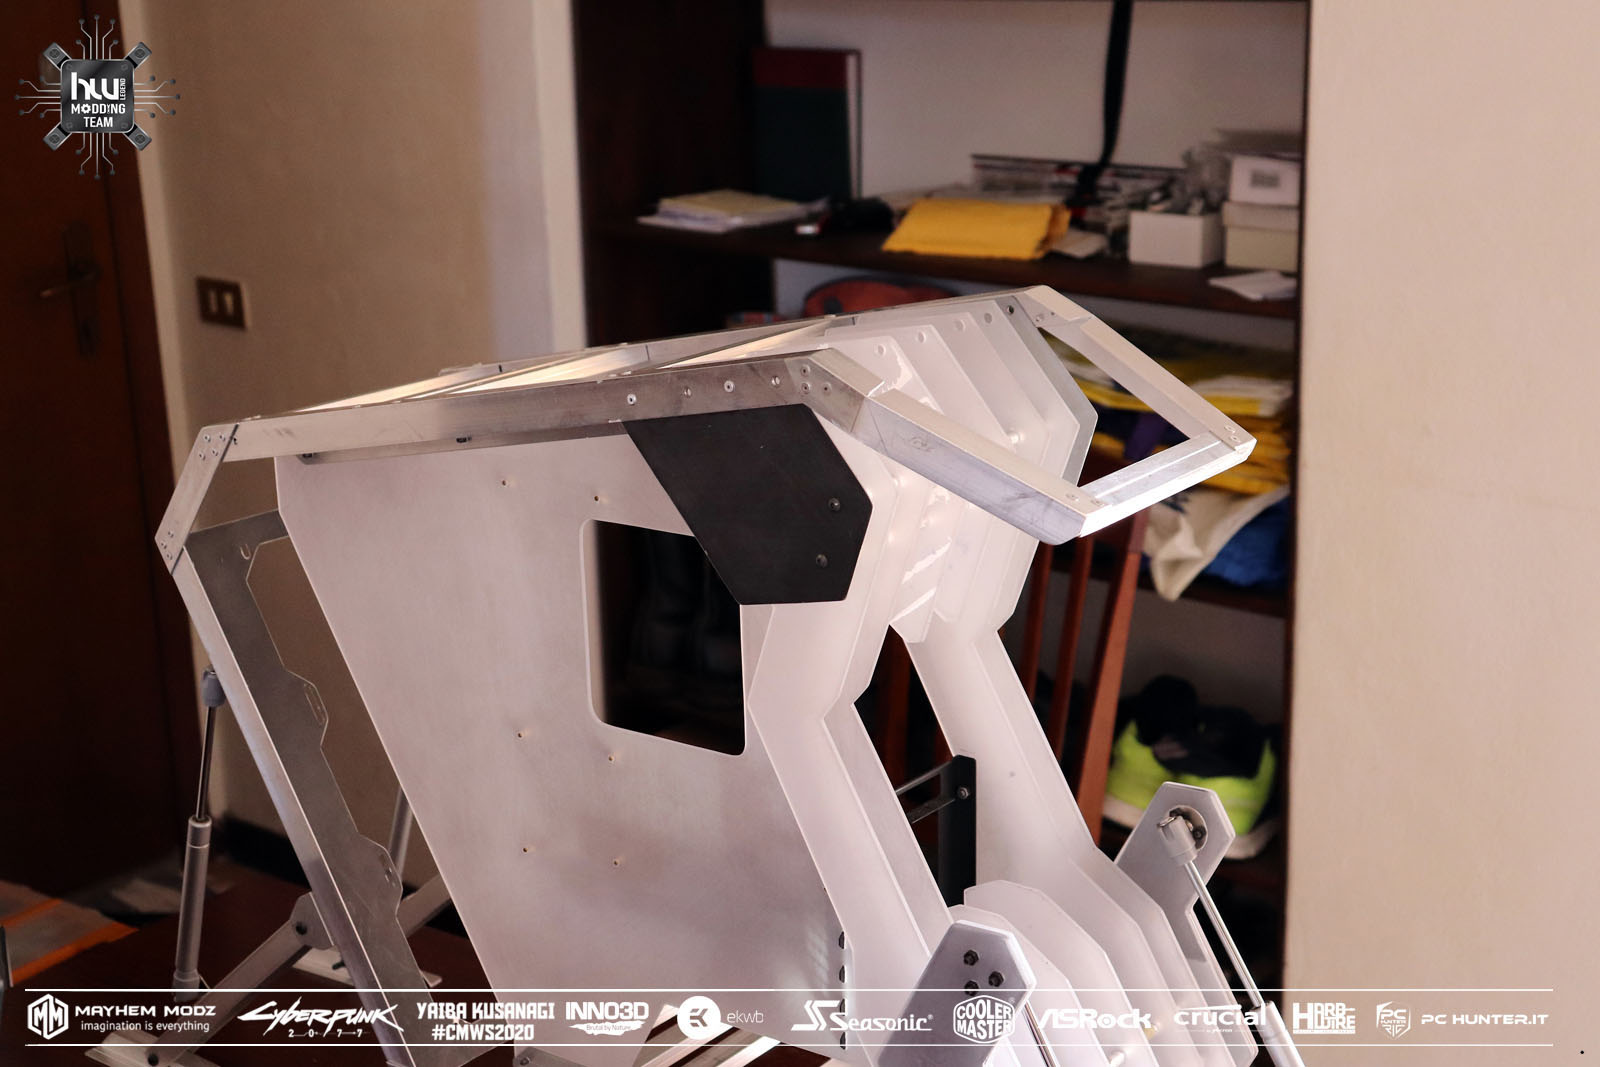
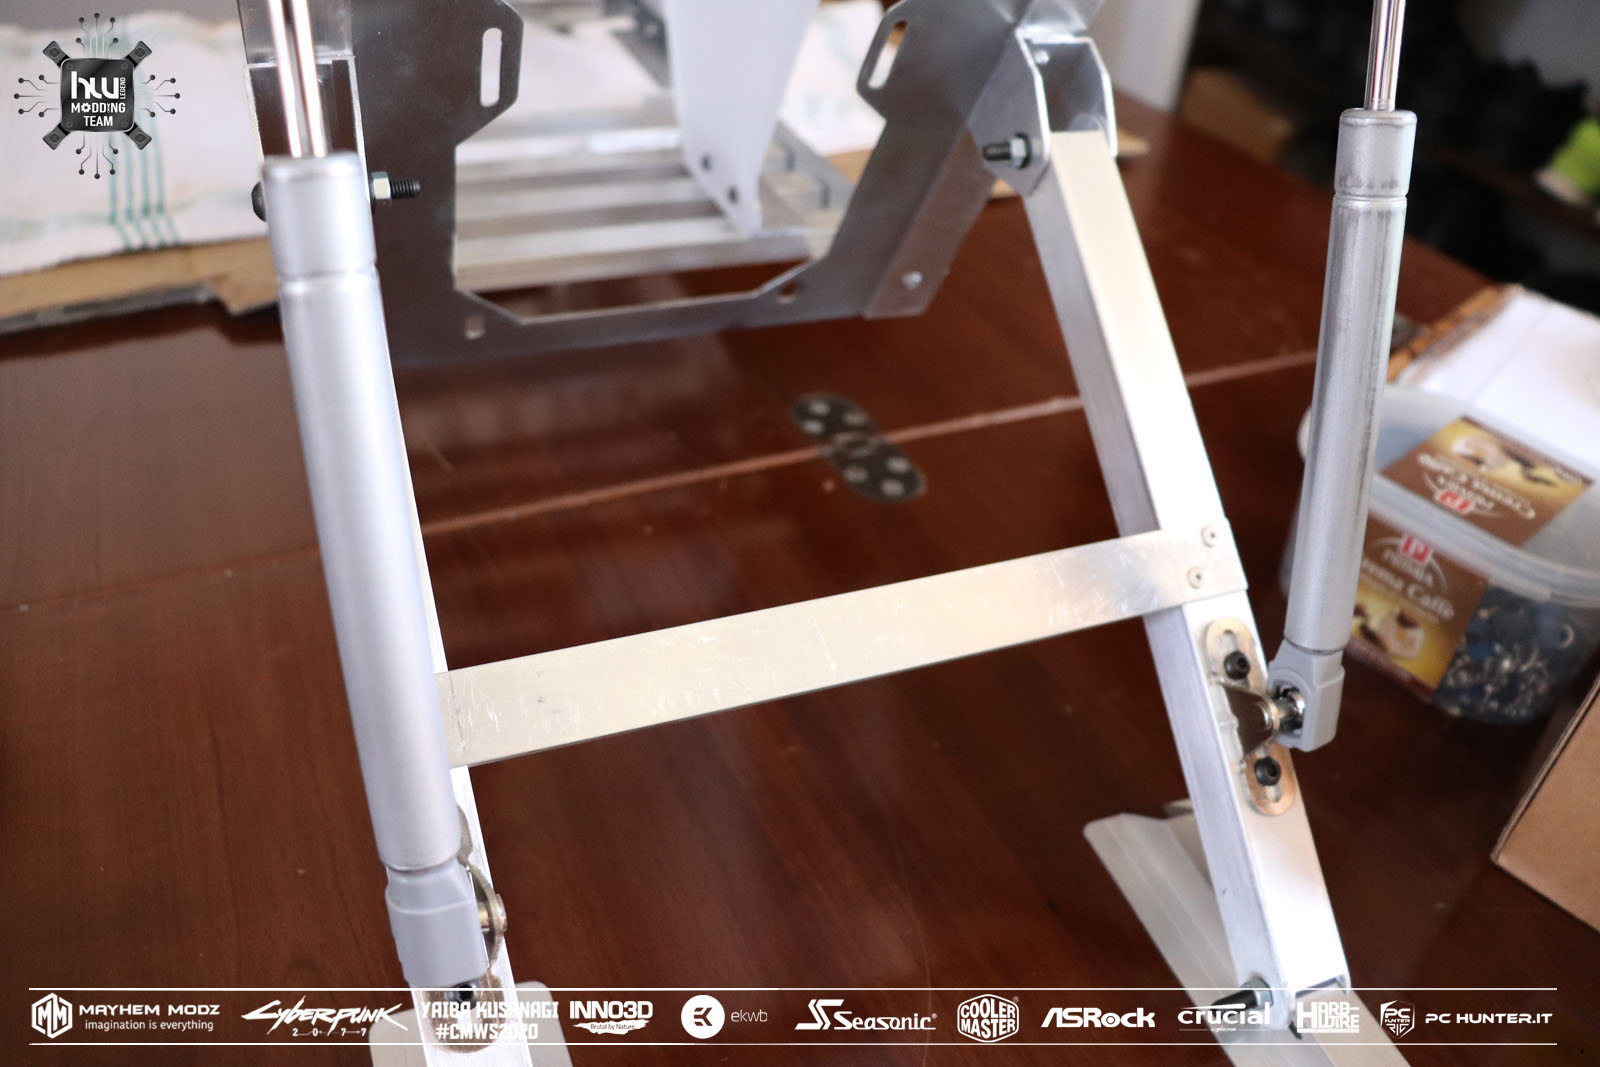
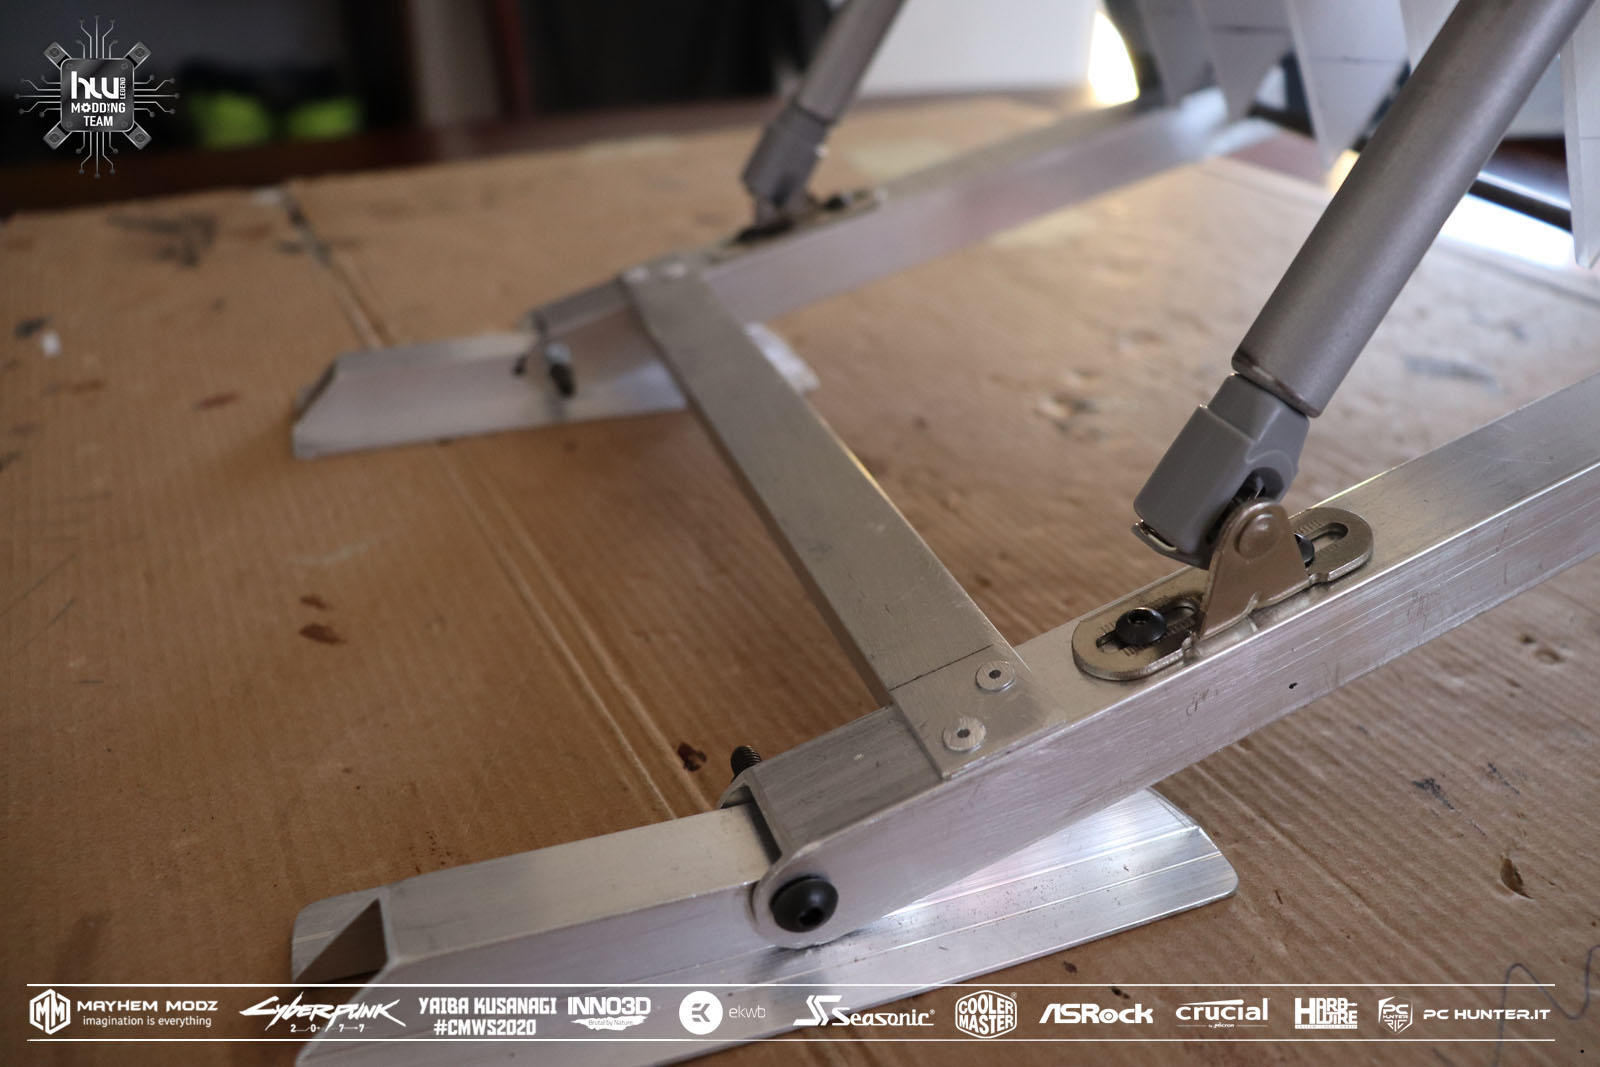
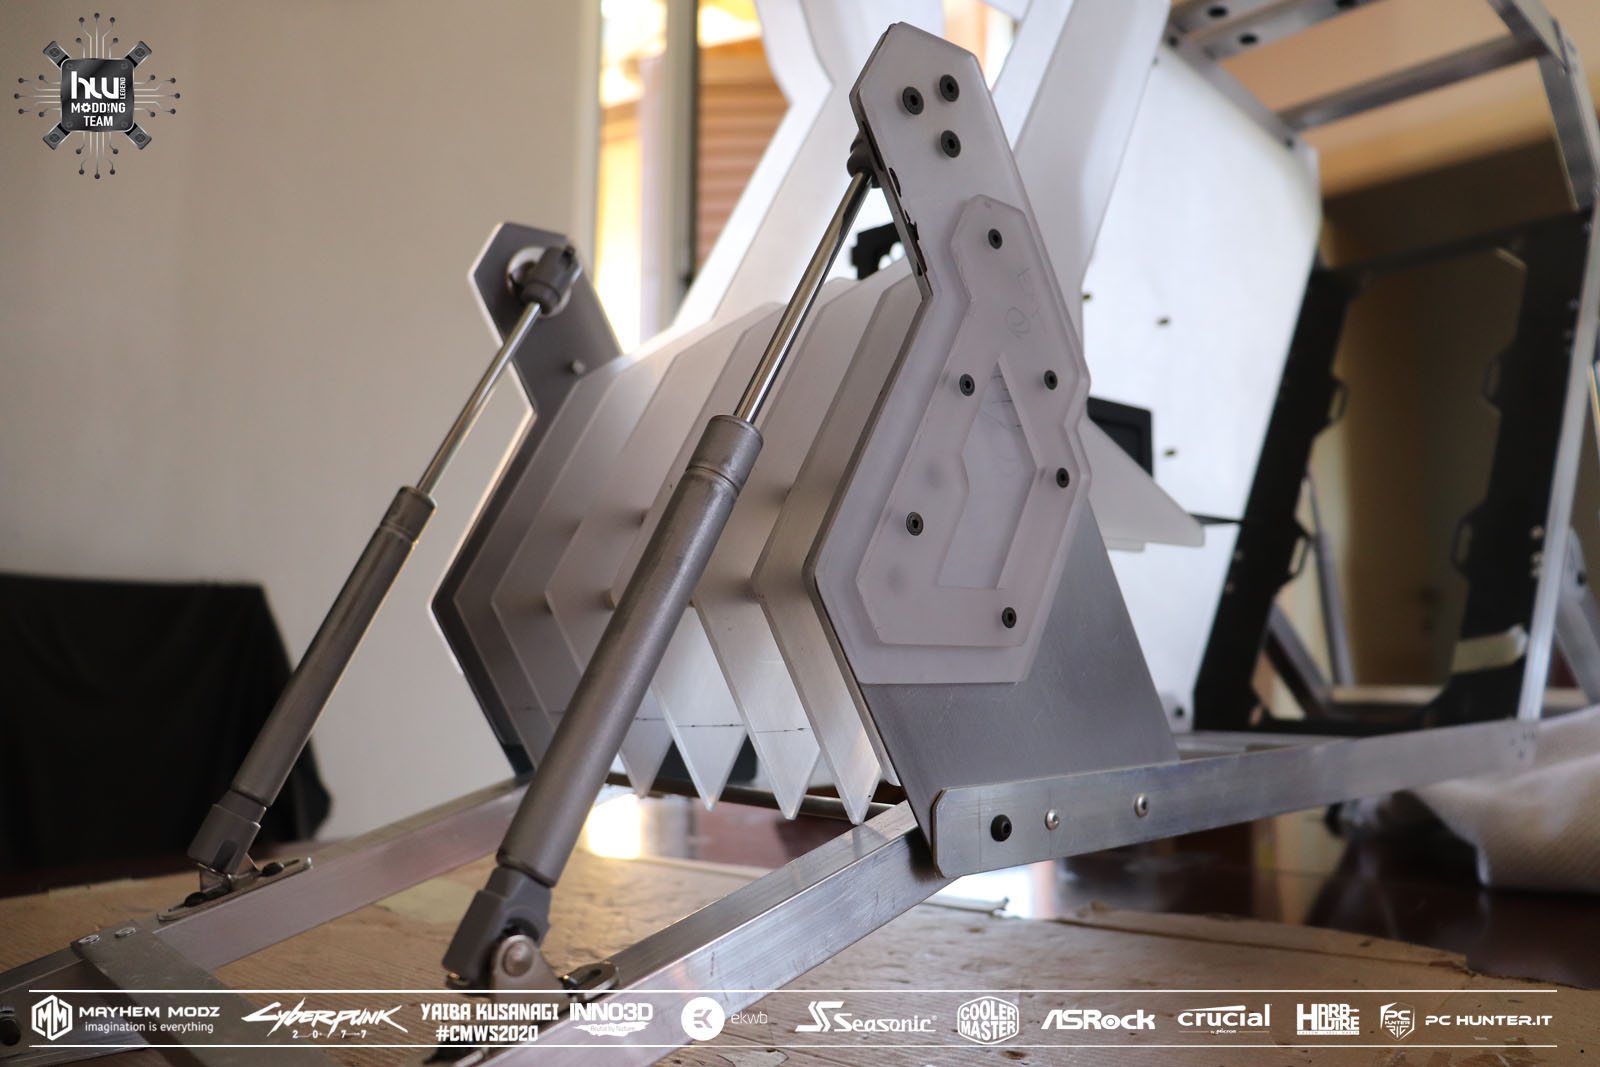
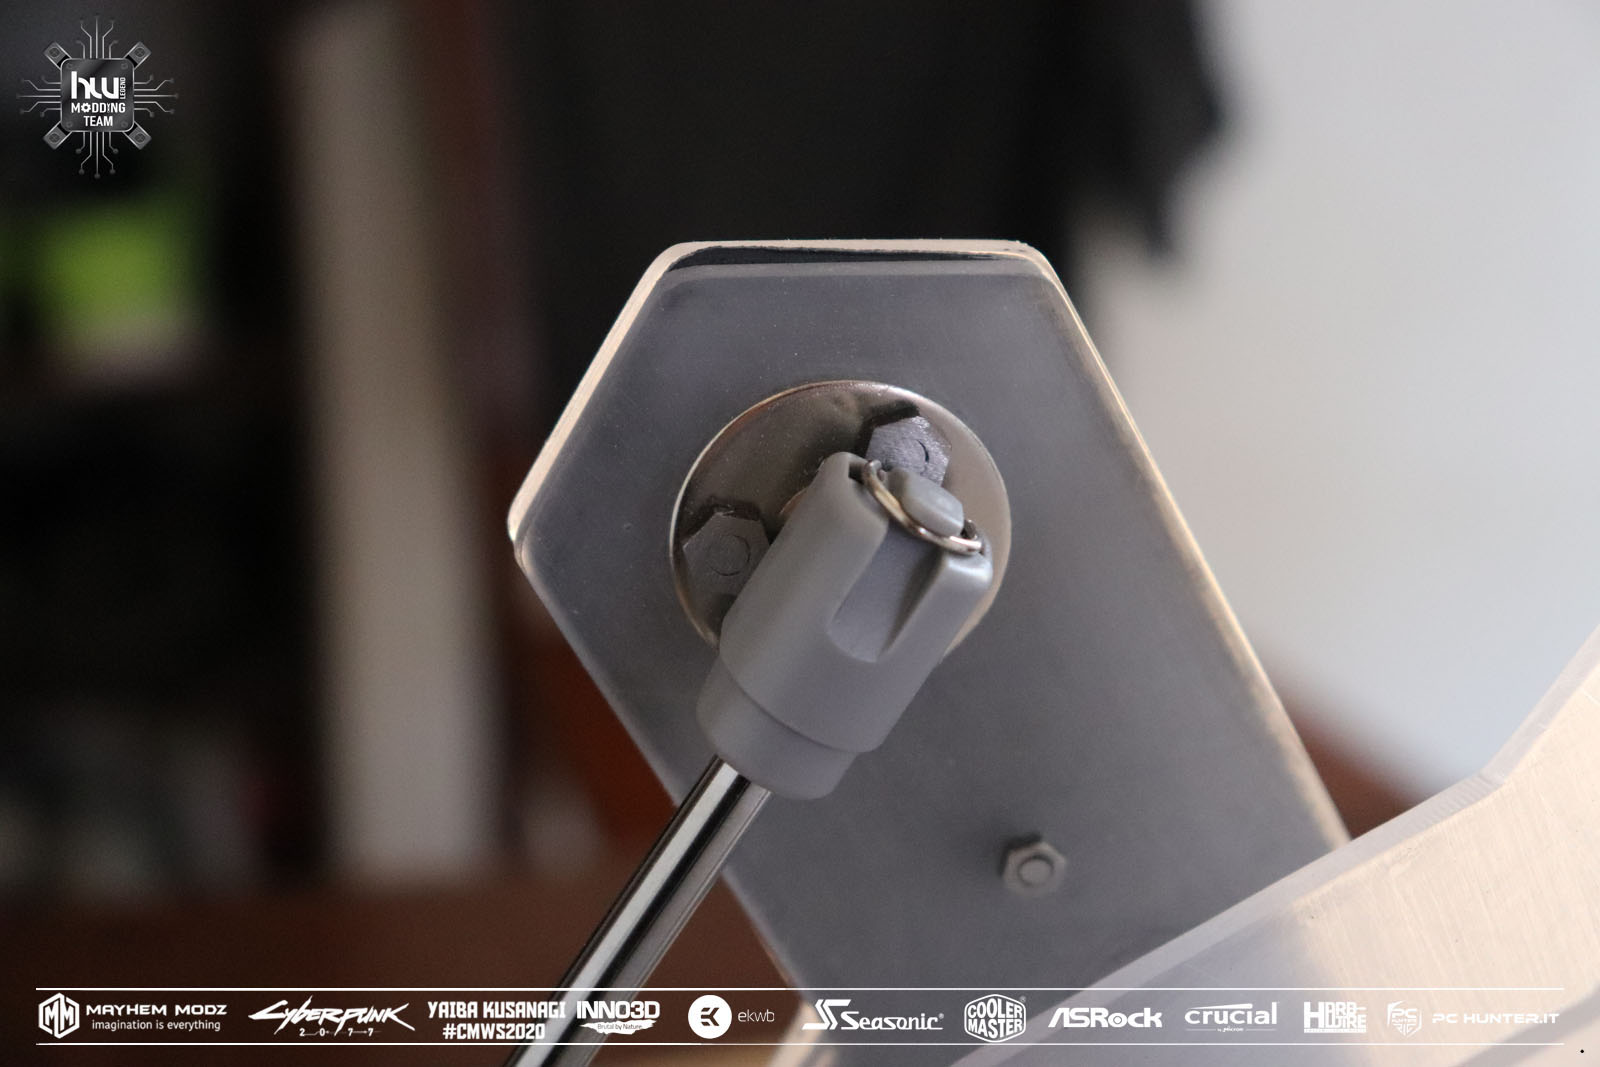
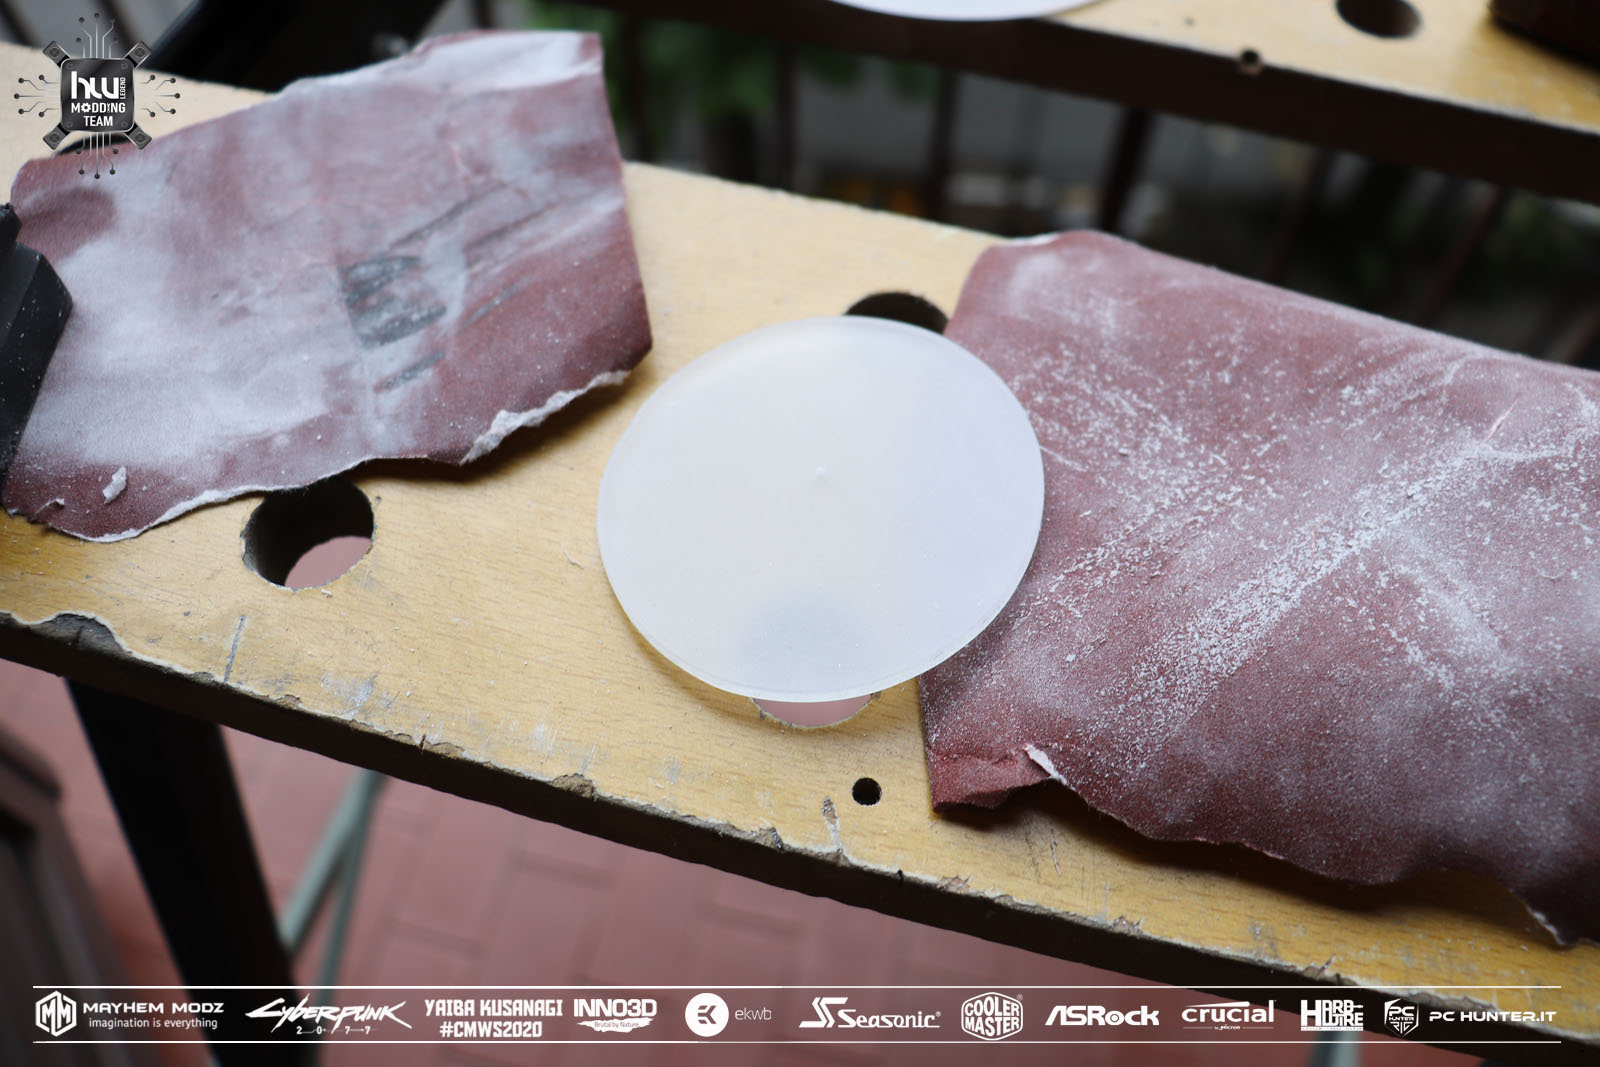
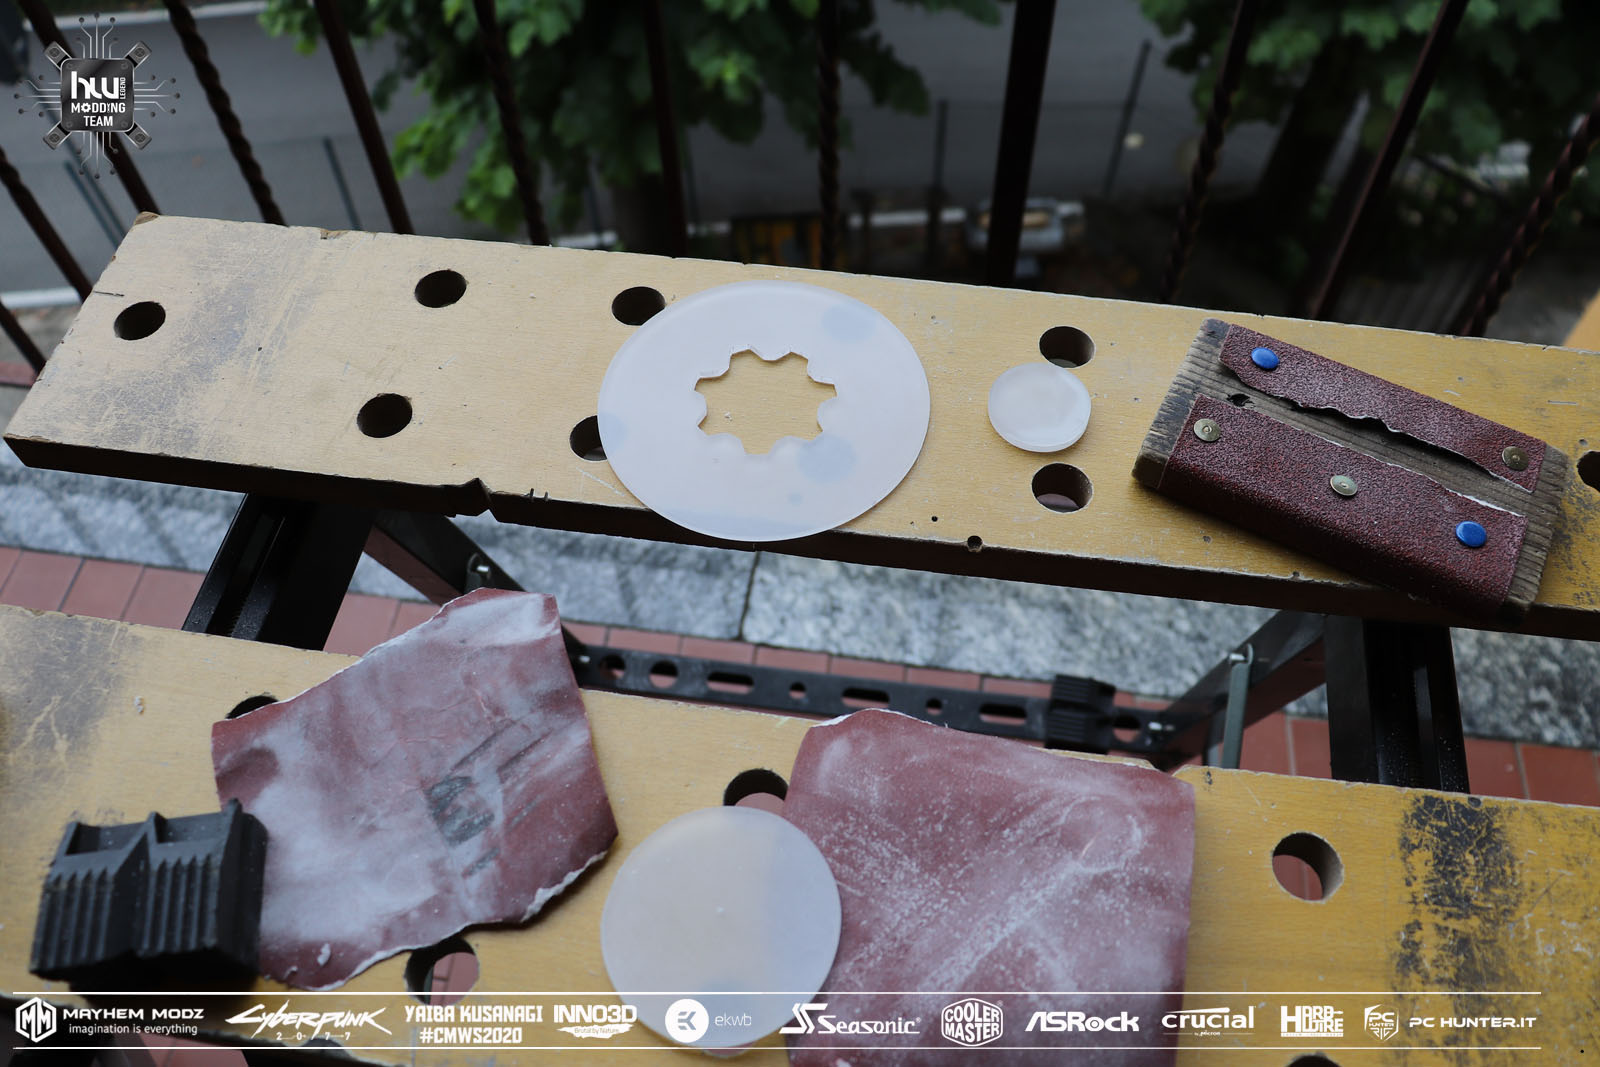
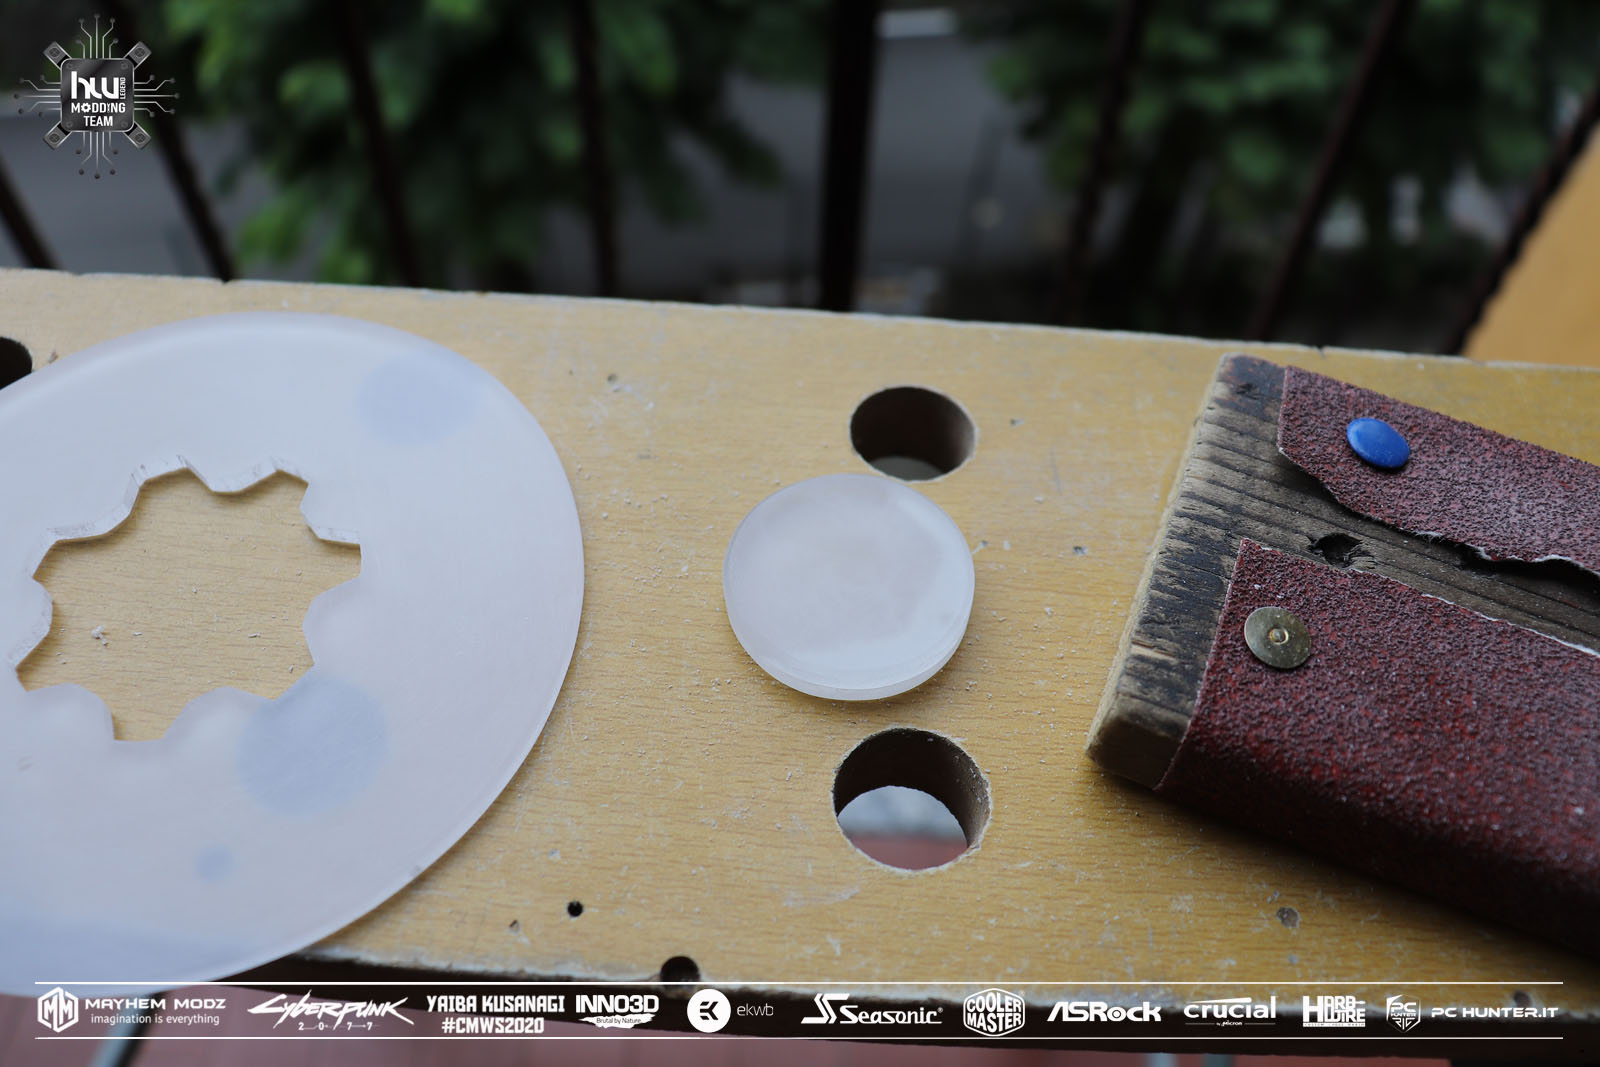
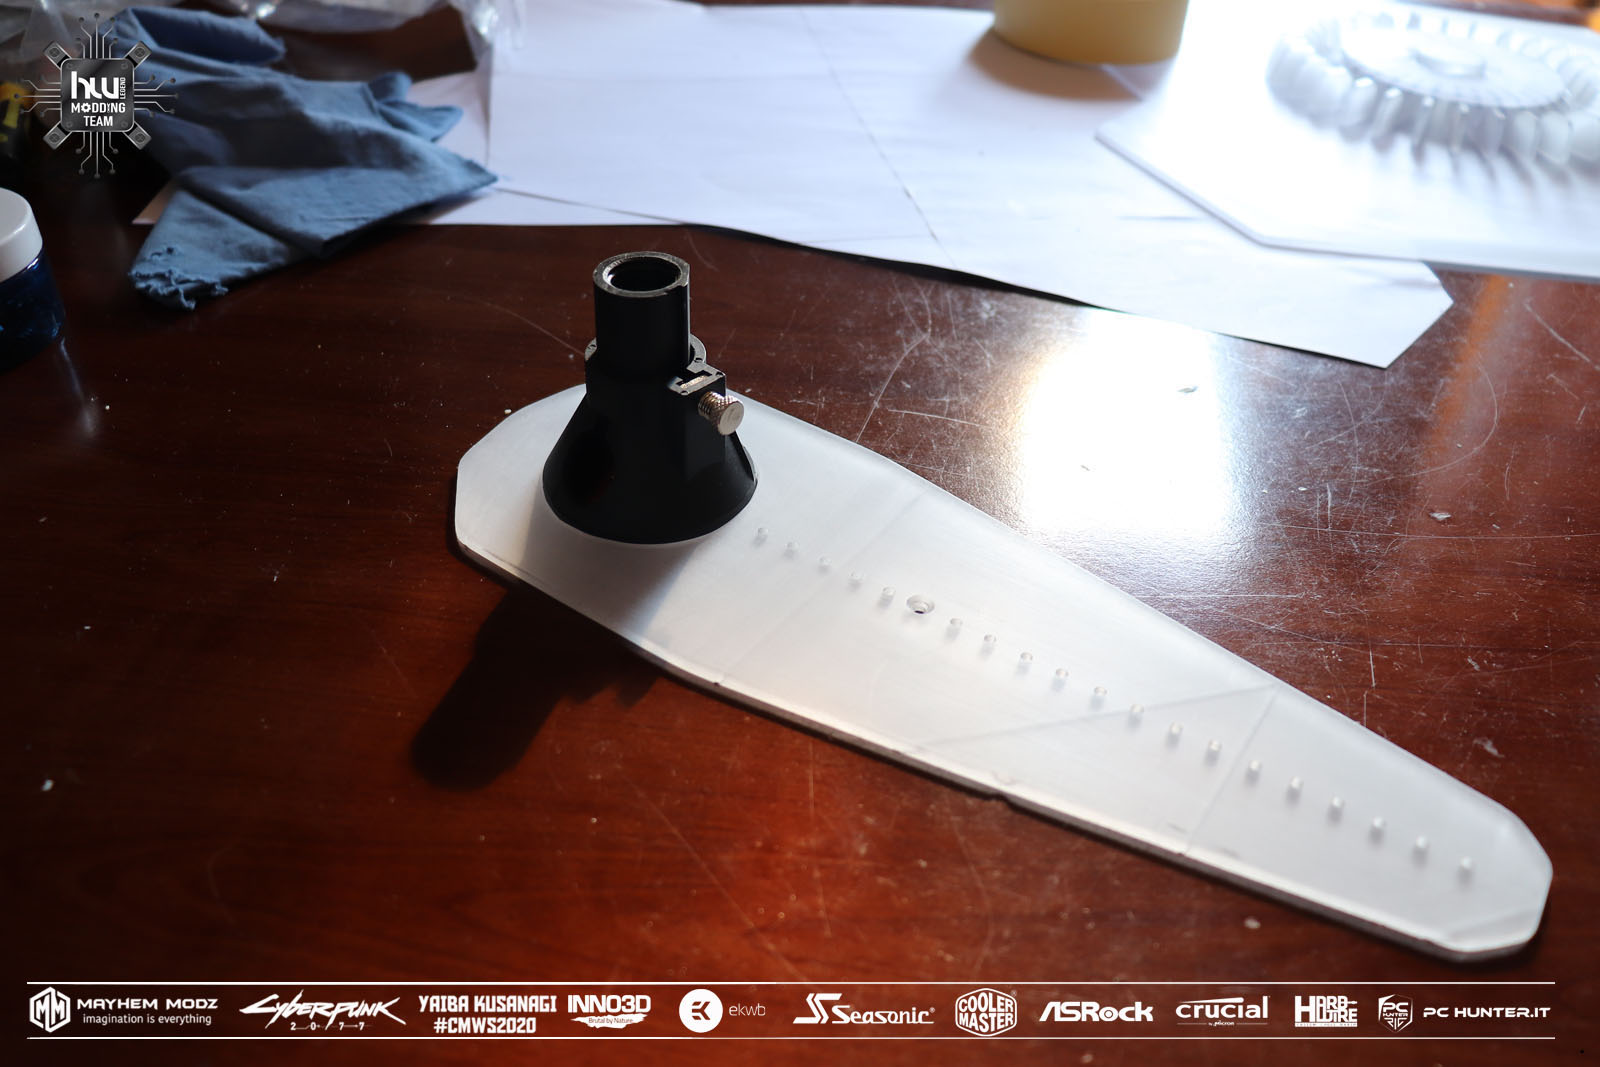
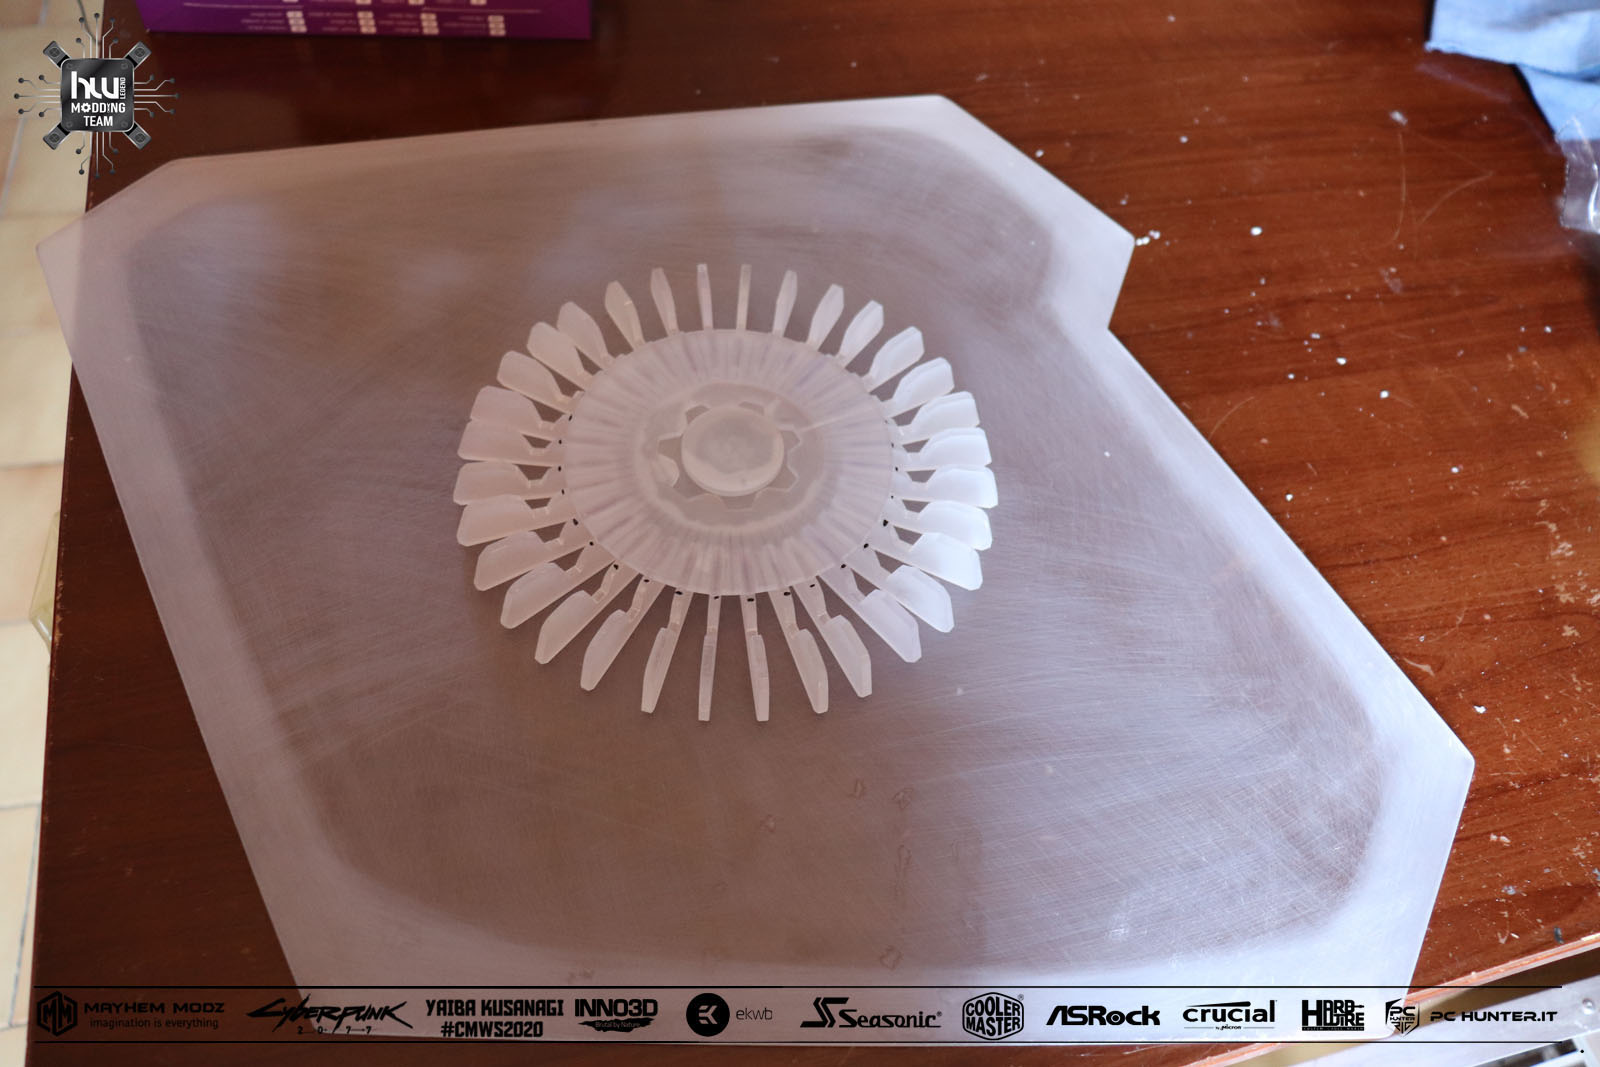
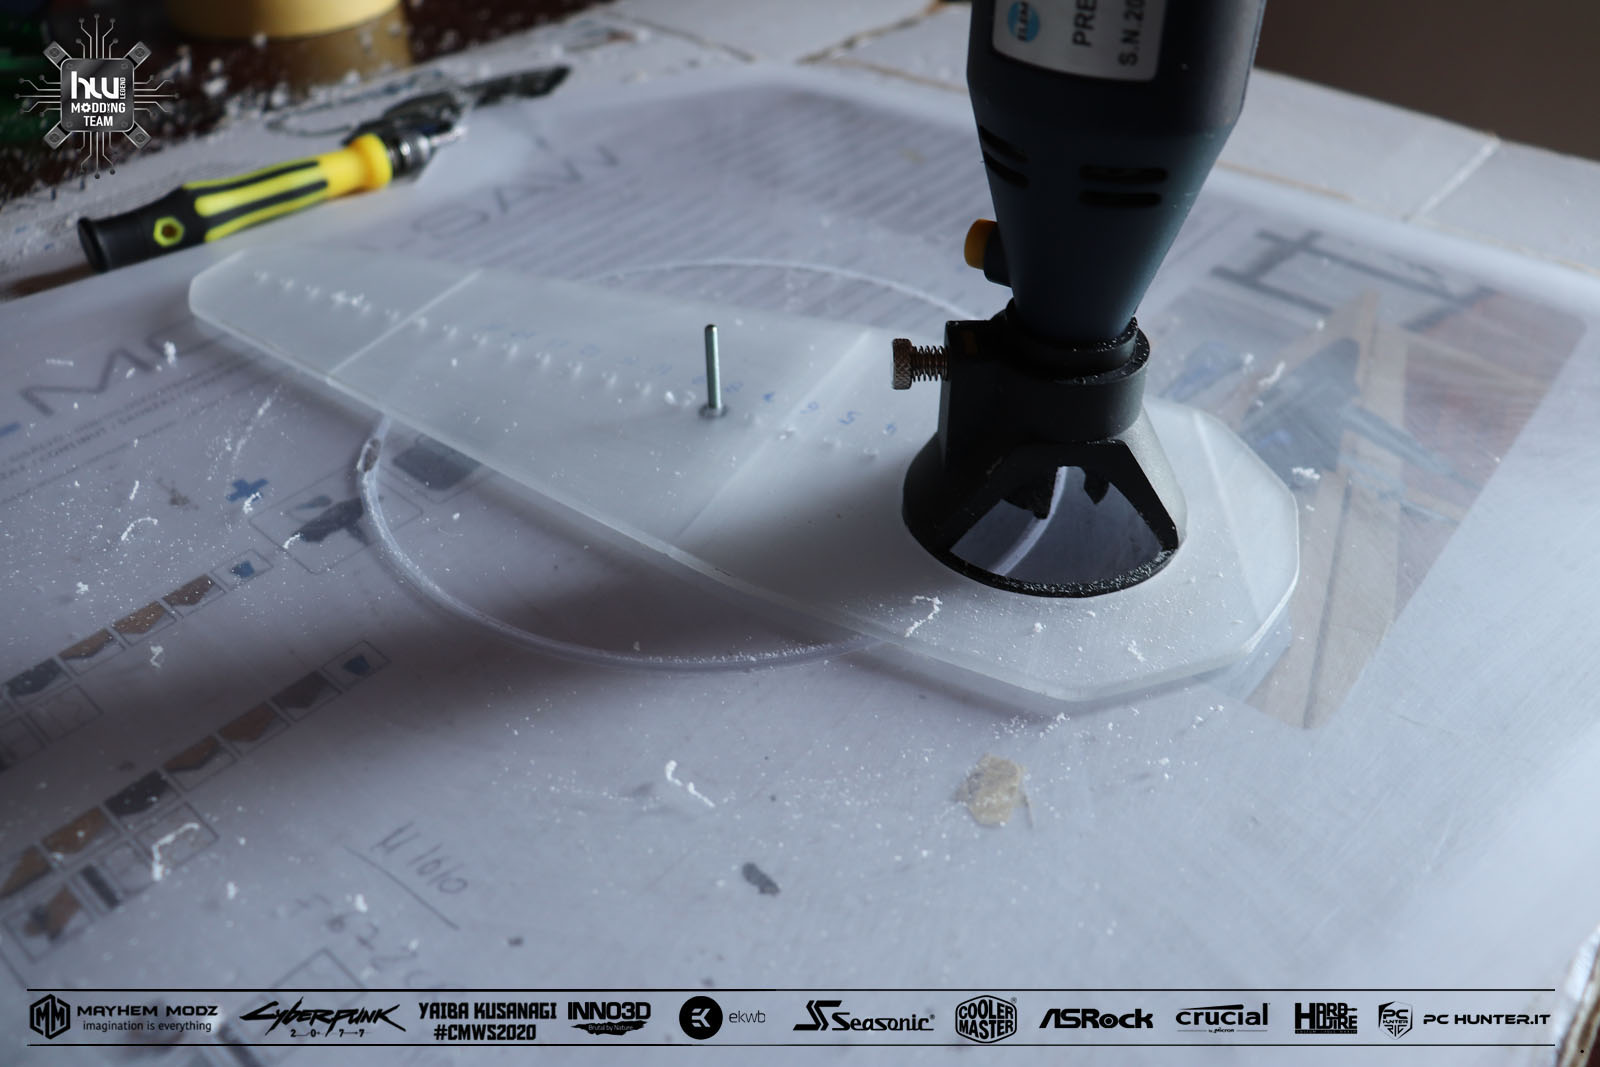
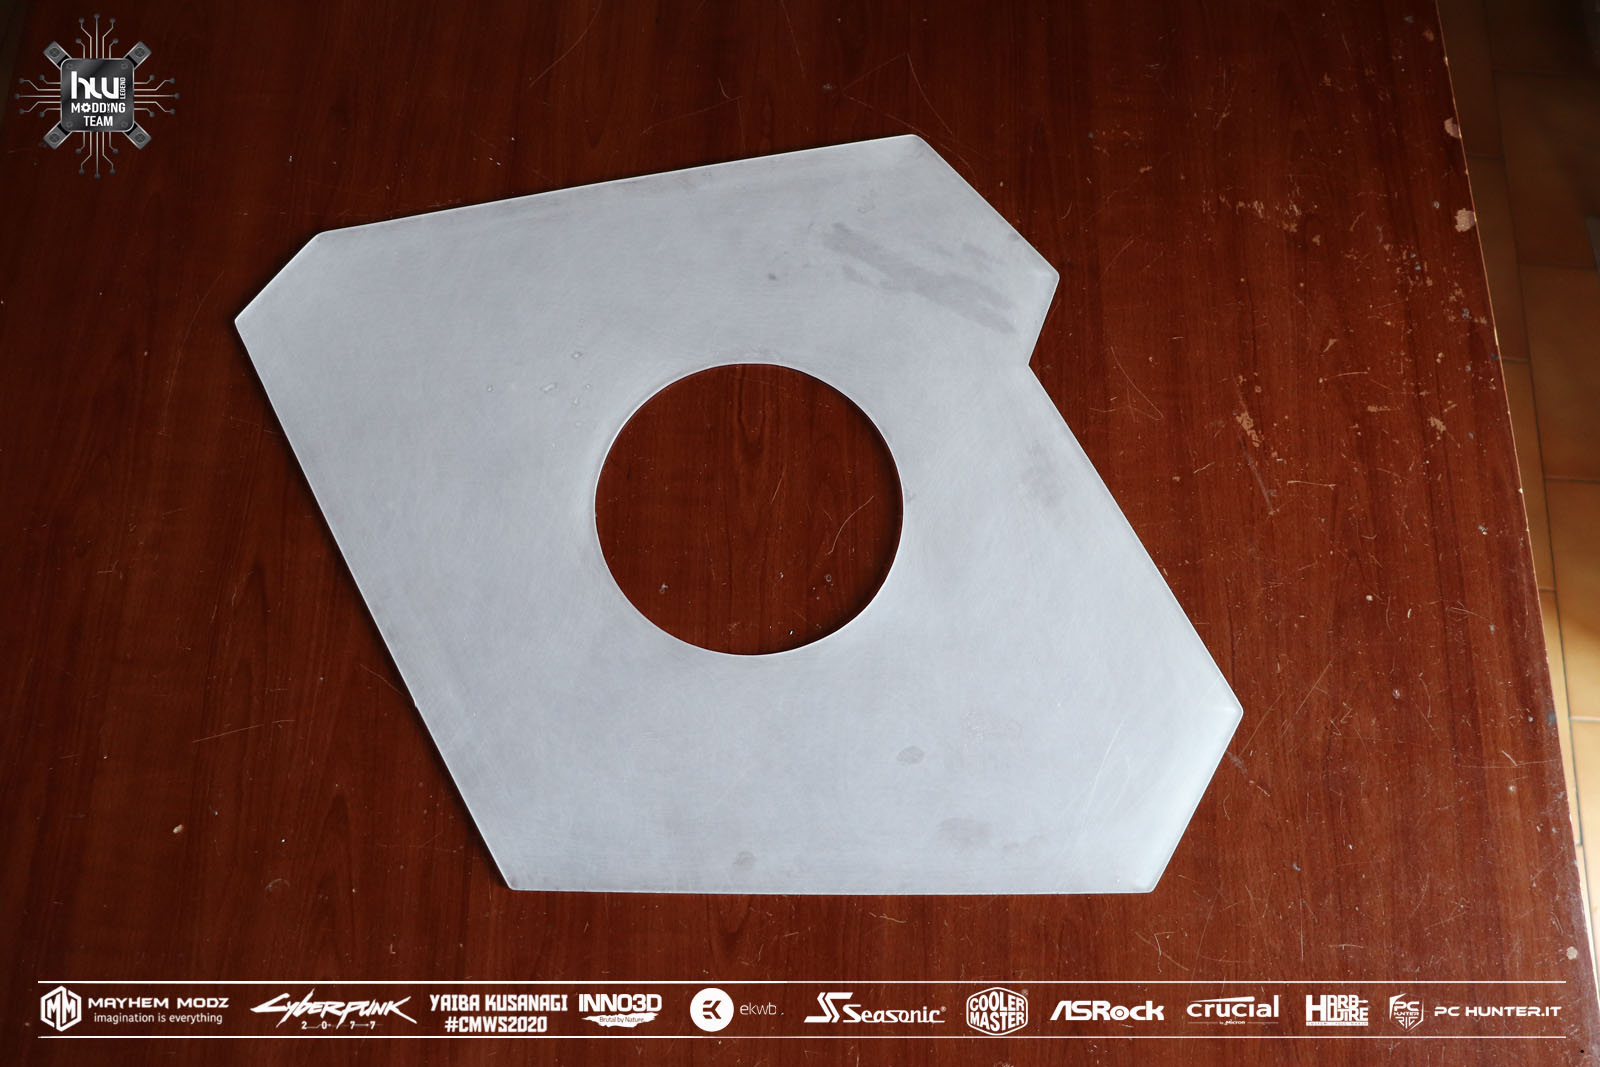
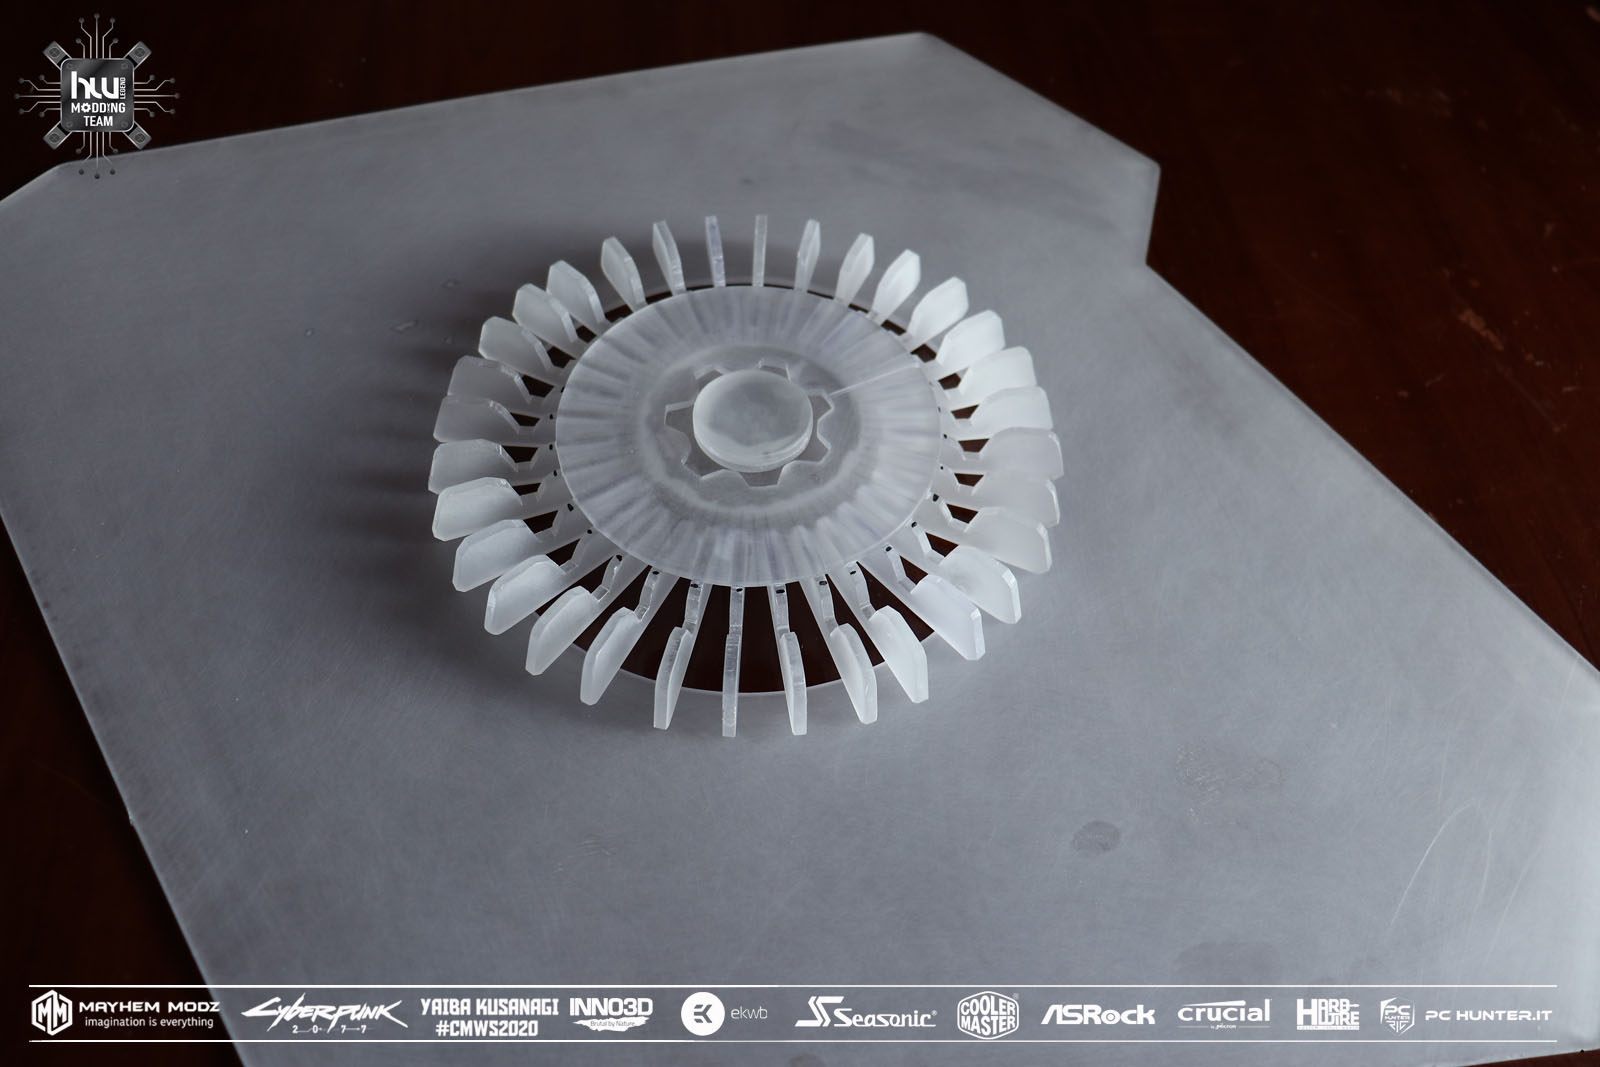
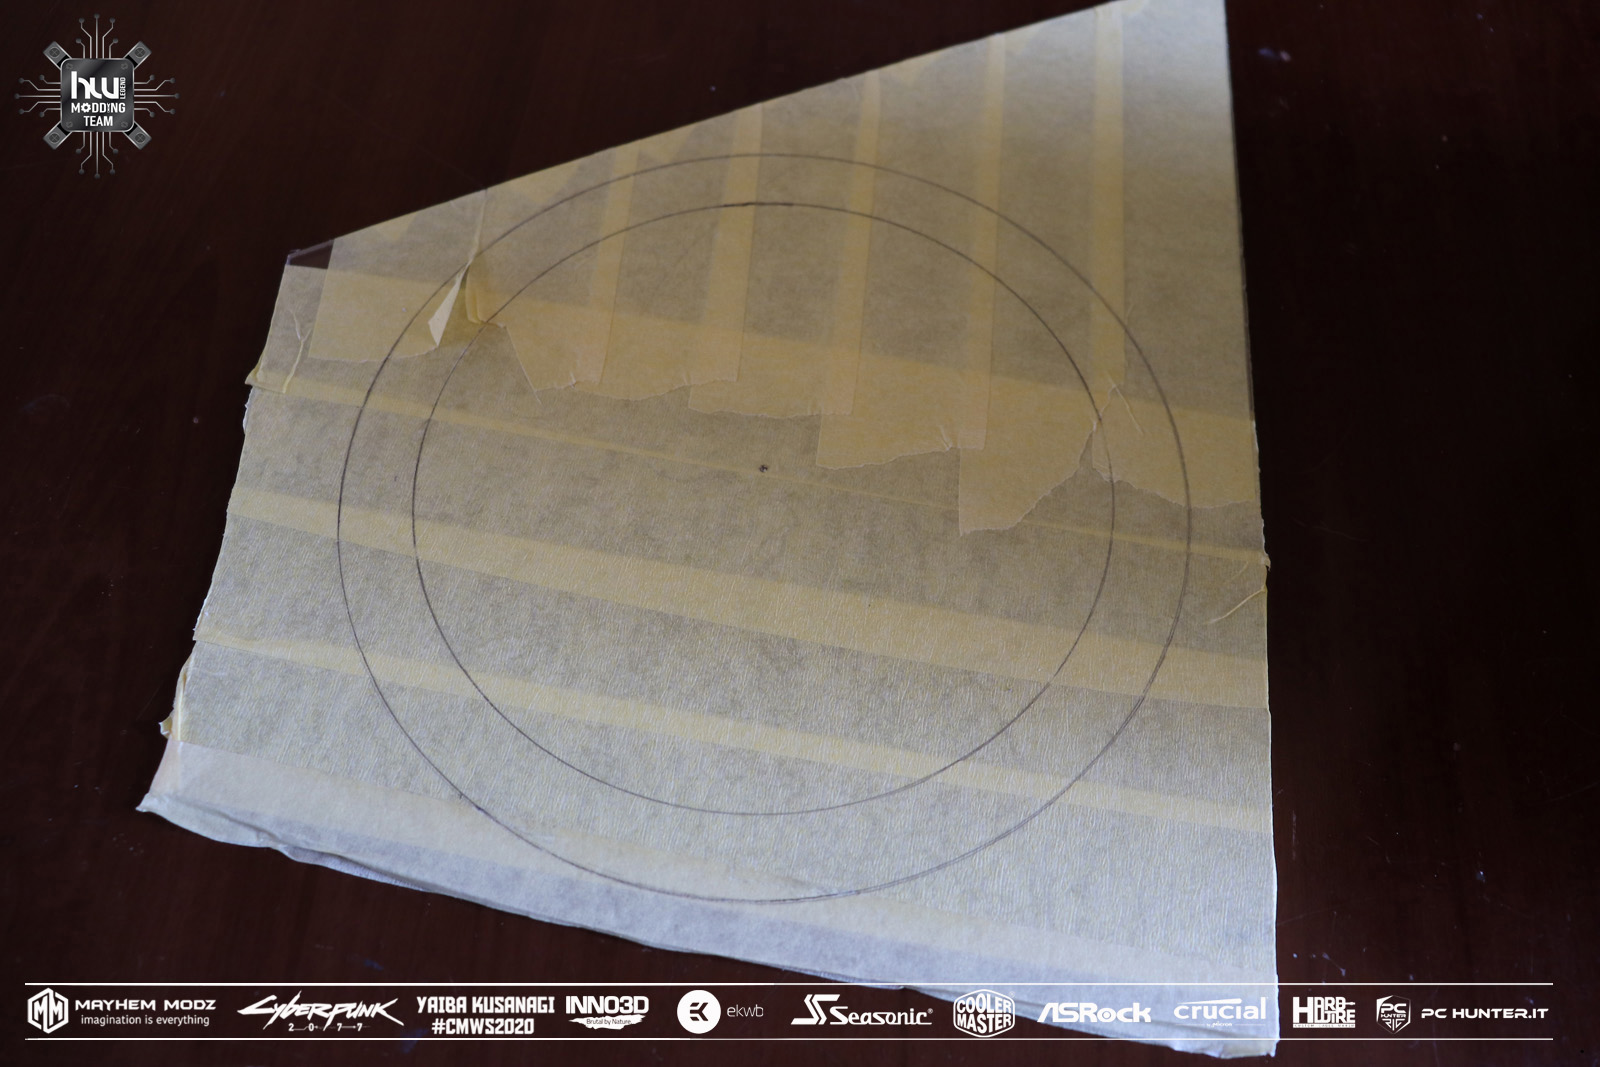
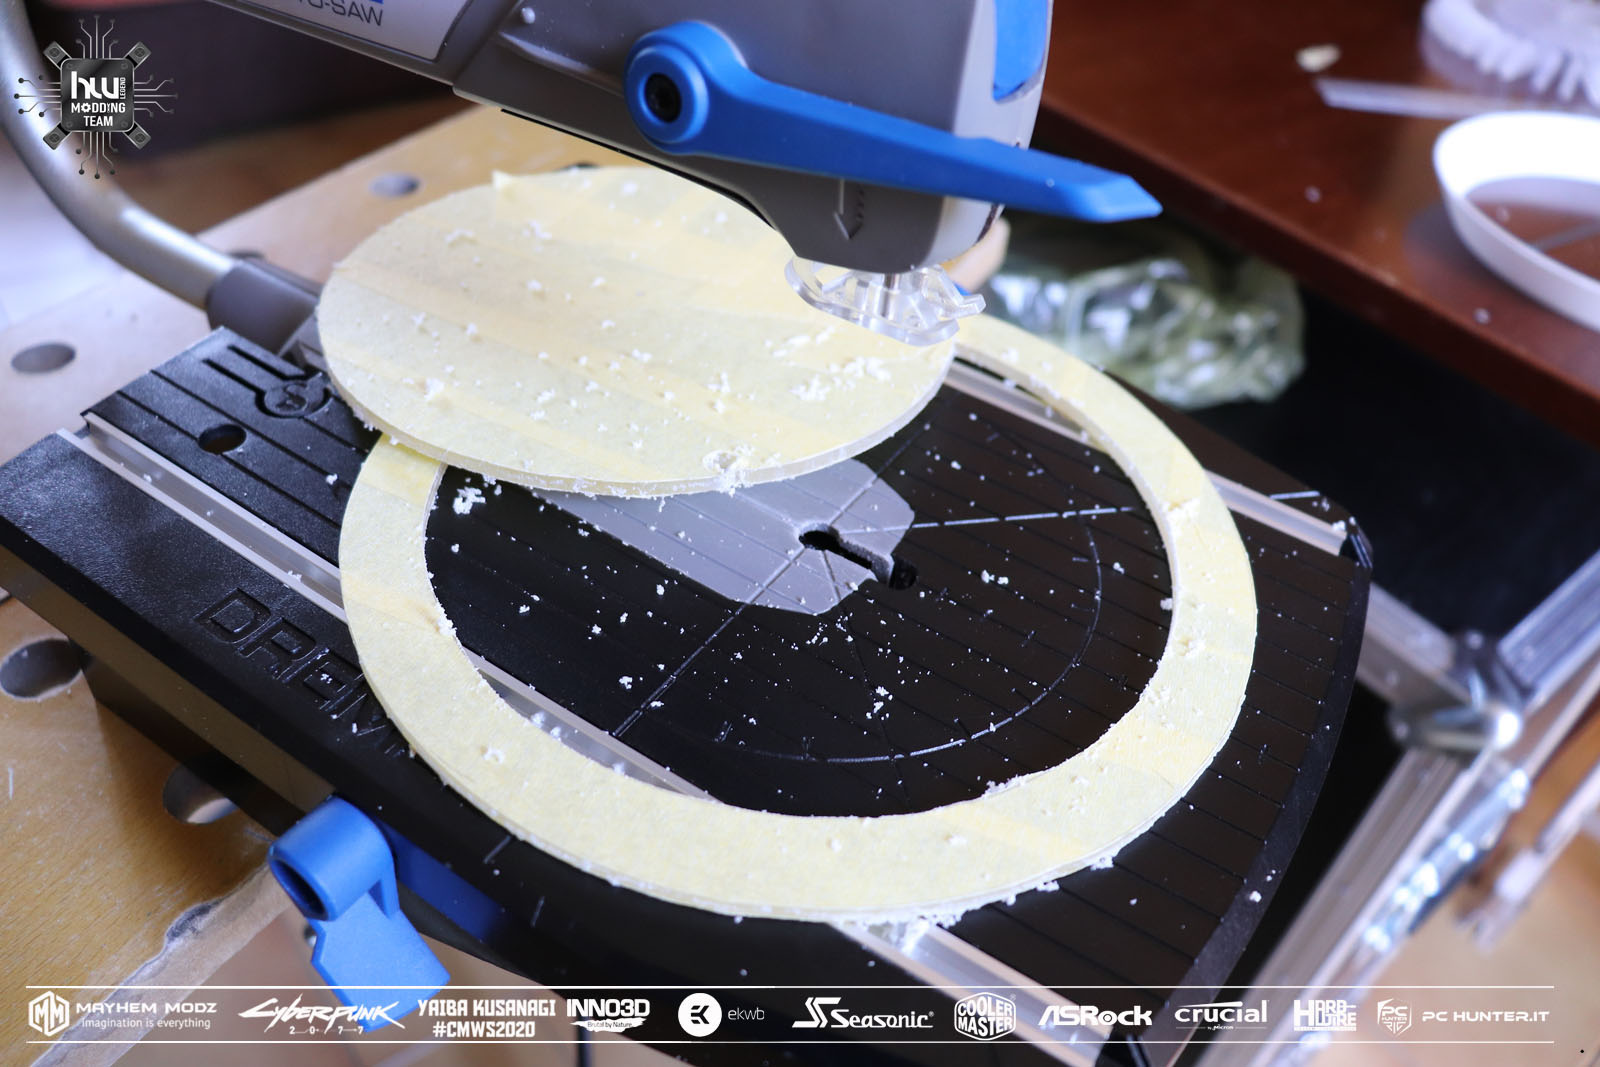
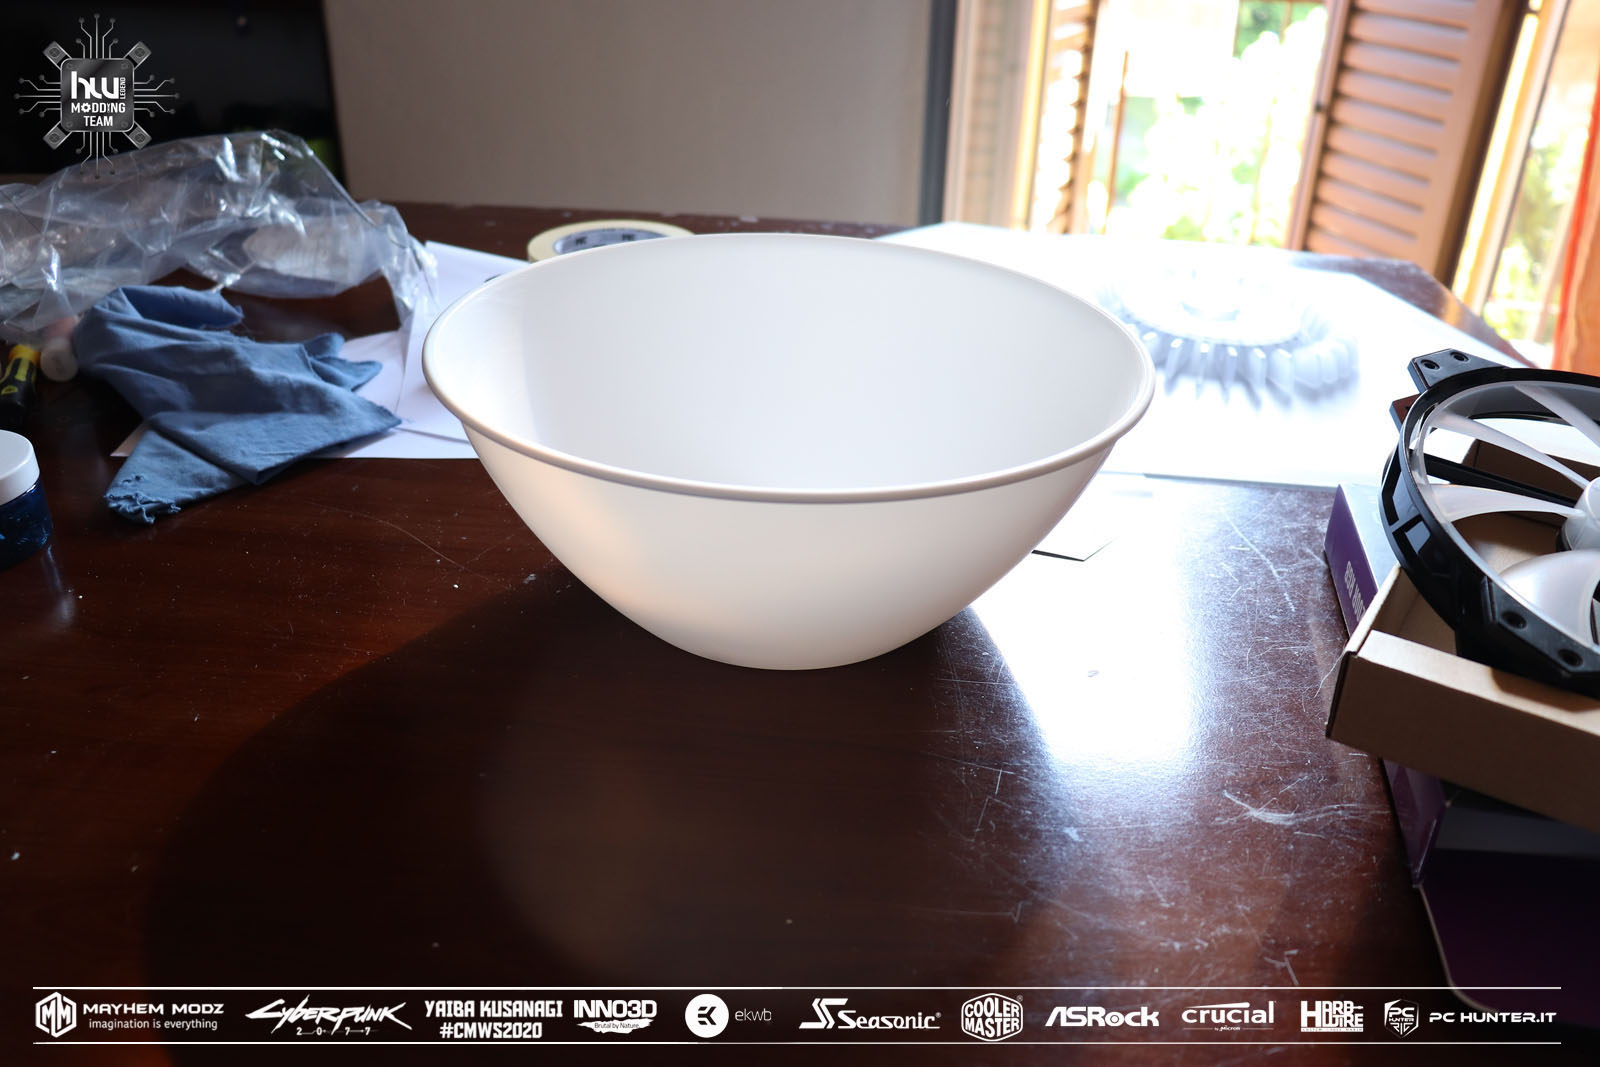
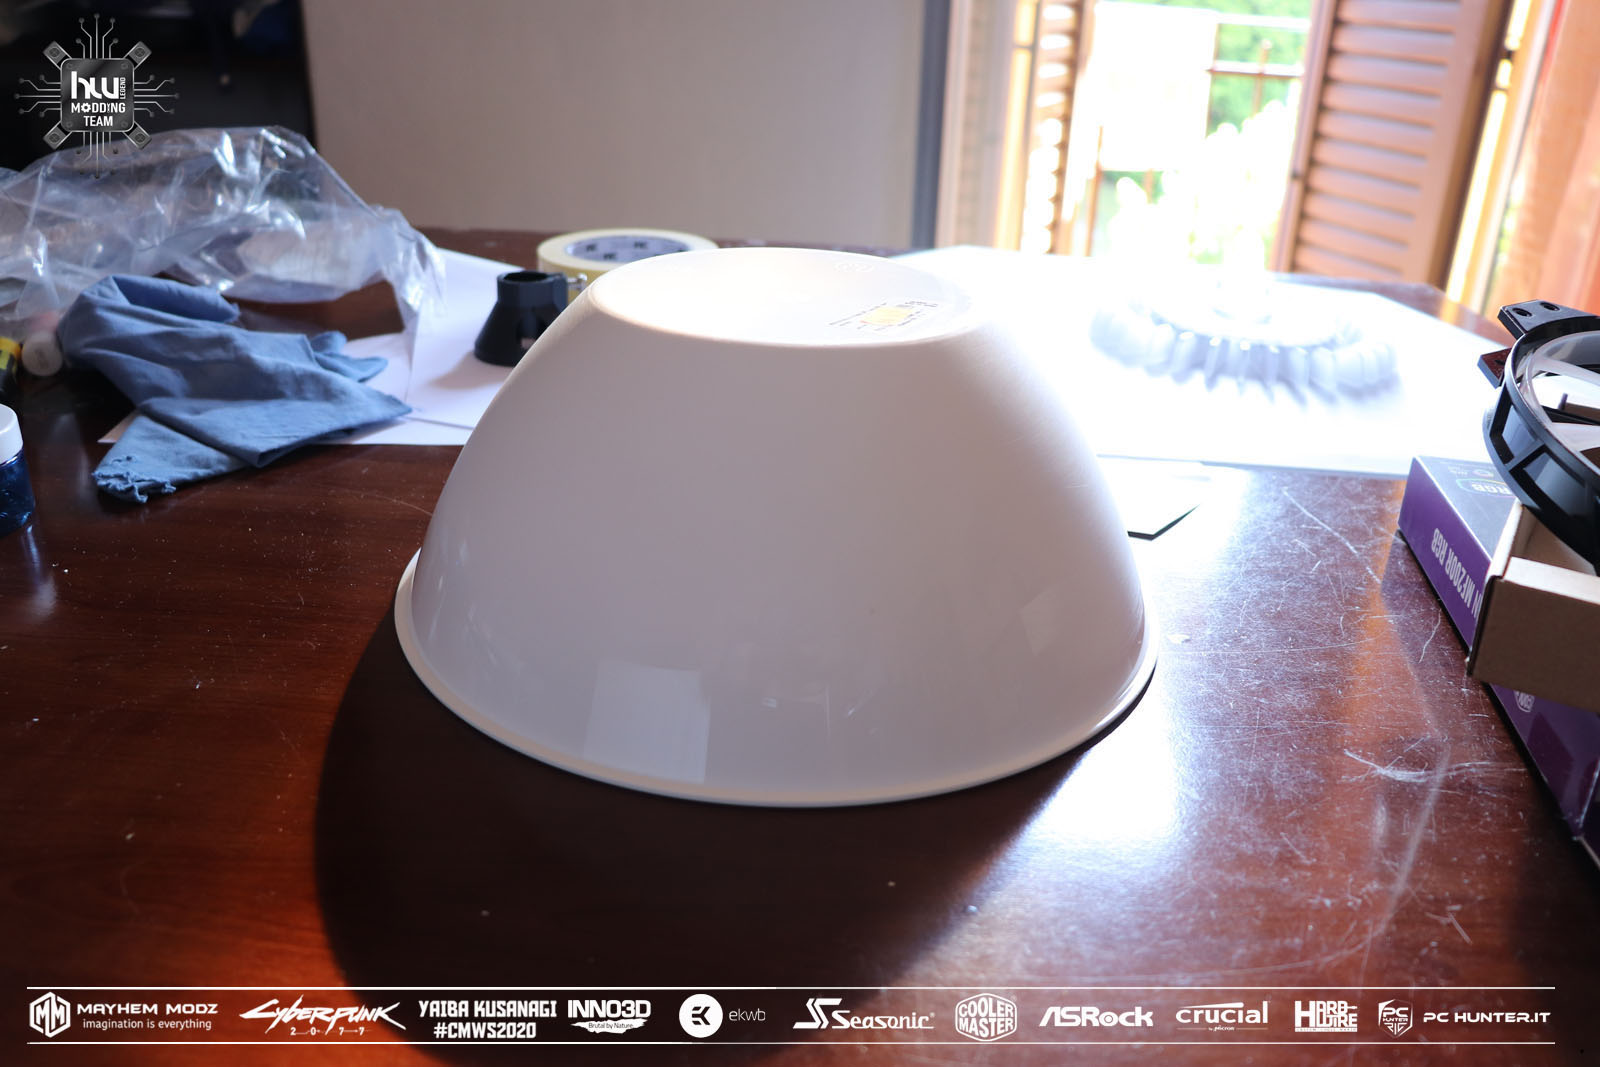
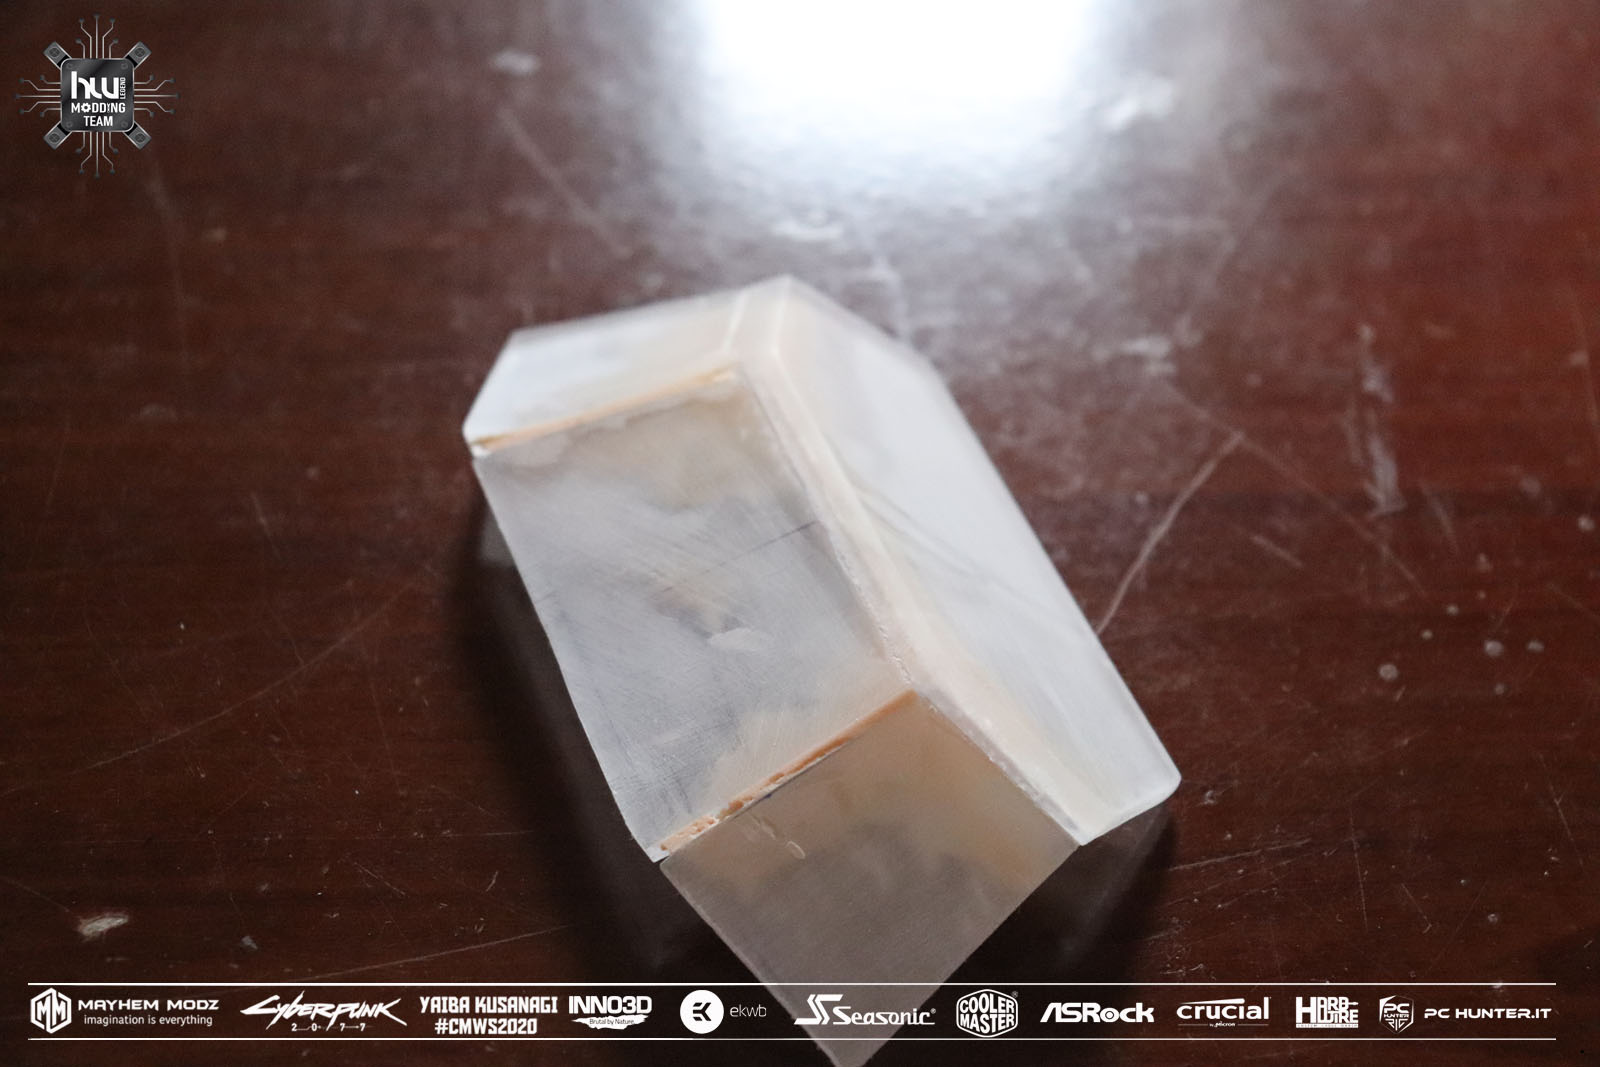
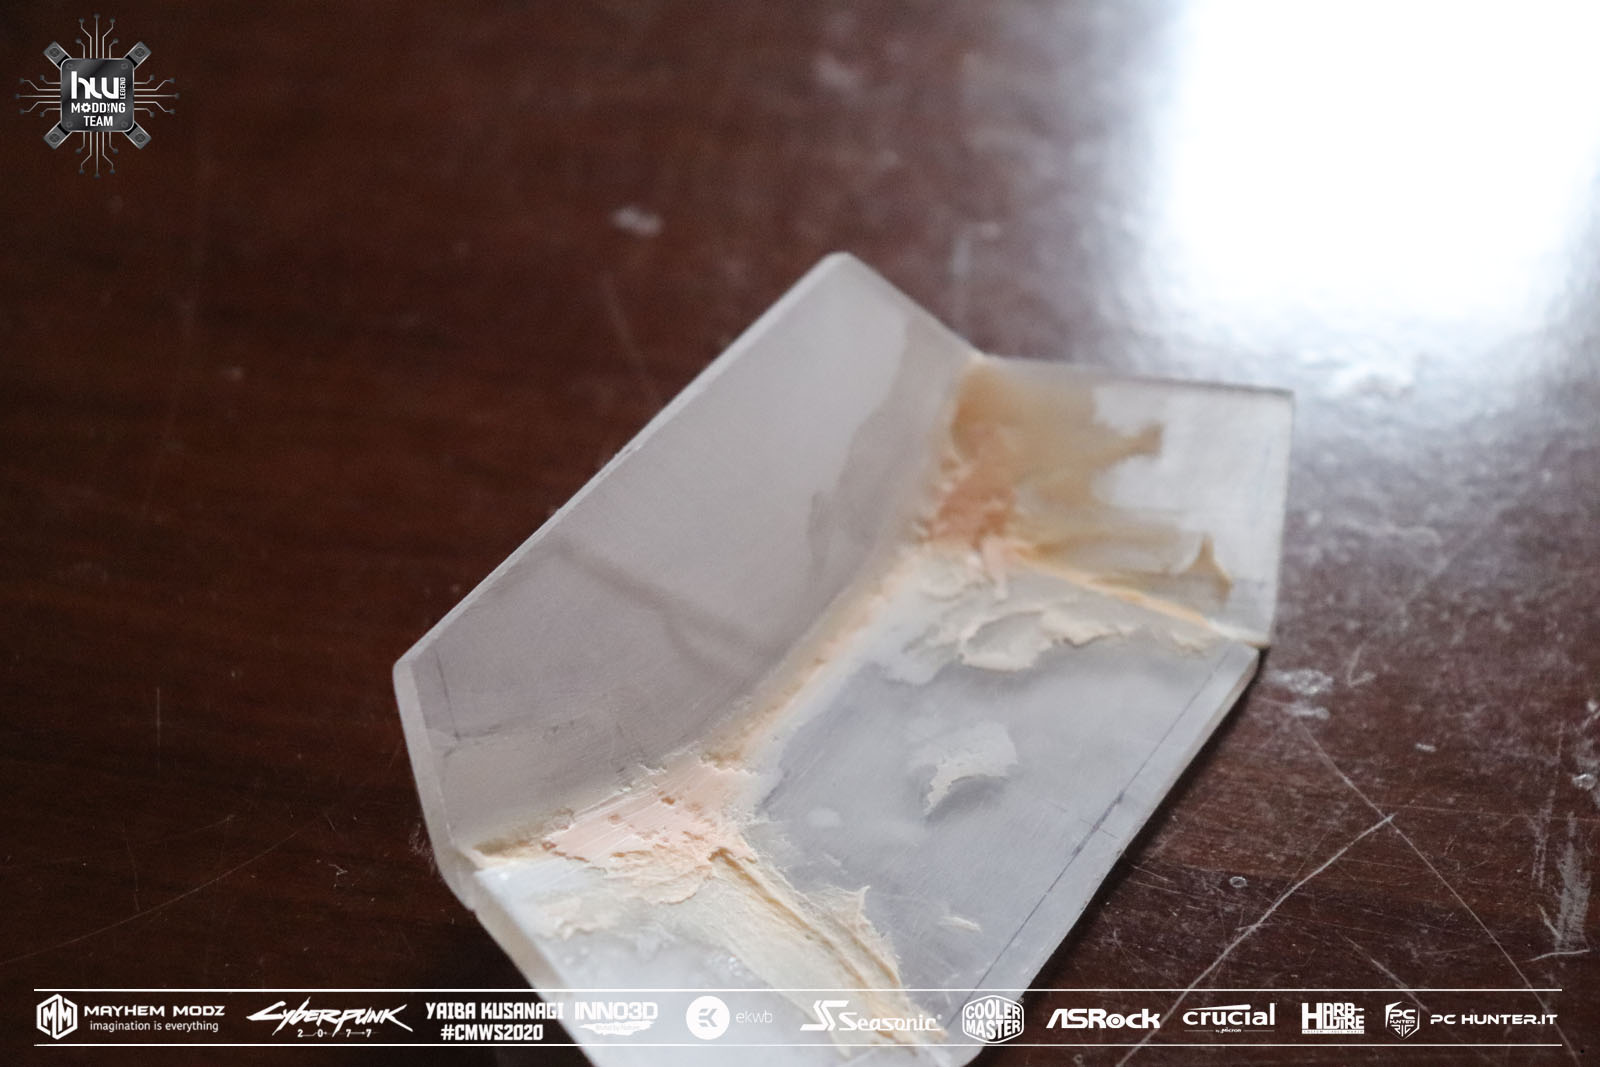
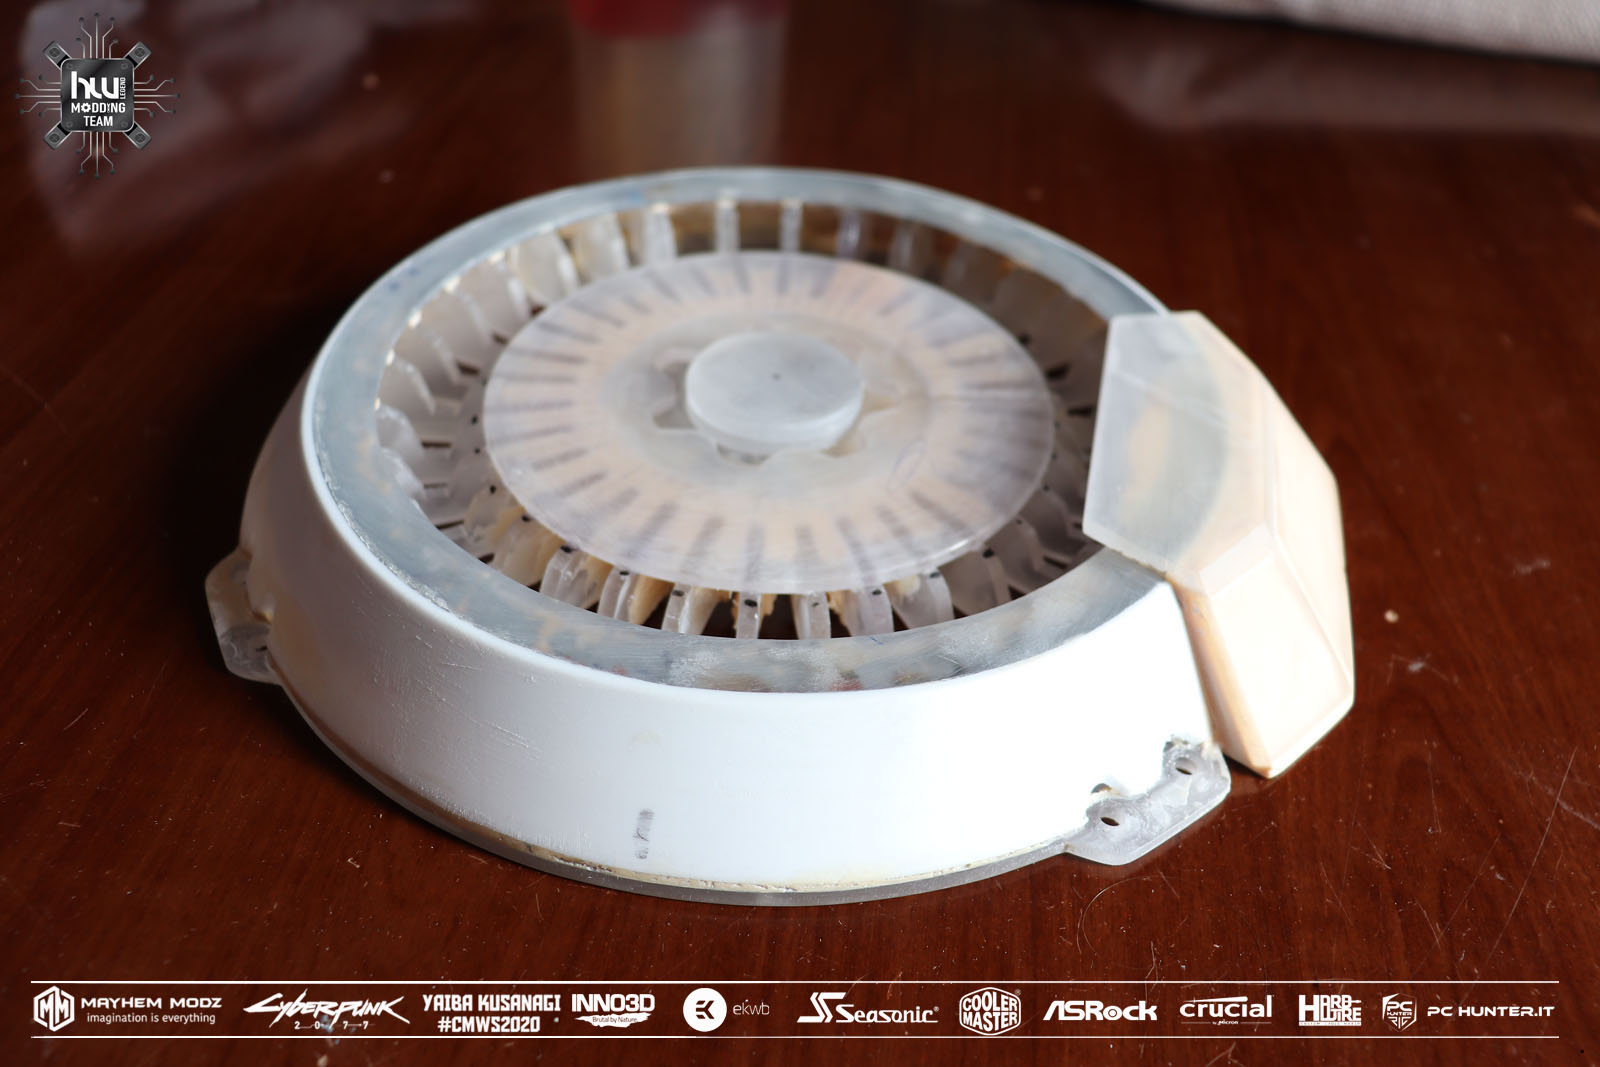
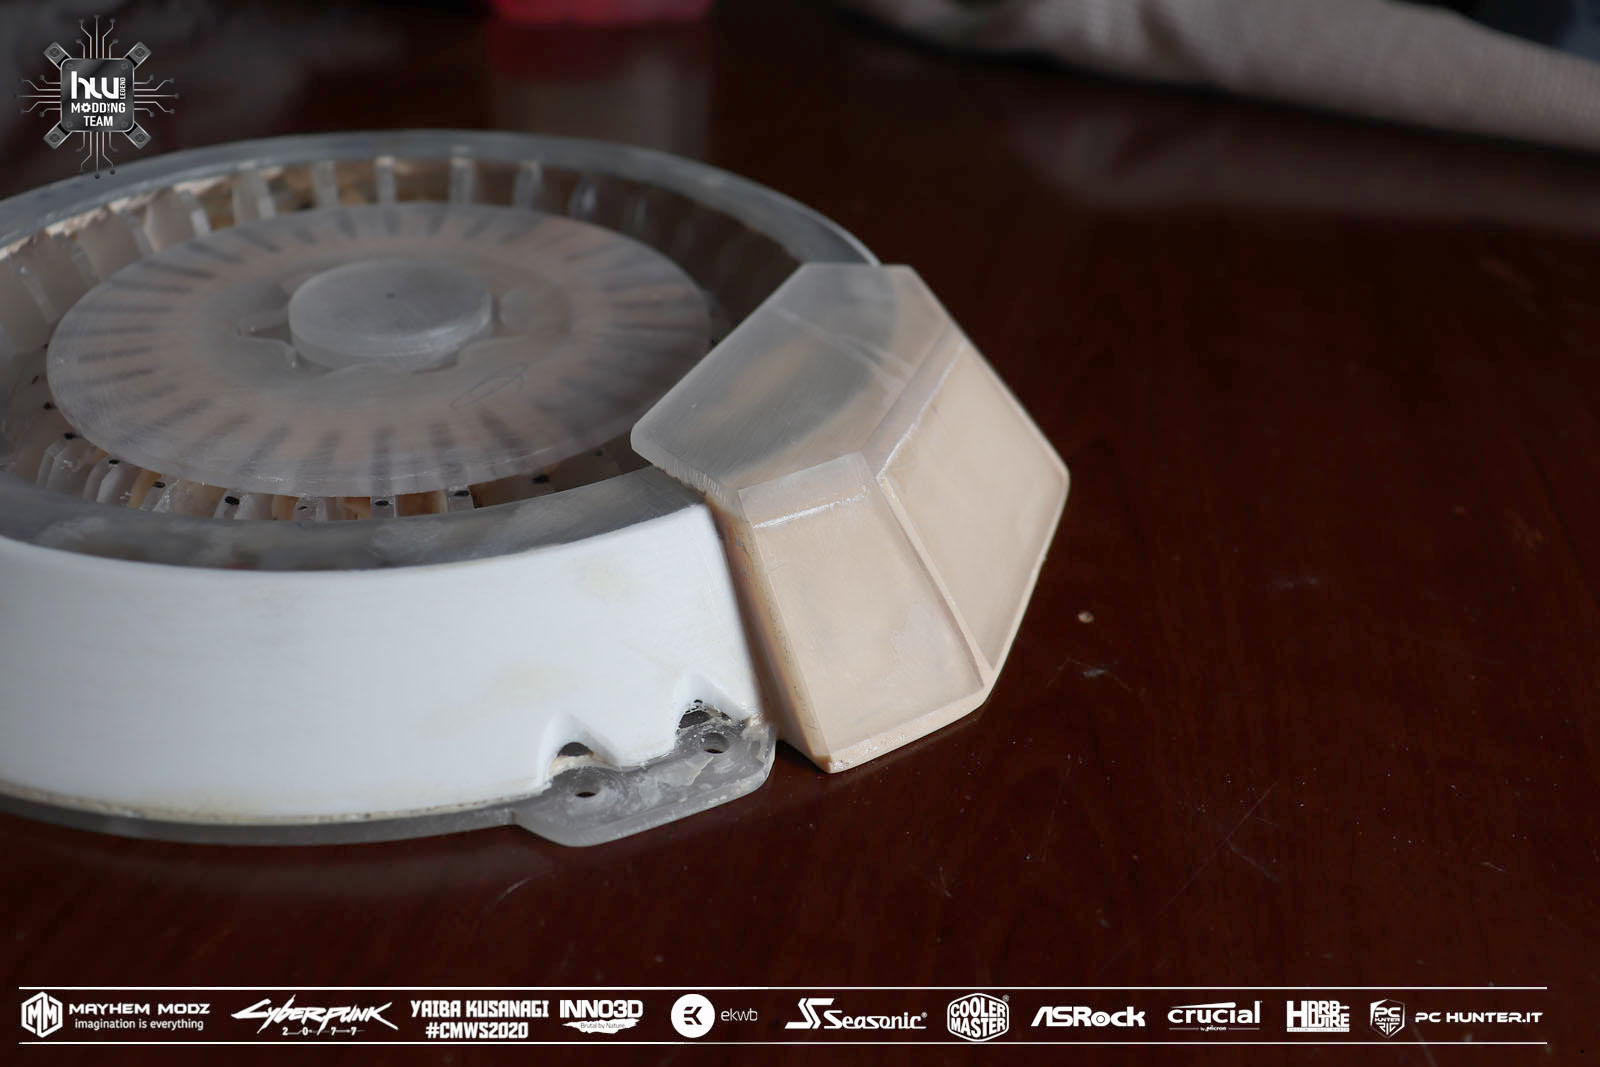
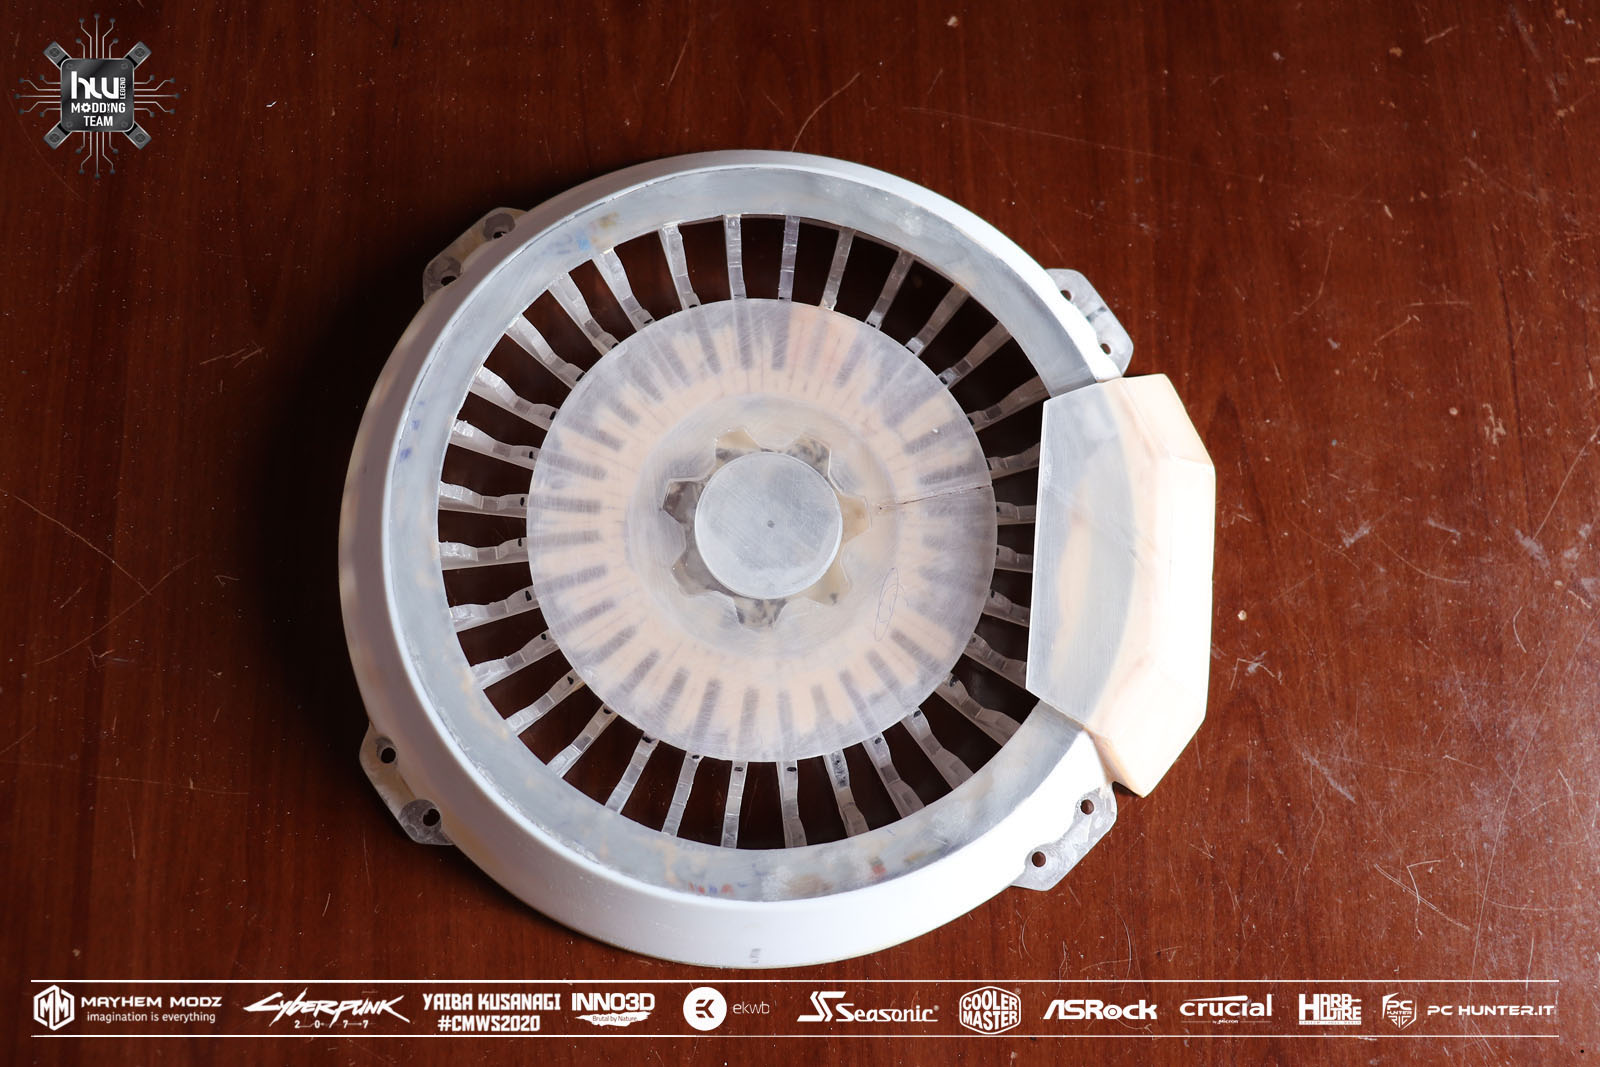
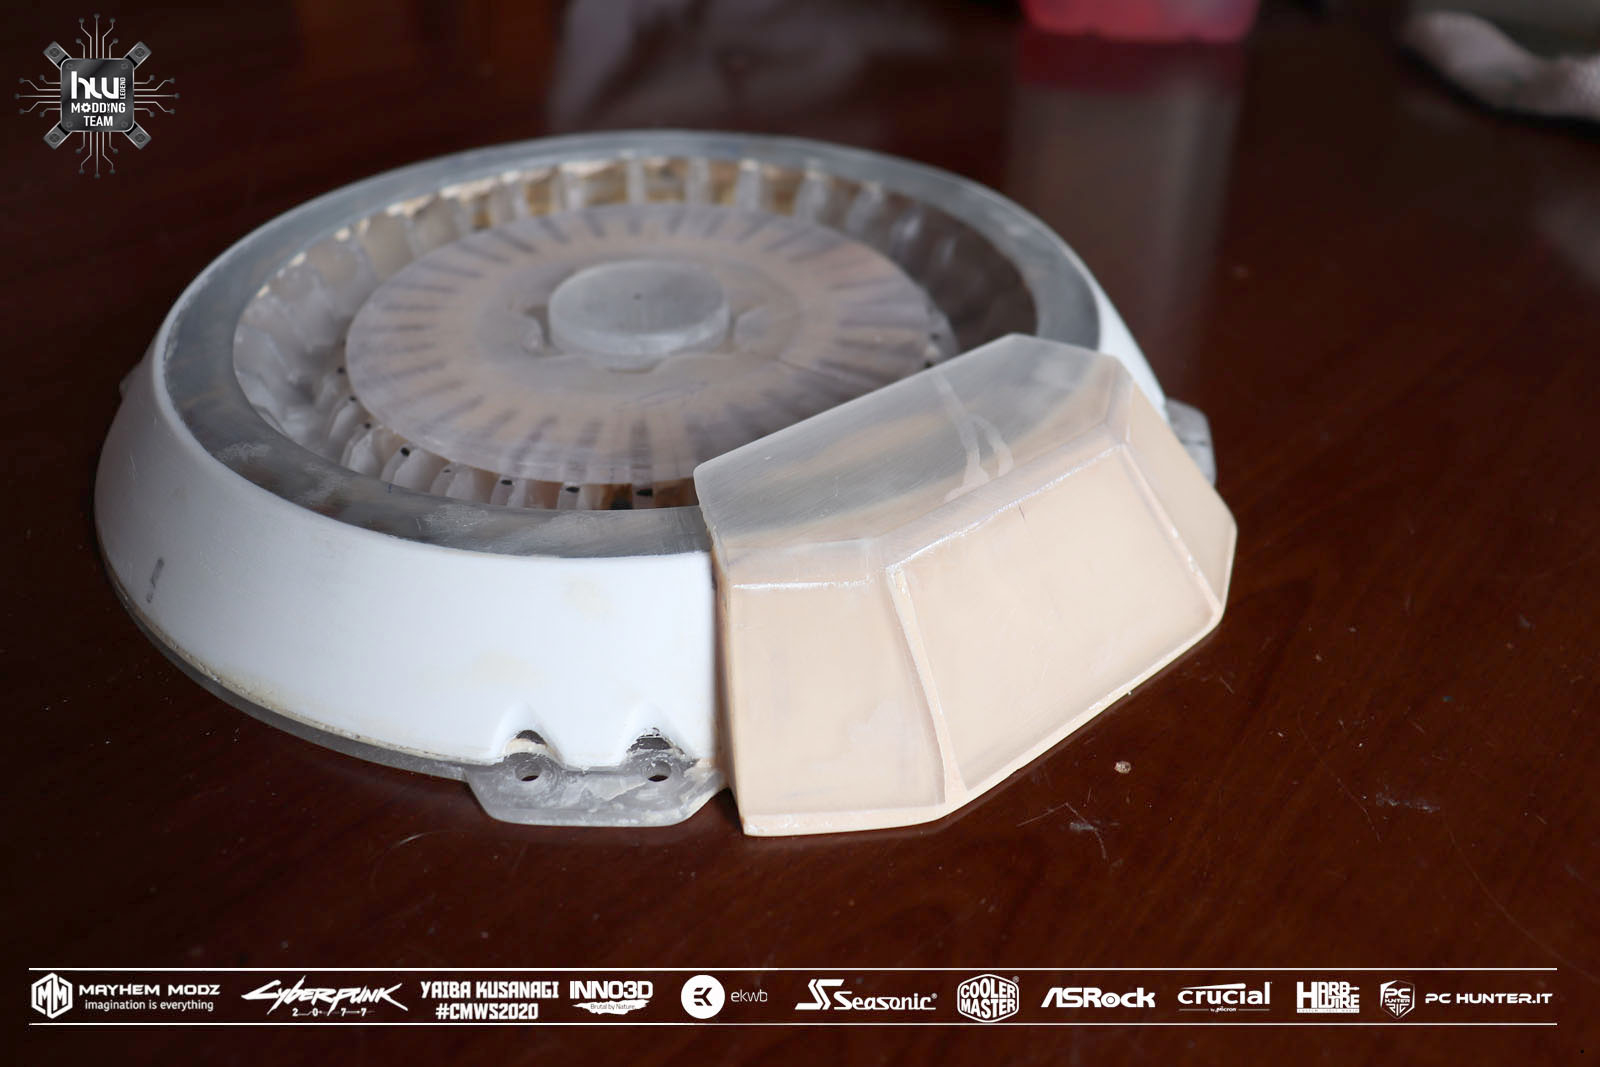
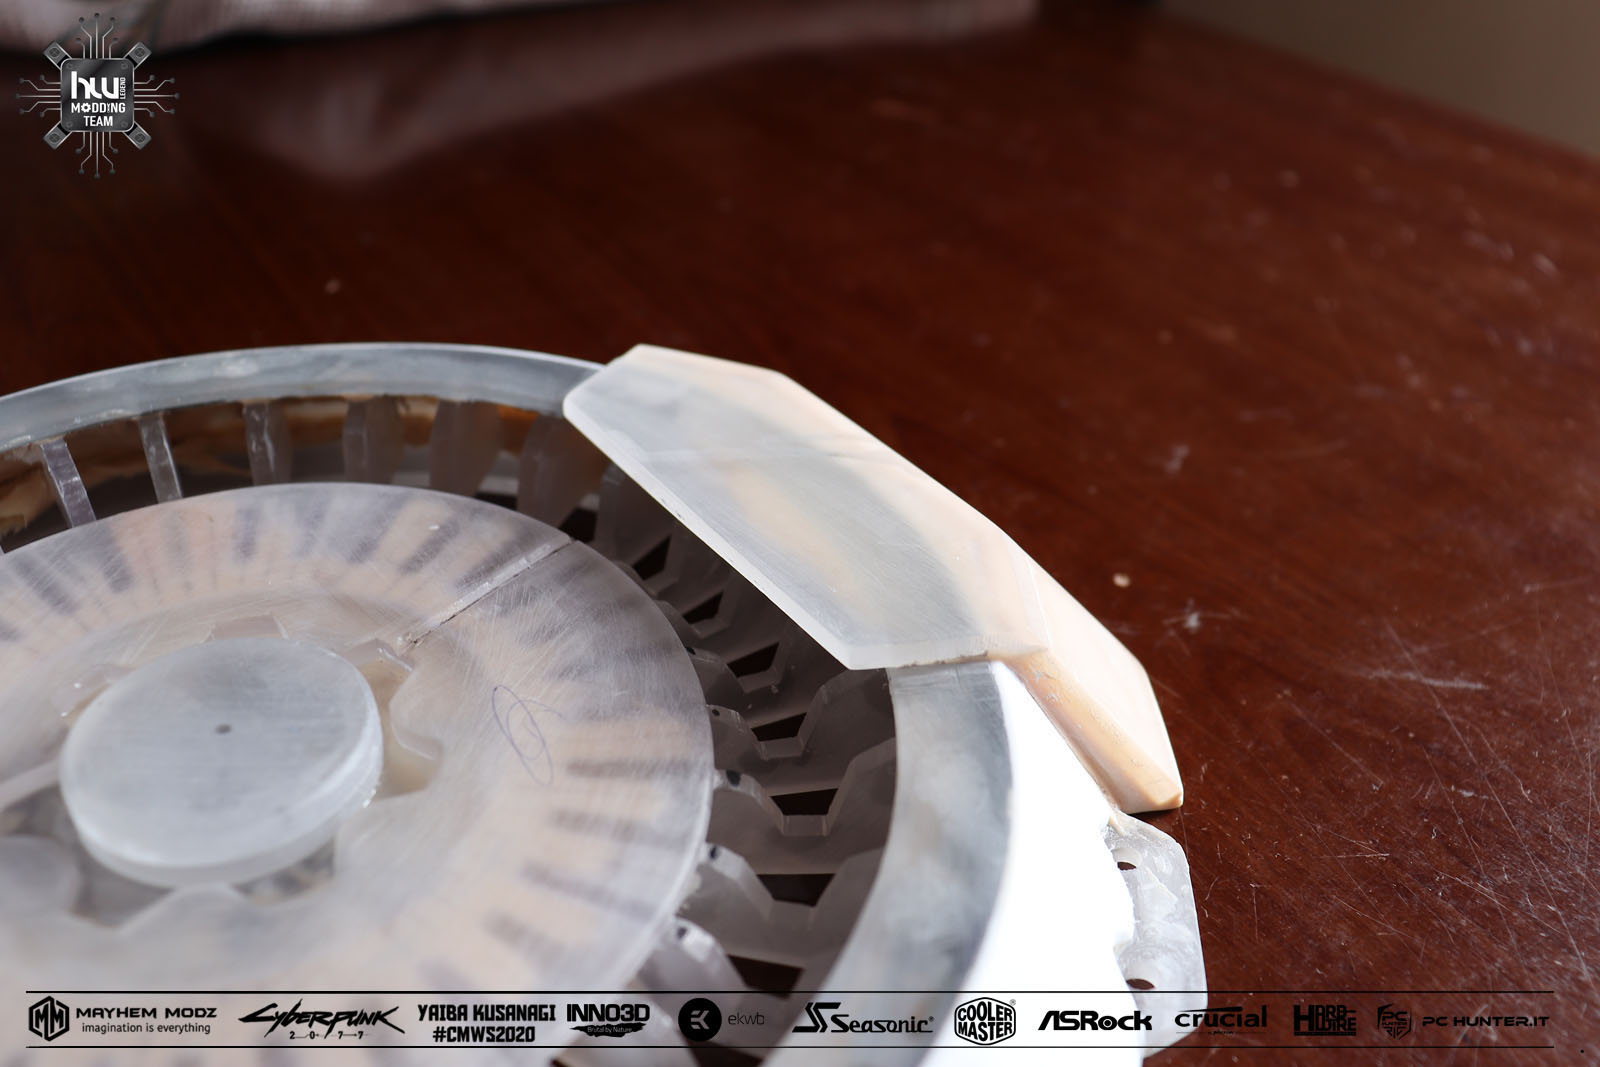
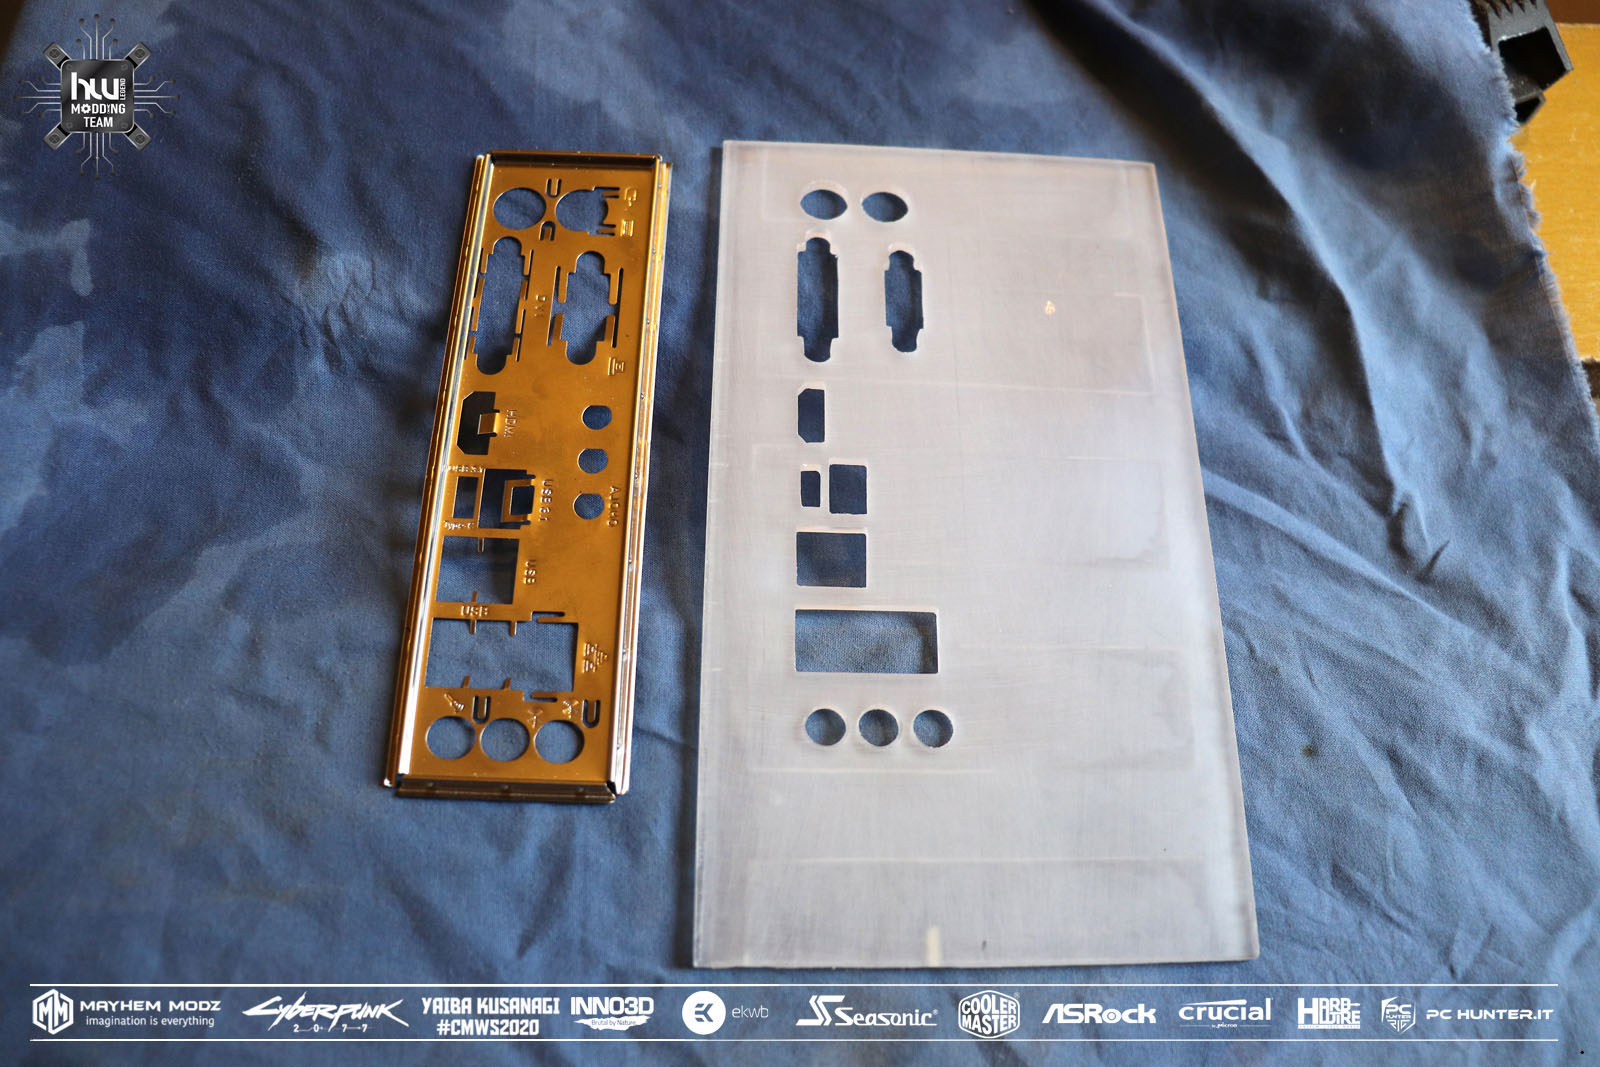
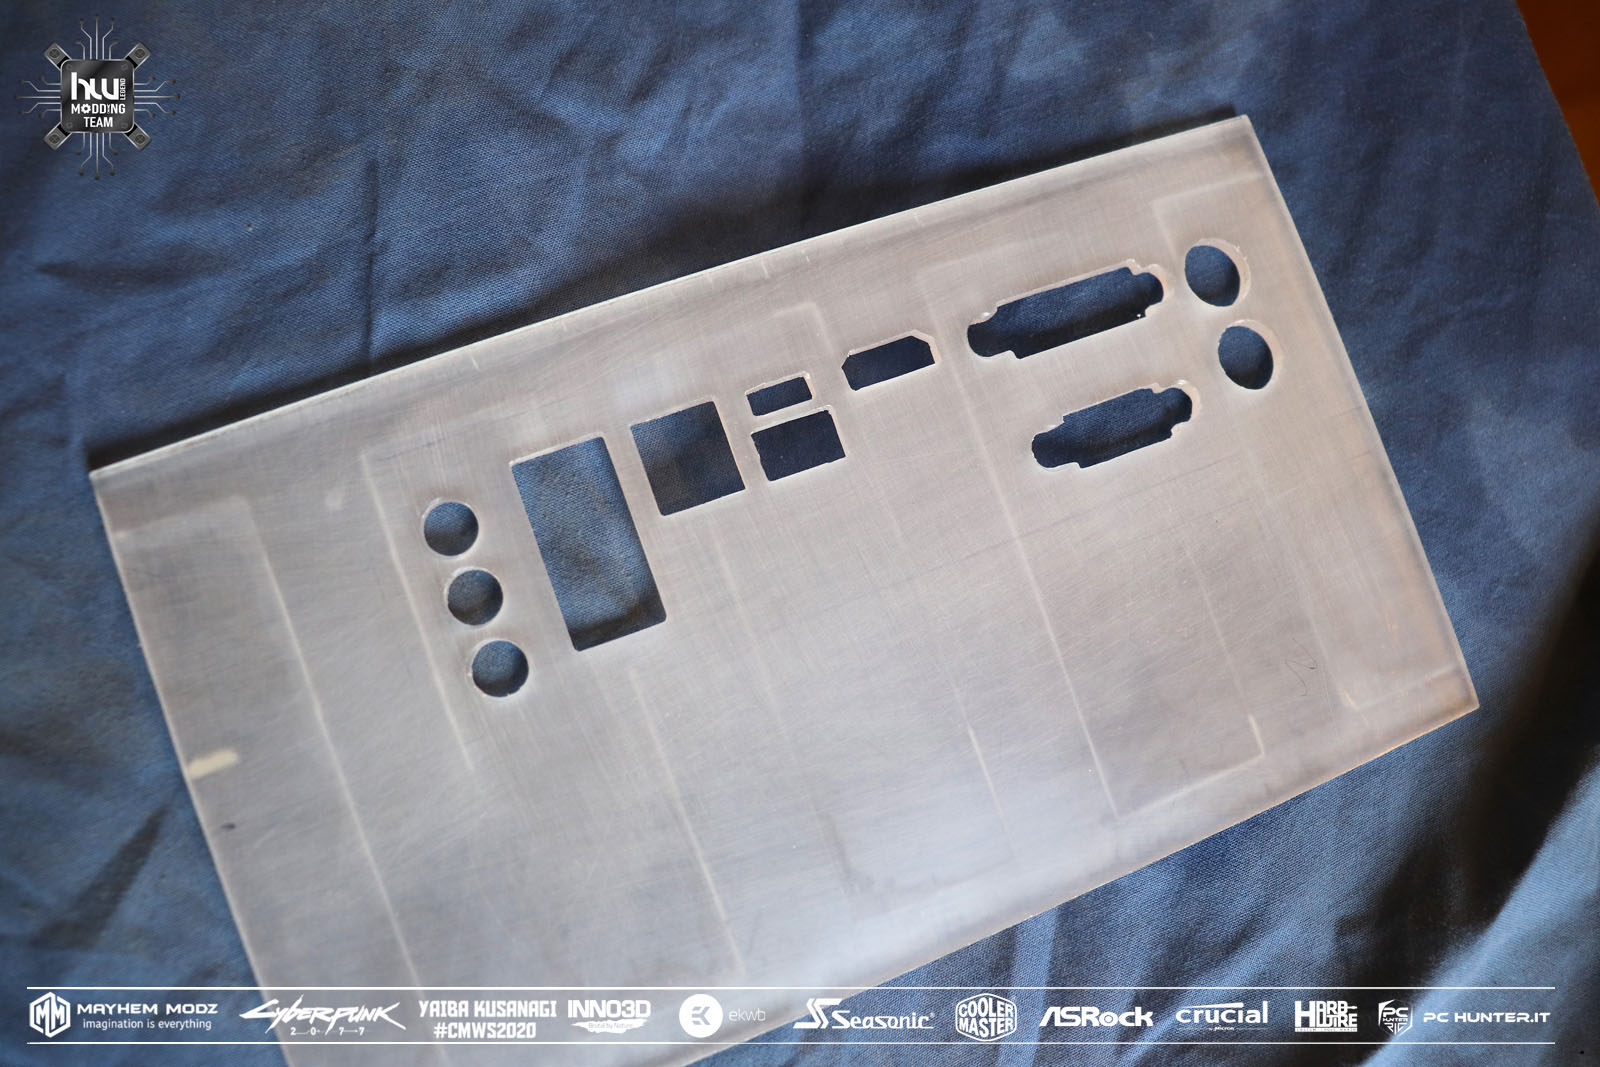
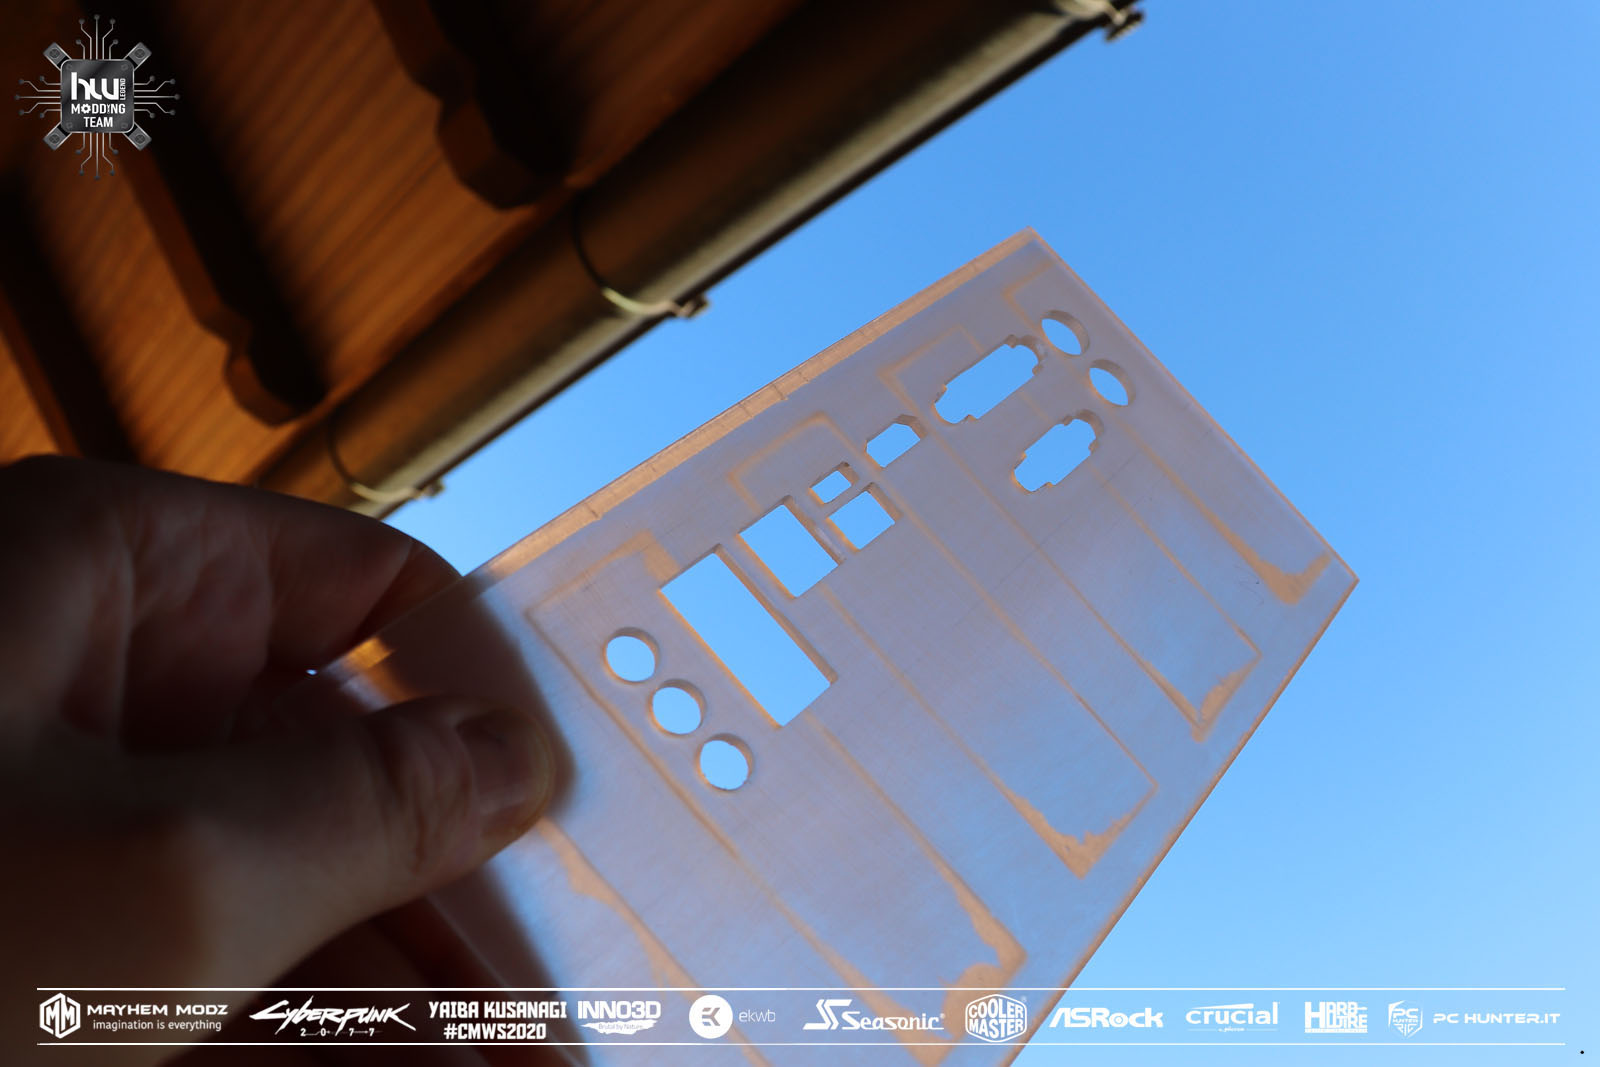
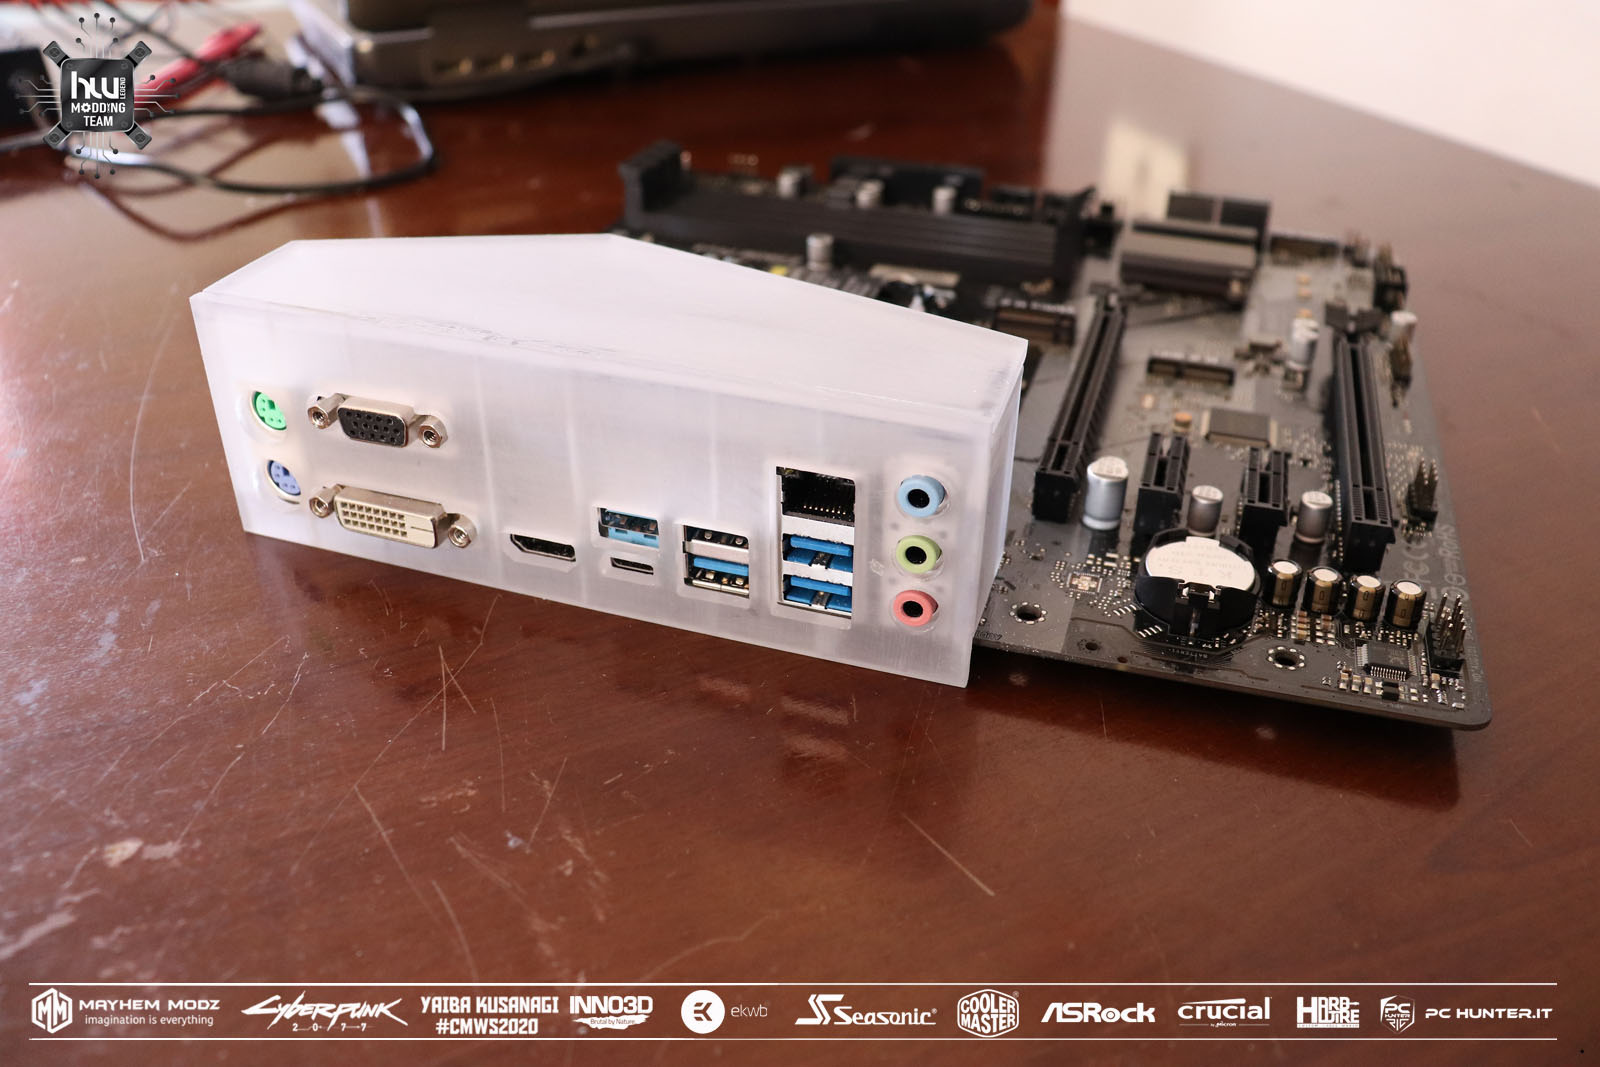
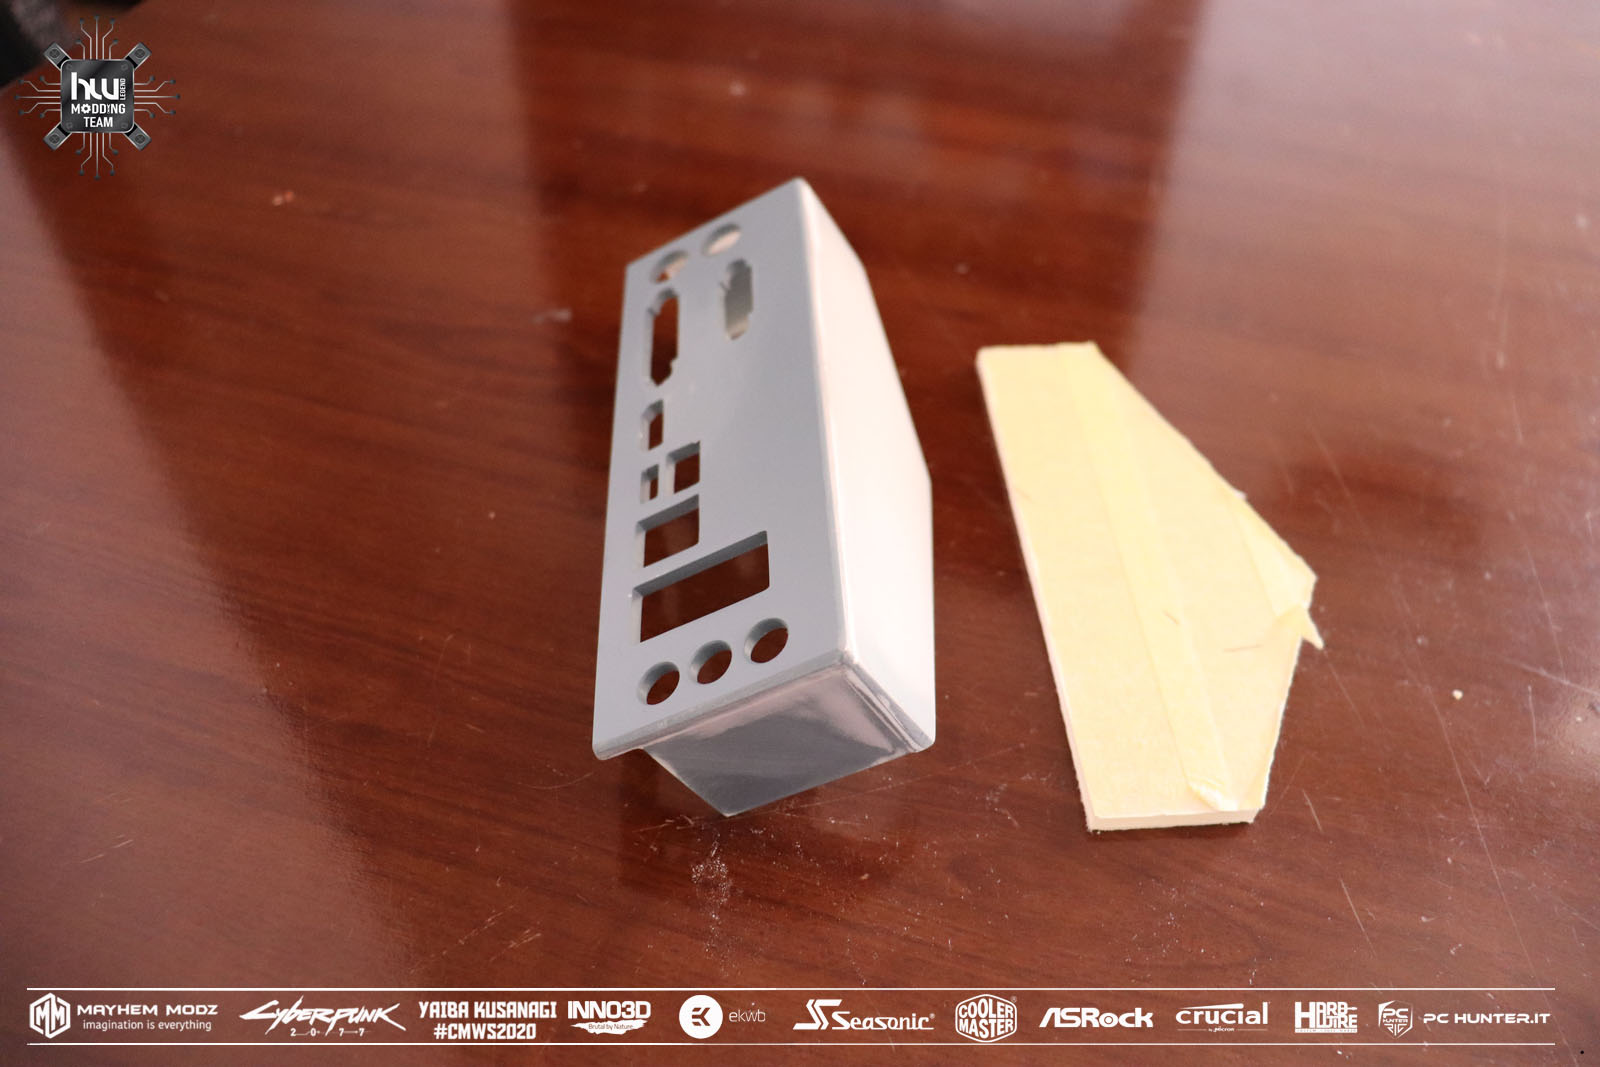
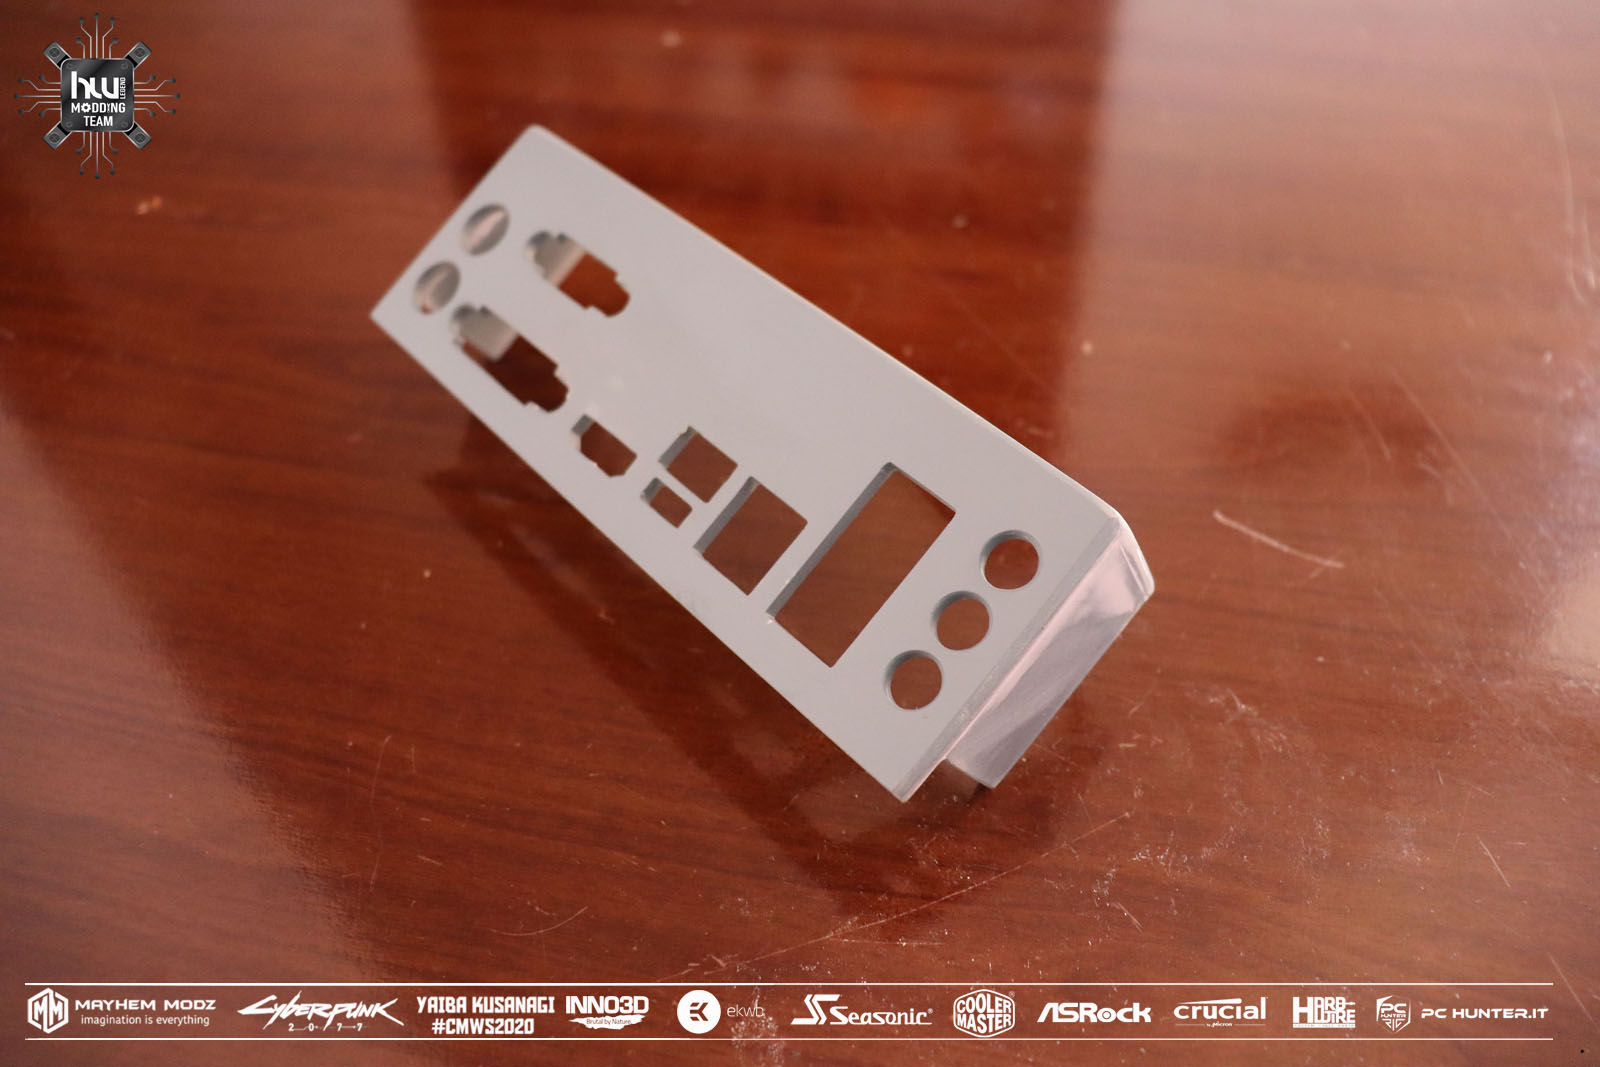
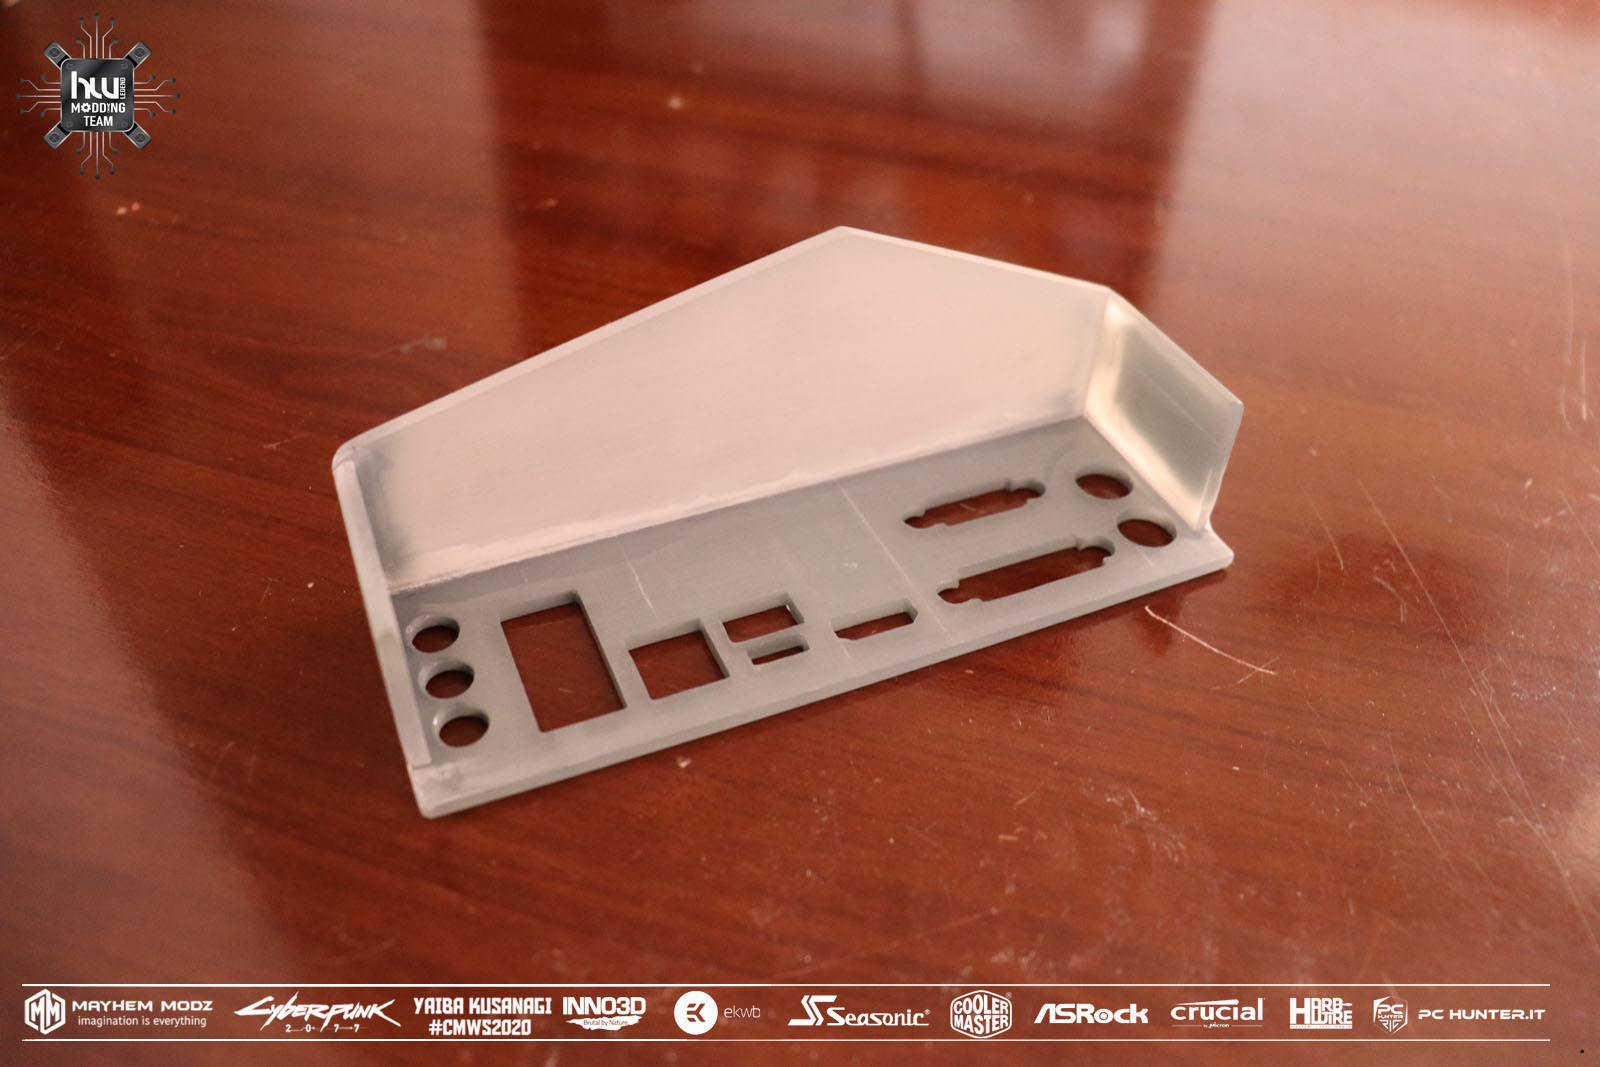
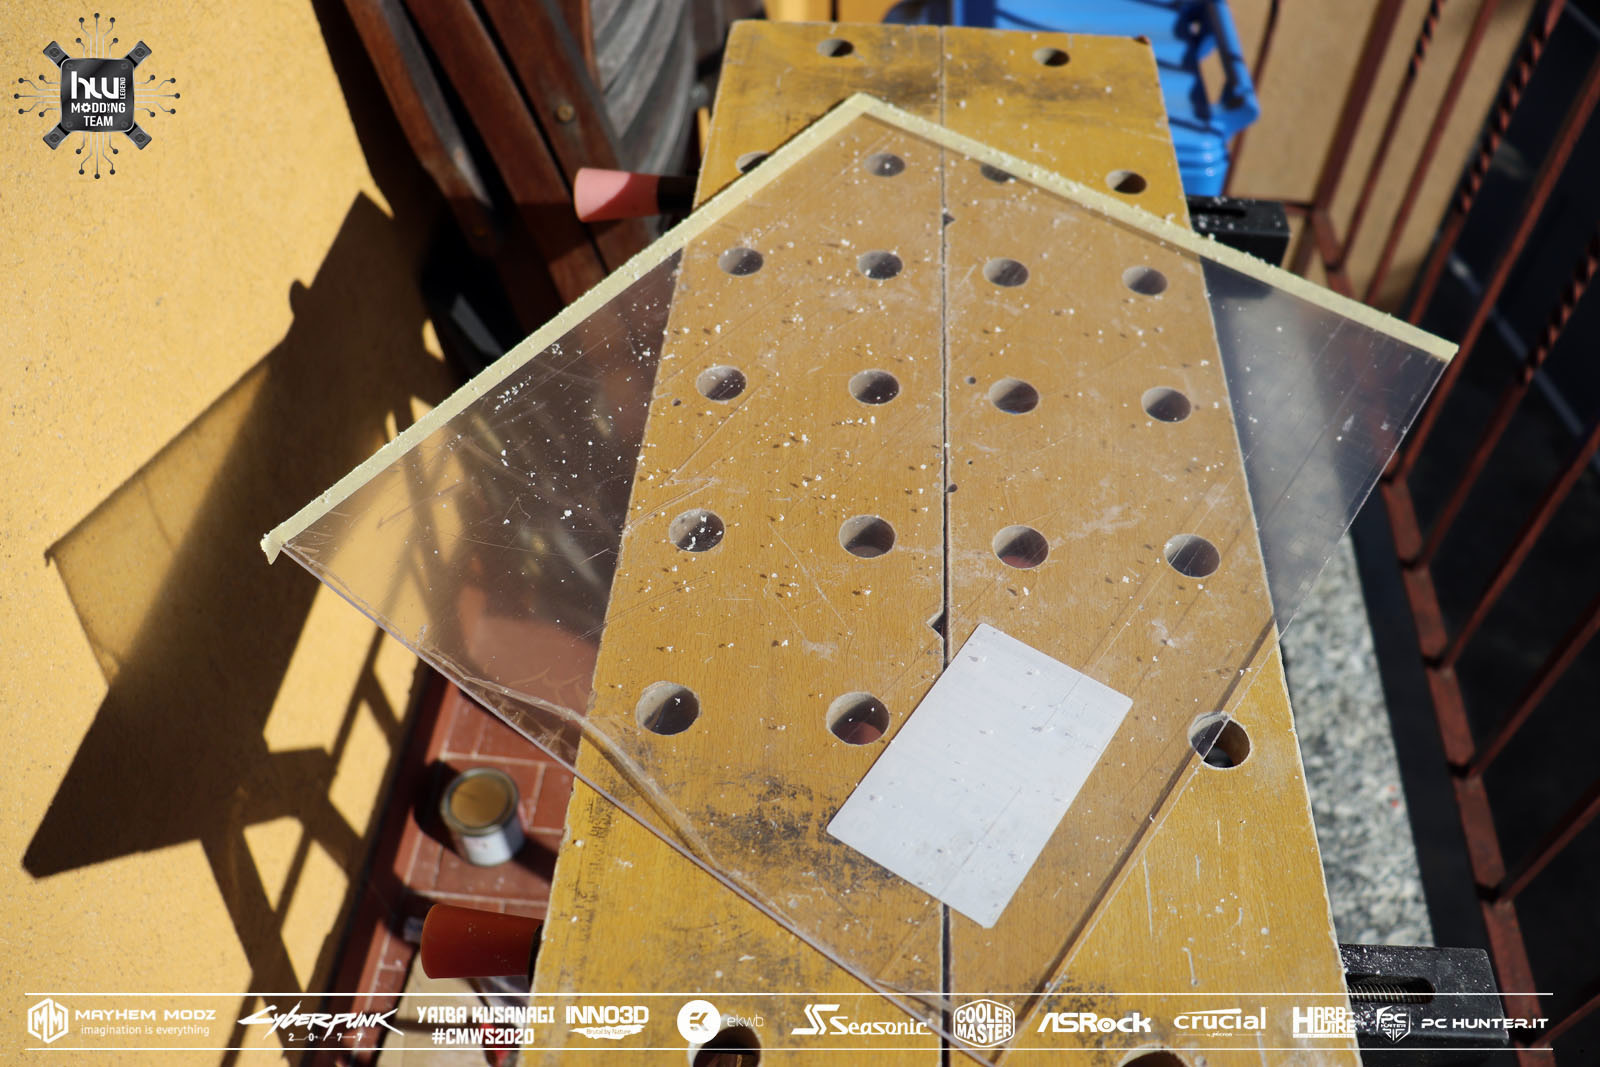
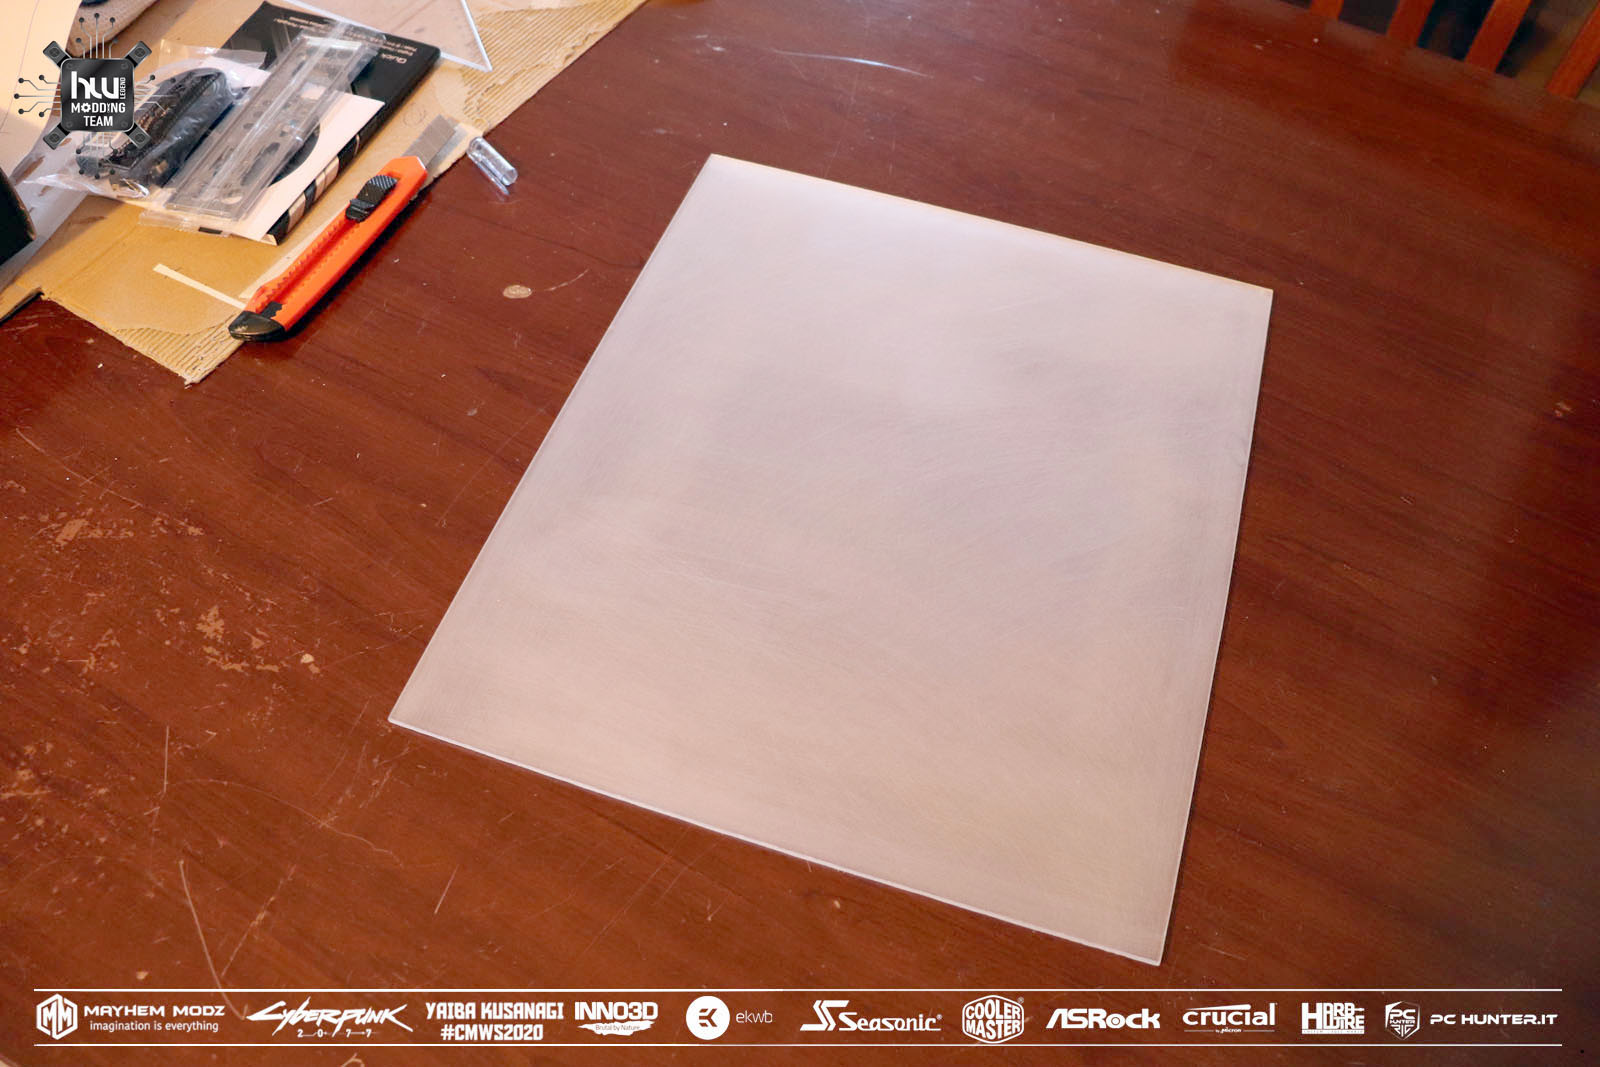
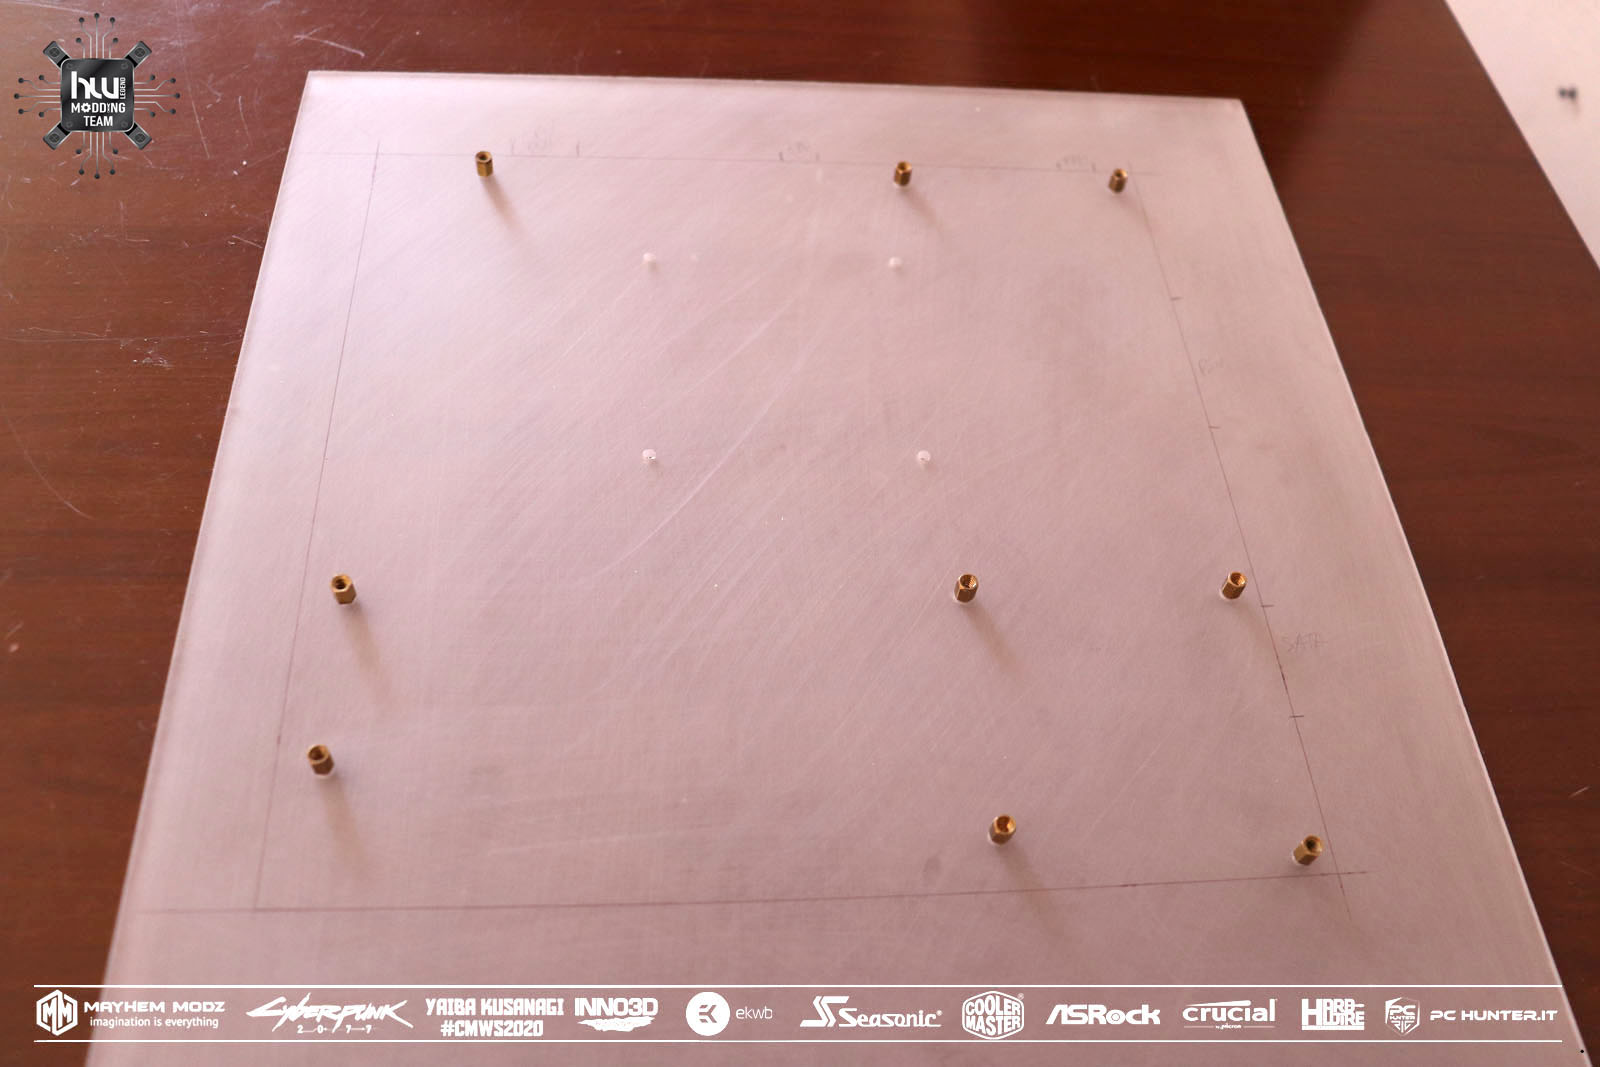
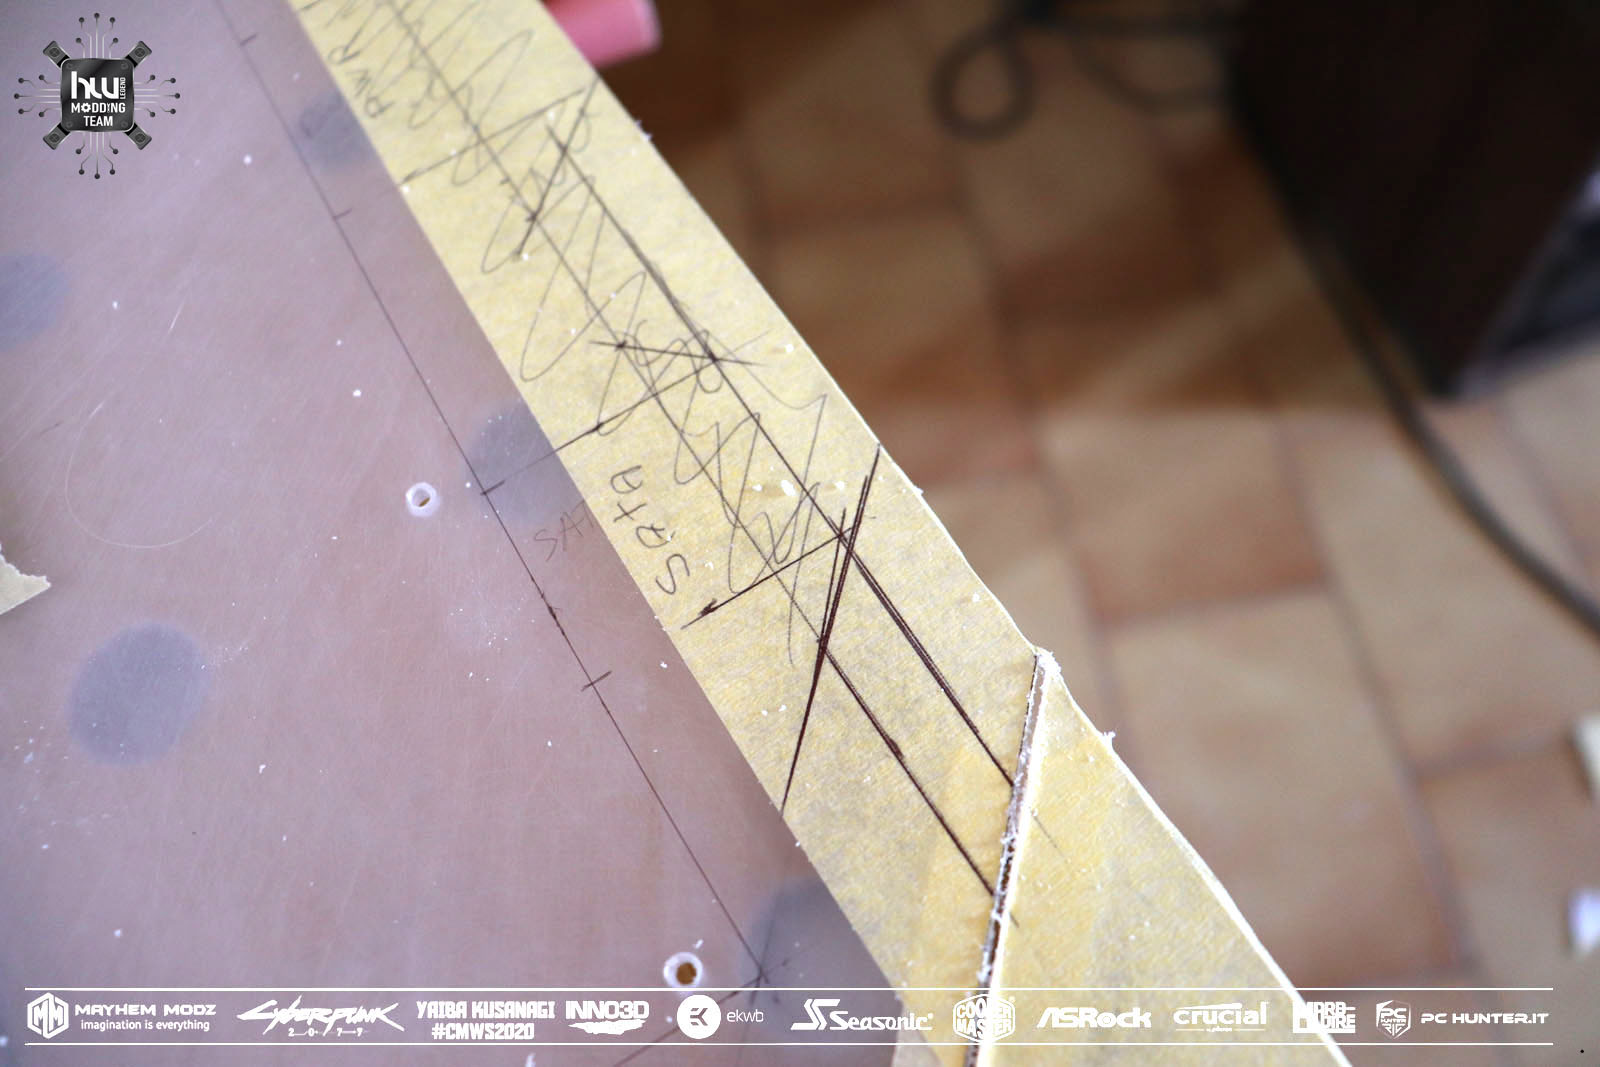
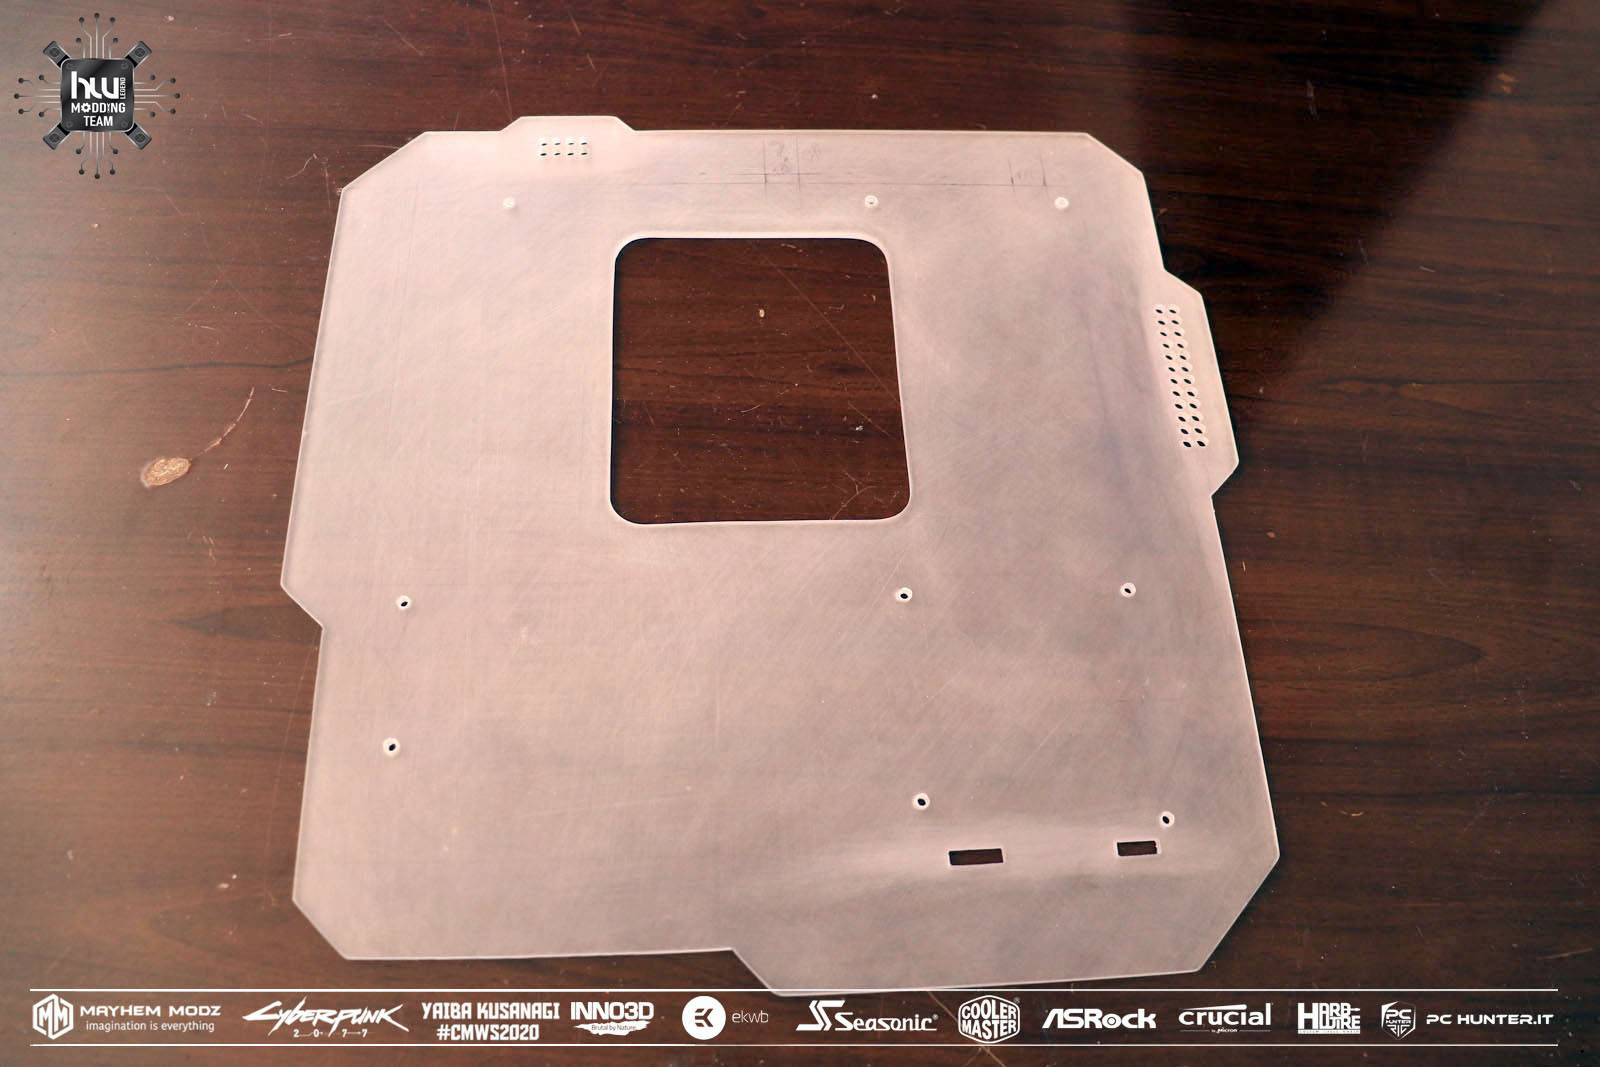
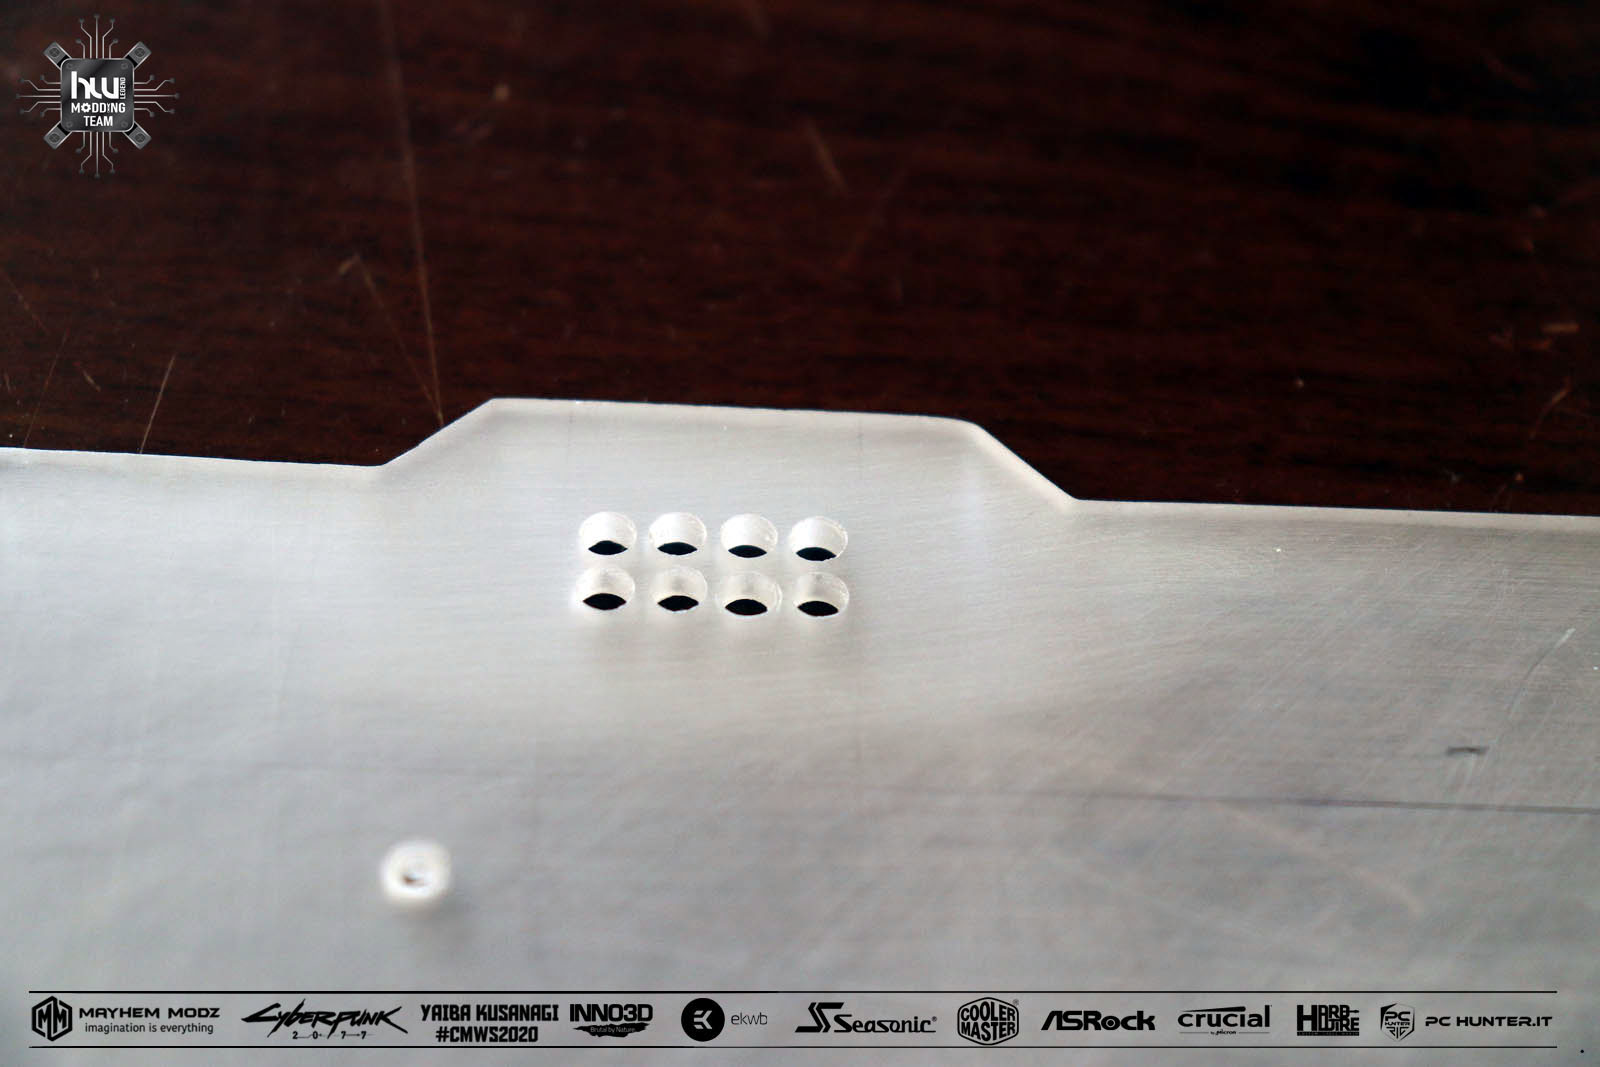
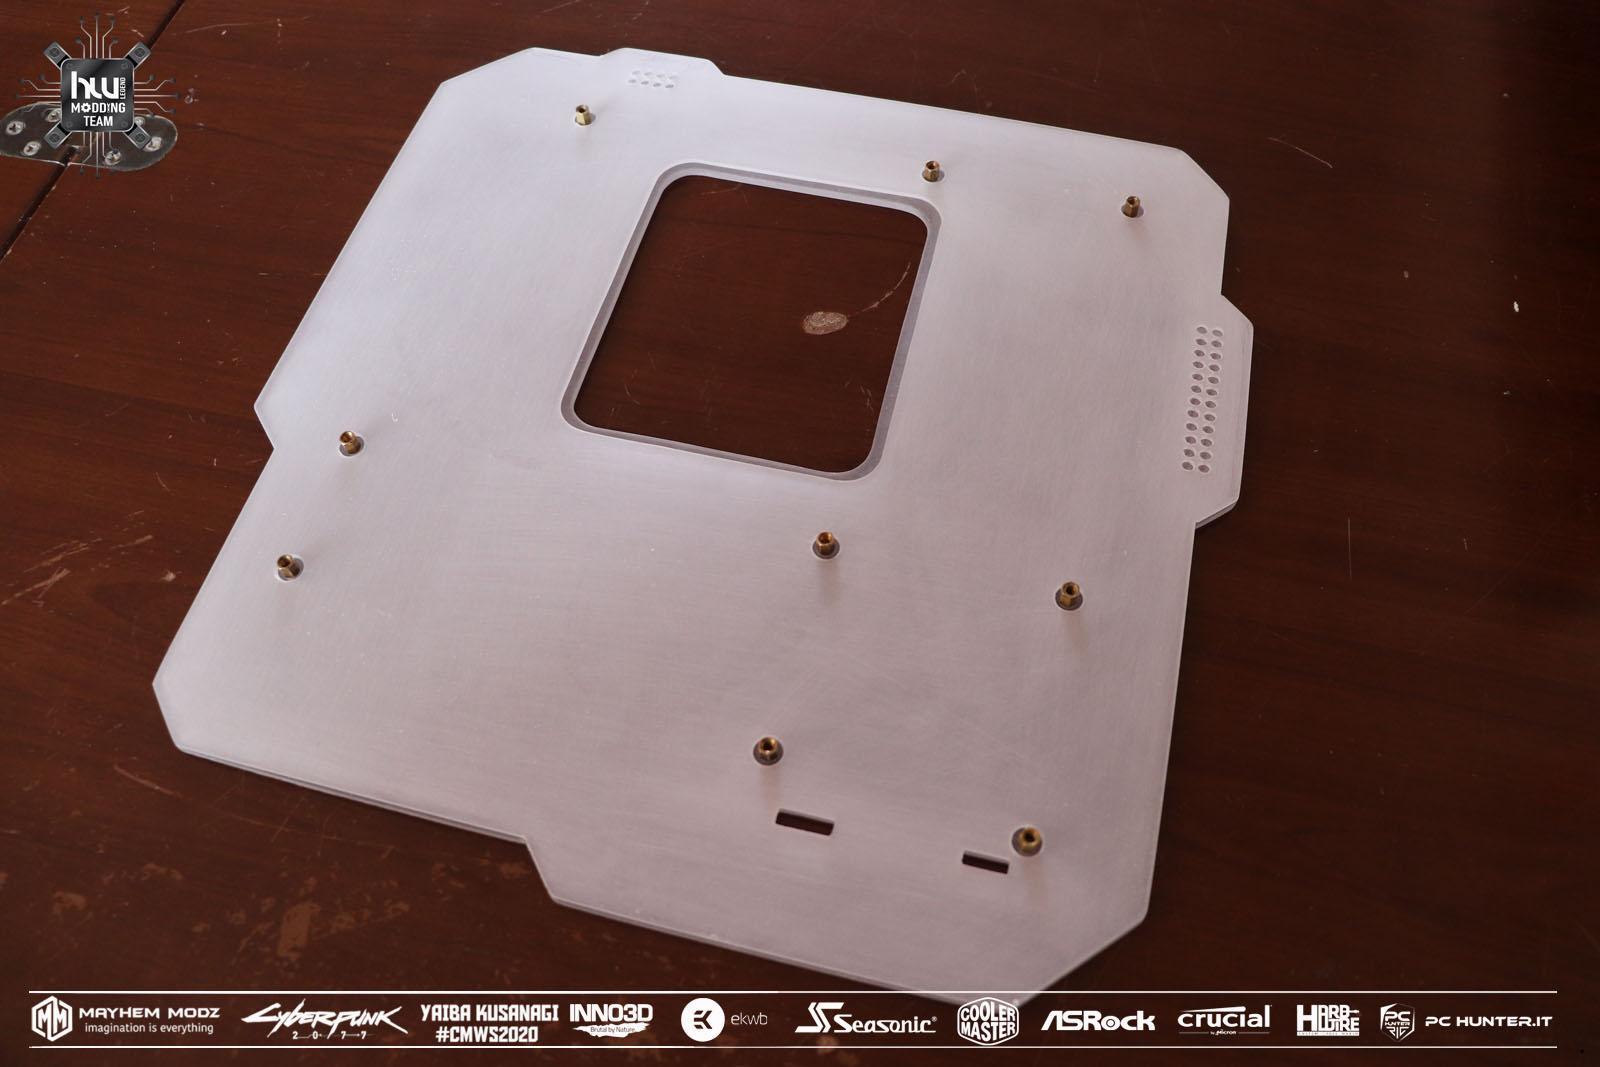
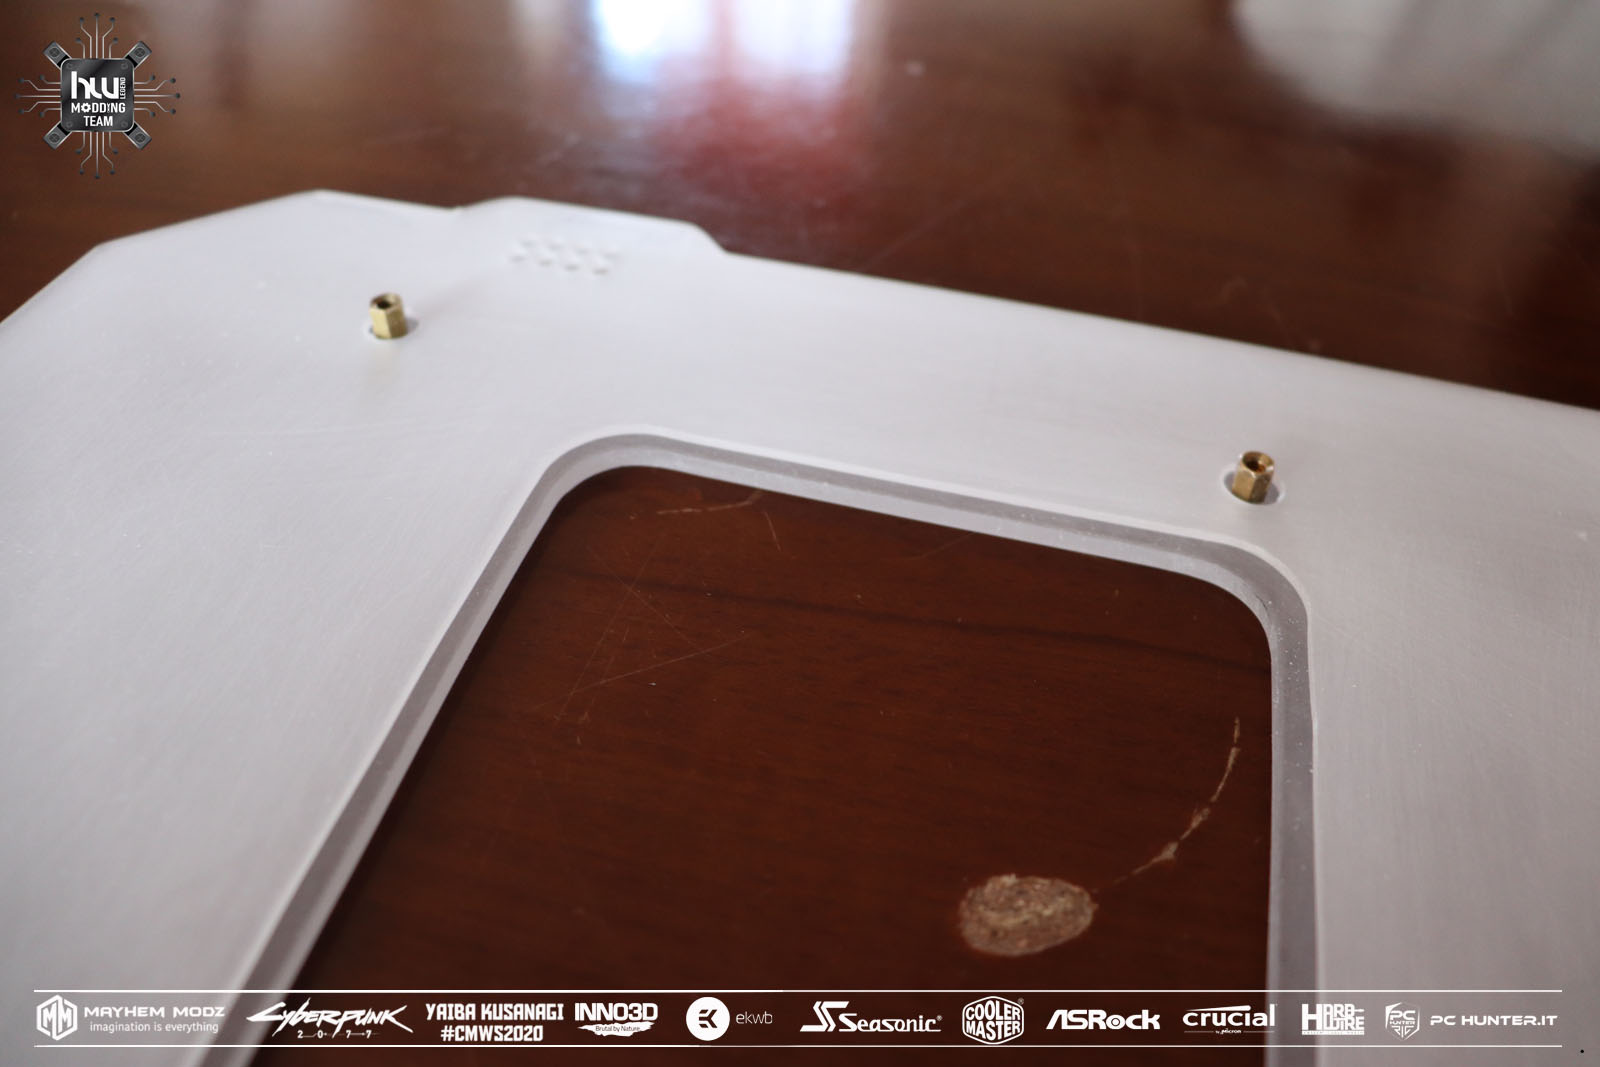
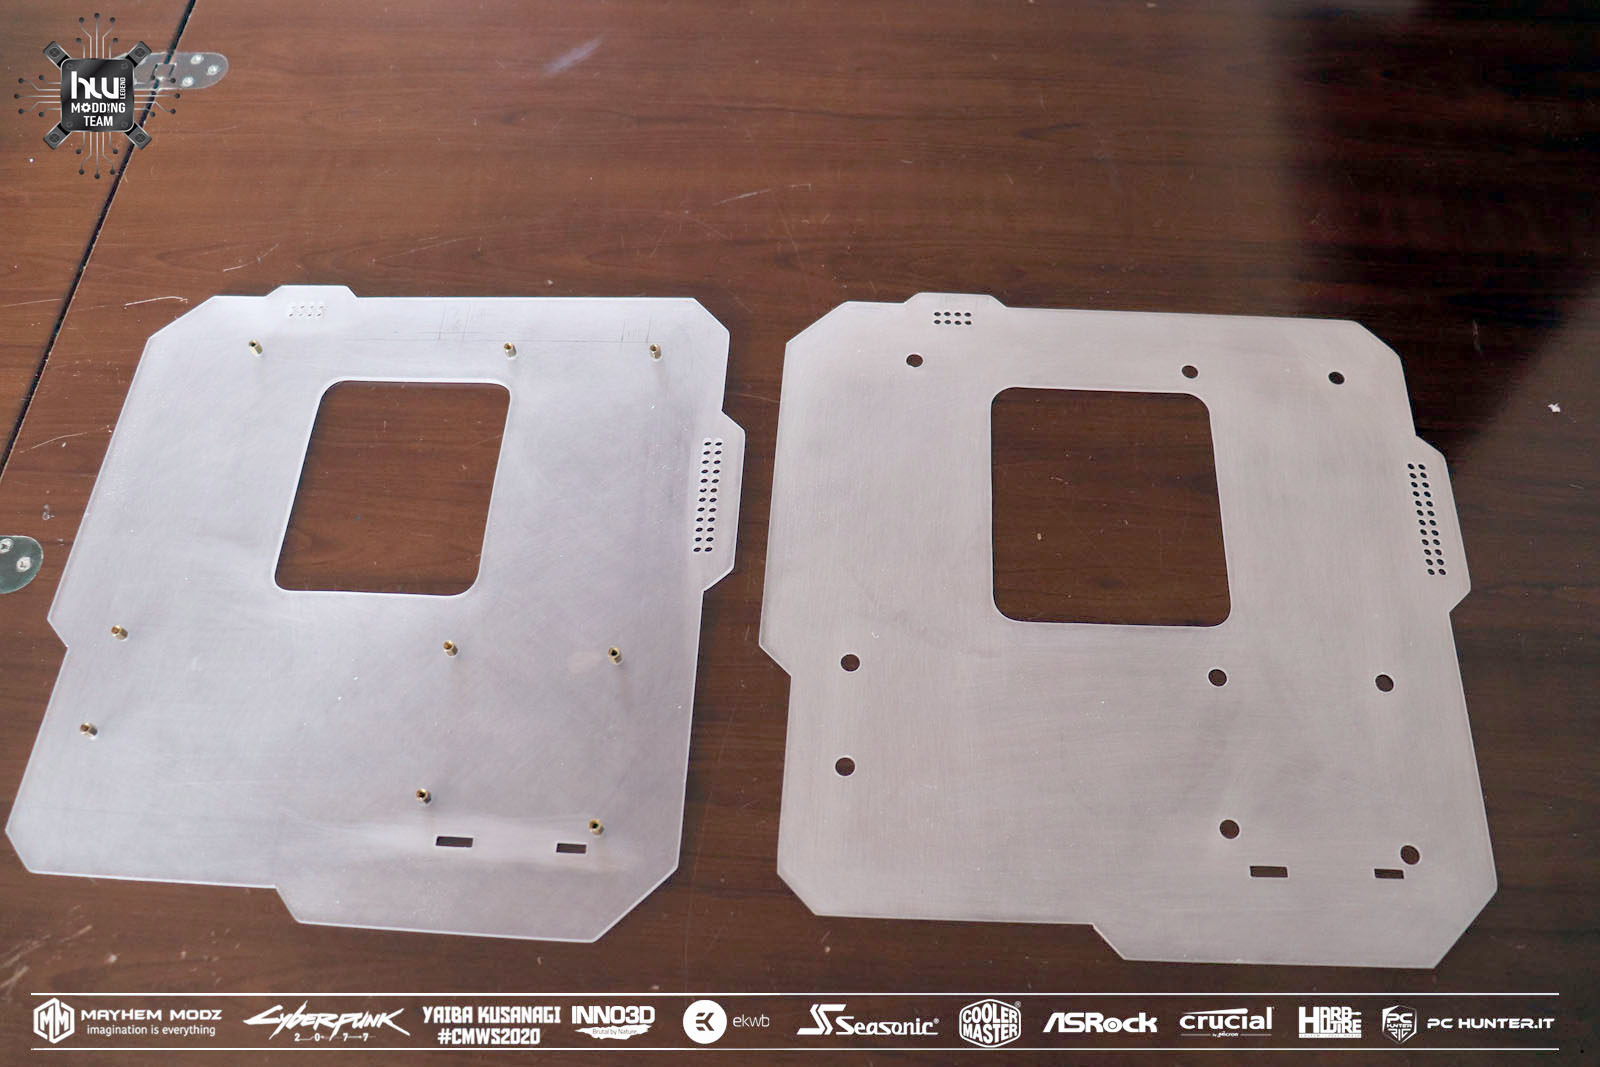
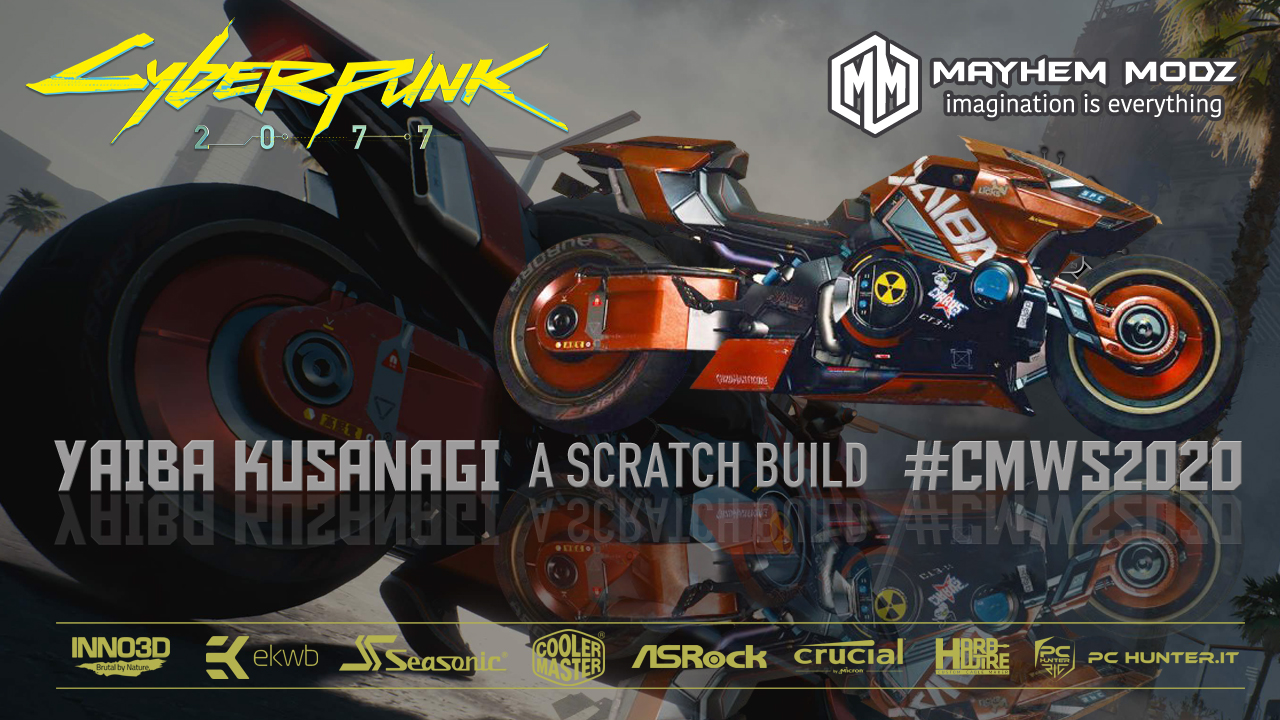
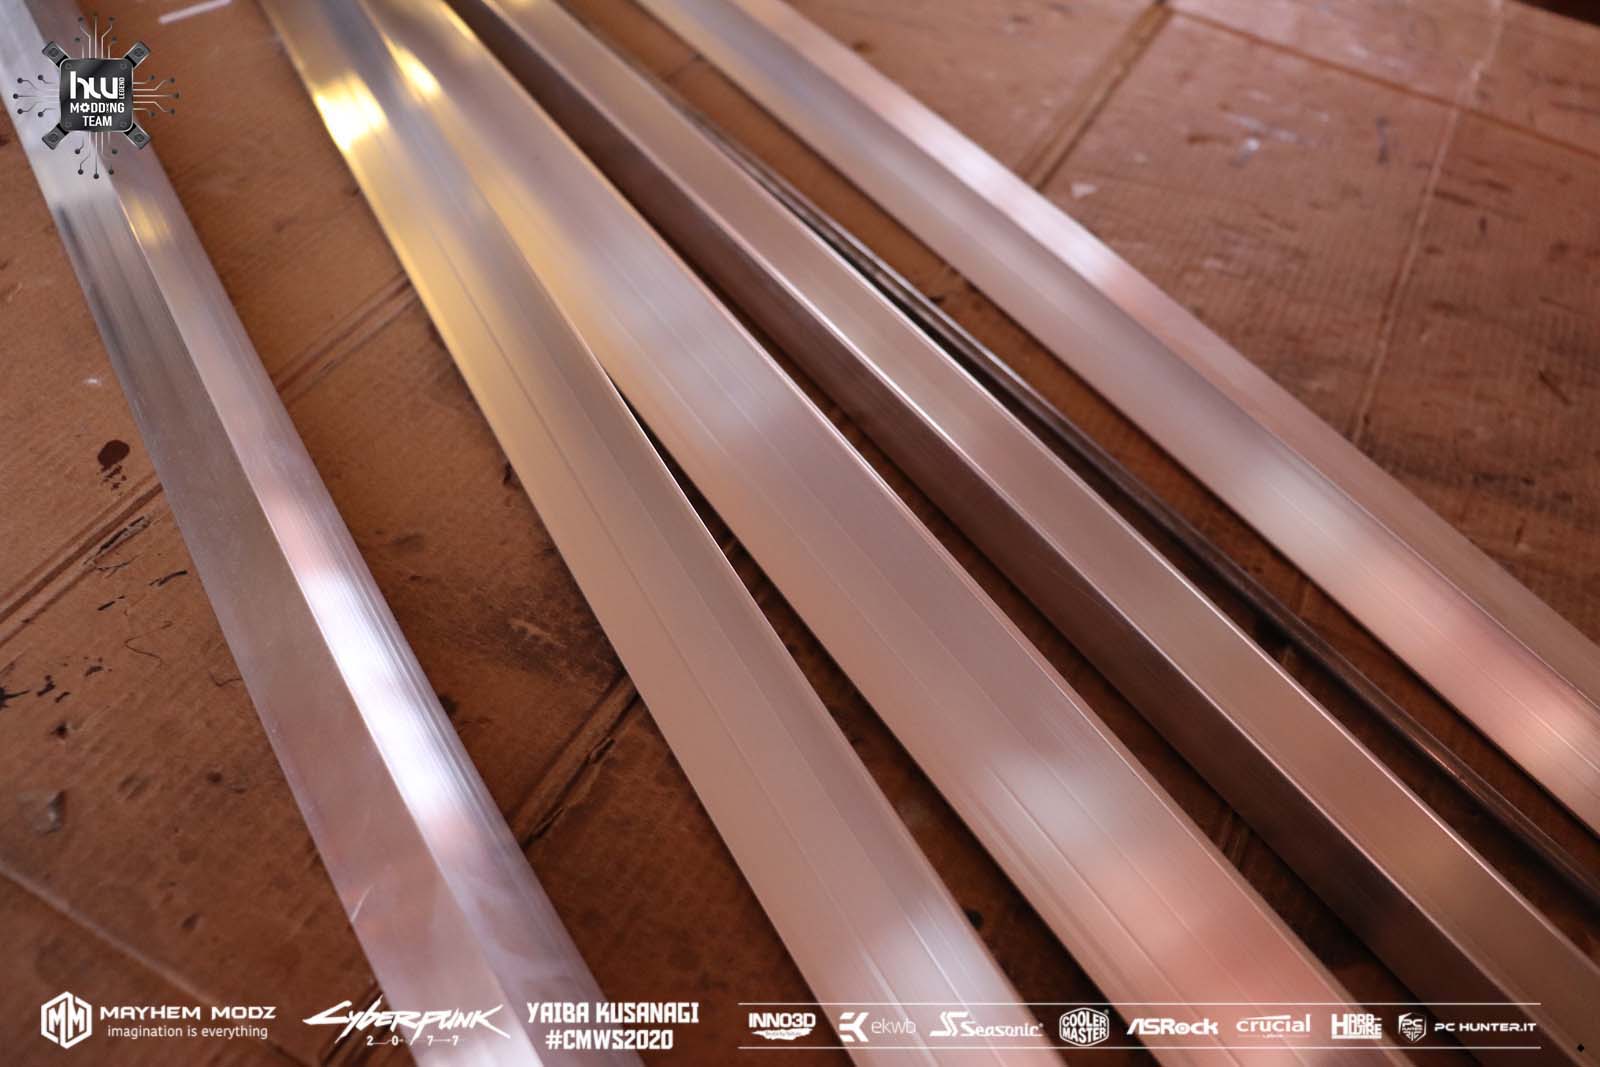
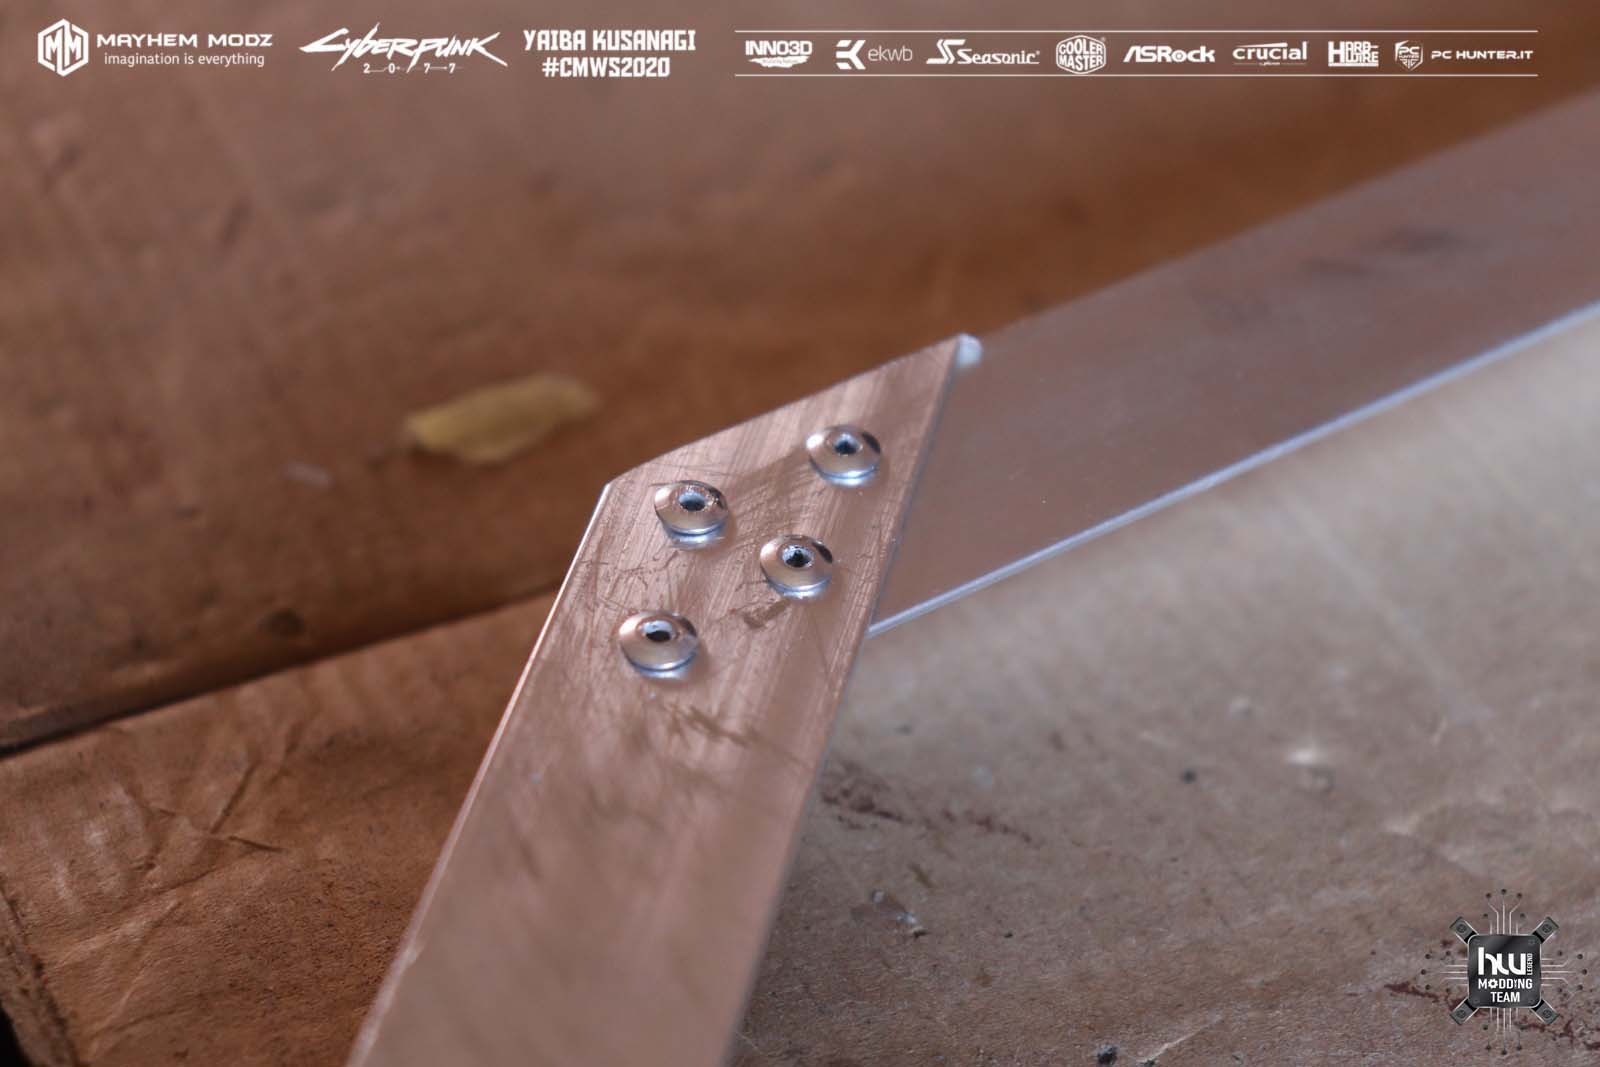
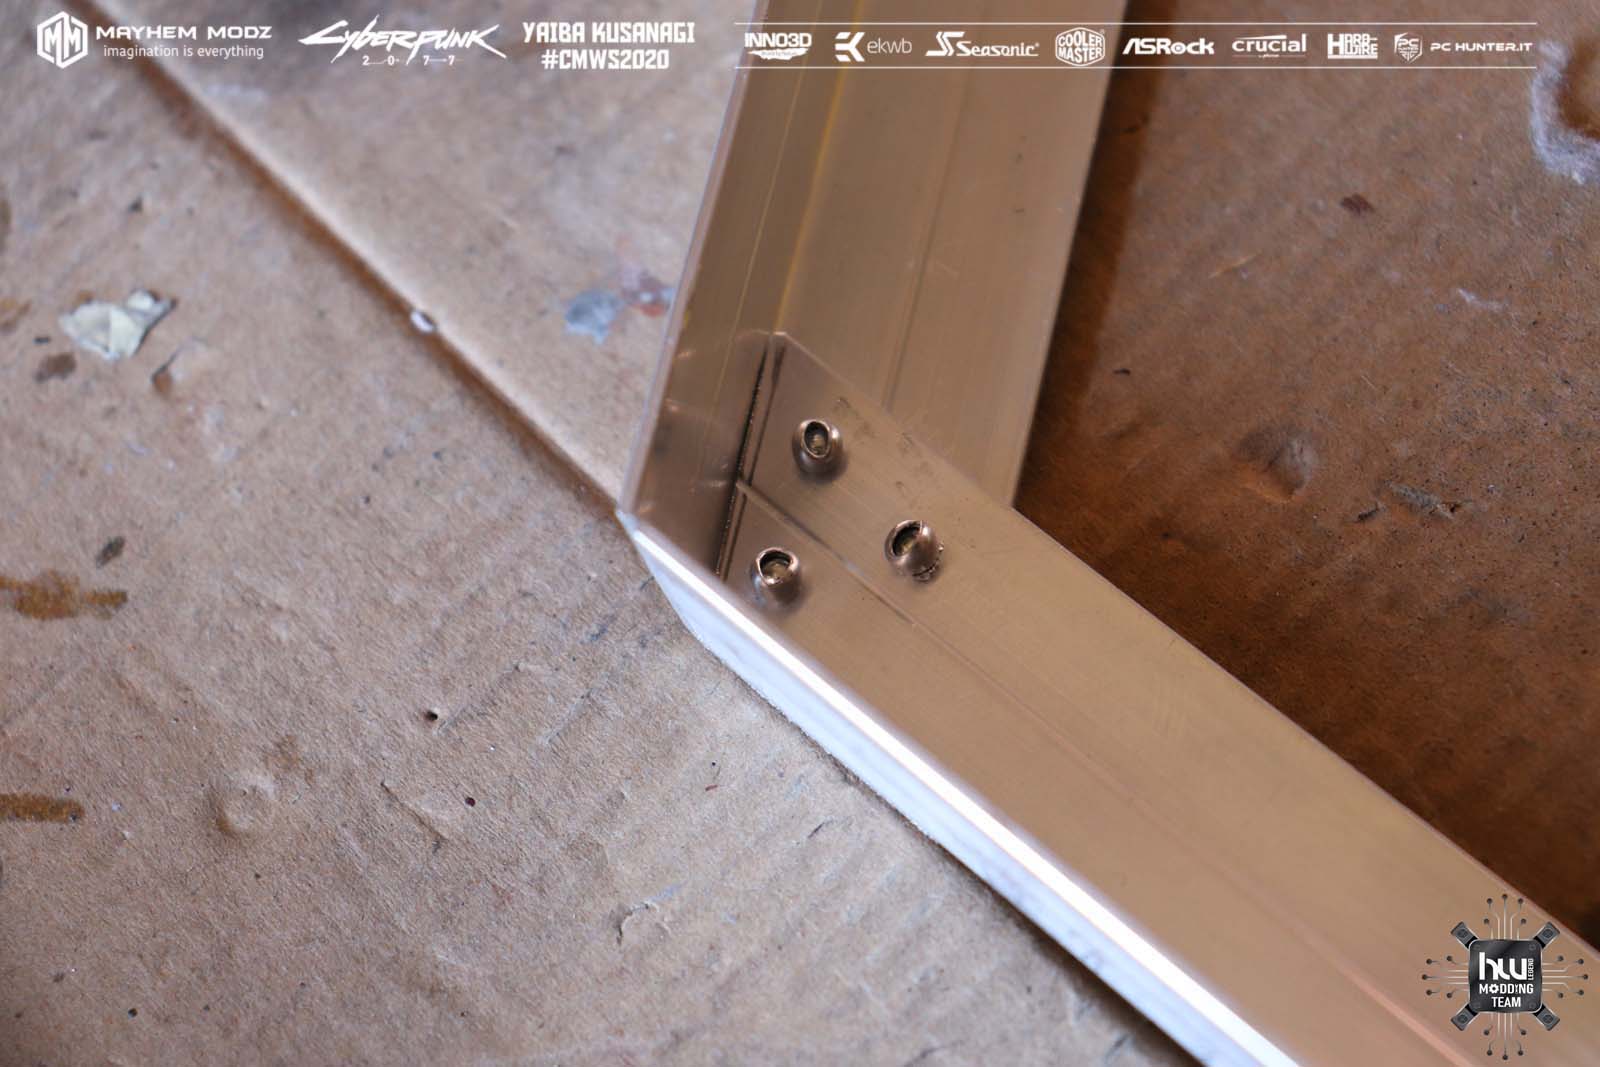
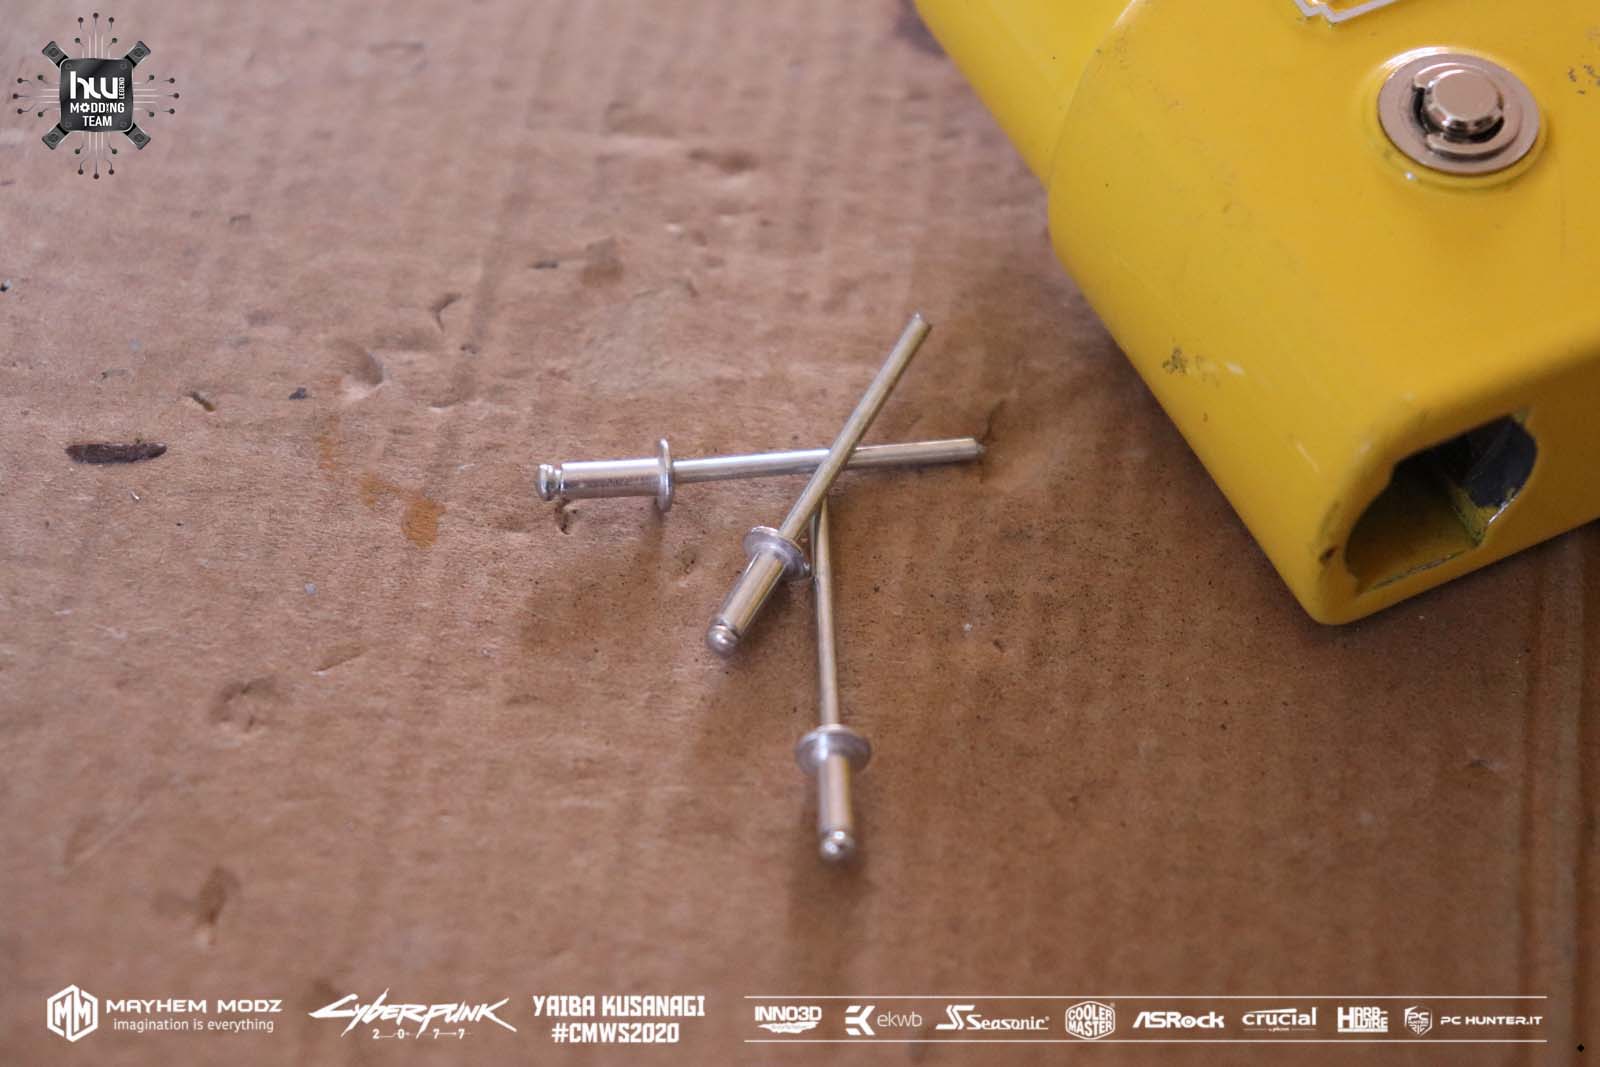
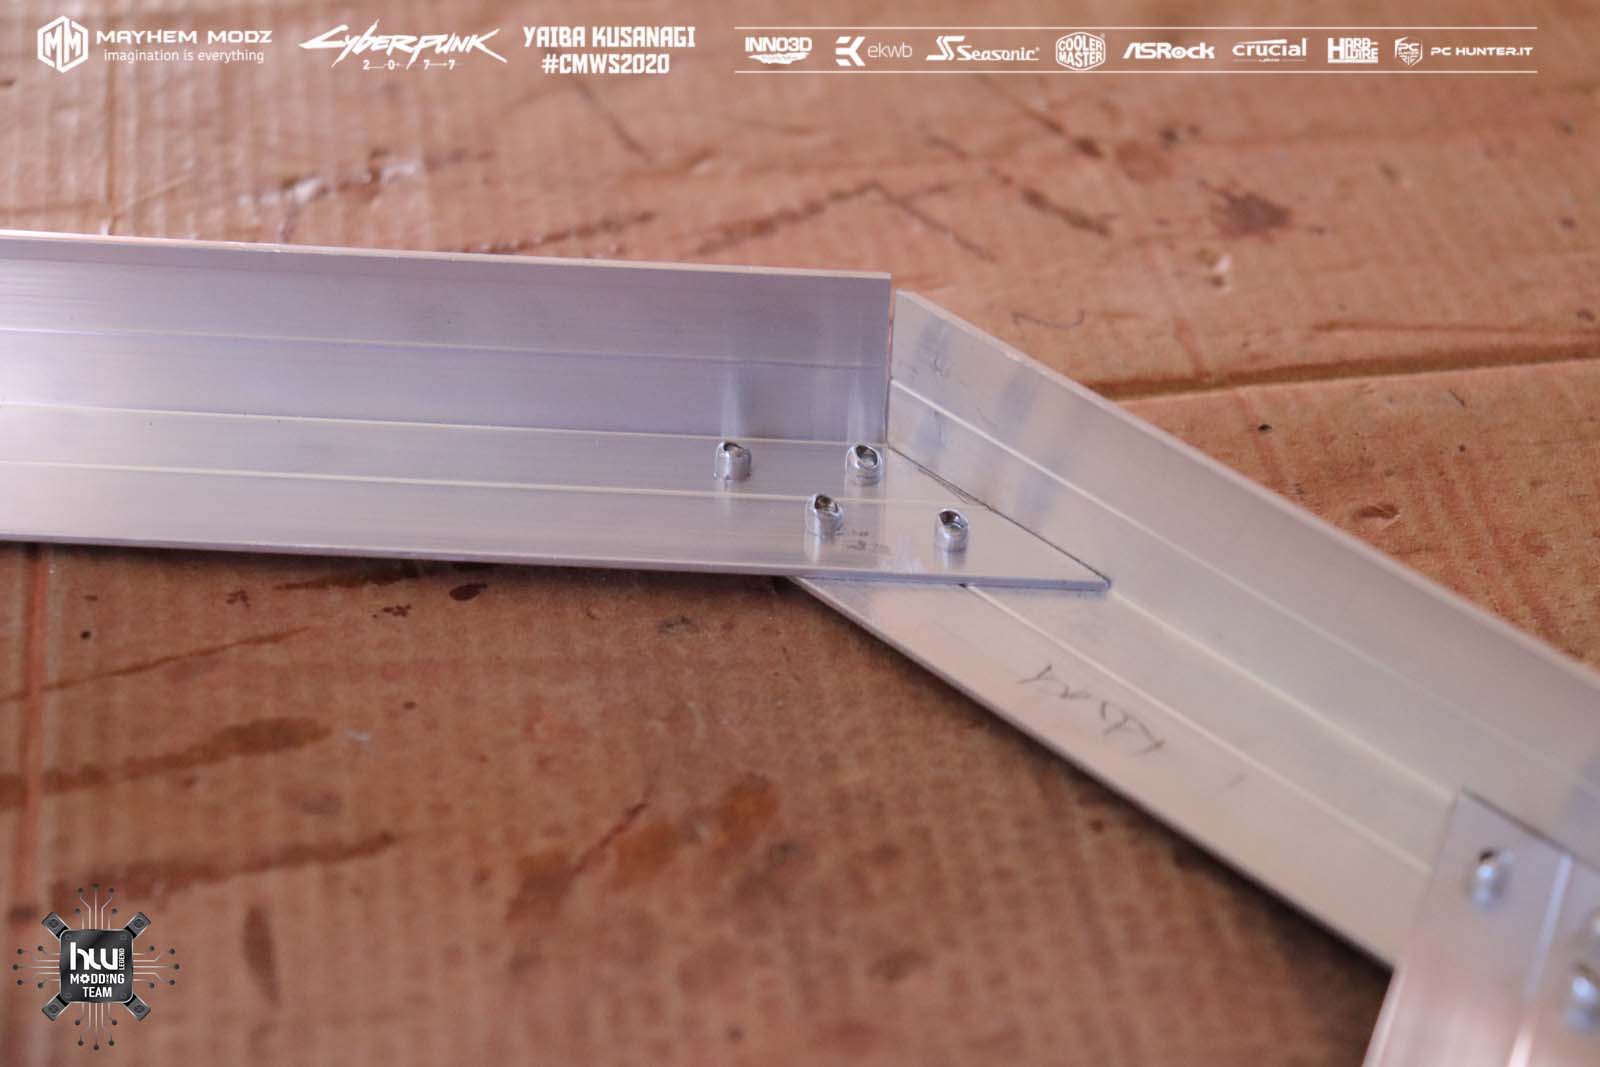
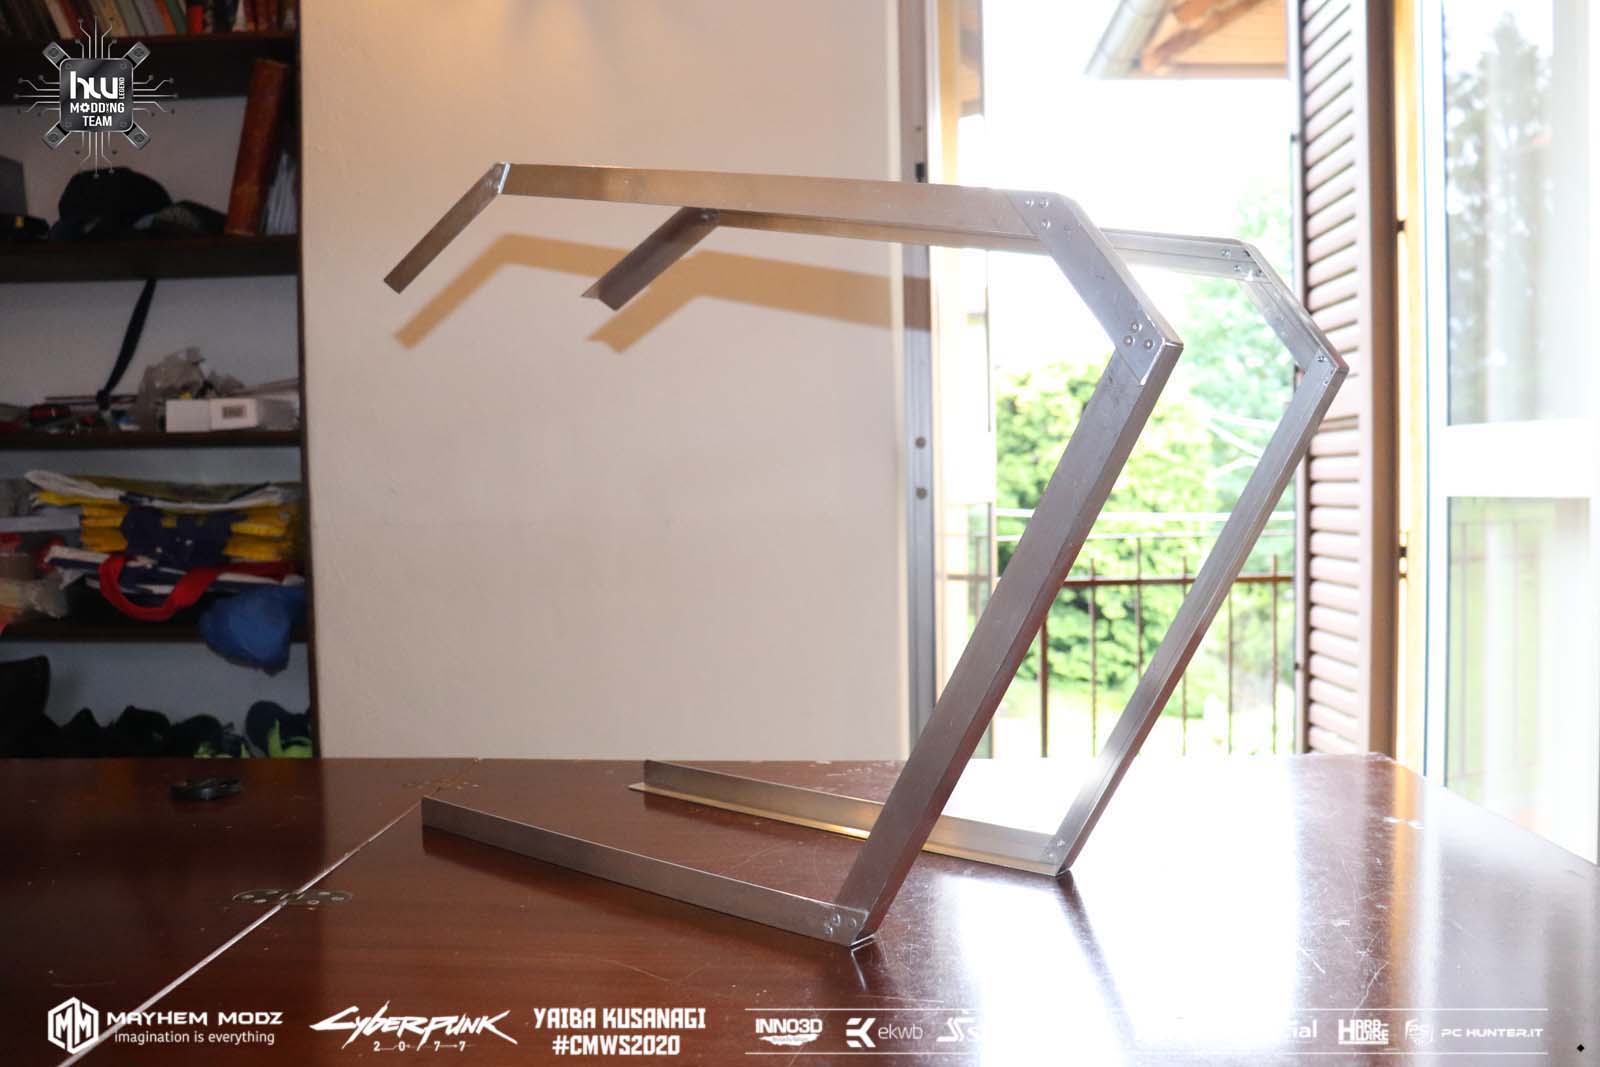
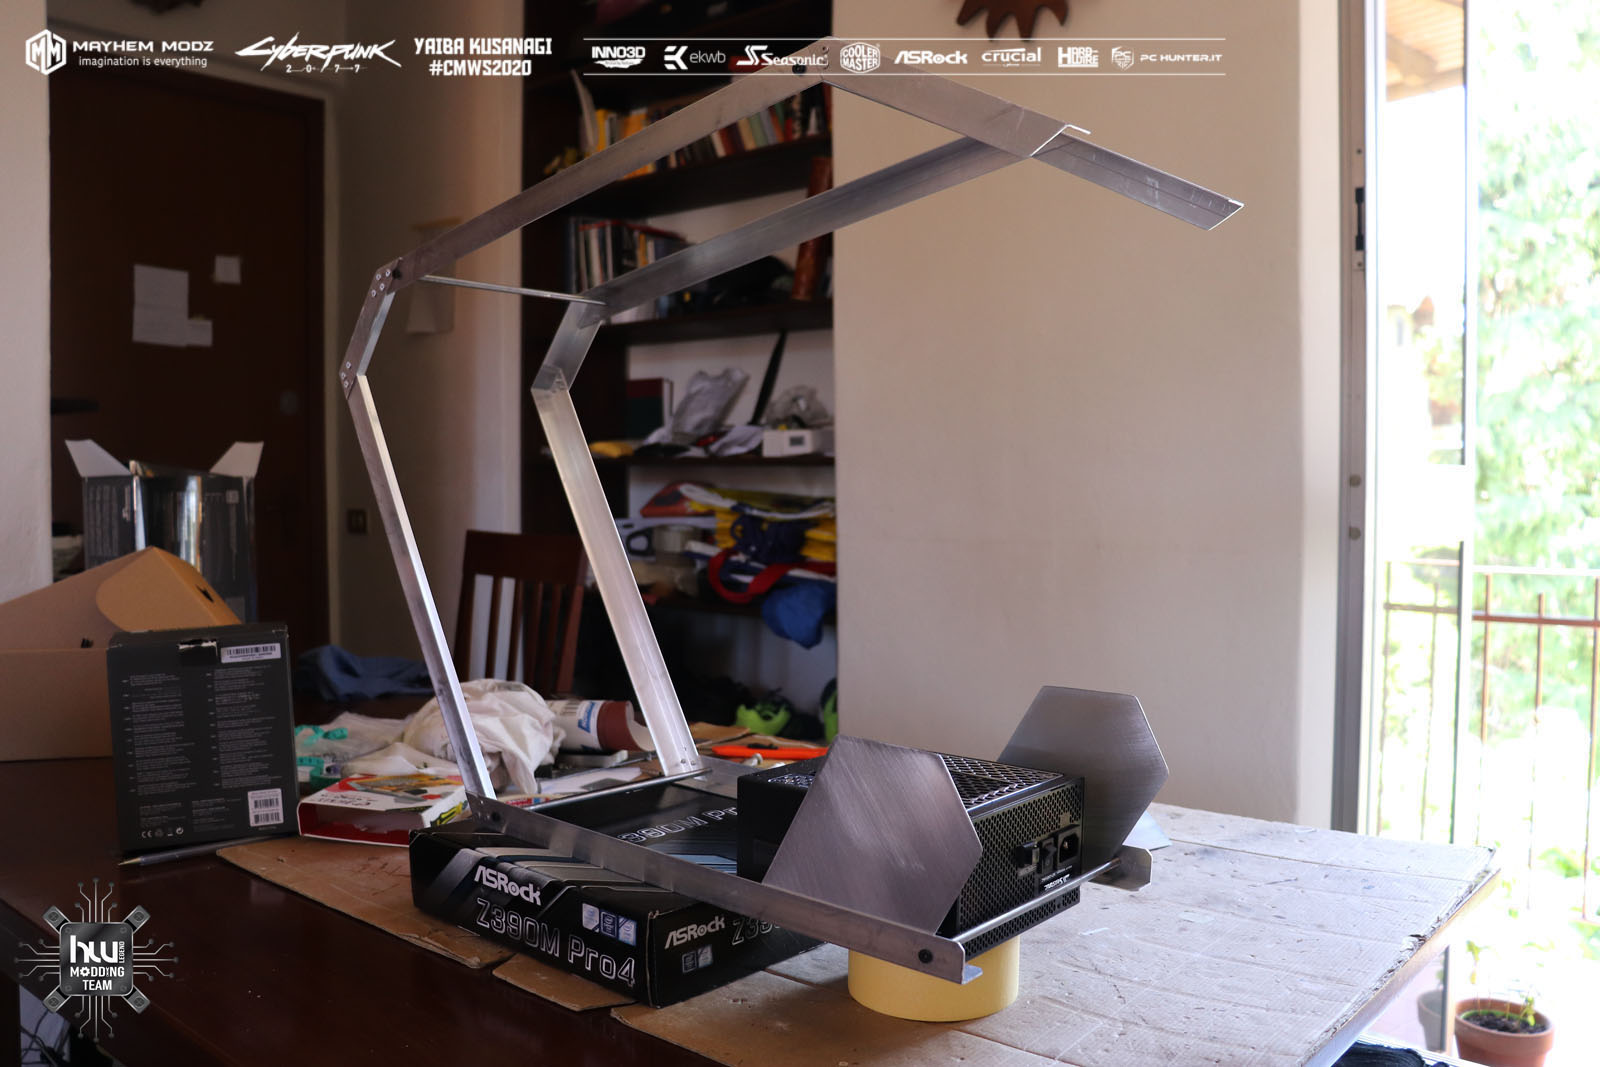
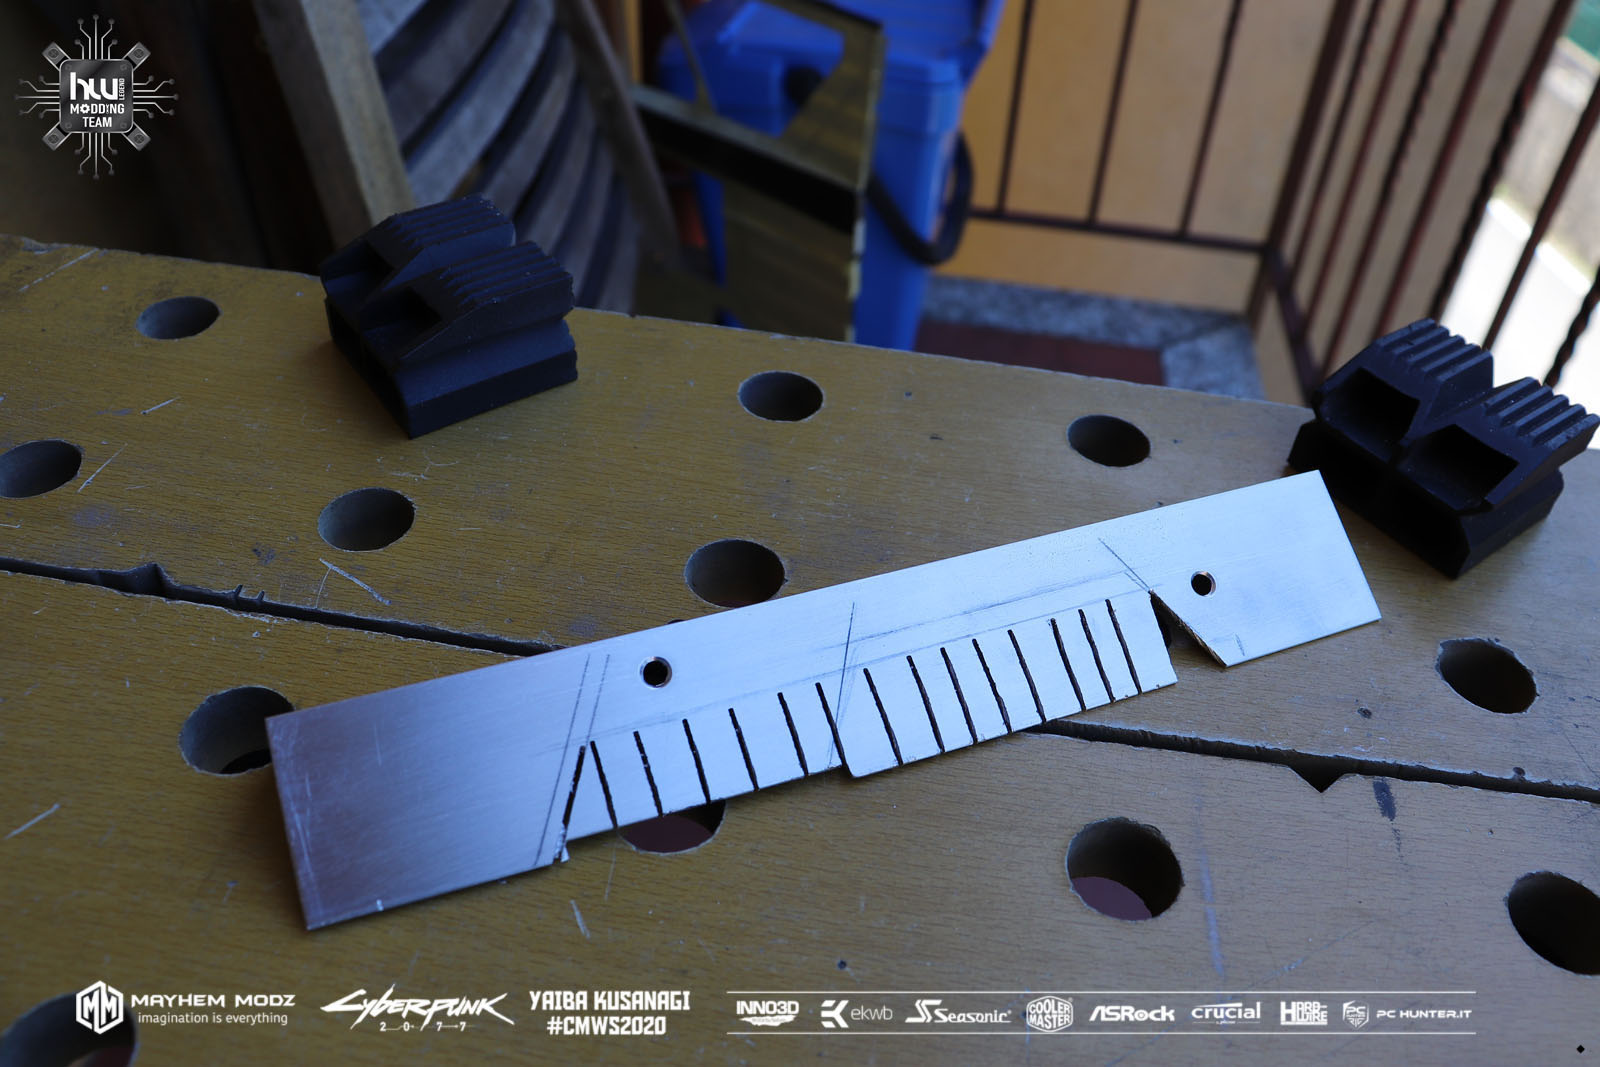
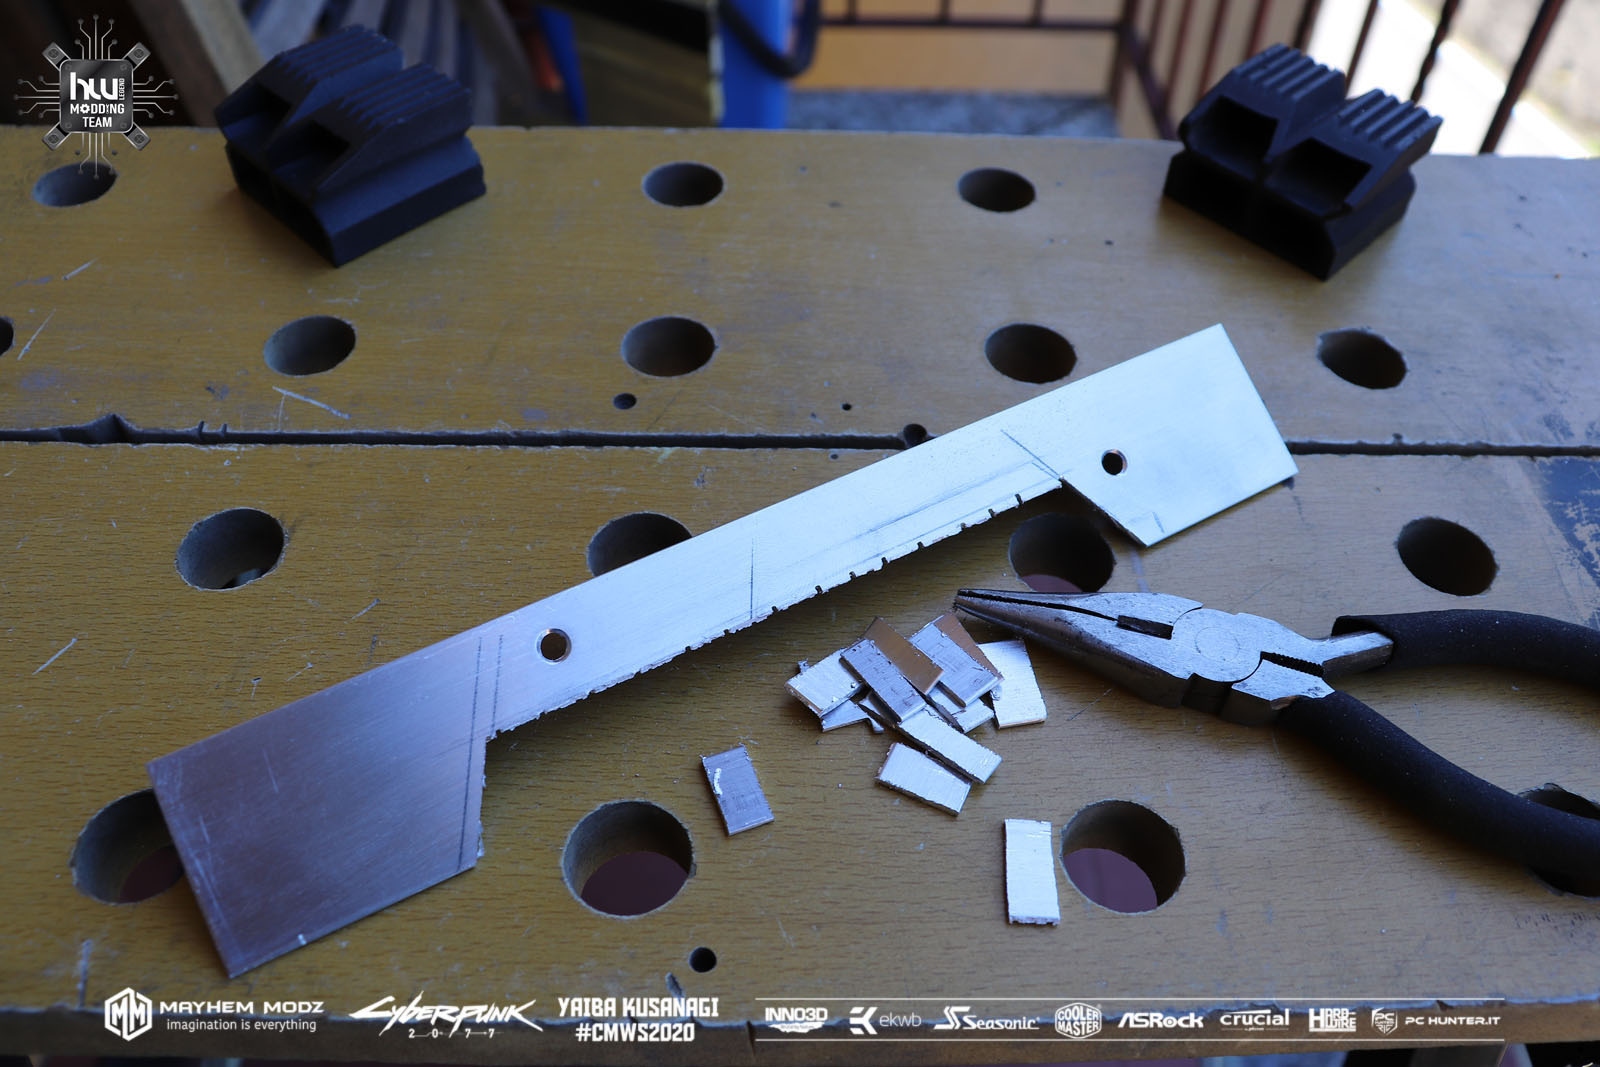
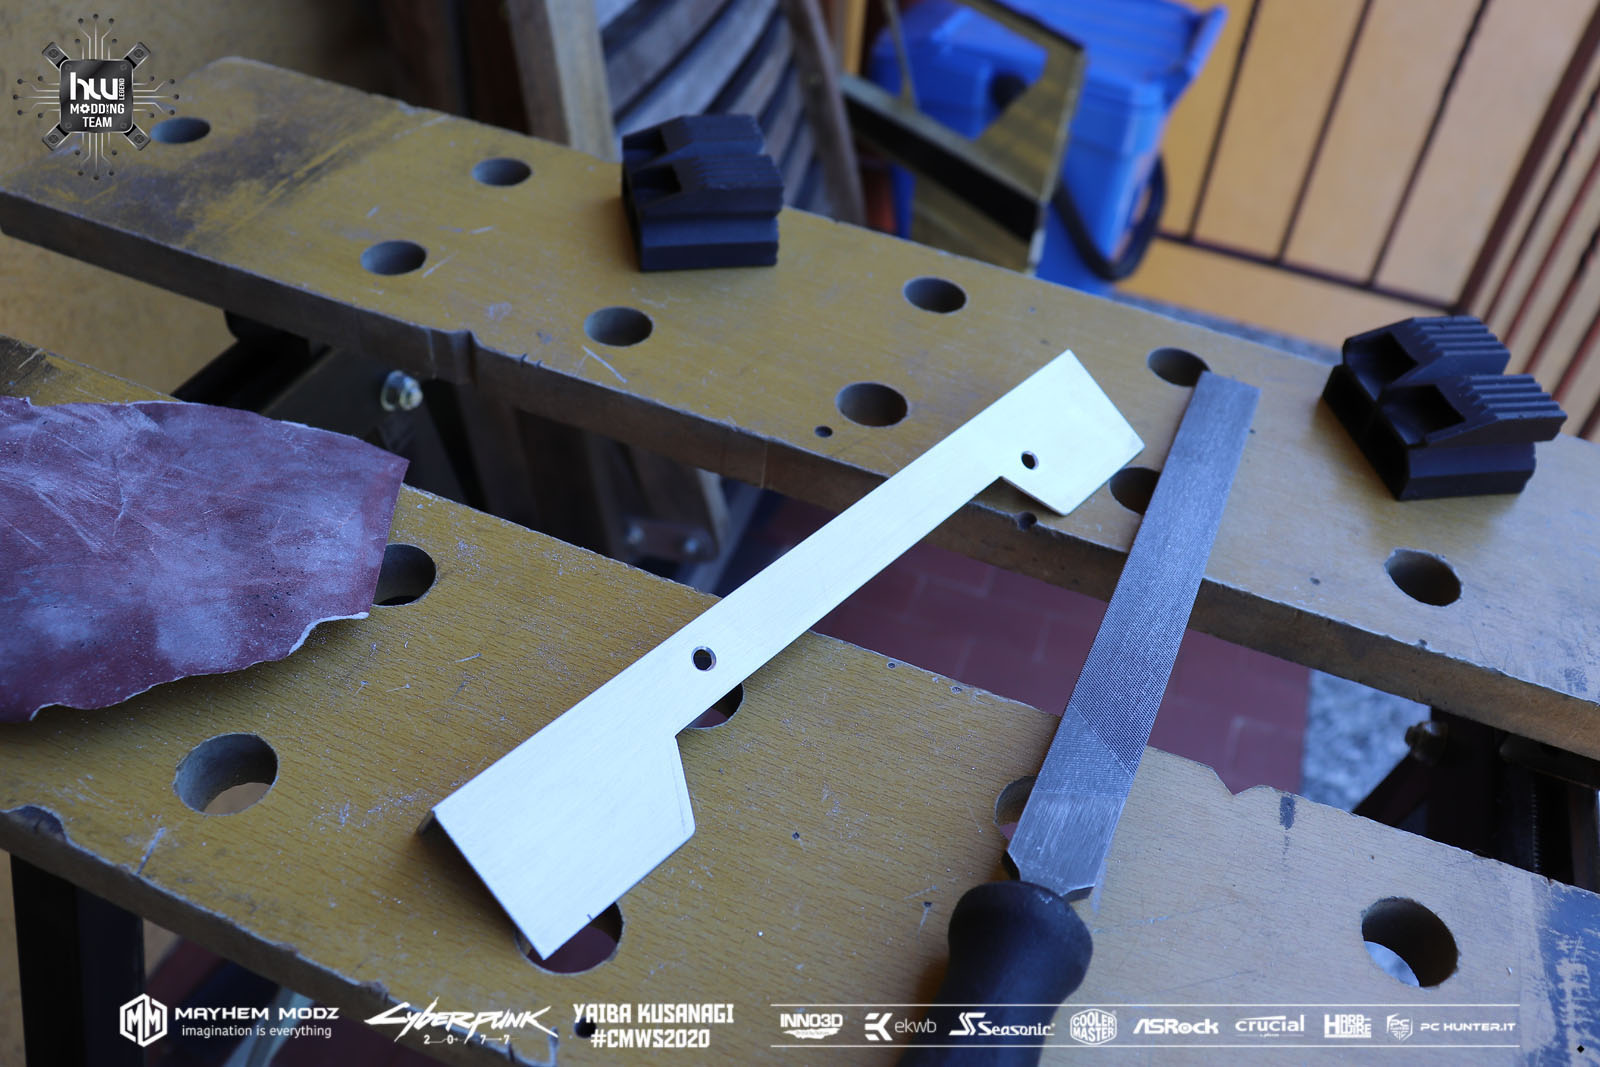
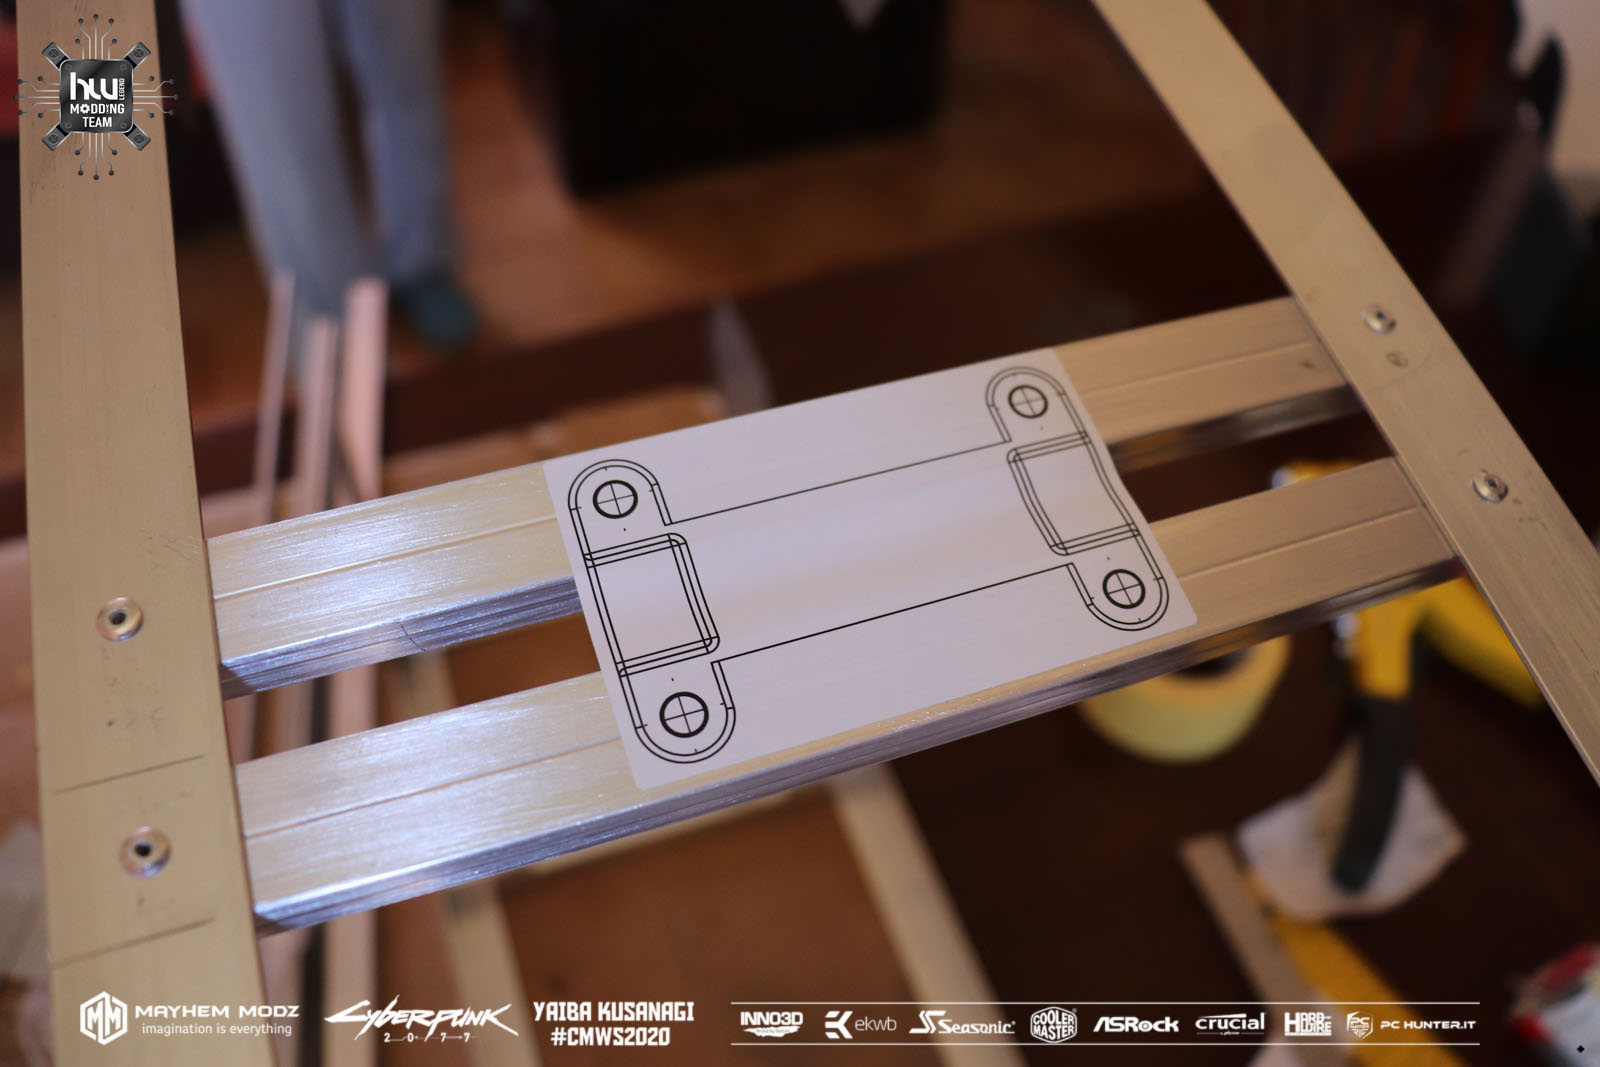
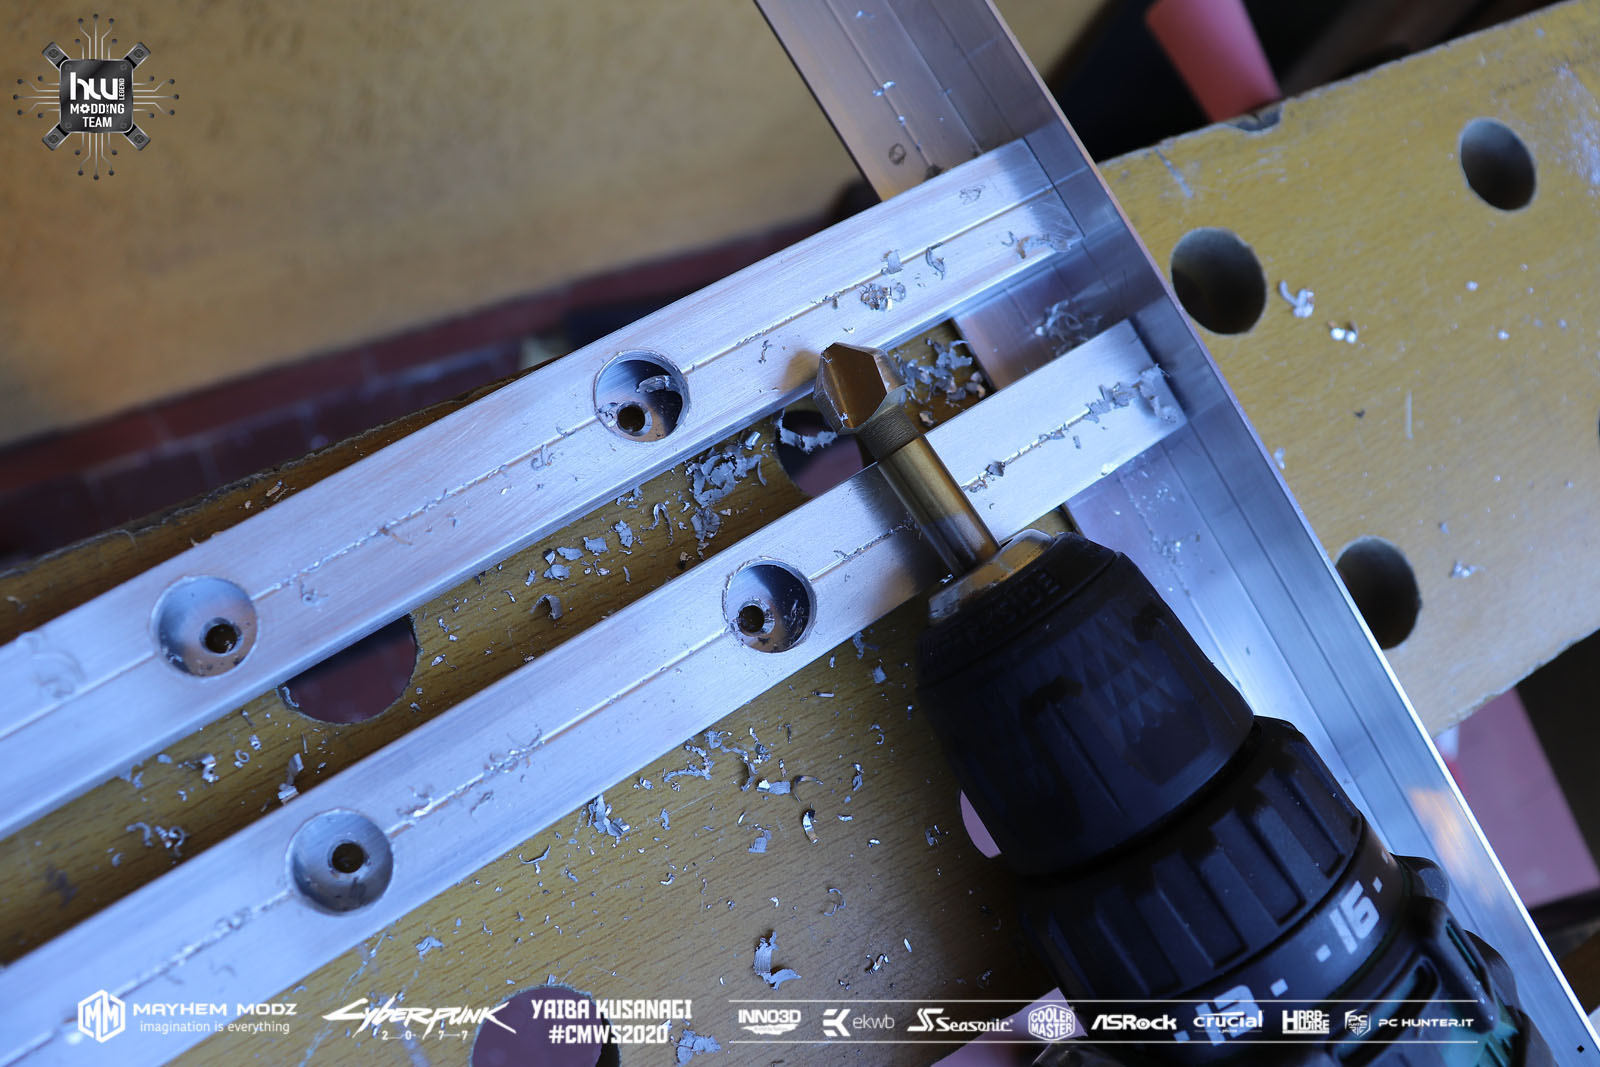
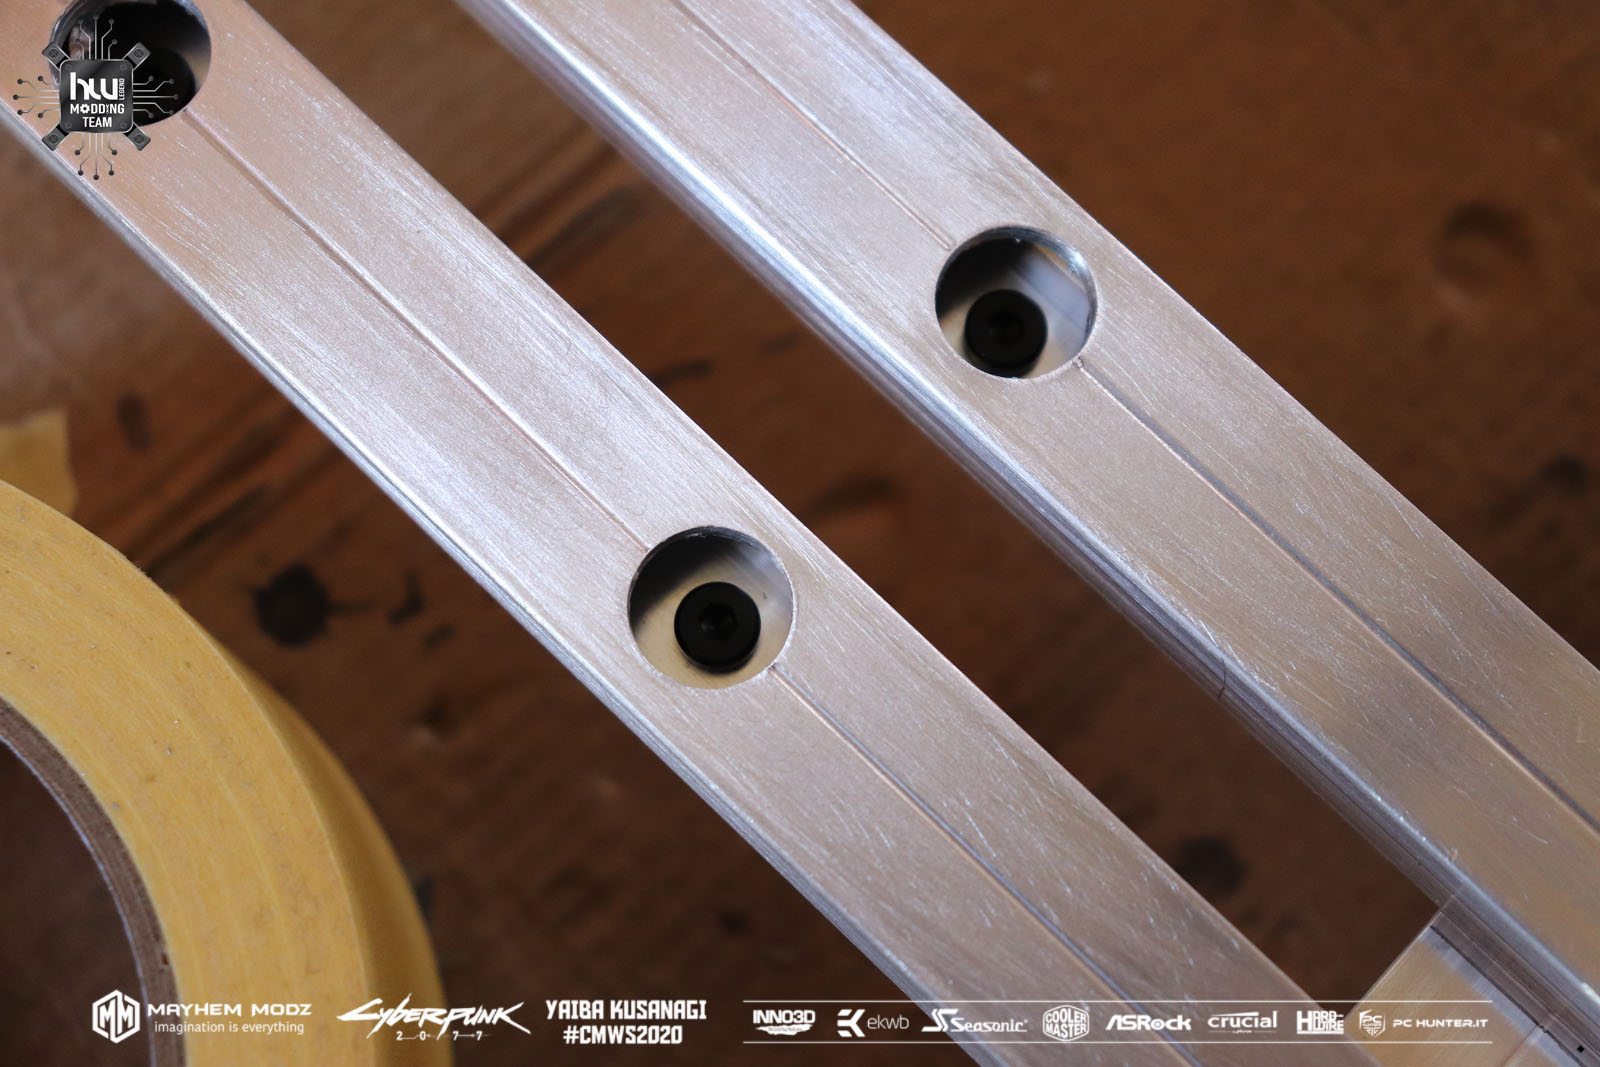
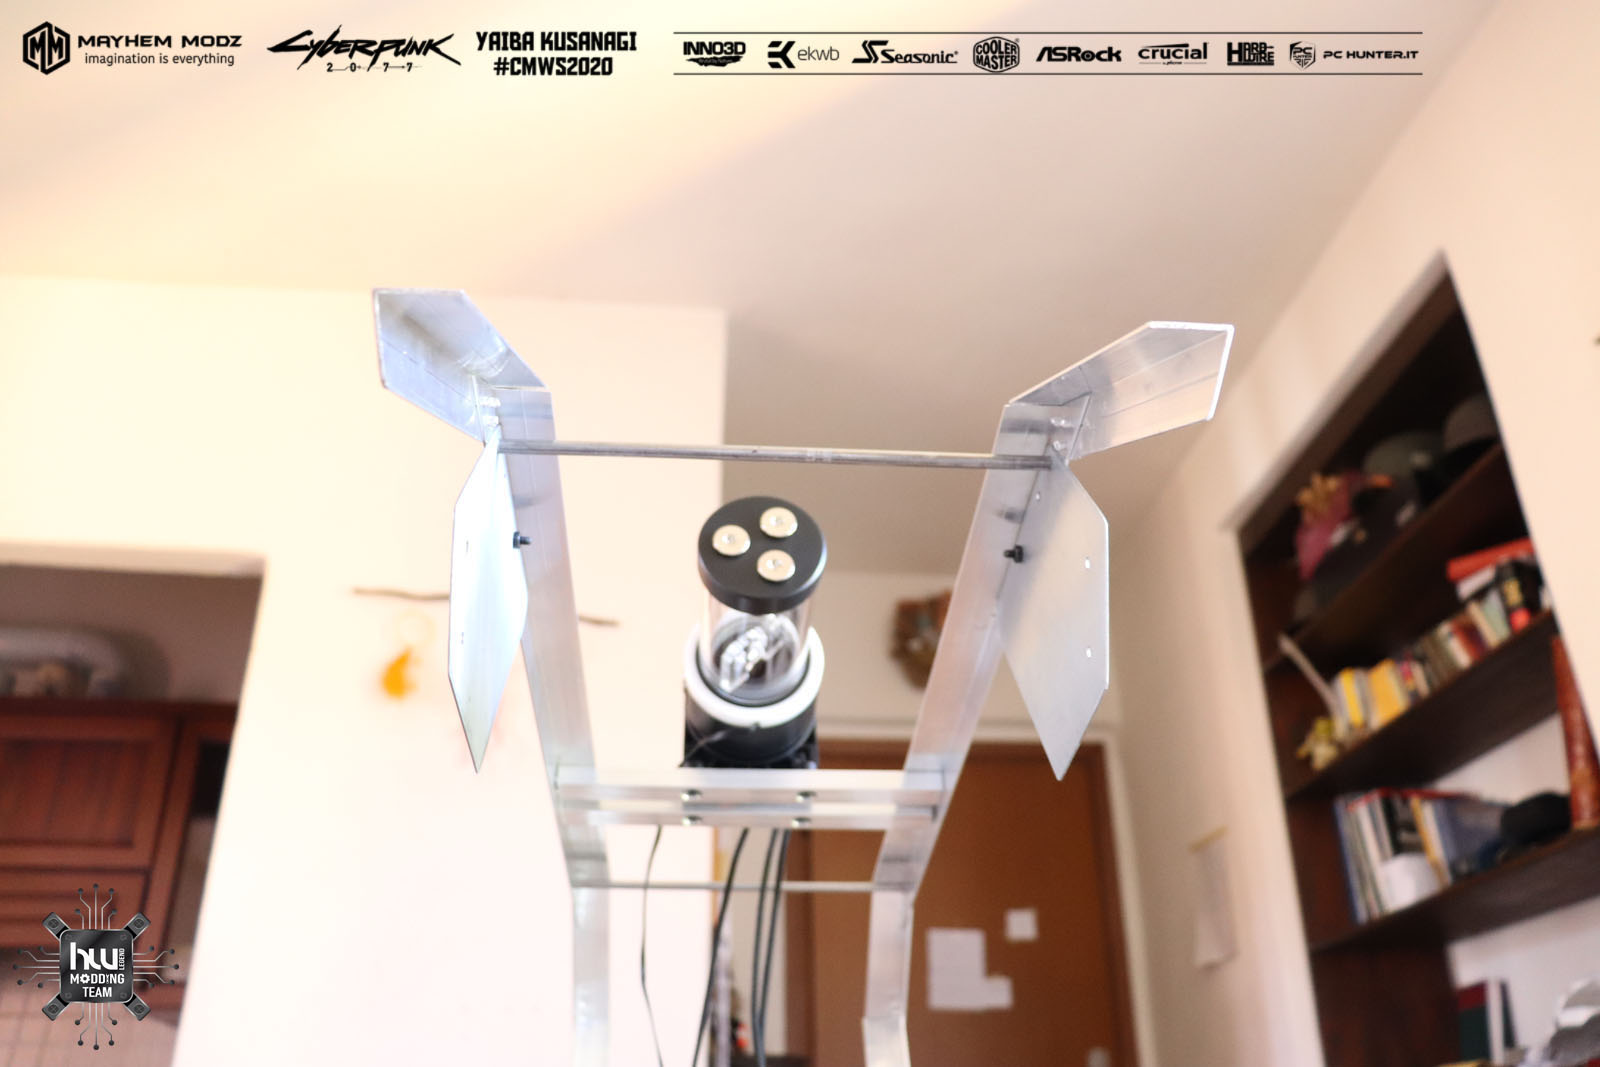
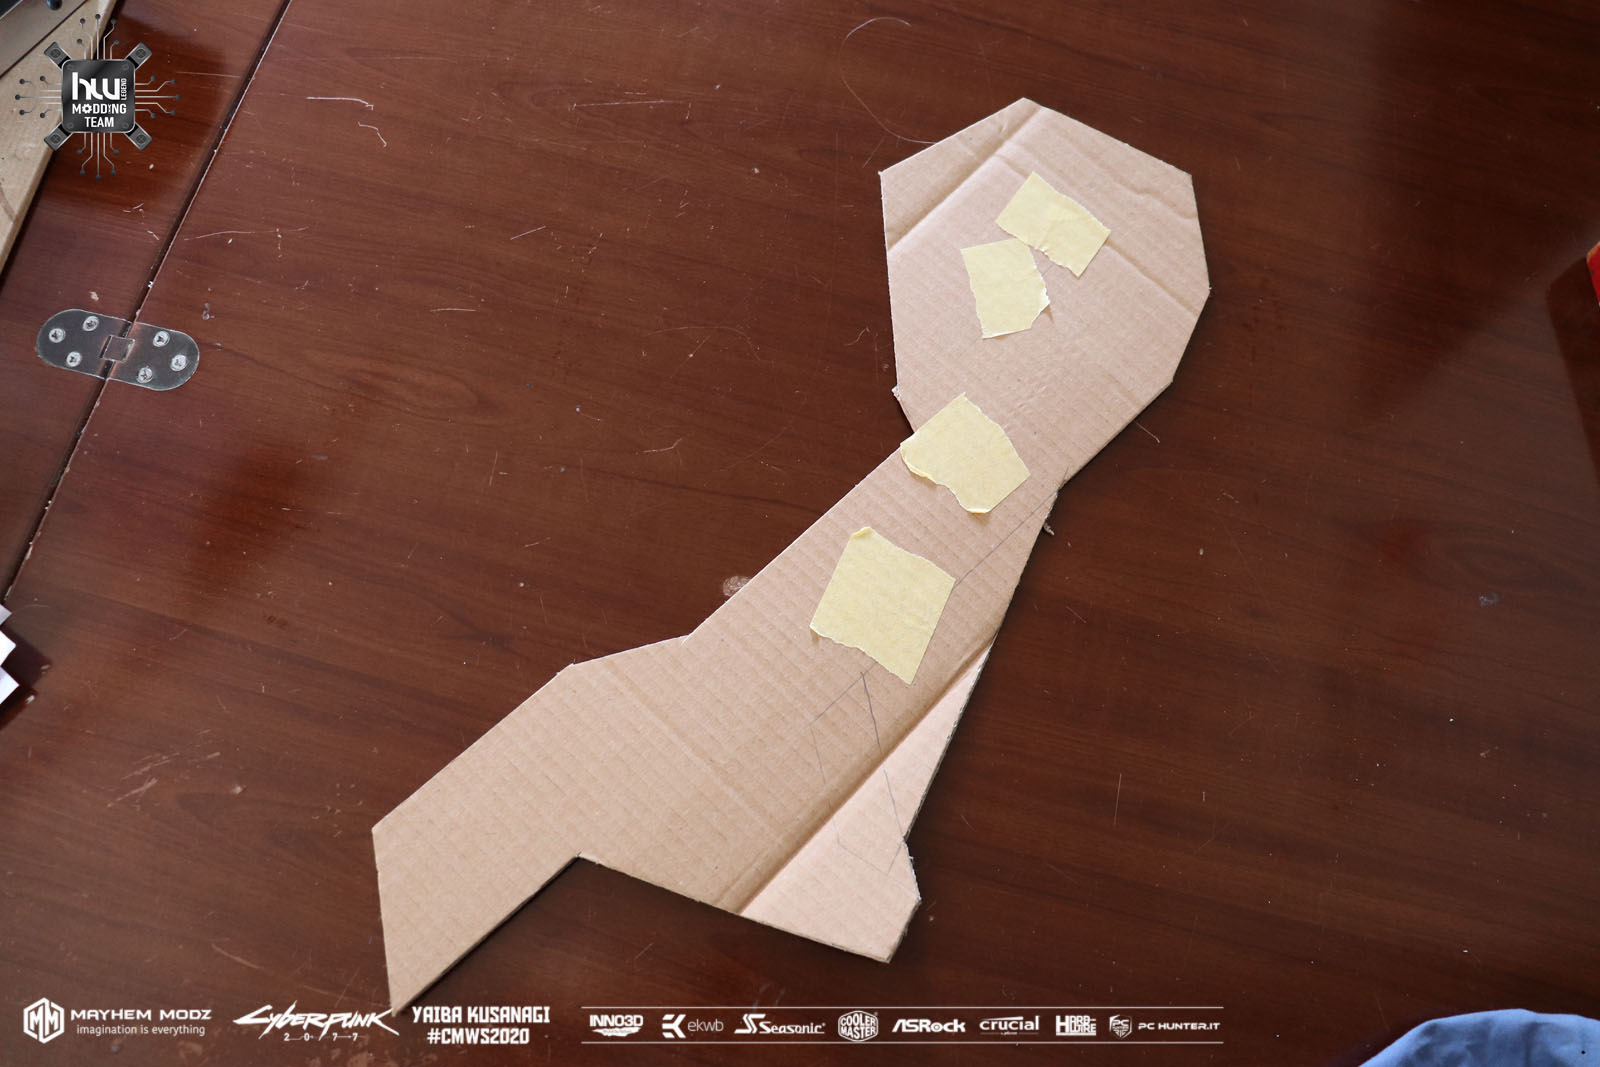
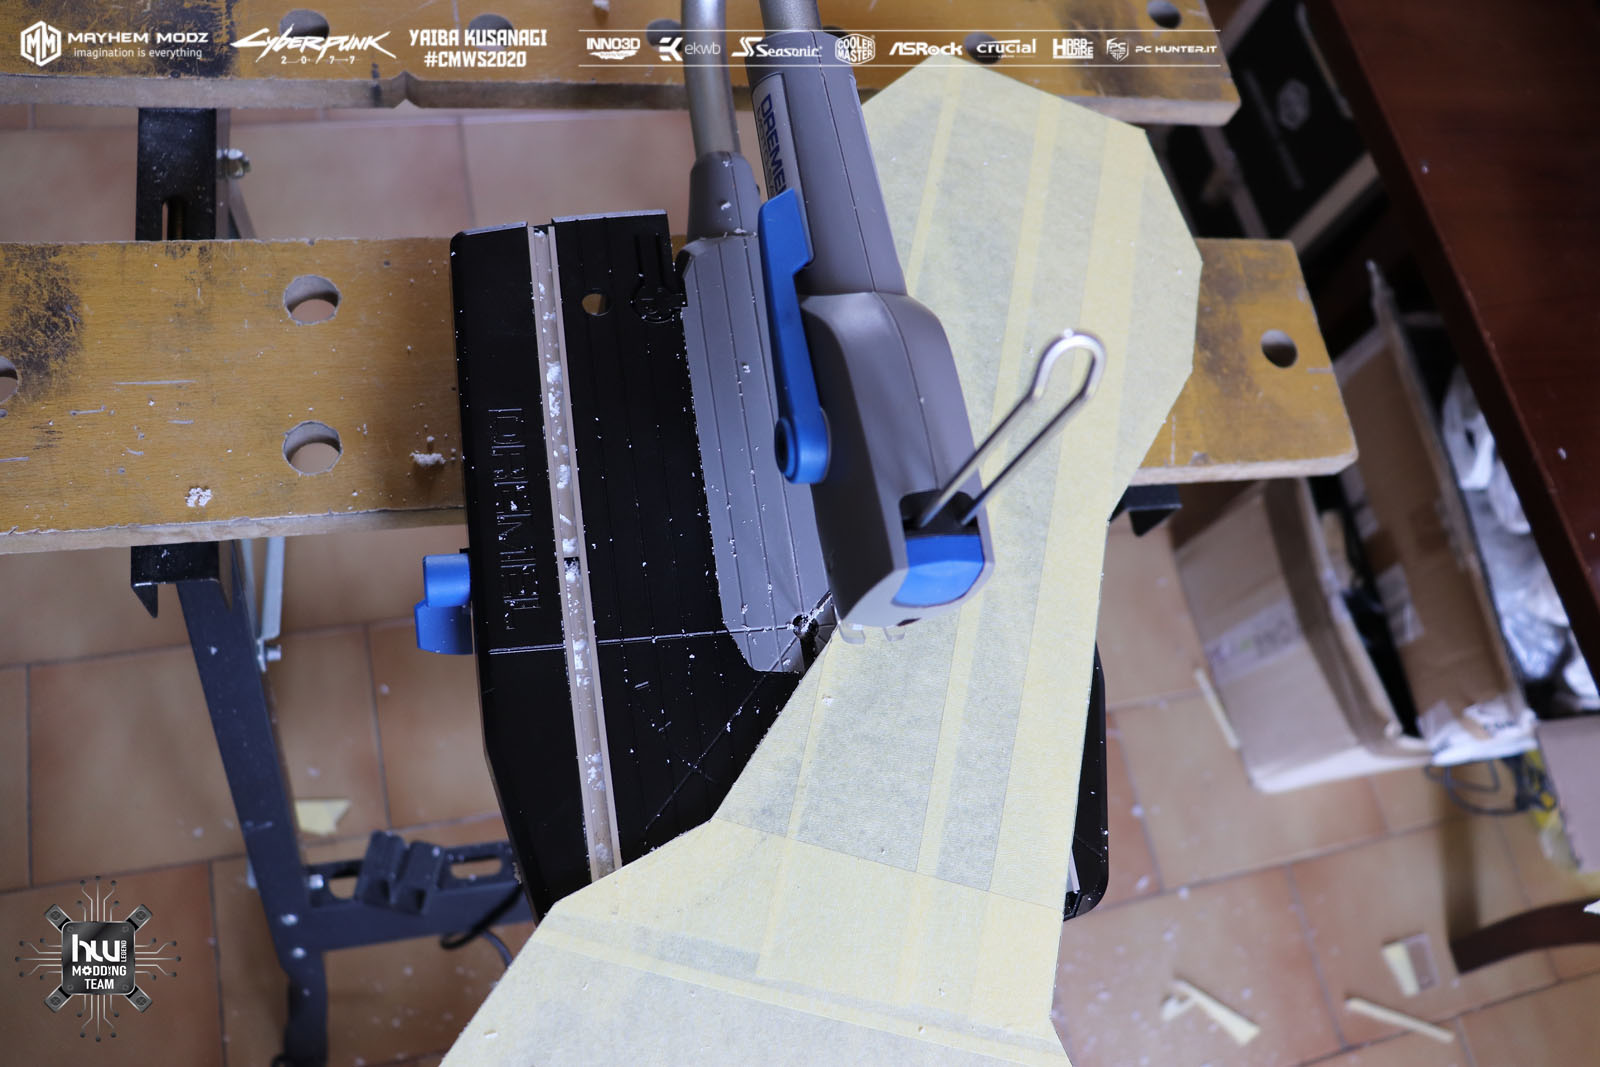
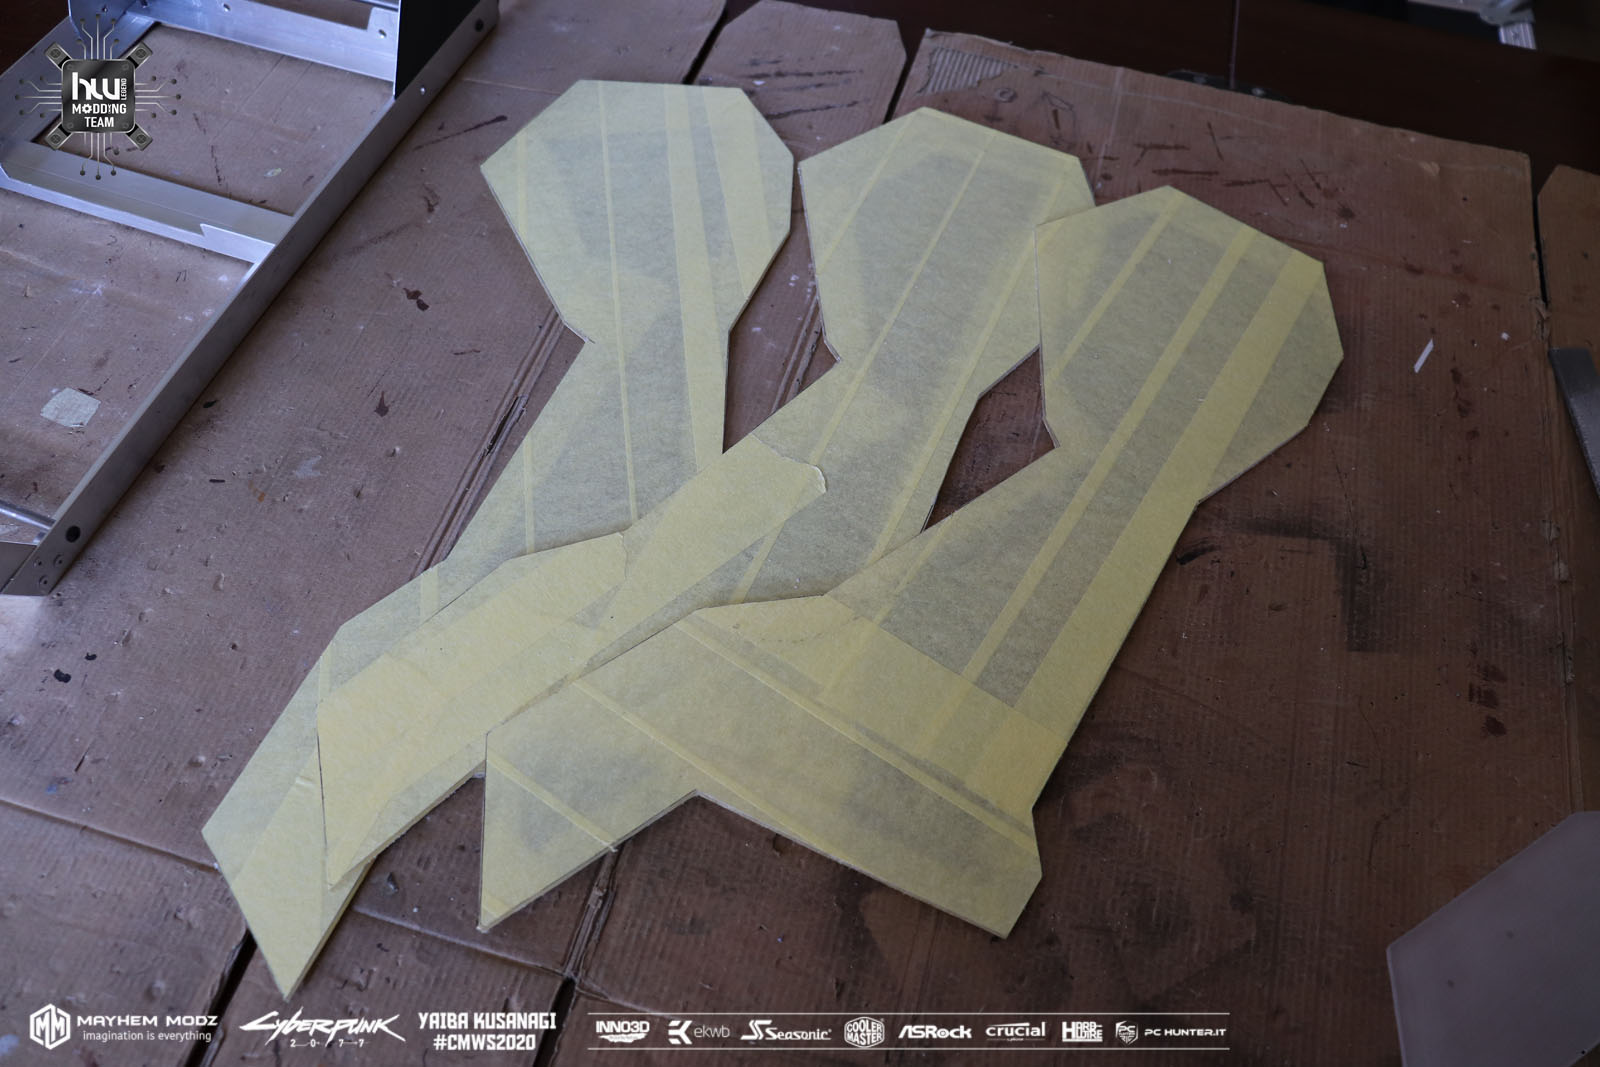
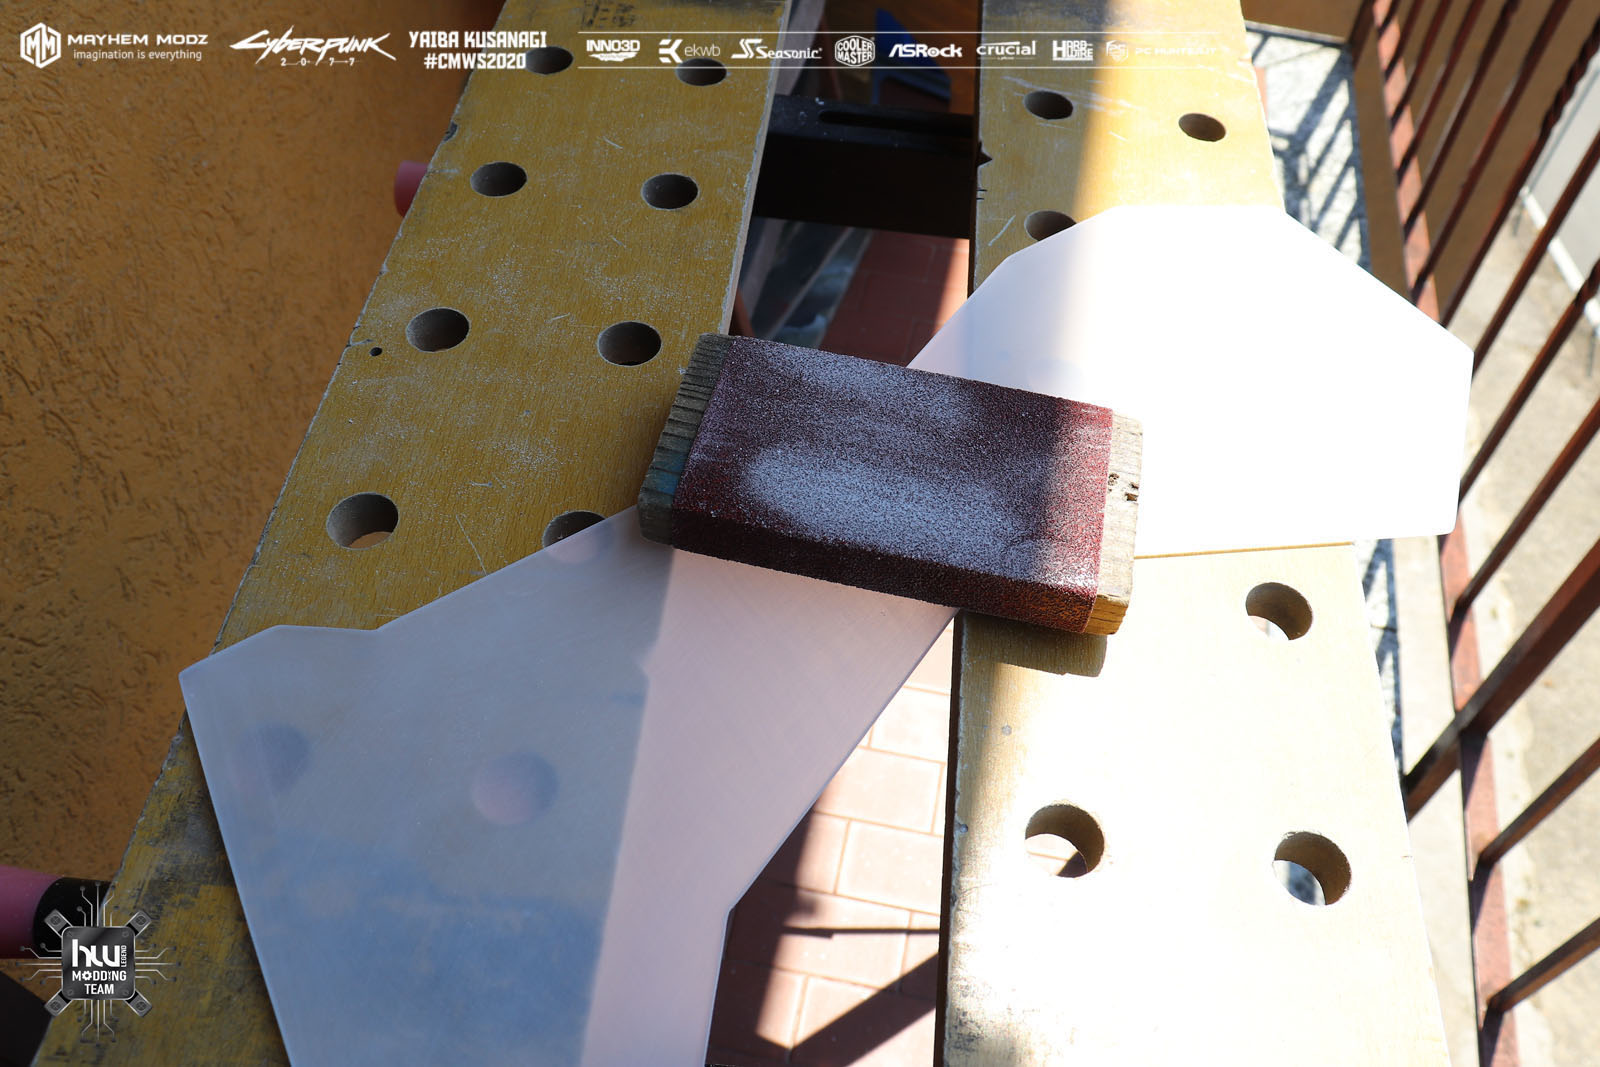
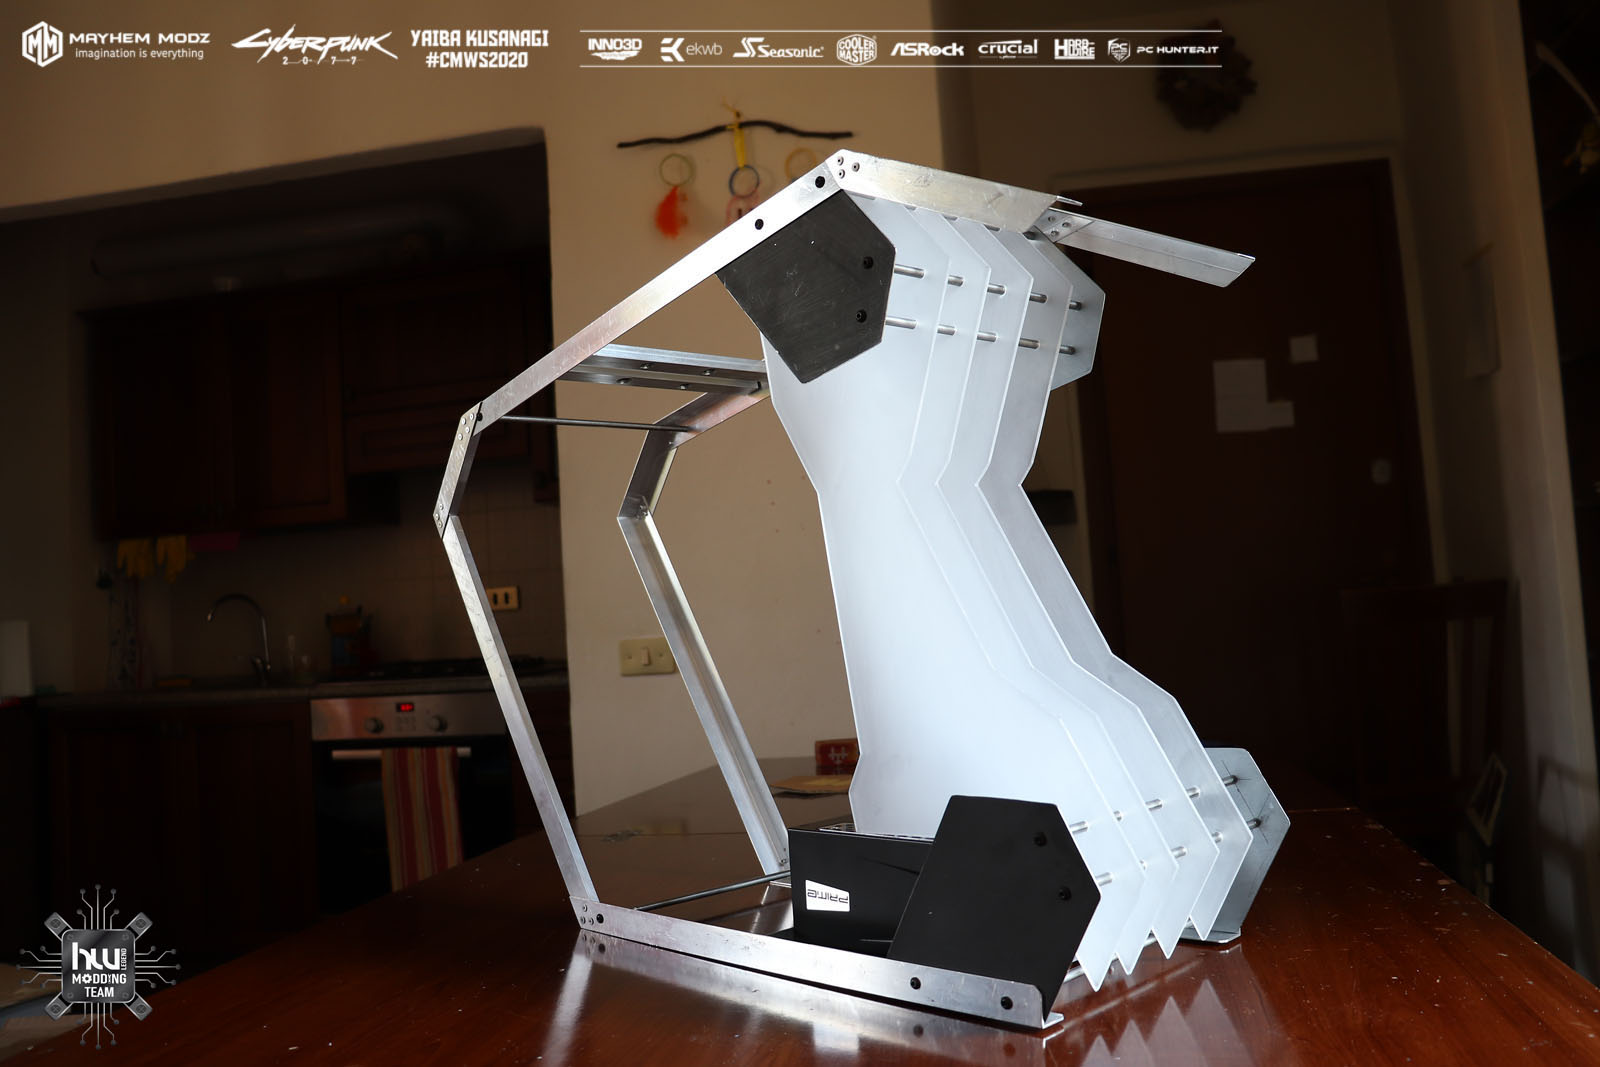
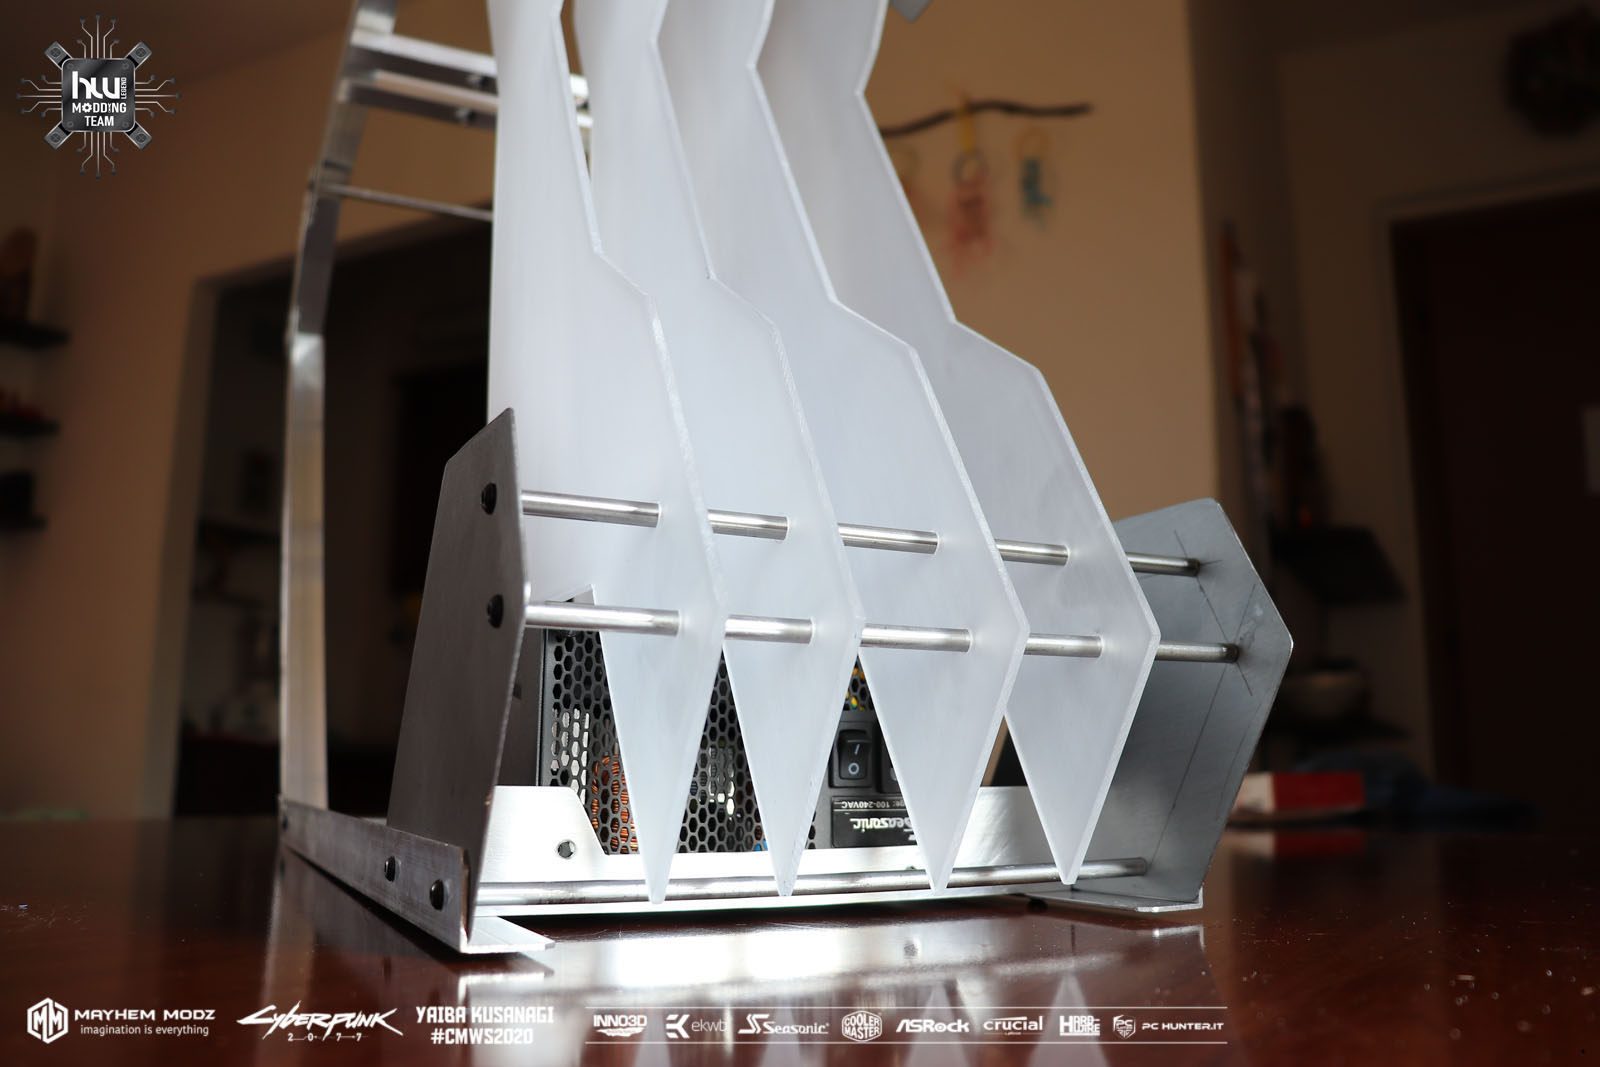
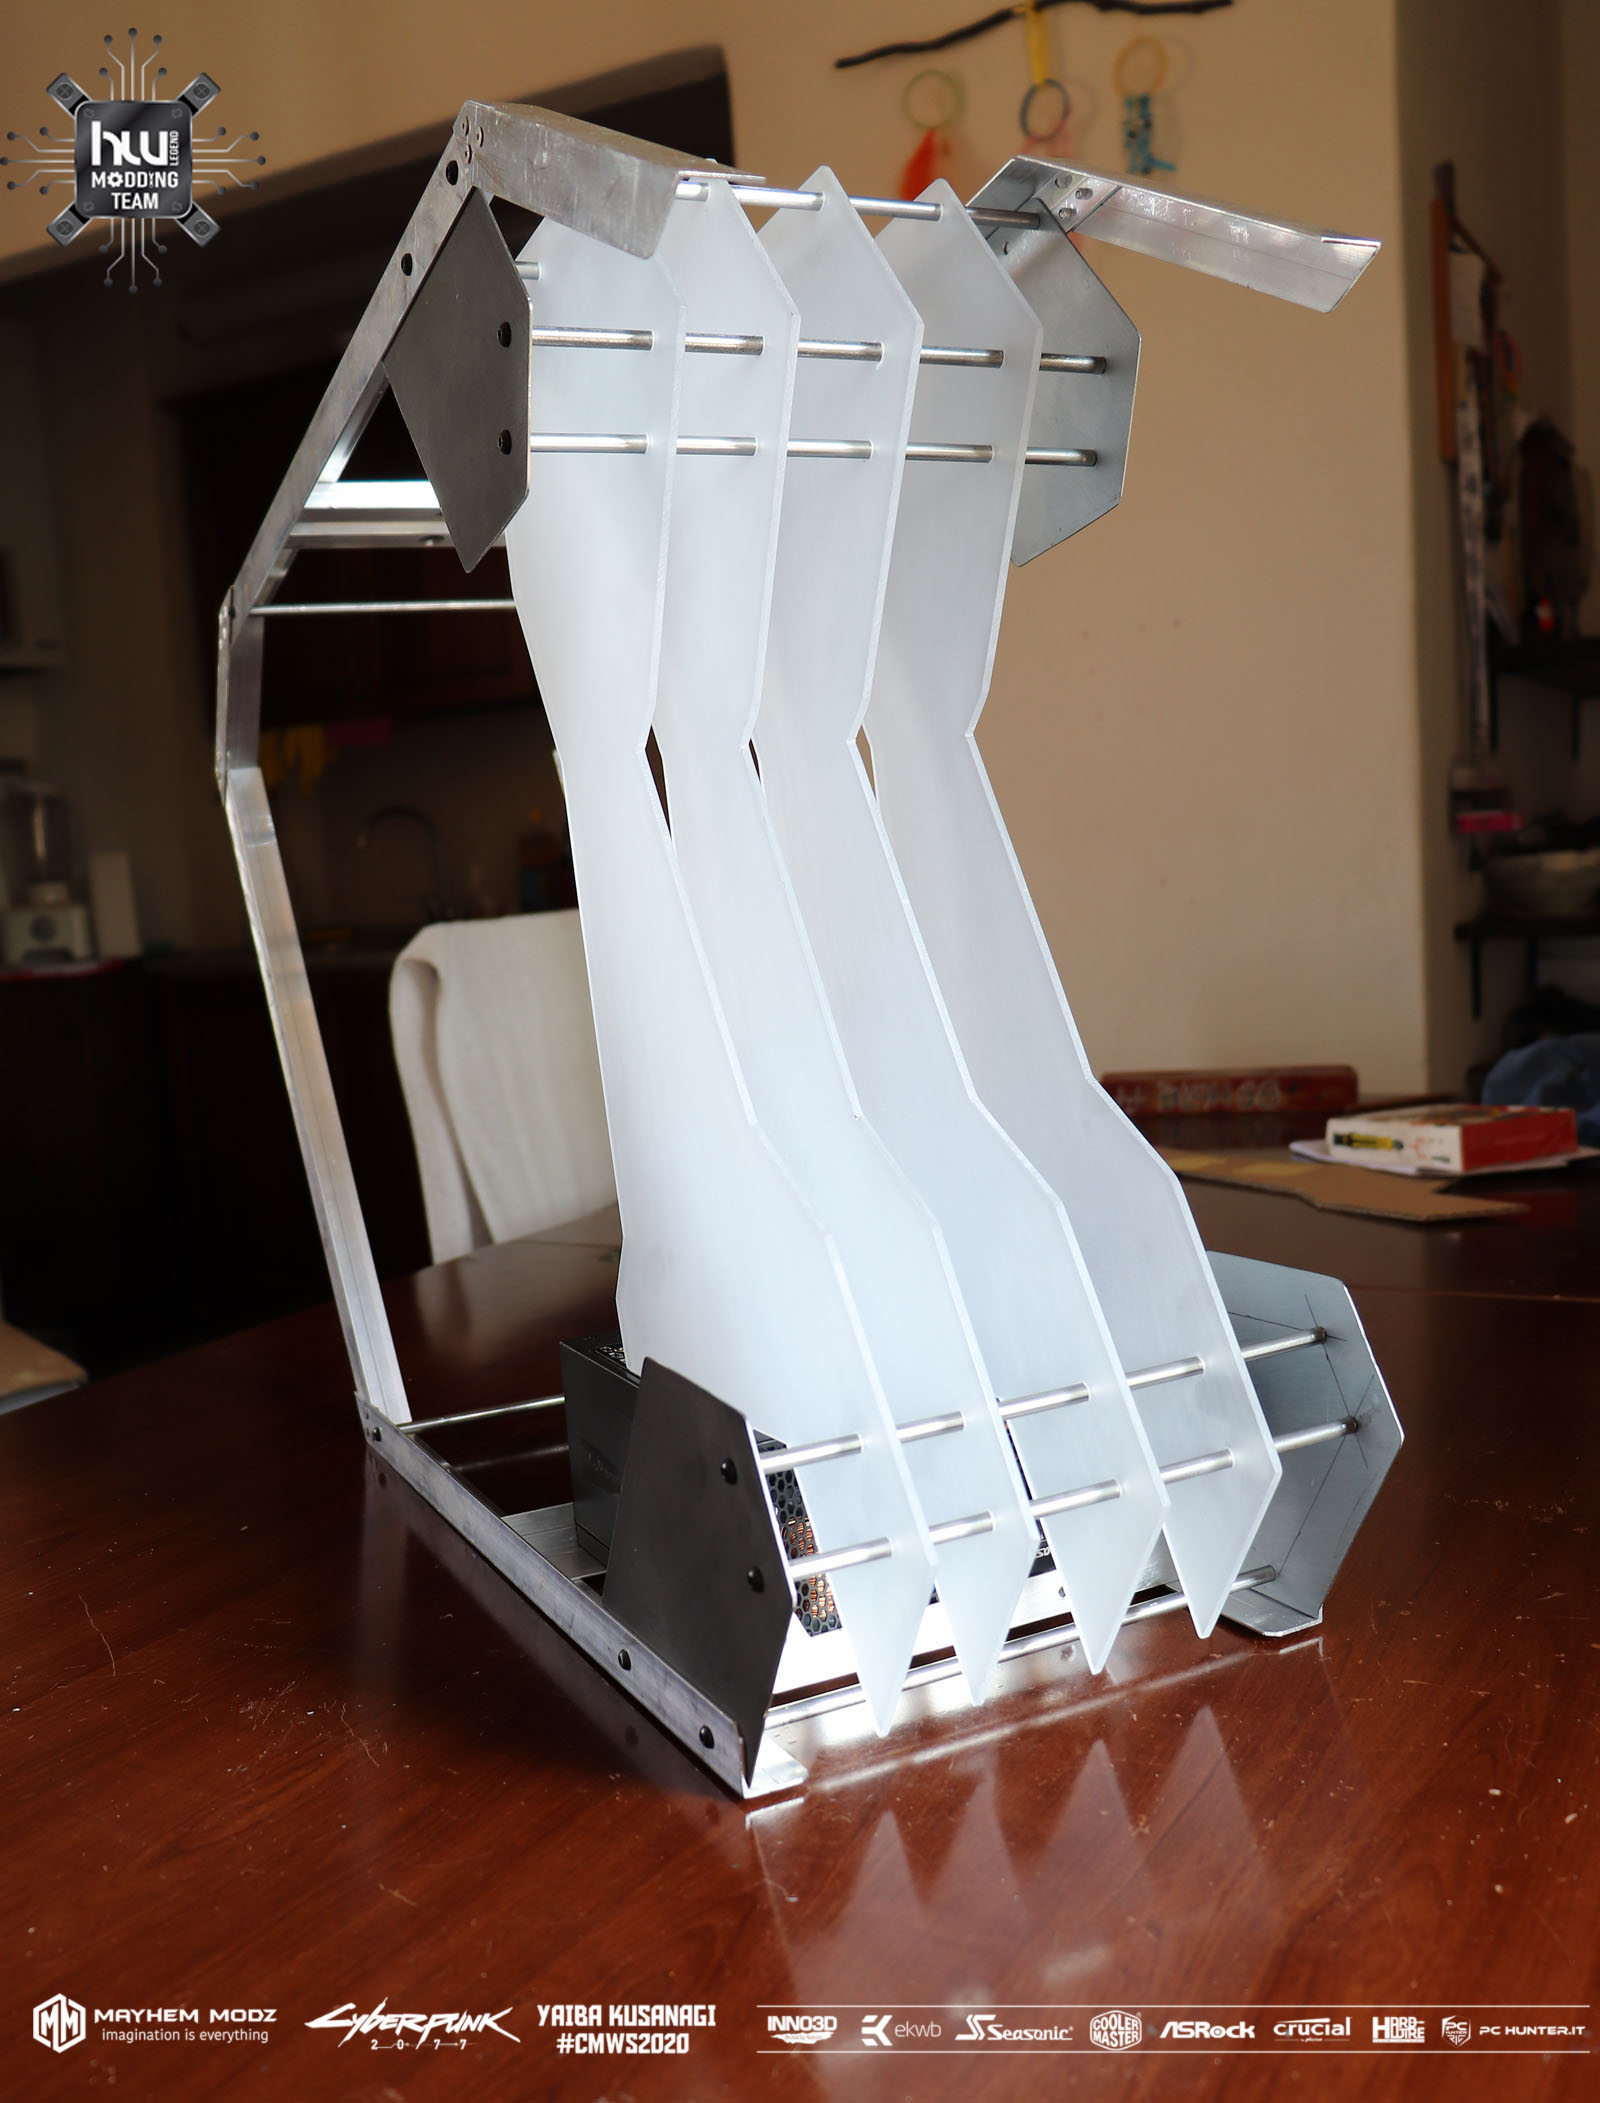
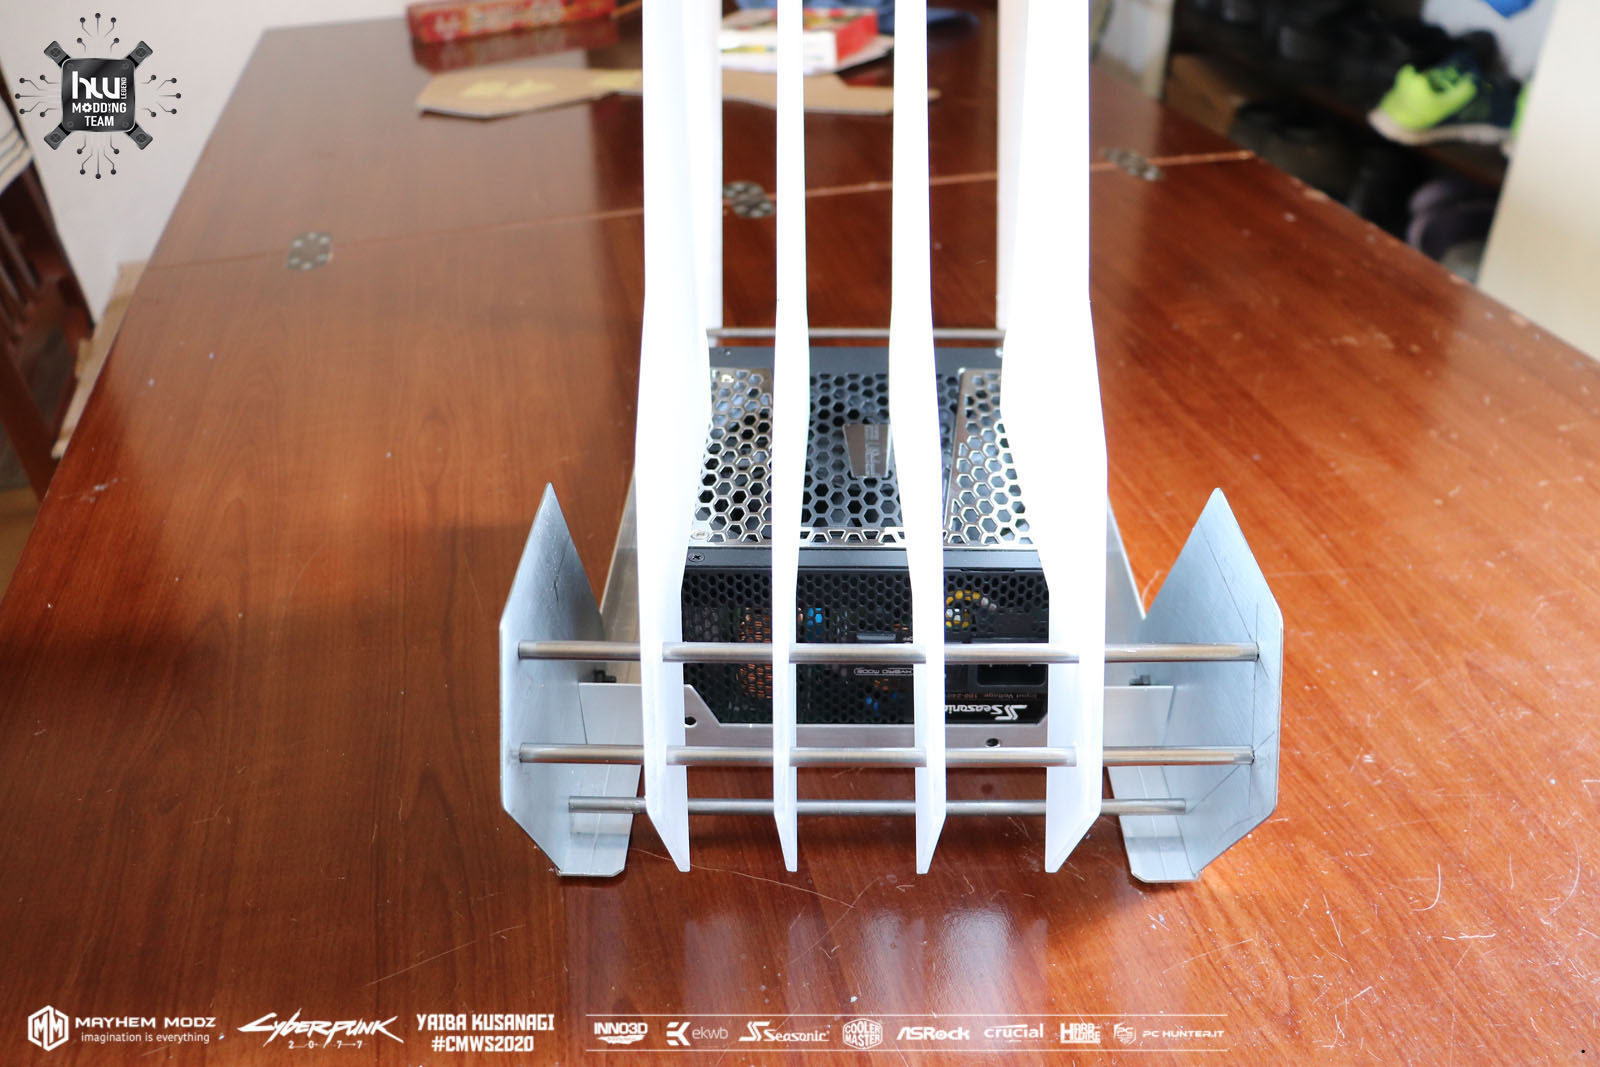
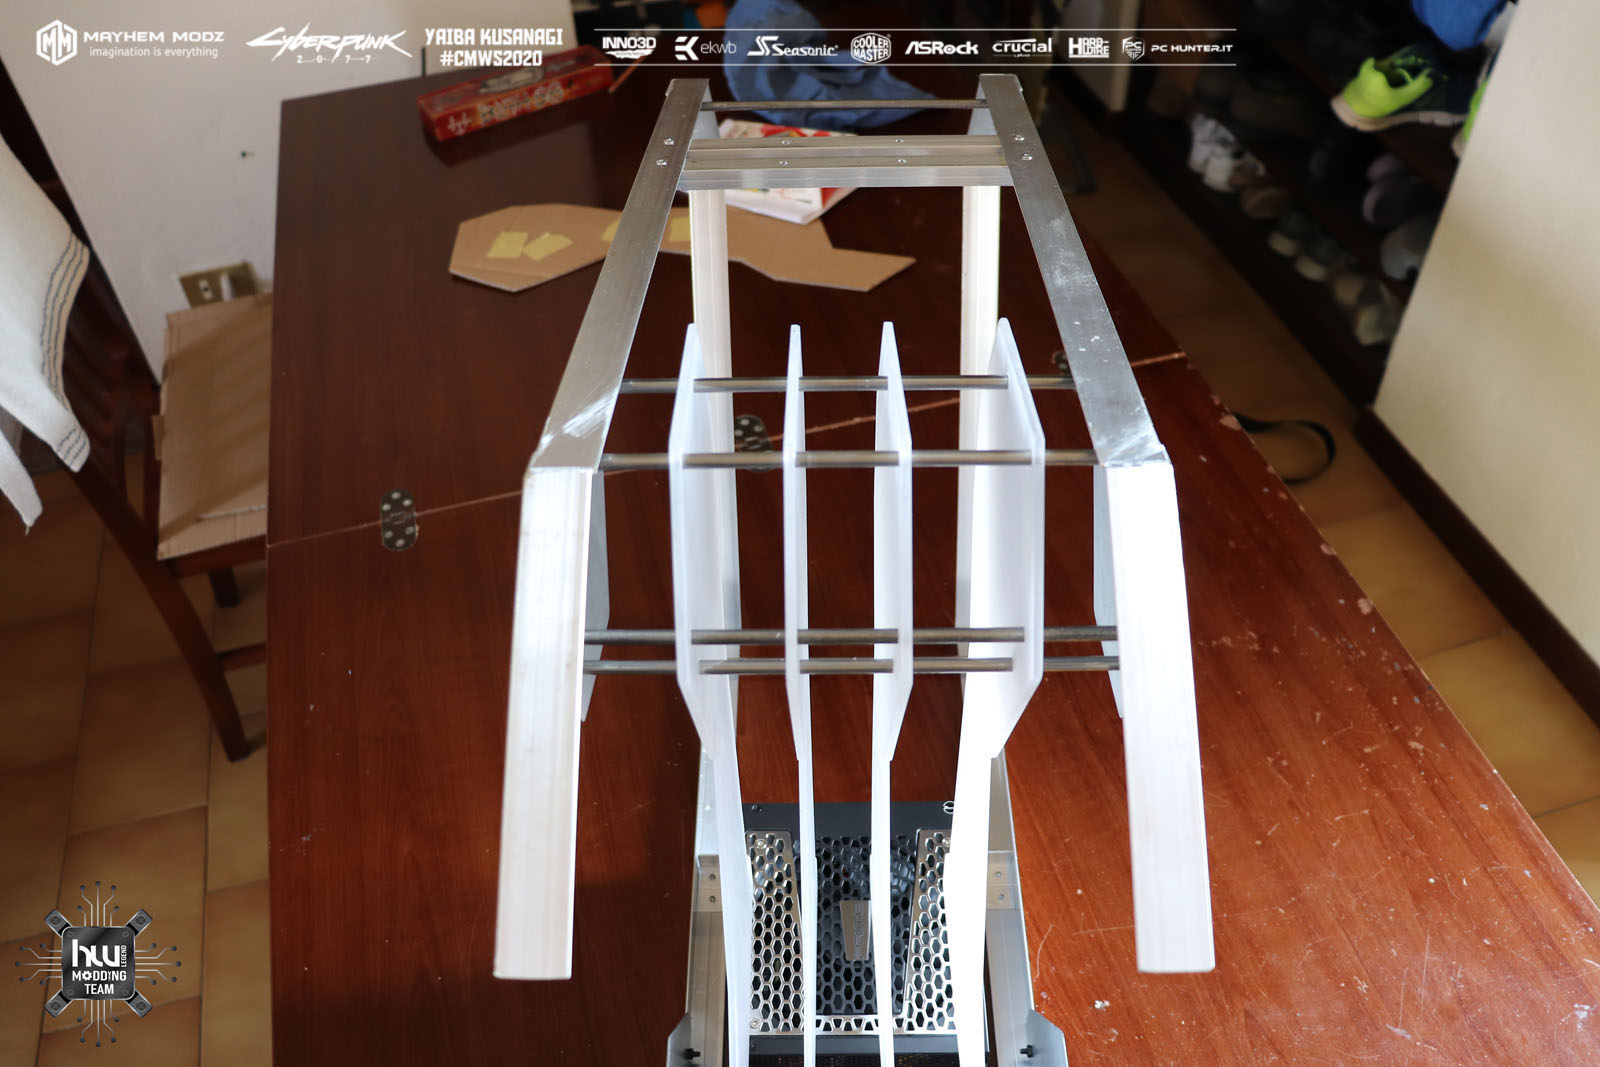
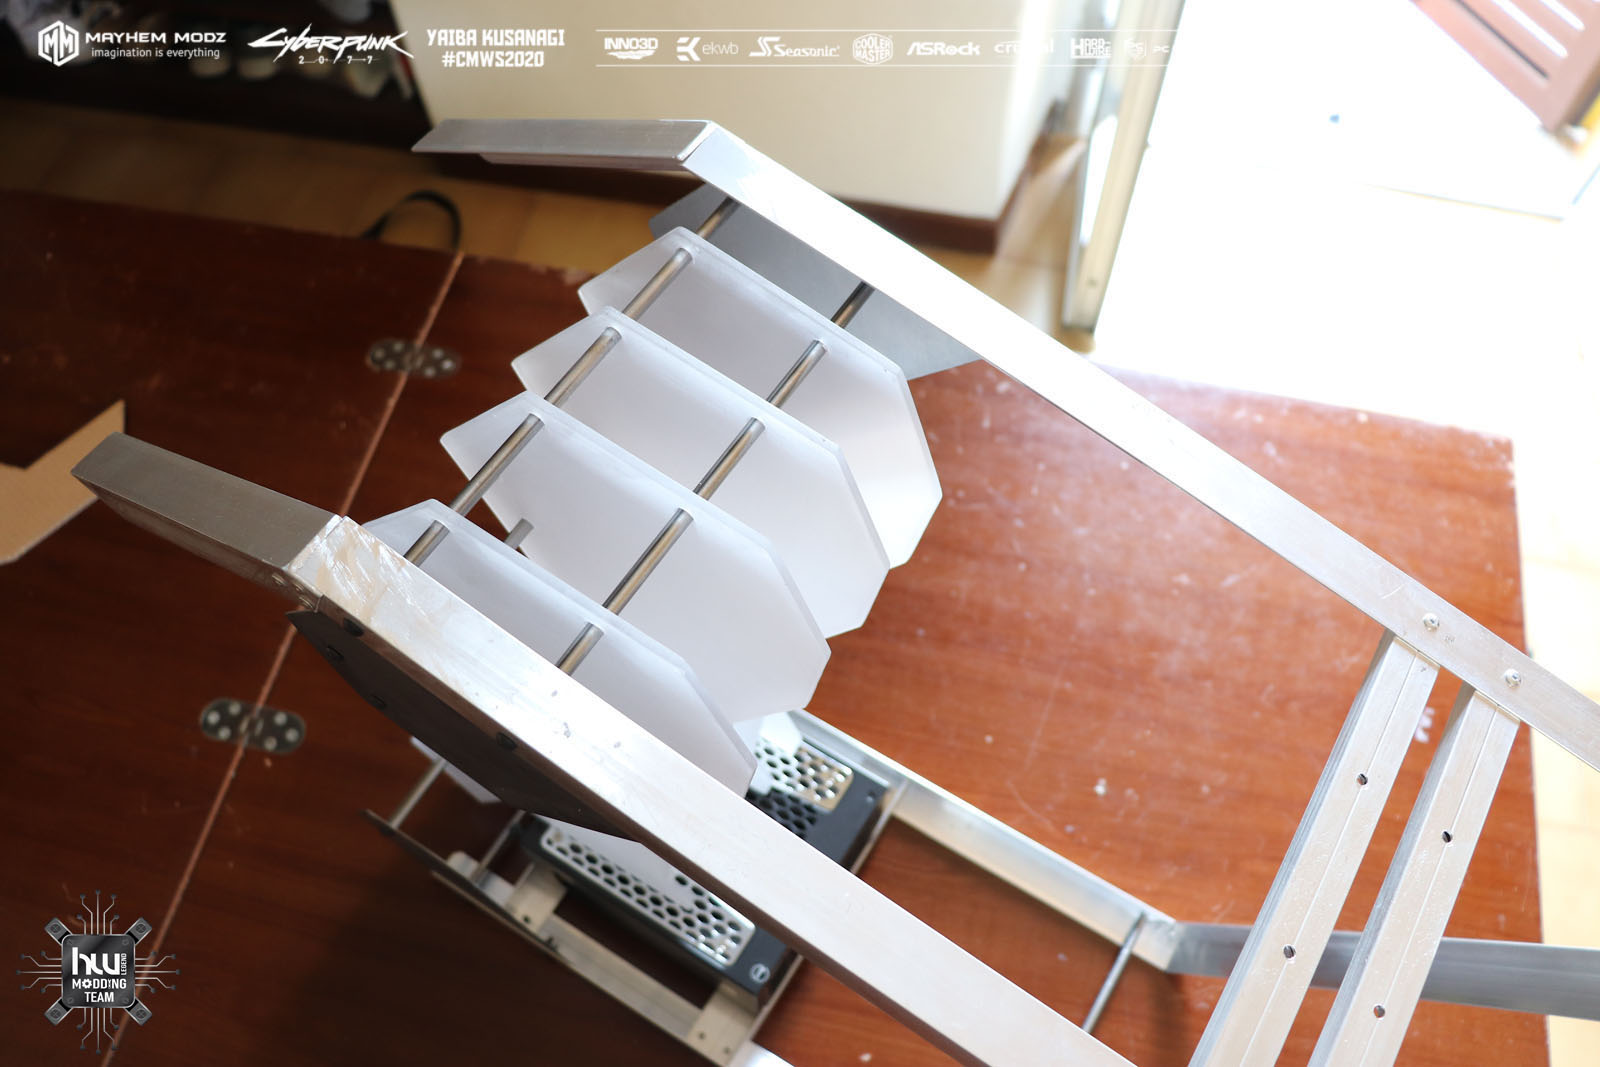
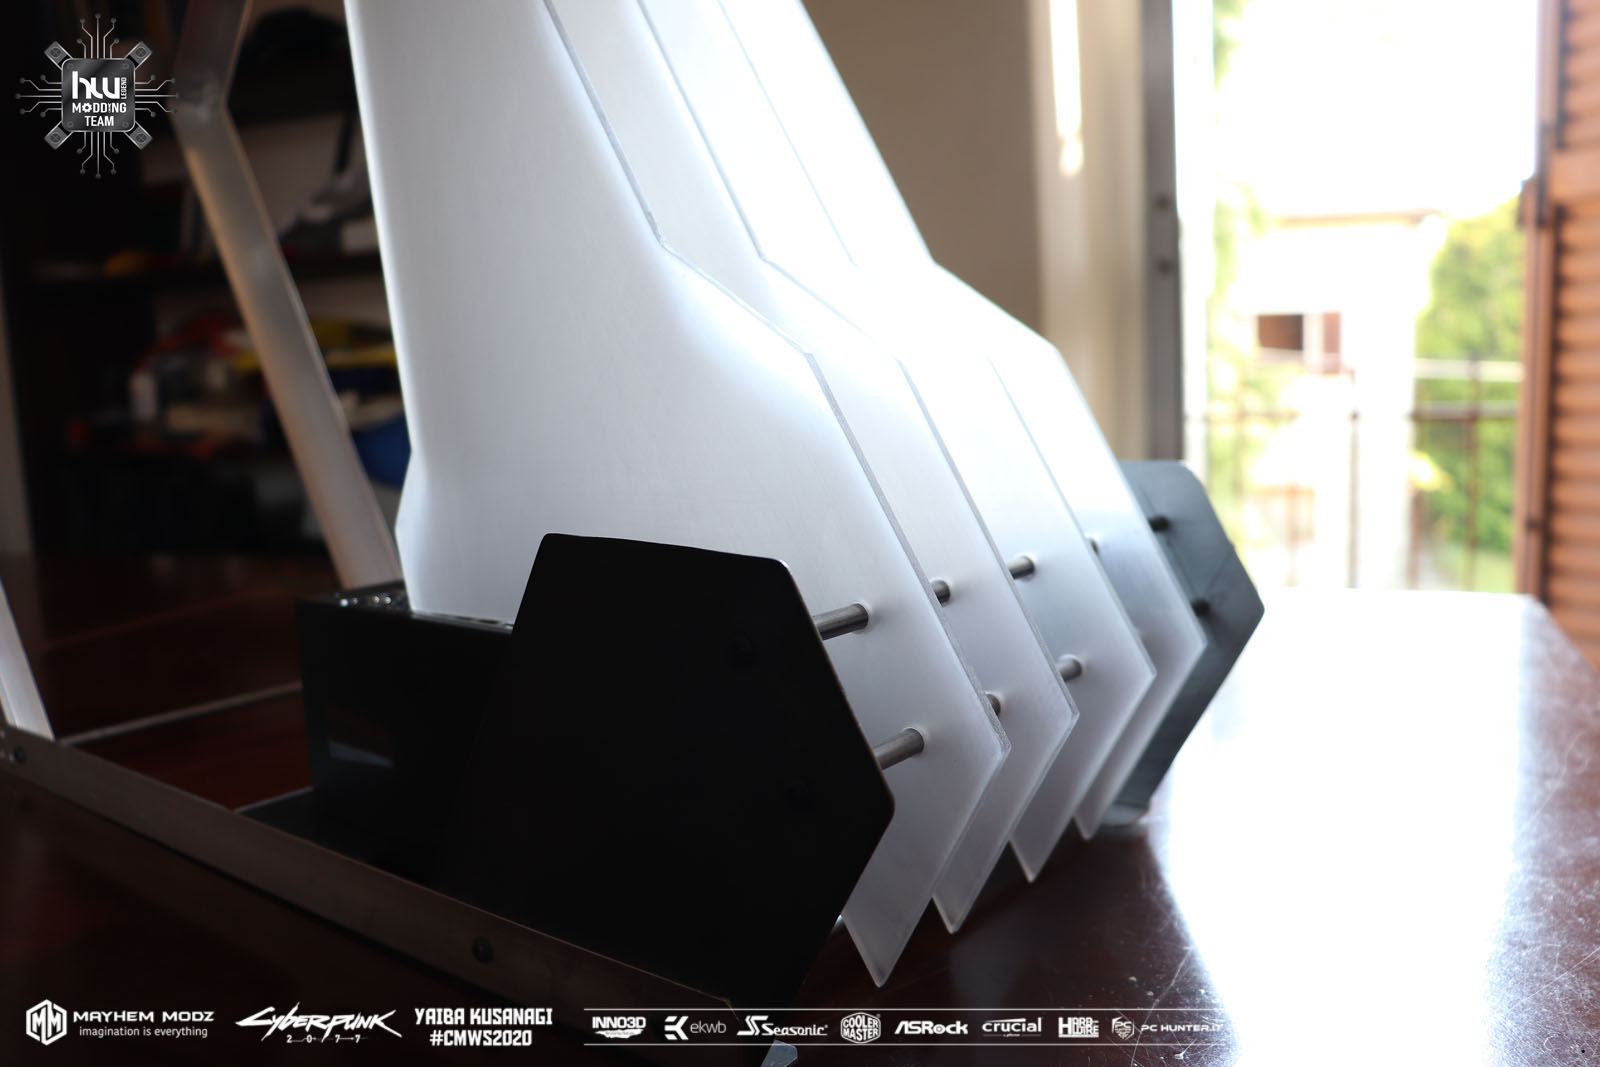
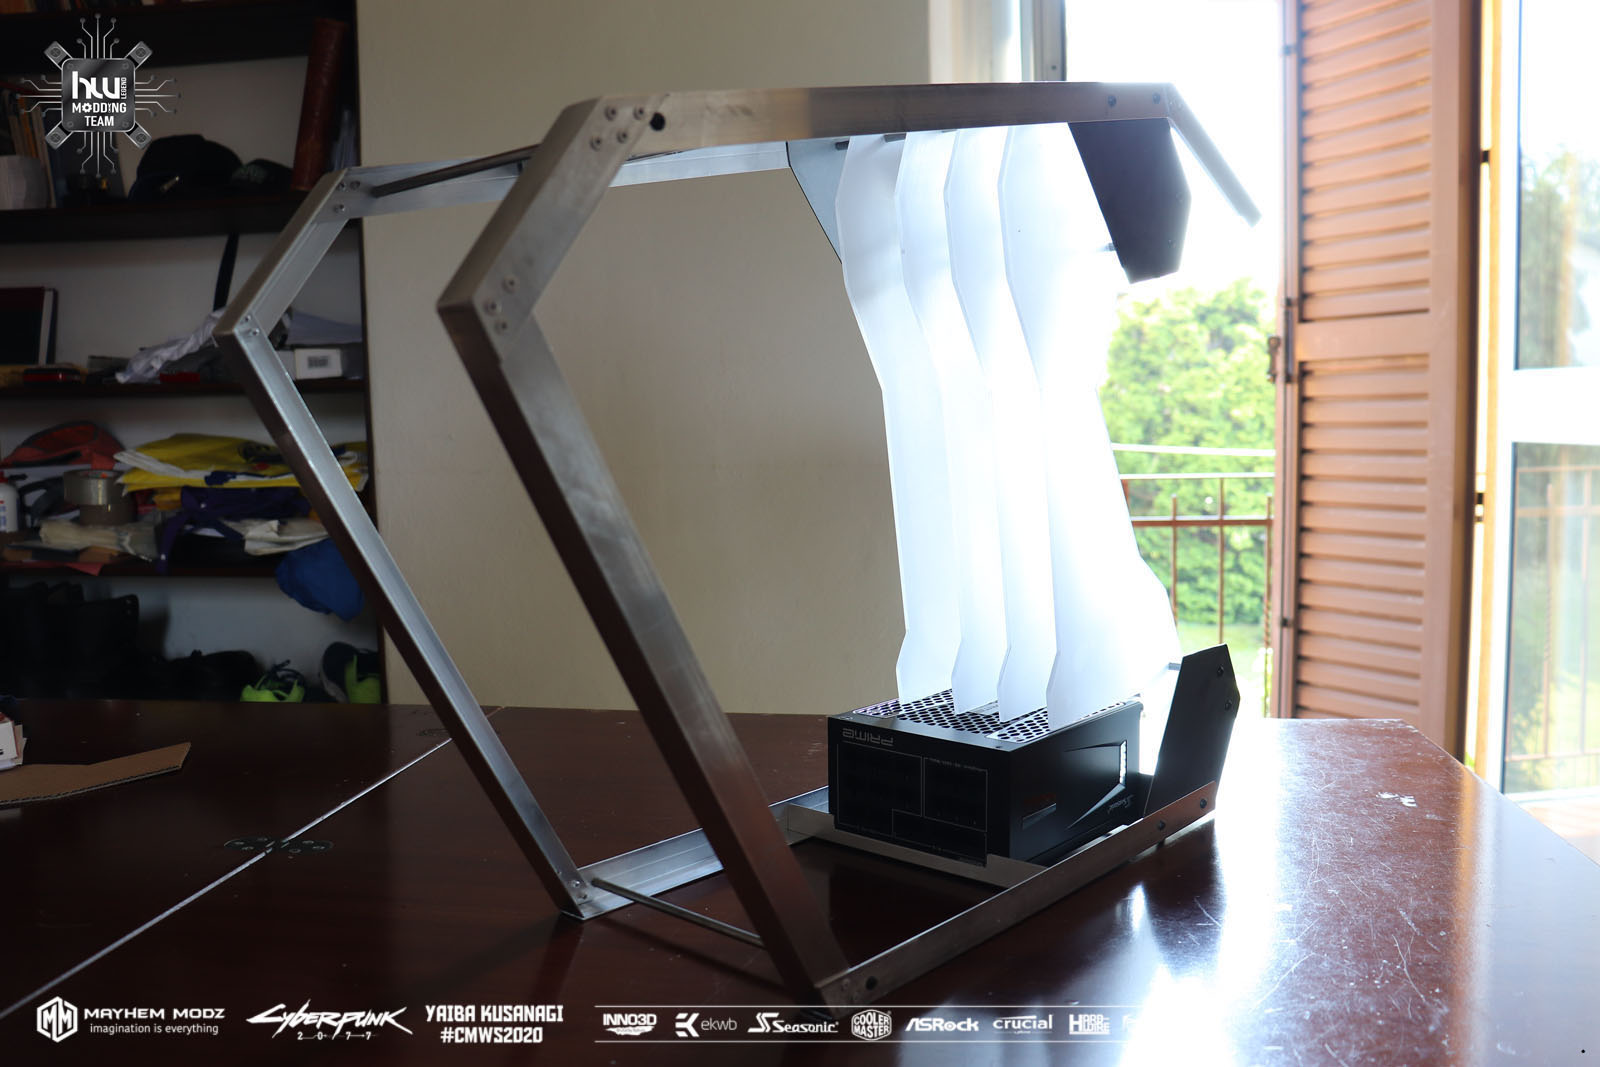
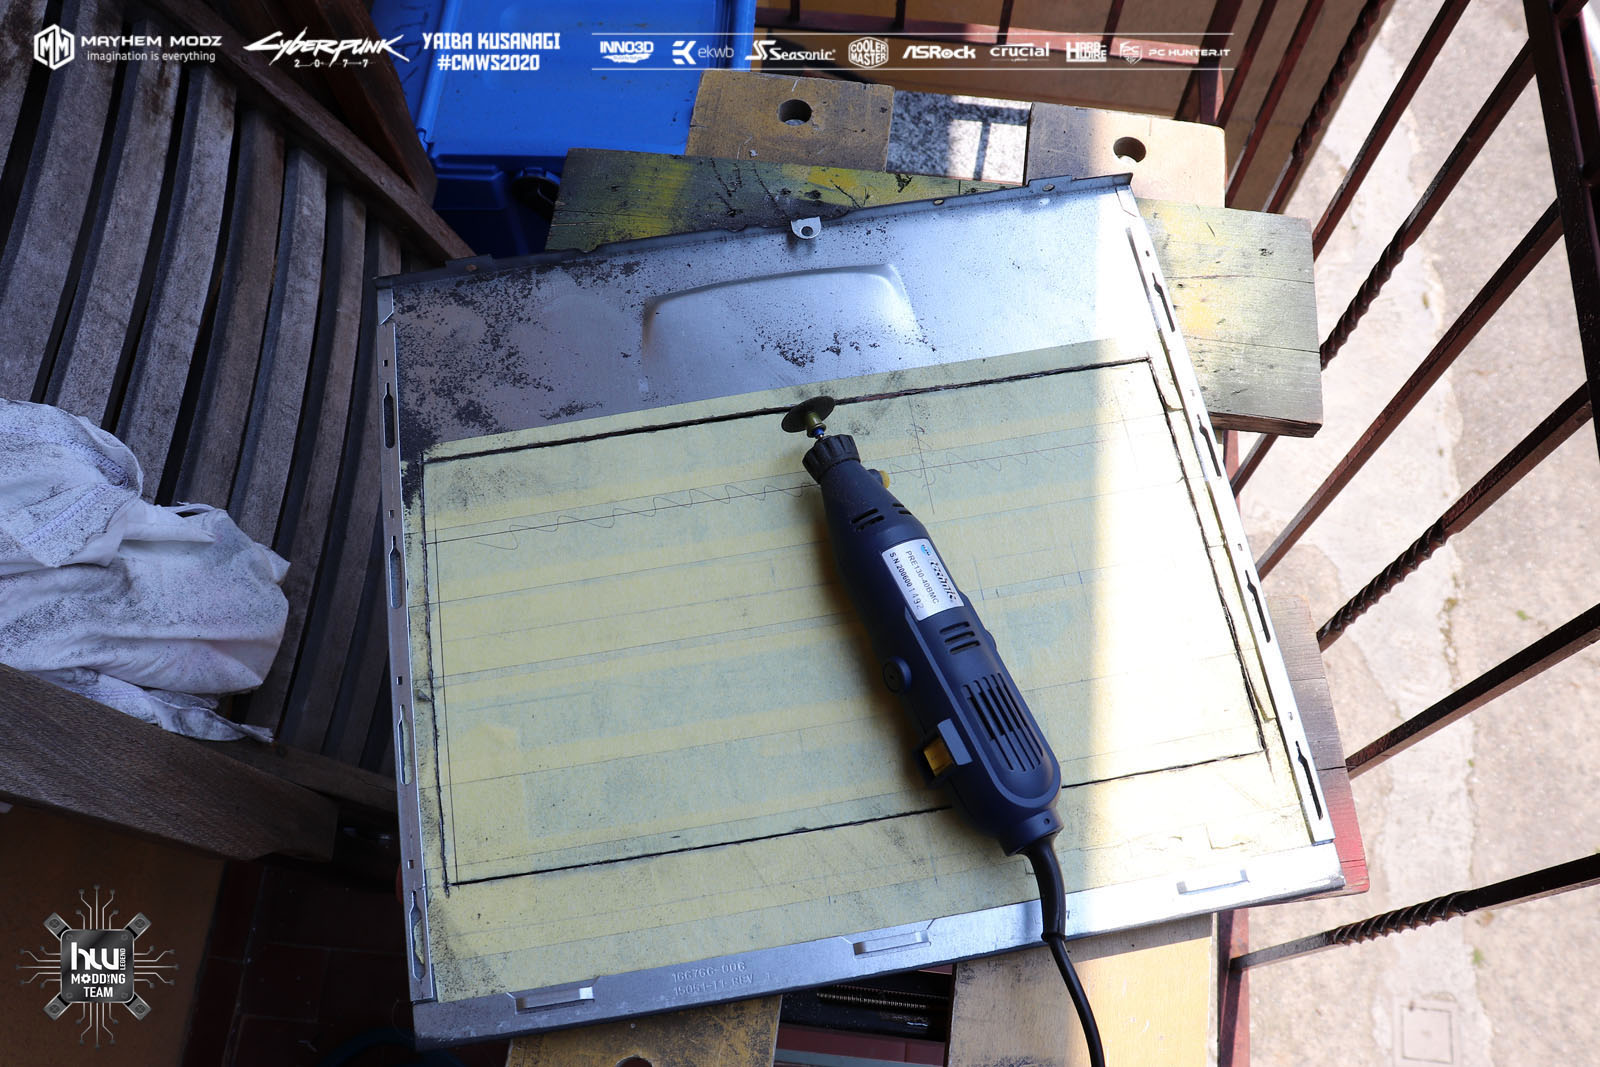
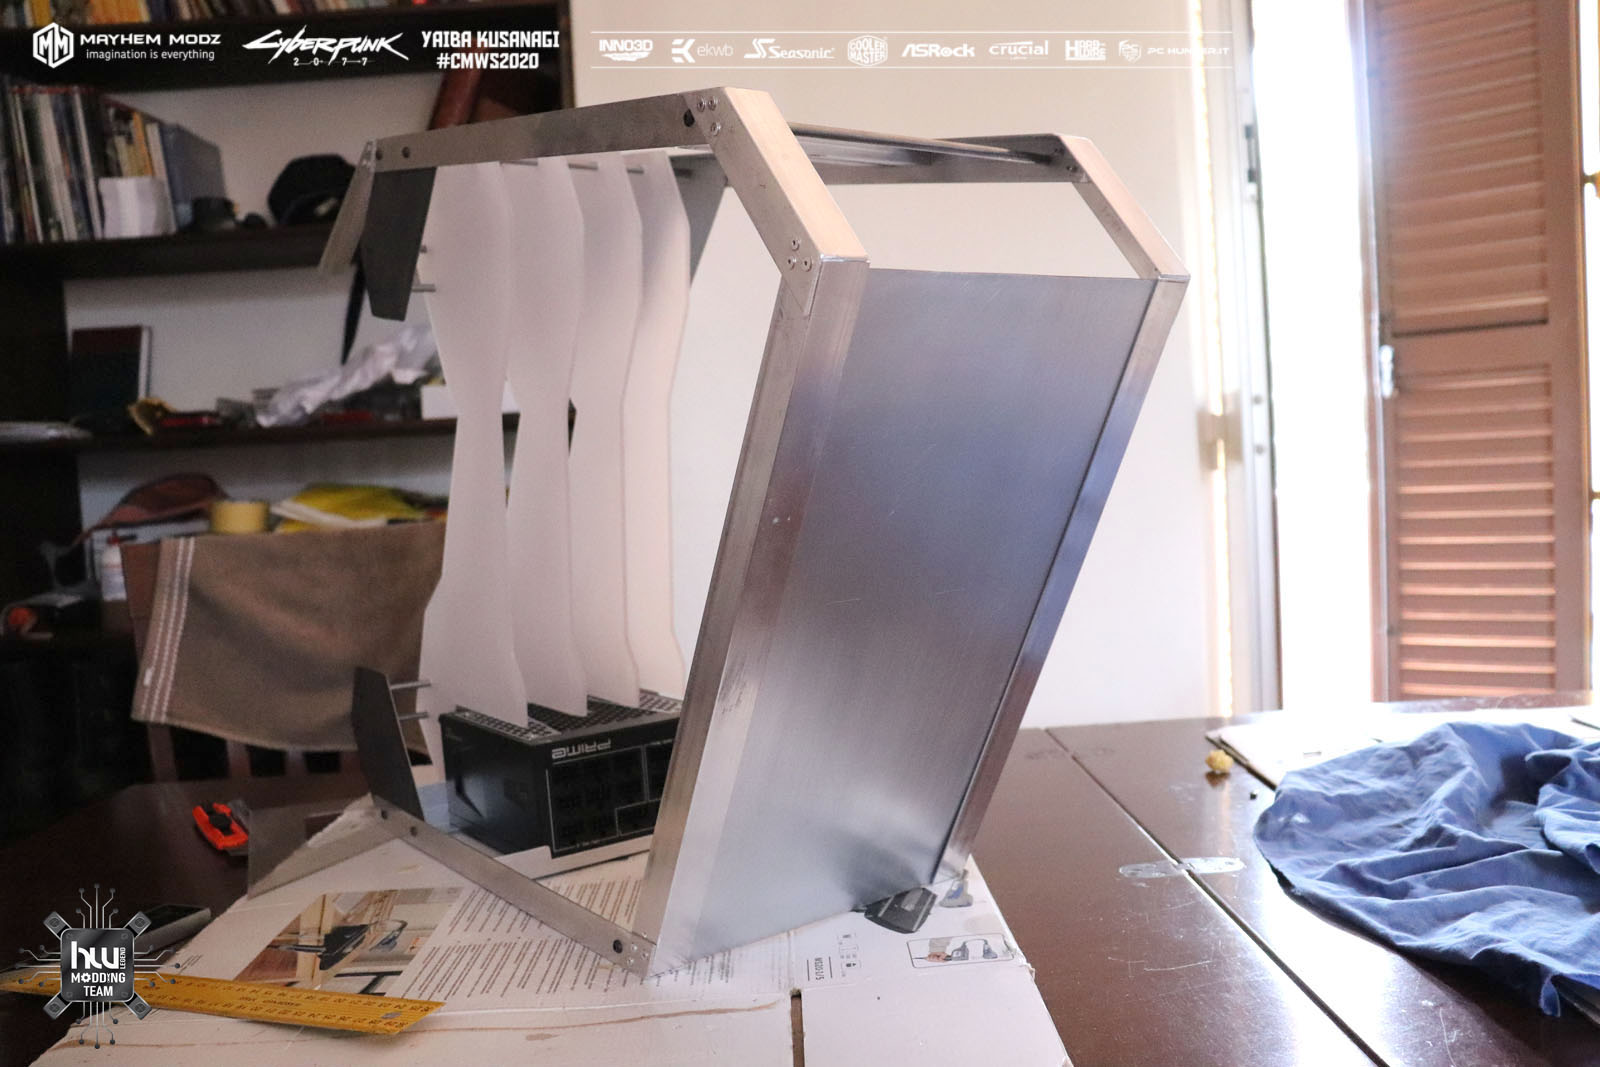
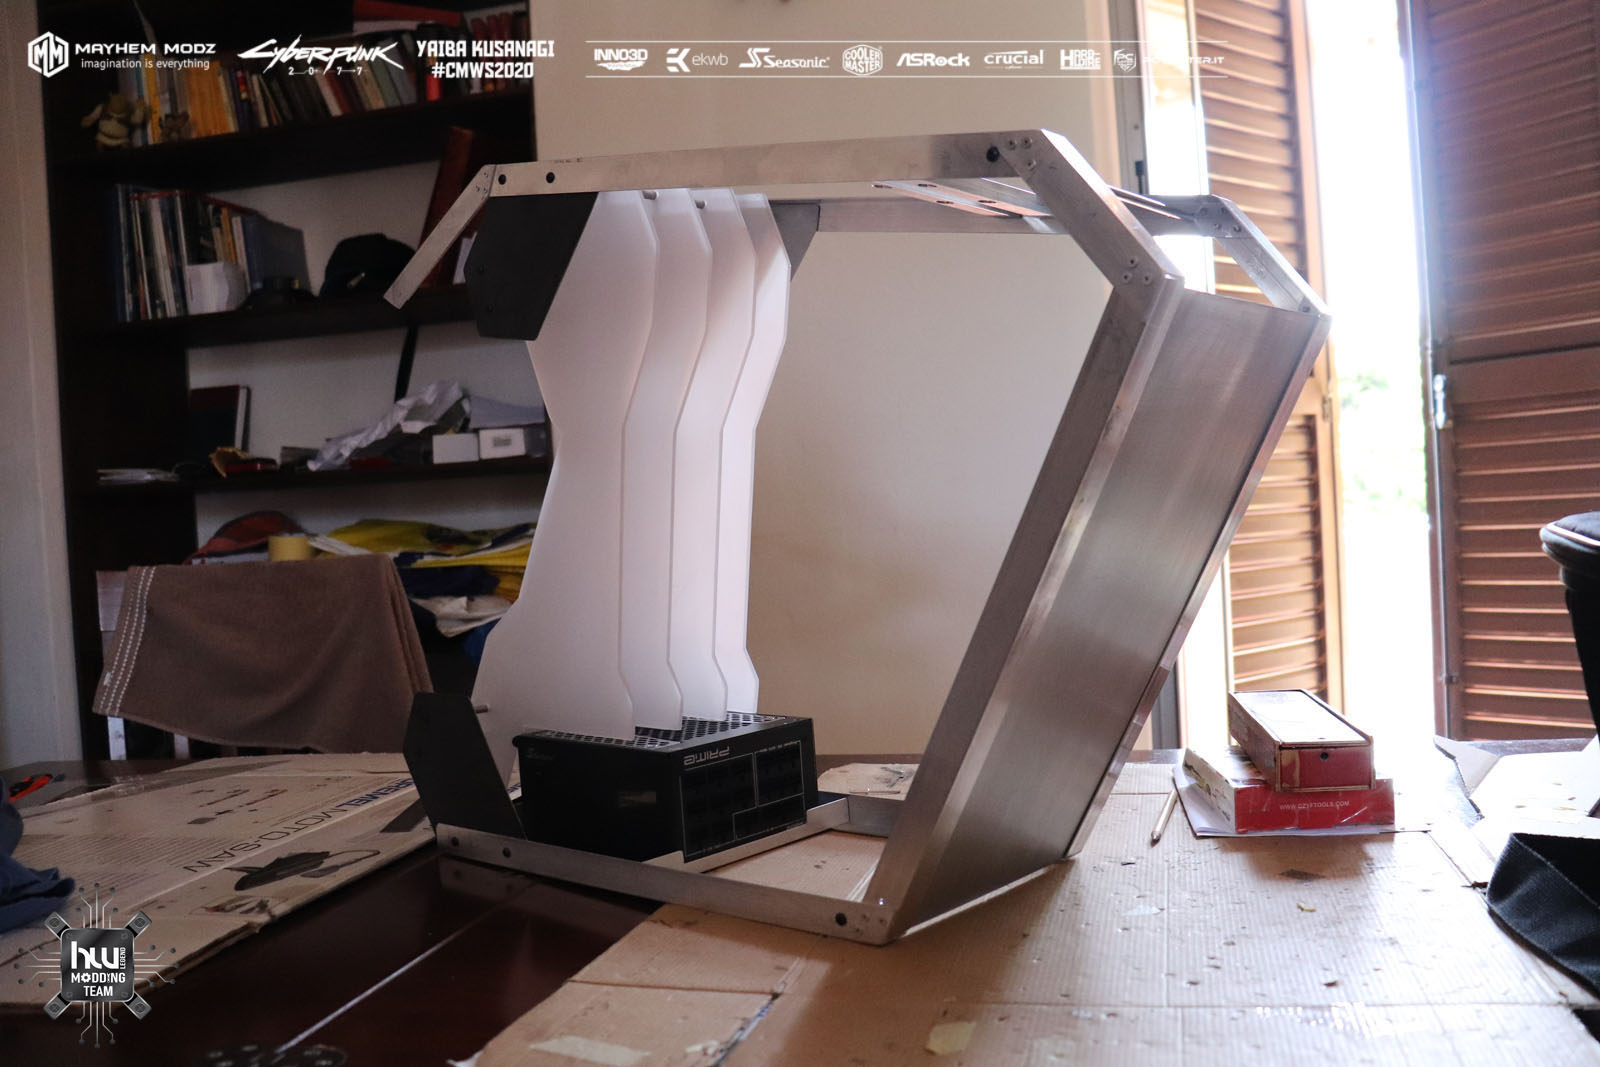
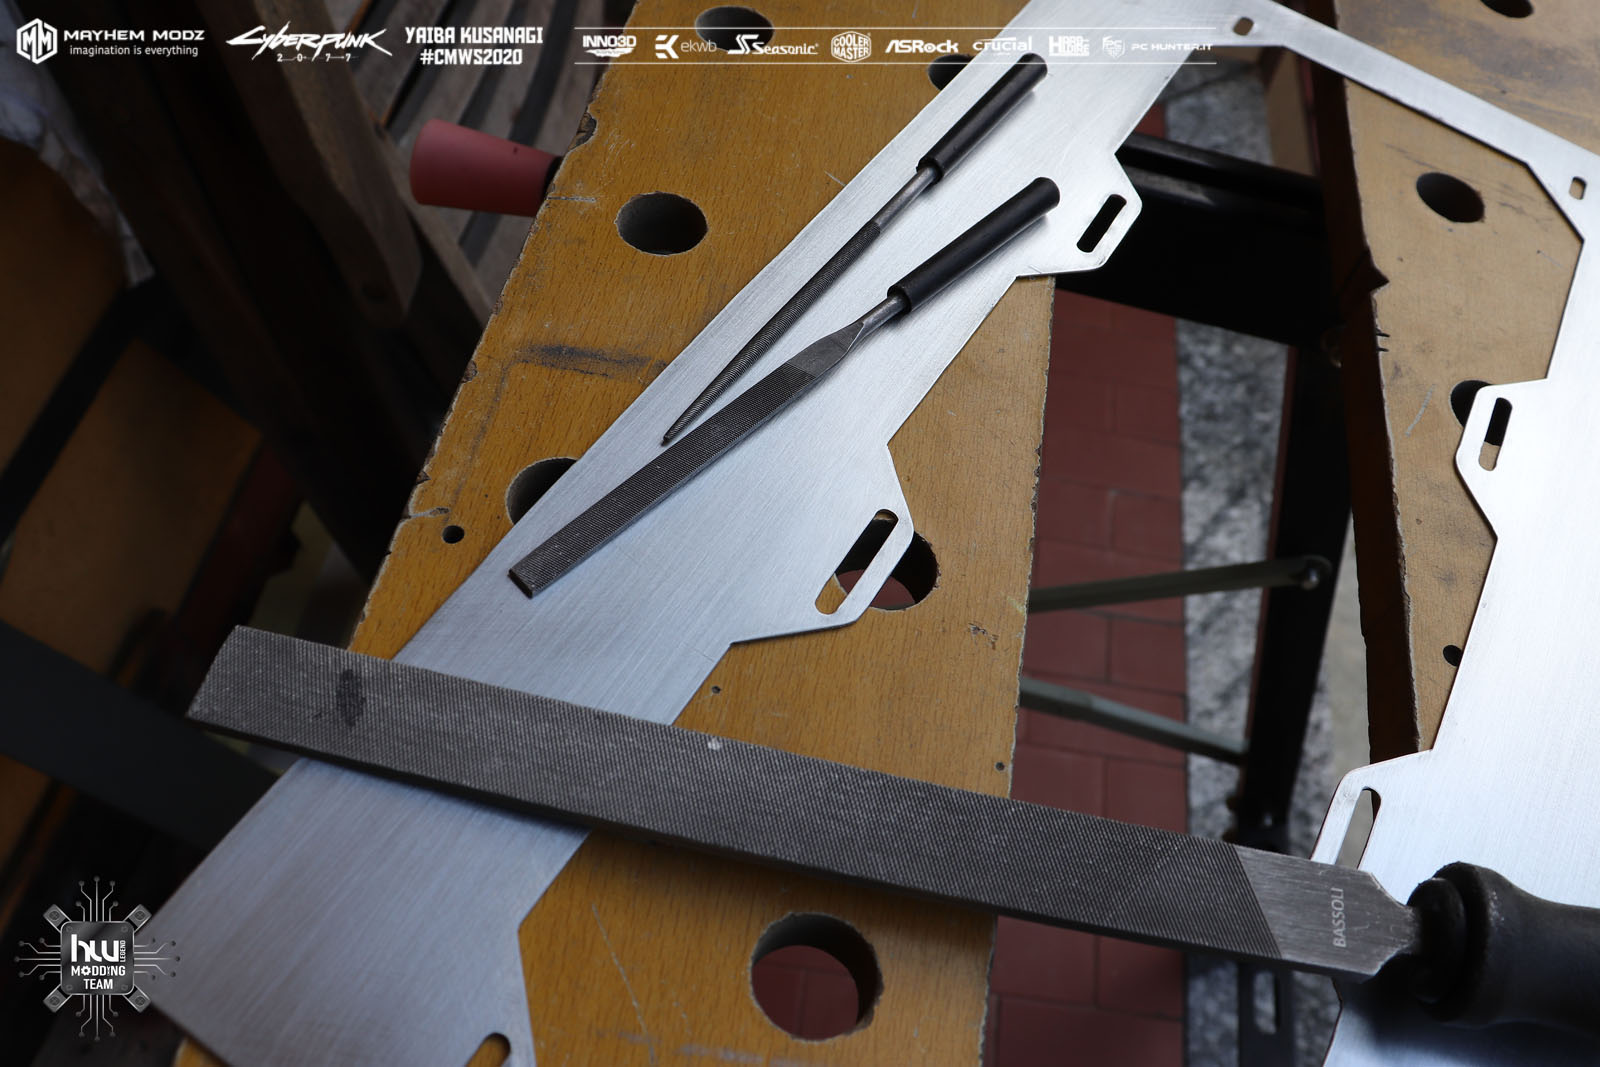
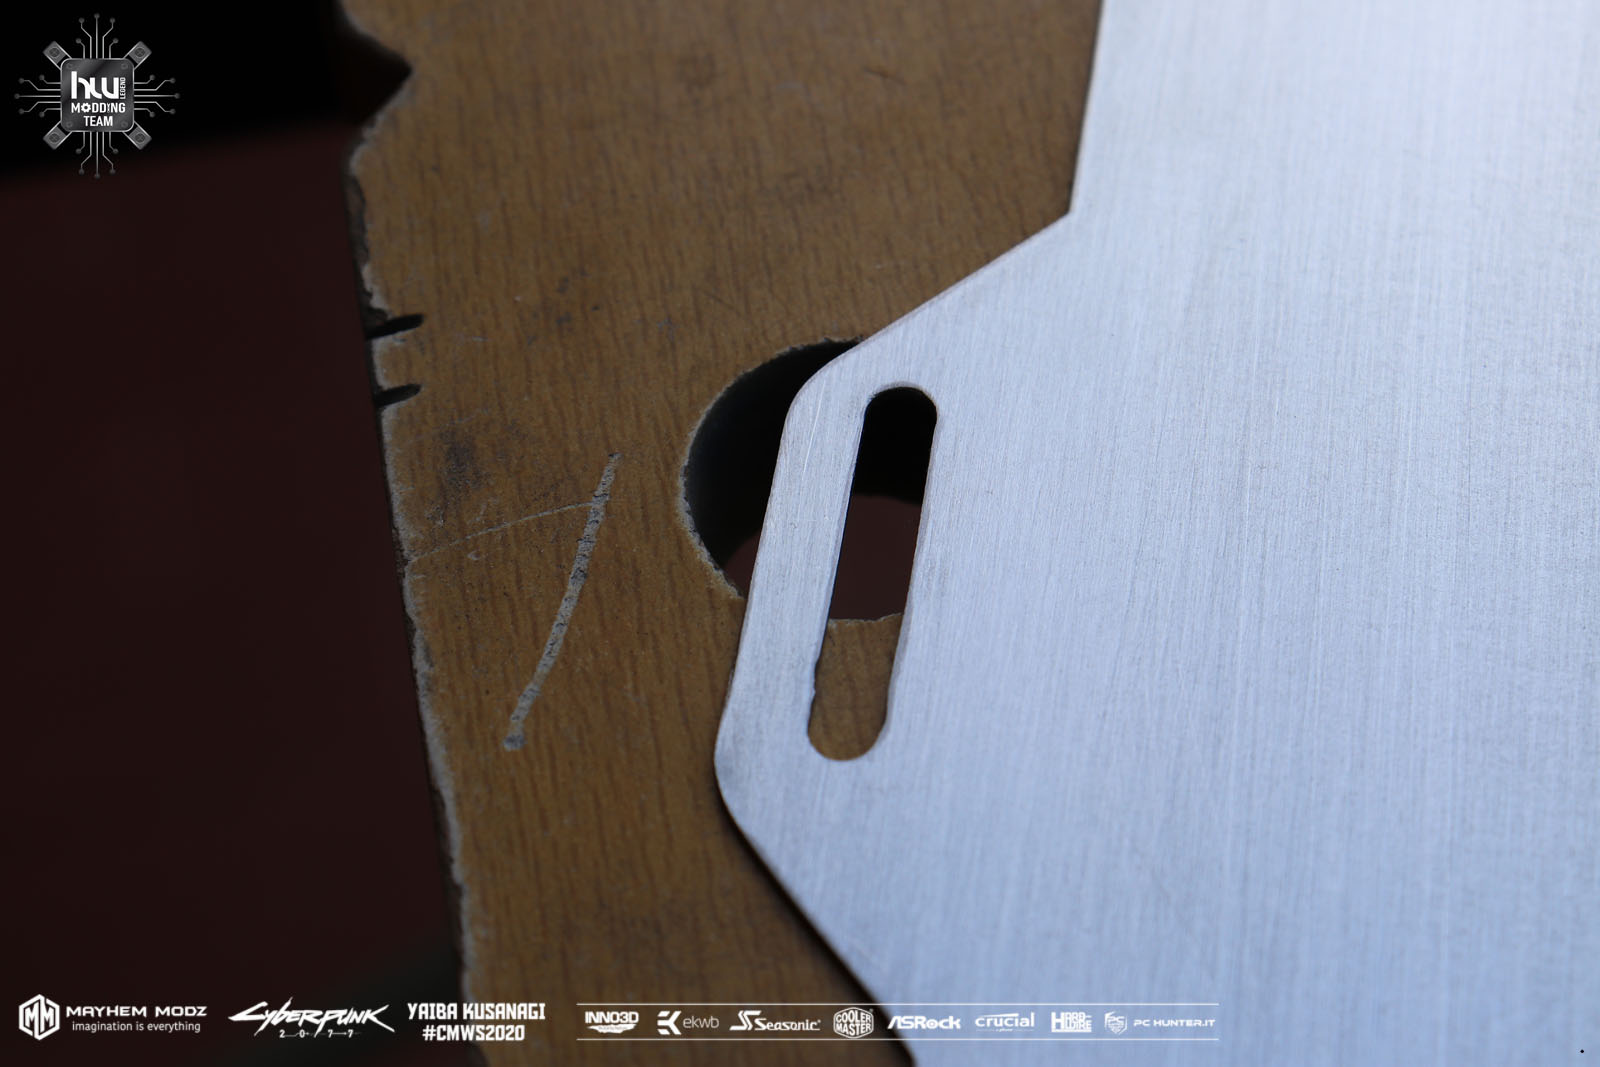
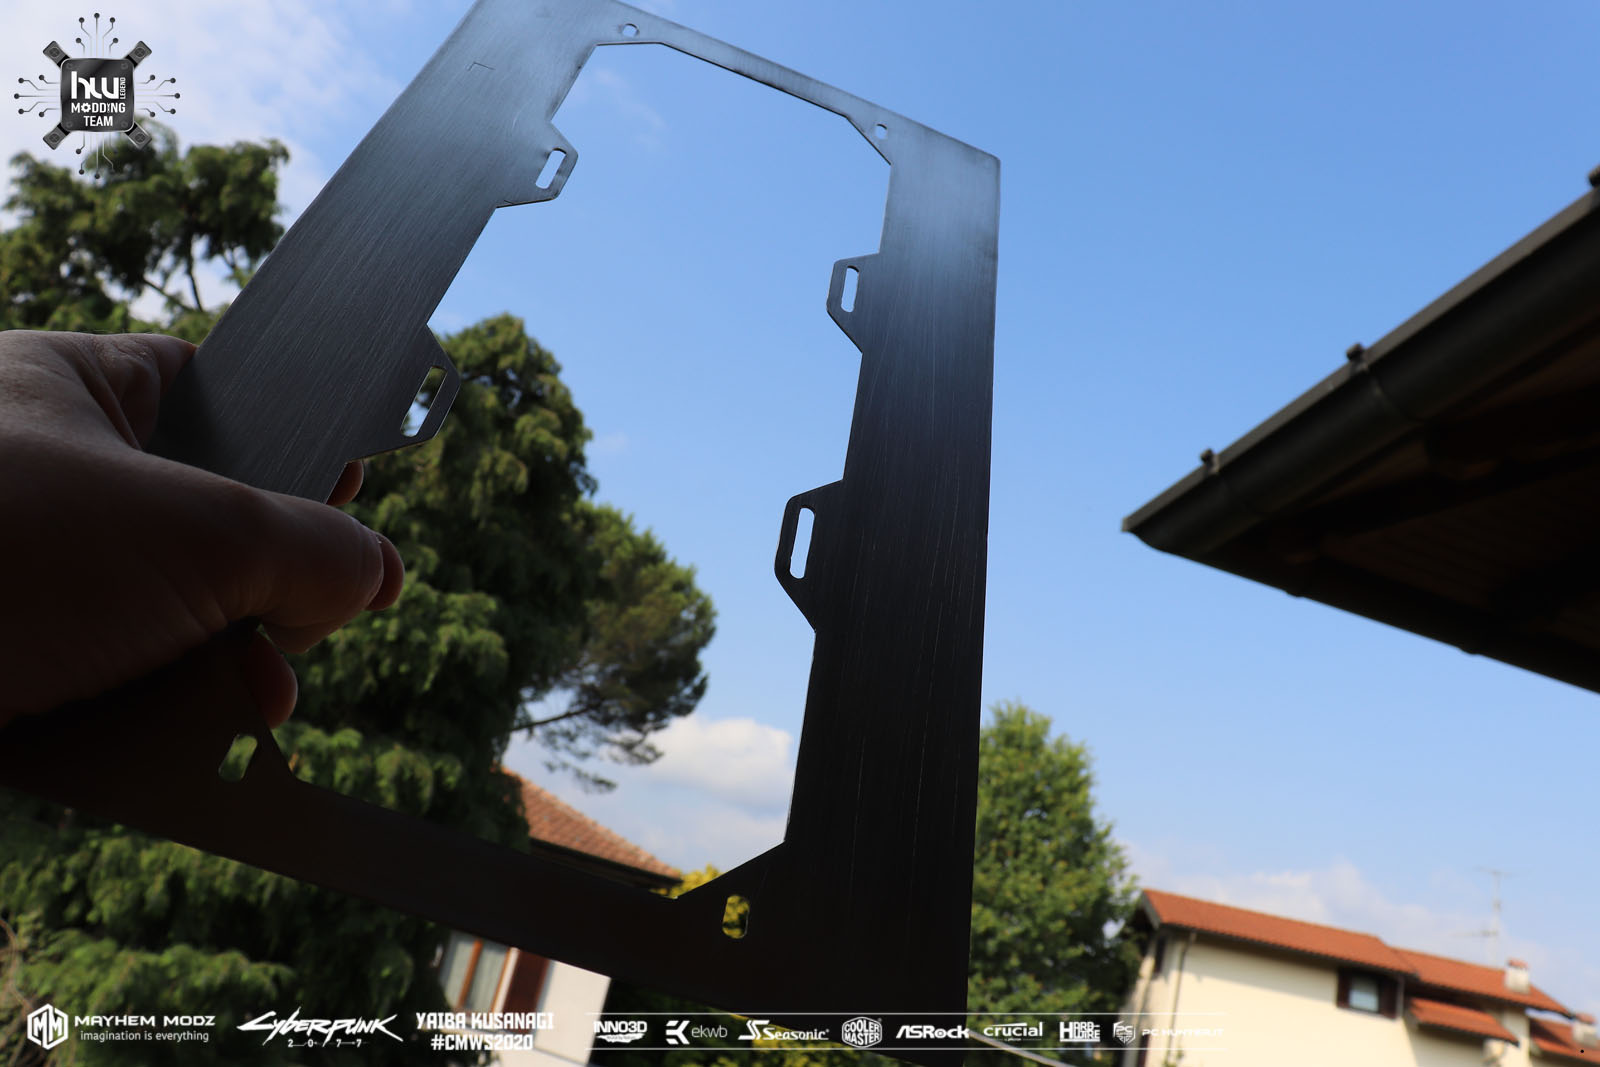
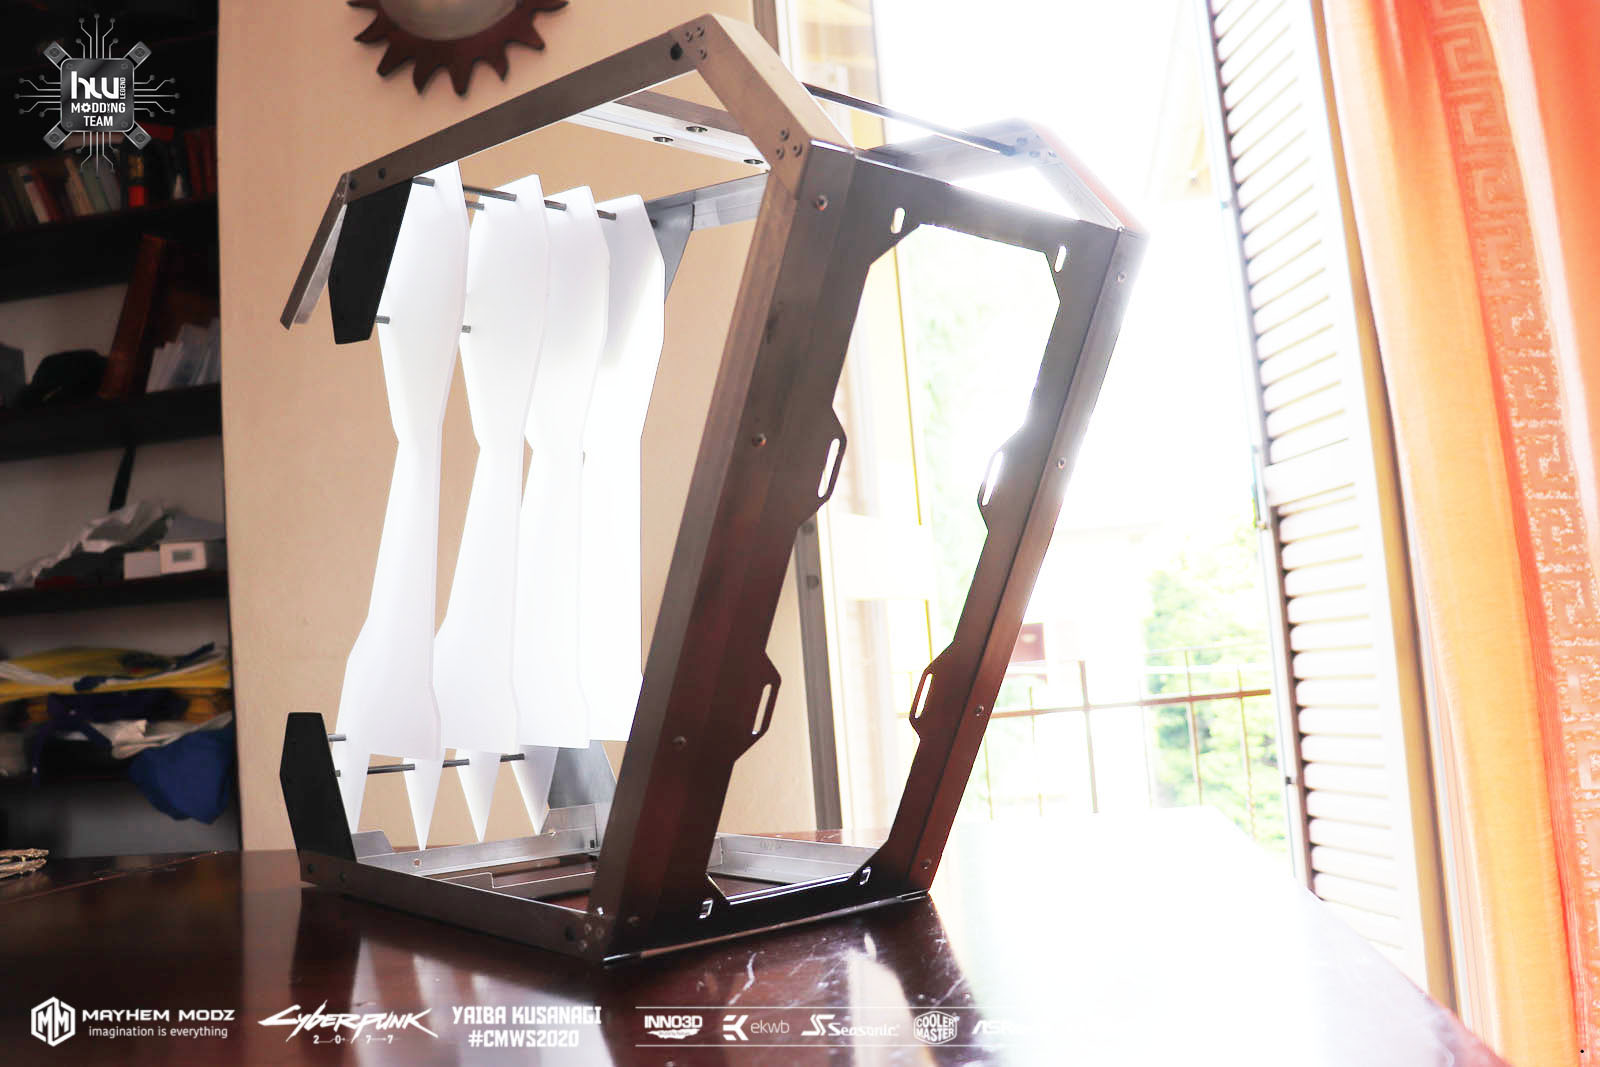
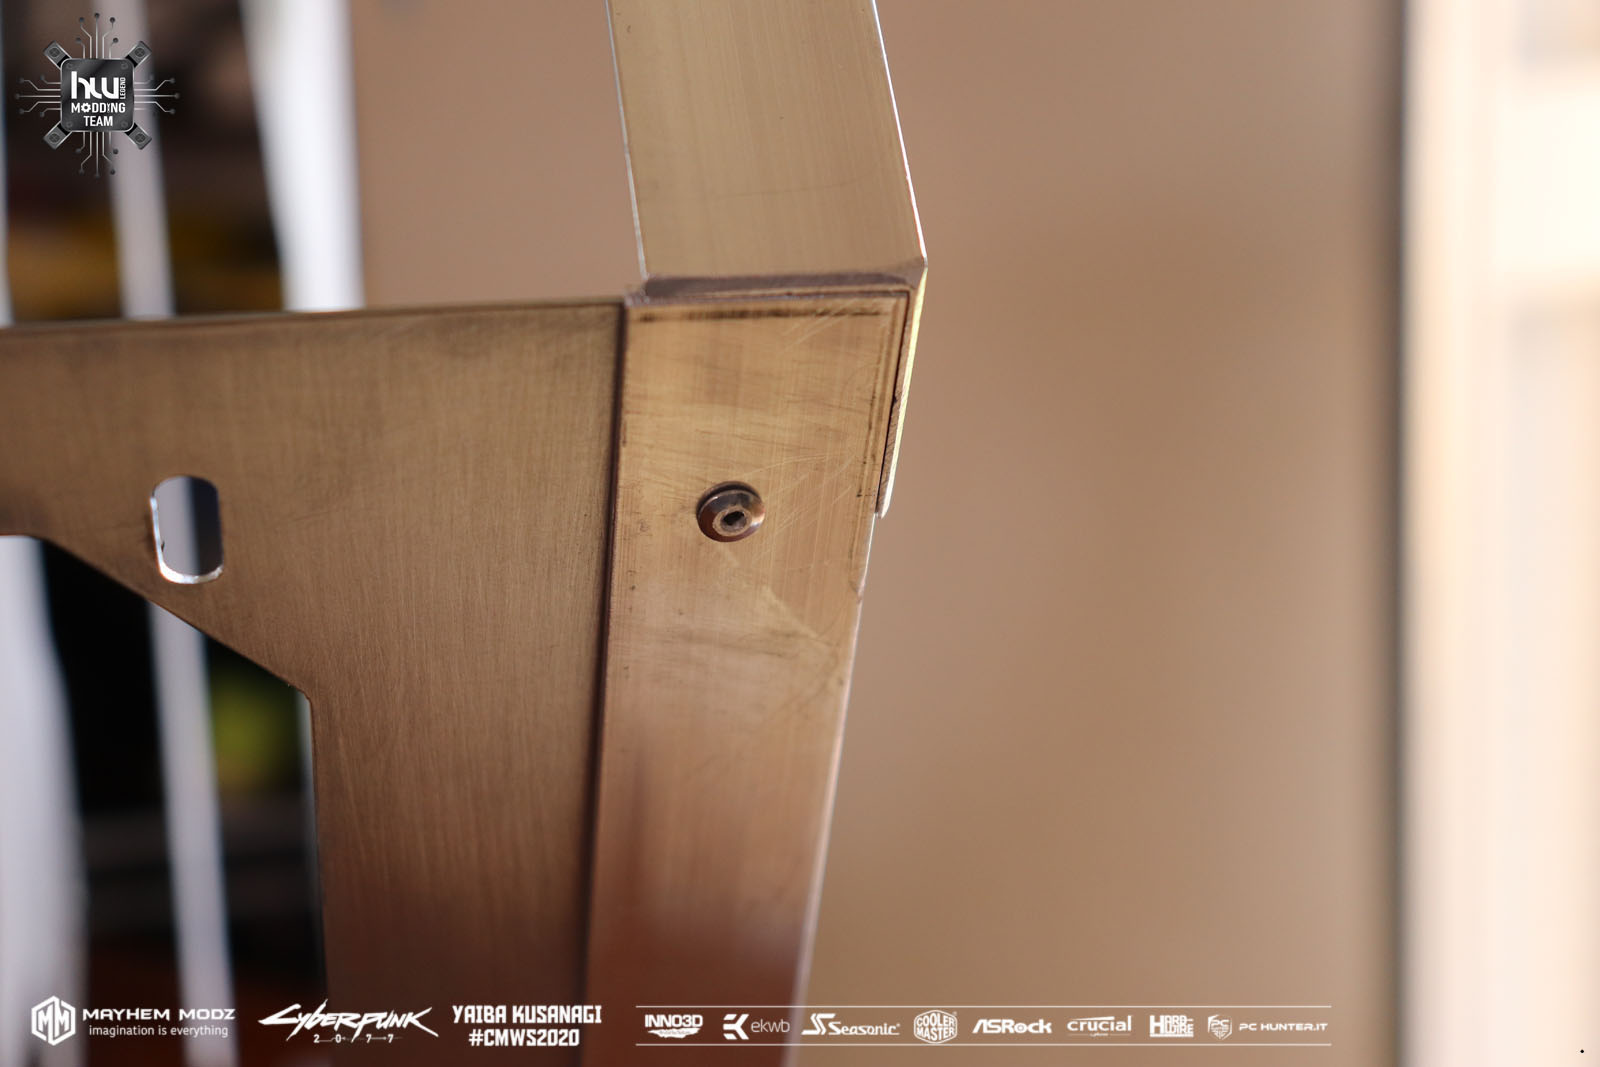
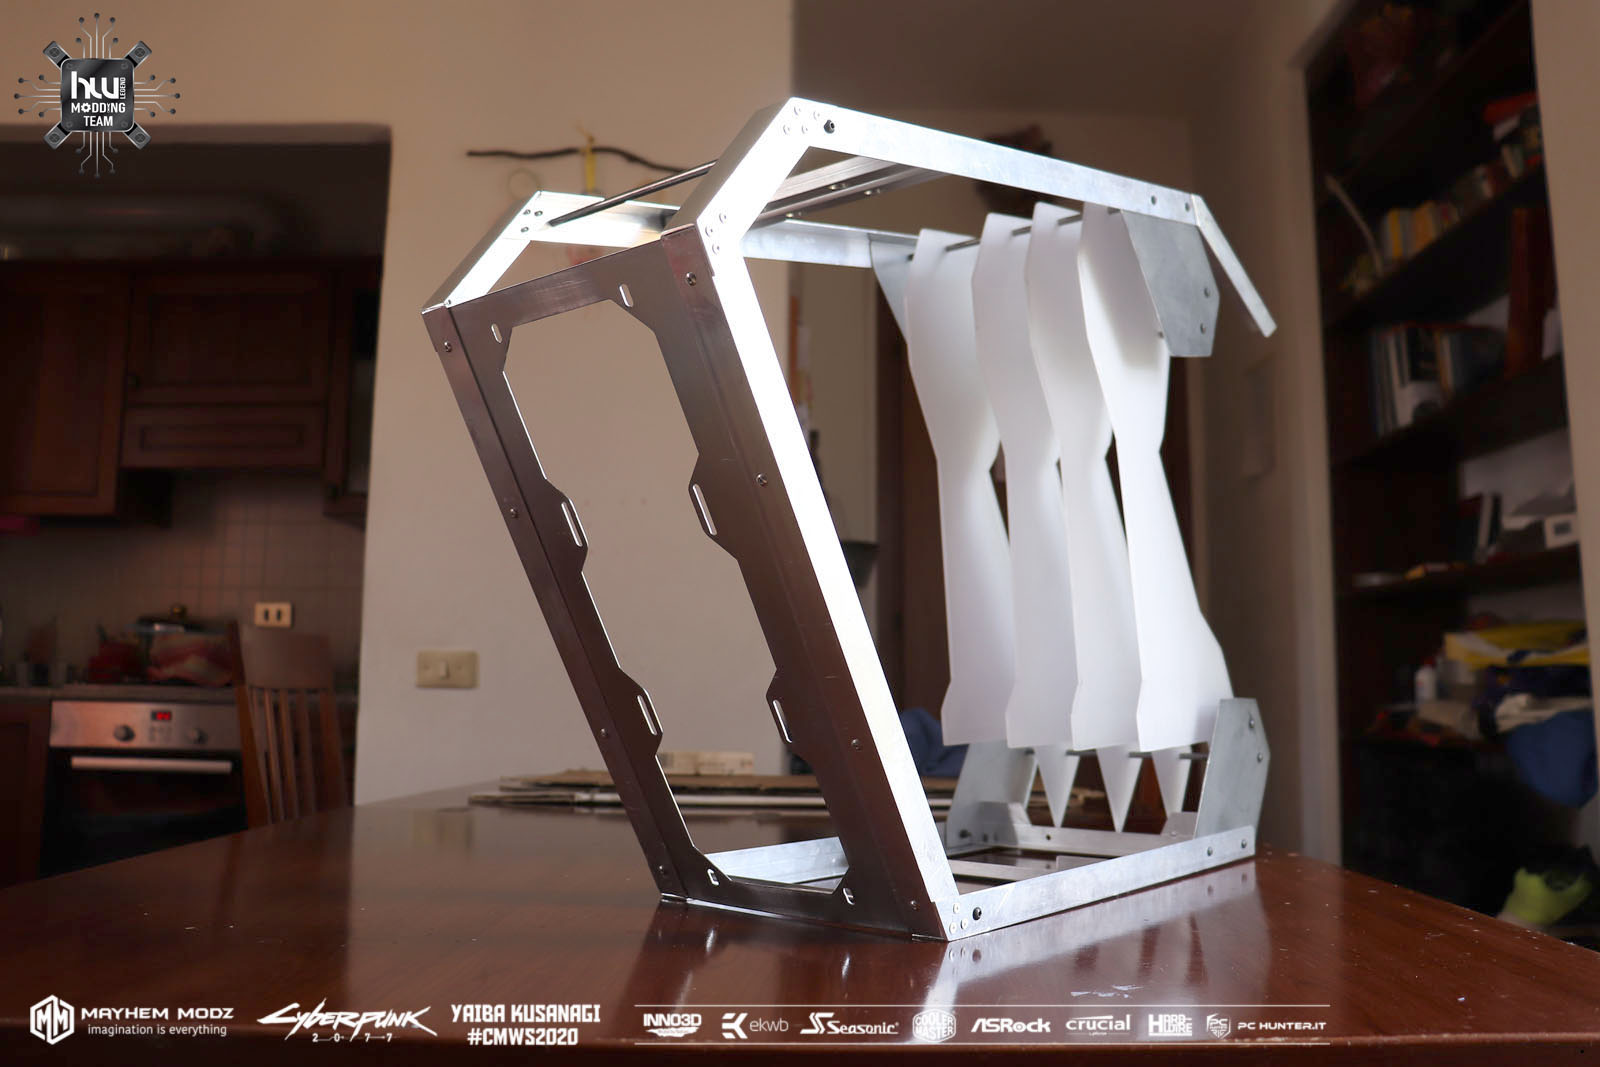
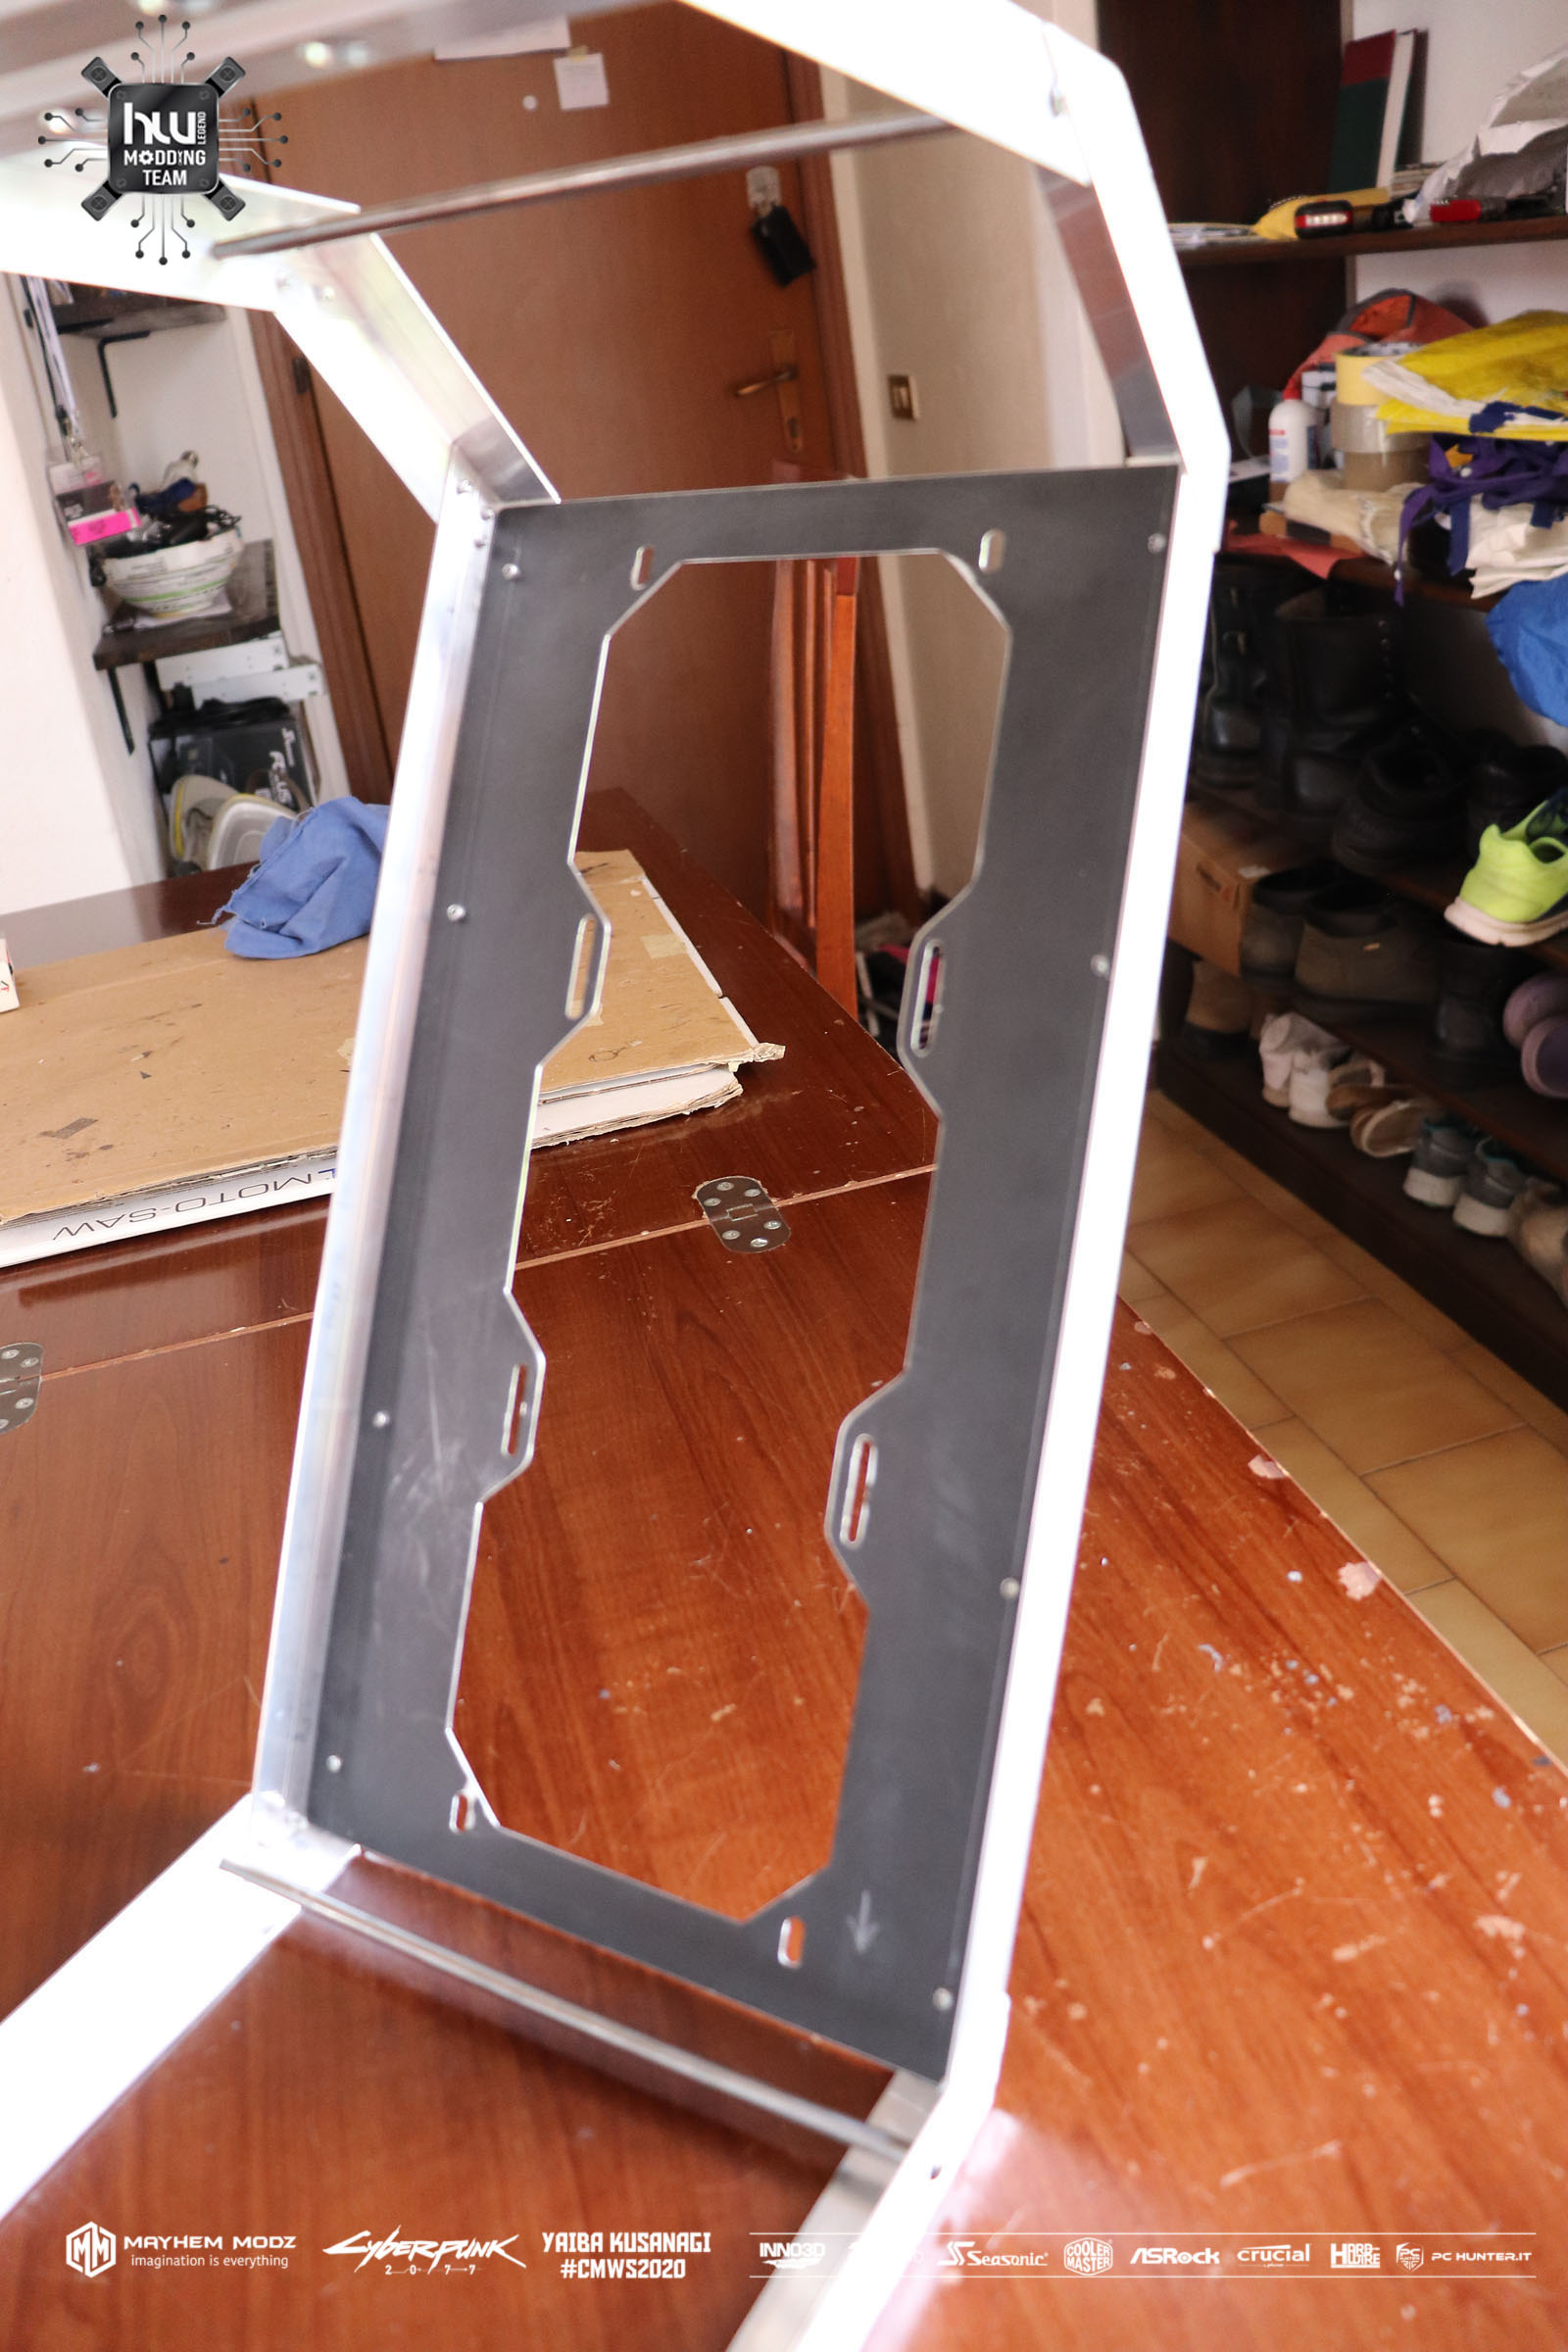
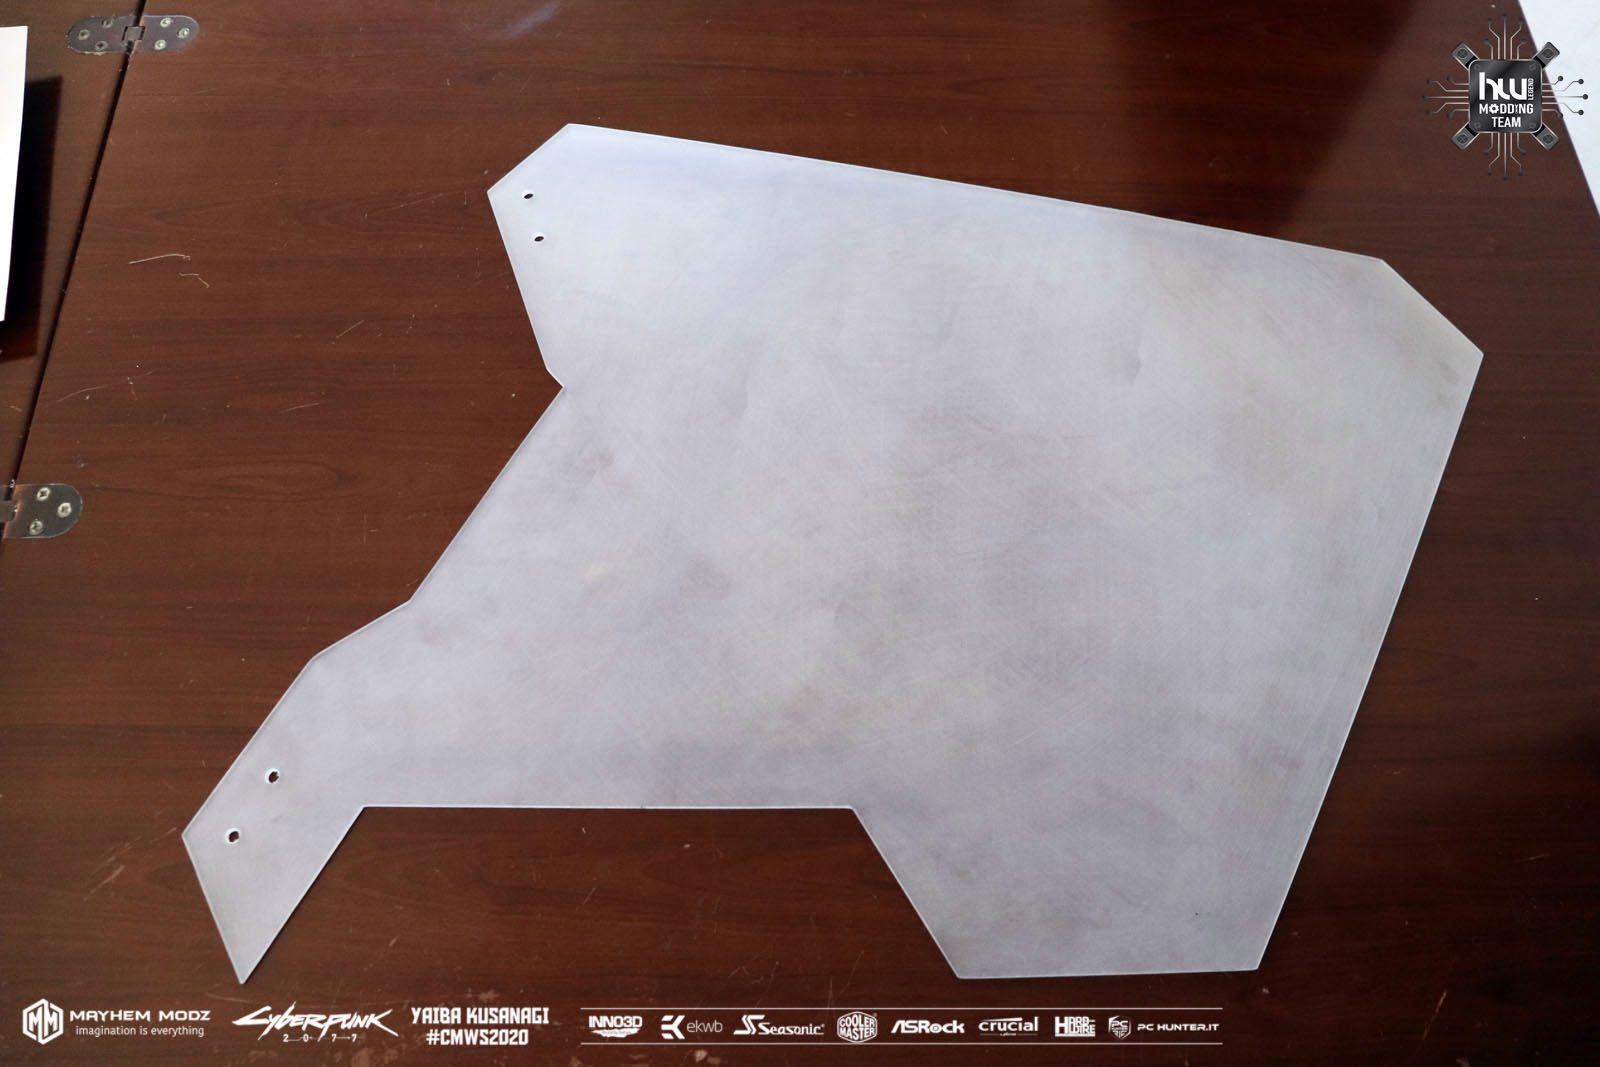
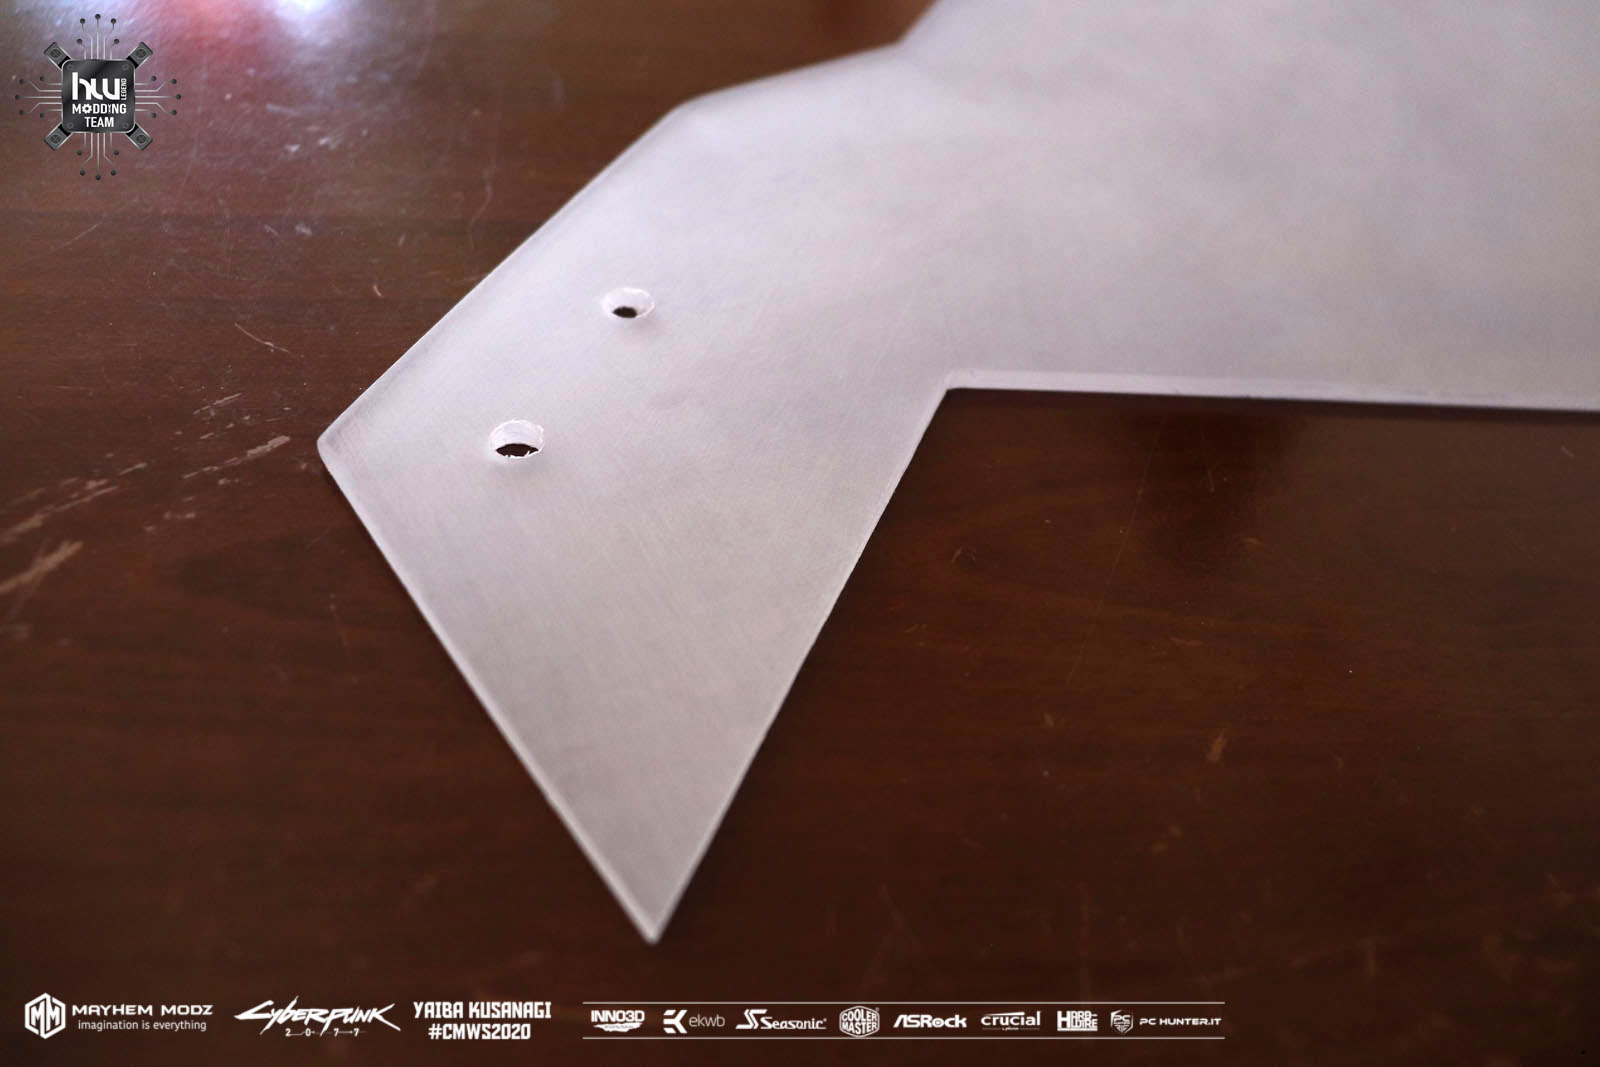
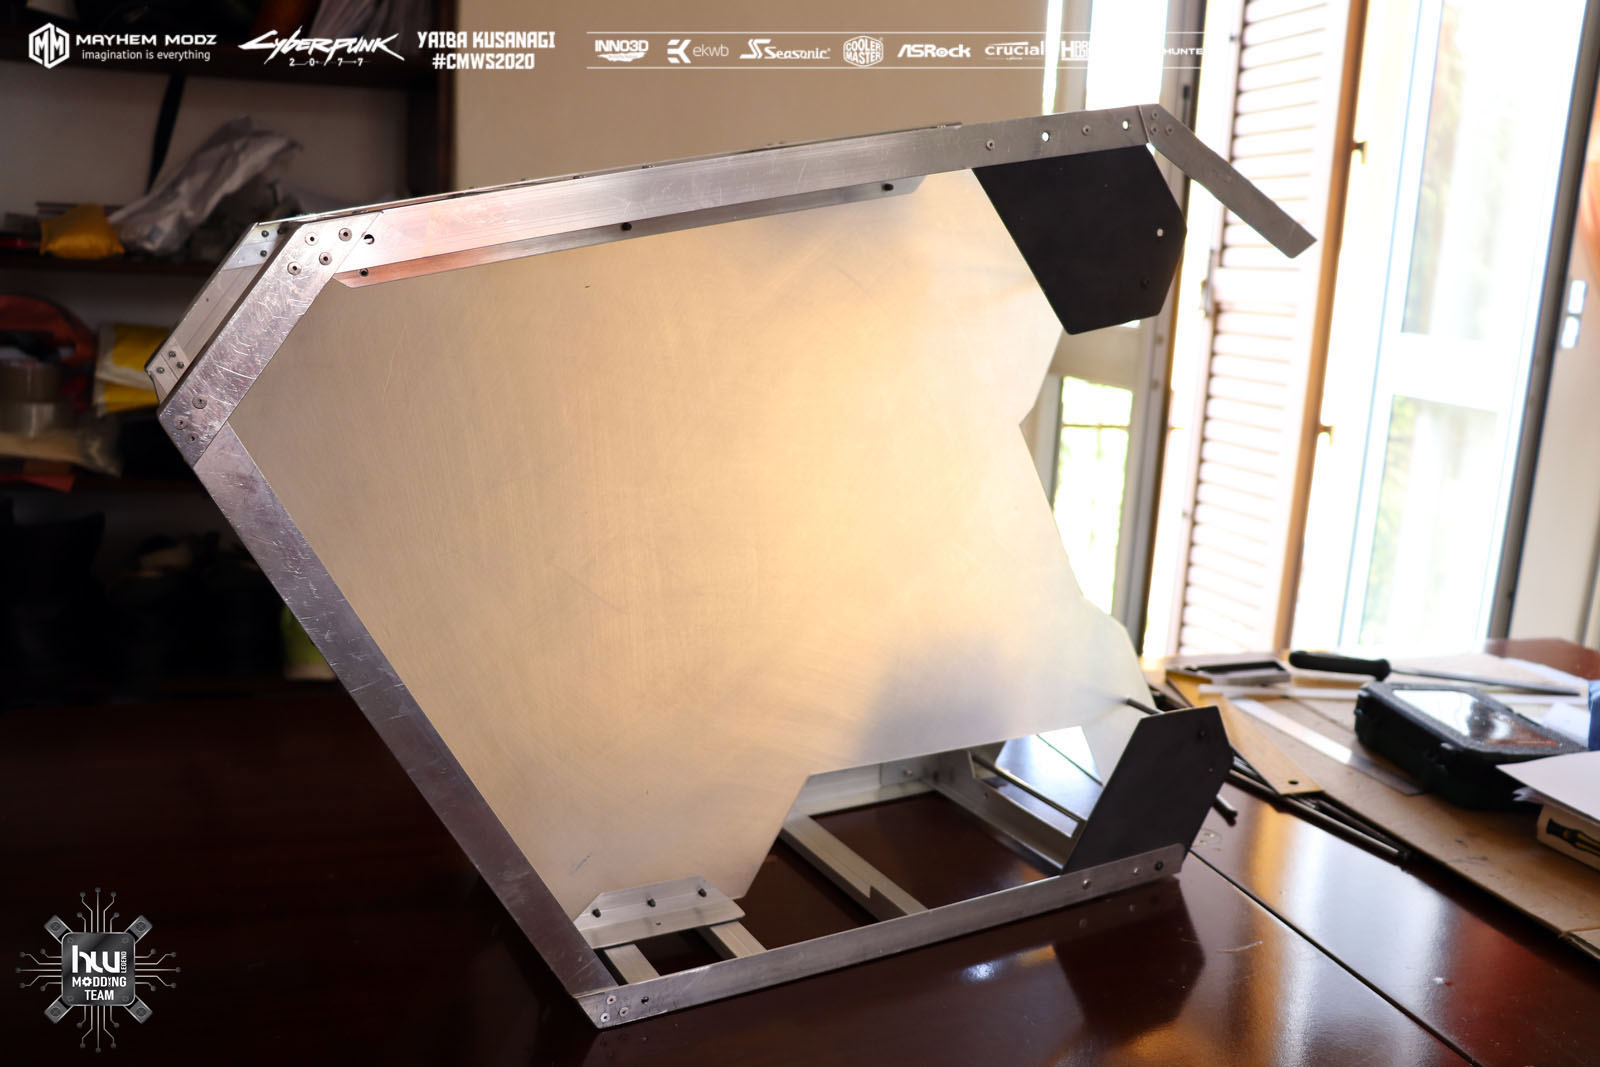
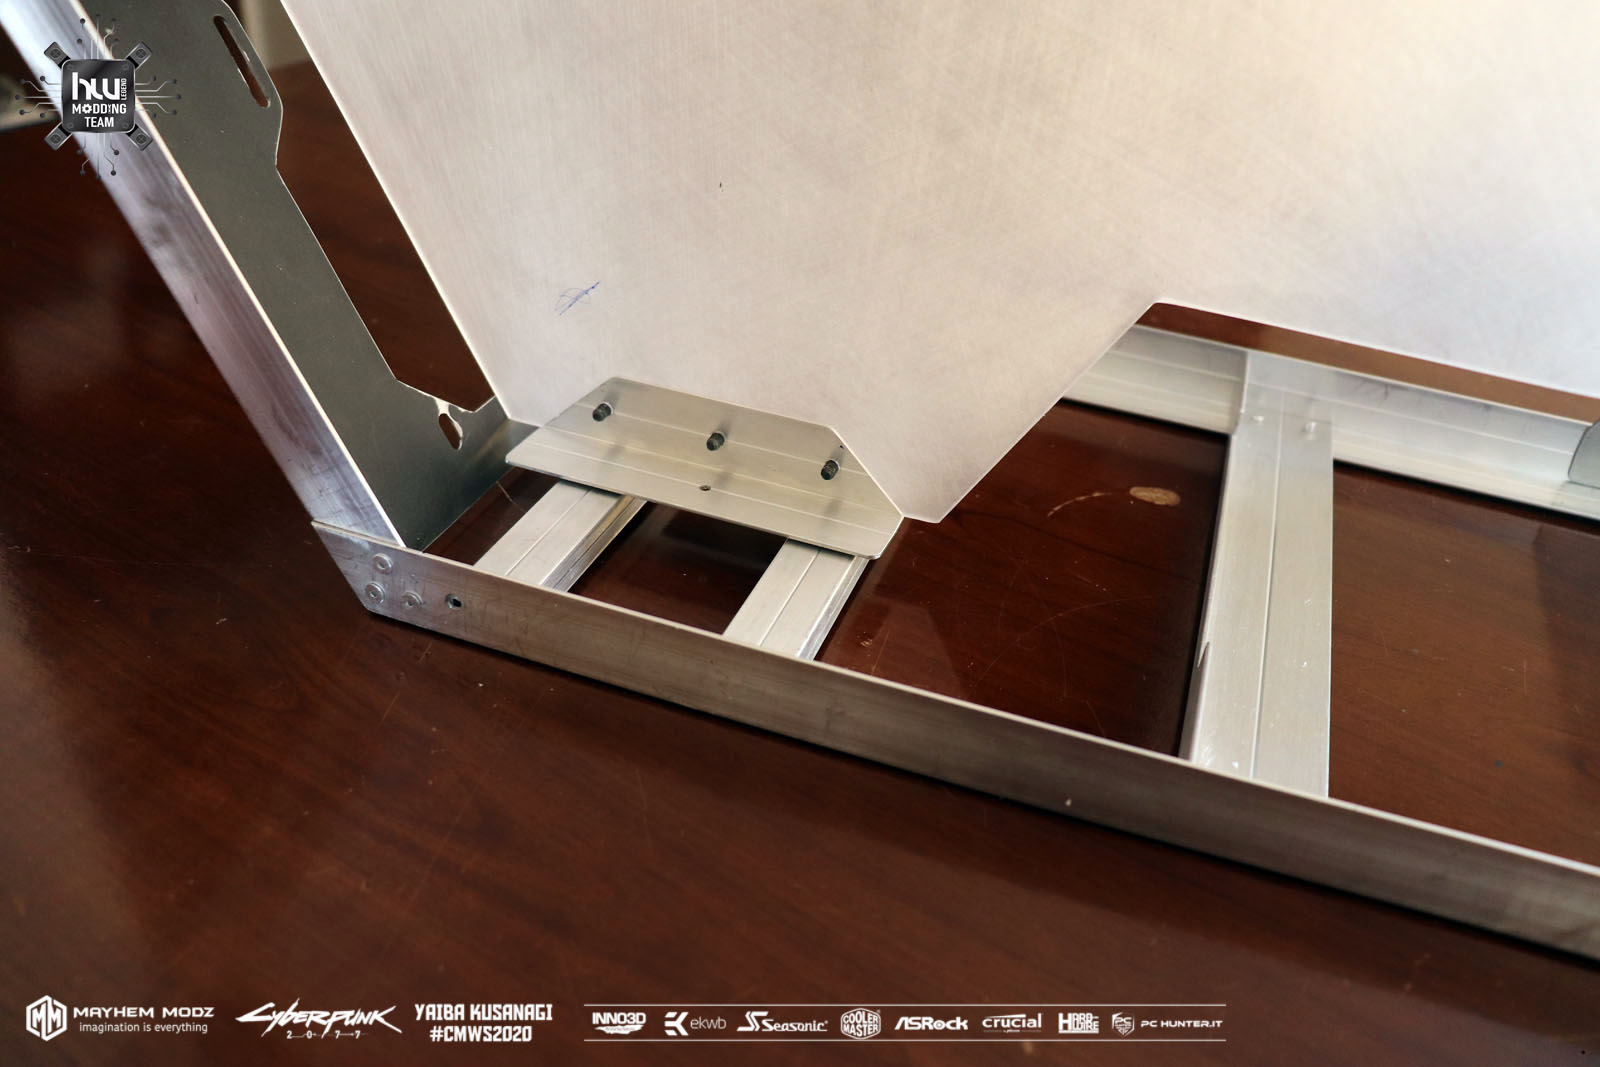
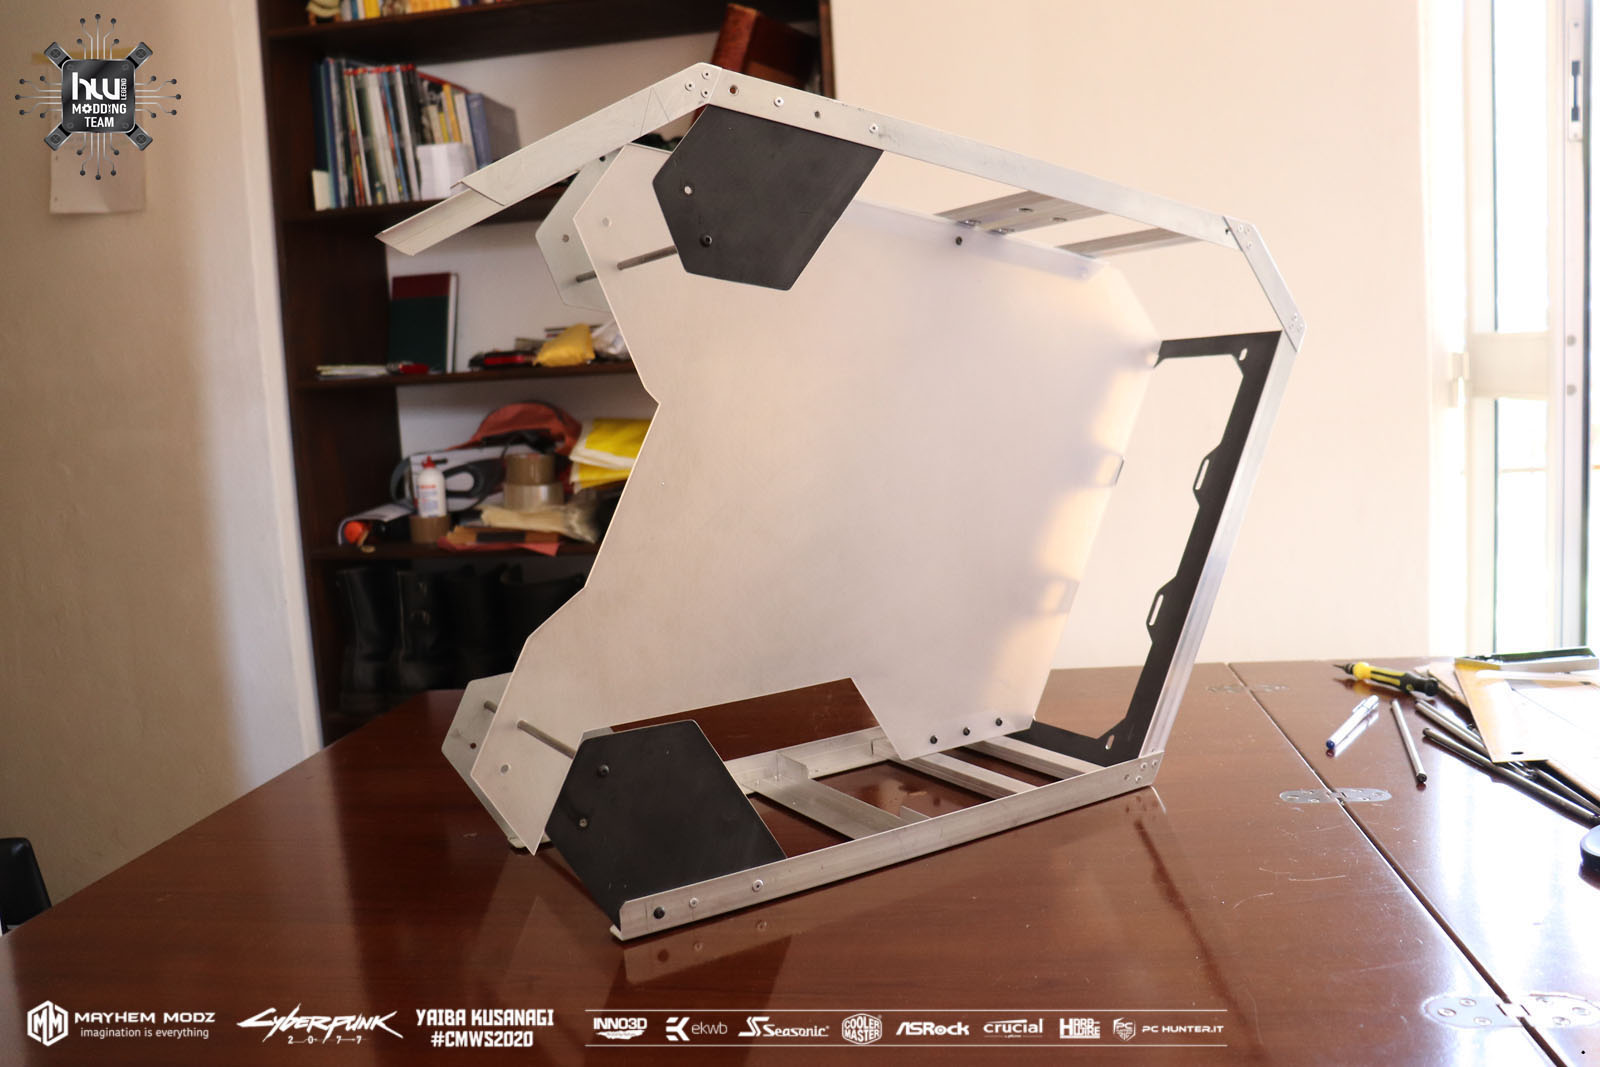
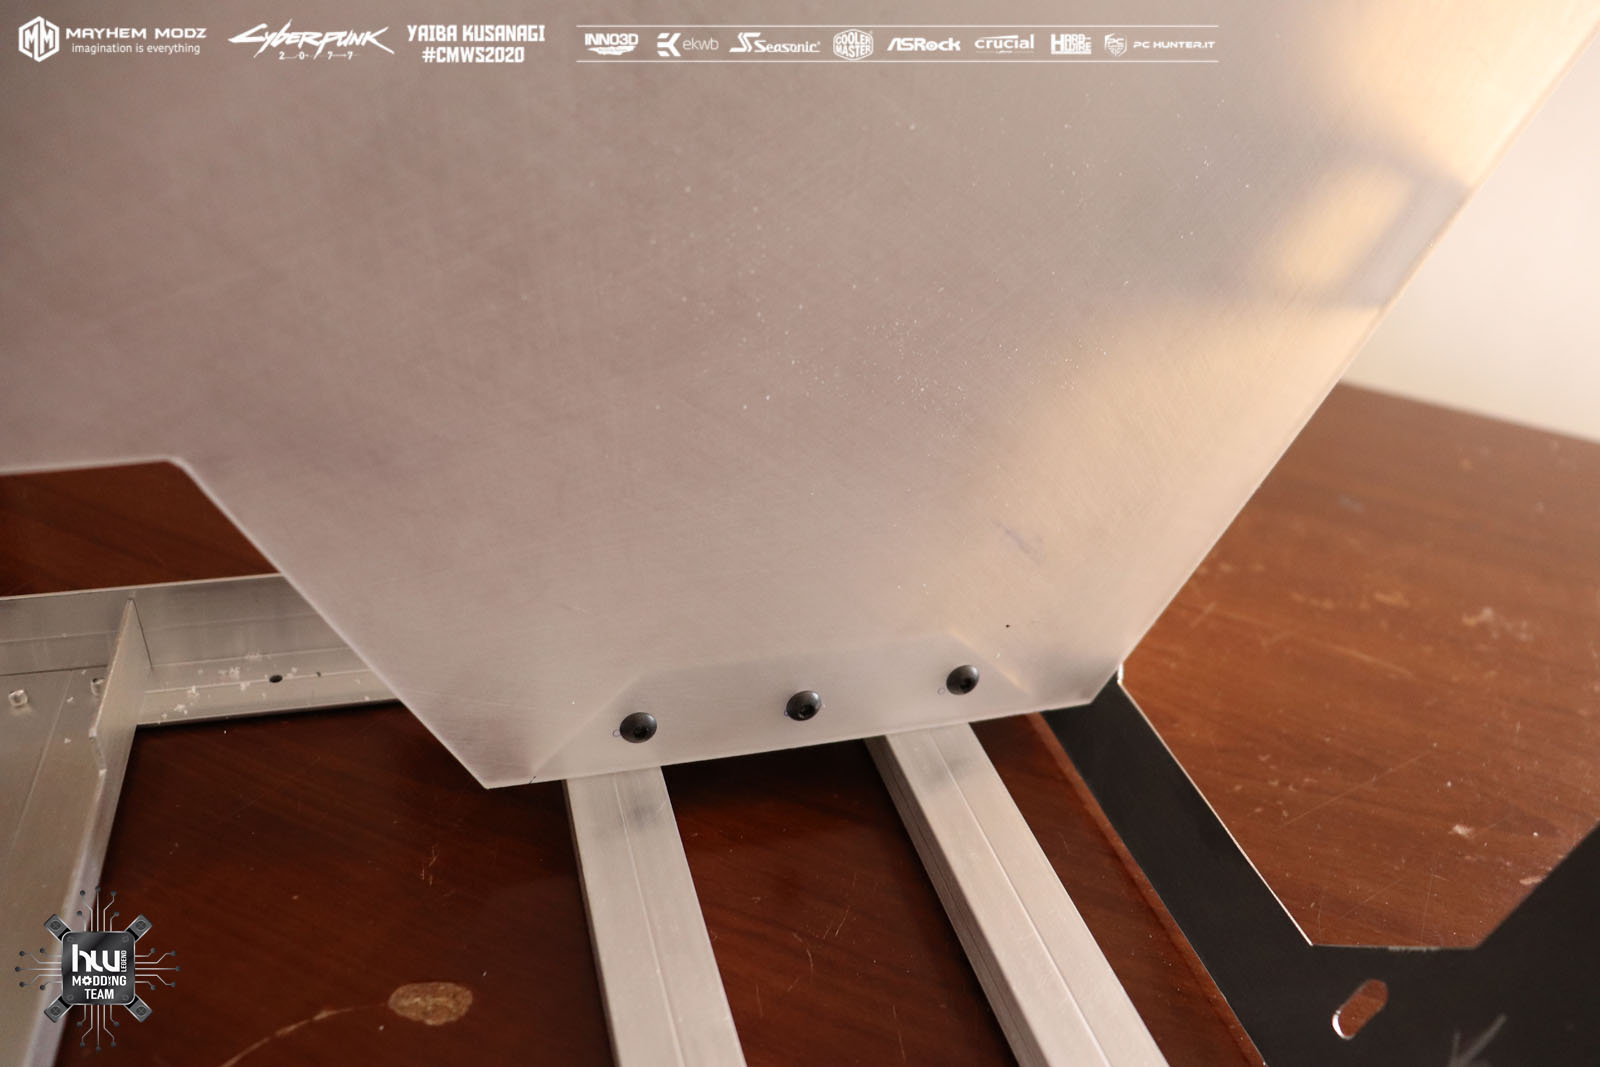
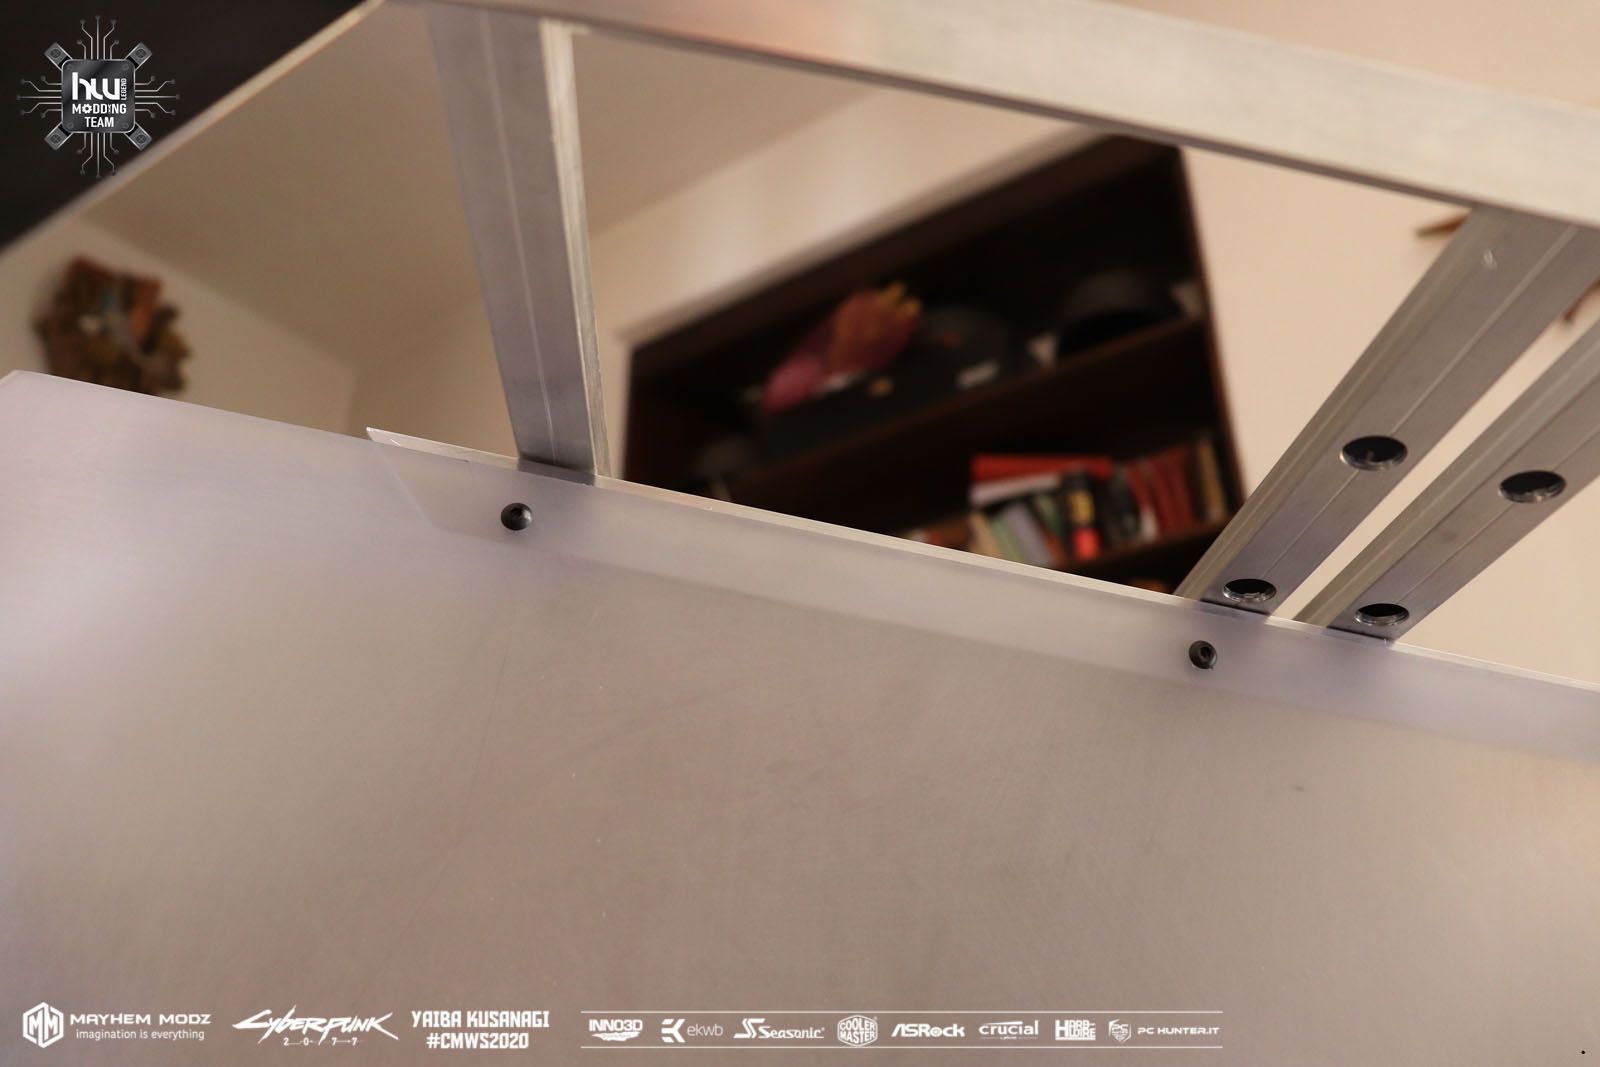
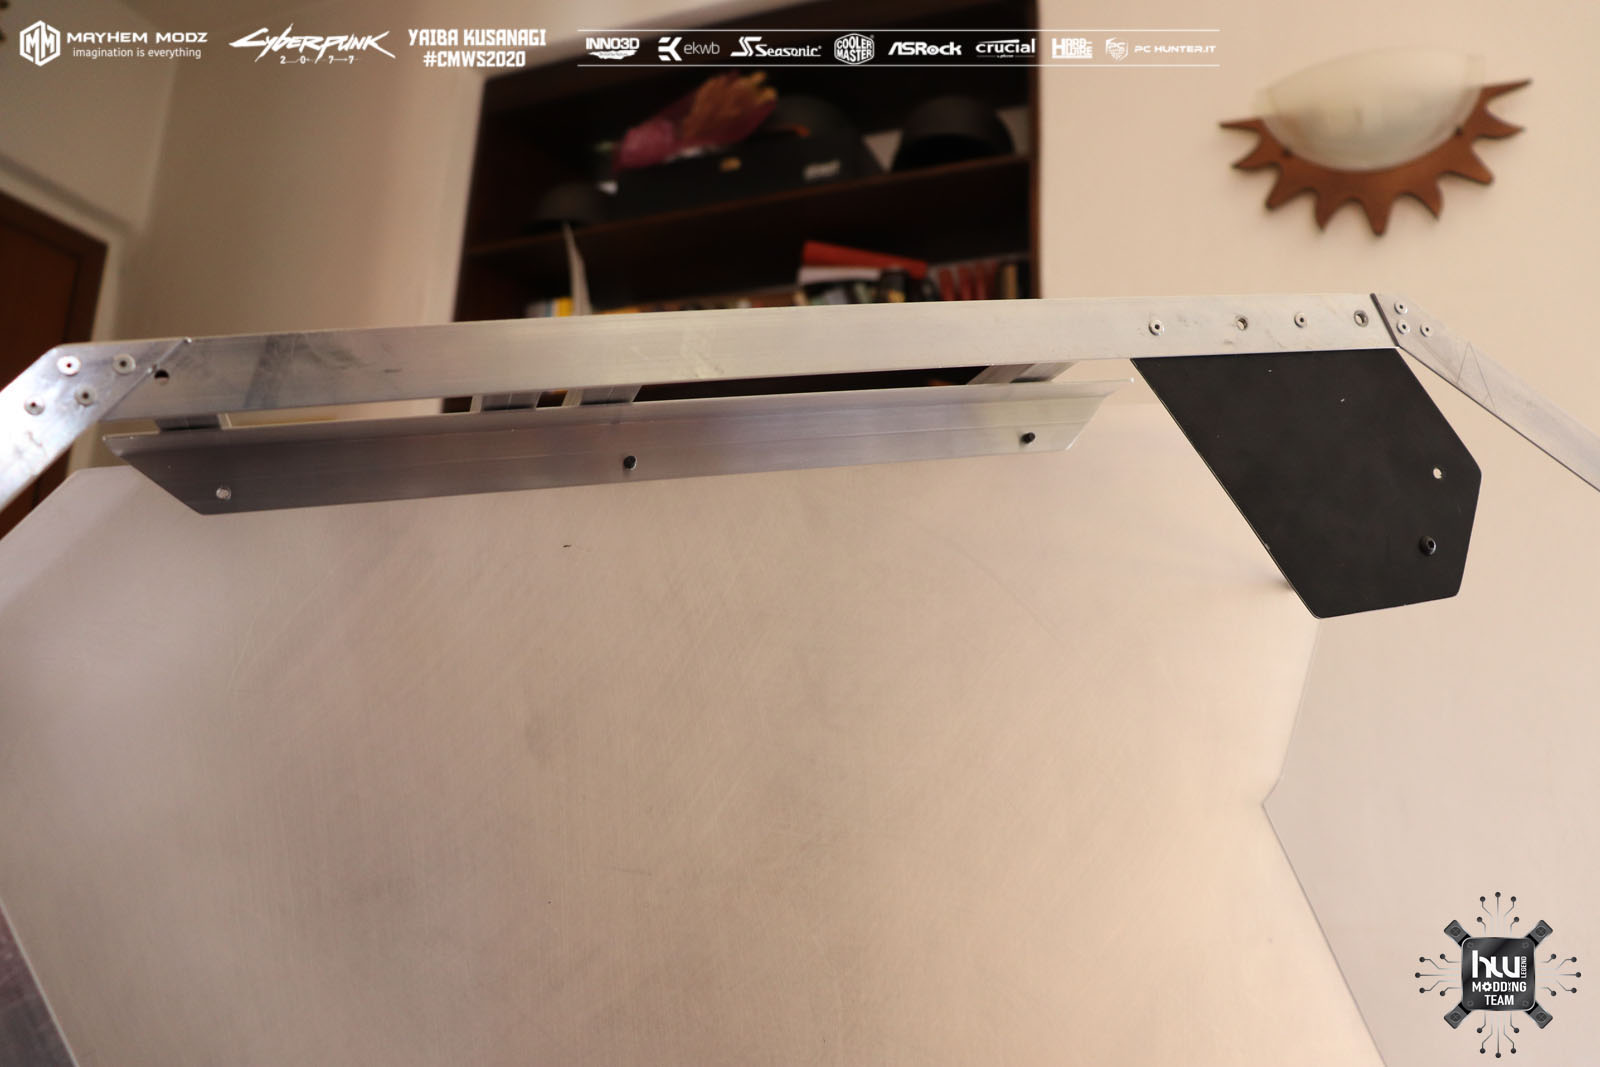
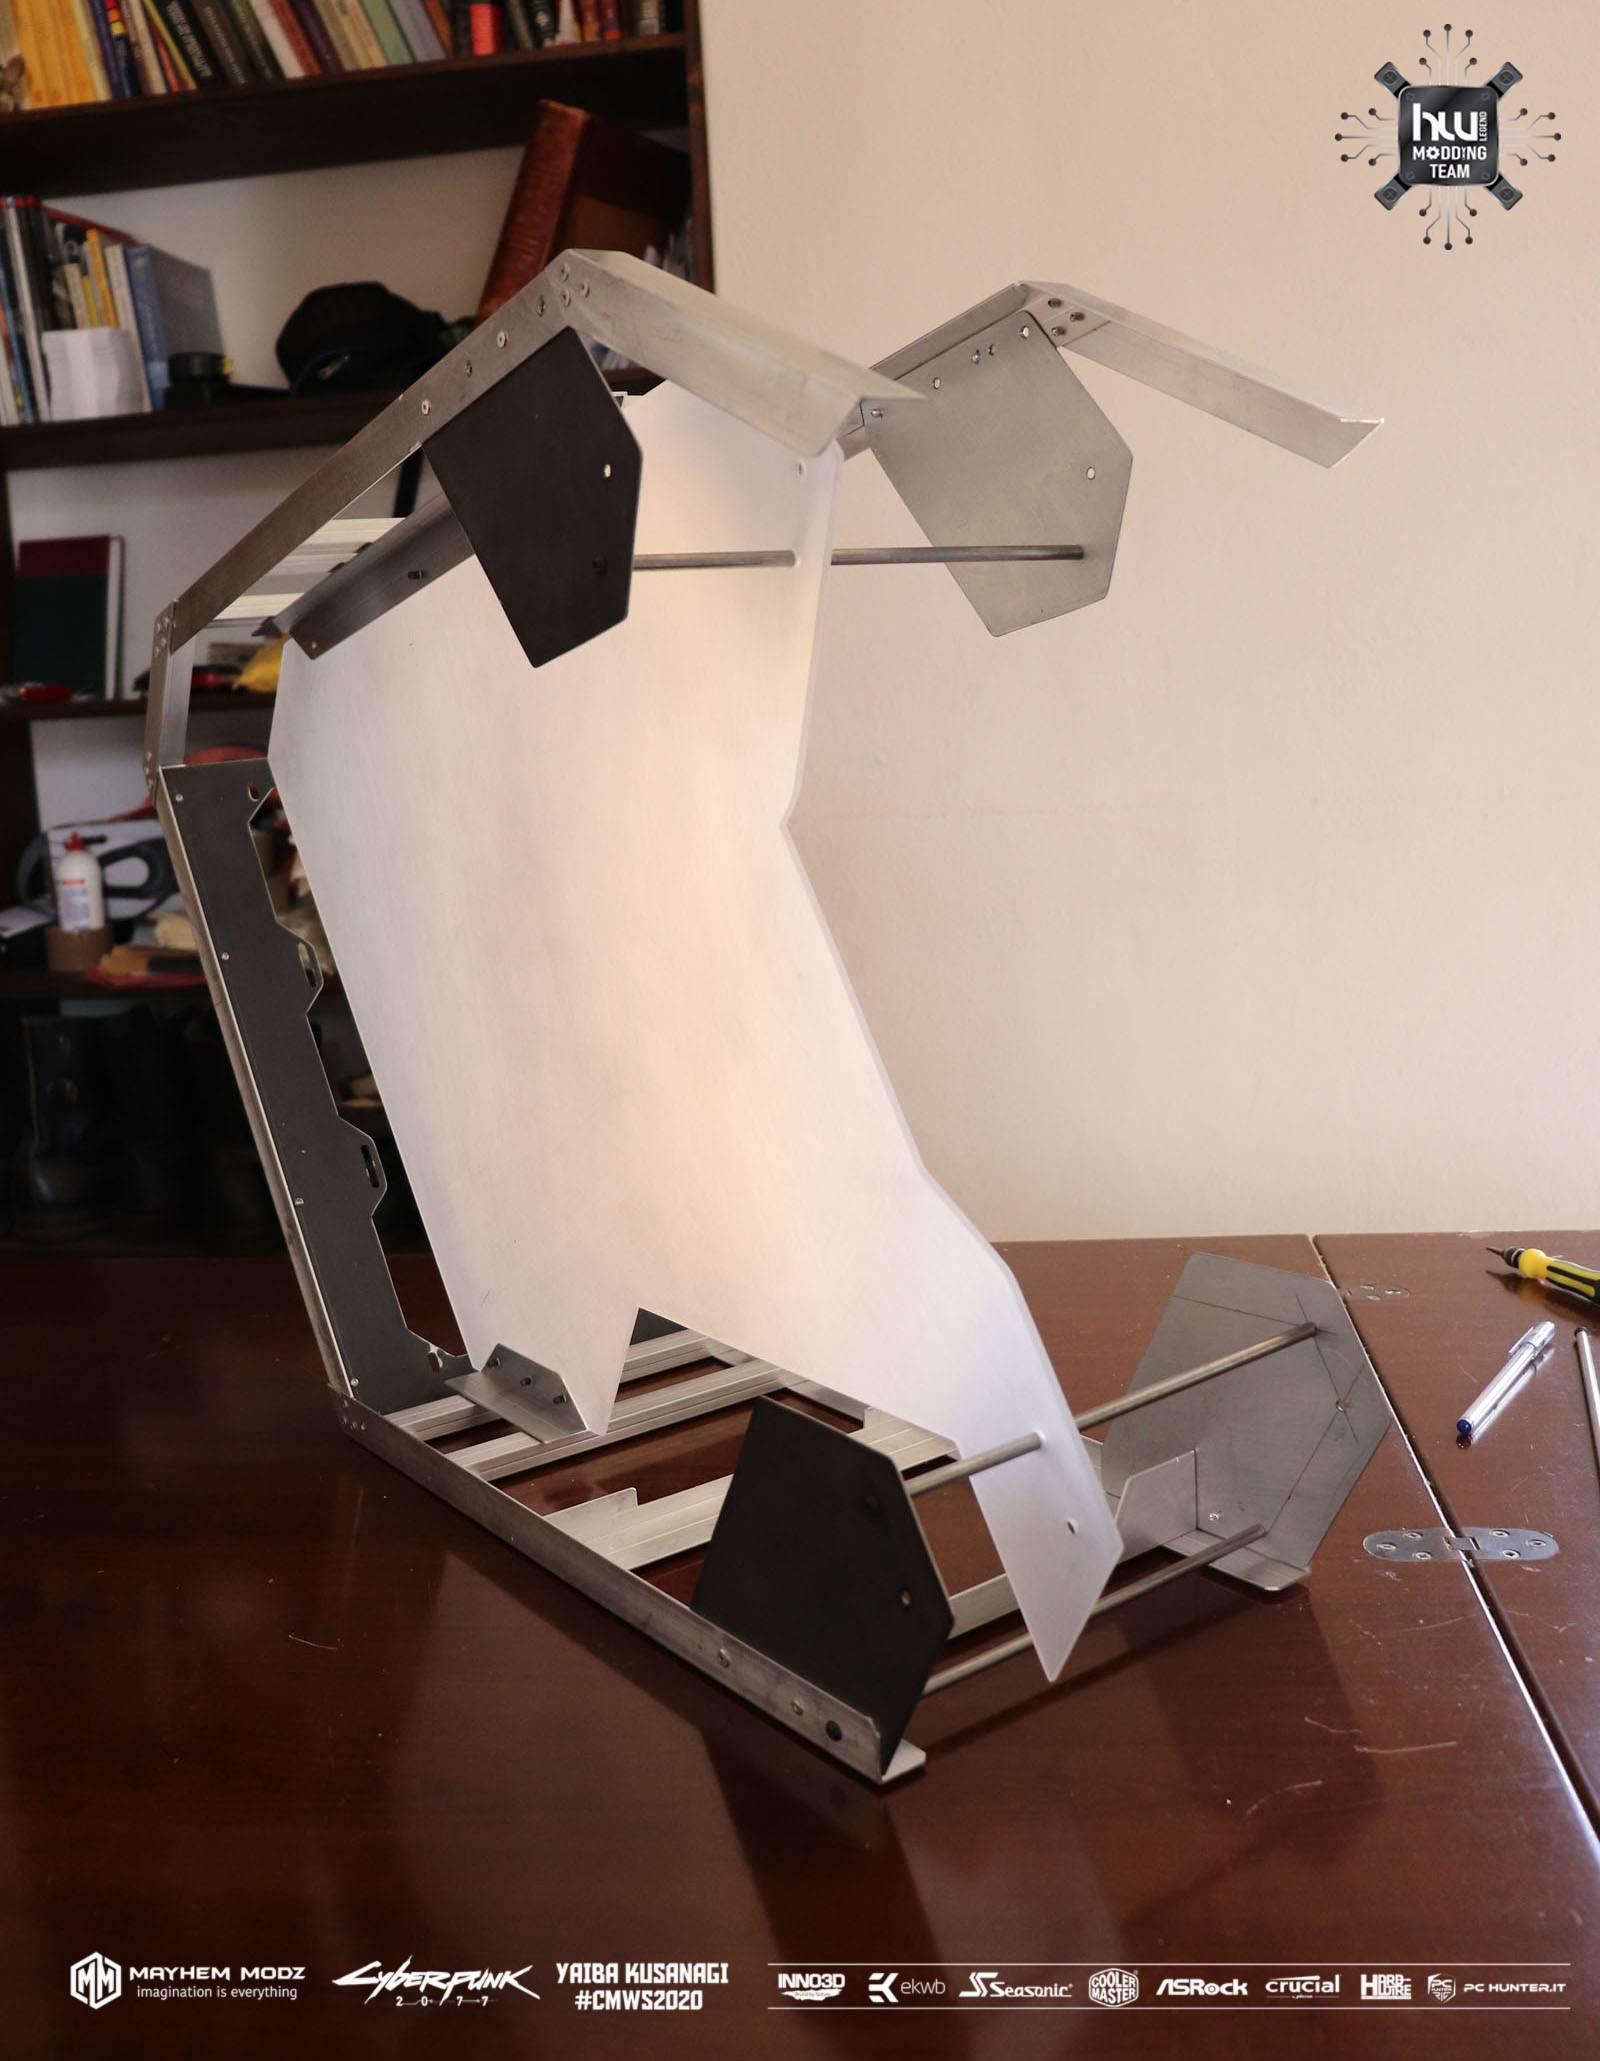
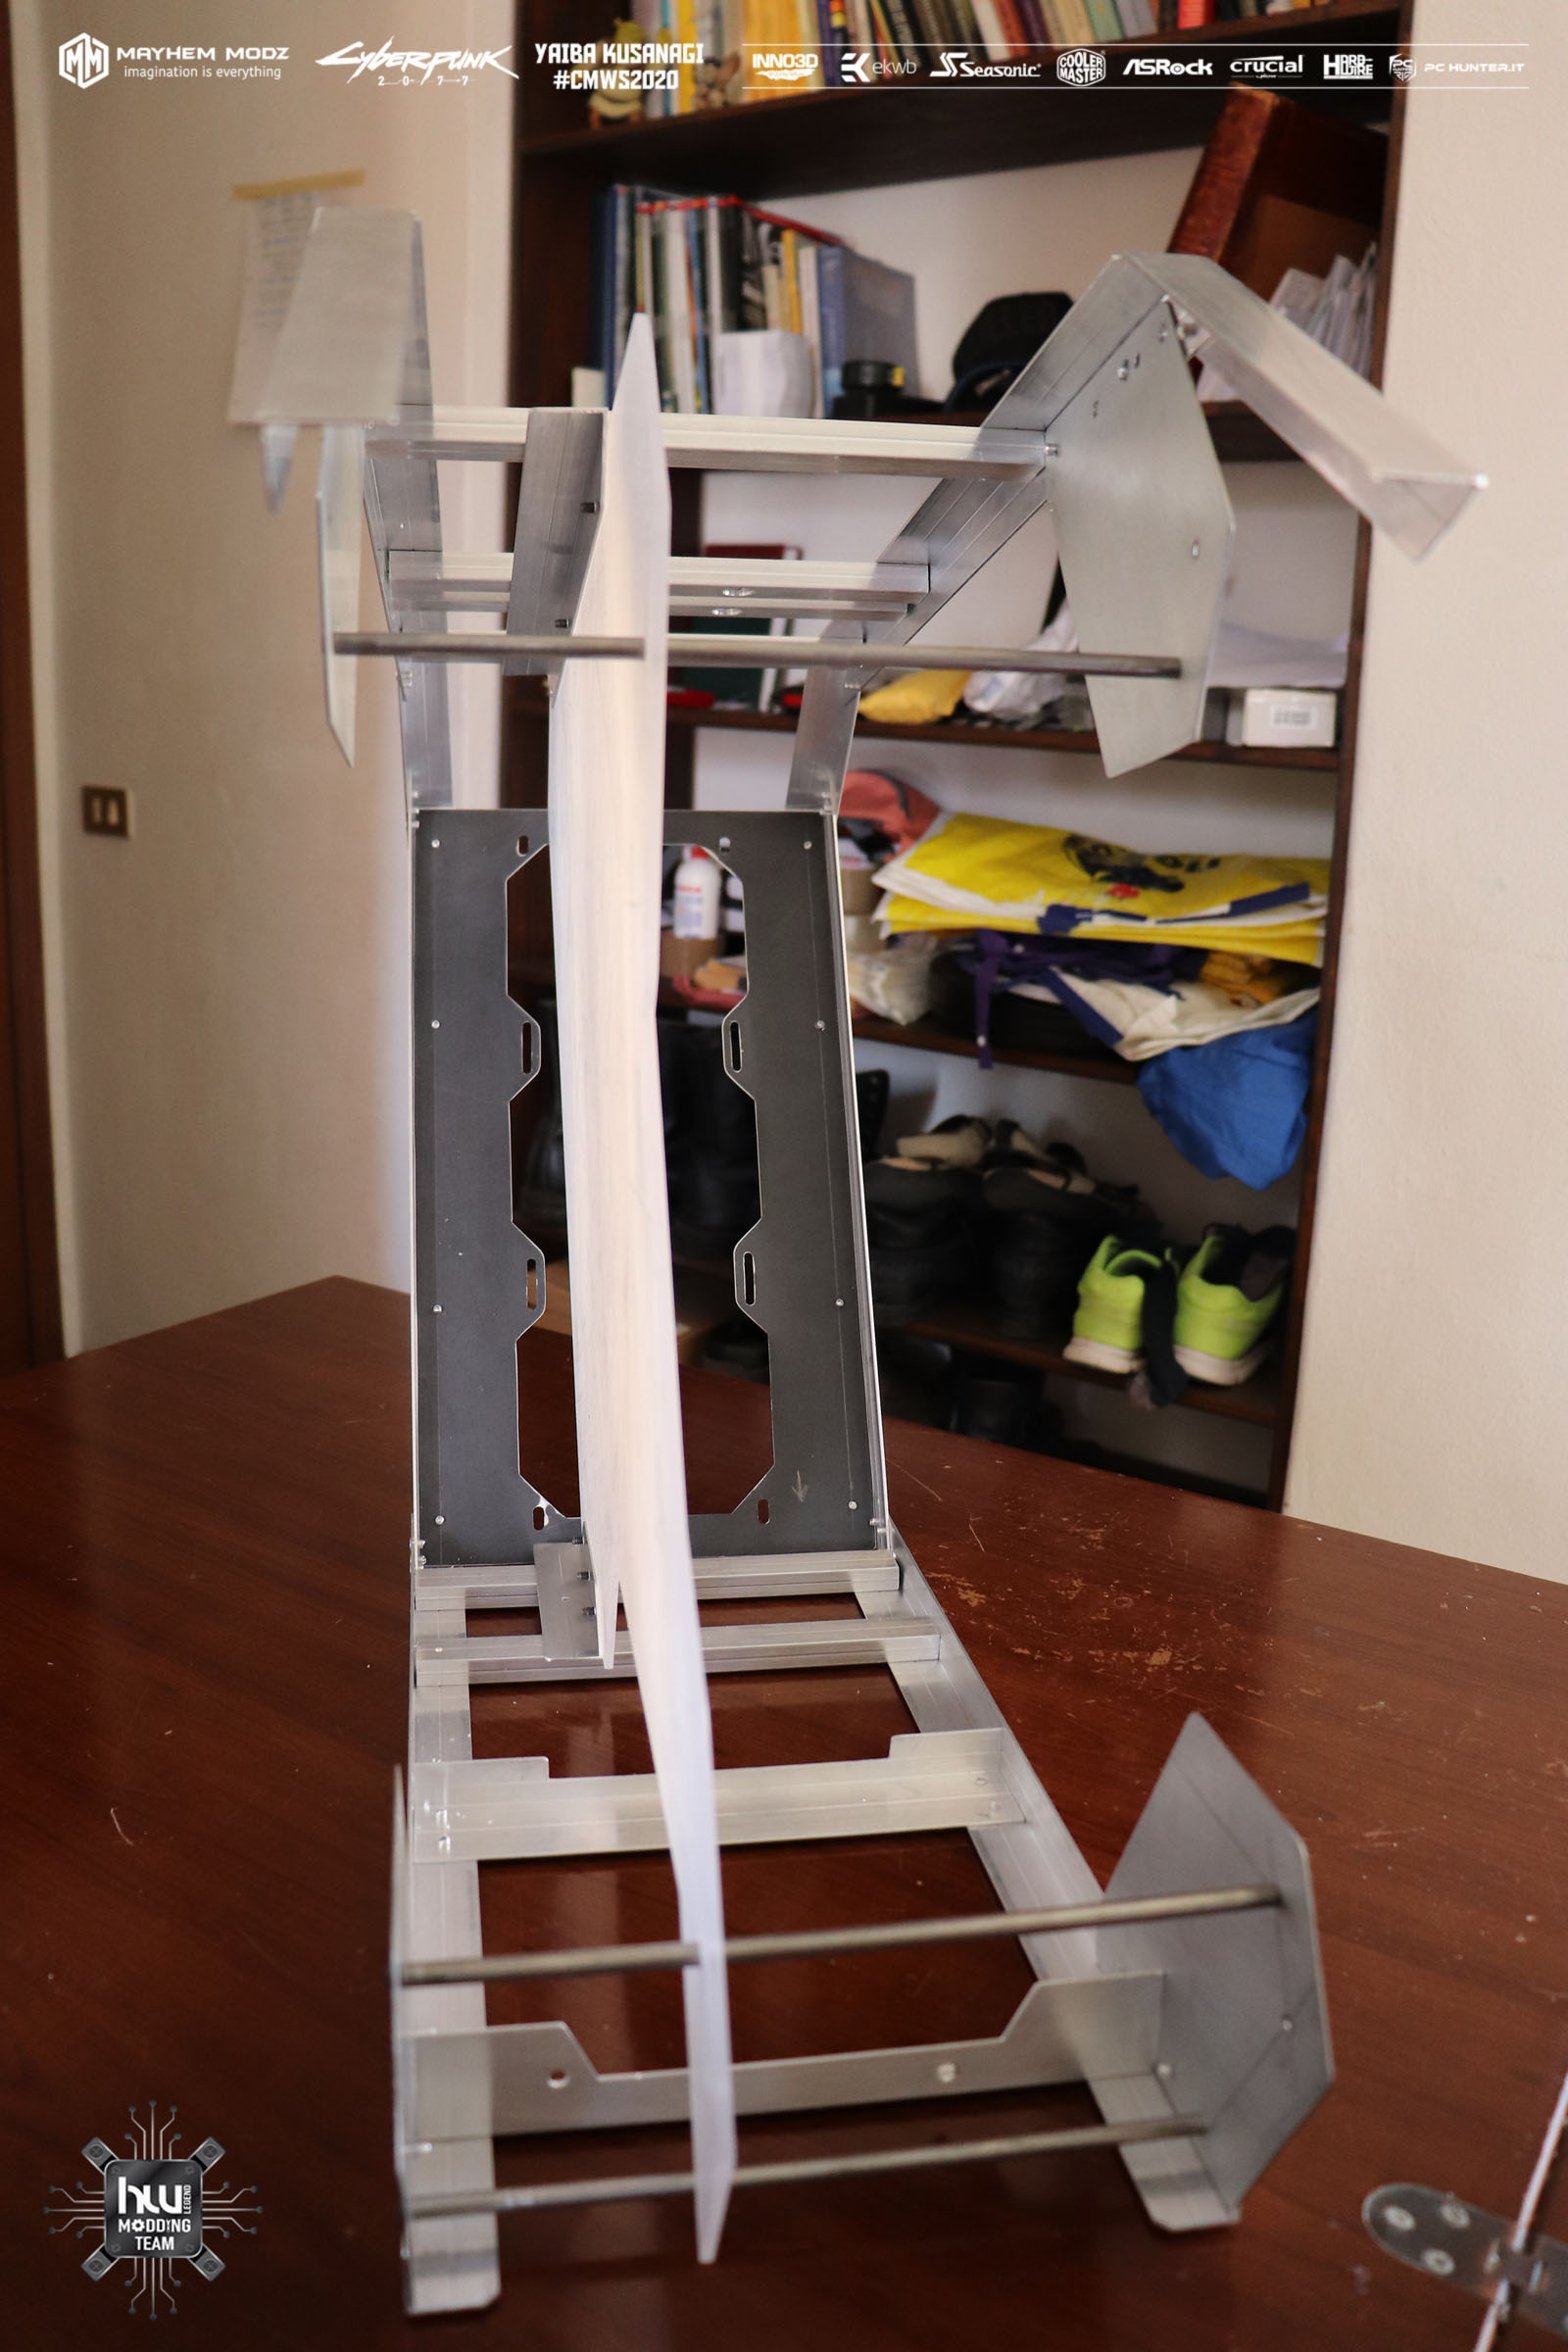
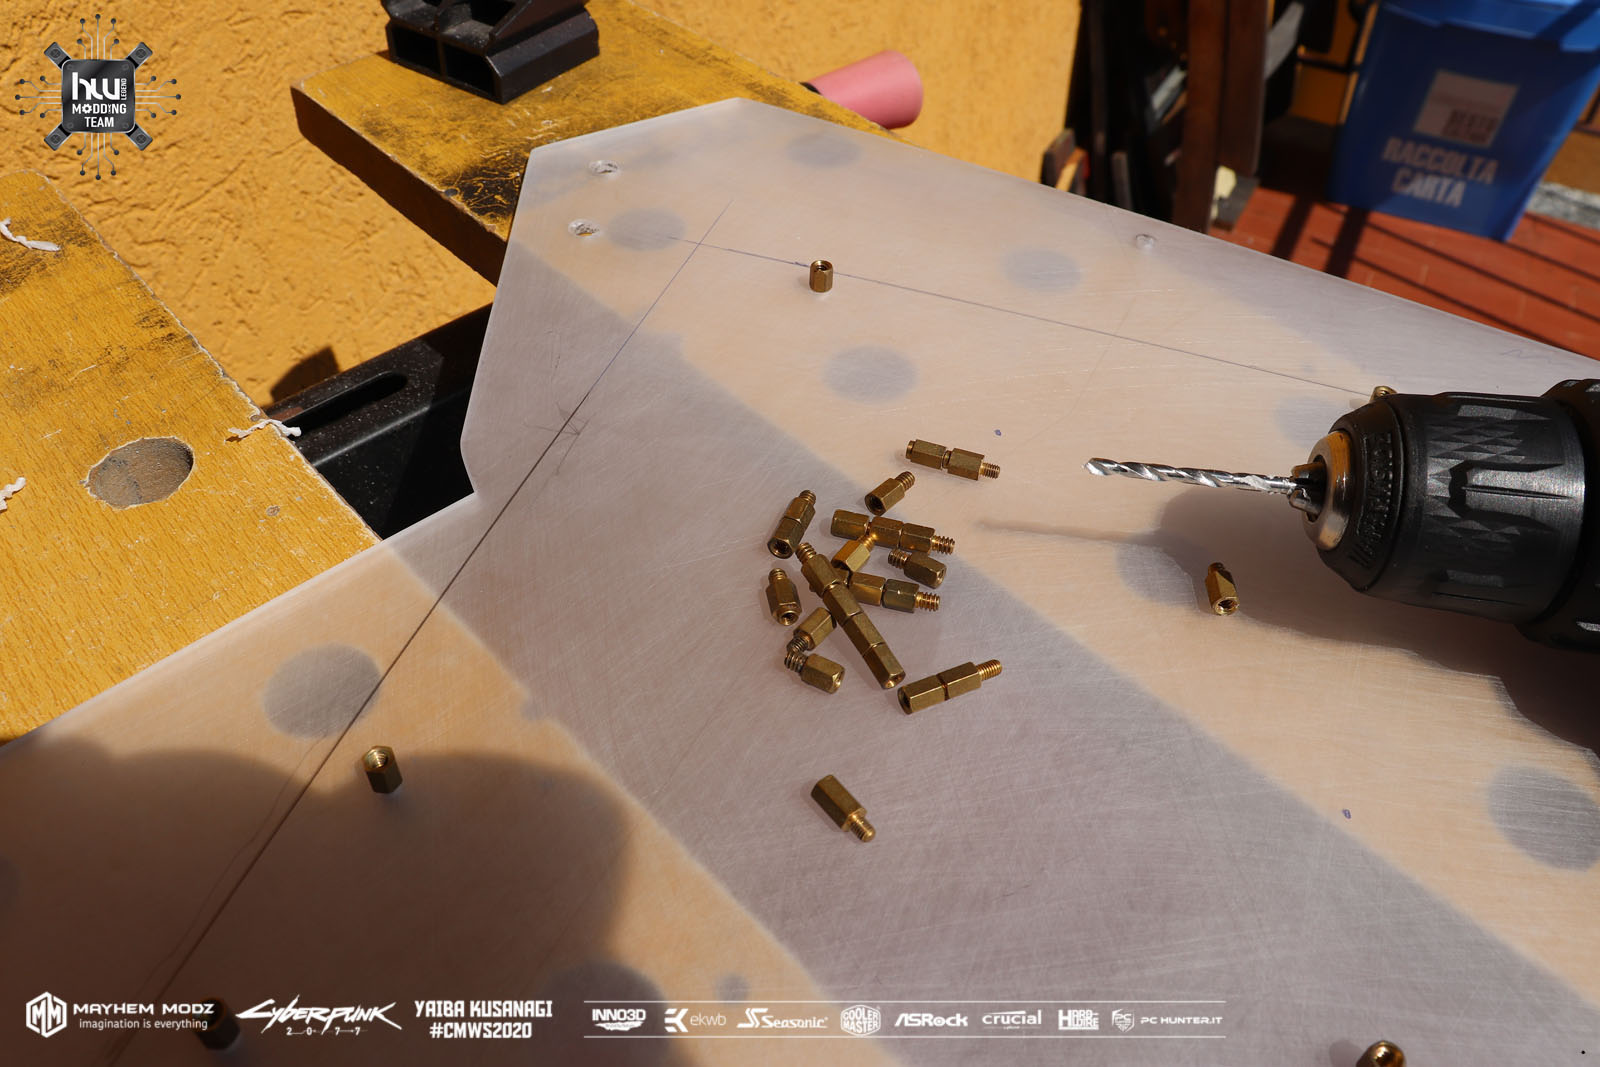
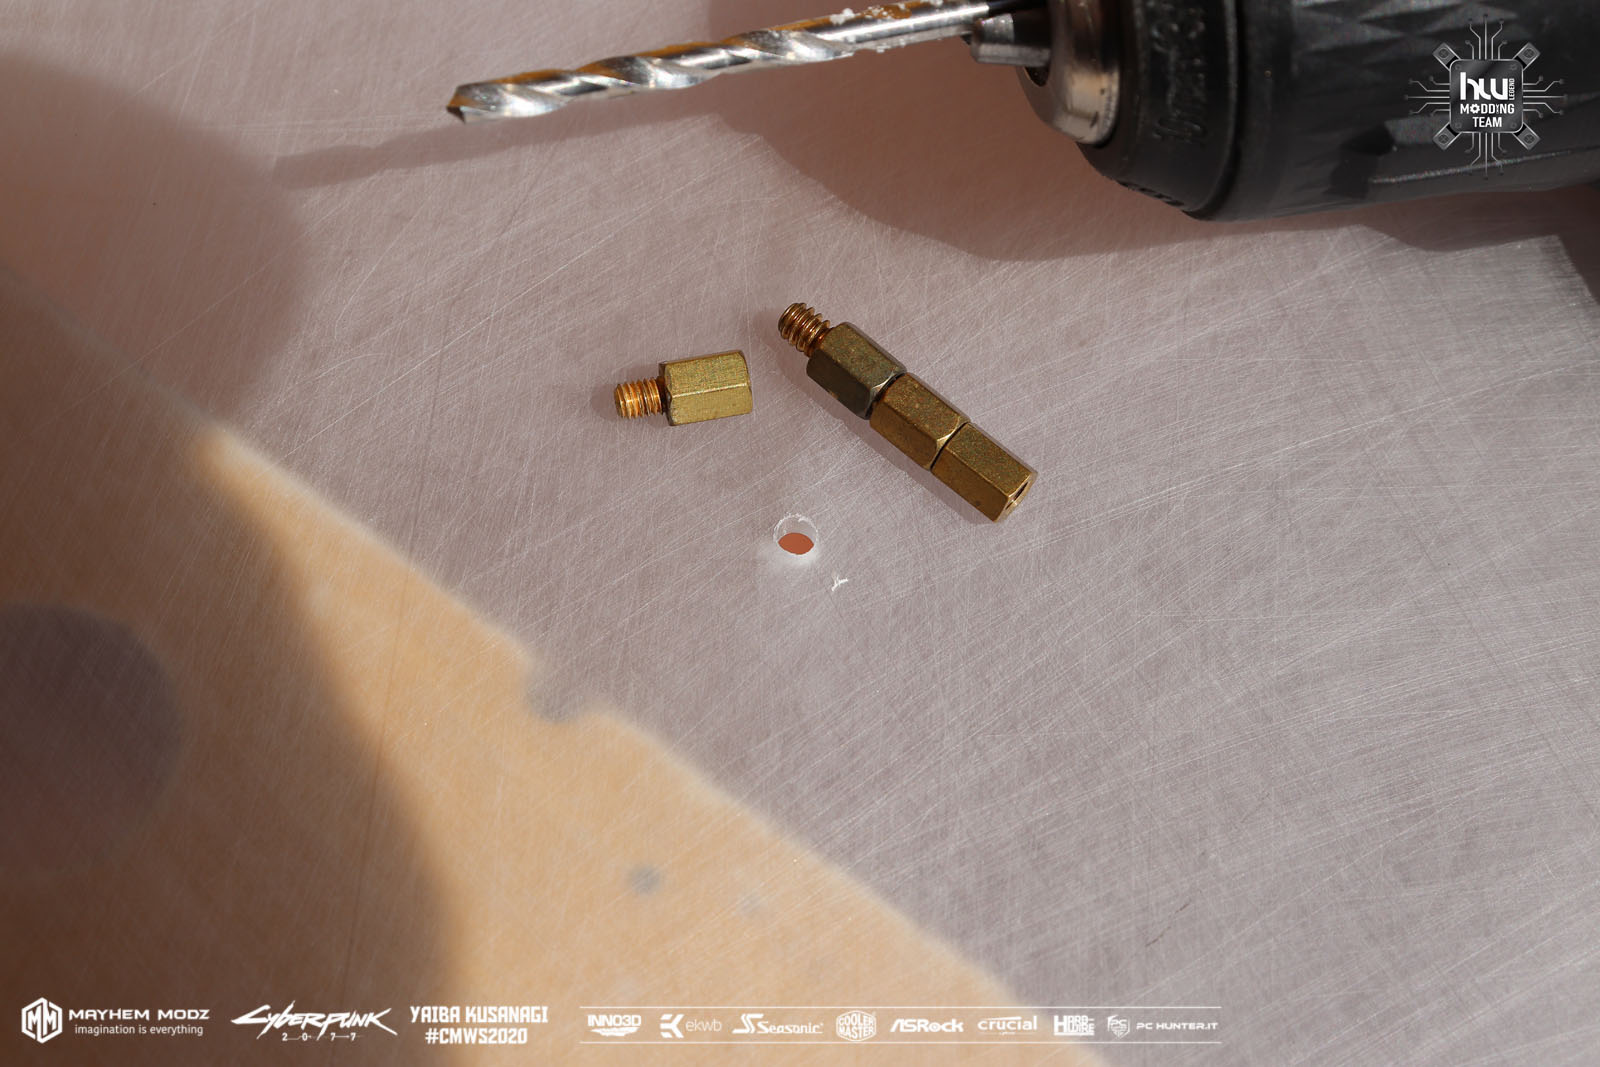
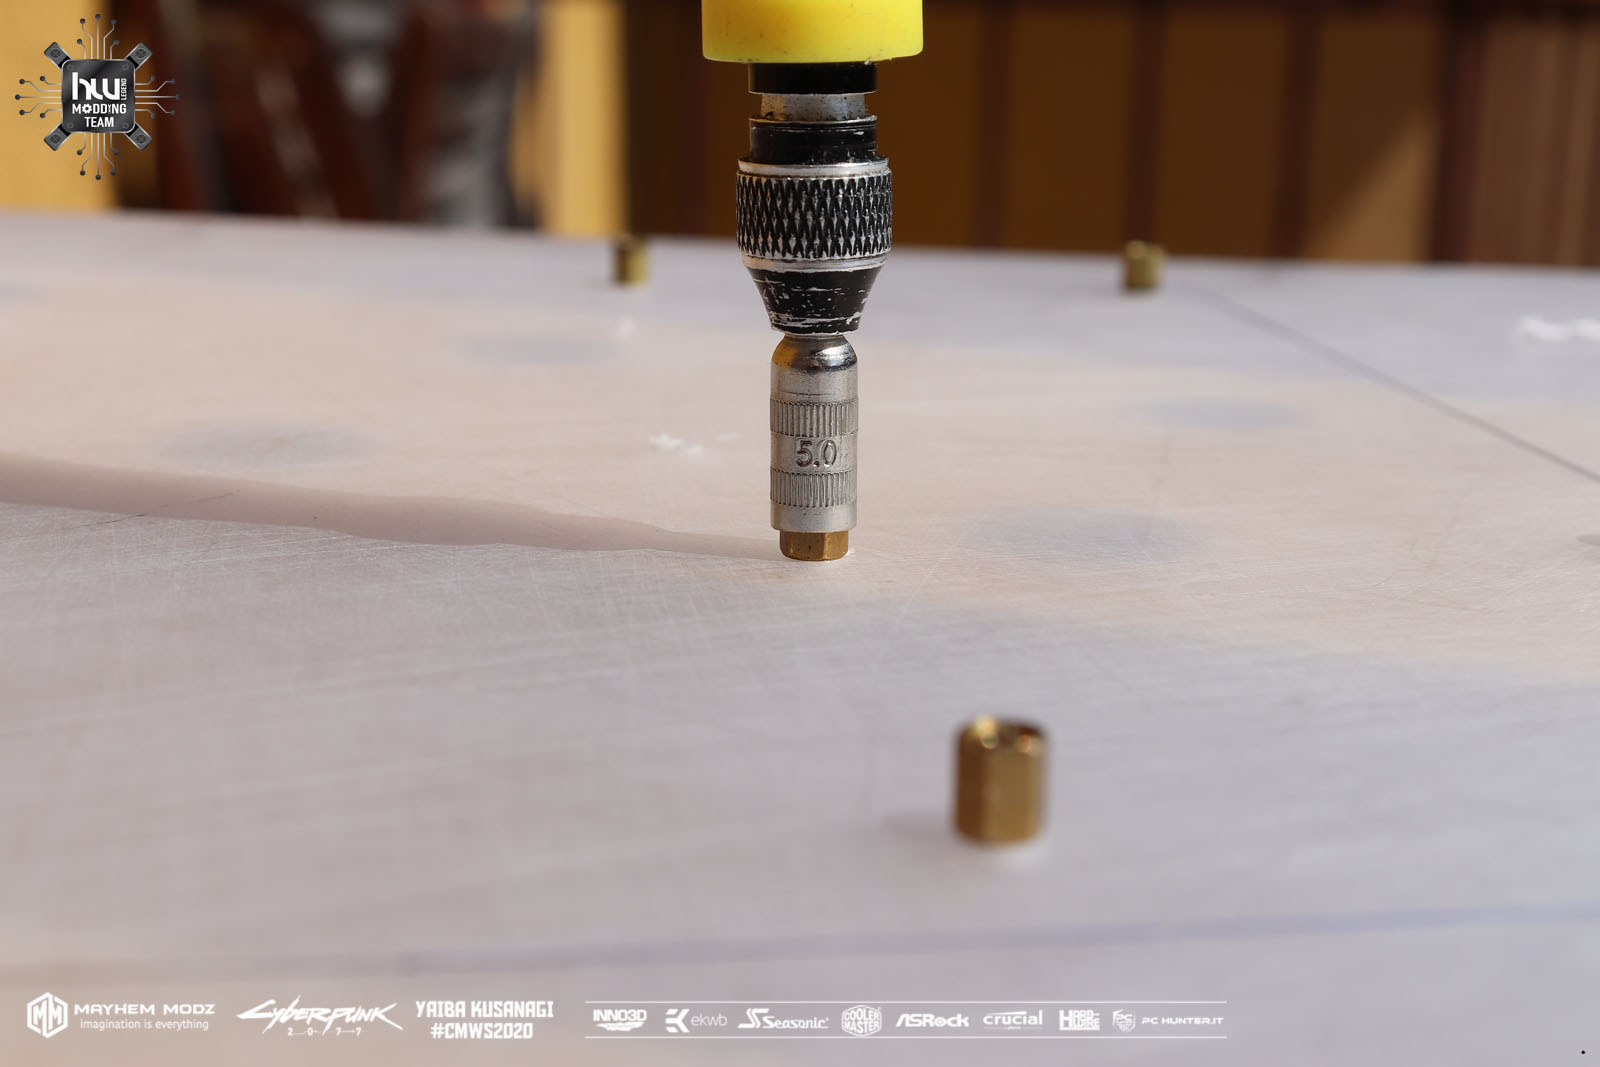
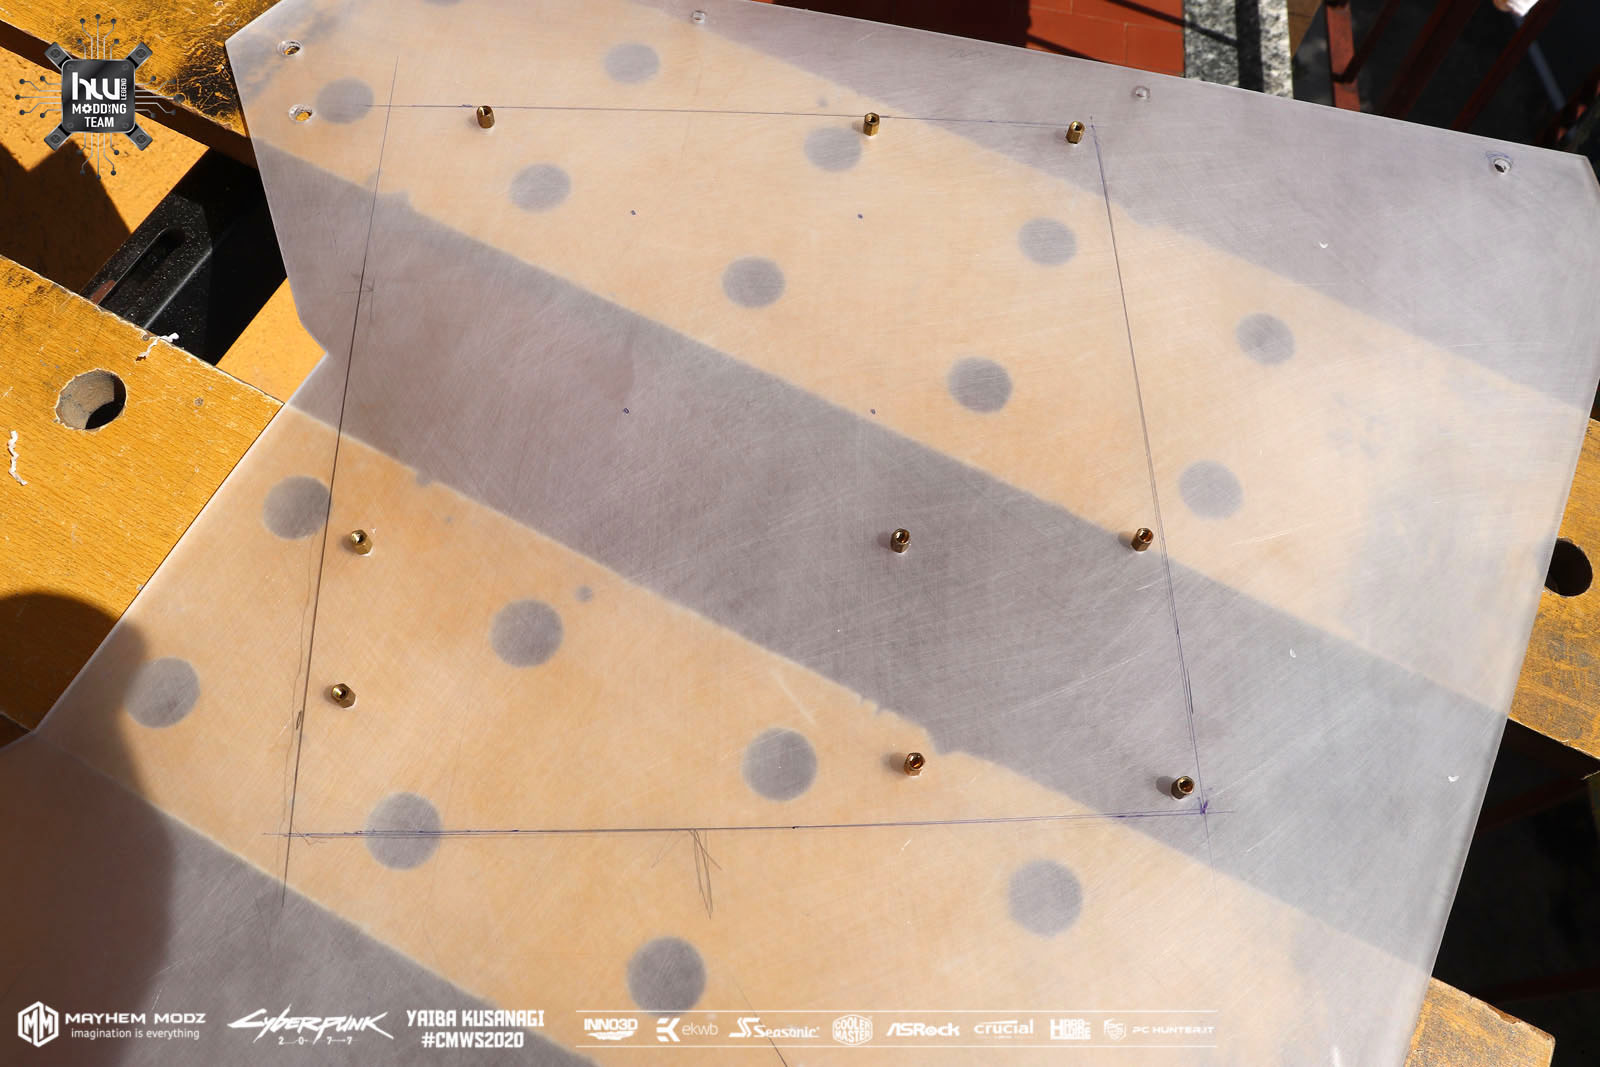
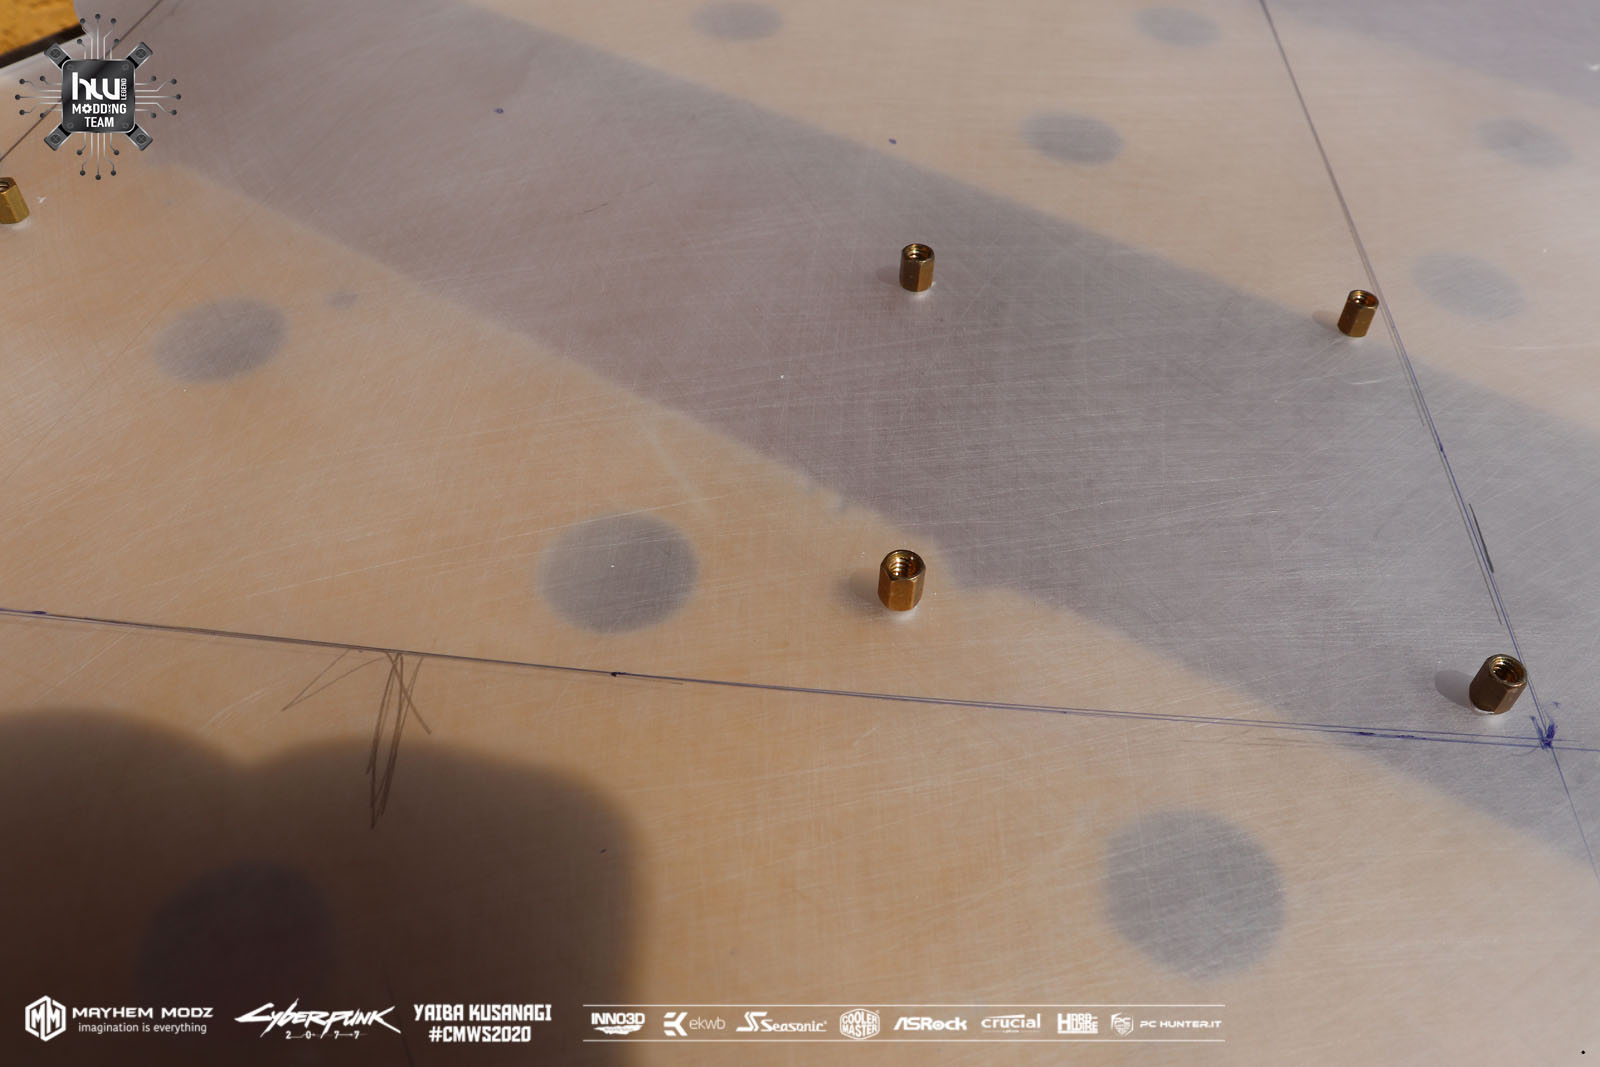
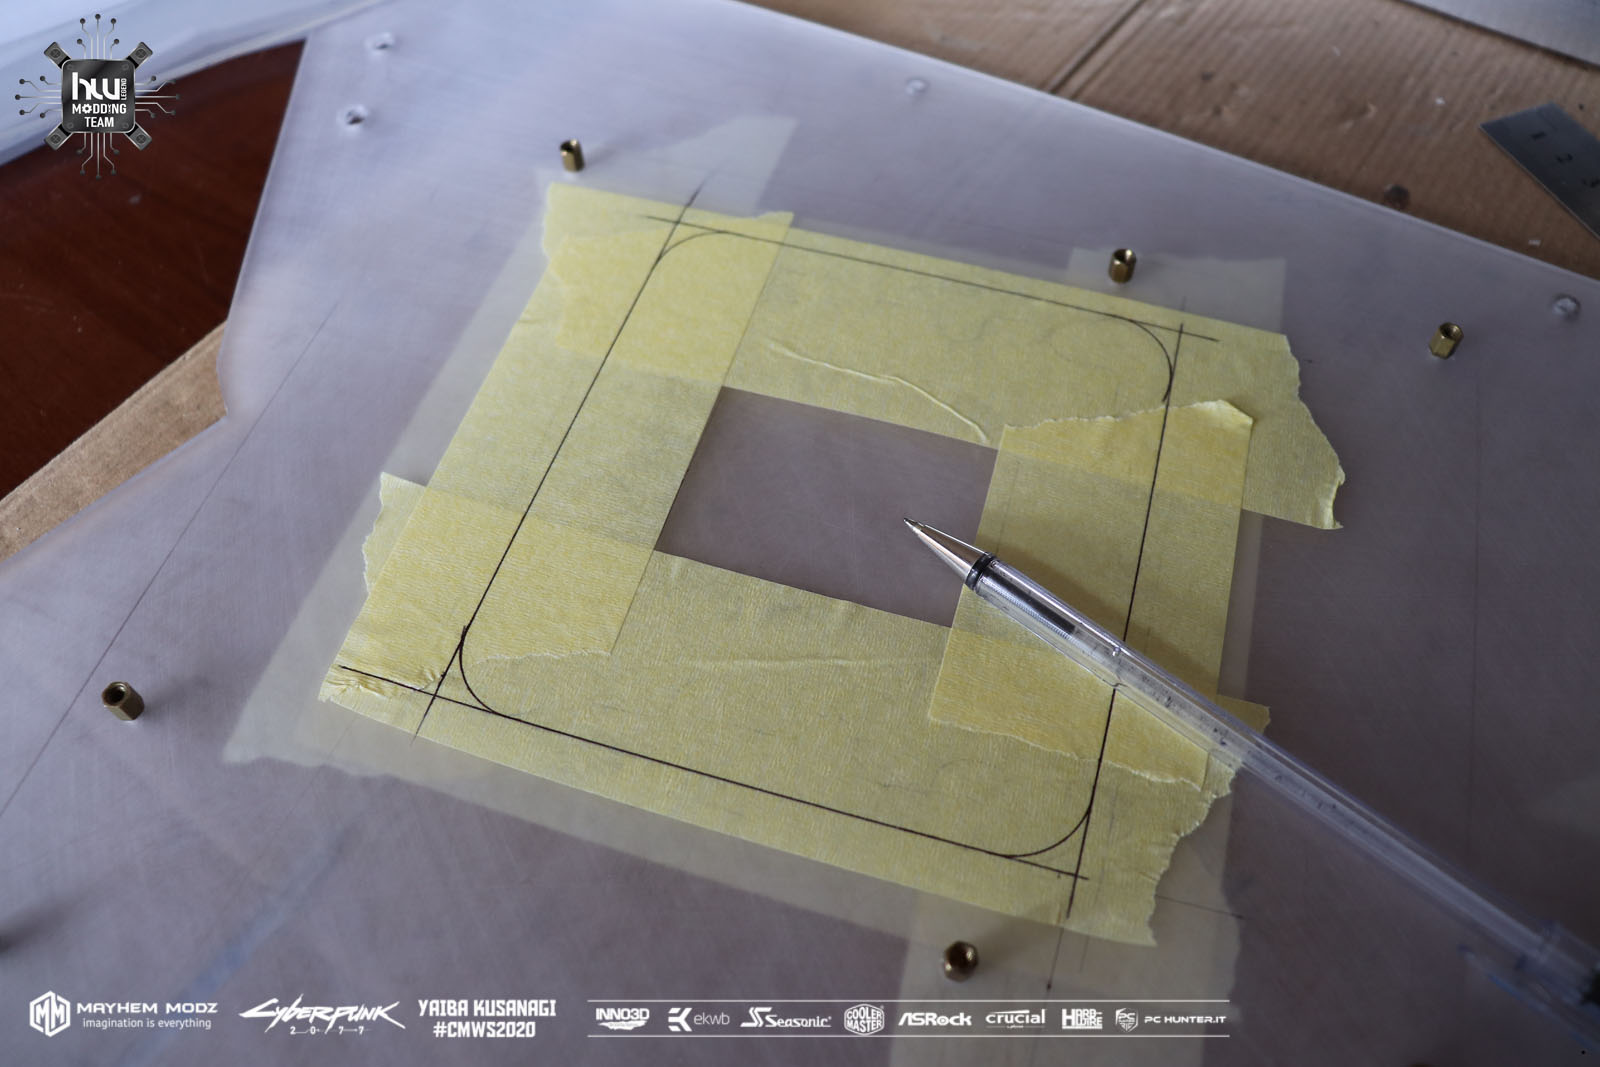
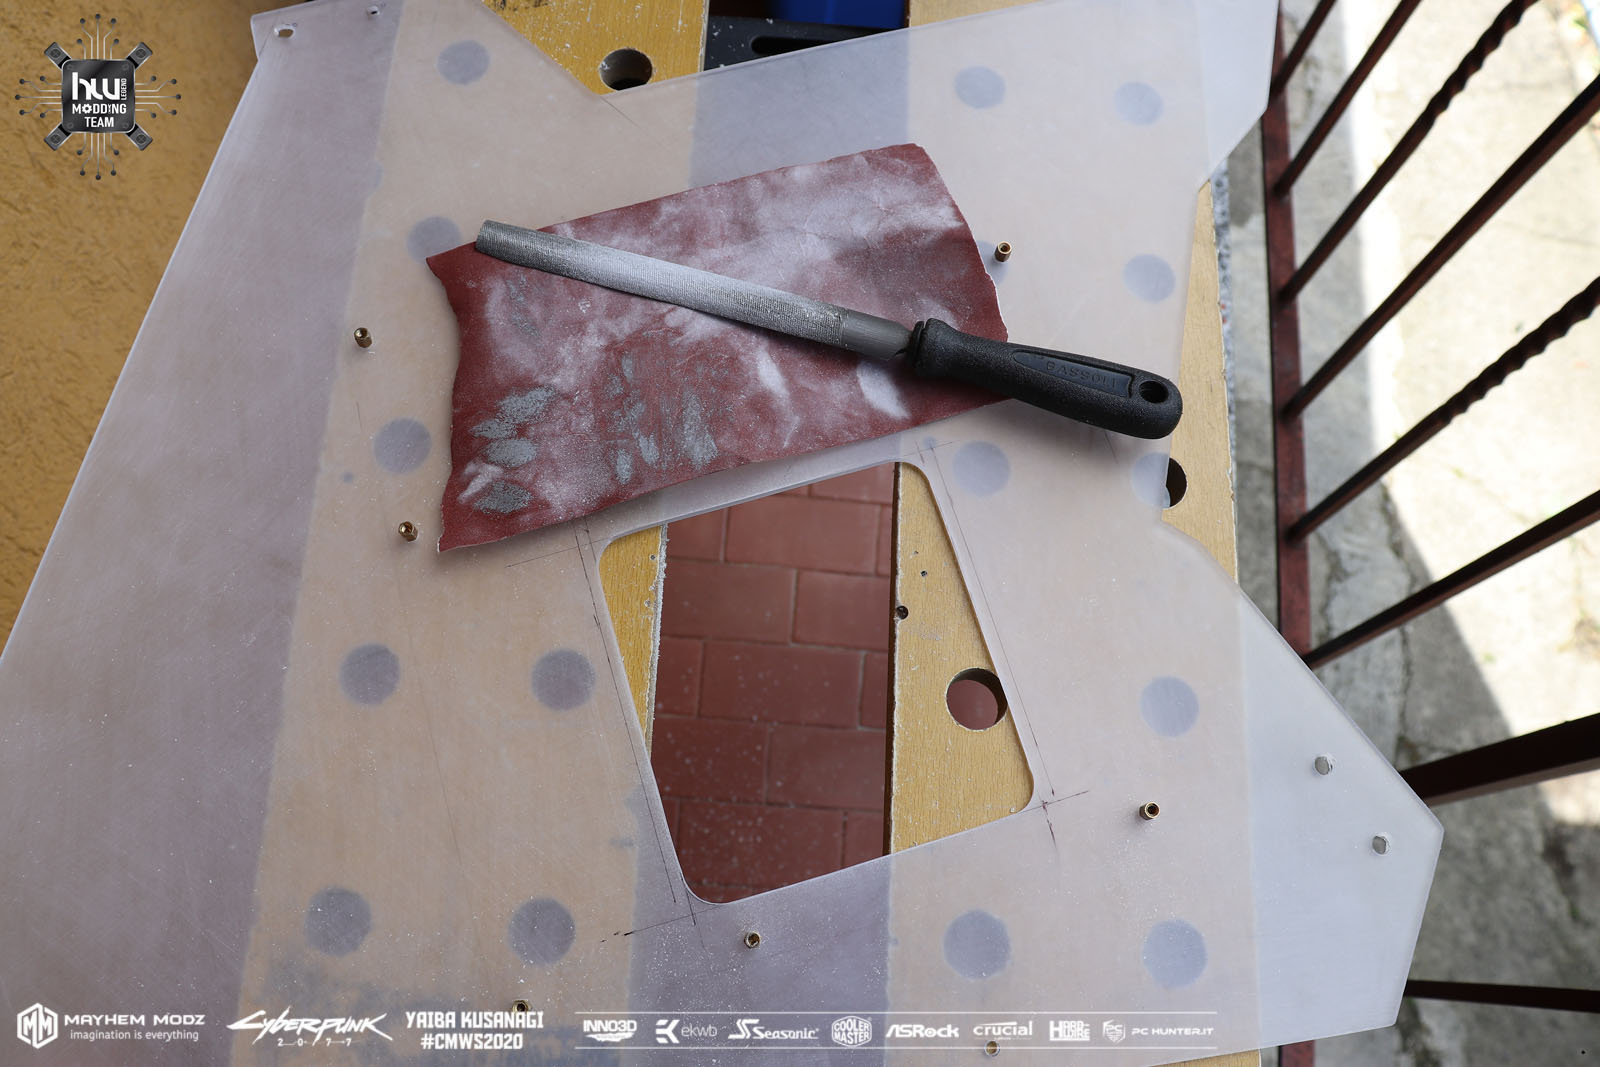
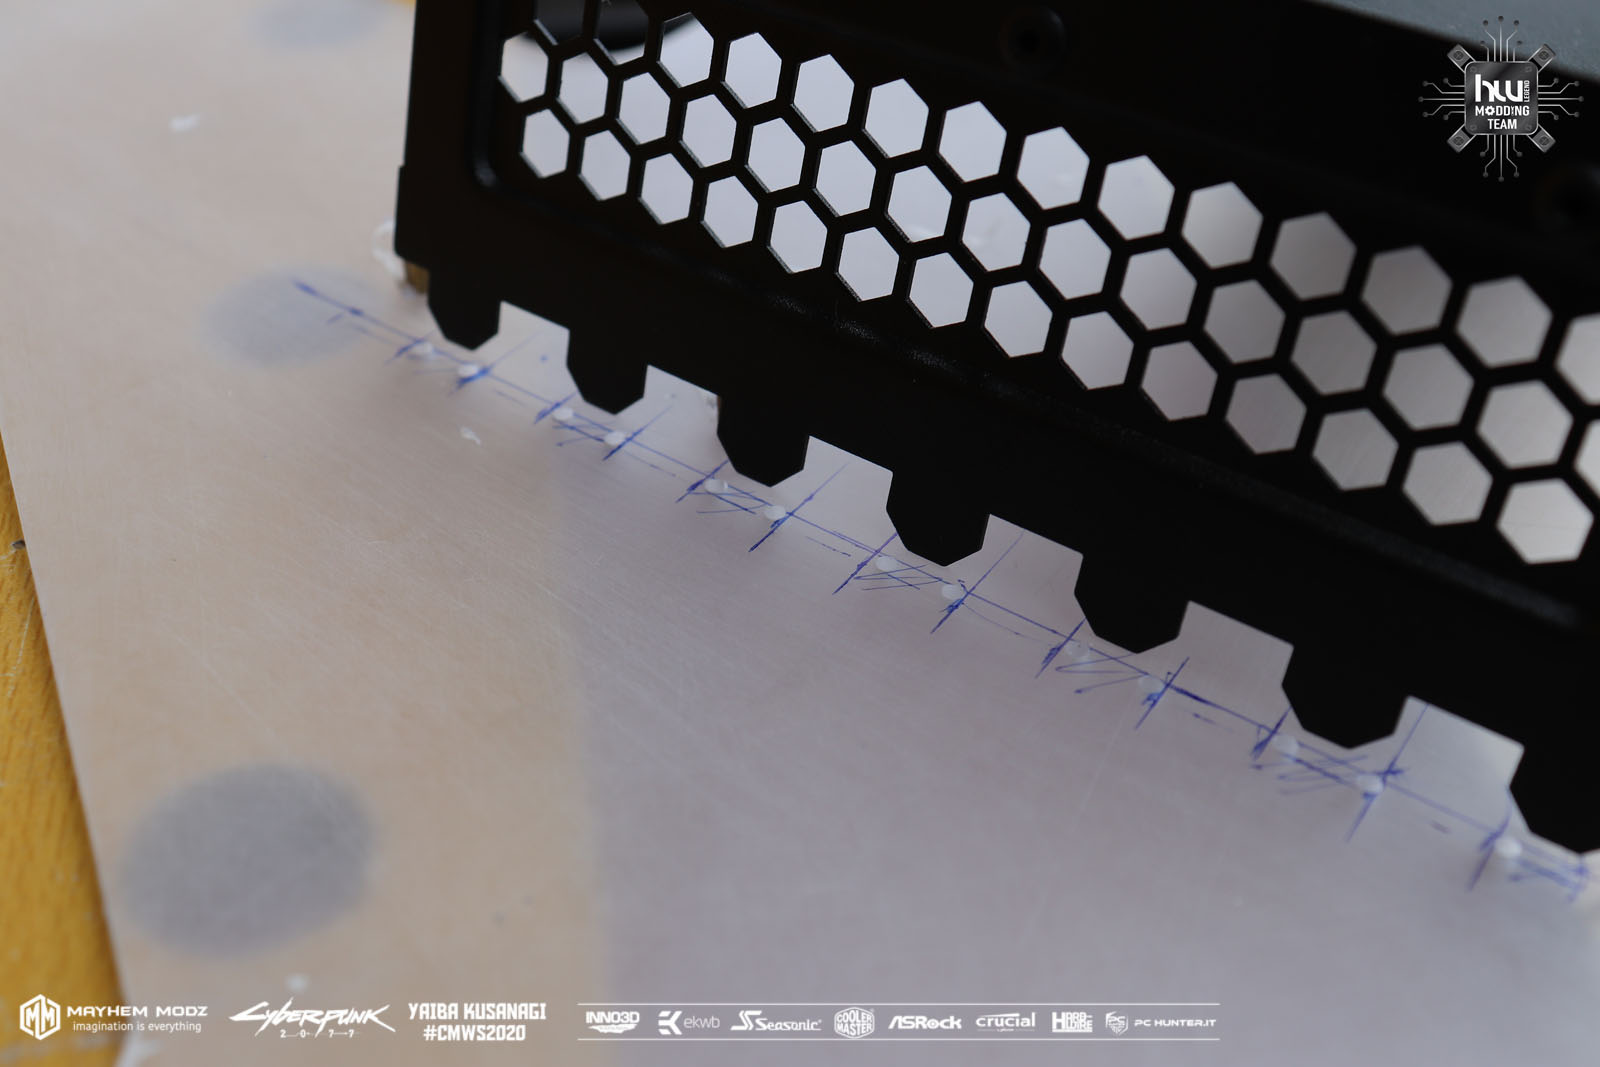
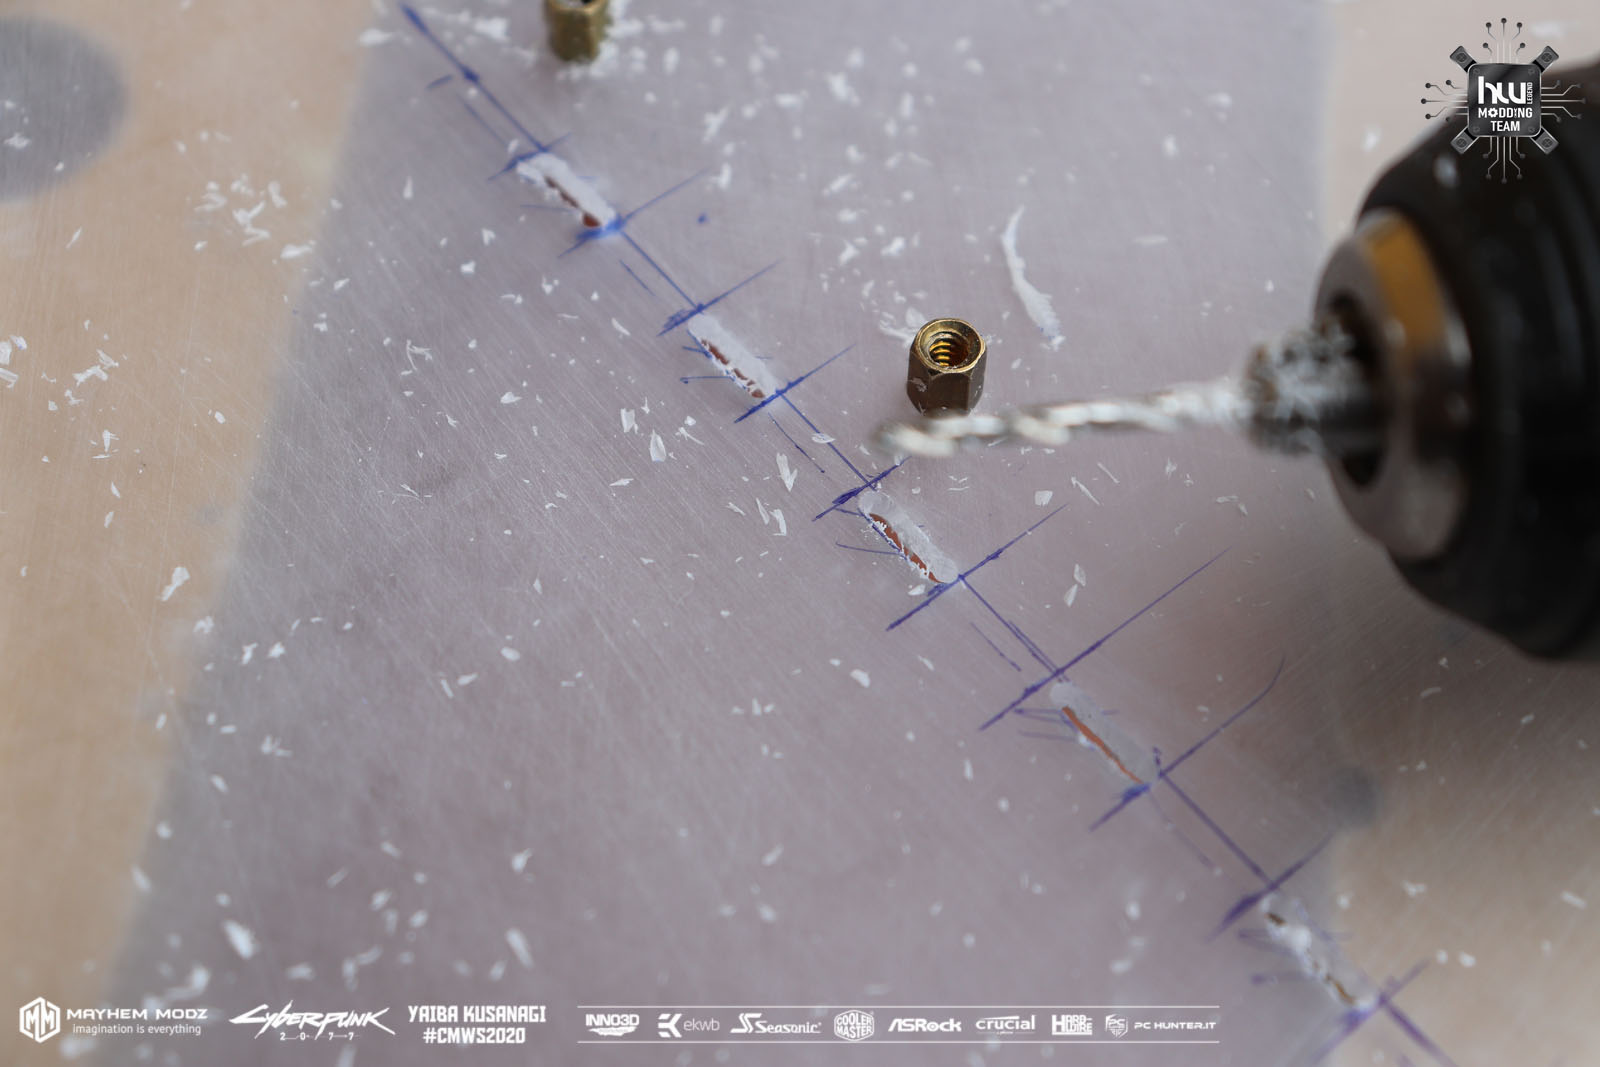
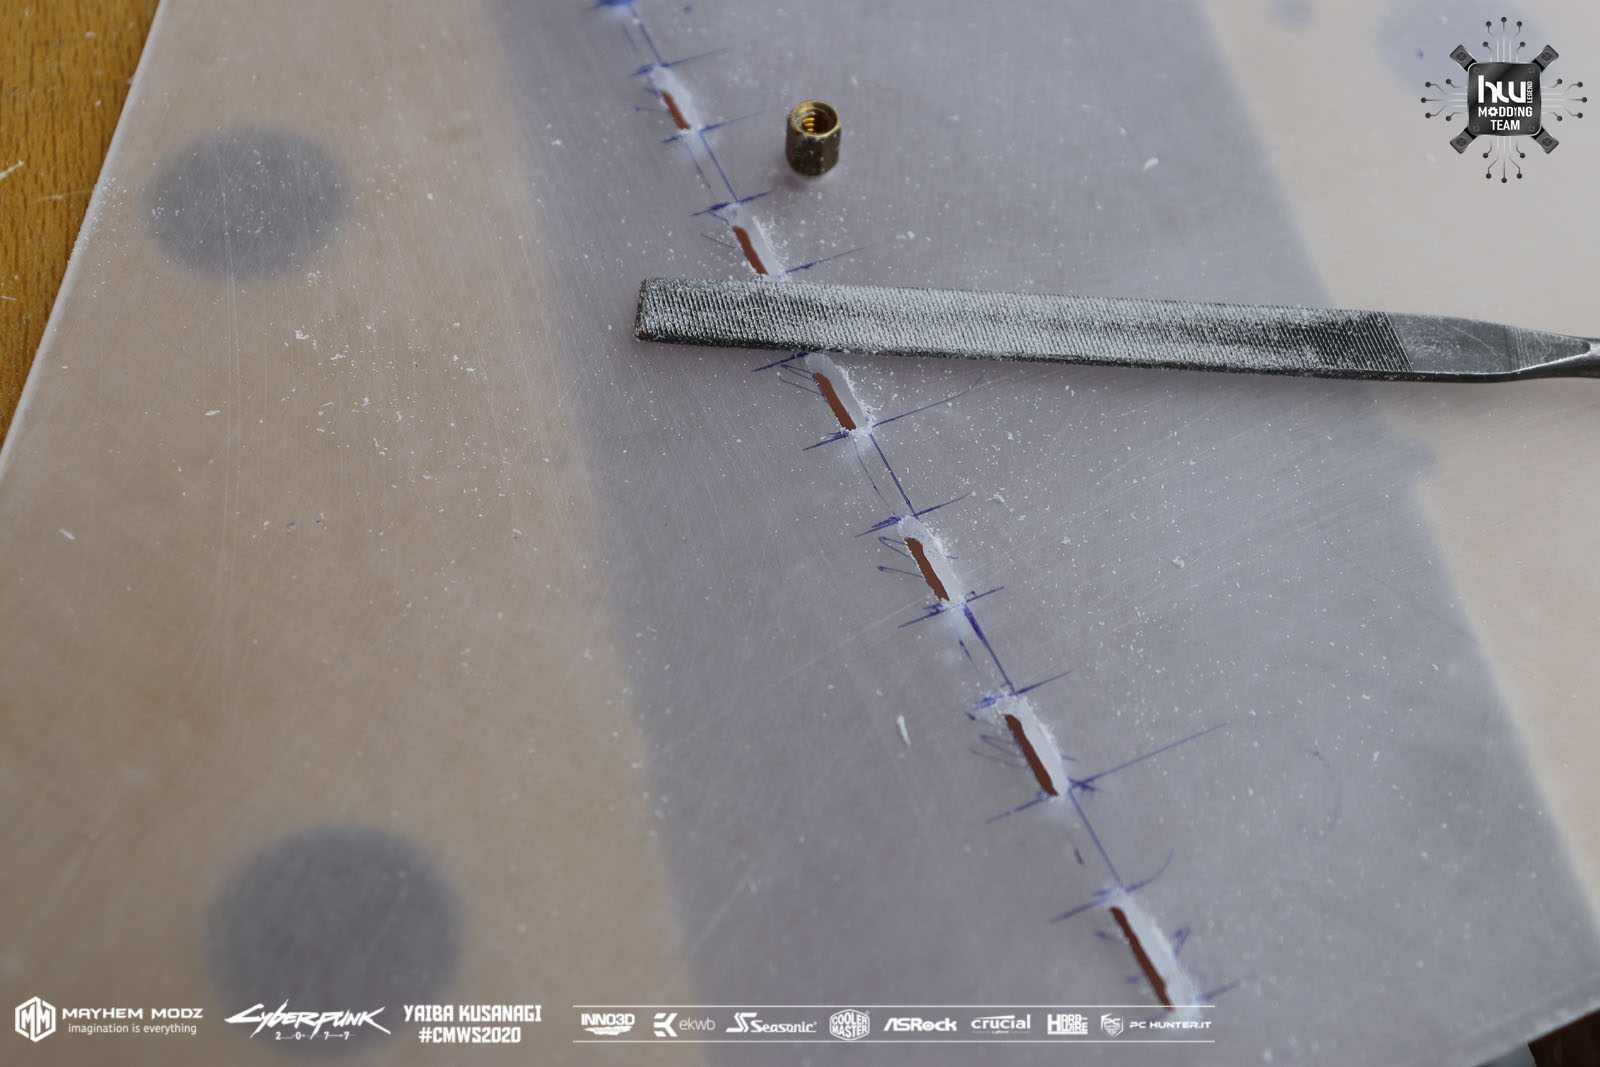
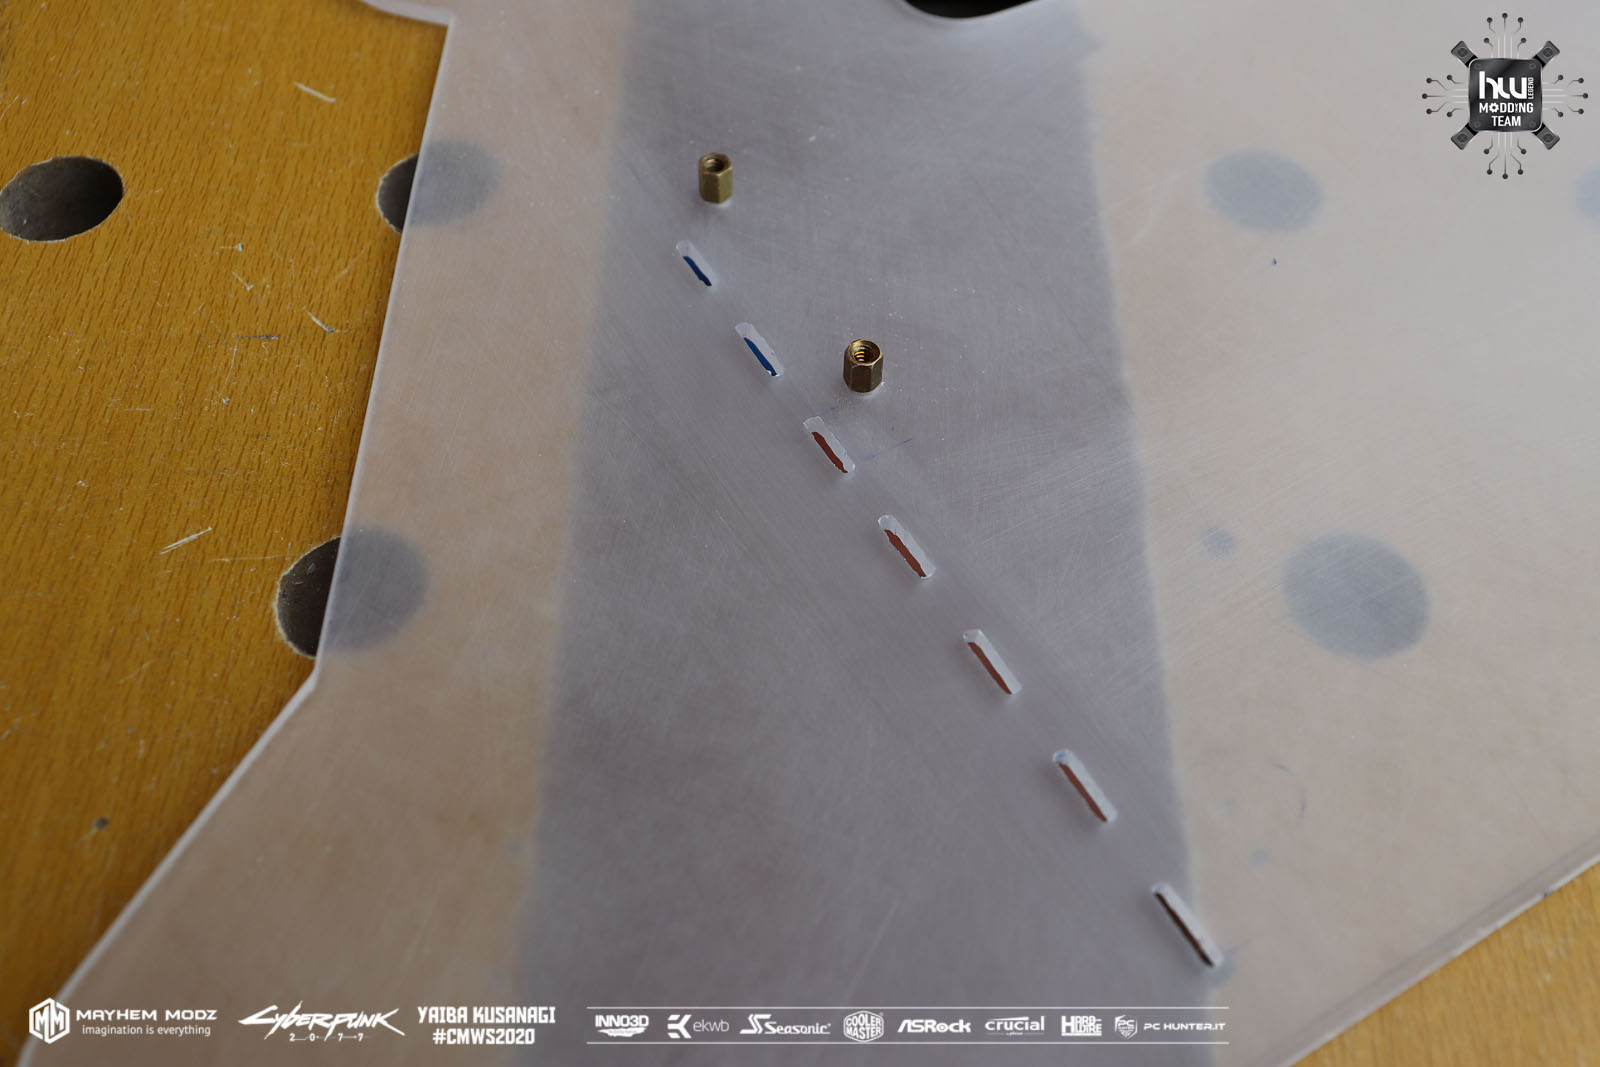
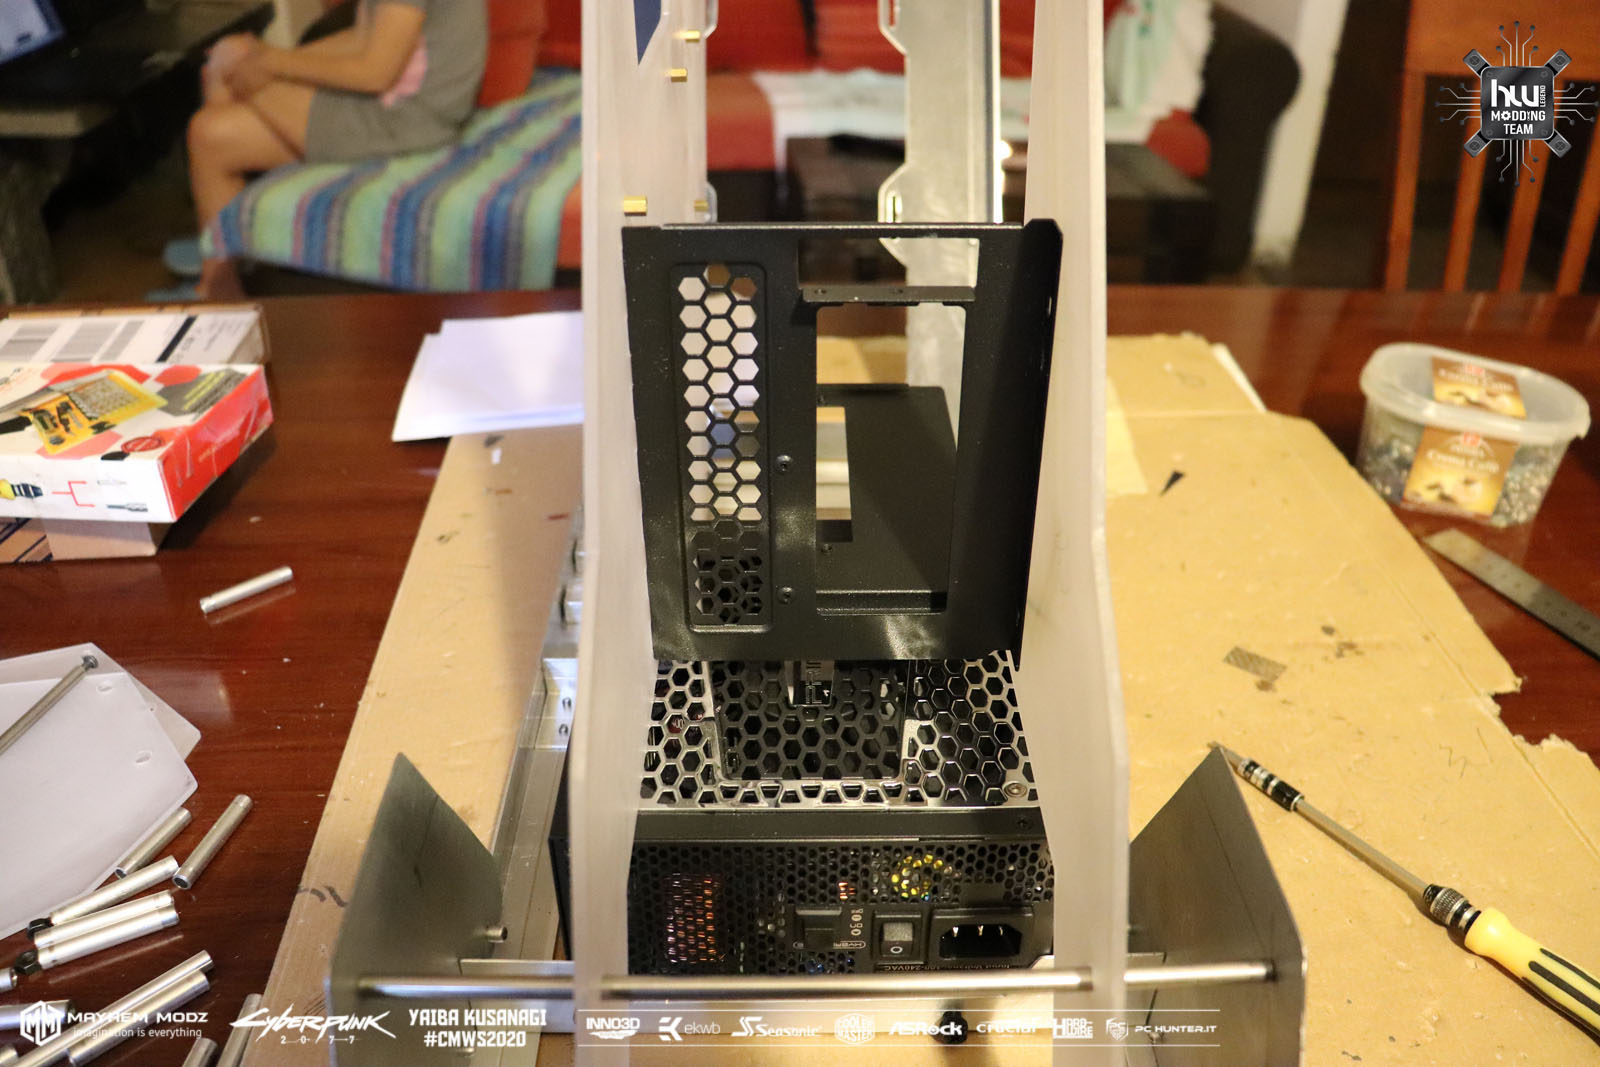
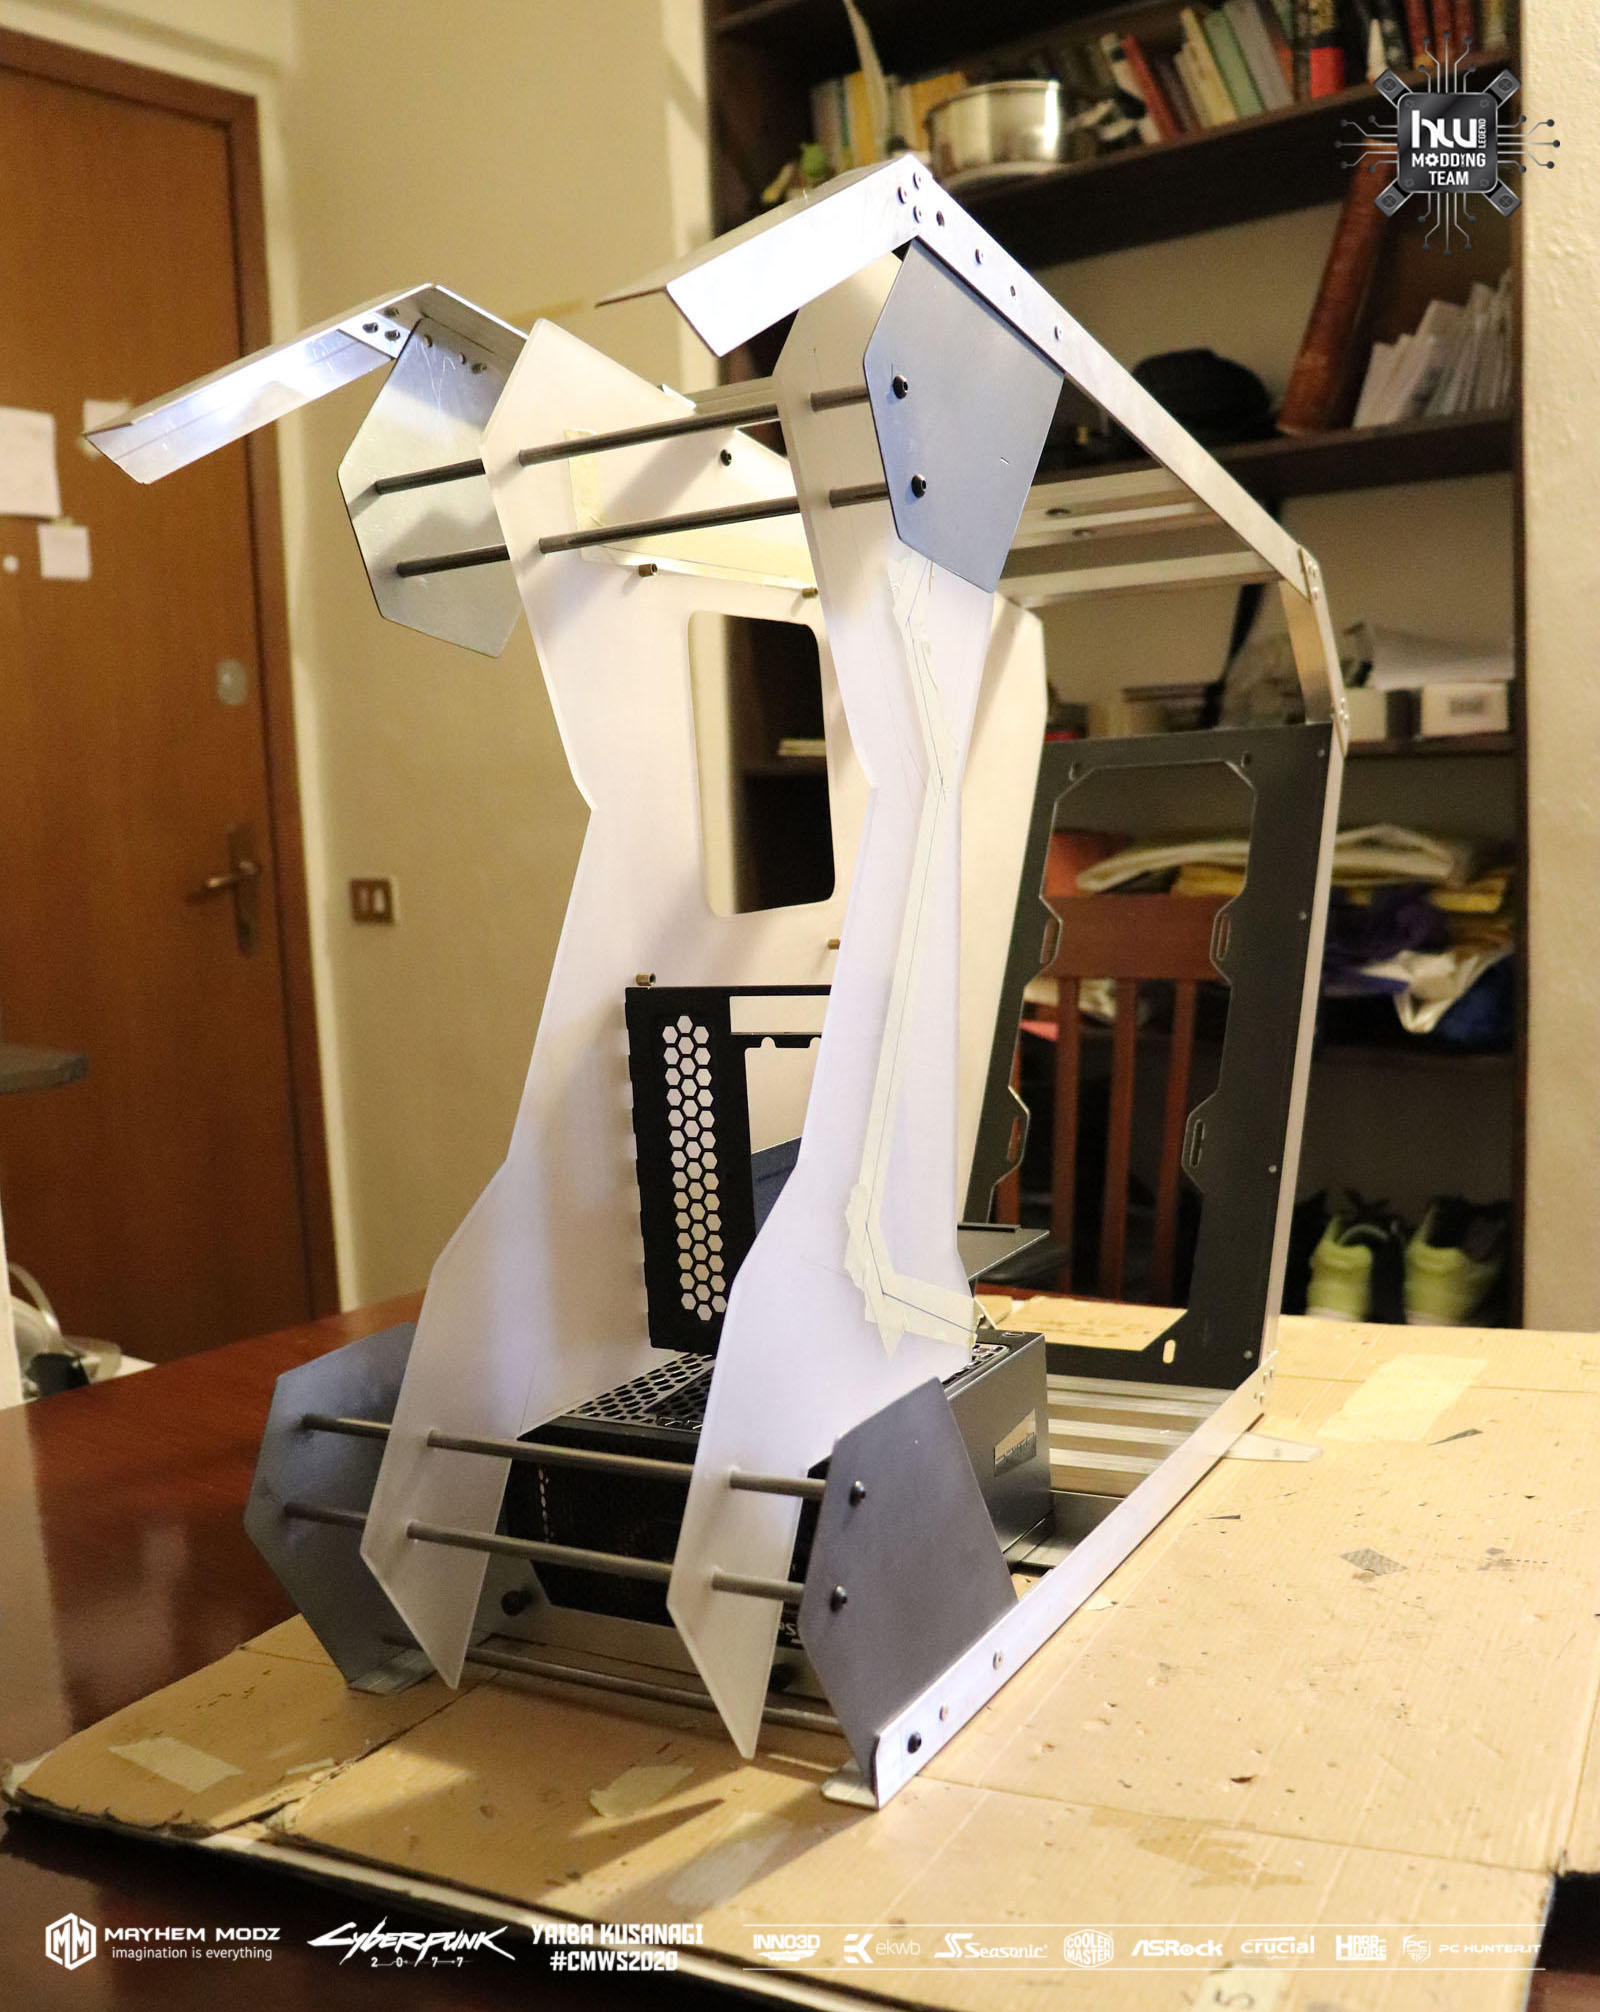
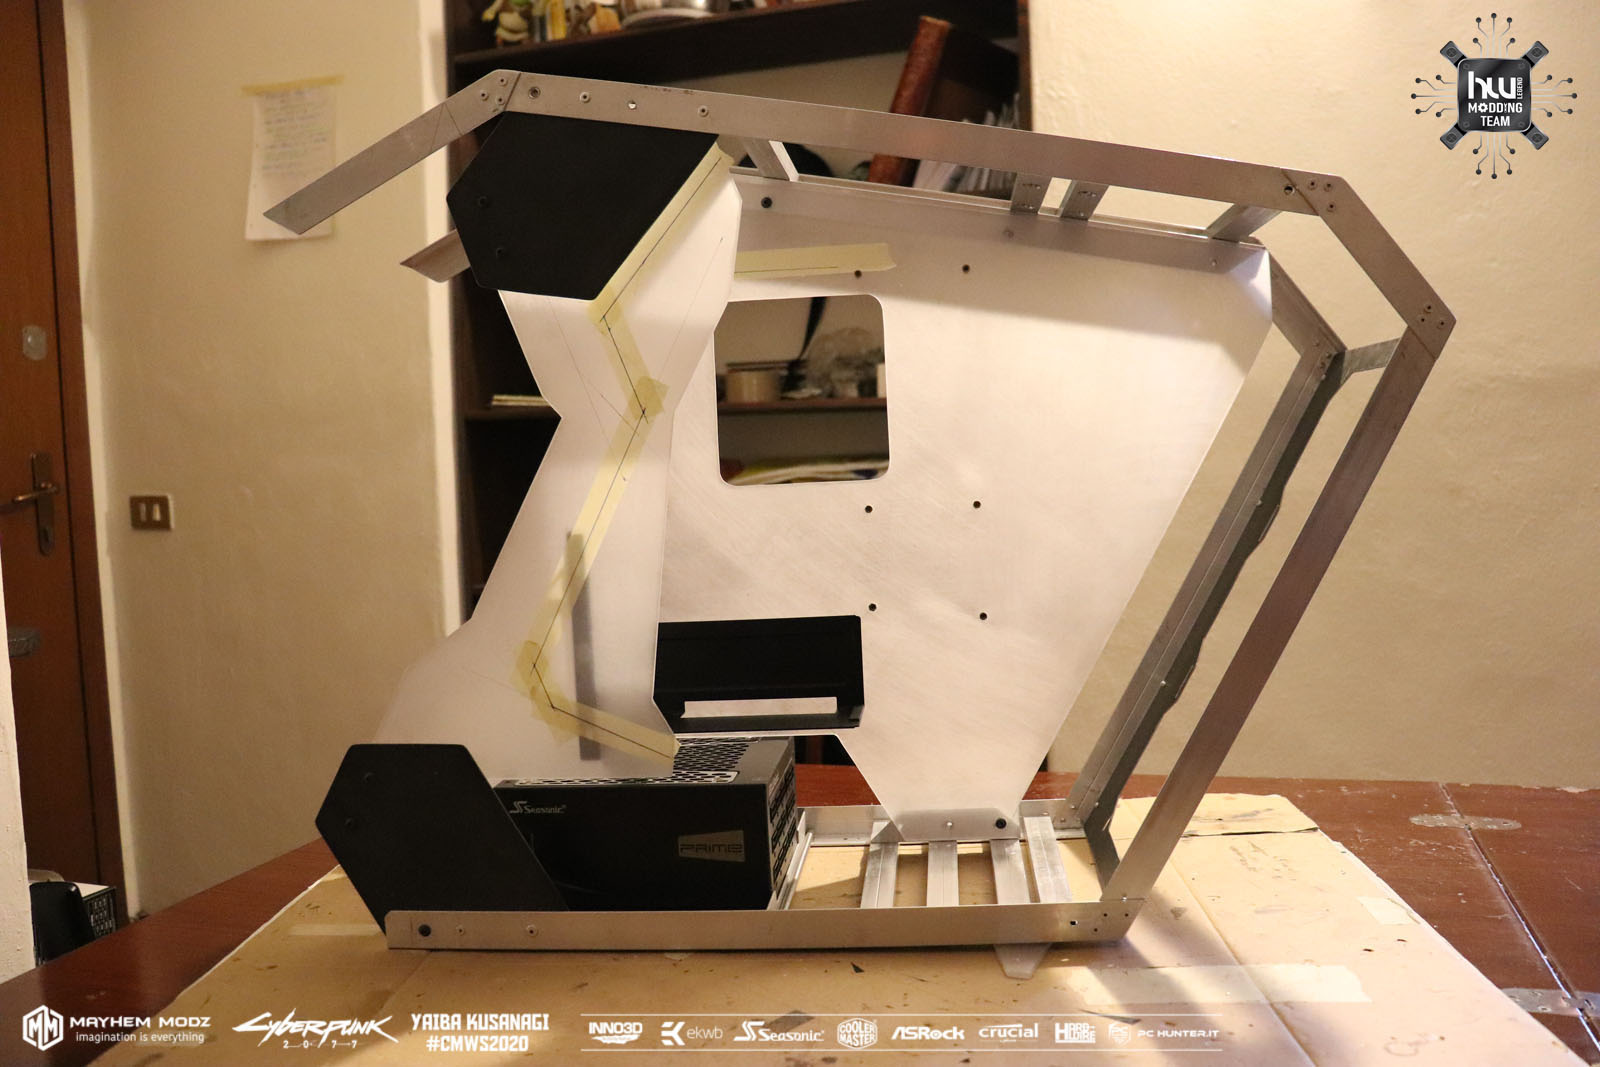
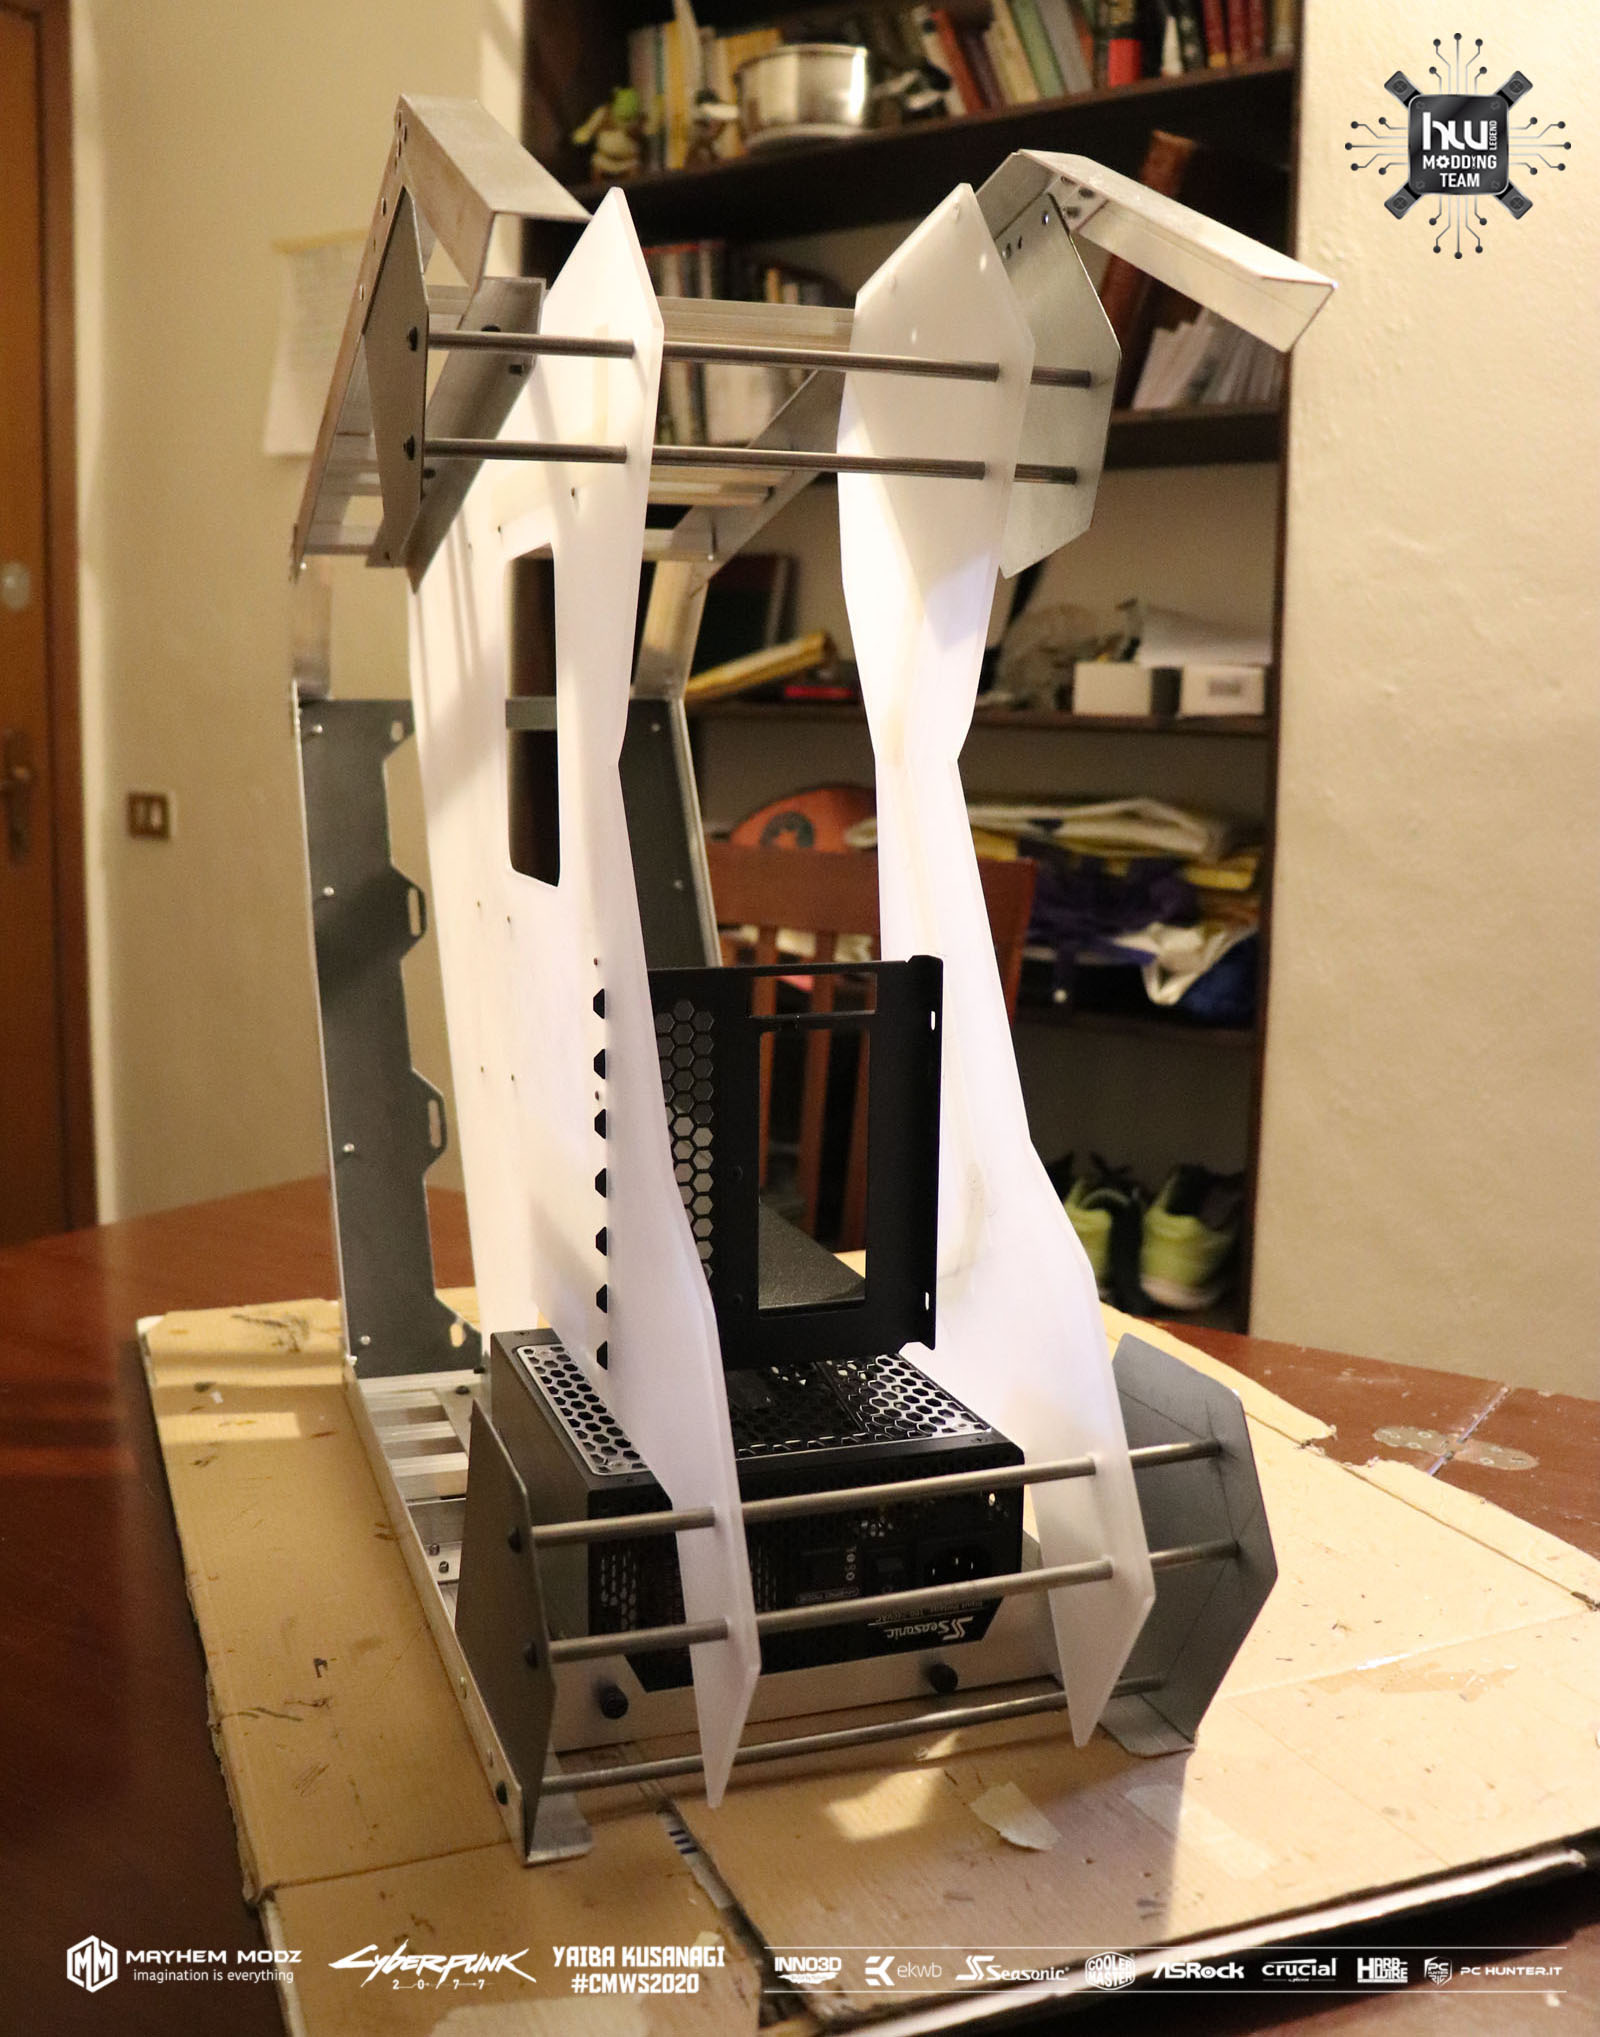
next mod coming soon I could not miss this new project another adventure begins.
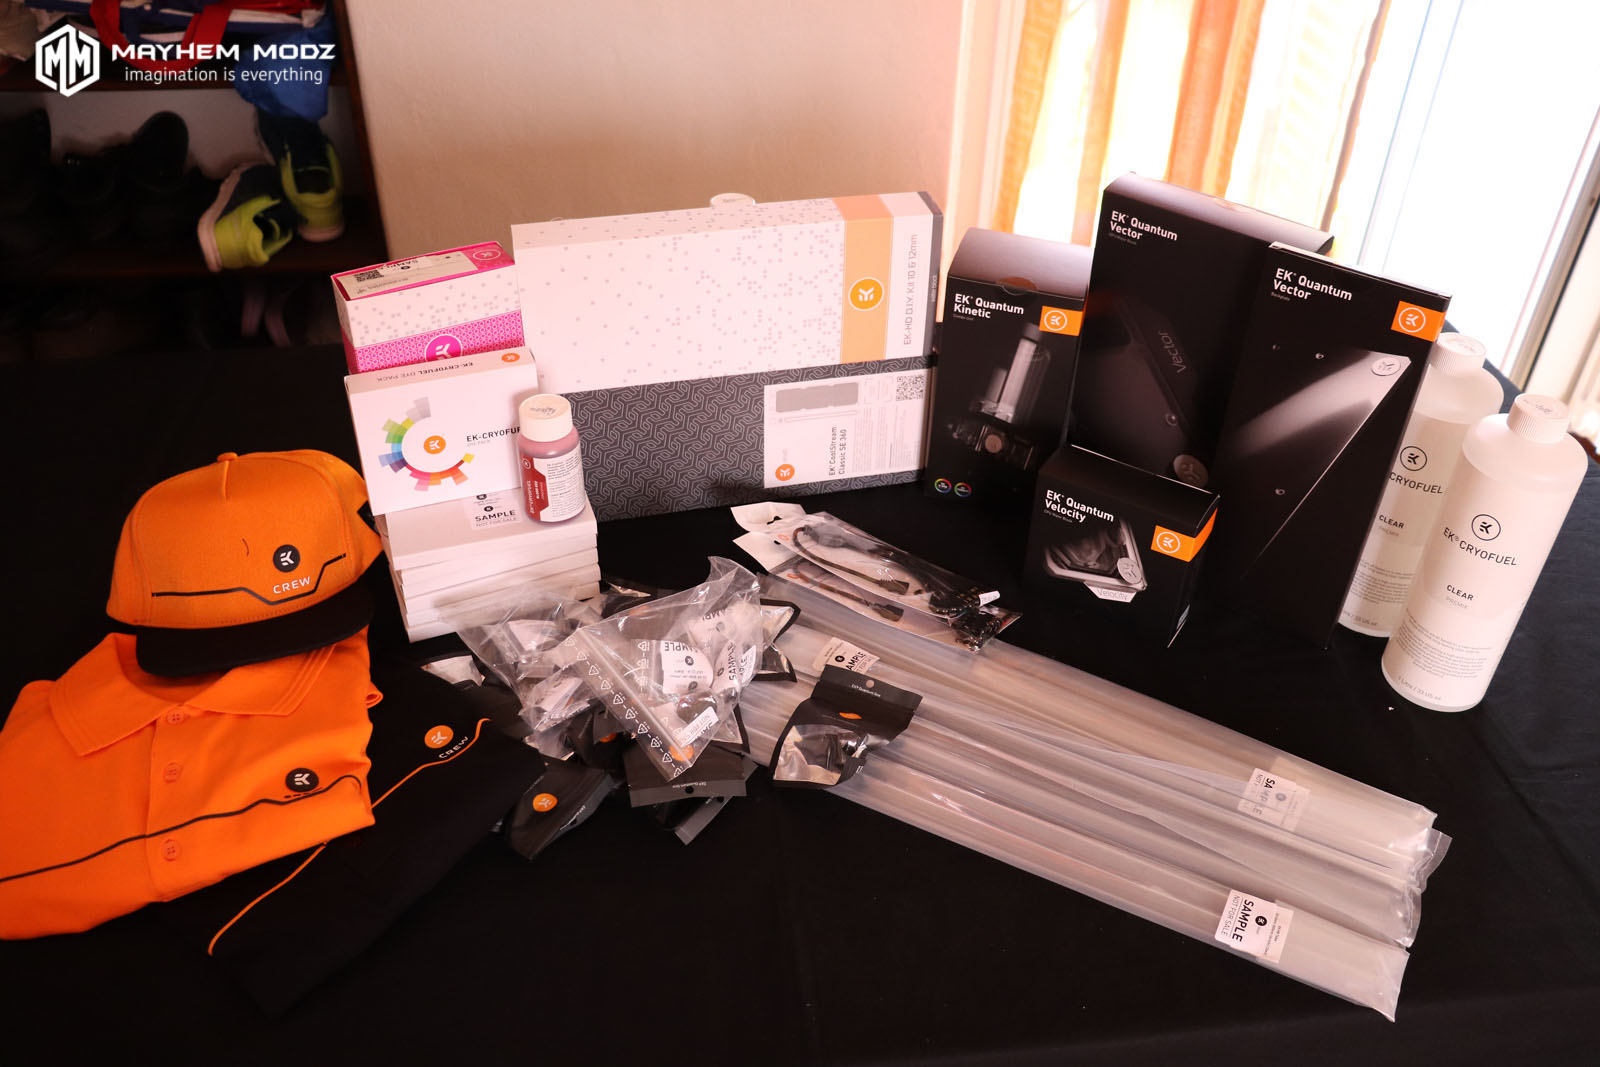
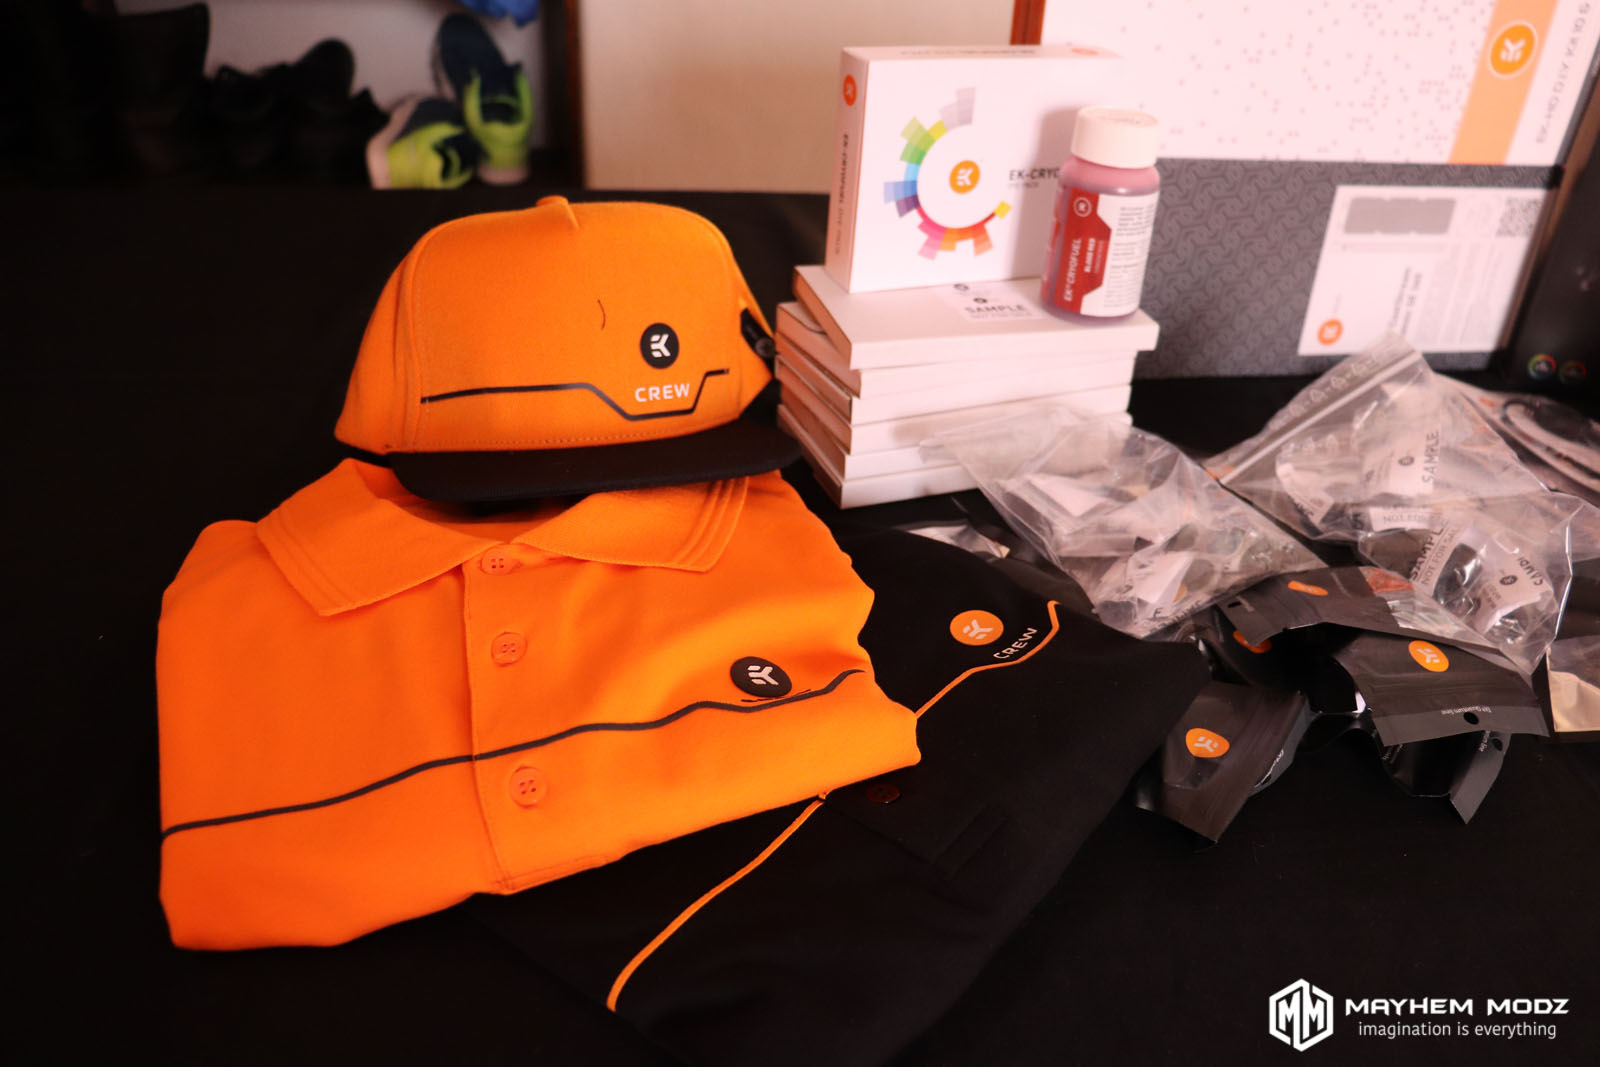
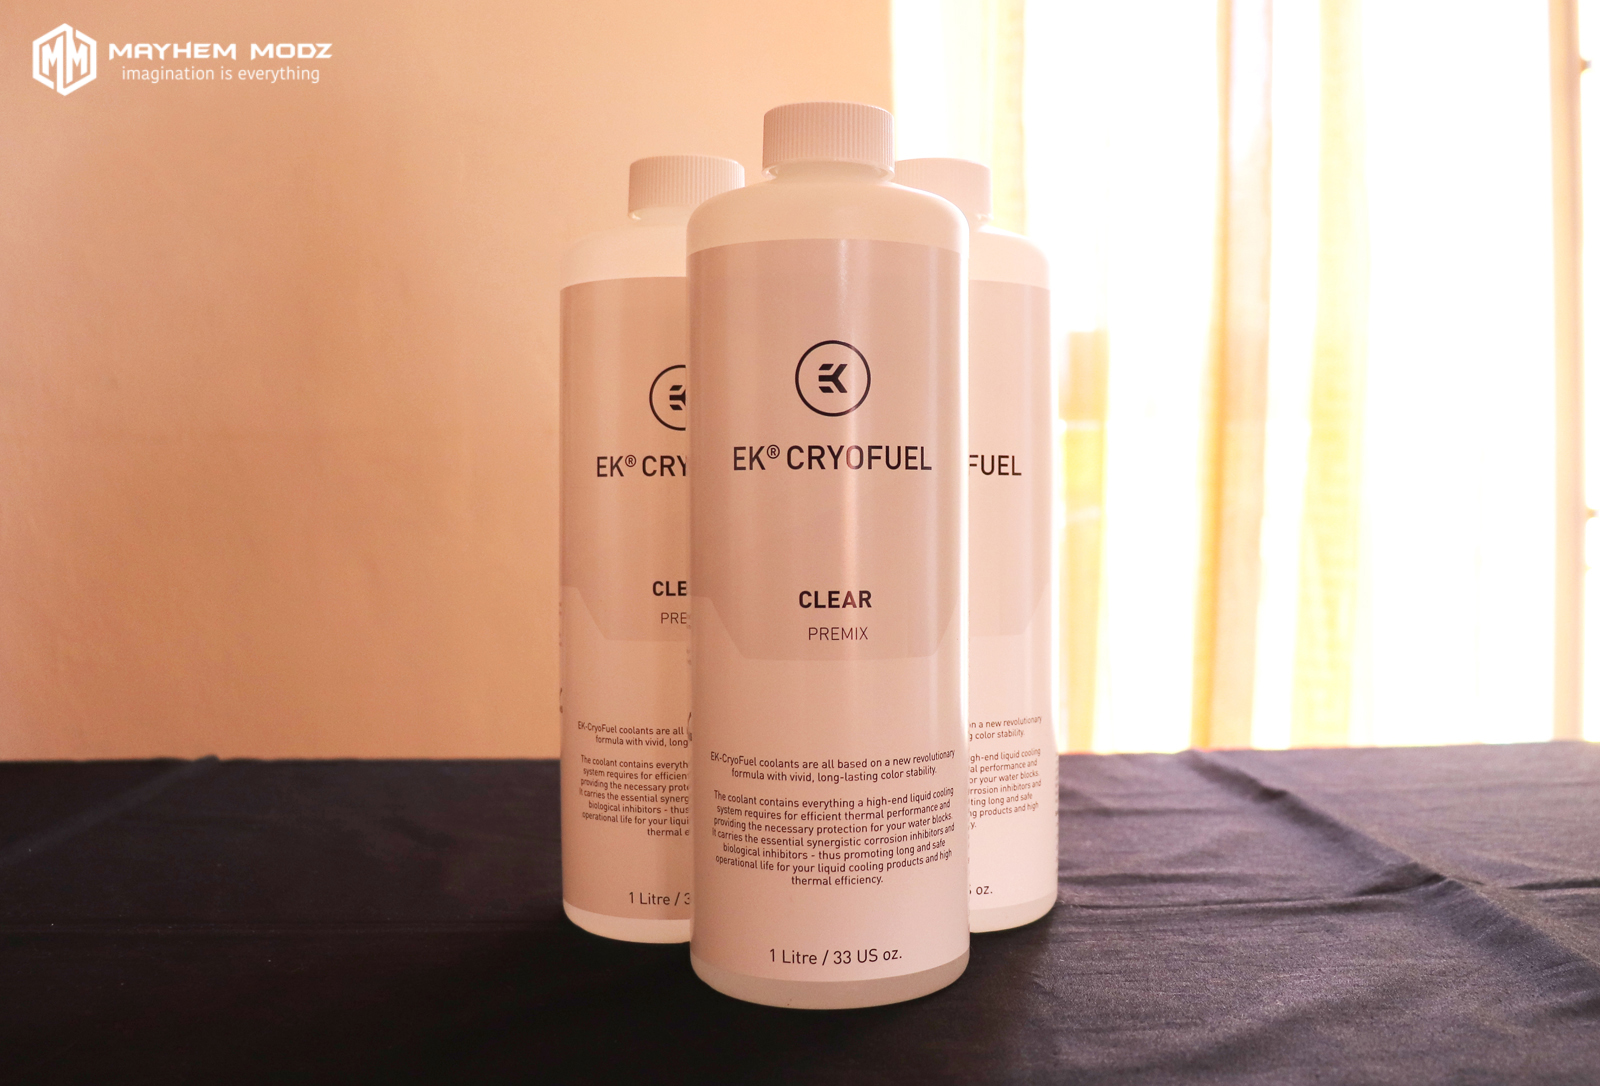
thanks to my sponsors
ASROCK, INNO3D, CRUCIAL, SEASONIC, EKWB, HARDWIRE, COOLERMASTER, PC HUNTER
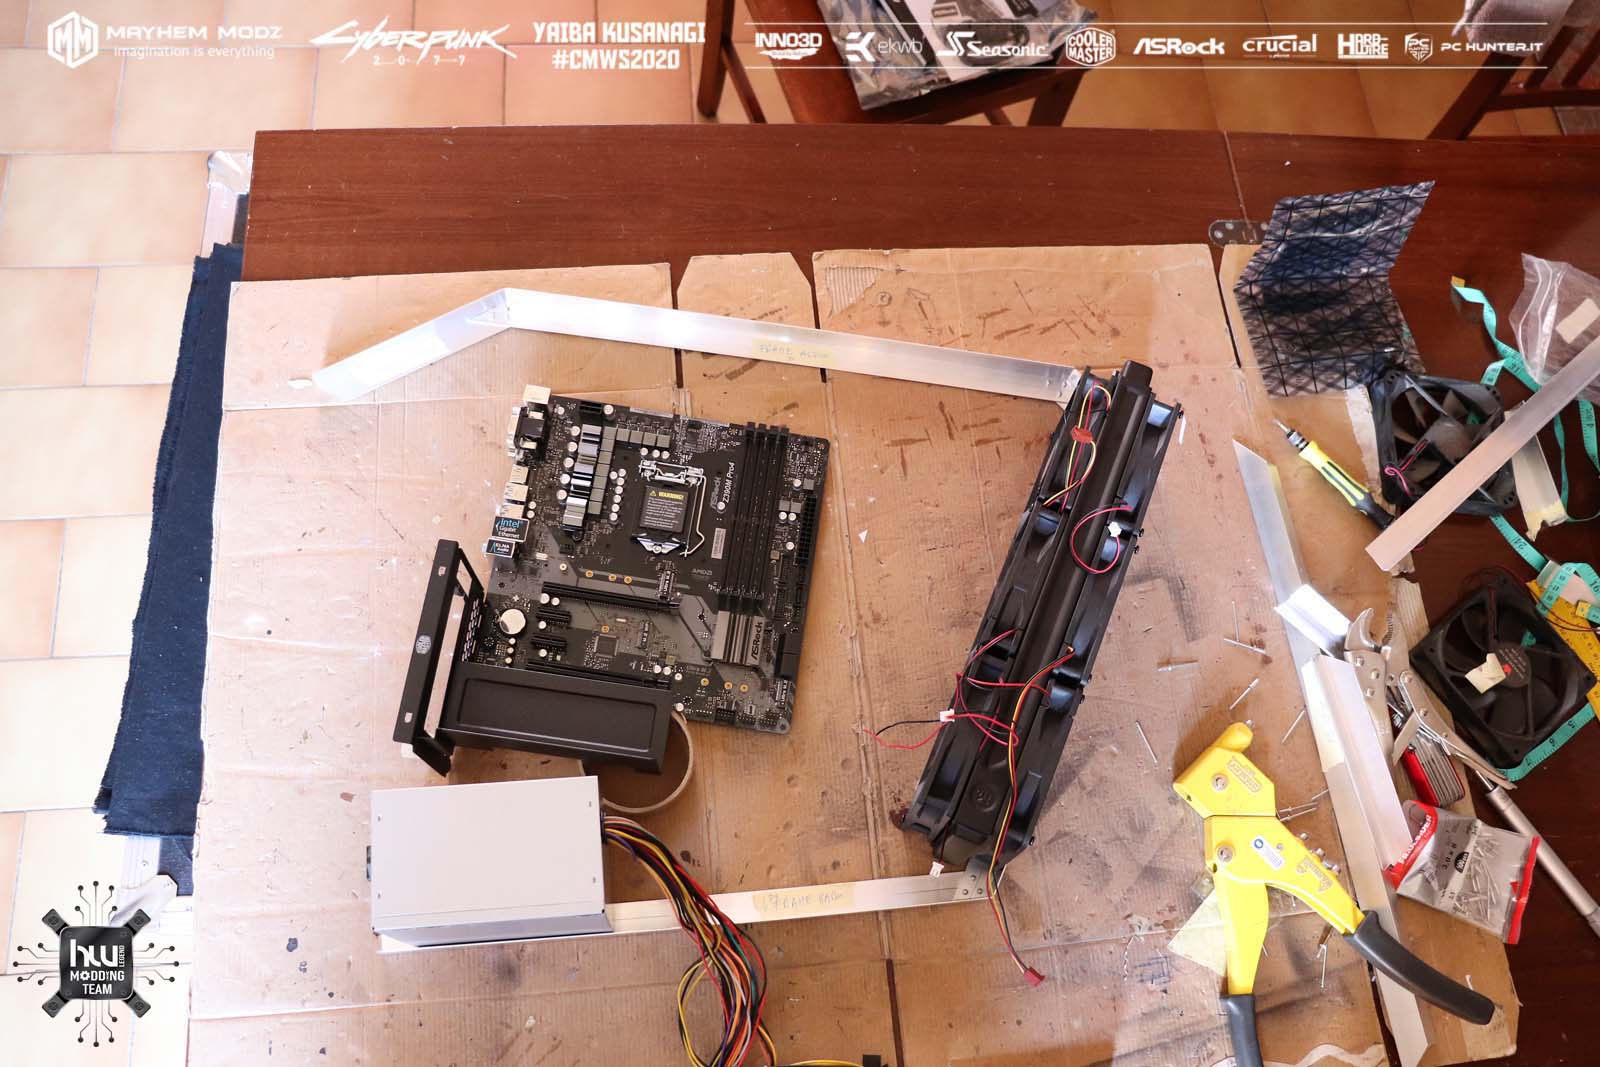
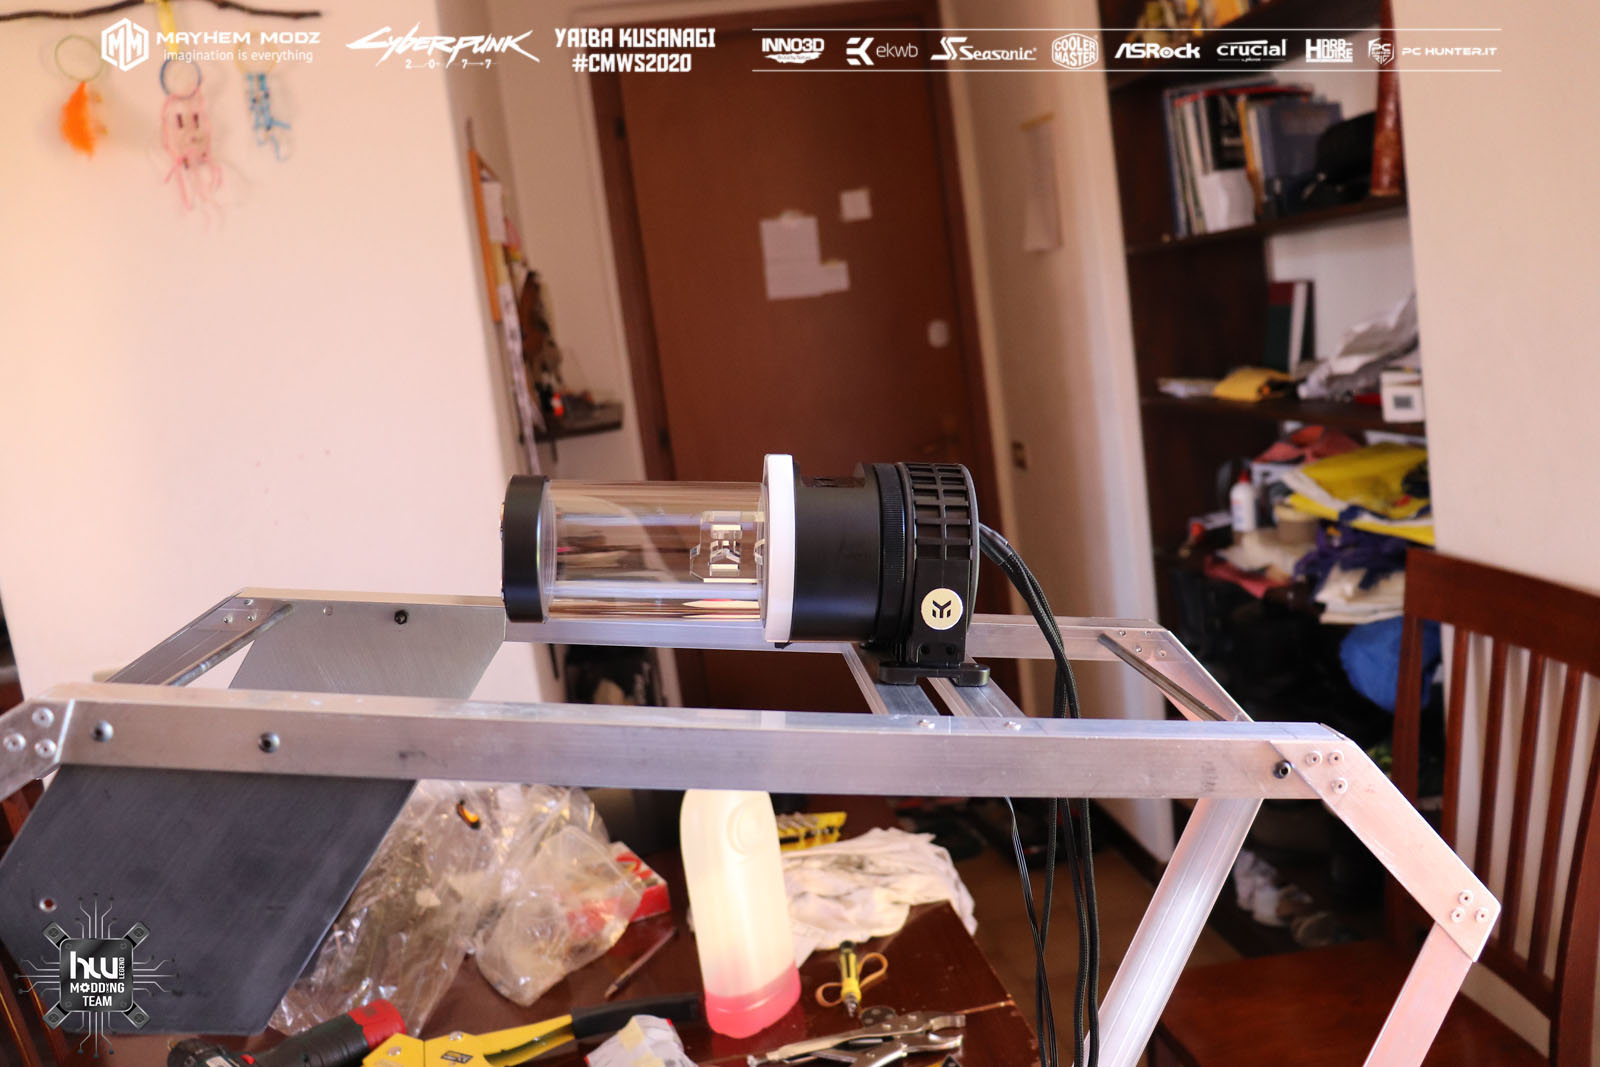
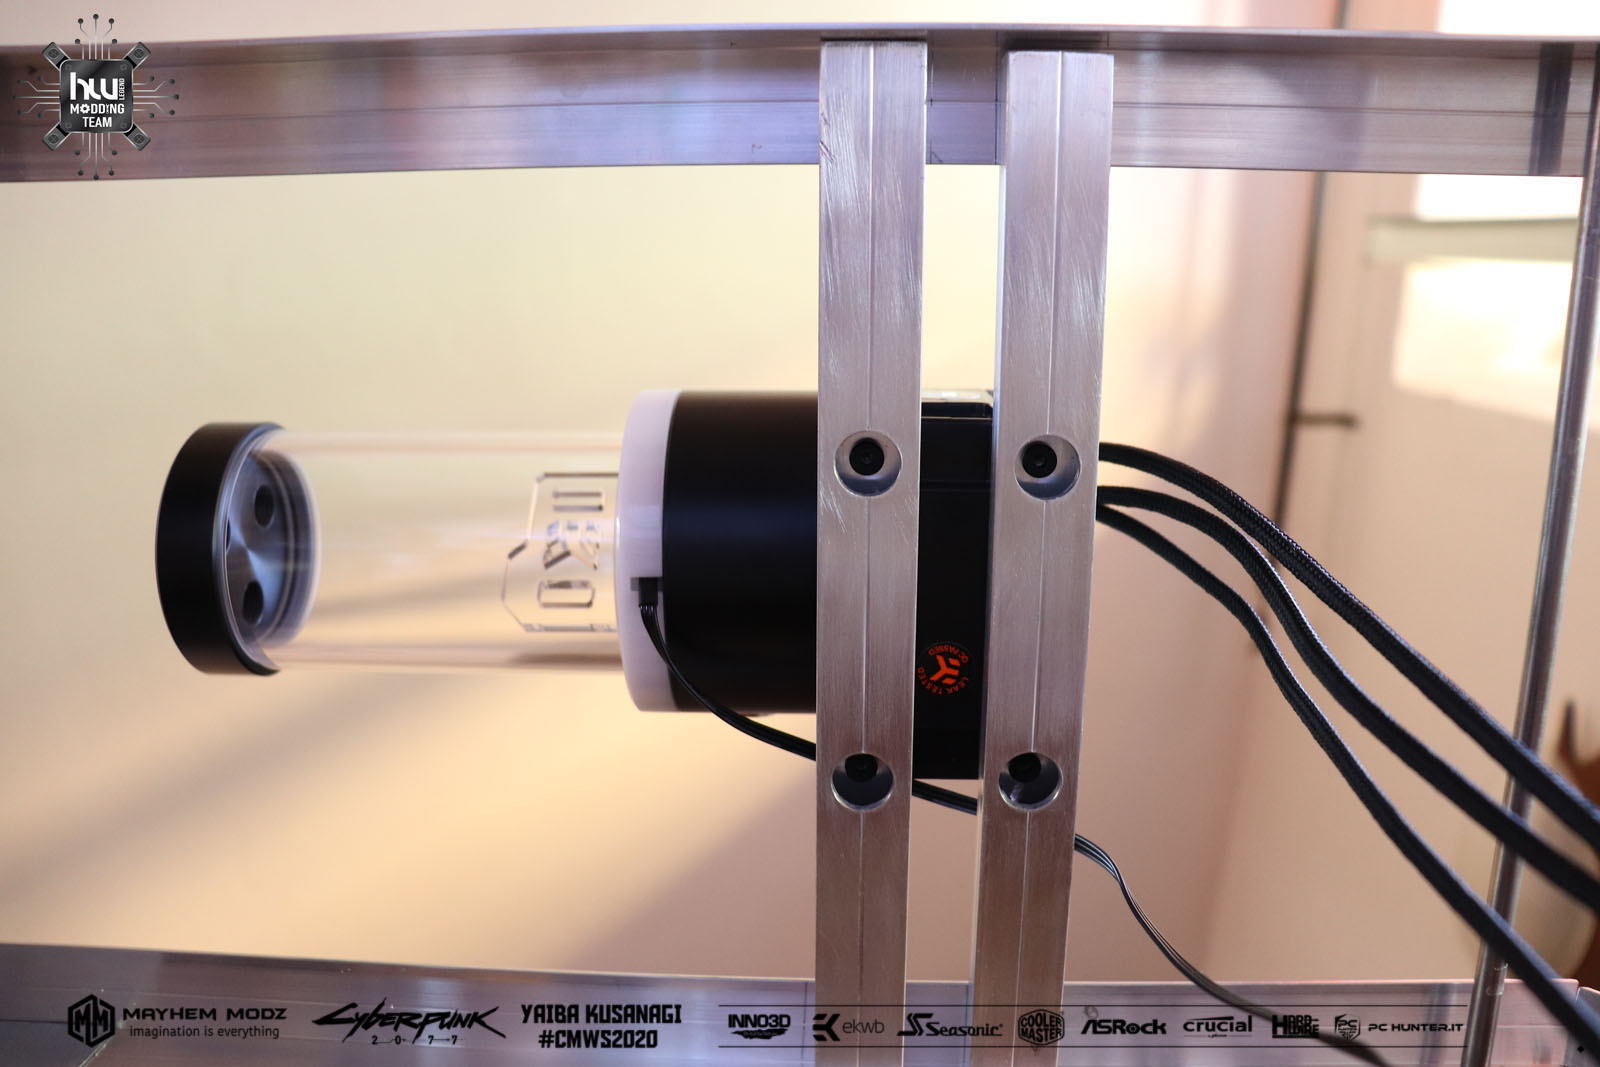
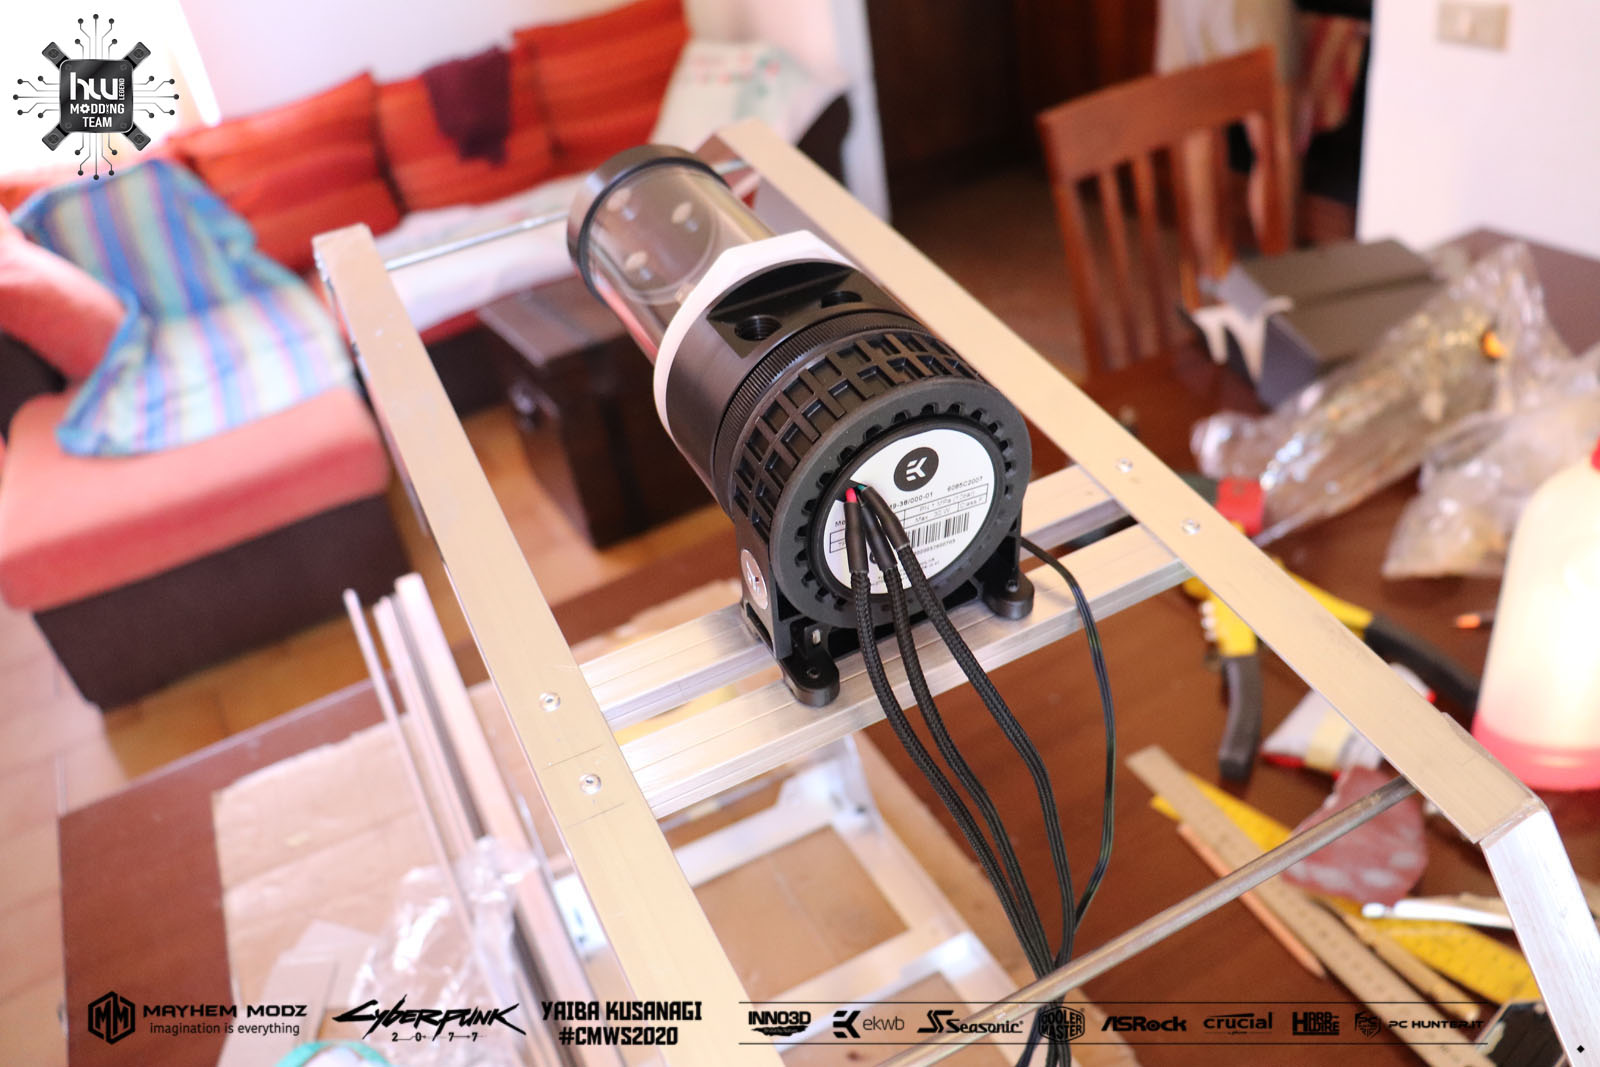
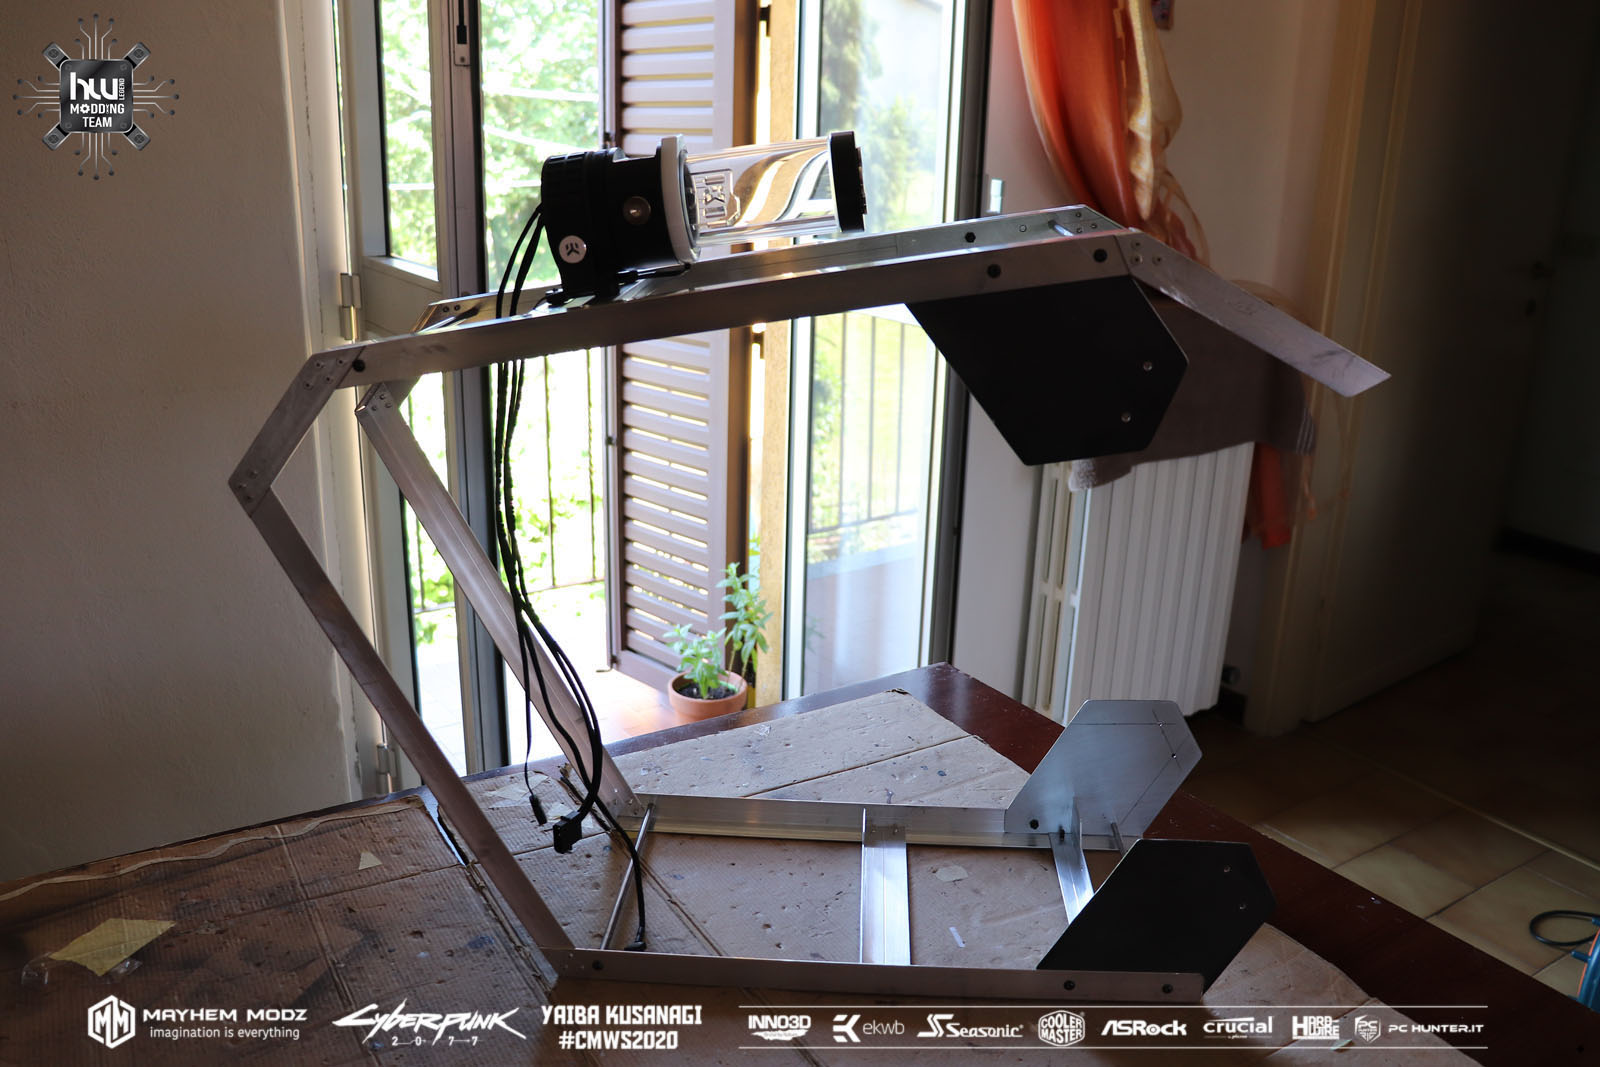
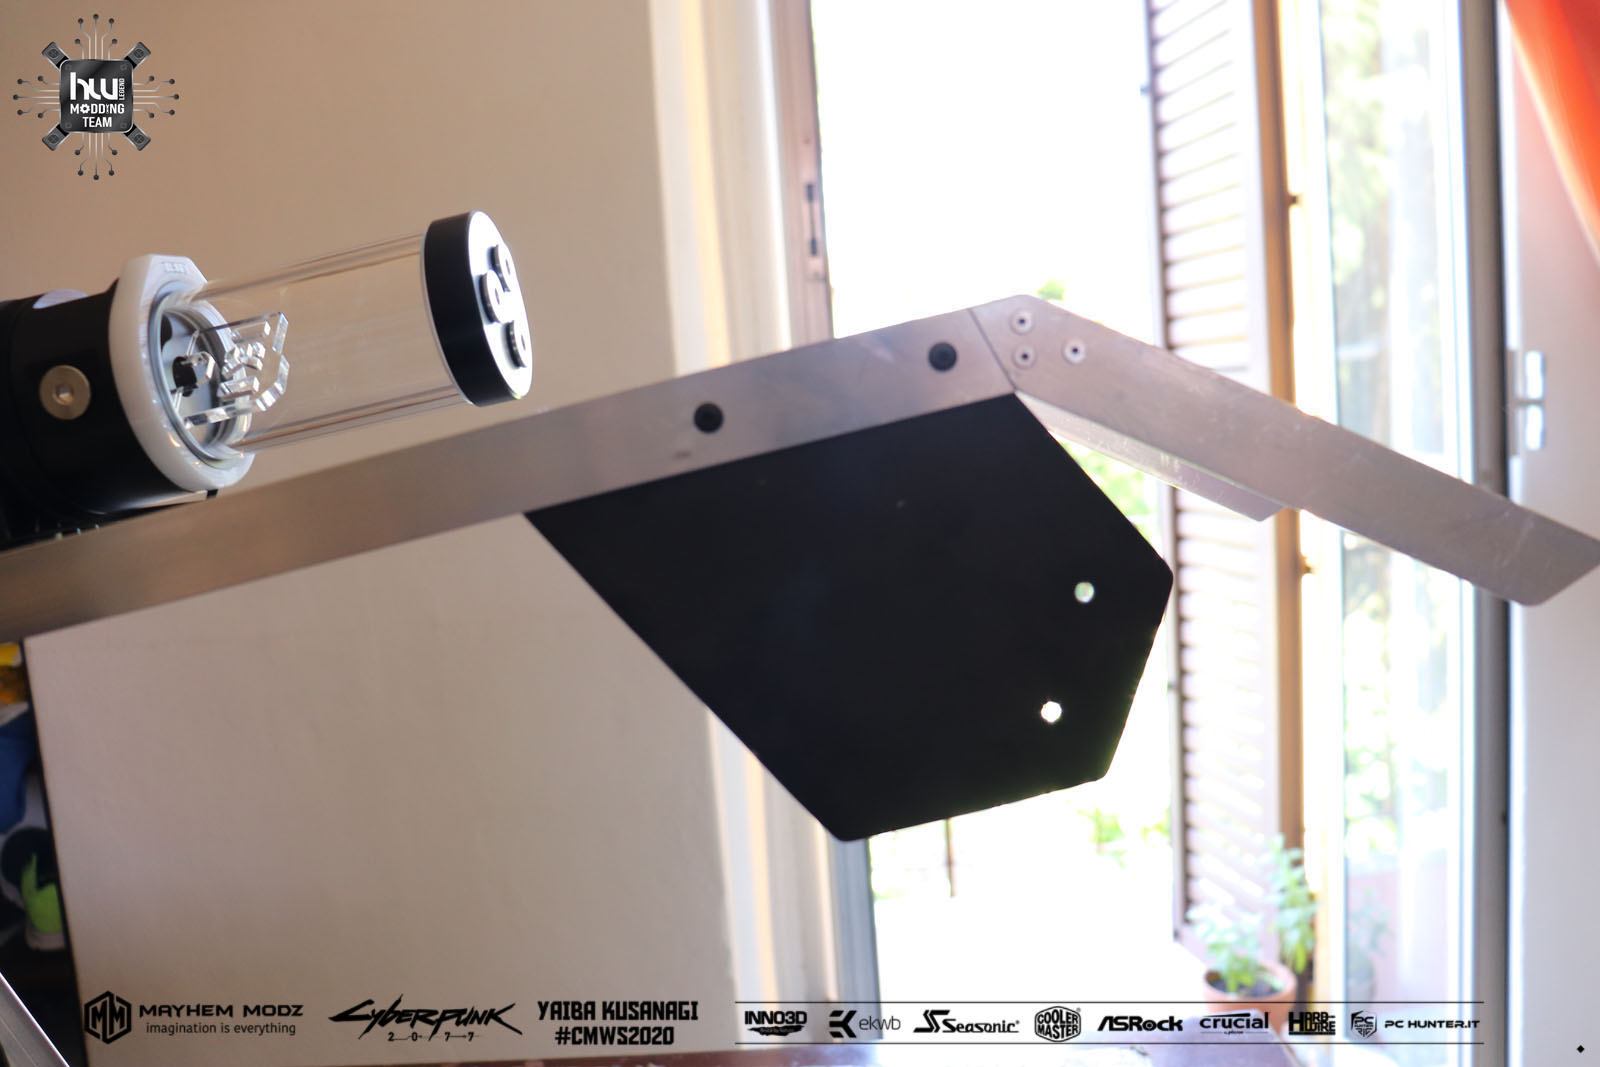
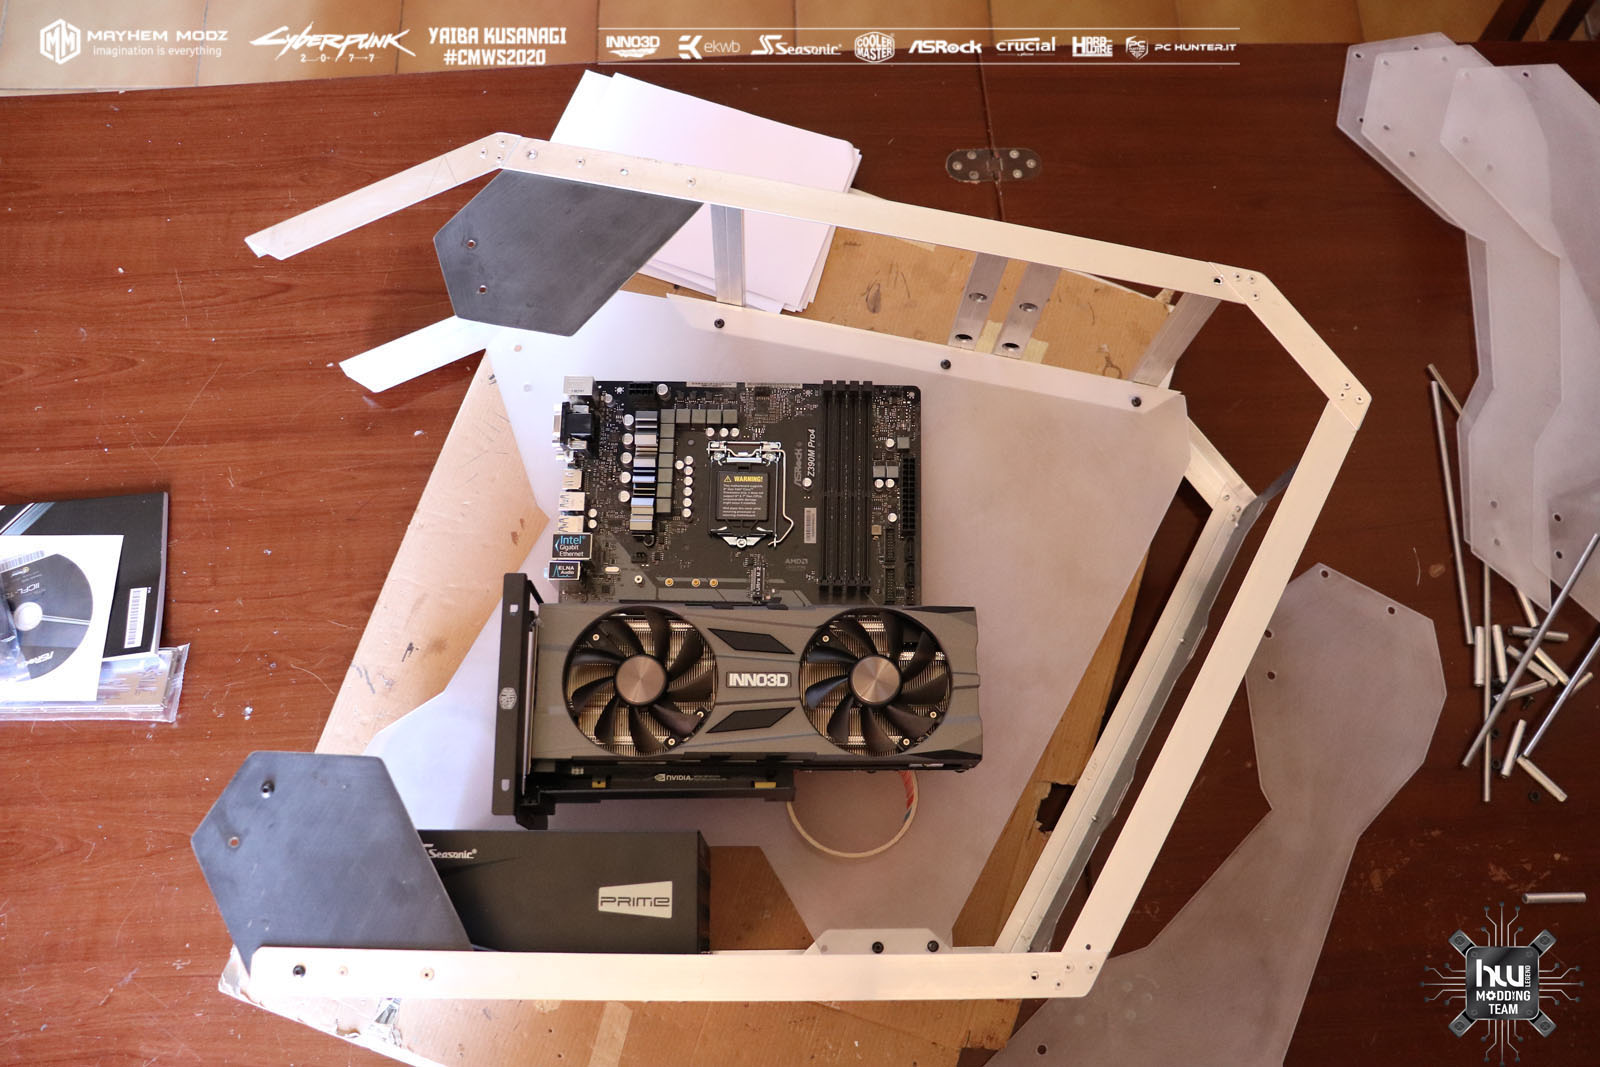
YX0Uorp.jpg


B8sZ8MJ.jpg


configuration
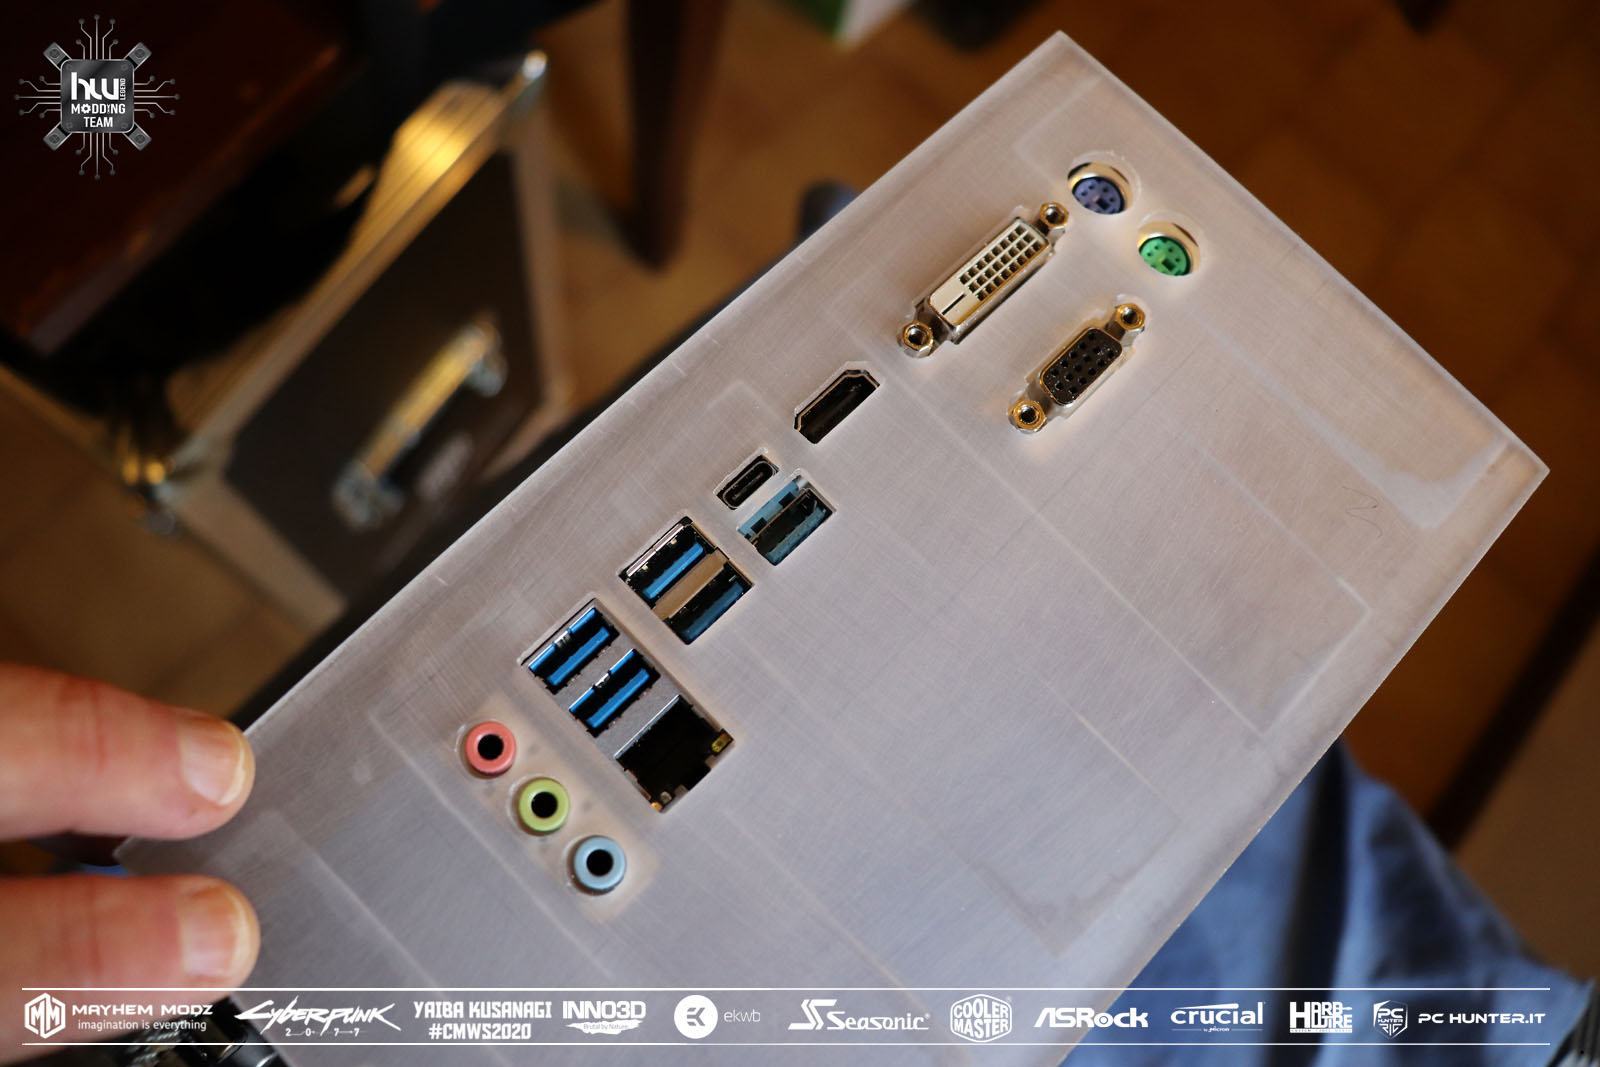
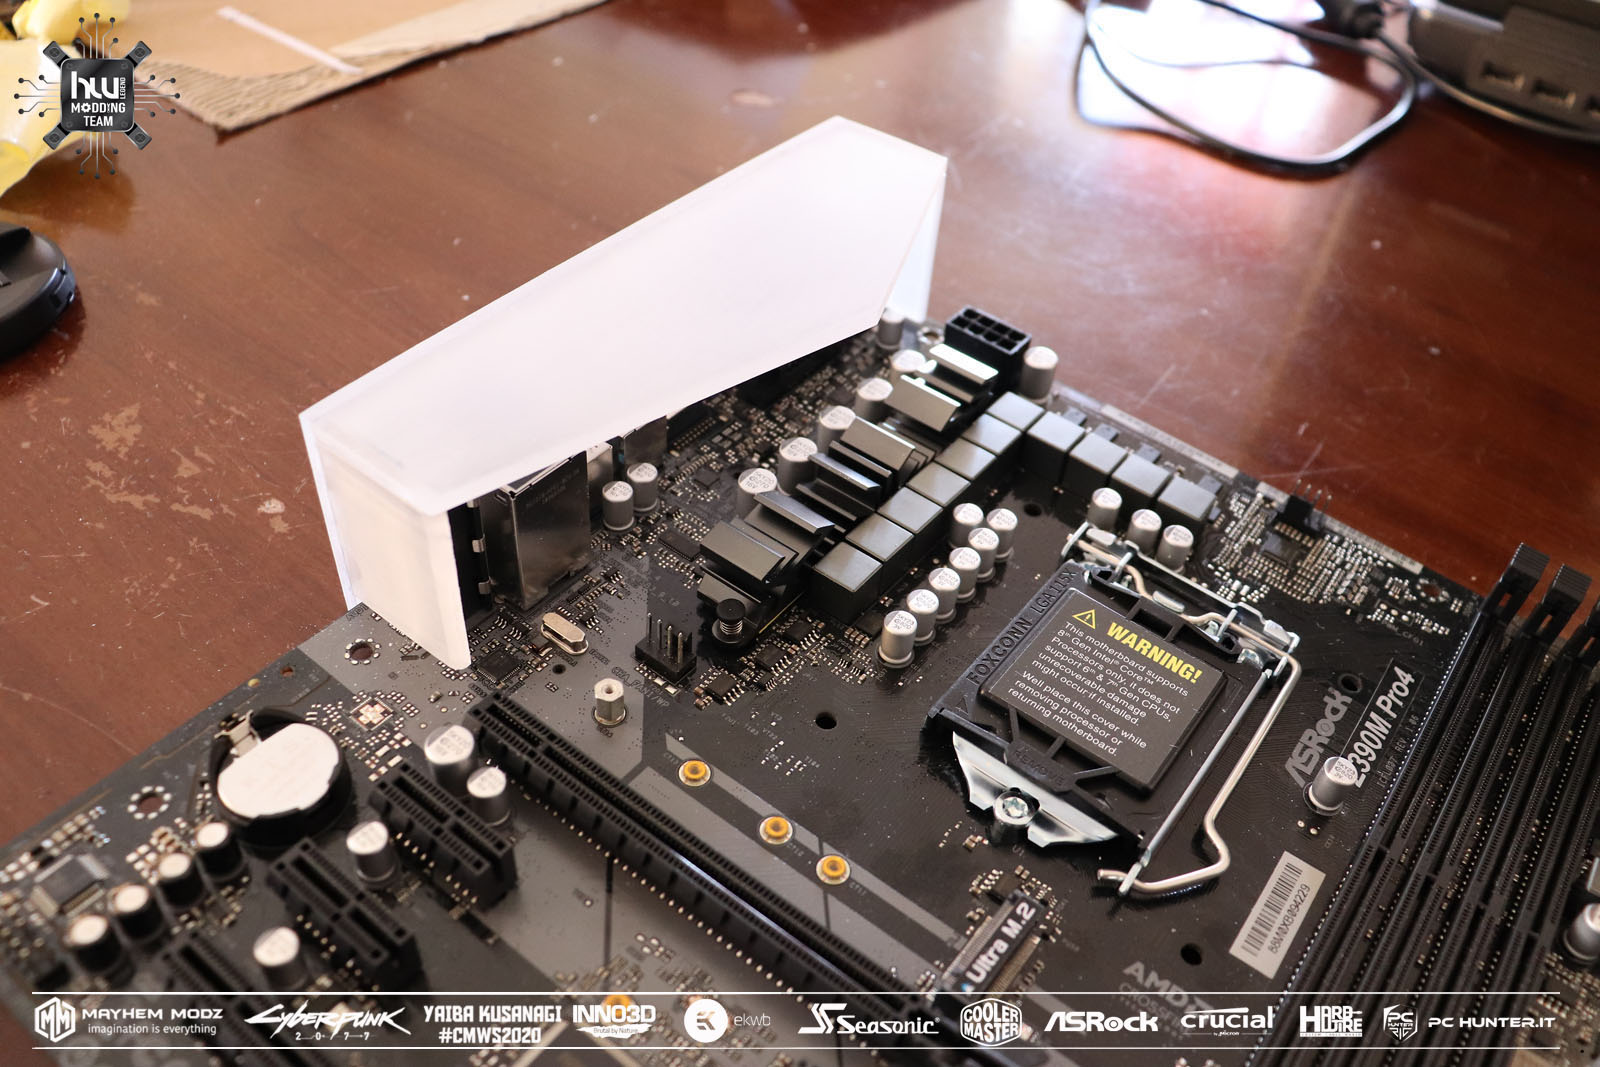
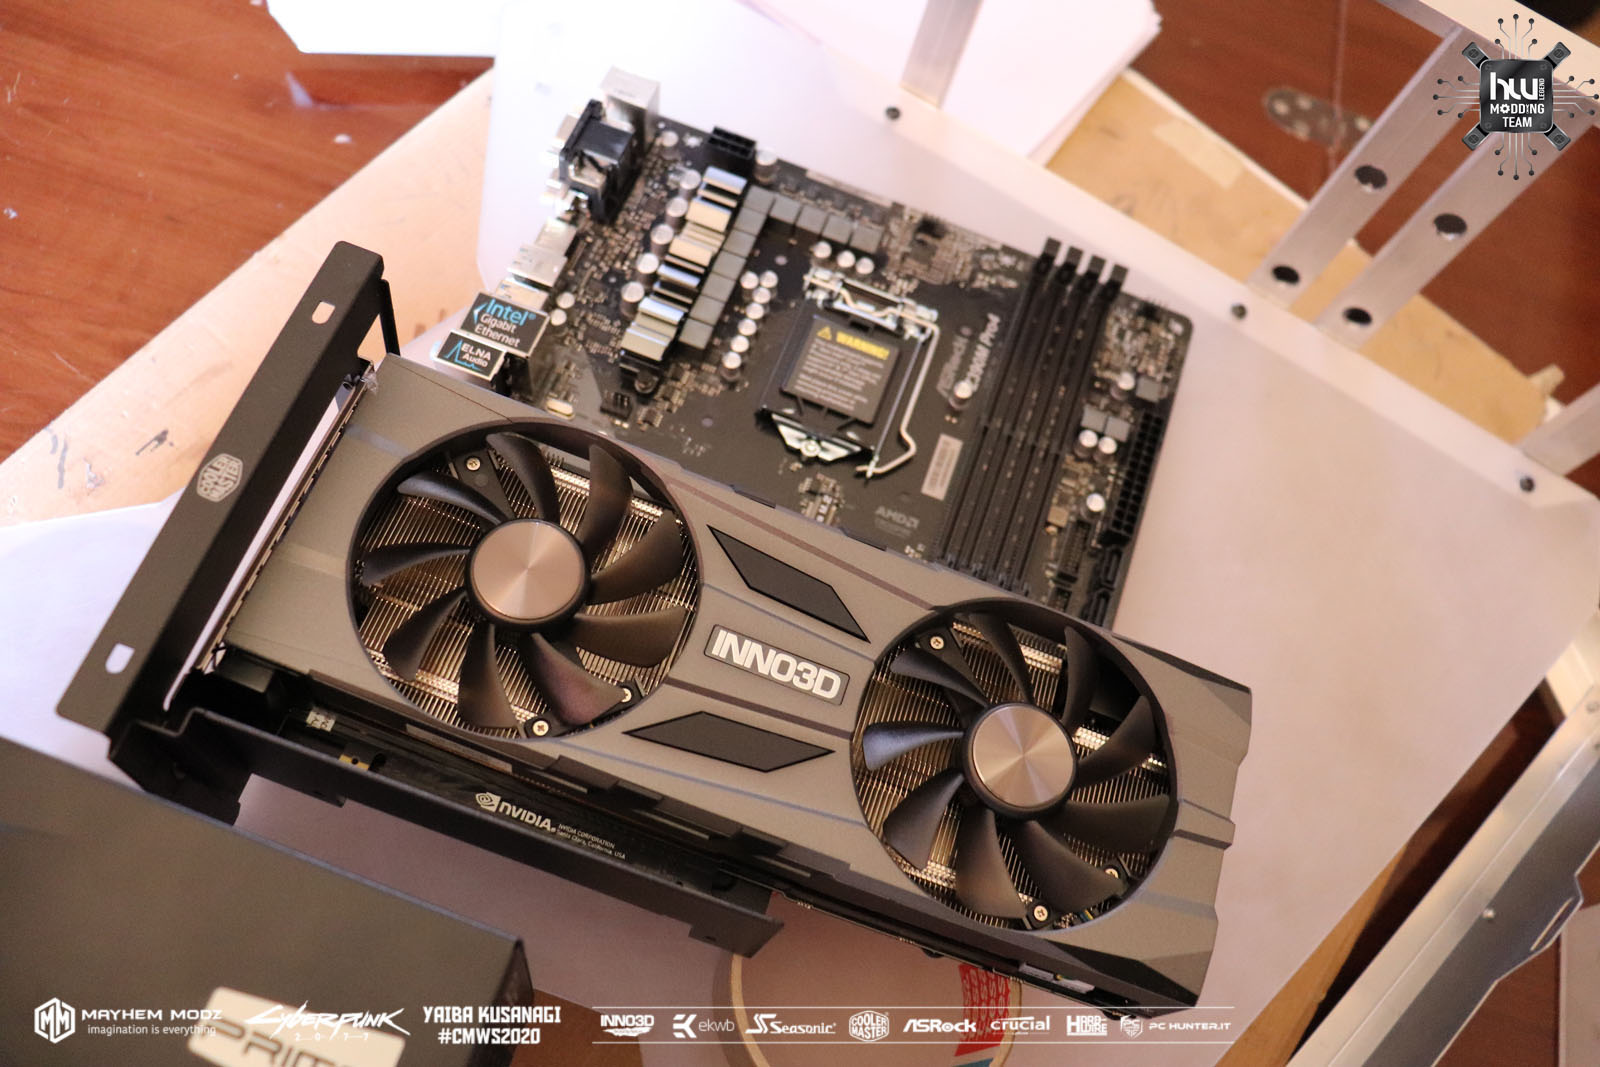
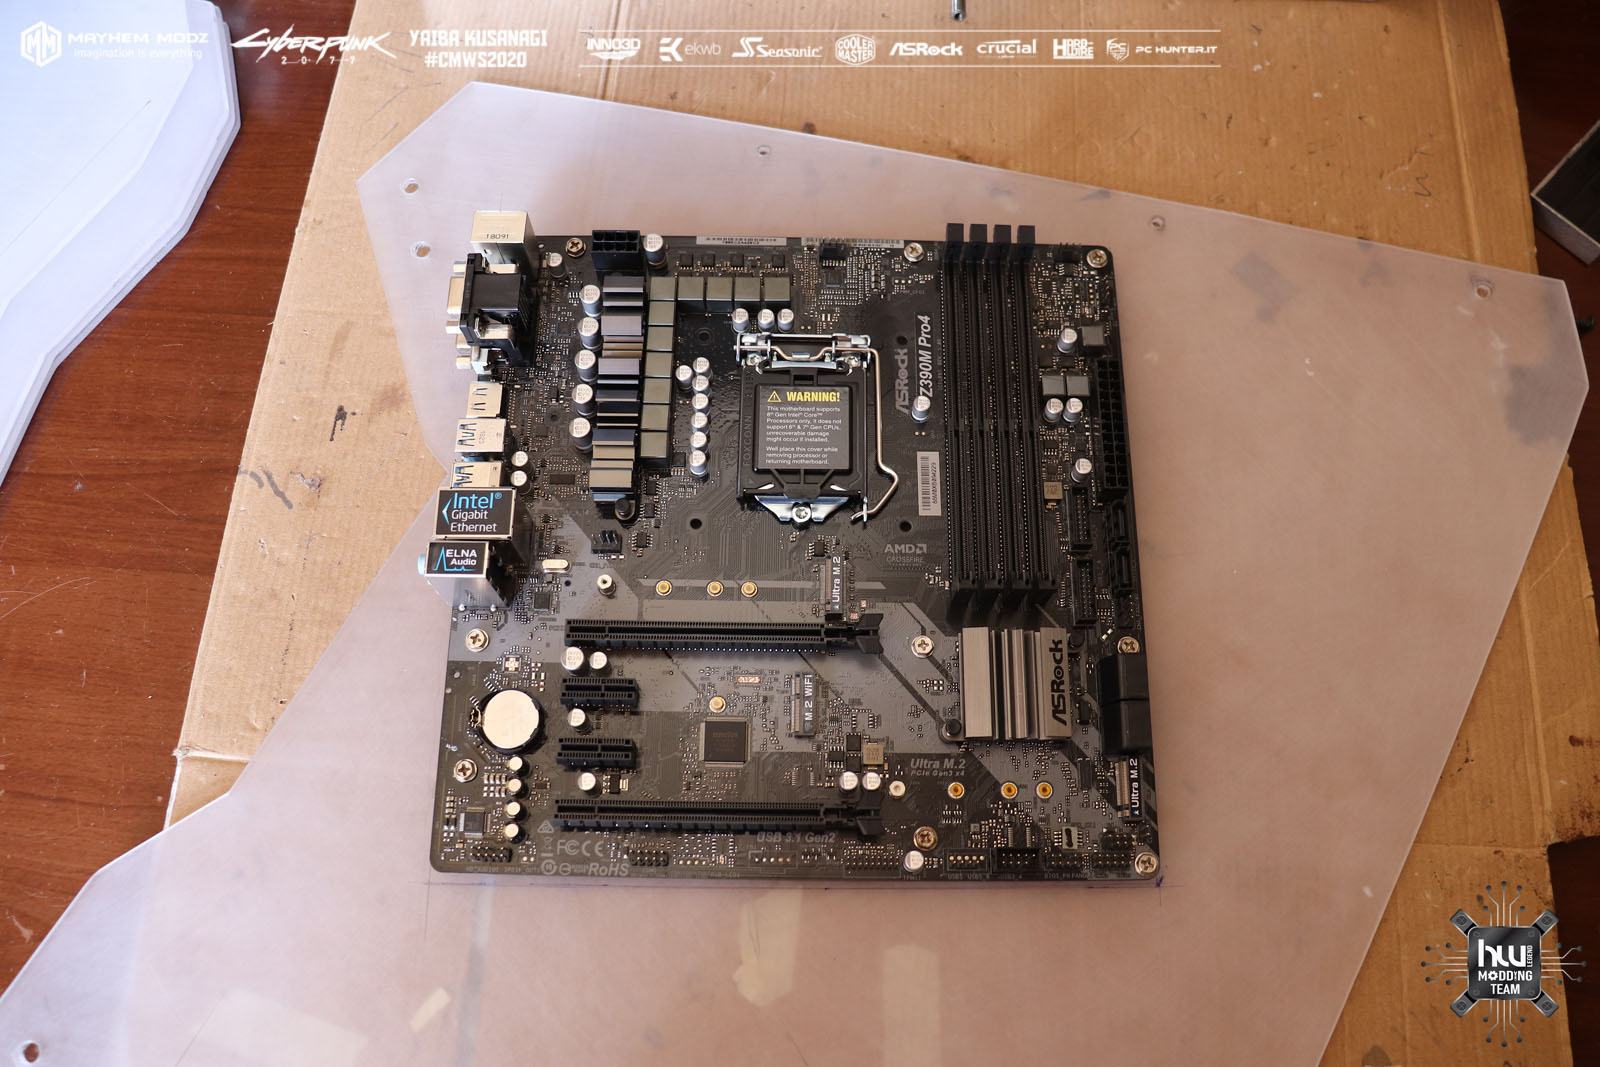
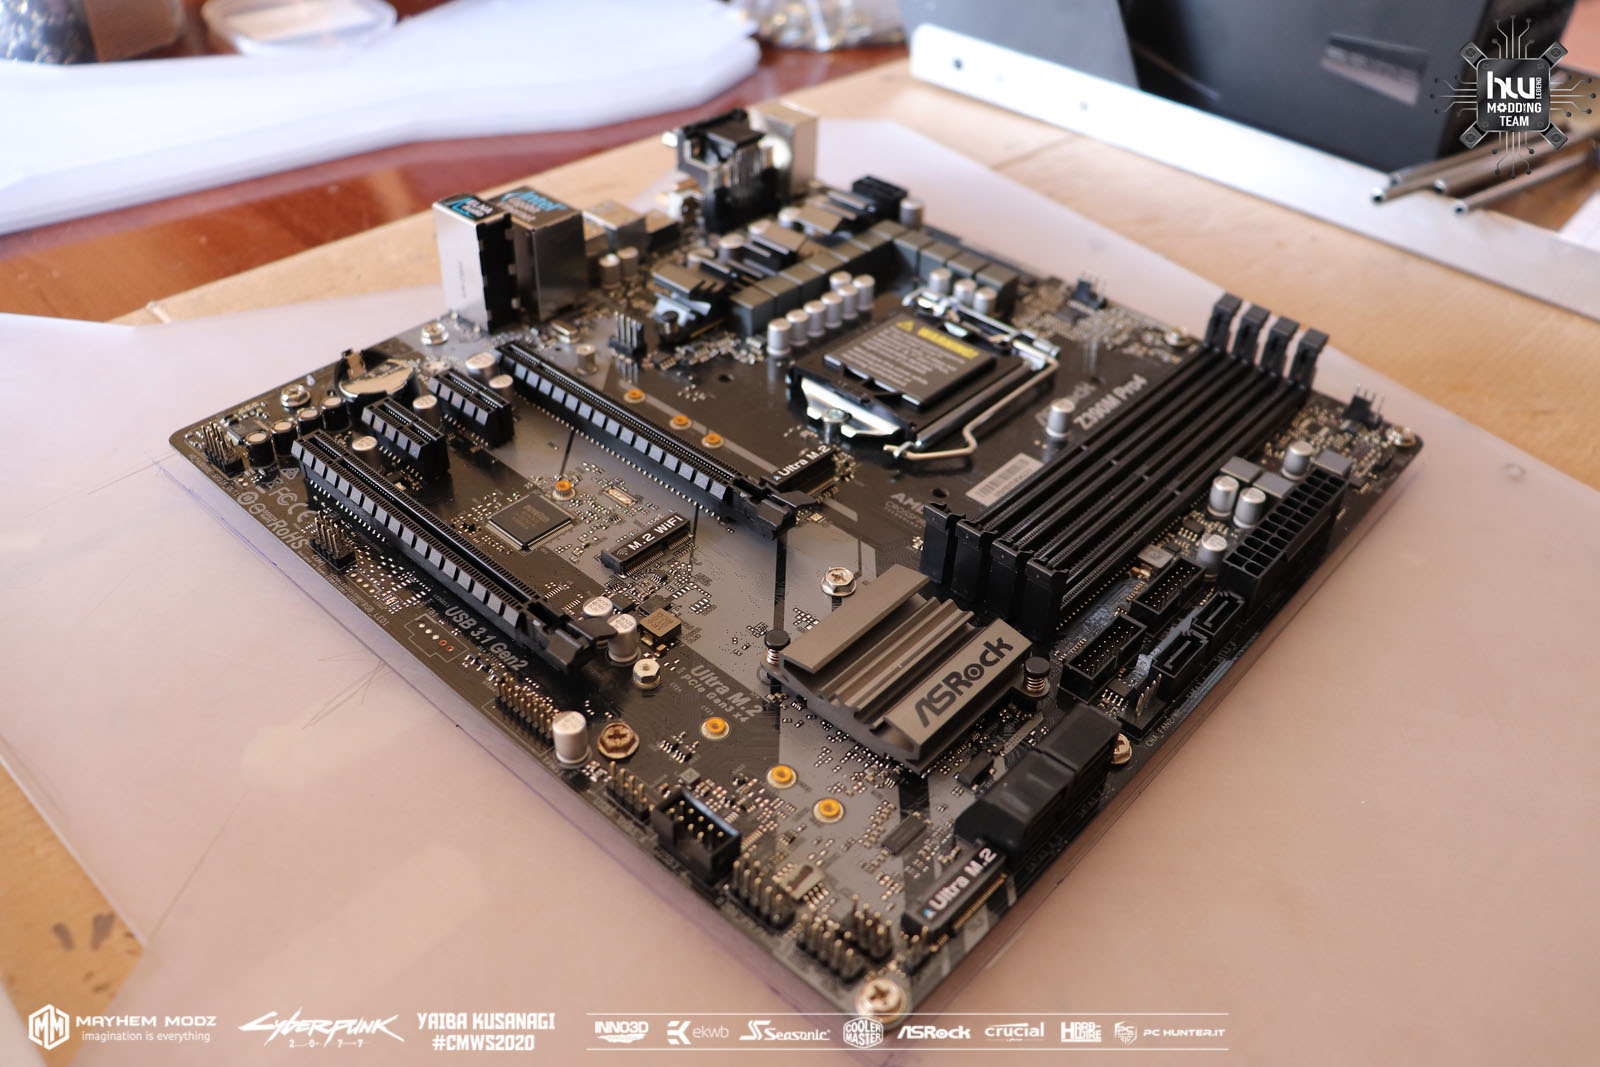
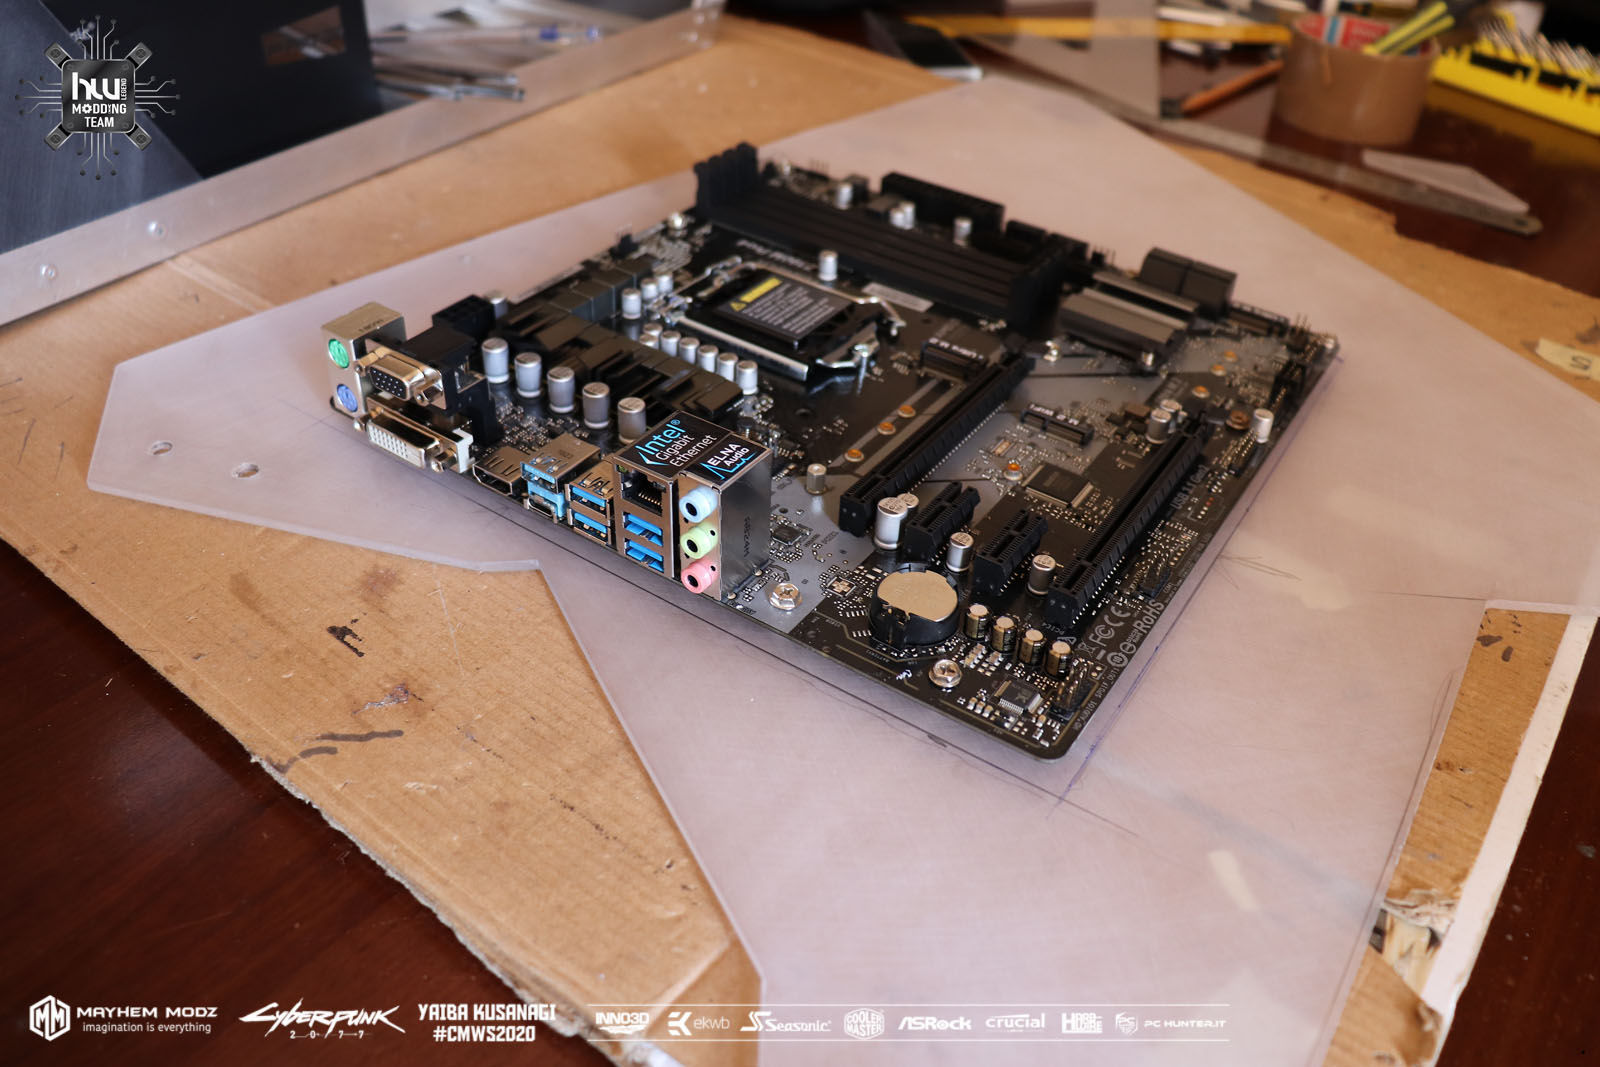
motherboard asrock Z390M PRO 4
cpu intel core I7 9700KF
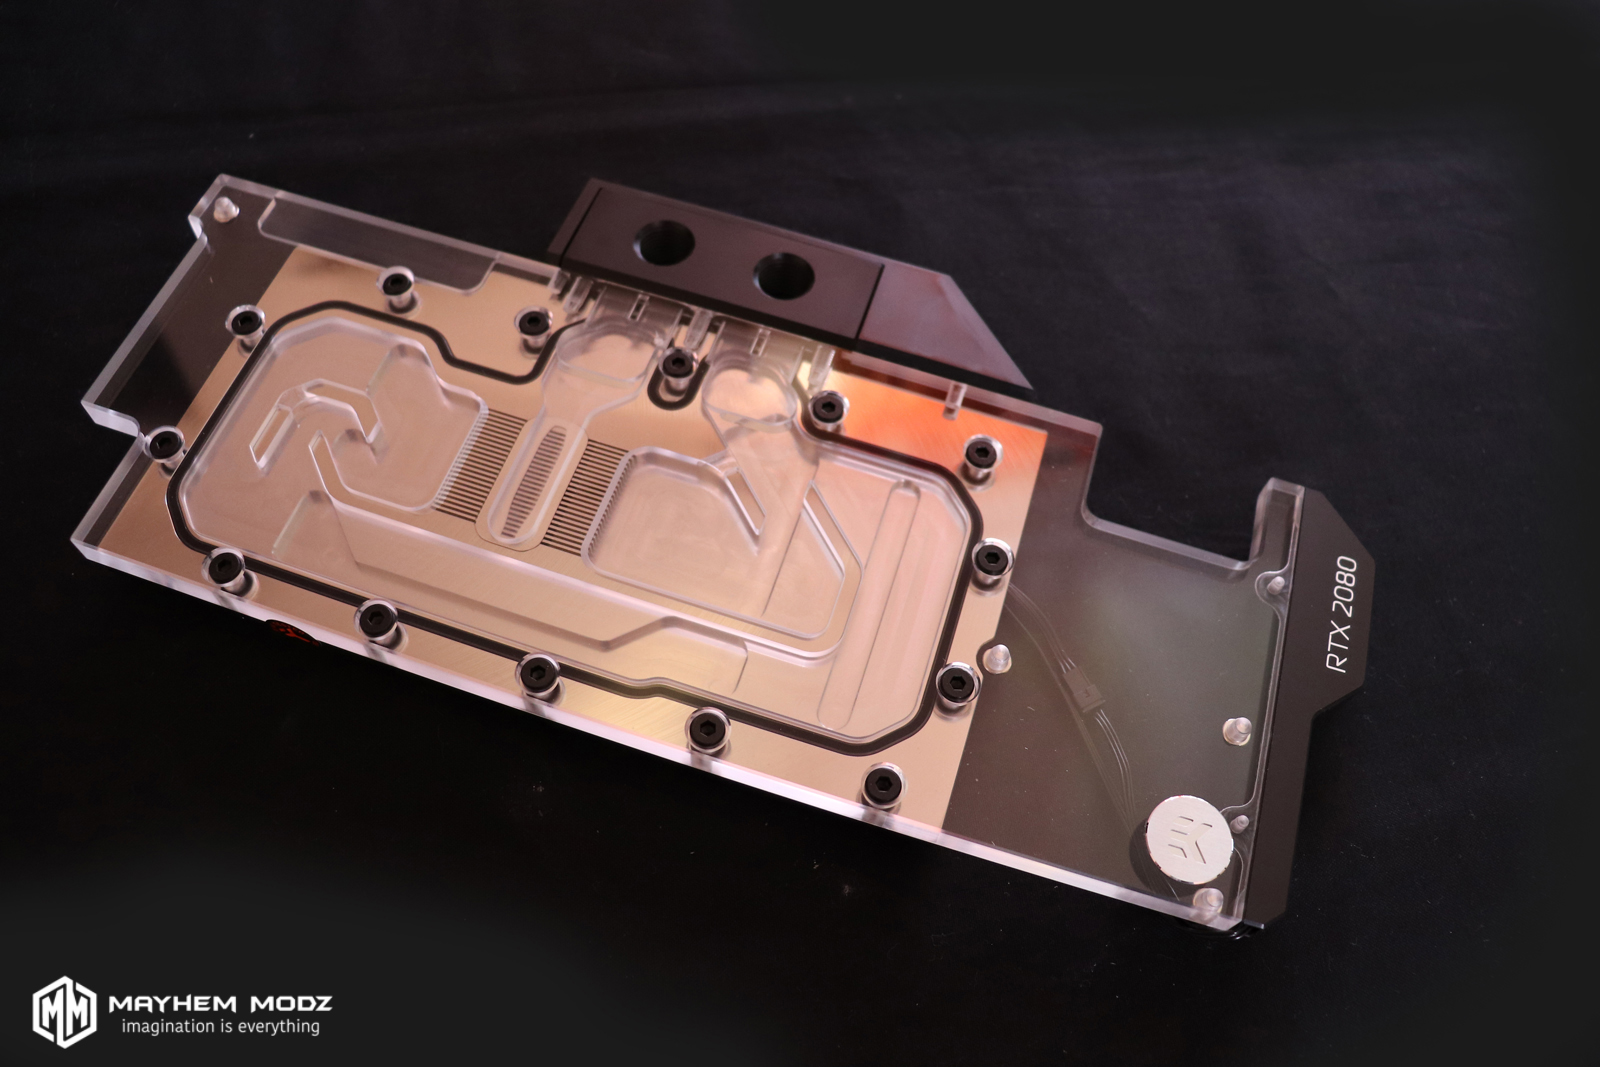
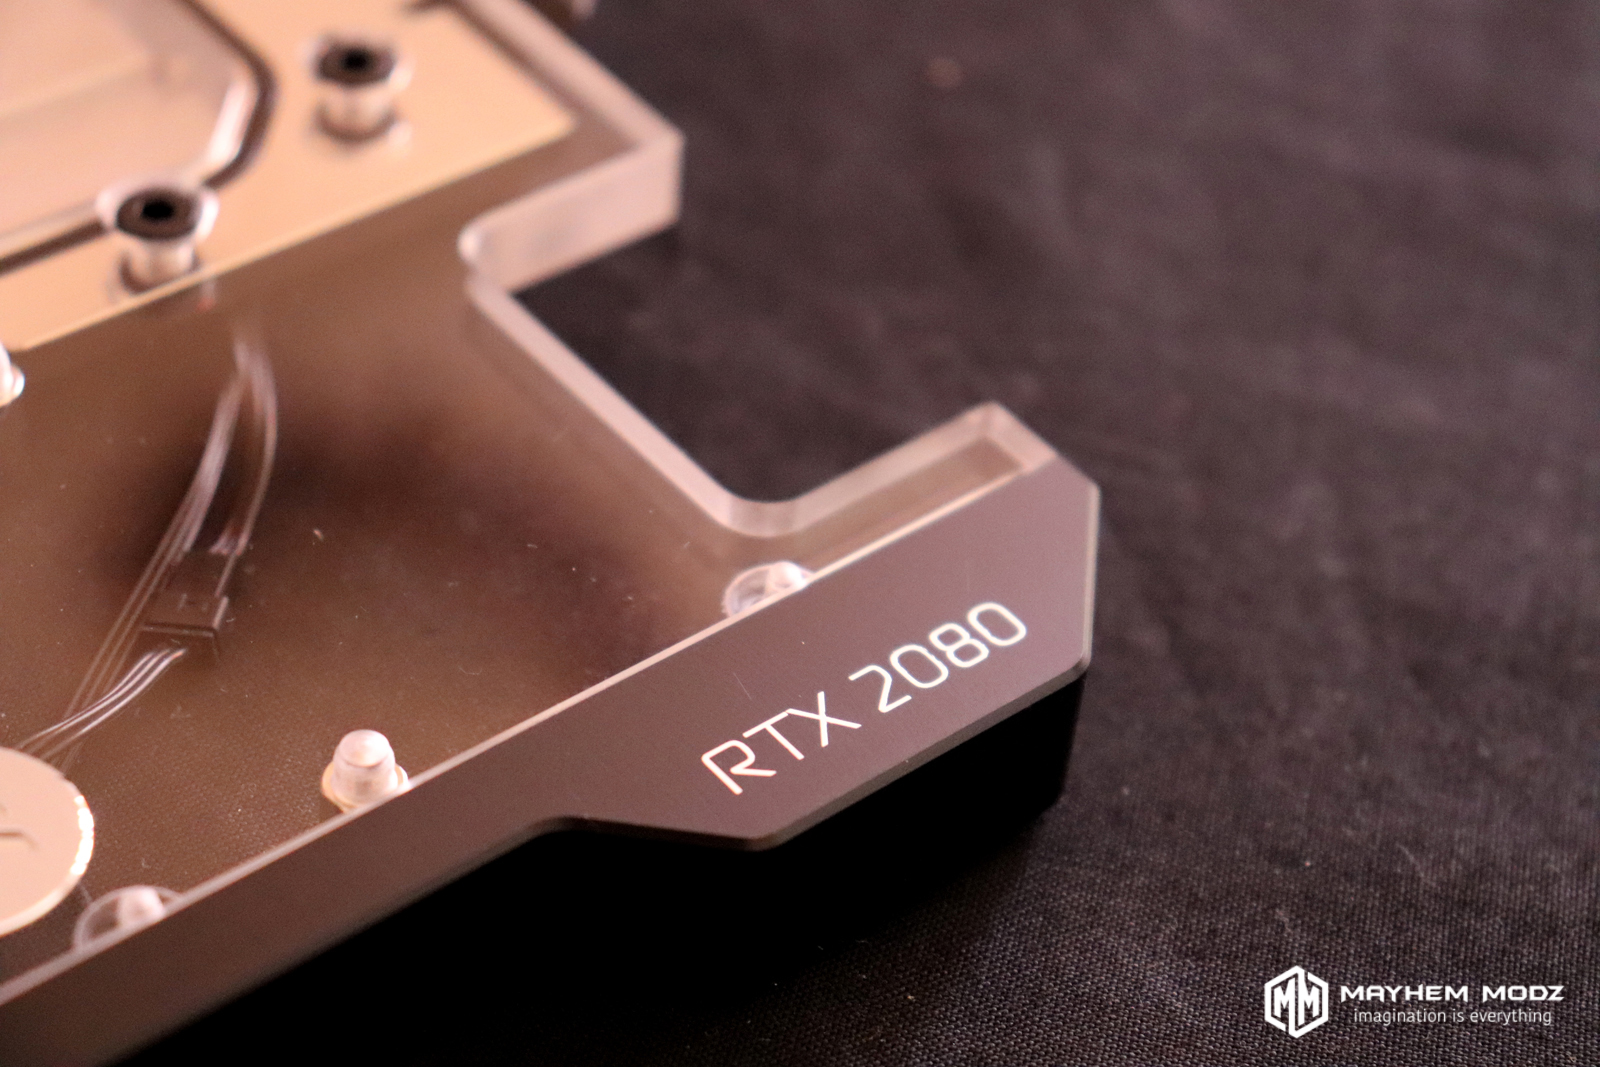
gpu inno3d geforce rtx 2080 super twin x2 oc
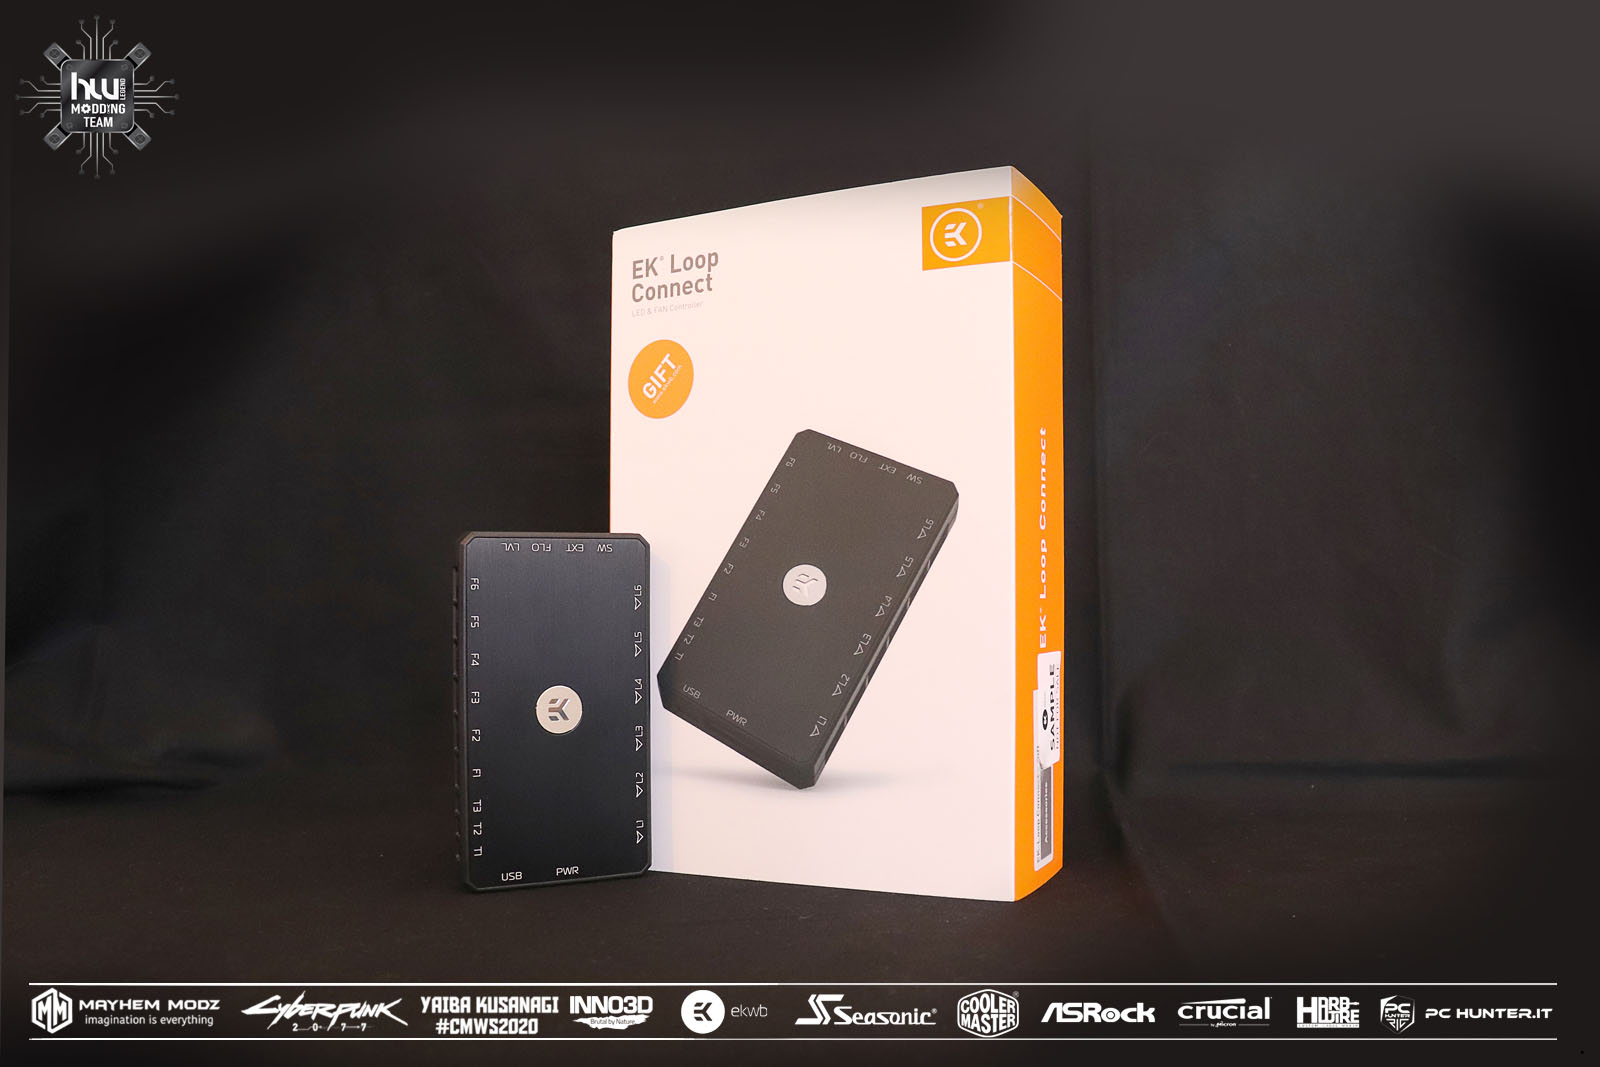
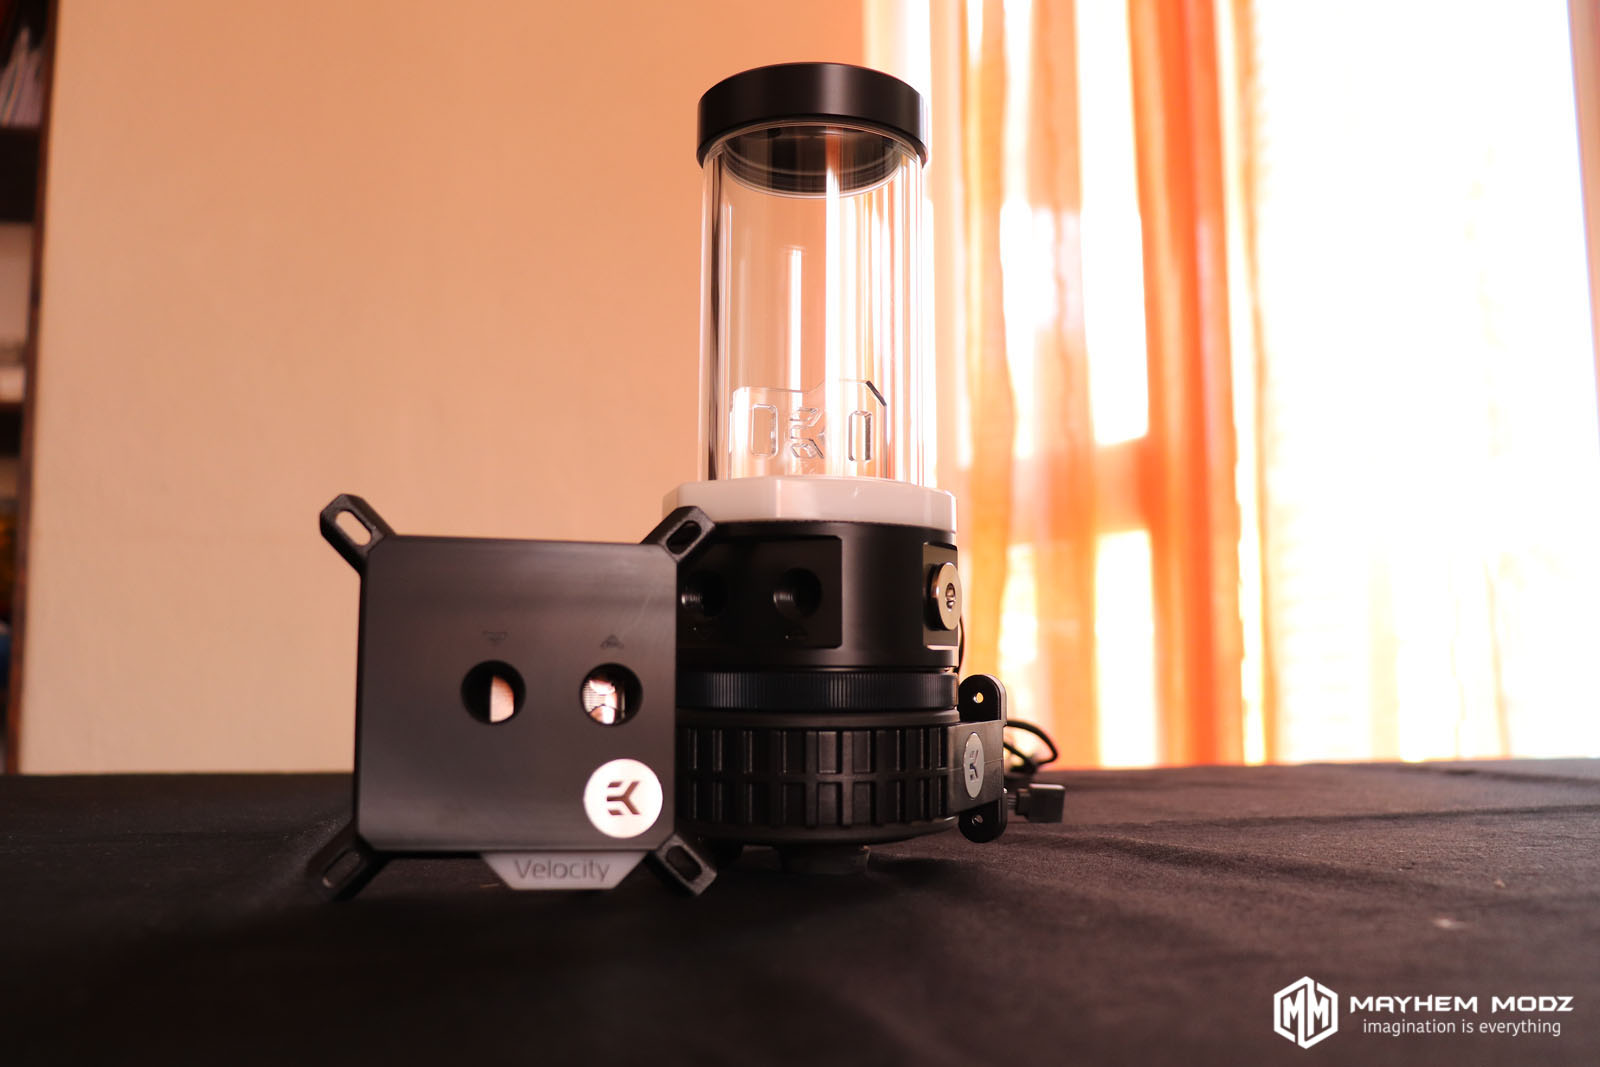
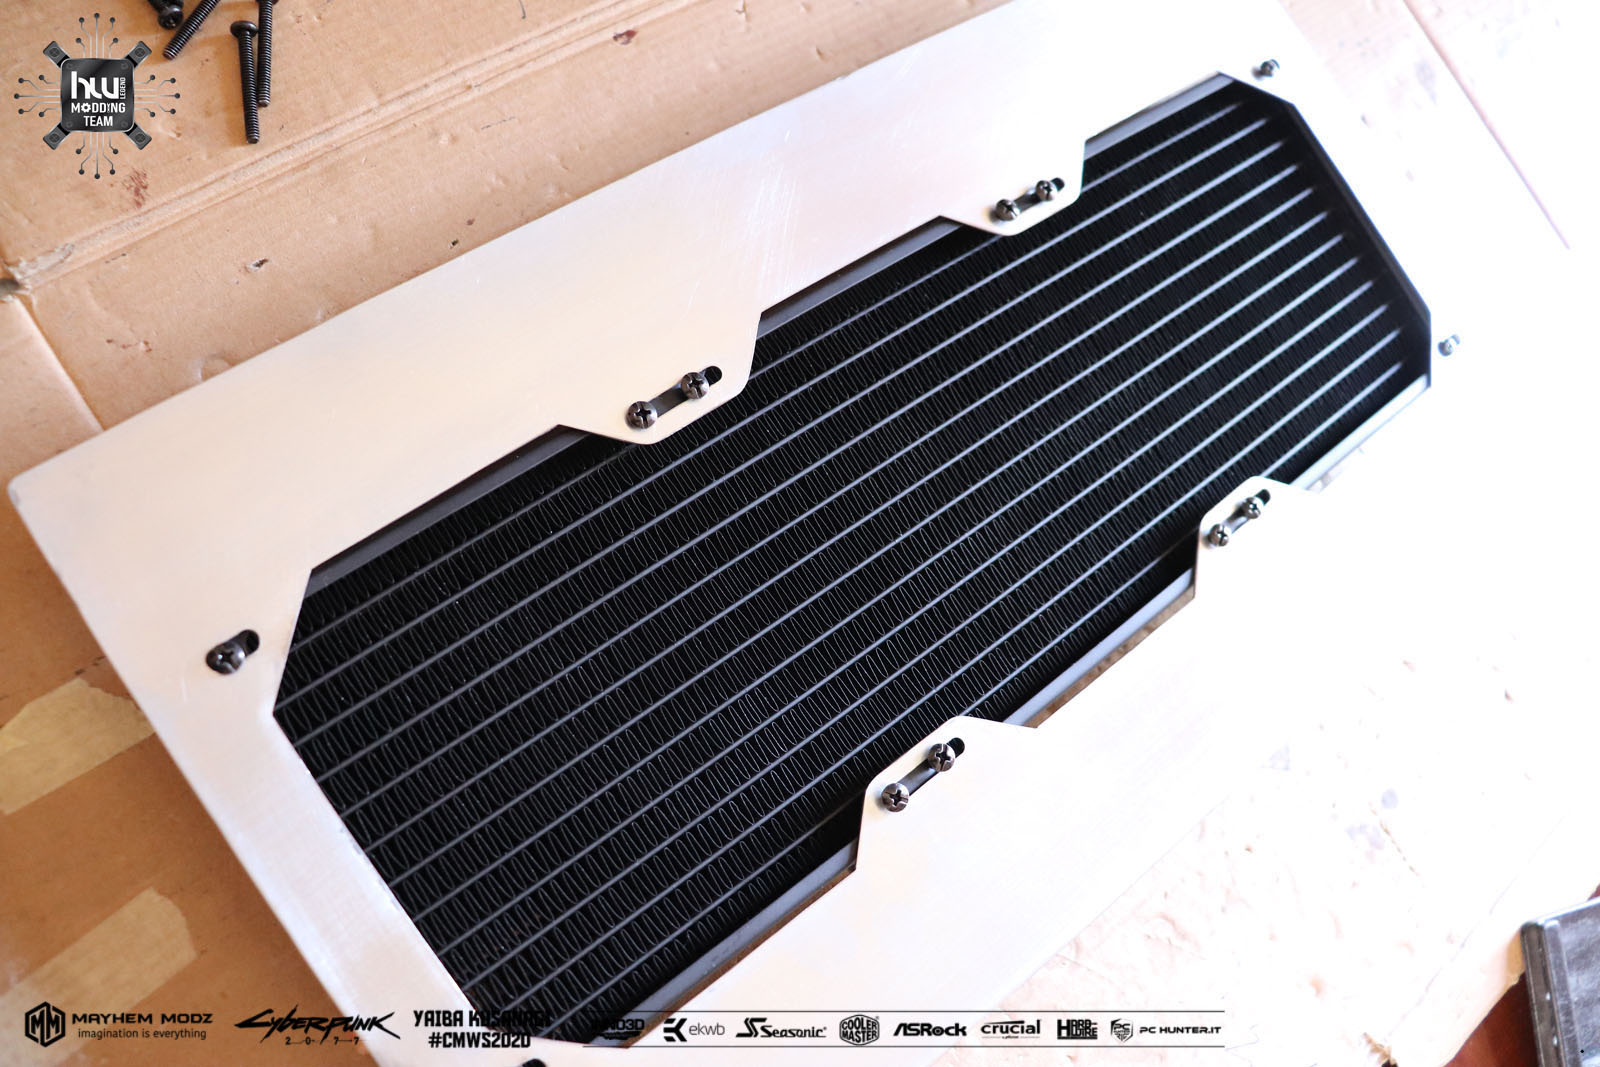
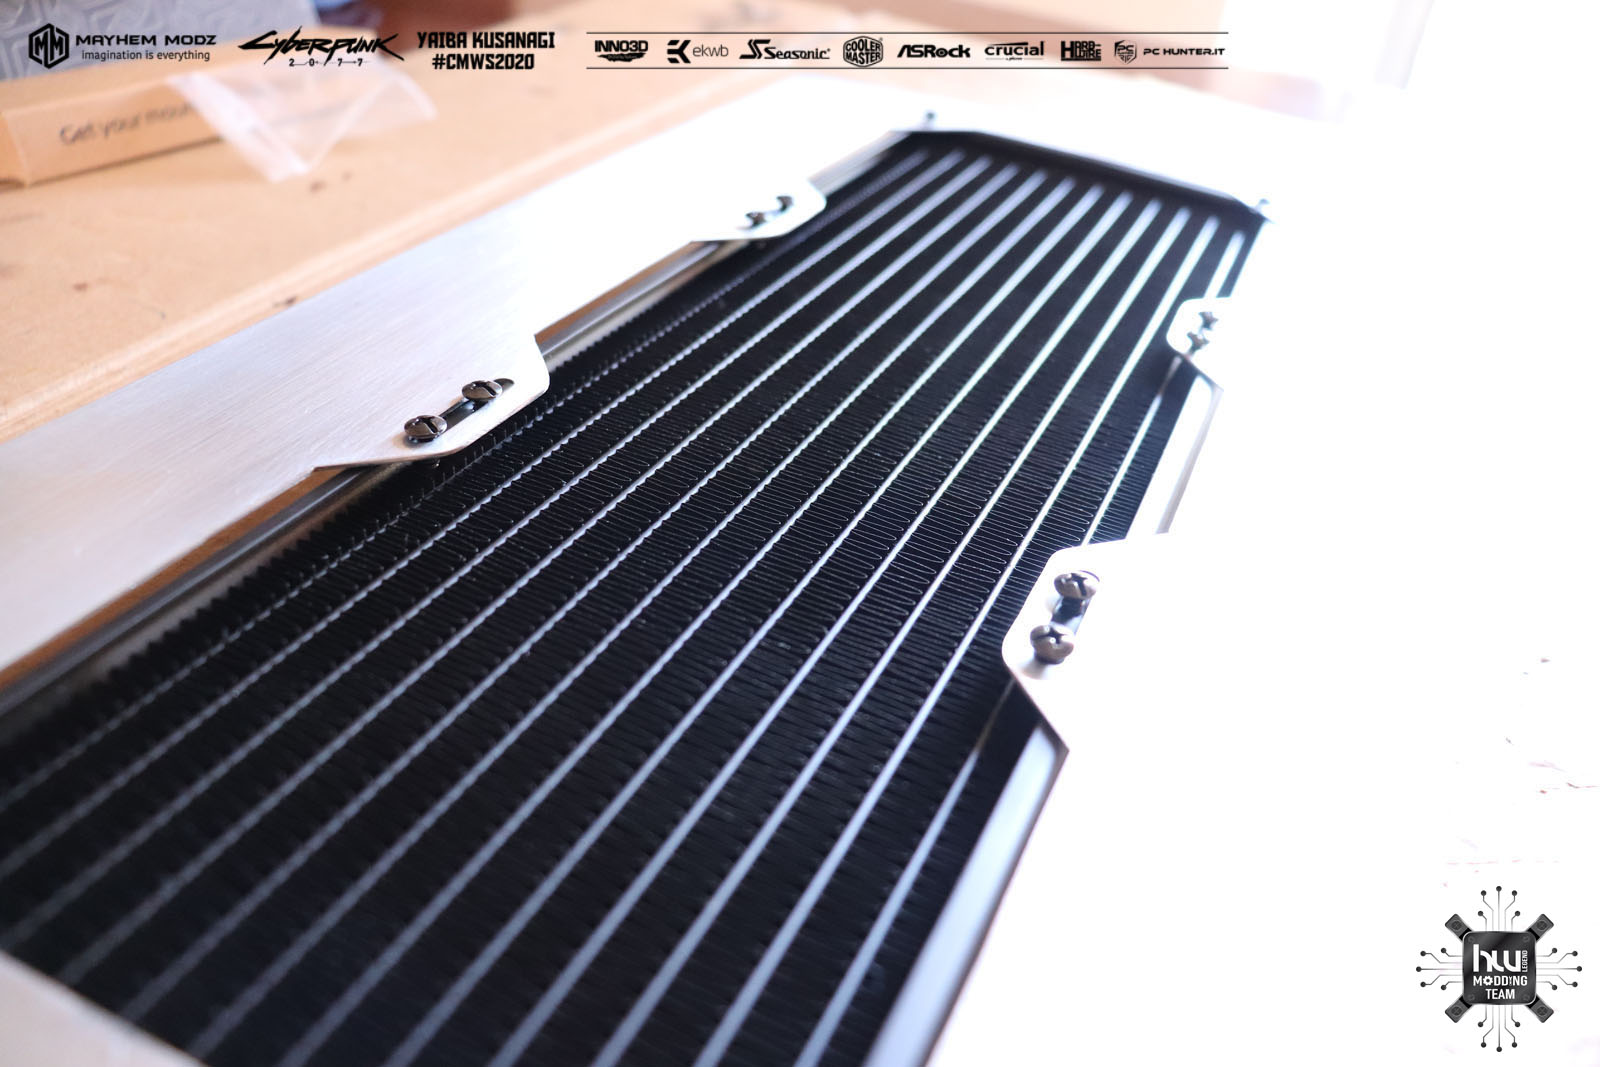
cooling EKWB custom loop
crucial memory ballistix max 32 gb kit
crucial memory ssdmx500 x2
crucial memory M2 1TB P1
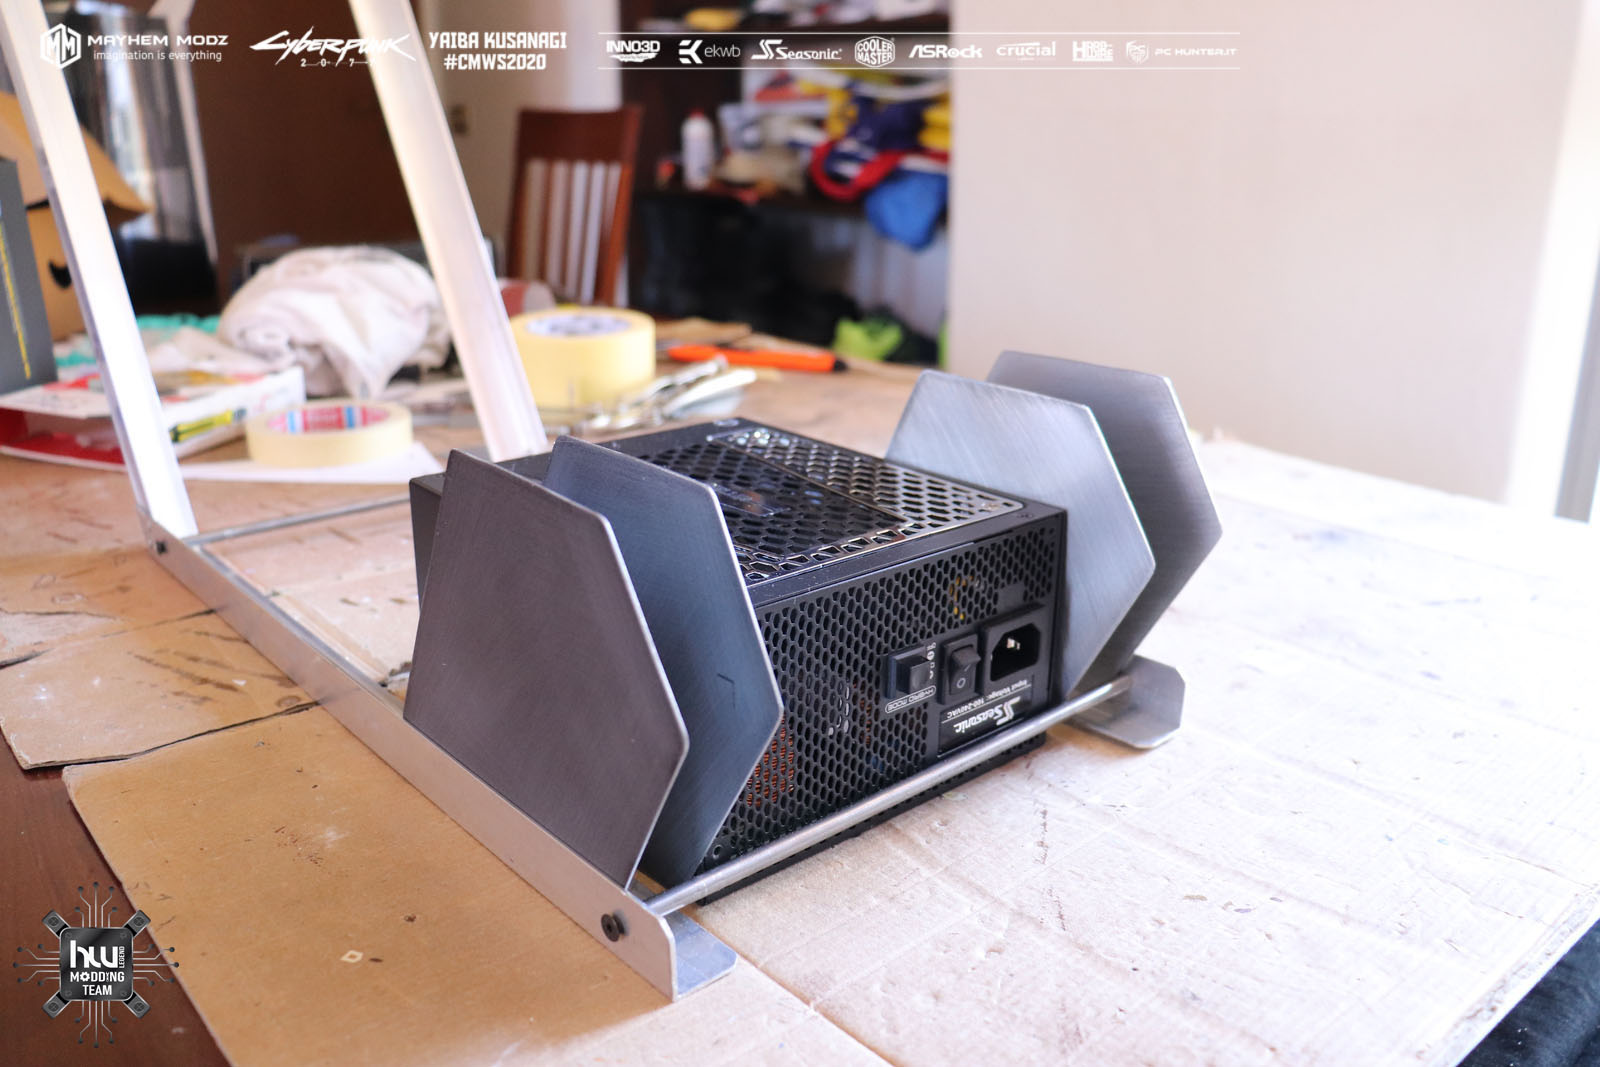
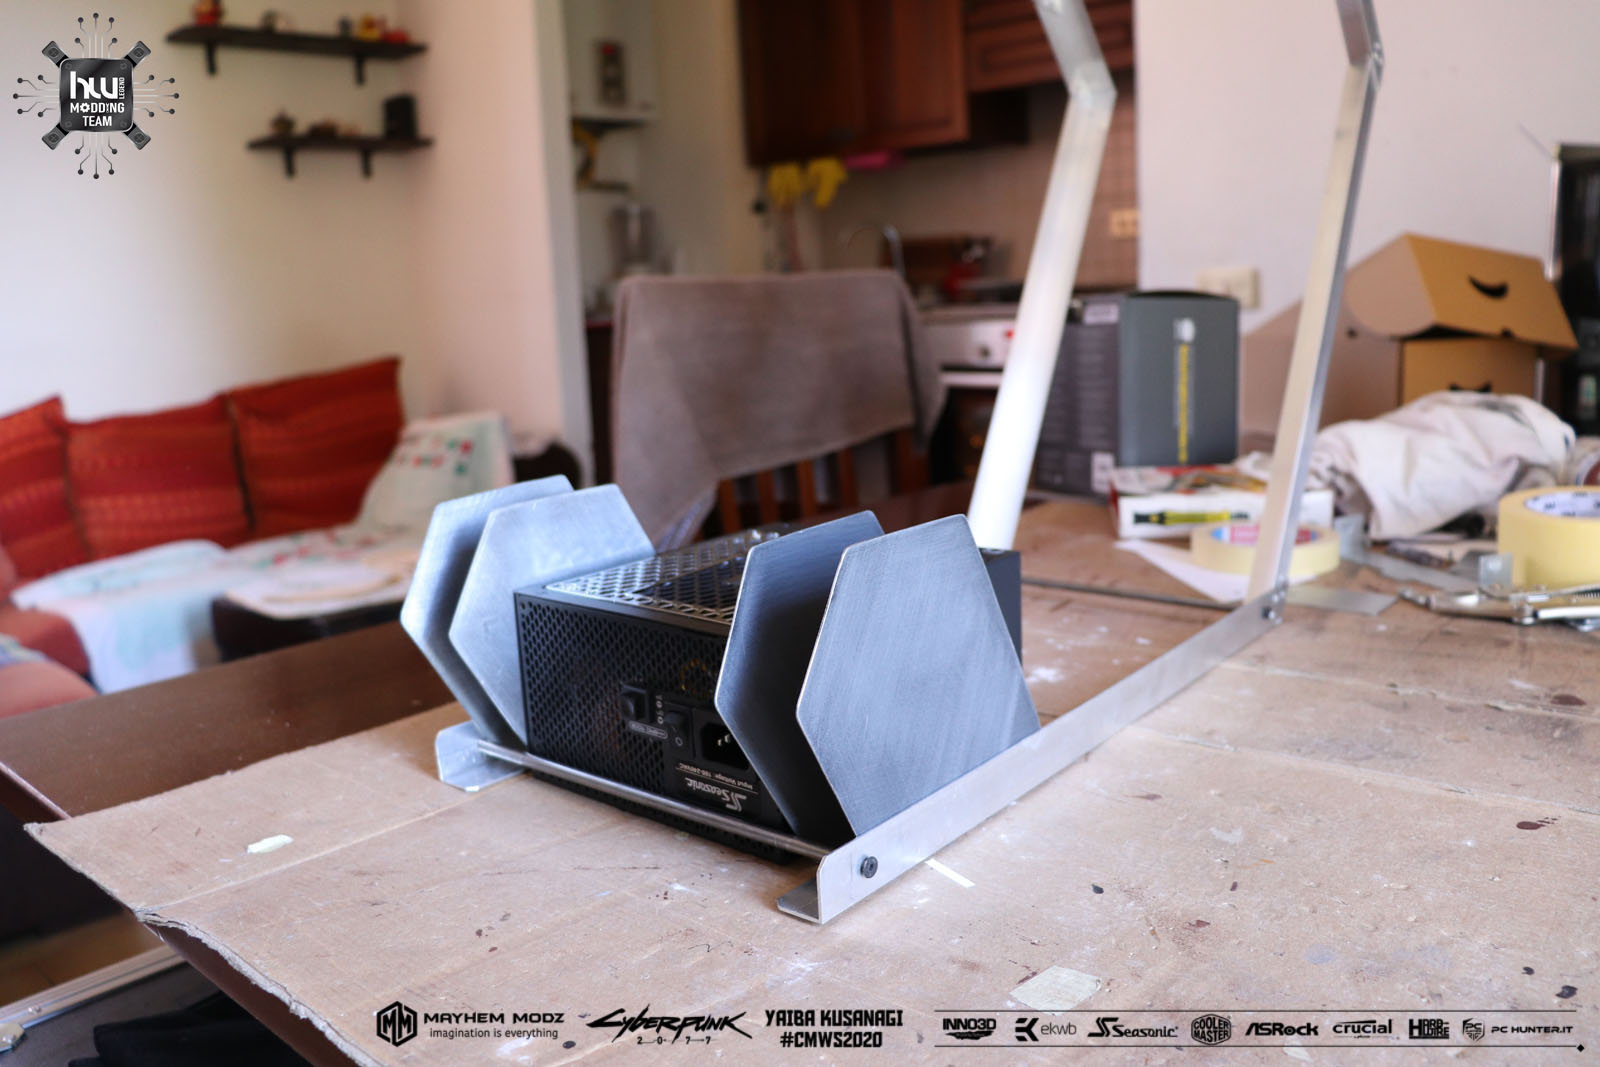
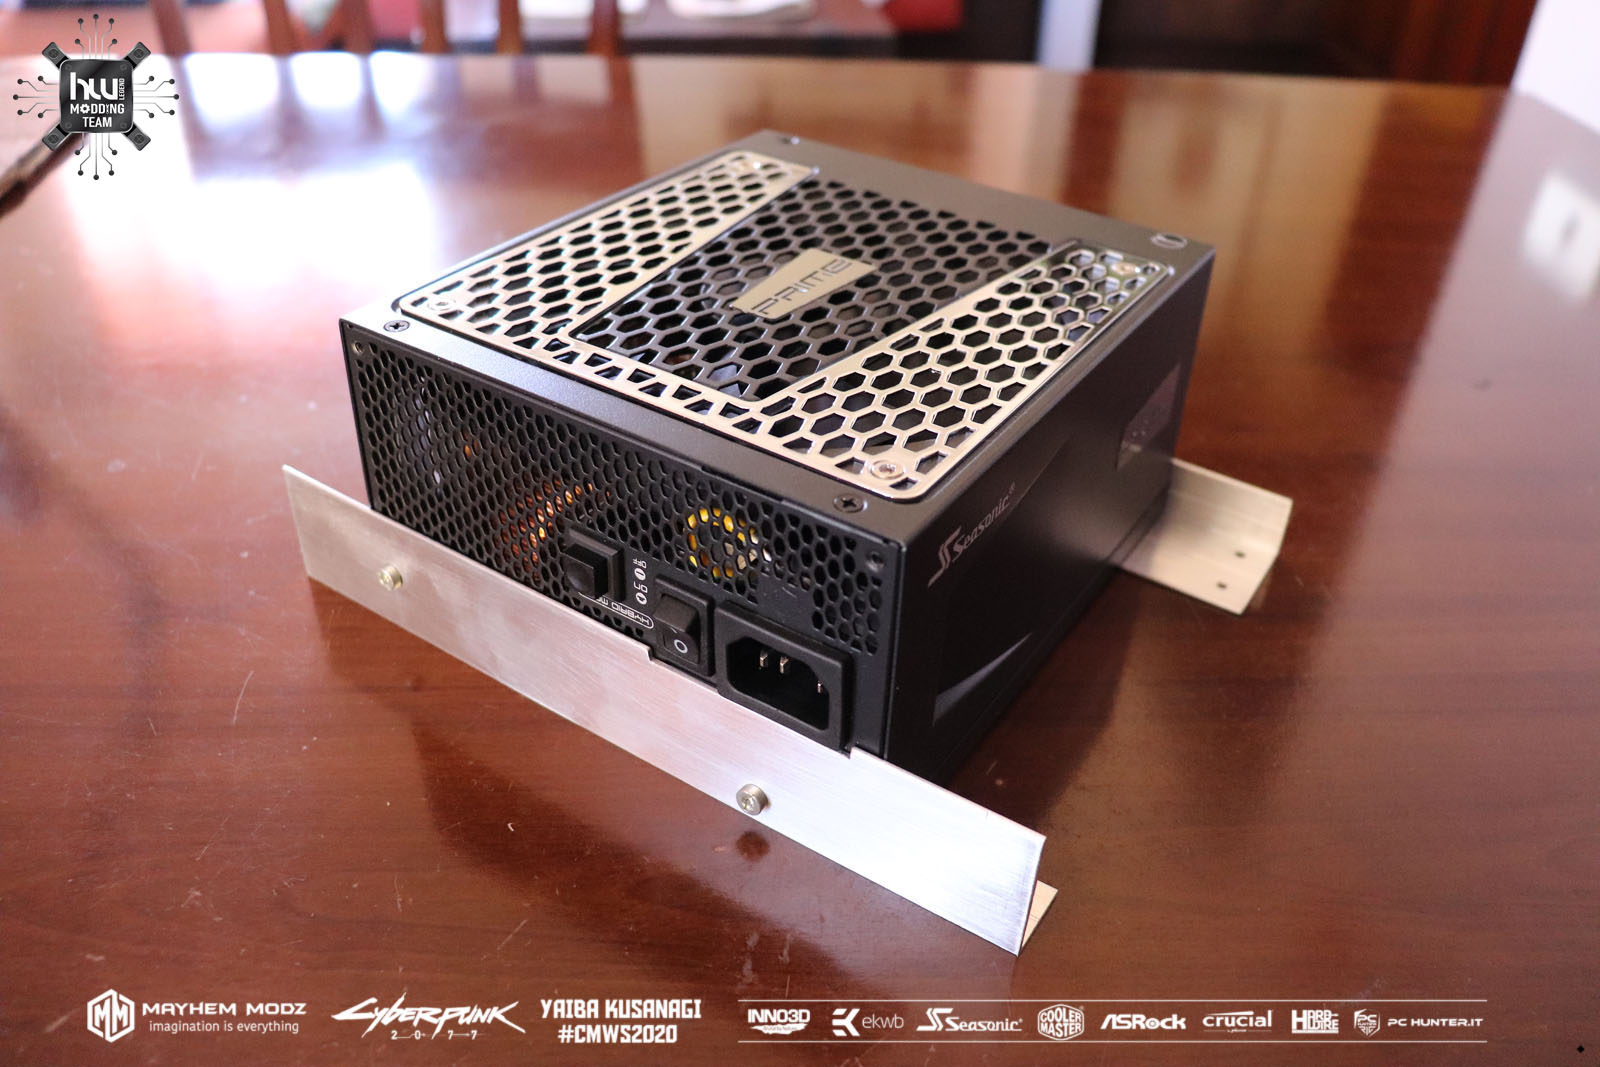
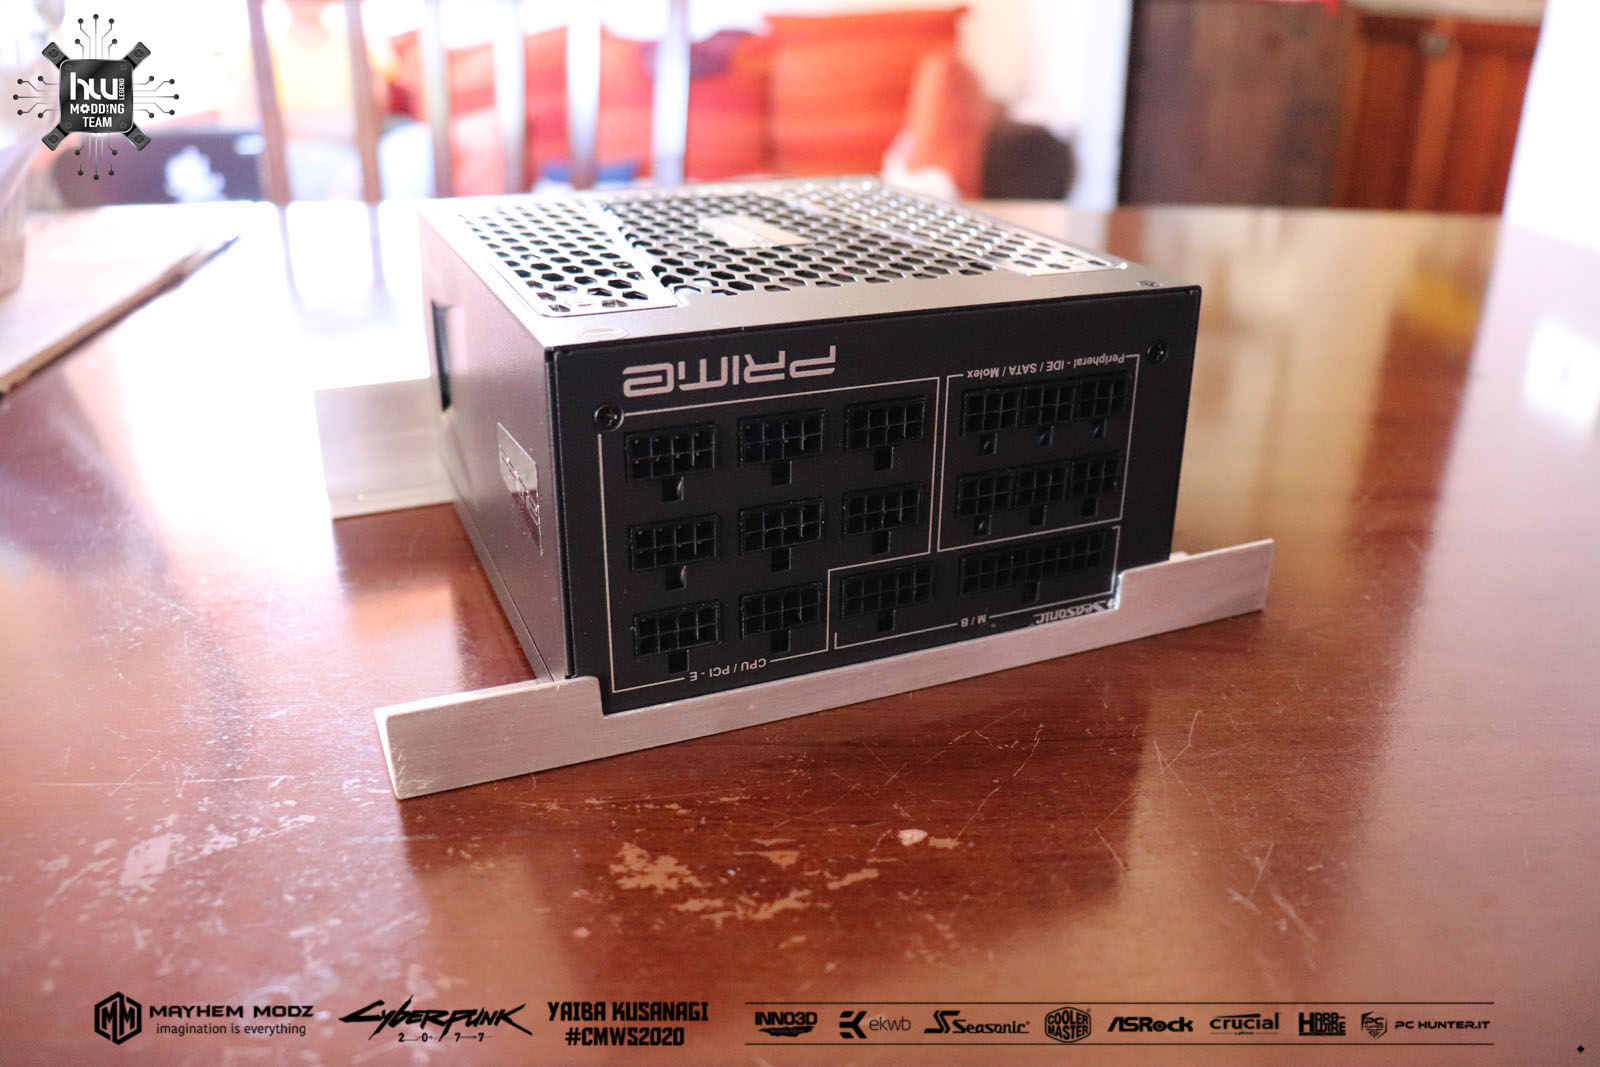
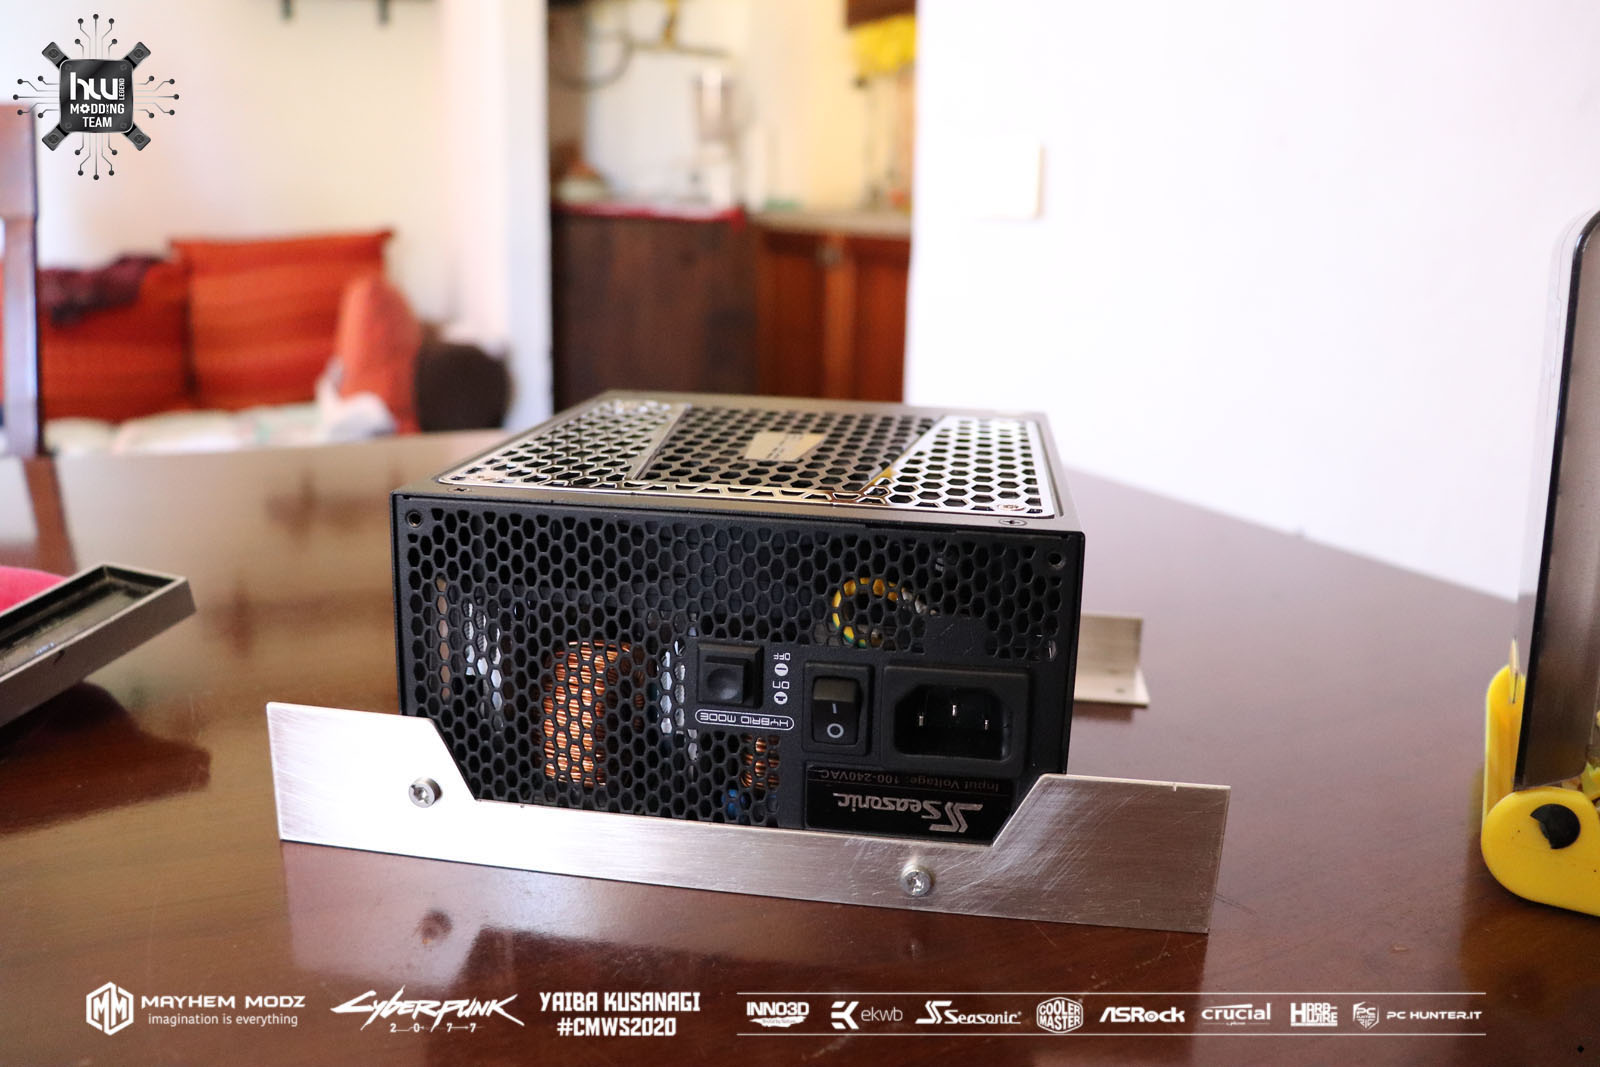
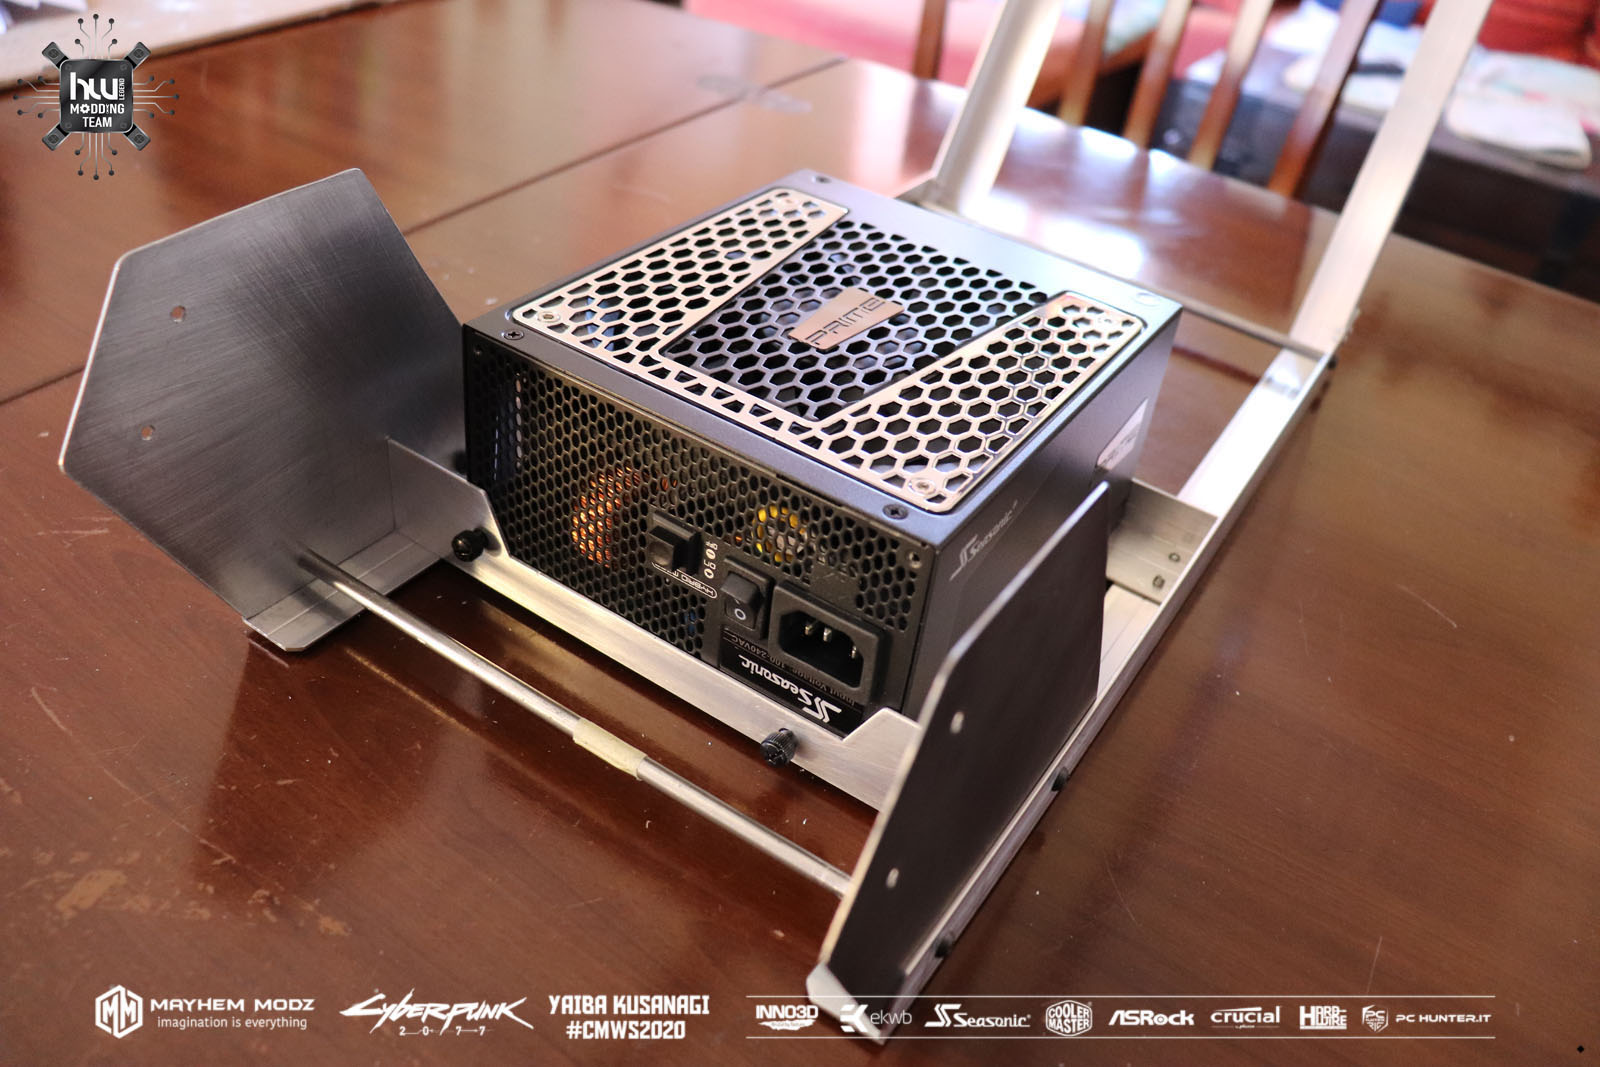
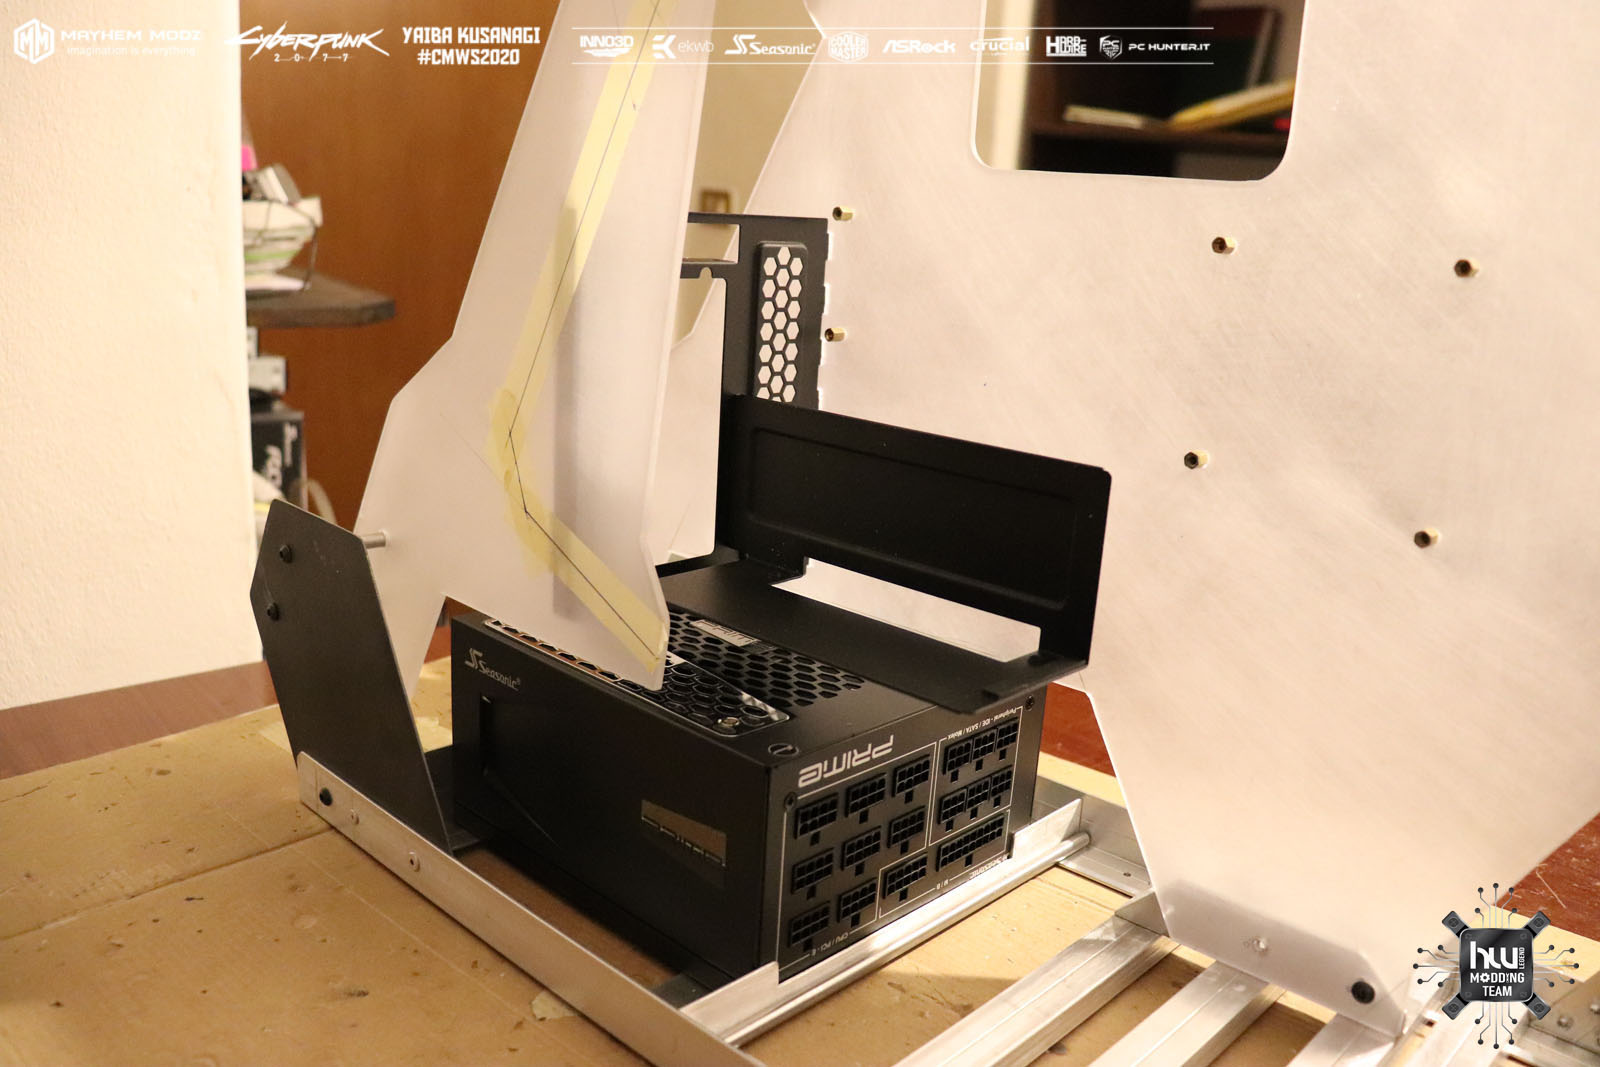
psu seasonic prime PX850W
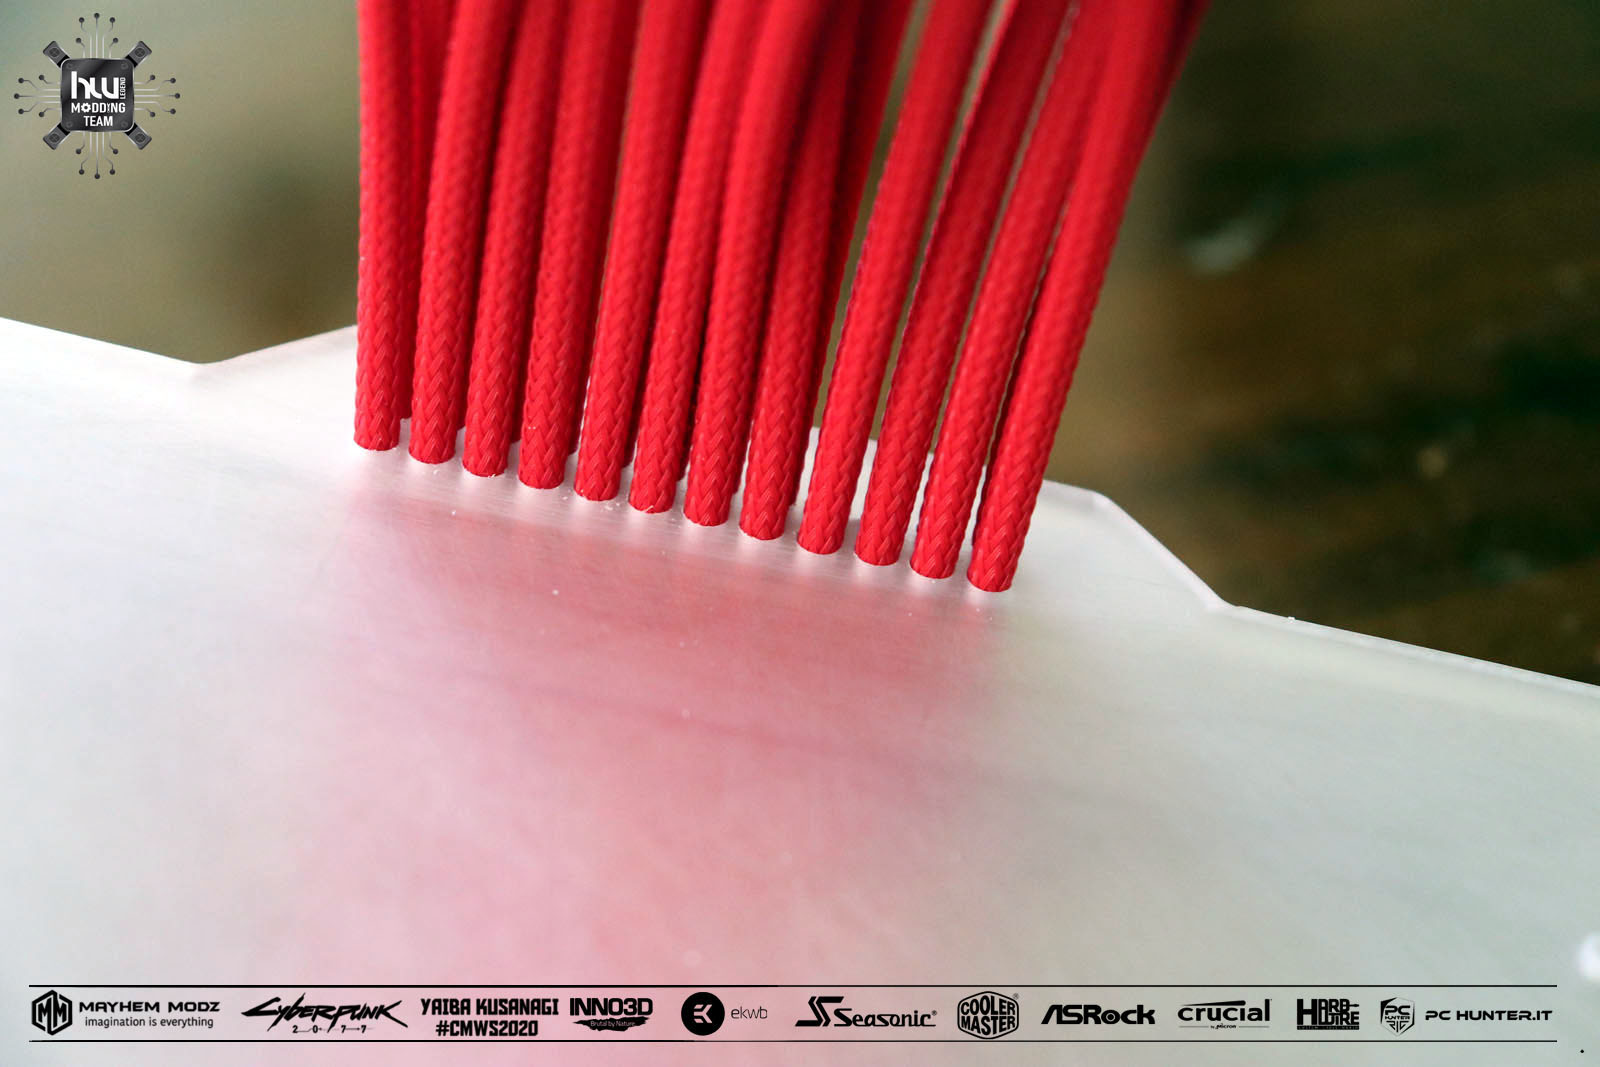
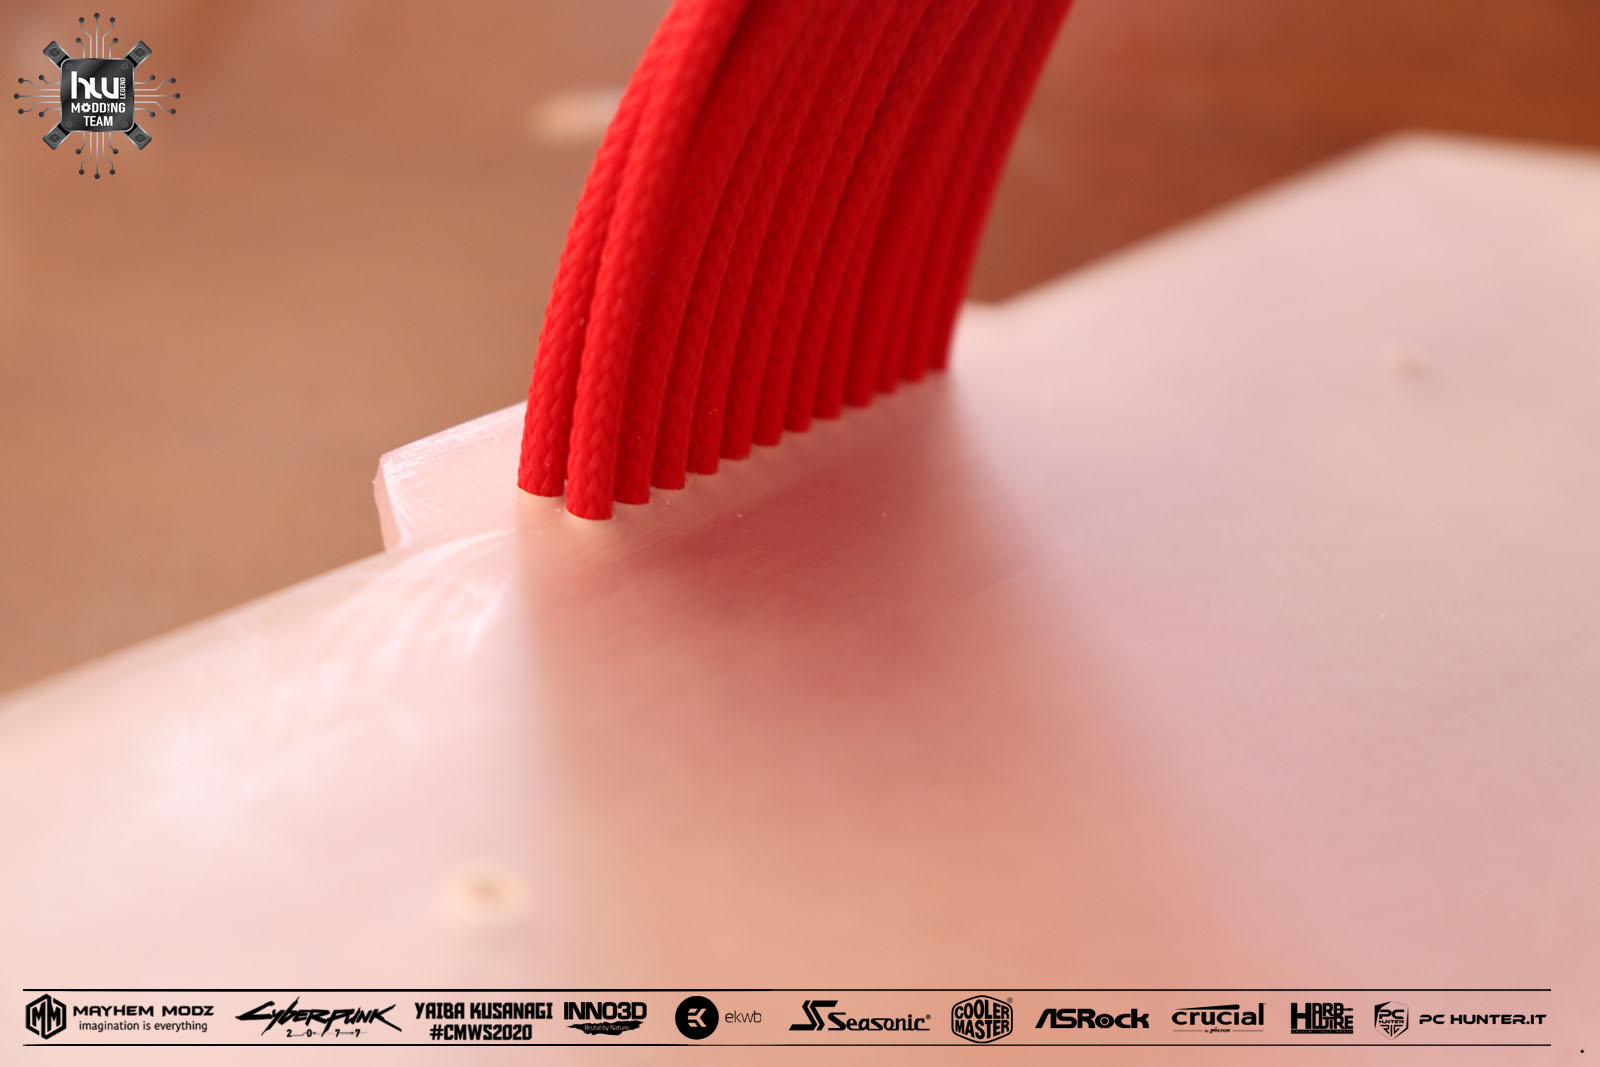
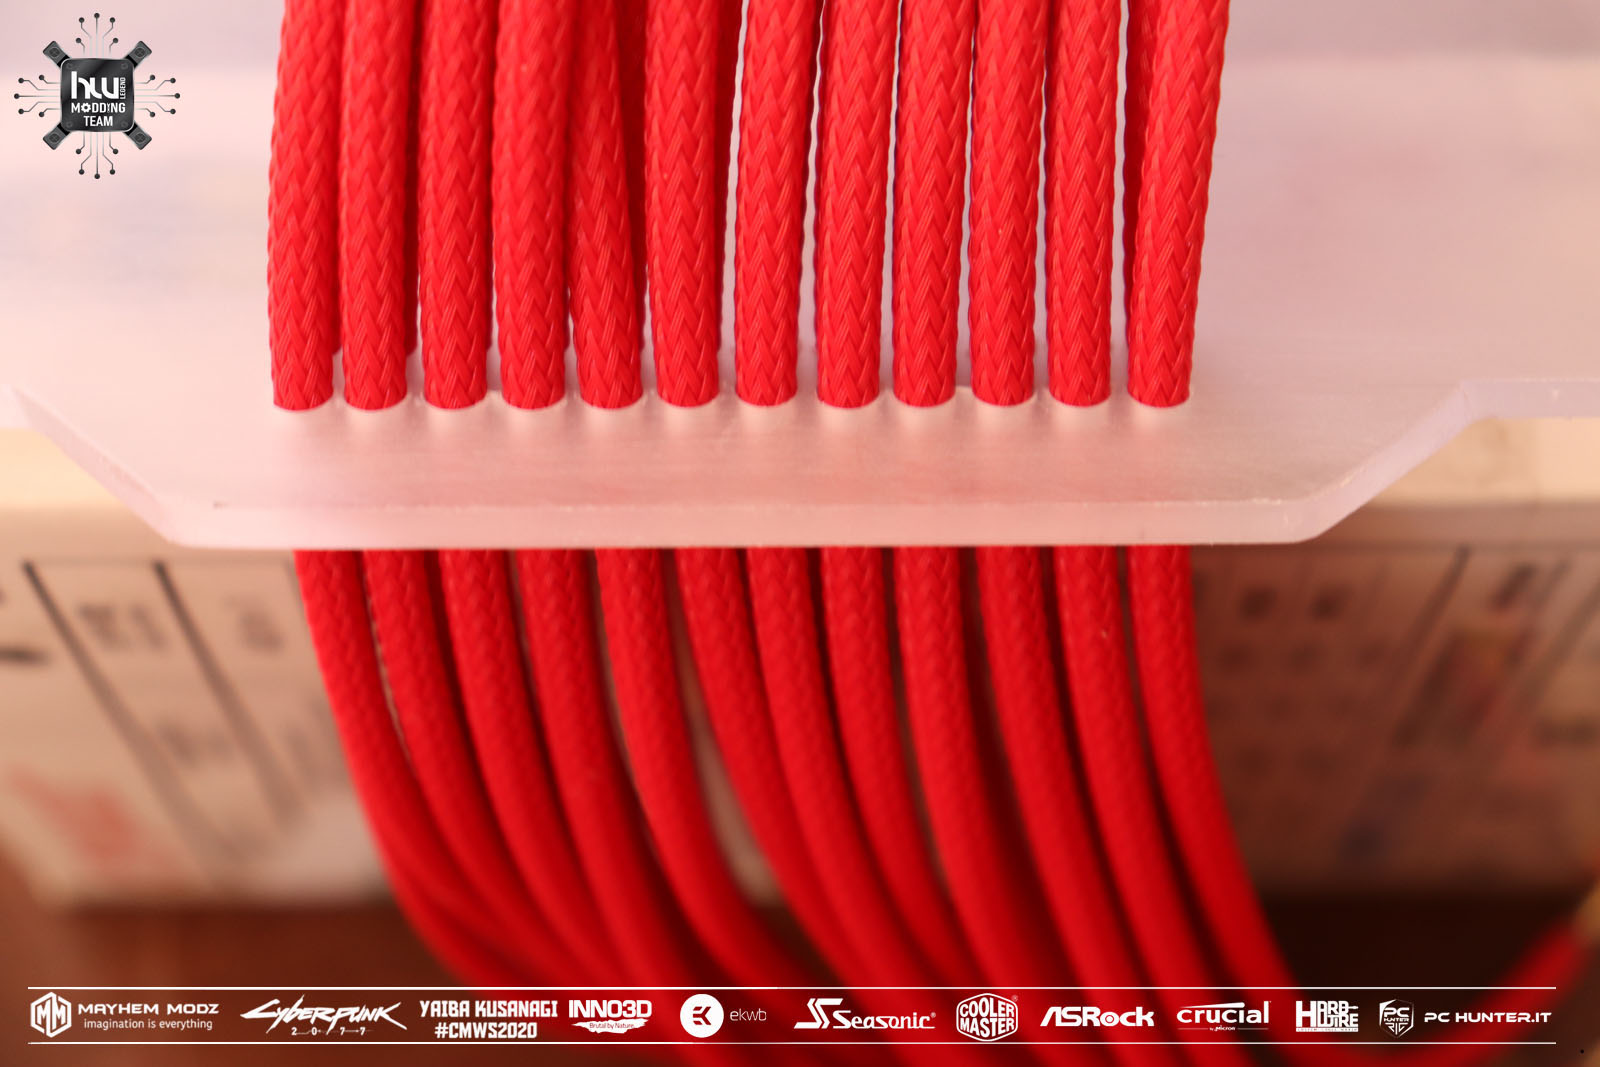
cable mod hardwire
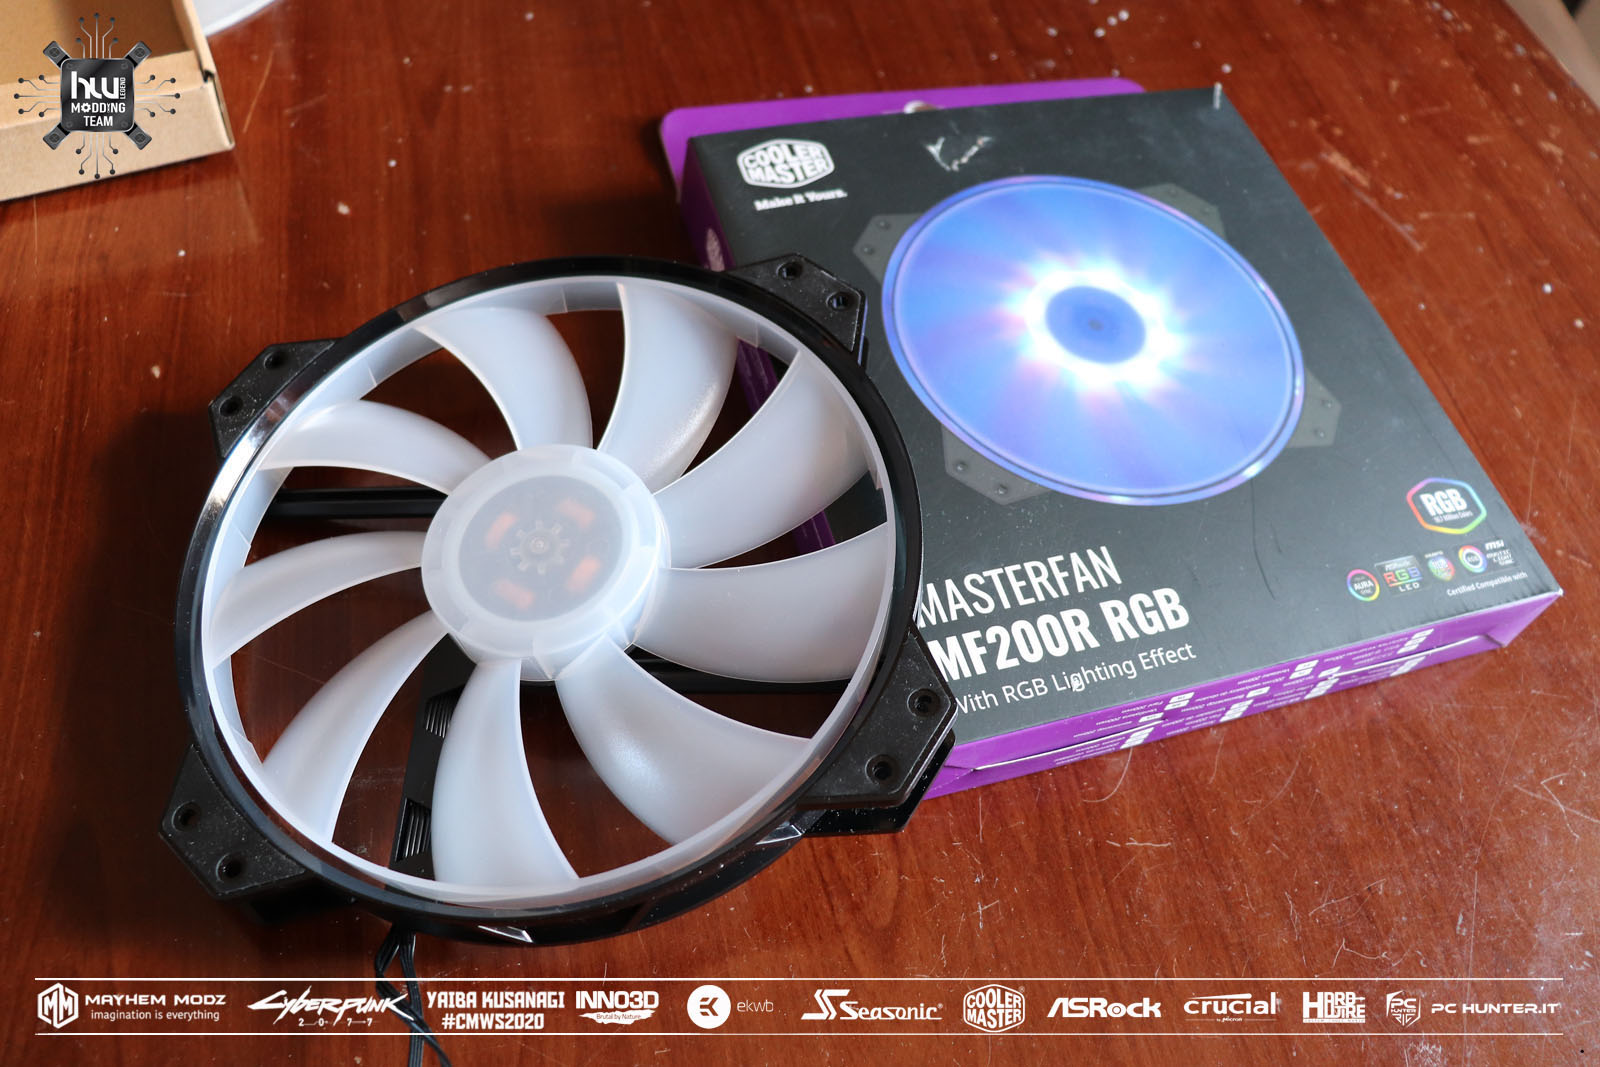
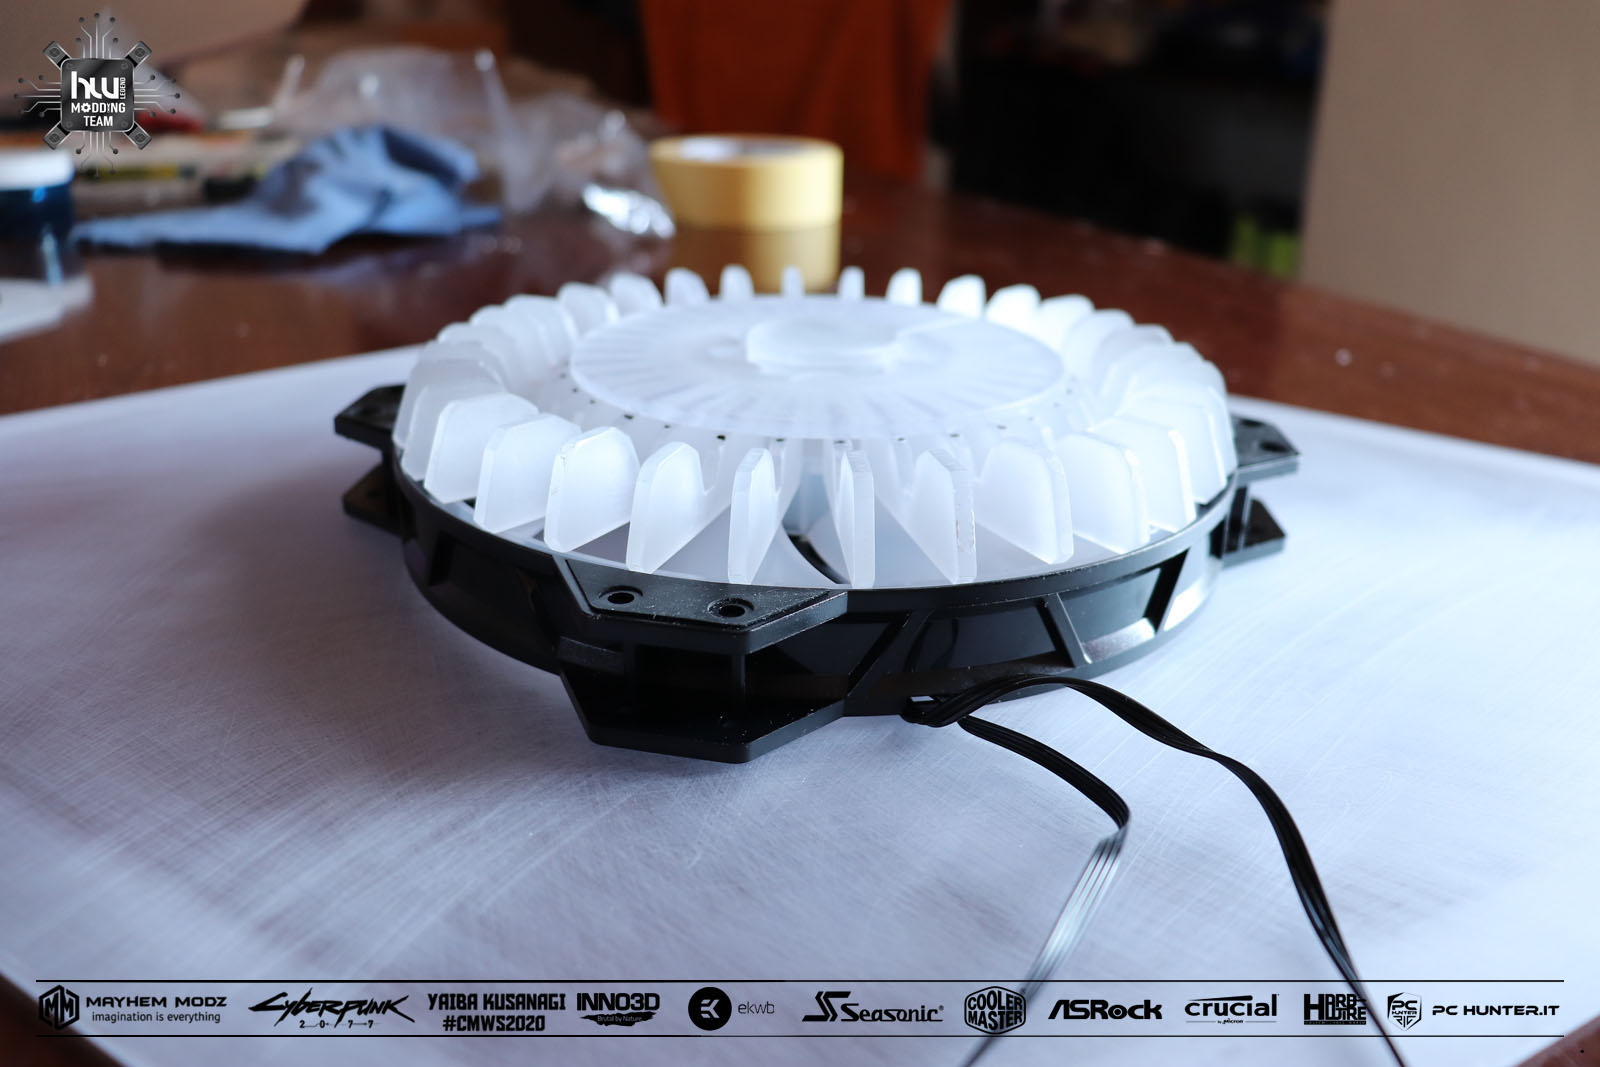
addictional fan coolermaster 200 MF R RGB
 
first stock of ekwb material arrived

yVxFJtL.jpg


97hb52D.jpg


bhpVYRw.jpg


fjNgLtM.jpg


GAAceuD.jpg


QjZMlTt.jpg


a lot of material but the eye only falls on 2 elements
the massive waterblock for the RTX 2080 and the CPU block VELOCITY

Let's starts ..
 
the dances begin now that I have most of the material at hand I can evaluate the dimensions ...
I start from aluminum strips to build the side frames, a very delicate operation, so both must be extremely precise, maximum precision

kUEFPhG.jpg


VJUY5A6.jpg


I try to be faithful to the sketch created (which I don't show you ...) one eye on the render and one on the hardware, I cut ..

BxszfUF.jpg


U6FmPOw.jpg


YC8yiVr.jpg


giWMzvV.jpg


it is not at all easy to make them the same once you have made one proceed with the second by placing it on the first.

aTeqbhO.jpg


mPdAVGV.jpg


NkbkOxm.jpg


as already done for black hawk silt slightly the heads of the rivets this because could annoy the insertion of the side panels.

hUIlqwo.jpg


k0hp2au.jpg


m7HUPf4.jpg


hUIlqwo.jpg


next step to consolidate the structure with steel tubulars between the 2 frames.
 
today I focus on the lower part, power supply housing, construction of the supports that will support the shock absorbers
those who know me from the beginning know that I like to recycle parts of disused PCs near the landfill, today it has been the turn of an old HP the sheet is incredibly thick and robust
cut and shape that interests me.

FQgfm5B.jpg


gsfcA4e.jpg


HXyKvk6.jpg


these supports are very important because as mentioned, in addition to housing the shock absorbers, they will also support the acrylic bars to close the structure on the back
more forward you will be all clearer ..

d9soCF9.jpg


8EwXUI0.jpg


iQXP0dI.jpg


TzkE84Z.jpg


EhEO7uX.jpg


MTtgAHC.jpg


oGDAAWn.jpg


yJ6kZ4c.jpg
 
today 3 steps
I had already prepared the support for the power supply unit but I was not happy and did not allow for excellent heat dissipation.

xPepKyc.jpg


rTr7oJB.jpg


tXsZ160.jpg


yH16tqy.jpg


7ET1nbF.jpg


JC69Mcv.jpg


SlTohDZ.jpg


zqXcS55.jpg


everything is designed in such a way that its replacement or removal is also easy

ggZB1D5.jpg


realization of the supports for the positioning of the tank and integrated pump these strips will further strengthen the structure which is not yet stable
as we proceed, everything will consolidate.

xdZMRWy.jpg


EKWB also provides an adhesive where to make the holes very comfortable, all time saved.

I also drill holes on the opposite side with a larger diameter so that they can be accessed with the fixing screws

LW8gkgQ.jpg


YXpsc3l.jpg


UATMHvJ.jpg


32sHrE7.jpg


RLKWpxW.jpg


KVcsjE2.jpg


addition of upper lateral slats for fixing the entire rear part which will be made of 4 mm acrylic panels with lamellar effect ...

tazEiH5.jpg


kiL8nTZ.jpg


fgagcxJ.jpg
 
processing of the rear part which will consolidate the whole structure the panels are temporary, the tray for the motherboard (on which other panels and supports will be mounted) and for the vertical video card are still missing.
I do not rule out making other changes during the work.
I preferred to stay a bit wide with the measurements I am always in time to cut if I need ....

Just like I do a cardboard sample to do the various tests

Cjijim8.jpg


when I am quite sure I proceed with the various cuts on acrylic.

SnKAYw1.jpg


1N17rGu.jpg


I did the first and I use it as a "master" for all the others, they must be perfect .... at least I try.

NcYeadg.jpg


all done by hand.

after taking the right measures I assemble everything
the panels that will make up the rear will have thicknesses (now there are not) that will keep them tight and the structure will be more solid.

2zrWFhg.jpg


afu0w8Z.jpg


hhXQINQ.jpg


f8xBKlz.jpg


PBOv4w1.jpg


a1qeDFs.jpg


8TNcDxZ.jpg


IAWhFTT.jpg
 
YAIBA TO ALL! today a lot of work, I leave the rear part suspended to focus on the front, I make a panel of solid recycled steel from my HP desktop, the metal structure of these old houses is really impressive solid and thick sheet metal, the empty case already has its considerable weight.
here it is

J001-22007-main-la.jpg


to install the 360 mm radiator I need supports but at the same time I need to strengthen the structure, let's start ..

nte8vYG.jpg


kwKdD8i.jpg


measurement control and positioning ...

96Ieo1a.jpg


t3DzCSX.jpg


now the most interesting part

TOY9y0L.jpg


bxO7MIM.jpg


5glJATu.jpg


3iAZ0b2.jpg


I finish with precision files always checking the measurements

OGPwYjV.jpg


ohnbpIT.jpg


BSRfNoh.jpg


I am very satisfied with the result considering that I have no specific equipment and I made everything with basic tools
and if I can do it, anyone can do it.
:)


check that everything concludes.

8qupXaj.jpg


vCpgT8b.jpg


fastening with rivets, I always check the measurements

NtIftXJ.jpg


FCGOv5b.jpg


wK8bf7G.jpg


the structure is now much more solid and stable.

KXicGDc.jpg


to be continued---
 
a lot of work today ...
processing of the tray, very important as it is an integral part of the structure

iHhXm0f.jpg


4EGy2KL.jpg


xnVZiDt.jpg


EC1wNu0.jpg


gr3G3SK.jpg


qvG5QTV.jpg


WWiGw1j.jpg


4cz49ZG.jpg


P2IOpLY.jpg


KsdwNk3.jpg


MljVwzh.jpg


technical dimensions tests

EzLC23Q.jpg


positioning of the bracket that will fix the inno3d RTX2060super TWIN X2 video card vertically, here helps me coolermaster who sends me a special bracket designed for his houses but that is fine for what I need

but it's not over I have to find a way to fix it firmly to the panels.

21pSeAG.jpg


motherboard placement and holes

KUgsKNM.jpg


n4Sf9VM.jpg


rmWyJO9.jpg


I have an envelope full of spacers I always take them apart before I get rid of an old case

EraOIQp.jpg


jxl2fBi.jpg


5aYrW0e.jpg


uj3XJVj.jpg


nApyzuG.jpg


LqTVJUj.jpg


creation of the hole on the tray to facilitate the installation of the fixing plate for the CPU waterblock

tU0xVHu.jpg


cuh5eSs.jpg


once you have decided what to do, prepare all the holes for the gpu support bracket

after taking the measurements well 3 times I proceed
I practice very small holes

reOlFDF.jpg


ESETlOn.jpg


one points it as a cutter and patiently floods all the holes connecting them creating a groove

CMMtcyI.jpg


I help myself with a precision file (one of my best purchases)

Hf55Cp0.jpg


kD78O0H.jpg


perfect..

bopyri2.jpg


kLsk3wS.jpg


giyHuye.jpg


B6P49wh.jpg


dZNZ4zc.jpg


MqYF1SS.jpg


kjfnJ0s.jpg


BEaI92h.jpg


it is not yet finished all the tray block must still be well worked .. and the panels made previously must be revised (they are too large)
 
Long live scratch builds and folks that do them , cheers.
 
rear panel added reinforcement elements

BiawZBa.jpg


IQSxxJ6.jpg


TkWa4b9.jpg


uHn1ro7.jpg


I will add 2 more "sandwich" wings with leds in the center 2 acrylic panels painted with another acrylic panel with leds in the center
in addition to strengthening the structure, it will have an aesthetic value, 2 D-RGB strips inside these fins

eycOeYR.jpg


pFaCw2h.jpg
 
this is sweet!
 
Arrangement of the pigtail, as it is I don't like it is too linear to the frame
an indentation must be created and the fairing will have a fold therefore a more dynamic design.
First I evaluate where to cut

tuPplXz.jpg


9Yu5jtw.jpg


cutting little material will allow me to tilt the aluminum easily
just enough to achieve the desired effect, I end up fixing an aluminum bar with rivets and the structure is very solid

qBA28b4.jpg


QAFx1wS.jpg


a little trick that makes the difference in the overall design.

RwxNfD6.jpg


0FP52n0.jpg
 
small reinforcements added to stabilize the structure

jRQL00y.jpg


xRRCoX9.jpg


7vih53y.jpg


EE48vuR.jpg


as well as reinforcing they will be an excellent decorative element

rwh8KsO.jpg


OVb90VC.jpg


the fabulous EKWB EK connect controller has arrived in addition to the classic functions
there are as many as 3 excellent temperature sensors coupled with EK Vardar X3M D-RGB fans

1G4cWri.jpg


well guys we proceed, this is the turn of the crankcase / turbine of the bike it will be a grill and under it I will put a 200 mm RGB fan
but how to make it happen? I invent something ...

JJmO568.jpg


ImrlufF.jpg


99hlSa1.jpg


7pvERgH.jpg


0YFwk7A.jpg


mMNd5iK.jpg


7fJbB0w.jpg


QCnrDaP.jpg


MH2vMNT.jpg


wttCPQd.jpg


fixed with adhesive for temporary acrylic after I will apply a more powerful one to consolidate everything.

4FwxbFA.jpg


EGUxwjx.jpg


to make a perfect hole I build a tool, dremel has been supplying it for years I don't want to spend 30 euros for a piece of iron and plastic.
so I decide to find it myself, I take advantage of the supplied cutter support.
This bar is usable on any mini tool.

here the project.

766oS9f.jpg


BuzPxEh.jpg


6pjmnnf.jpg


q8AyLNM.jpg


3e4fd67.jpg


that's where I'll make the hole.

4IWfLg6.jpg


thanks to coolermaster for providing me with this magnificent rgb coolermaster fan with awkward dimensions .. well 200 mm
a big beast ... that's where it will go.

here a brief unboxing ...


Ro3NRRp.jpg


technical positioning tests

gvTTD2l.jpg


let's go ...

3l0DQzc.jpg


here it is at work .. the bar behaves well is very smooth you have to proceed very slowly
as the pieces of acrylic tend to melt with the heat blocking the tip.
clean from the chips generated every now and then ..


Vduz0lf.jpg


TFjUbOn.jpg


lKYBQOh.jpg


ovaeeBf.jpg


use the 3d printer because I don't have it.
but as usual I will try to do something beautiful and above all that costs little ...
 
well guys i had to spend some time figuring out how to glue different materials but i solved.
I have to recreate this effect but without using 3d printing or cnc how to do?

JJmO568.jpg


now I create another support that will follow the top profile now it's easy i have a base now ..

r4yQNpW.jpg


cu147DI.jpg


TrNbzAX.jpg


perfect fit

I need a structure already made to fix and here comes this to my mind ...
a salad bowl ..

ykkvxaM.jpg


rw01RC0.jpg


I try to find the area with the right inclination and cut leaving what I need

HIZTEOe.jpg


tNwTNUz.jpg


IDBhqhB.jpg


Vnsrige.jpg


Td8Fjez.jpg


fixed provisionally

Jz8Rx2r.jpg


now the problem is how to fix the 2 different materials together the circle is polypropylene while everything else is in plexiglass, the two materials do not seem compatible with common glues
I have liquid steel I try with this ...

v0bMU4x.jpg


seems to hold very well.

K28EjXq.jpg


e79u6PG.jpg


6wNRZHc.jpg


perfect I would say

QV7SXlH.jpg


3KwTE8X.jpg


now it's the turn of the actual "turbine" support I take the exact measurements of the piece and cut with the DREMEL

yvXcZlM.jpg


BXMa9gQ.jpg


UxMvYOF.jpg


I have to strengthen the whole structure polypropylene is an ugly beast, I solved it temporarily with liquid steel but I need something more dense and workable, the parts to be glued are many and they must not come off
after several researches I land on this .. a two-component fiberglass putty ...

0p26QZD.jpg


RxjT0mQ.jpg


I must say once it hardens it becomes concrete and is perfect, even if it weighs down the structure a lot.

HcKgGNT.jpg


now it's time to complete with the side element
I take the measures well fixed procvvsoriamente with glue for methacrylate and after the ditch all with workable putty

iI5PVK6.jpg


NgGKo7q.jpg


well fixed with other putty on the main structure

q2Lmxx3.jpg


FICOq8u.jpg


uo3UDrX.jpg


h4ox5hp.jpg


iiOSvvw.jpg


3KMqElo.jpg


it will take other small tweaks such as closing some small holes or making some parts smoother, but the bulk of the work is done
 
I decided to create a led motherboard tray with relative I / O cover always with leds and themed mod cyberpunk 2077 !!!.
This tray will be fixed to the support of the case that originally had to support the motherboard, but also given the need to build other parts I decided for this solution
I start making the I / O panel from scratch, this motherboard does not have one more reason to make it, all the heatsinks of this Z390M PRO4 sponsored by ASROCK will also be painted with a theme! ..
I trace all the dimensions from the original shield.

odyjJVE.jpg


BtrR6xd.jpg


r0uYVcb.jpg


a lot of patience but the result satisfies me ...

HGoe8sj.jpg


TiCBke5.jpg


MPWJtx9.jpg


nCluUQp.jpg


k9nd6Ei.jpg


I took my time and calmly the result came, everything fits together perfectly, measured and measured again many times ..

889Aagy.jpg


this tray will substantially consist of two parts, the I / O box and another piece of acrylic left transparent inside on the long side, inside a led strip will be placed that will shoot the light through this acrylic giving a pleasant effect ... the logo will also be illuminated on the top of the box.

sjmMvex.jpg


5fSeCkO.jpg


I fix everything with cyanomethacrylate glue but I will strengthen everything with other strong glue and putty to eliminate imperfections.

3Vniyxc.jpg


9tljK9j.jpg


1v1WhnL.jpg


coat of primer to see where to stick to close any holes ..

ilY7xbo.jpg


k6mrHgI.jpg


ready for the final paint job that I will do next, the paints have yet to arrive in the shop ..

foyLvGY.jpg


now let's start with the support

iveIKfO.jpg


nhJAFyy.jpg


IpFkSTr.jpg


25KU8hi.jpg


I will drill the holes to pass the cables directly on this support
so I mark the zones .. I work absolutely with precision if I'm wrong I have to redo the whole panel ... I would not be happy ..

Ft8iRL4.jpg


3vS8caS.jpg


xR99dfj.jpg


the hole for the cpu waterblock will also be made
well guys stay tuned because there will be some good ones ...
 
continue with the processing of the LED tray, the sleeved cables will pass through the structure

0Kv5V8H.jpg


z8B3uHu.jpg


l4eT8qK.jpg


mkeZppB.jpg


kKt18tl.jpg


eE5z1Gu.jpg


3tXBAn0.jpg


cover panel that will be painted in metallic red, the prevailing color of our yaiba

hc8Sx7W.jpg


KVcYiLh.jpg


MffLRXh.jpg


here the explanatory video but it's not over stay tuned ...

 
Back
Top