• Welcome to TechPowerUp Forums, Guest! Please check out our forum guidelines for info related to our community.
  • The forums have been upgraded with support for dark mode. By default it will follow the setting on your system/browser. You may override it by scrolling to the end of the page and clicking the gears icon.

das.dude's Poor Man's Mod

dude, for the love of cabinets, get a better camera, or borrow one like i used to. i still use my phone though.


only one type of paint is available here :(
 
C'mon das.dude! Lot's of guides/tutorials how to paint on the Google, in fact i think there is even 1 or 2 posted here, check "Bad boys of case modding" as i think MKmods put up a how to...

"Quick tips" from me: Have lots of sandpaper, various grits if possible. The finer, the better. A good wood block helps too ;) Some soapy water. Can of primer. Can of paint. Dry weather. Good ventilation. Something to hang parts off so you don't make a mess of the floor/table/bench. 12" distance from work surface, spray in bursts with even speed. Tip can upside down and give a spurt every so often to clear the nozzle...

Scuff the surface first, apply primer. Wet block sand the primer, add another coat if needed. Repeat wet block. Apply paint if surface is nice and even. Wet block sand. Apply another coat of paint. Wet block sand. Apply final coat. Wet sand again if you plan on adding a clear coat. :pimp:

Or go the DESI route and just dunk it in a vat of paint :p
 
there is a huge difference between reading or watching something and actually doing it.
 
Well ya! :p

What are you scared of now? Your mod is almost done! Just give 'er! :D
 
no time atm. exams near. will start after sems.
 
Oh, yeah? See you when you return then... You're wilkommen :peace:

:rolleyes::rolleyes::p:p:rolleyes::rolleyes:
 
its the end sem break anddddd im back to work!

acrylic bought
ORPD2OS.jpg


measured and cut
xOETK8p.jpg


and it fits.
NNfJlQp.jpg


didnt have a fine file to smooth the edges. or a sandin block so...
slap on some foam tape on a steel rule
and stick a strip 320p sandpaper :p
erC4lMl.jpg

Hx2zcbR.jpg


plus the bit of foam helps in smoothing hard edges.
 
What did you use to cut the acrylic?
 
dremel + cut off wheel. i have a large angle grinder, but this was small so i used the dremel.
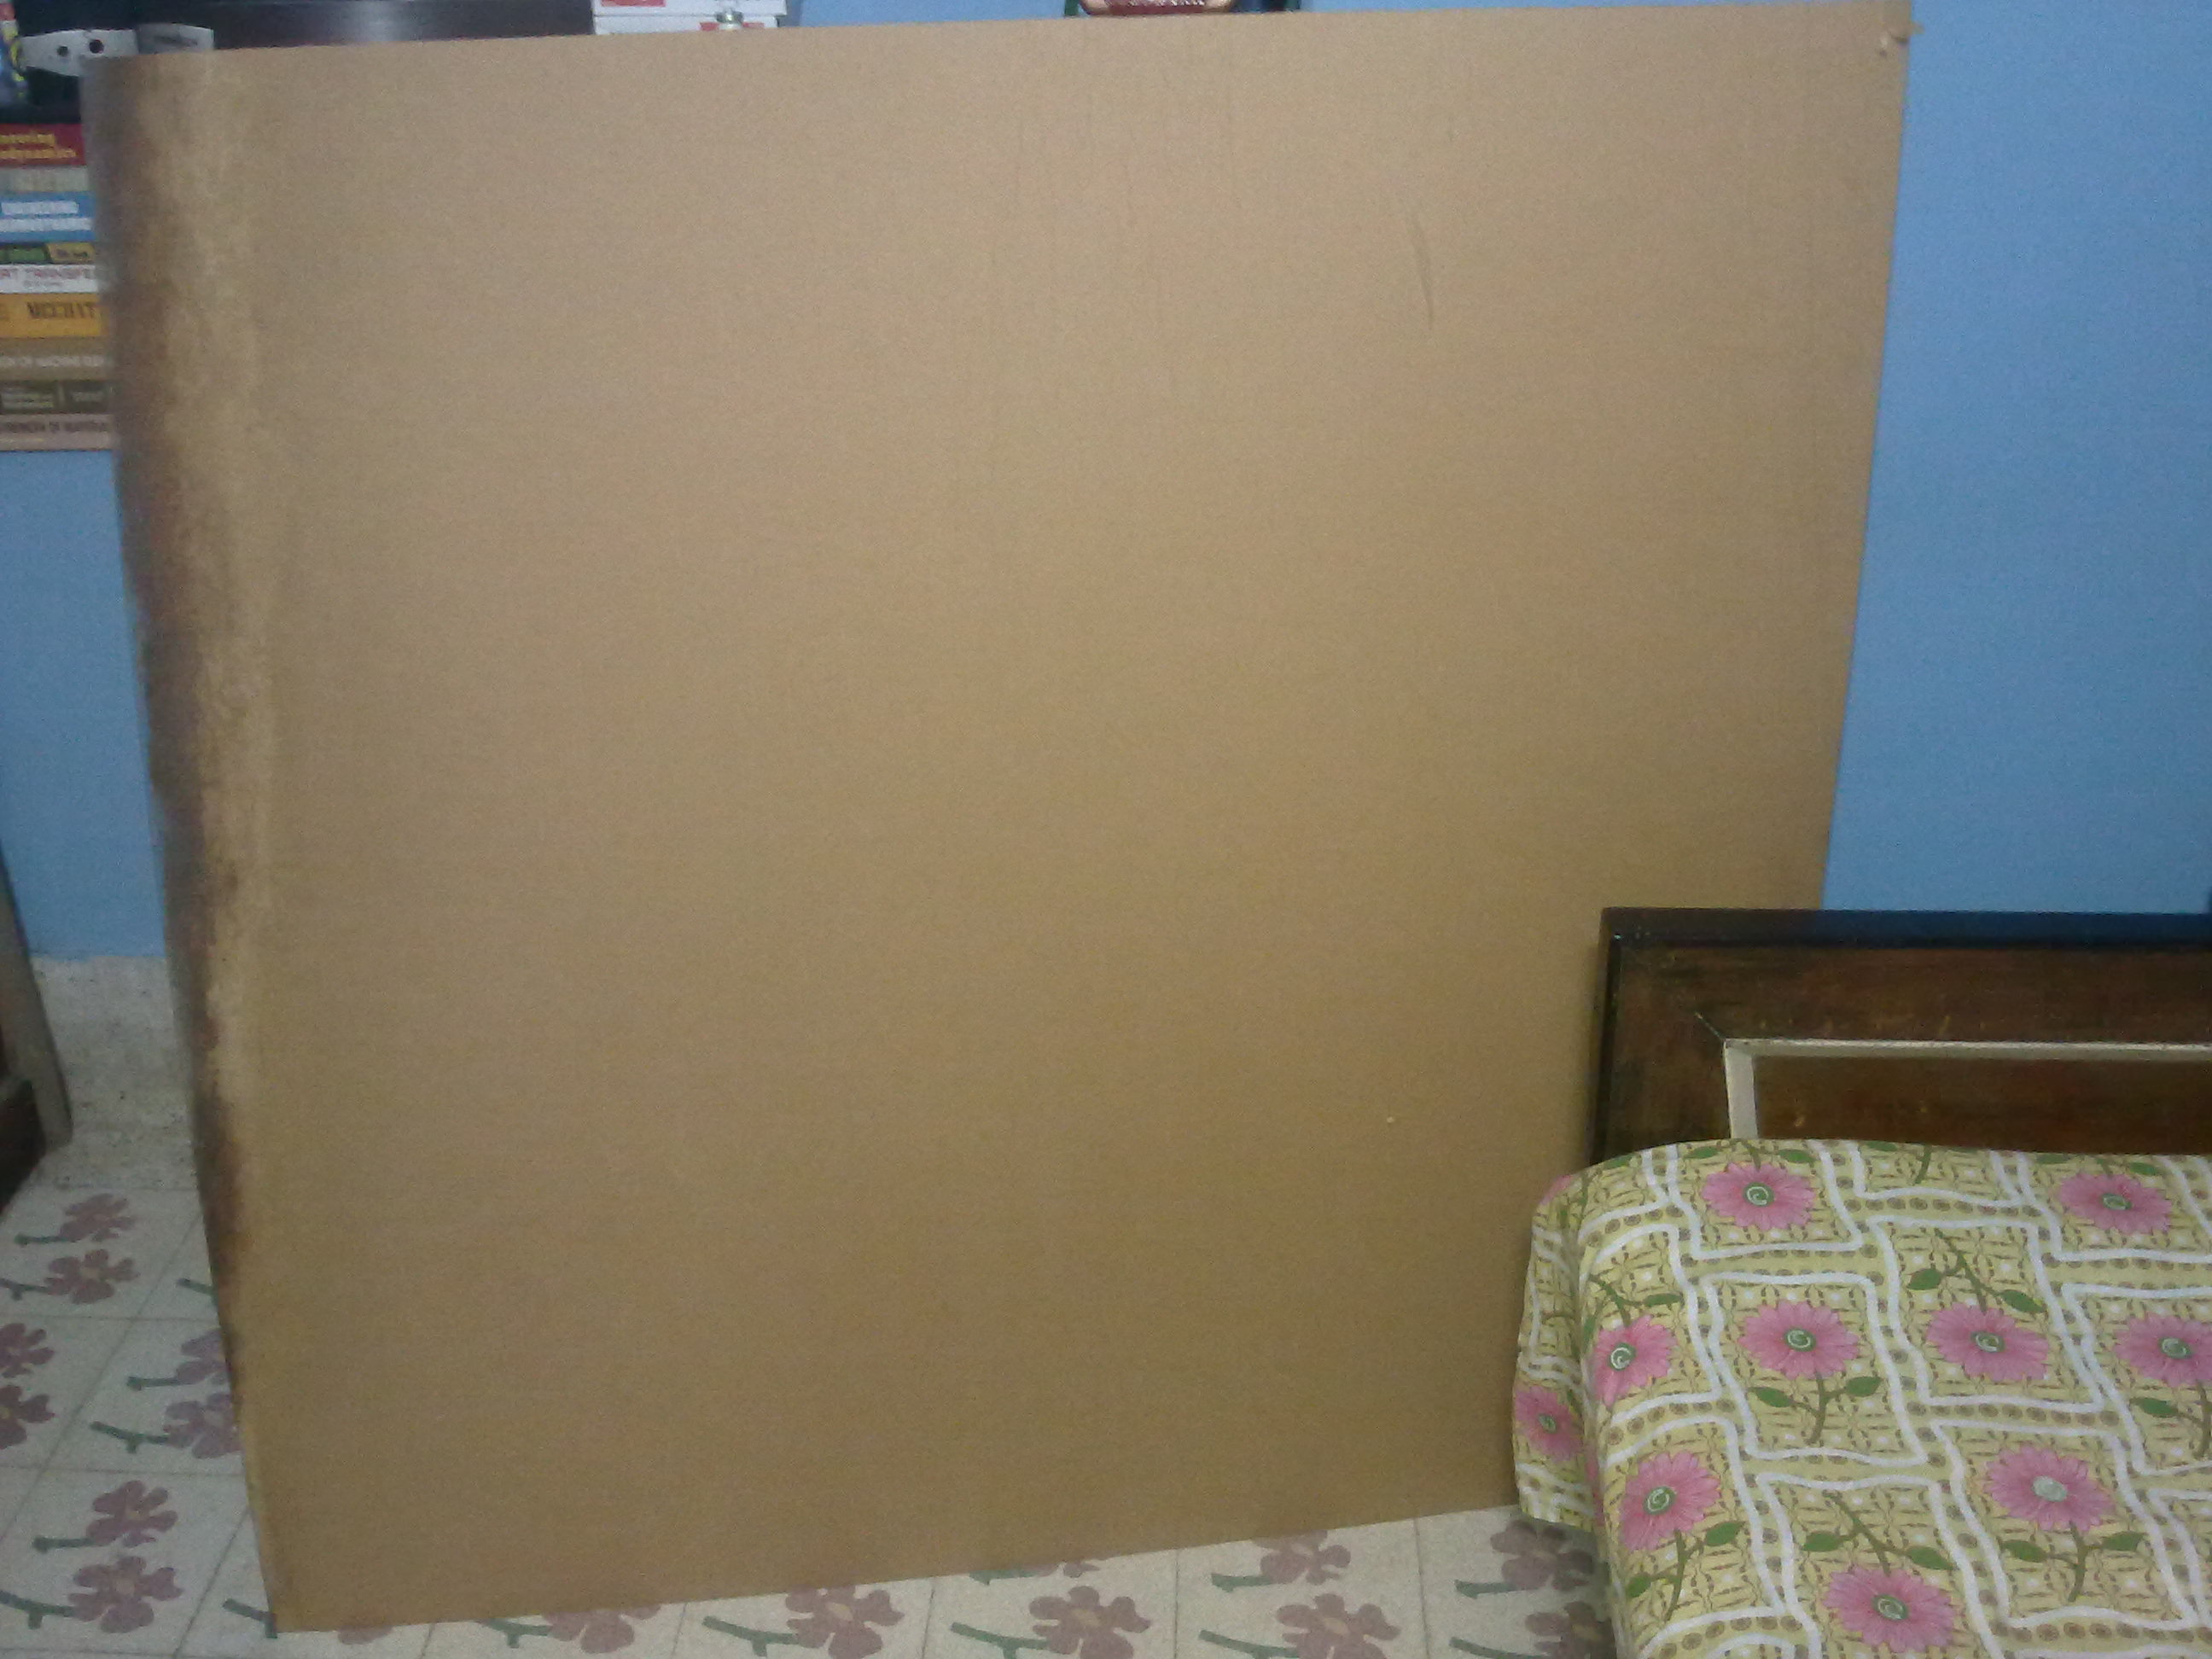
btw, the large piece is 4x4 sqft :p got it for around 10$, 2mm thick. very hard.
 
lol i got a normal sizes angle grinder and a massive 10inch blade one.

they both cut case metal and plastic like butter. i should really keep to using the normal one tho, but big is more fun!
 
mines about 6" blades, but i can fit bigger blades as well. anyhoo not needed as the dremel cuts through like butter as well and only cleaning the burrs is reqd, the finish is pretty good. i like it.
and just a bit of polishing and im reaaaady to GOOOOOO.

i think i will make the wire box today. too bad this is acryllic and cant be bent/moulded.
 
cant decide on whether to go with a single bottom 120mm fan or two 120mm fan. the back one has been cut out, but the front one is yet to be done. hmm....
 
pics would help assess the situation.
 
modded%20case3.png

this one, but with the front bottom one missing. i am thinking i should save the space for
1. water cooling (highly unlikely)
2. some sort of electronic stuff.
3. make space for an SSD.
4. wire management?
 
meh id move it slighlty closer to the rear one. that would be brilliant gpu cooling!

An ssd can mount literally anywhere, like the side of the drive bay which looks better than a stupid adapter etc

wire management, youre clever enough lol
 
meh id move it slighlty closer to the rear one. that would be brilliant gpu cooling!

An ssd can mount literally anywhere, like the side of the drive bay which looks better than a stupid adapter etc

wire management, youre clever enough lol

there are two 80mm fan spaces on the side on the window XD :roll:

im scared this will sound like a jet XD
 
You can always sticky tape your ssd to the bottom of the HDD cage. Wire management can be handles by tucking wires behind and on top of the psu, also in the hdd cage above the drives. Depends on what kind of electronic stuff you are thinking of.


Also do you have any top fans? I noticed only one exhaust fan besides the psu fan.
 
i like loud fans, it means my pc is working.

LOL i have all mine at max 24/7.
 
lol. i do the same too. ok, i WILL cut it out. and yes i will have to move it a bit back anyways, I/O port world be in the way.
 
And with 2 side fans you will have 5 intake fans and basically 1 exhaust fan.
 
i wouldnt have the side fans as an intake, basically blowing the air back at the card which isnt good depending where they are.

most cards blow hot air from the sides so id have them as exhausts!
 
hmm... interesting.. i was thinkign the same right now. then it will be more balanced. plus there are three 50mm fan sized vent holes at the top to neutralize the presure. im thinking more intakes so, it will basically be acing like an exhaust..
 
dremel + cut off wheel. i have a large angle grinder, but this was small so i used the dremel.
btw, the large piece is 4x4 sqft :p got it for around 10$, 2mm thick. very hard.
You didn't have any problems with it melting? Did you use a really low speed?
 
You didn't have any problems with it melting? Did you use a really low speed?

no, the one i used is a heat resistant one. and hence the reason why it cant be moulded.
there was a little but of melting, but very little, it just melt the part in front of the blade, not the sides. and yes, i used the lowest speed. around 10000rpm or so. the guys were cutting it with a high speed table saw.
 
i would say get some casters instead of feet.

mainly because they tend to be bigger which will give you plenty of room under for airflow and also so its easier to move about.

this is great btw, i love what you have done :thumb:
 
Back
Top