Thanks guys! This is getting to be really fun for me lol..... I anticipate each day of working on the project now.

Heres another......
Update! 4-10/11-09
Got to some work this weekend!
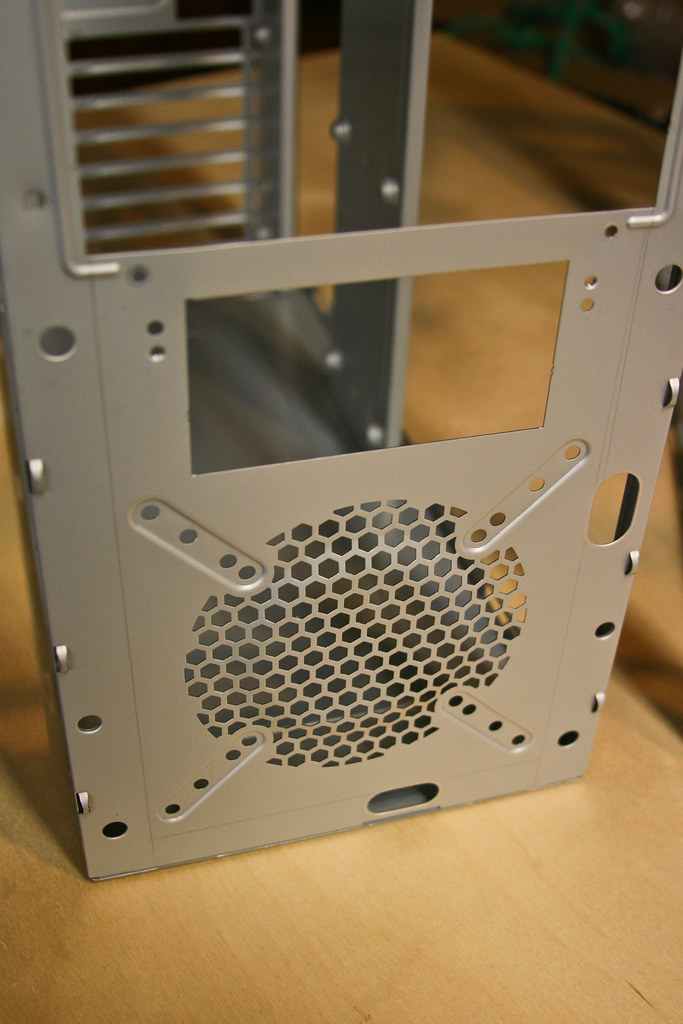
Here is all the metals, acrylics, screws and cases to be worked on.
This weekend I focussed on making the case's become one.
Here we go!
So from top to bottom here, gots some mini washers and aluminum rivets, and then at the bottom I have what I call some 'dummy rivets' (screws & nuts) so I can put the case together without having to permanently rivet it.
1/4" acrylics I got a while back, this will be used for secret surprise.

And on the right, I've got this long 1/2" by 1/16" rusty metal strip, this will be main victim for today. hehe...
However, we'll start with this first:
Ok so I want to put the case together, but notice the gap that the tops make between the cases:
Closer look:
So I just wacked it off... good ol' dremel
(of course, filing will come later...)
And there we have it, quick and easy...
now lets get to the real meat.....
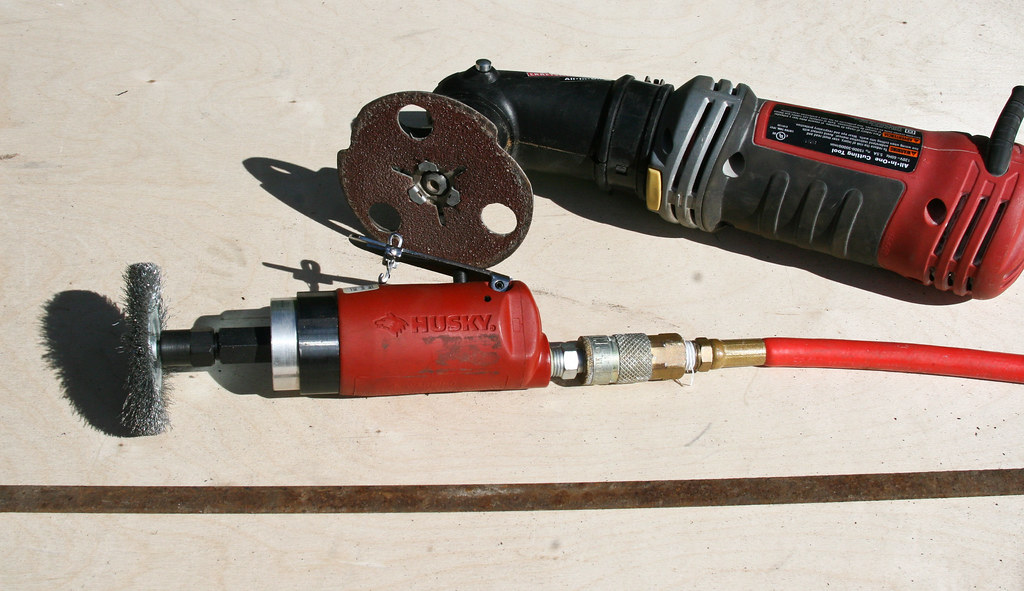
I love these two tools.....
Used the husky (oh i love the sound it makes when it runs... xD) to get all that grainy stinky nasty rust off....
Close up:
All shiny and clean now.
(and before the case gets some painting, I'll be putting some anti-rust primer on that piece of metal too, obviously, keep it from rusting over again.)
Ok now Parker... what did you do with that nice long piece of shiny un-rusted metal?
Cut it up, drilled holes, got some yummy dummy rivets and....
AND.....
TA-DA!
Filled the gap PERFECTLY between the cases....
The case is now VERY sturdy and I like the way it turned out...
Heres some close ups:
I'll leave you with a little fun shot.....
You should be seeing one or two more updates this week, already been working on more of the project.....


")


 ) and my rads so far!
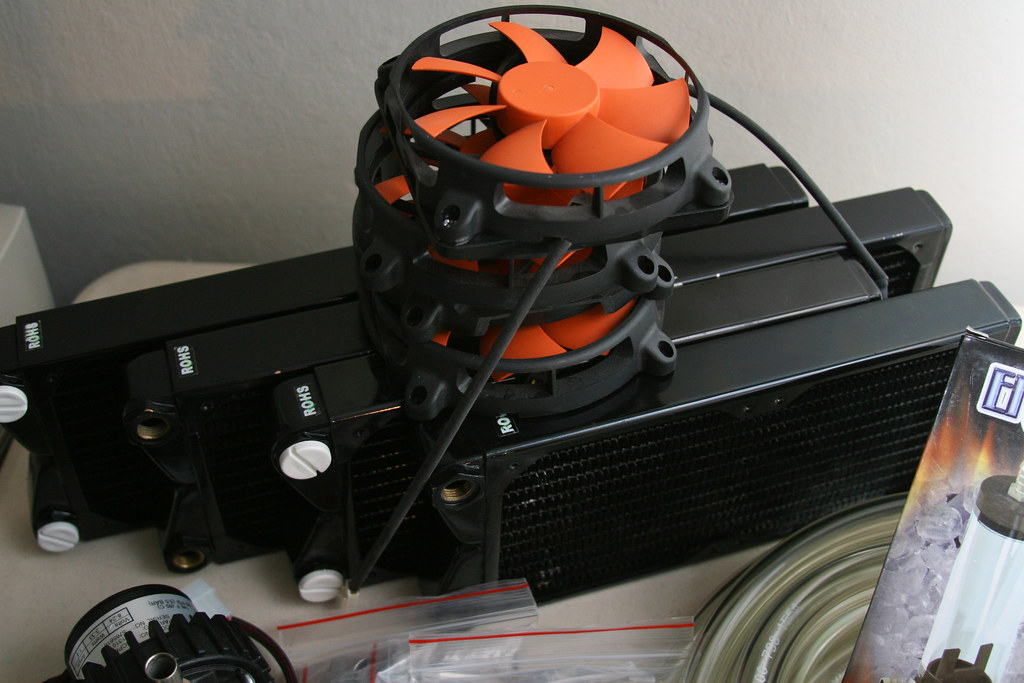


 man you have really inspired me to do this, what cases are you using again??