• Welcome to TechPowerUp Forums, Guest! Please check out our forum guidelines for info related to our community.
  • The forums have been upgraded with support for dark mode. By default it will follow the setting on your system/browser. You may override it by scrolling to the end of the page and clicking the gears icon.

The Utterly Imbalanced CaseLabs TX10-D build(s)!

now if only i had the money to do something like this too lol..
cant have to many fans and radiators :)
 
Yes sir, especially when I am benching. I am in the Top 10 of the HWBOT Novice League and that's not even with this build complete yet. When overclocked and overvolted, the 780Ti classified kingpin cards pull about 650-700w each on water. All this power has to be dissipated somewhere. Previously I had dual 480 rads (the AX480 and Monsta 480) which tried but couldn't keep the cards cooler than 50 C. With GK110, the cooler the cards are the more stable the overclocks at the same voltage. For example, 1550 MHz core on Valley was just fine with a single card at 30 C (ambient temp was 15 C and it was a quick single run). But at 40 C, only 1493 MHz core was stable enough to get the benchmark done.
 
How the heck is that possible?

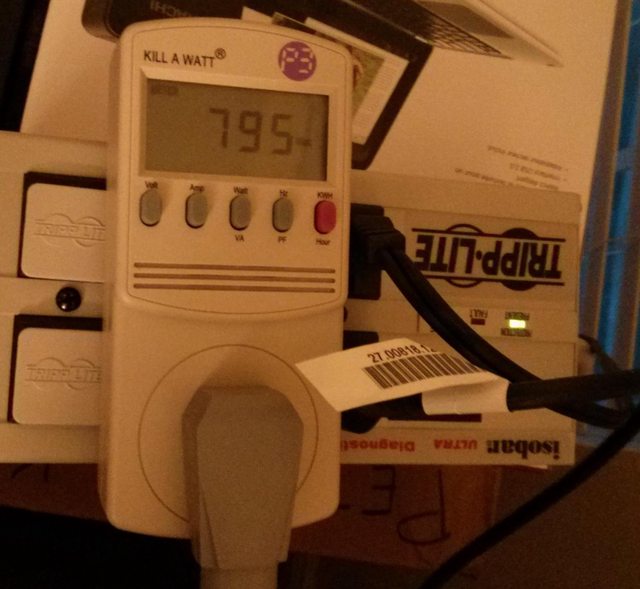
The PCI-E specs are just theoretical. An 8 pin can provide way more than 150W, a 6 pin way more than 75. The AMD R9-295X2 is a prime example. Once you overvolt a card, all bets are off. Here is a KAW photo with power pulled from the wall using a single KPE and 4770k on an ax1200i:

S8IbyLAl.jpg


Assume 90% efficiency and you are at 715W for the rig. The 4770k pulls about 90-100W at 1.35V that it was at during this test, so the KPE was at 550-600W easily even with everything else in at that time.
 
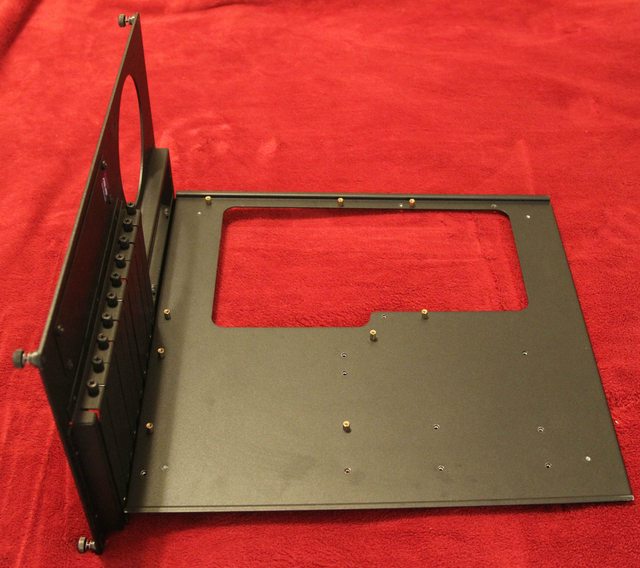
I love, love, love the removable motherboard tray. Such a simple idea and yet so useful!

2u2HbFbl.jpg


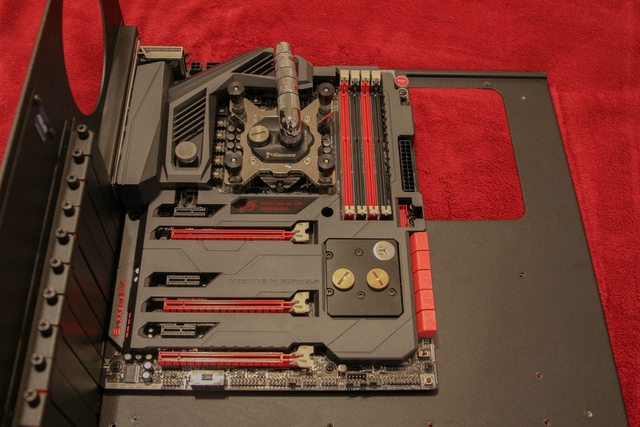
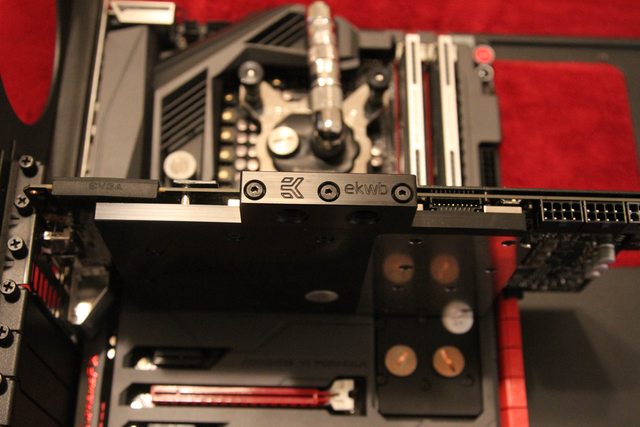
Since Haswell-E isn't out yet, I decided to assemble the z87/KPE rig. First off, the Maximus 6 Formula:

4D5pAlRl.jpg


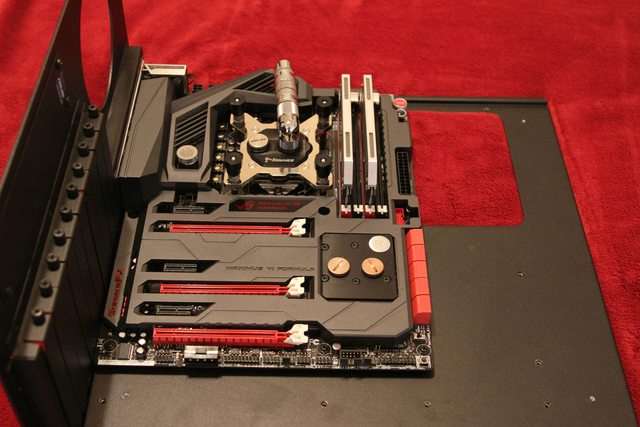
I kinda cheated since the EK M6F and the Koolance 380i was already on from the previous build. Also, that massive cutout means either easy cabling or untidy looking mess of cables. I will make my mind as cables come in on whether or not I get the back covers for the motherboard trays. Next up, more bling bling with the Corsair Dominator Platinums and the light bar upgrade kit:

cxGnGTEl.jpg


I see the upcoming x79/x99 build as a bit of redemption in that I bought into the hype from "tech reviewers" and went with the stereotype forum favorites: 900D, Asus ROG with all them gaming features like Sonic Radar that I have used never, Corsair Dom Plats etc. Oh well, live and learn. Too bad the upcoming Rampage V Extreme will still be one of the best x99 boards and have features I will continue to never use.

Now then, let's have something Classified:

CI7WVSdl.jpg


Again, if anyone wants to see more pics of this engineering beauty, I link two albums: Unboxing the KPE and Watercooling the KPE

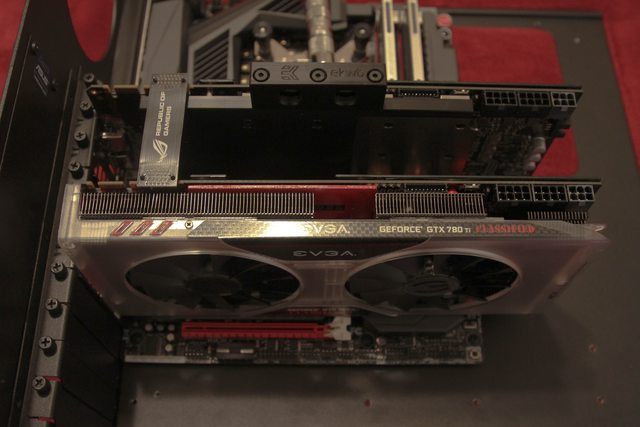
Now then, one KPE is good but two are better:

QDiaorOl.jpg


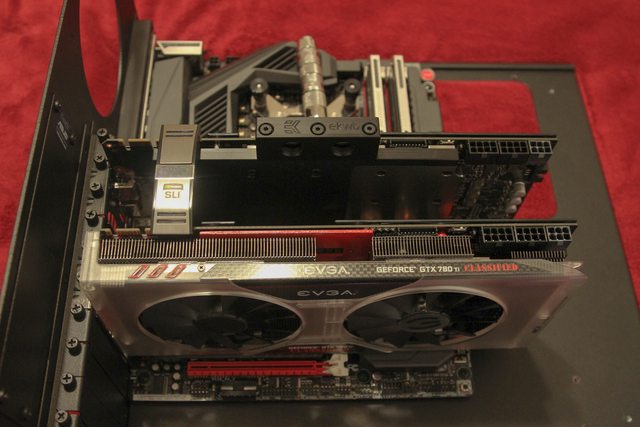
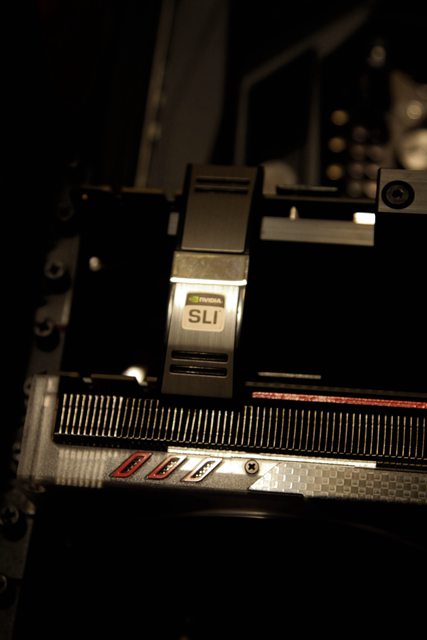
Ok, ok I know it is on the stock cooler but I have to test it first. How about a better looking SLI bridge instead?

Pgy0VxEl.jpg


h2F8gfLl.jpg


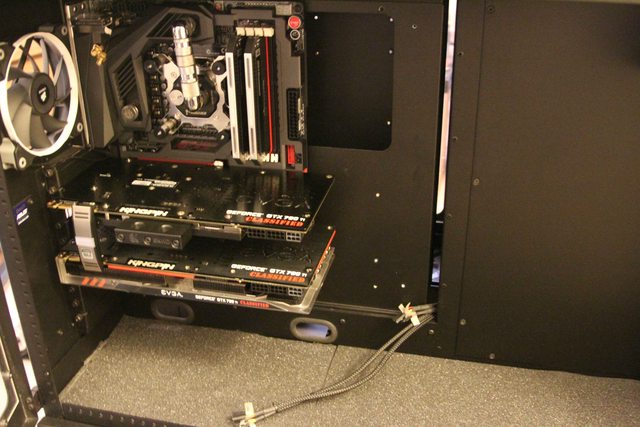
A 120mm exhaust fan later, it is back in the case for now. I got a thin 120 rad on the way that I might put in exhaust instead if it doesn't clash with the MOSFET block. The Phobya G-Changer definitely doesn't.

qrYhxewl.jpg


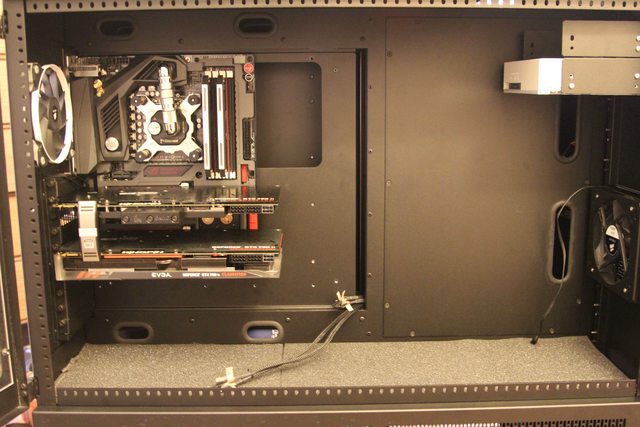
A better look at the sheer amount of space left:

JCwoeqHl.jpg


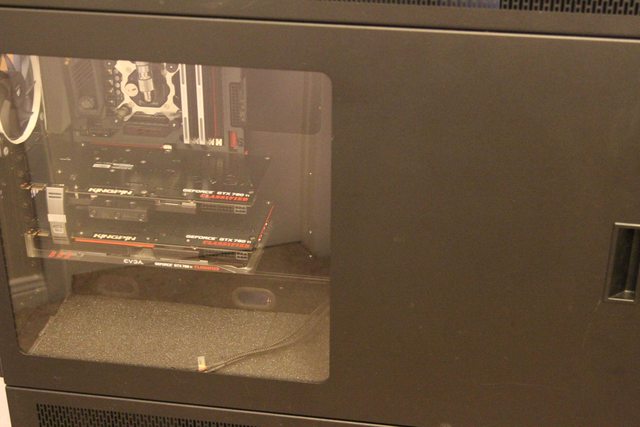
Not to worry, there will be two massive reservoirs going in there along with 2-3 pumps. Heck, in my mind that space actually seems small now. One more look, this time with the door closed:

56rzRual.jpg


I might have to get one XXL windowed door if this doesn't suffice. I will be removing the entire motherboard tray out, install the tech station parts and use it outside with the dual 480 rads till I get all the reservoirs and pumps inside.
 
I love the update!! This is the mother of all projects. Keep it coming. :toast:
 
I see the upcoming x79/x99 build as a bit of redemption in that I bought into the hype from "tech reviewers" and went with the stereotype forum favorites: 900D, Asus ROG with all them gaming features like Sonic Radar that I have used never, Corsair Dom Plats etc. Oh well, live and learn. Too bad the upcoming Rampage V Extreme will still be one of the best x99 boards and have features I will continue to never use.

LOL total forum stereotype build for sure! EVGA cards, ROG board, corsair fan with the red rings, dominators...
 
So how do I successfully multiquote? I click on it for multiple posts but no idea what to do next lol.
I love the update!! This is the mother of all projects. Keep it coming. :toast:

Thanks a lot, as I indicated before I have done more since this update (2 weeks old) but not sure if flooding all of them in at once is a good idea given all the pictures. But then again some things like the EVGA 1600G2 I got yesterday will have more impact presented sooner than later.

LOL total forum stereotype build for sure! EVGA cards, ROG board, corsair fan with the red rings, dominators...

Sigh.. Yes! I watched videos from guys like Linus and Logan and then decided to go for the stereotype build. Big mistake! The 900D is a great case for the price- especially when available at ~$275 but there are so many compromises in it. Ditto with the Dominator Platinums and AX1200i and pretty much any ROG product- you are paying for the brand name too. At least Corsair has really good customer service but Asus is terrible there. The Corsair SP120 fans are actually still the best performance/cost wise- especially the HPE ones. But they are really loud. So I figured I will go PWM to get a better control and tune them in lower than typical 3-pin fans allow. BIG MISTAKE! More on that soon.
 
Subbing. I'm so jealous of that case.
 
Nah dude try the Koolance 120x25
http://koolance.com/fan-120x25mm-108cfm
Static Pressure: 5.4mm-H2O
~$9-10

Good point, I have heard people praising their performance for the price point they are at. Let's jump ahead two weeks magically to the next update :)

Warning: loads of pictures and an update that is mostly about fan splitters and Corsair's "PWM" implementation. Now then, a couple of international packages came in this past week. First up:

u67ZECHl.jpg


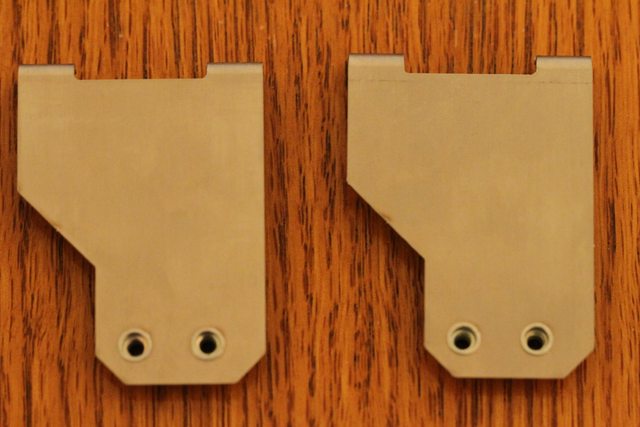
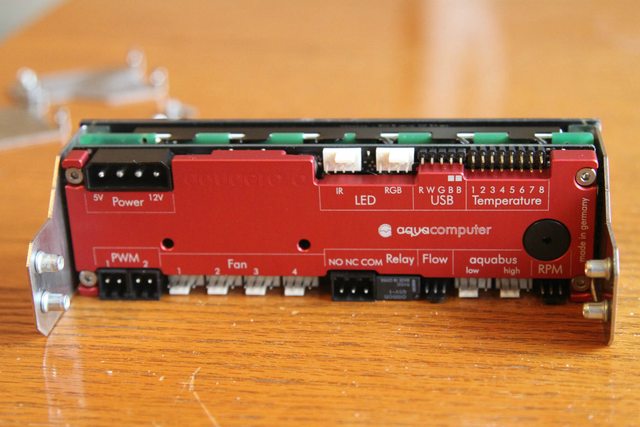
Now what could that be? Oh ya, replacement brackets for the Aquaero 6 so they actually do fit in a standard 5 1/4" bay.

jgAgM2Cl.jpg


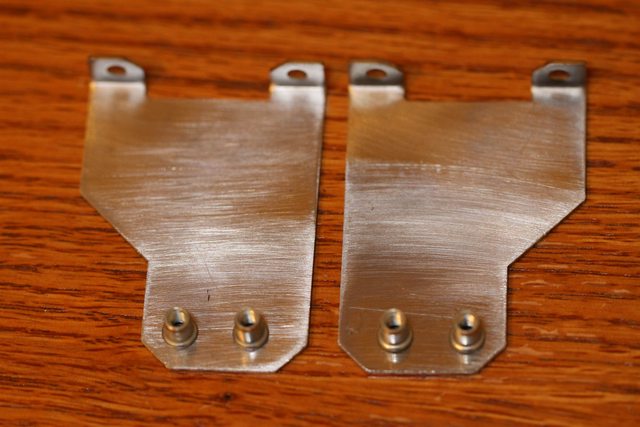
Those didn't look any different from the naked eye, or dSLR lens for that matter. In fact, here is an image with one of the old and new brackets each next to each other. Imaginary brownie points for those who can tell which one is which:

ufRWn85l.jpg


Got them installed on the AQ6, man that red heatsink looks very nice!

mDocLrNl.jpg


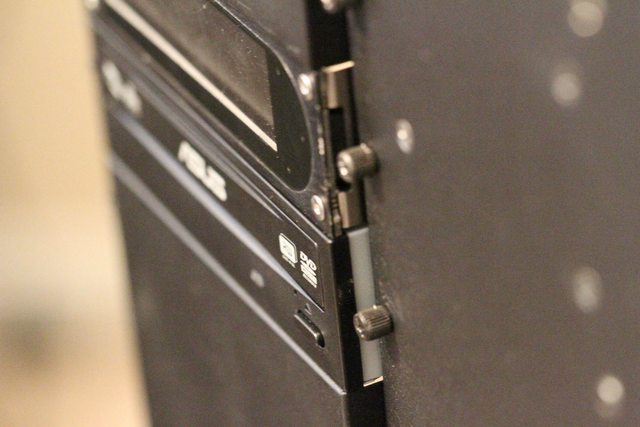
But does it actually help out? It was hard to fit the AQ6 in earlier, the display front plate used to bulge out a bit and I was just about to order the Caselabs short non-confirming mountswhen I realized I might as well make good use of Shoggy's offer of replacement brackets. This way, I can be rest assured that this would work with any case for anyone in the future- if it does work, that is!

JGifOo1l.jpg


Yes!! Thanks Shoggy, it was a massive relief getting this in easily with no real effort.

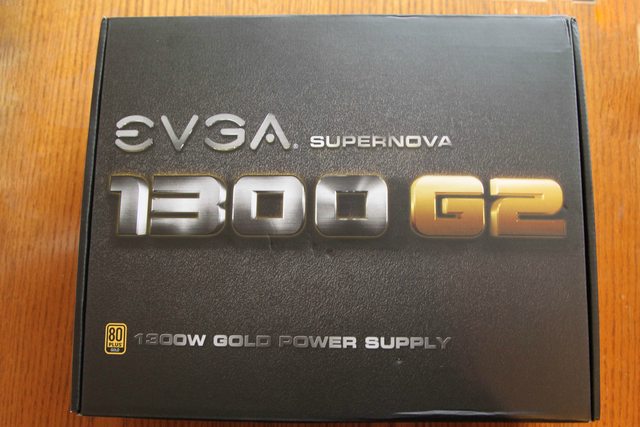
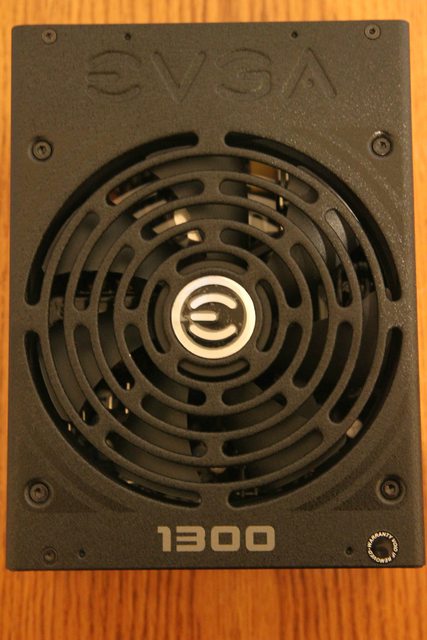
Before I go to the next international package, I had something in mind with the Aquaero, Darlene's Diva 'Dapter which was referenced previously in here and the Corsair SP120 "PWM" fans. My other PSU, the Corsair ax1200i, is already in the case so I figured what better way than this to test out the EVGA 1300G2 that I had recently bought:

1fwESIll.jpg


t1kJsxBl.jpg


t1kJsxBl.jpg


pSlVfy3l.jpg


gAg0BzGl.jpg


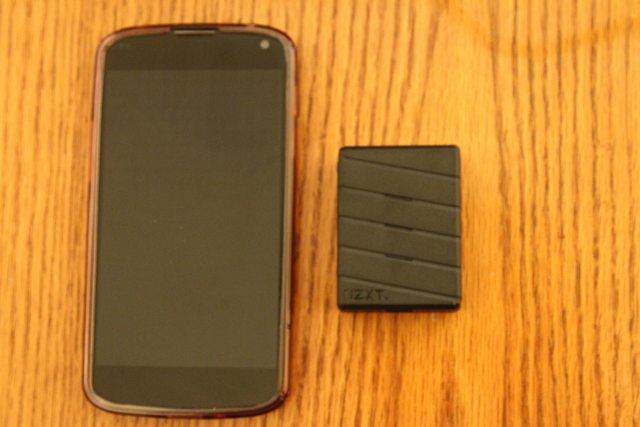
Customary EVGA logo close up shot above. Speaking of close up shots and small objects, here is the NZXT Grid which is currently at a great price on Amazon (US website anyway) next to a Nexus 4 for comparison. The thing is much smaller in person than what I expected from images:

U4y5Iaol.jpg


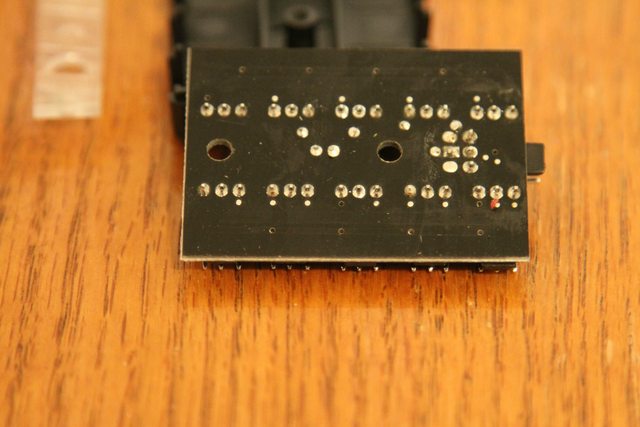
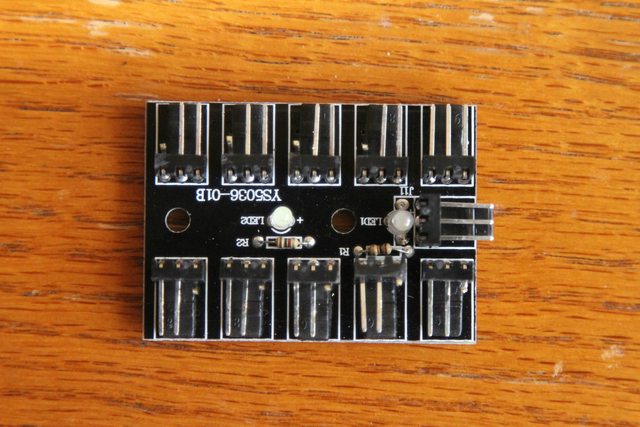
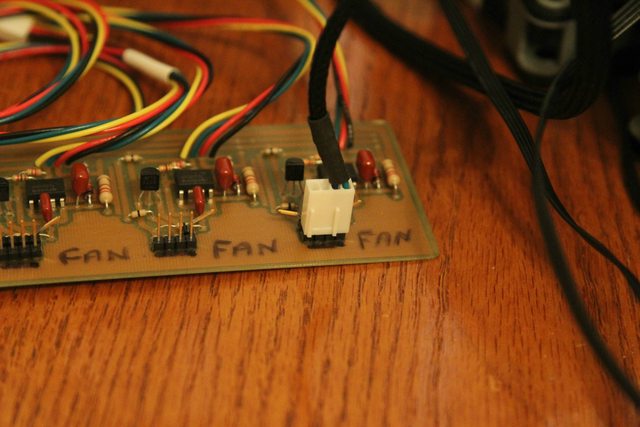
10 channel 3-pin fan hub, each channel capable of supplying upto 3 watts. It comes with all the cables needed as well. So at <$10 currently, this has to be a steal- not really. Thanks to an OCN member, I realized that the rpm (tach) signal wire is split to all 10 ports in this making it useless to use with most fan controllers because the rpm speed inputs from all of the fans will corrupt the signal and the fan speed will not be correctly reported to the controller. Even cheap 3-pin fan splitter cables will only have all three wires going to one of the fan plugs, and just the 12v and ground to the rest. So I decided to open 'er up to see if newer batches had this corrected by any chance.

shGzeSTl.jpg


heYRhWcl.jpg


WR5tRL8l.jpg


Unfortunately not, while faint one can still see the RPM trace going across from channel to channel on the PCB.. Oh well, there was already a solution provided above so I did the same, i.e, cut off the RPM signal prong from 9 of the 10 ports and make sure that single port with the RPM prong is occupied:

3akVmhUl.jpg


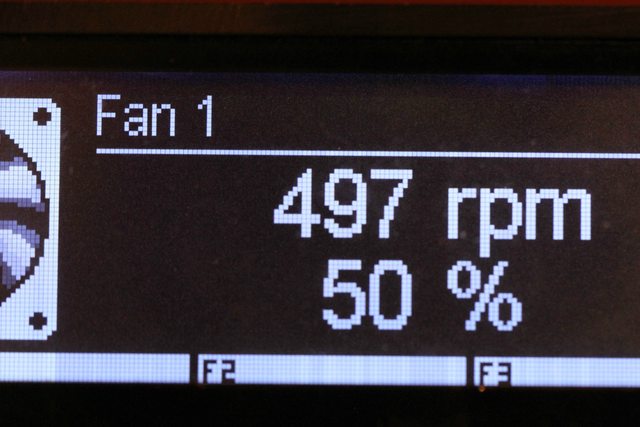
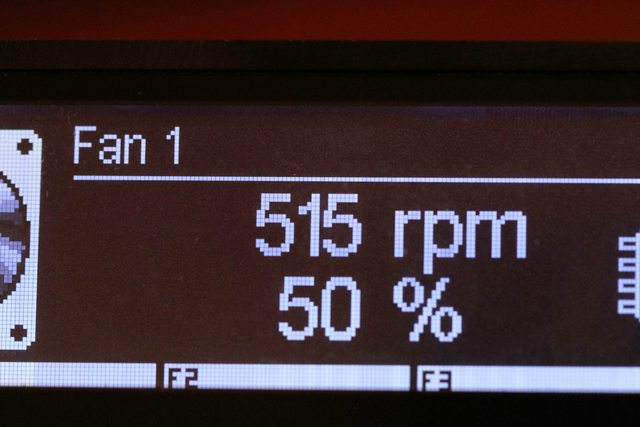
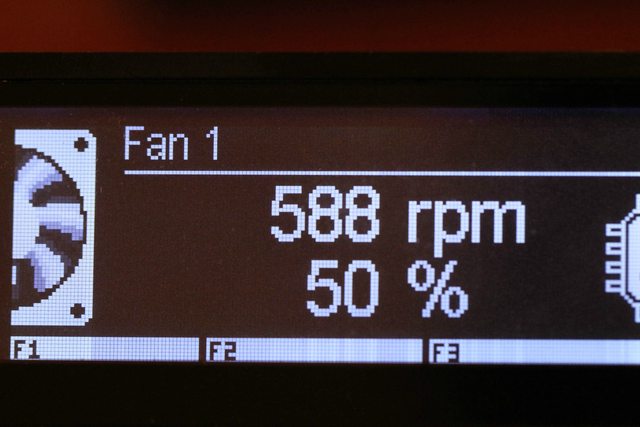
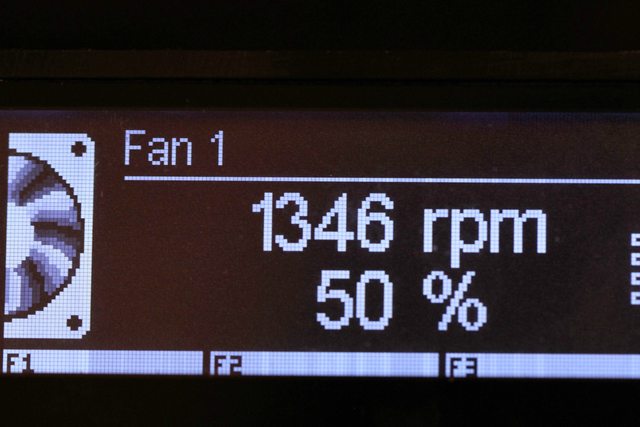
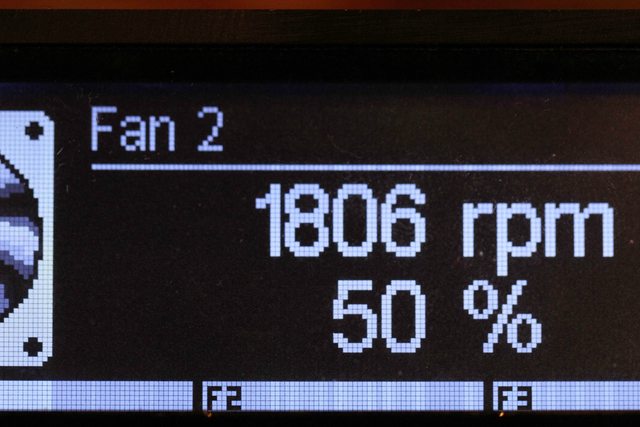
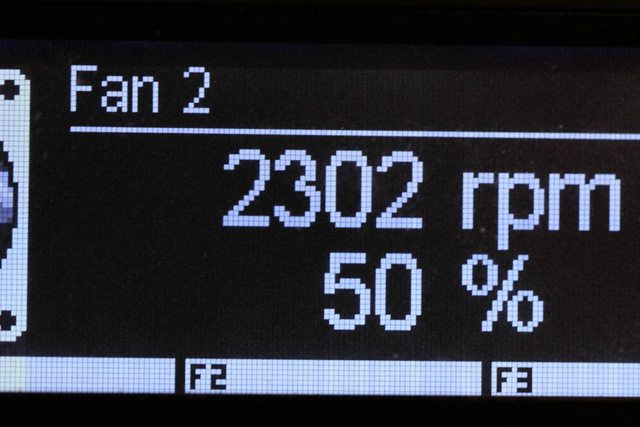
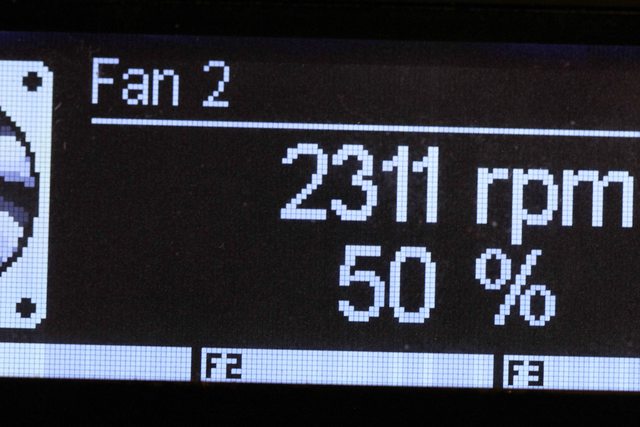
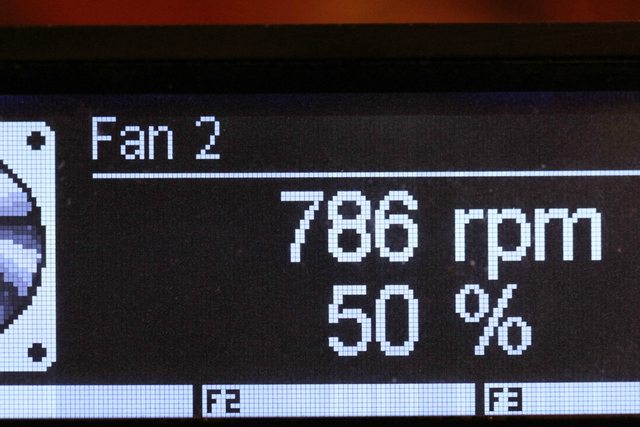
Problem solved, the Aquaero displayed RPMs correctly now. So I now started testing the real issue I had: Corsair's PWM implementation on their SP120 fans. Feel free to skip this section if this is not relevant to you. First up, the SP120 QE

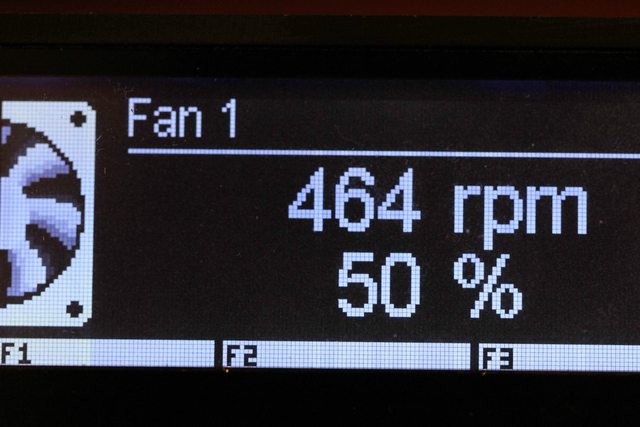
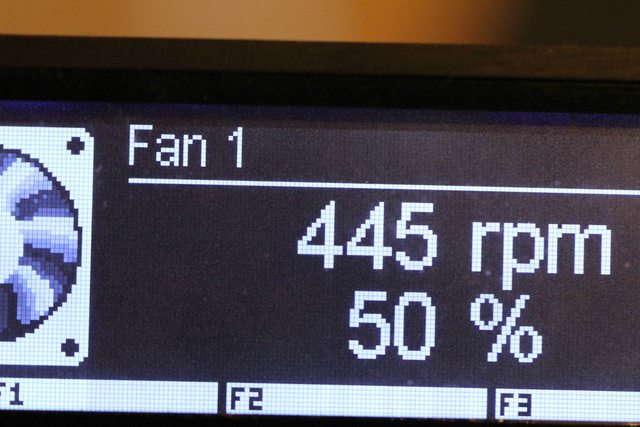
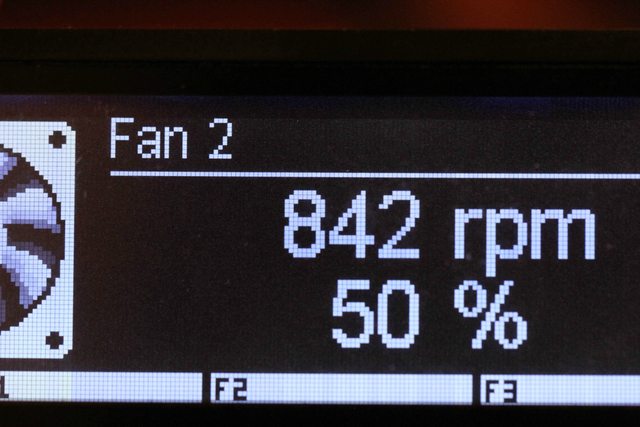
Hooked directly to the Aquaero, at 50% PWM control:

u8syiPzl.jpg


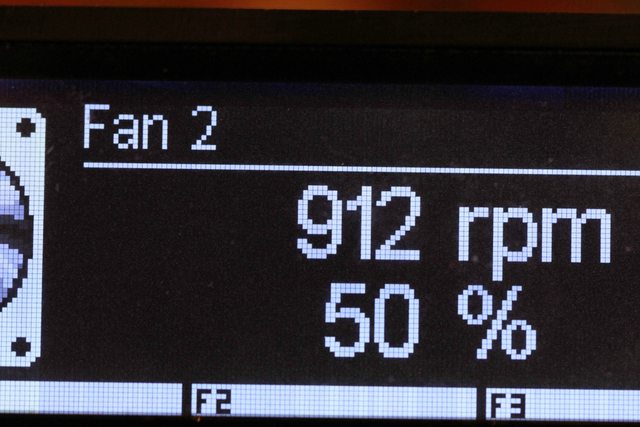
Now connected to Channel 1 of the Swiftech 8 way PWM splitter, which is powered straight from the 1300G2:

jANTs1al.jpg


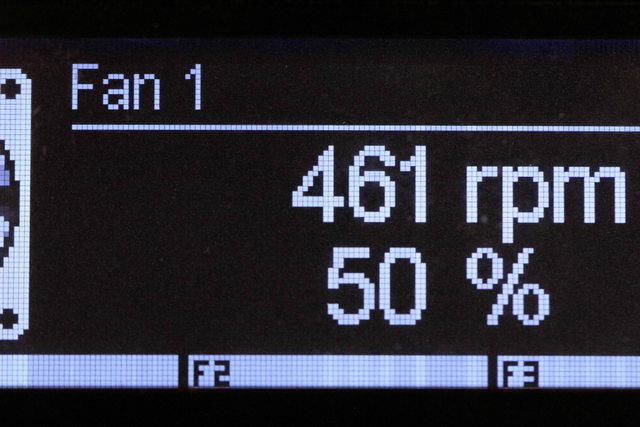
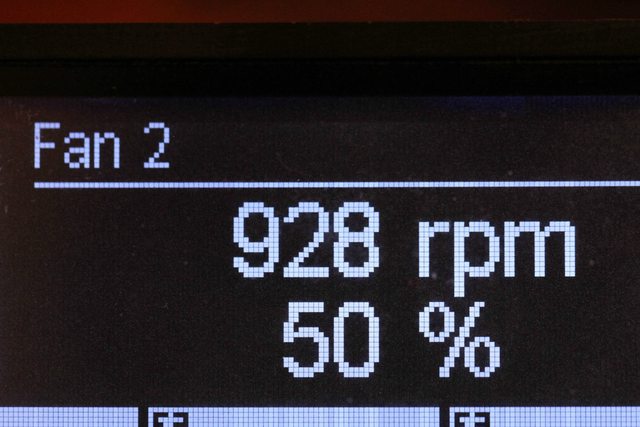
Ok, that's close enough. Let's add in another fan:

TH4OanIl.jpg


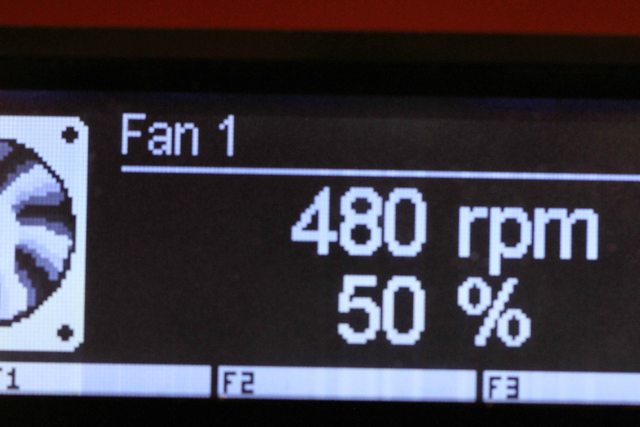
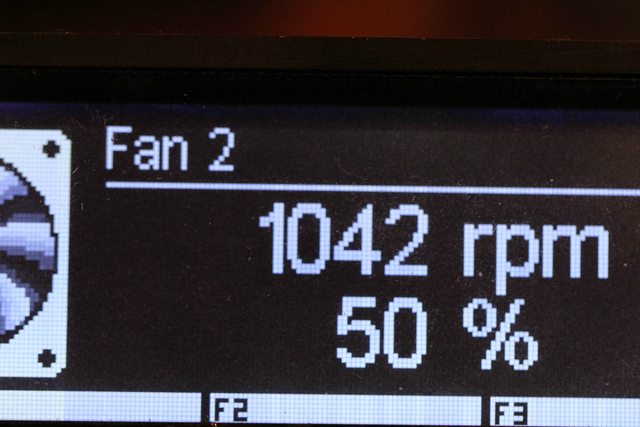
We already start to see the effect of a non-standard PWM implementation. So now with fan 3 added:

8vmnH4el.jpg


Fan 4:

vOnbvJZl.jpg


Fan 5:

rFQtGdHl.jpg


Getting bad now, what about 6 fans on the splitter?

2NIGpQBl.jpg


Ouch! Now adding fan 7:

nPLKSfcl.jpg


Full speed already, no control whatsoever possible. Finally, fan 8:

VpoC5A0l.jpg


Nothing changes as expected. So can the Double D help out? I hooked up the splitter to the adapter and had the passthrough over to the Aquaero.

aECalMol.jpg


Now with all 8 channels filled, and at the same 50% PWM signal:

dJJWfGwl.jpg


Darlene is a magician- or someone with a very good electrical engineering background. Personally I prefer the former. Control is back on, the only change being a lower RPM compared to when a single fan was hooked up directly. I can live with that, I don't imagine having to run full speed anyway. The QEs are pretty quiet (who would have thought!) so let's try out a bigger challenge- the Corsair SP120 HPE fans.

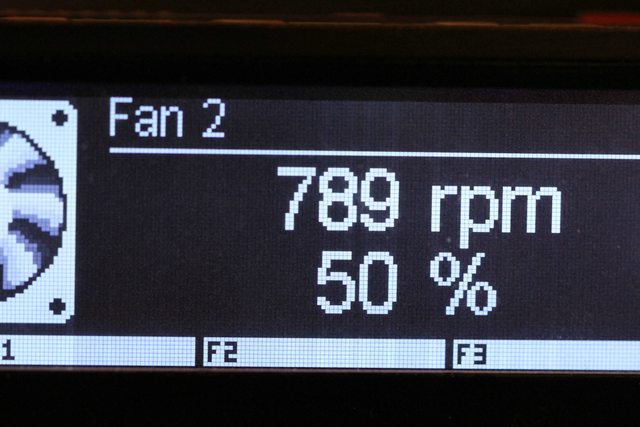
First up, a fan hooked directly to the Aquaero at 50% control:

k0Kw25pl.jpg


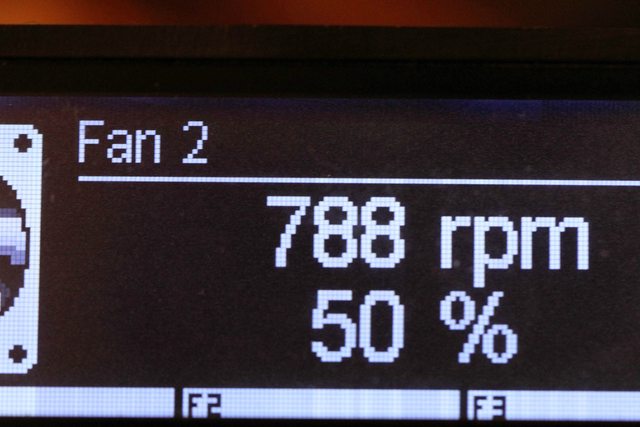
Now the same fan hooked via the Swiftech splitter:

B6Ca8cNl.jpg


Identical for all intents. Let's add fan 2:

N6WEcpbl.jpg


Sigh.. Why did you have to do this, Corsair? Oh that's right- proprietary implementation + making a controller that is the only thing to work with it = Profit :thumbsdow

Fan 3 added:

7qw8gn0l.jpg


Fan 4 added:

lts6JeBl.jpg


Now with fan 5:

Tv7pHBCl.jpg


and the dreaded 6th fan:

boUhAZHl.jpg


As expected, a massive jump with 6 fans on. A few users have reported having no control with 6 fans but I have a wee bit left as was the case with the QE fans. But now with fan 7:

UdEW5CQl.jpg


As before, everything now runs at ~100% speed no matter what. Adding in the final 8th fan does nothing really different:

zqzLmVOl.jpg


Does the 'Dapter help here too?

UWK66fcl.jpg


Yes, it does. As with the previous case, the RPMs are lowered a bit. That isn't an issue for me as I said before but I am curious as to why this is happening. Moving on, I hooked up both splitters to the adapter PCB and then to the AQ6:

OsbT34xl.jpg


No need to repeat the results here, it was the same as before. So I am confident the PCB will perform as intended with all channels occupied. In fact, this is so good that daisychaining also works. I hooked up 15 fans total (8 HPE, 7 QE) to the adapter and then to 1 channel on the AQ6 and it worked great. There is a caveat though- if I hooked up the 8 HPEs to 1 channel on the Swiftech splitter that housed 7 other QE fans, then there was no control available. If I daisychained it so that the QEs were hooked to the splitter that had the HPE fans, it was fine. Another point of curiosity but since I don't have any plans on having these different fans on the same channel, it does not affect me. Hopefully it will help others who want to try this.

Tl,dr.: Darlene's Diva 'Dapter works great. If you have a PWM controller (Newer Aquaero 6 units have this taken care of apparently) and have Corsair's PWM fans, chances are it won't work as expected. This will help.

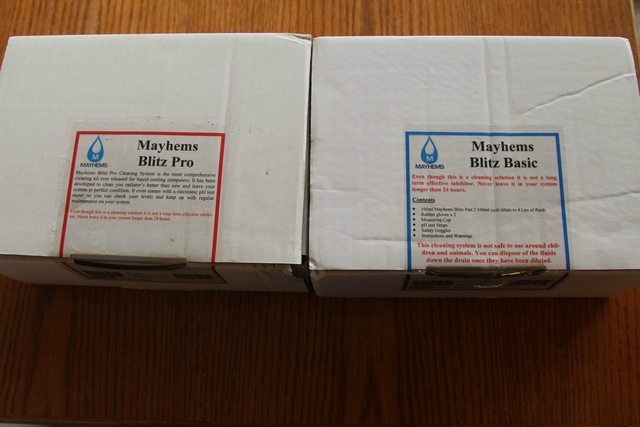
Now to the other international package, Mayhems sent me a Blitz Basic kit for coming in close to winning his contest a few weeks back. I had already purchased a Blitz Pro kit from PPC so here they are together:
3udmWTpl.jpg


Blitz Basic has only his Part 2 solution which is enough for a 4 L effective cleaning solution of a loop. Now if you have rads that you suspect haven't been cleaned well from the factory *cough..Alphacool, Phobya..cough* or have purchased 2nd hand rads which have had dyes/colored coolant run through them, I would recommend using Part 1 on the rads alone. Here is the issue I have: Thanks to US customs, Mick was forced to change the formulation of Part 1 so it only gives 1 L effective as opposed to 2 L everywhere else. The Alphacool Monsta 480 alone consumes over 650 mL filled and I got a Mo.Ra 3 9.140 and Black Ice SR 1 560 that were used by a previous owner which I want to clean up as well. While I am at it, I might as well clean the other rads I have too. So I would imagine needing 3-4 L effective Part 1 (I have numbers for all the rads but that Mo.Ra) which means needing another 2-3 Blitz Pro kits just for more Part 1. I am tempted to just do the Monsta and and SR 1 rads now and have the rest cleaned with a dilute phosphoric acid solution but if anyone has suggestions otherwise, I am all ears.
 
lets talk real cfms and static pressure for a sec here ... http://koolance.com/fan-120x38mm-184cfm

im sure 184 cfm @ 20.4mm h20 is pretty impressive.. also should be good for a rad. dont think you would need to go push pull even lol.
 
well lets all go out and buy those then lol. cant have enough cfm and static pressure..

also not to hijack your thread so if you could find the results for the koolance ones id be happy if you pm me the link.

edit

also id probably just throw a bunch of bycarbonate of soda in the rads then fill it up with some vinegar. then step well back. and rinse it through with some more vinegar after. aslong as the pipes are copper that should clean them pretty good.
just run some distilled water through them after

oh and p.s

the fans get faster the more you add because effective resistance is reduced..if you take 4 fans. and wire 2 up in sereis and then the other 2 to those parallel the resistance should be the same as a single fan. so the speeds would be the same as a single fan.
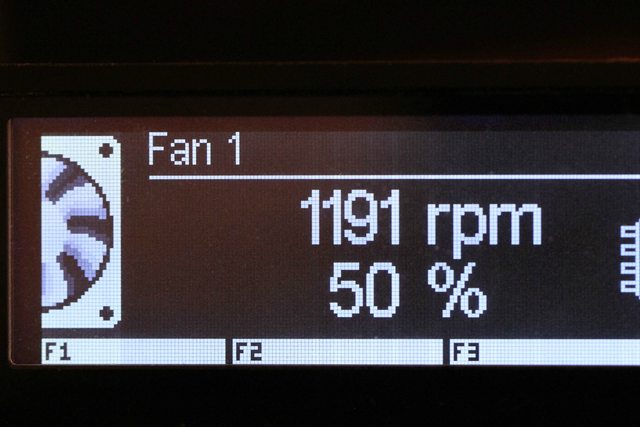
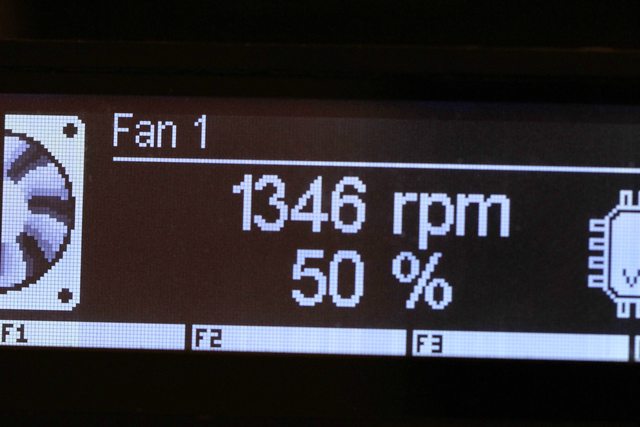
(the 1st 2 paralel 1/2 the resistance the second two double it and 2x 1/2 = 1 )
if that makes sense. its a bit more complicated than that really but its ohms law..

(12v+ goes to fan 1 input live, fan1 output ground goes to fan 2 input live, fan 2 output ground goes to 12v- .. = 2 fans running at 6v)
or.
(1x 12v line + fan 1 input live goes to 12v+ fan 2 input live goes to 12v+, fan 1 out put ground goes to 12v-, fan 2 output ground goes to 12v-... = 2 fans running at 12v but at 1/2 the resistance compared to only 1 fan..)

so really you can wire up fans in a combination of series and paralell and get the effect you want with out a fancy controller. controllers for the most part just add the needed resistance to balance out the diferences. (like a crossover in a speaker cabinet without having to filter frequency)
 
Last edited:
well lets all go out and buy those then lol. cant have enough cfm and static pressure

I did see a couple of those at my university in a server rack. Way too loud for my taste. Here's the scary part though, there is another fan that consumes more power: http://www.newegg.com/Product/Product.aspx?Item=N82E16835213008

Edit: Just saw you had added more above. Ya, I will likely be going bicarb/vinegar for the other rads. Also, the part on RPM increasing when adding more fans doesn't make sense to me. PWM fans are meant to run at 12V always and the only reason this is happening here is because Corsair's PWM implementation has a longer down time between the pulses. A pull-up mod, as in the PCB above, helps take care of that. This problem doesn't happen with standard PWM fans/pumps or even 3-pin fans if used with a proper splitter (not the NZXT Grid lol).
 
Last edited:
That digital display is pretty sweet.
Surprised they thought running a bunch of tachometer sensors would work for a 1 to 10 splitter hub.. :p
 
Last edited:
DAT case and rads......... :twitch:
me like big :D, looks great so far and looking forward for updates :toast:
 
That digital display is pretty sweet.
Surprised they thought running a bunch of tachometer sensors would work for a 1 to 10 splitter hub.. :p

The Aquaero has a configurable display but honestly once you set up the software, it can be let alone to do it's job. It can handle alarms, emergency pc shutdowns, flow meters, temperature sensors, PWM/Voltage control on all channels and more.

Unfortunately most splitters do this, including the ModMyToyz PCBs.
 
Another update:


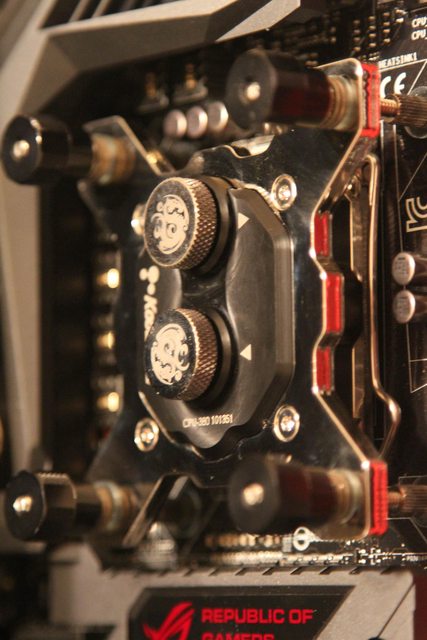
There was always doubt of the best orientation of a CPU block, especially in the case of the Koolance 380i where Stren and a few other reviewers noted a difference of 2-3 ÂşC from orientation. Now one can attribute this to a lot of things but I wanted to be sure. I had the block oriented as shown below assuming that was the way to go:

4D5pAlRl.jpg


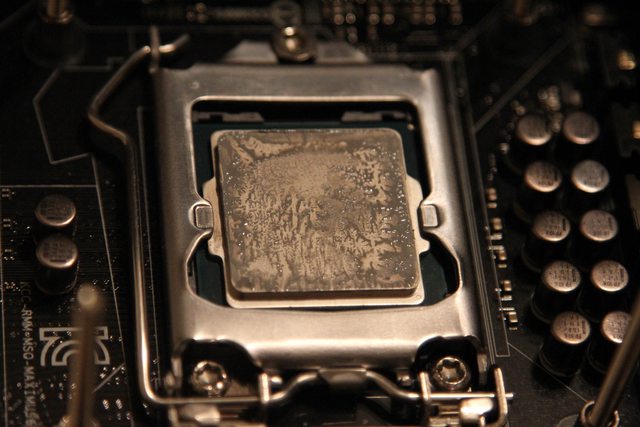
Since I wanted to replace the Arctic Cooling MX-4 paste on there with Thermene anyway, I called up Koolance and got the ok to open up the block without voiding any warranty.

MaQNJtol.jpg


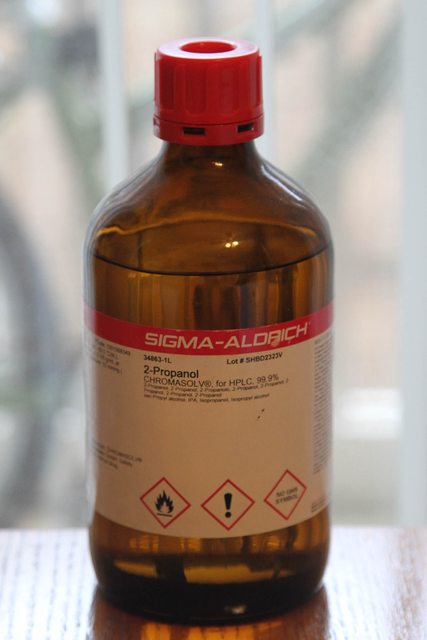
Not too bad a spread, but let's get rid of it. One of the benefits of having access to chemicals is this:

PfeuJuKl.jpg


eazAKm4l.jpg


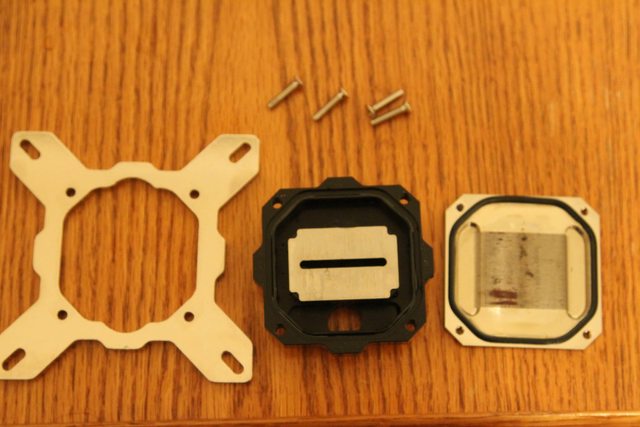
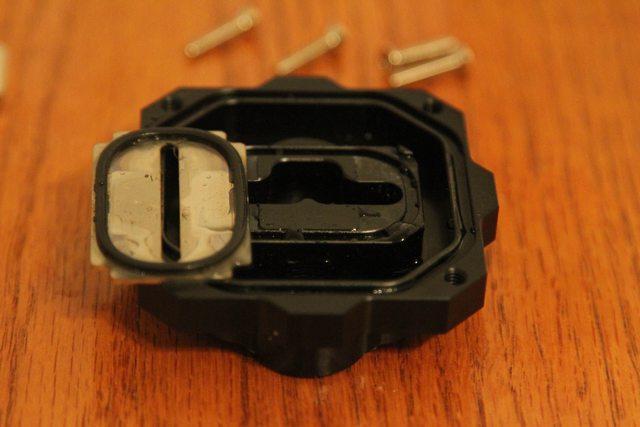
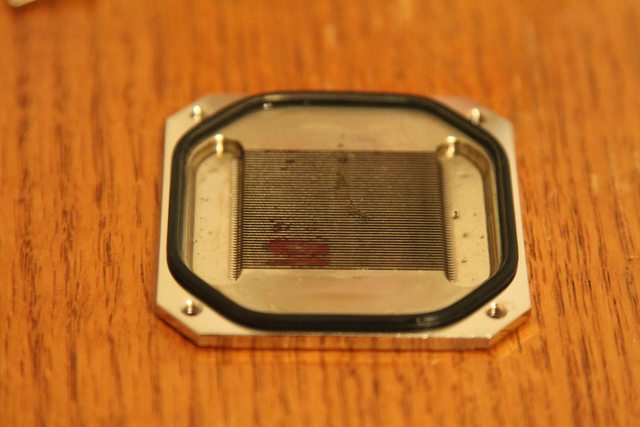
That's much better. Now let's take a look inside that 380i:

hETjPsjl.jpg


jvtxuMll.jpg


FtQD6Twl.jpg


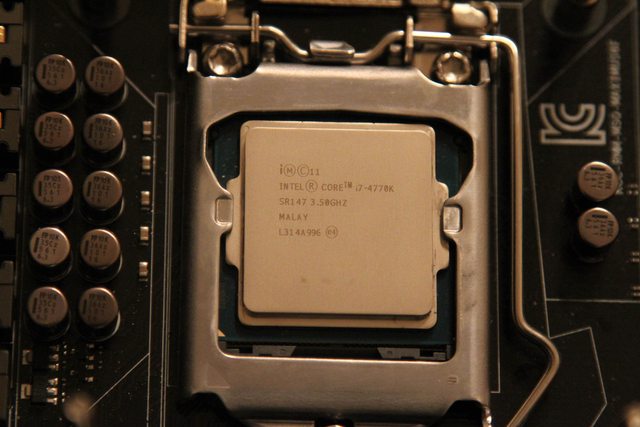
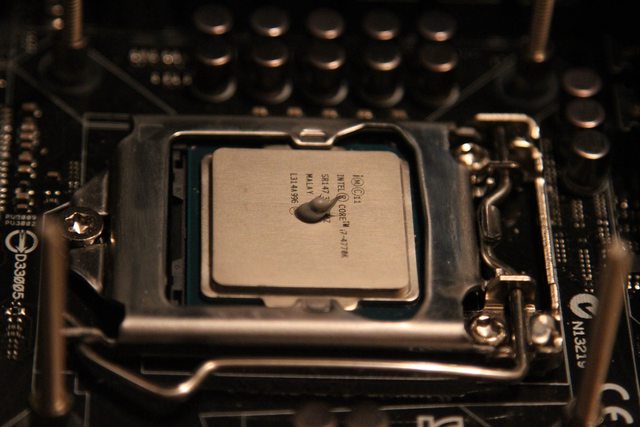
This purple stuff along with the left over coolant/dirt was quickly taken care of. Some of that purple stuff (anyone have any idea what it is?) was still left behind despite my best efforts but not enough to worry me unless someone can confirm that as possible corrosion. But seeing how the jetplate was oriented, and knowing that the 4770k has the die oriented vertically, I knew I had the orientation wrong previously. Now let's have some Thermene on:

5D75KfQl.jpg


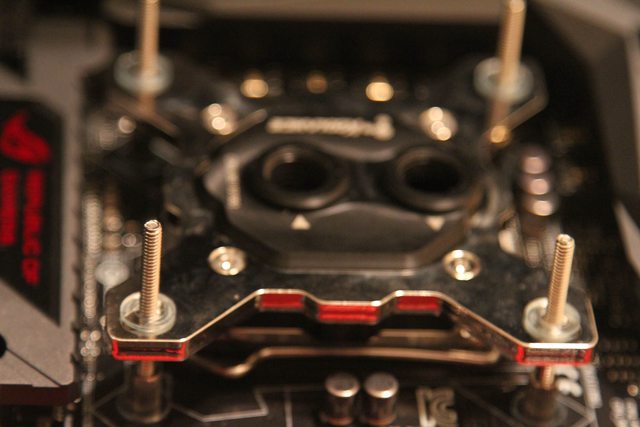
Assembling the block is way easier with the backplate already on:

ySVCMADl.jpg


MlxoIu1l.jpg


CfaLunJl.jpg


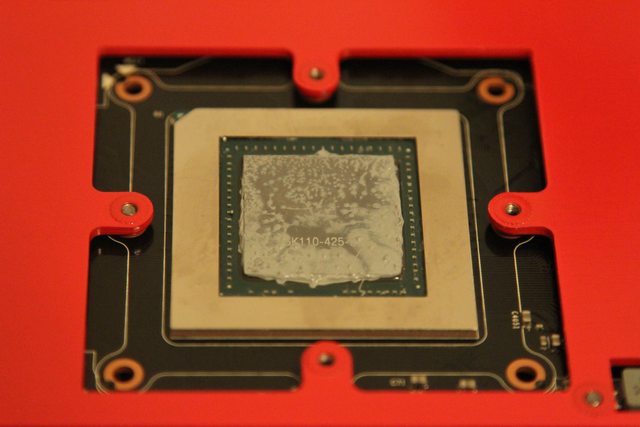
With the CPU taken care of, I now had one KPE left to put the water block on. Removing the stock heatsink is very easy, and then immediately we get to see the factory TIM application:

8eOrGQql.jpg


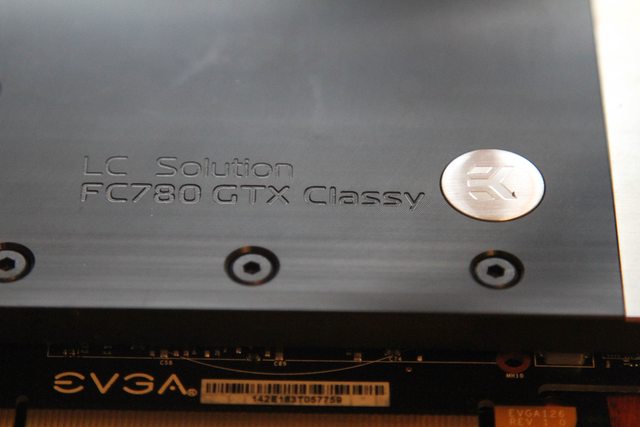
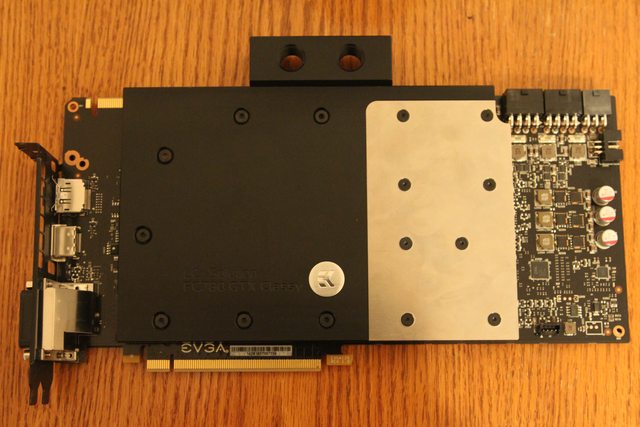
Not as bad as was the case with my Asus 290x but definitely can be better. Got it cleaned up, and then it was time to introduce it to the EK FC 780 GTX Classy (Shouldn't it have been the EK FC GTX 780 Classy? Oh well!):

9TUerMPl.jpg


qhT7AnAl.jpg


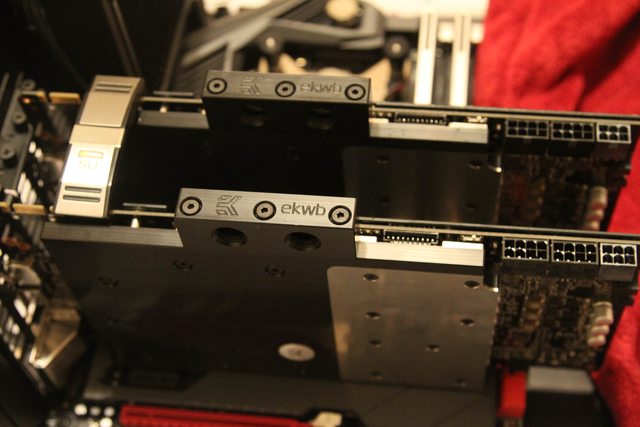
All done, and with the stock backplate on again it was time to put it back into place for now:

Zu2EDvul.jpg


It will come back out soon since I will be testing those cards individually first before putting them together. But for now, it is ok. Meanwhile, a package arrived from Stren of XtremeRigs.net:

4Zsl9All.jpg


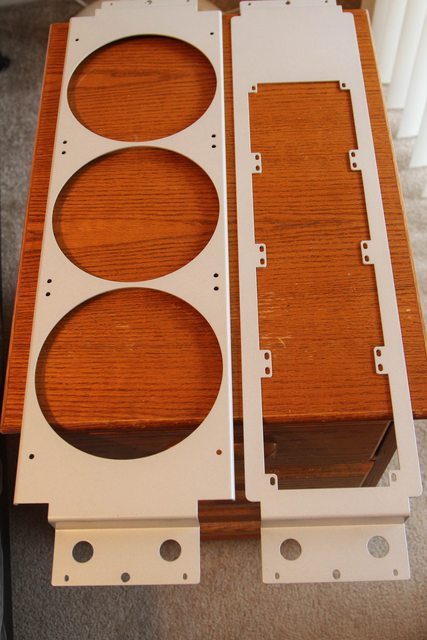
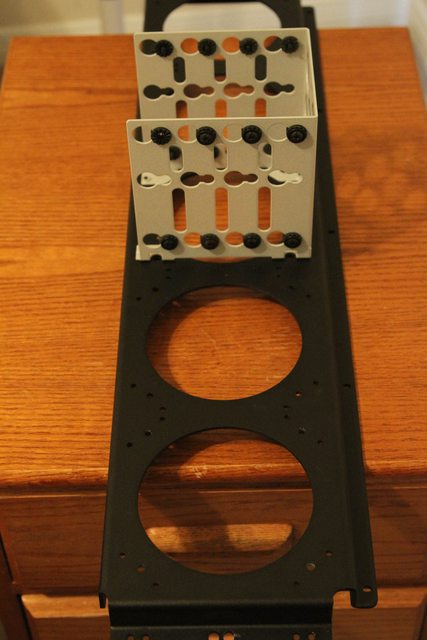
Two pieces of Project Thief! A 480mm drop-in rad mount that will be used on the XSPC AX480 and a 180.3 drop-in rad mount just in case I decided to expand side 2 with GPUs. I also bought this off him:

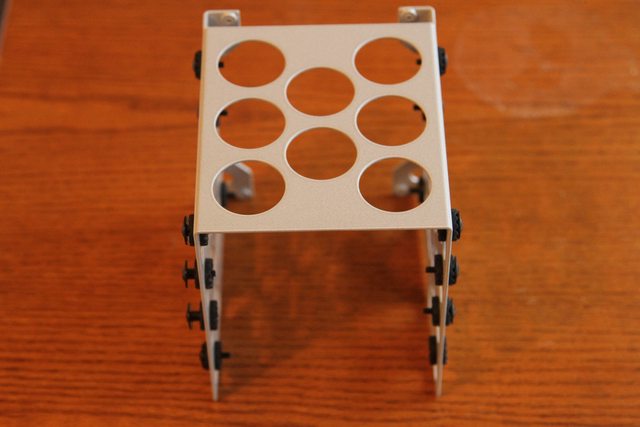
Llume6Ll.jpg


By itself, it makes no sense. But combine it with the massive TX10-D HDD super mount, and things get clearer:

cLi3QLMl.jpg


So that's one cage taken care of, and there is still enough space for 4 more such cages if need be. That's it for now, I will install in some of the drives in this cage soon and put the assembly in place. I really need to get the rads cleaned up too. Hopefully more TX10 parts are on the way to me from another source!
 
That purple stuff is strange? Maybe a machining remnant or watercooling dye that gelled up.
 
  • Like
Reactions: VSG
Not from my end though, I only had distilled water and Primochill Liquid Utopia.
 
A word from my sponsor:
Our eBay store will be discounted entirely tomorrow and tomorrow only - EVERY item will be marked 5% off. We are also offering free shipping on EVERY domestic order over $150. Video cards, cases, power supplies, water cooling parts - EVERYTHING will be on sale. Sale starts tonight at midnight. http://stores.ebay.com/HELLFIRE-TOYZ-LLC/i.html

His usual prices are not inflated so this would be a good deal. Definitely check it out!
 
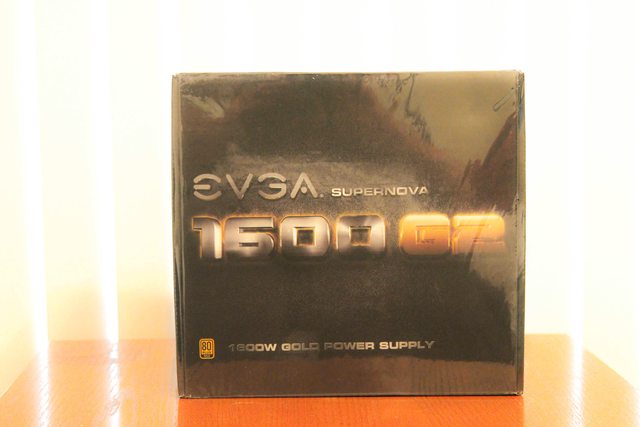
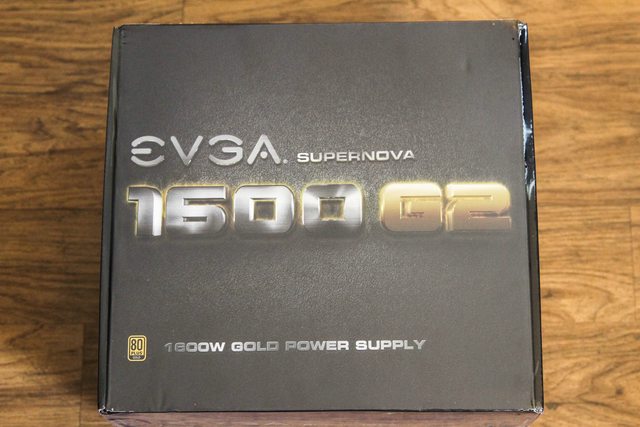
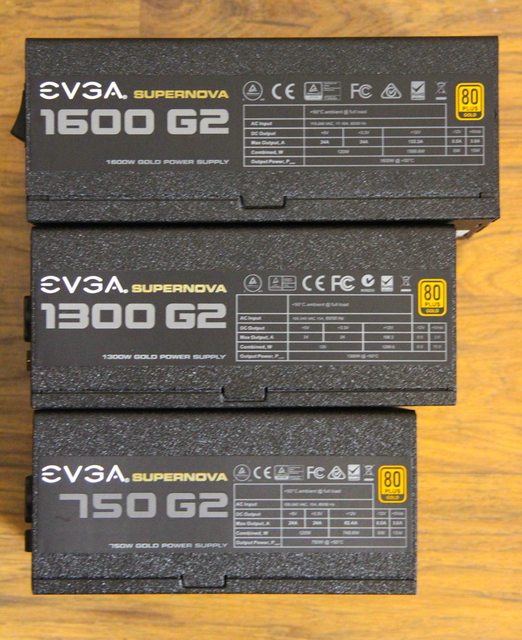
So I previously unboxed the EVGA 1300G2 but as fate would have it, I got this on Tuesday:

i6I2fa3l.jpg


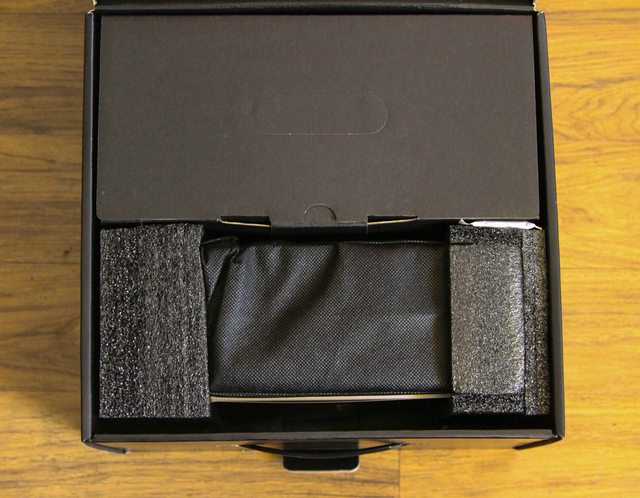
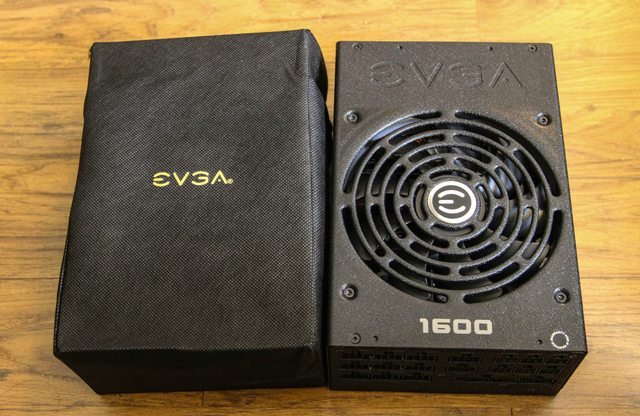
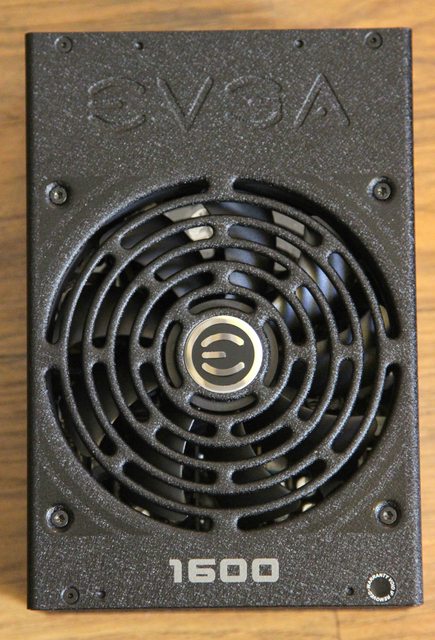
Ok that wasn't exactly the halo effect I wanted so let's get right to opening up the EVGA 1600G2:

gE4bHeFl.jpg


A1Vuzcsl.jpg


sGKOv2il.jpg


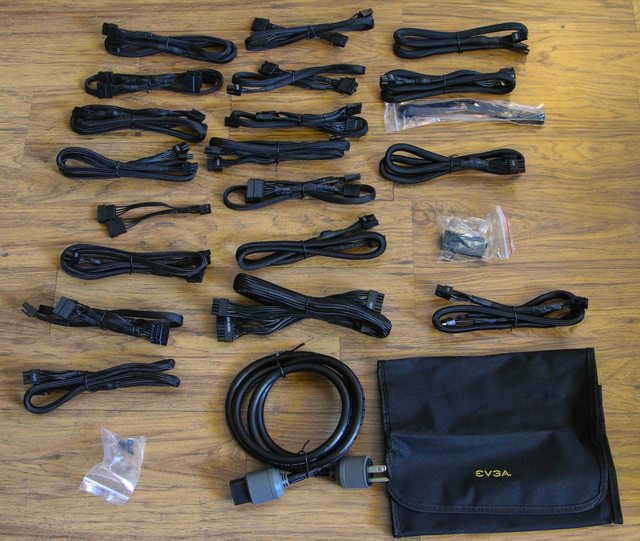
Look at all these cables:

lj16Ojdl.jpg


YdXQ6swl.jpg


1bw6Gxtl.jpg


jOYhe28l.jpg


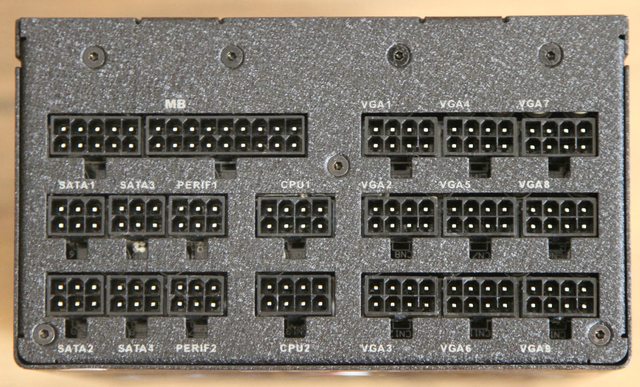
That's enough PCI-E power for 3 MSI 290x Lightnings/EVGA 780Ti Kingpins without needing a daisy chained cable
biggrin.png


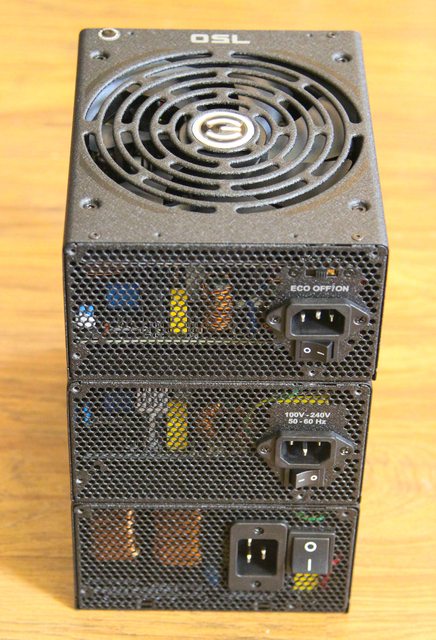
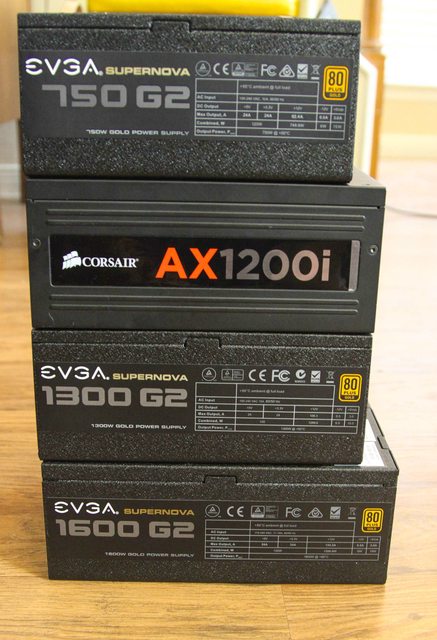
Oh, I forgot to mention I also got a 750G2 for Side 2. So here's a EVGA fanboy shot:

vKbma2tl.jpg


I5K86l1l.jpg


But wait, there's MORE:

DULRUodl.jpg


ezBzFQ6l.jpg


H2Vb6kKl.jpg


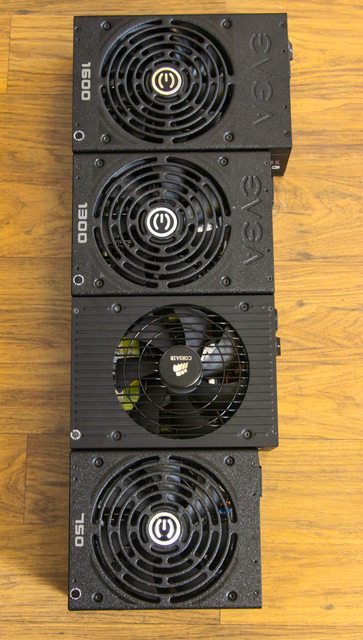
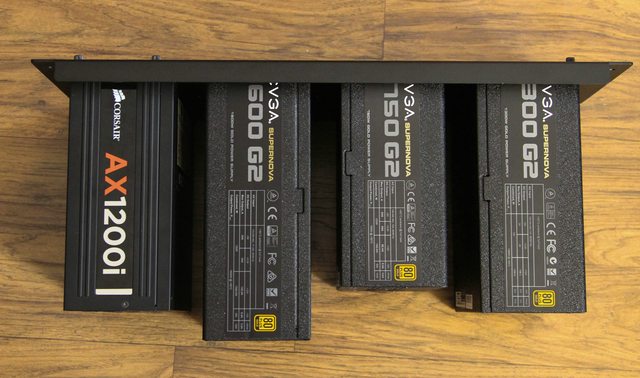
So how do they look all mounted on the PSU mount?

JobuSbal.jpg


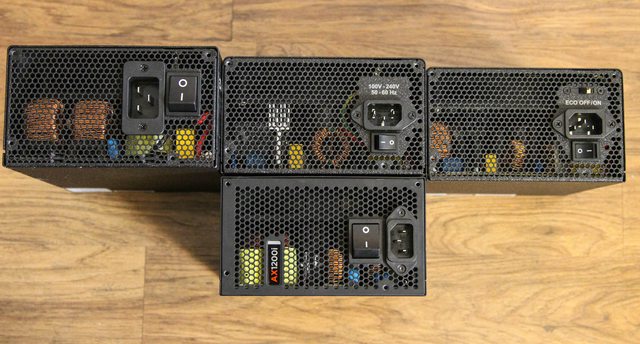
~5000 W of PSU in there, enough to burn down any circuit I have in this place. The ax1200i is pretty much spoken for already but the 1300G2 needs a new owner who will care for it and keep it longer than the ~6-7 days it has been opened
sad.png


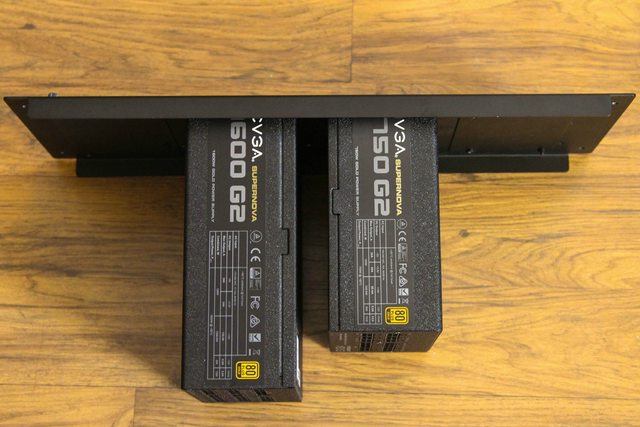
Anyway, so here's the final PSU configuration:

4p4jIHZl.jpg


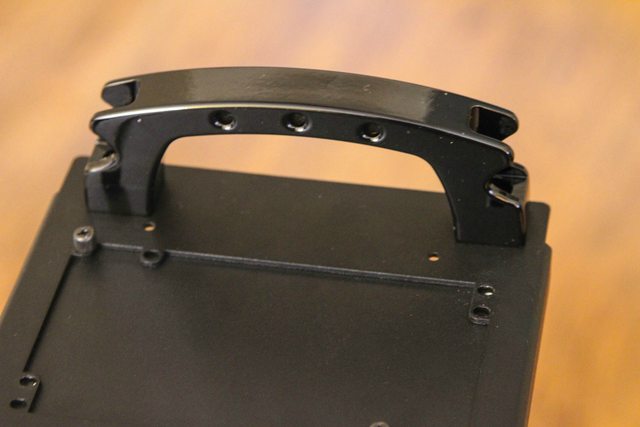
The EVGA 1600G2 for Side 1 and EVGA 750G2 for Side 2. I got these both at a tremendous price so no complaints. But not everything worked out as planned, I had a set of Lamptron handles that I was hoping to install on the PSU mount to make it "drop-in" style too. Unfortunately the only place I can have them without interfering on the 4 mounting locations are the extreme ends and the handle holes match exactly the screw in locations of the mount to the case:

wv3Cqcvl.jpg


So there is no way I can think of making this a drop-in mount unless I am missing something obvious. Oh well! Next up, this goes in the case and I see if the stock cables are long enough. Side 2 has the same motherboard that I currently have but for Side 1 I have to assume a similar layout and see.
 
Imaginary brownie points for those who can tell which one is which:

The one on the right is the old one. Where can I exchange my points? :toast:

You had me drooling at the PSU group shot.... :roll:
 
Last edited:
The one on the right is the old one. Where can I exchange my points? :toast:

You had me drooling at the PSU group shot.... :roll:

You are right, please go to Mt. Gox for some imaginary bitcoins :D

Another small update, this time of the good kind: UPS man came by 2 days ago. Here is what I got:


BcES2DQl.jpg


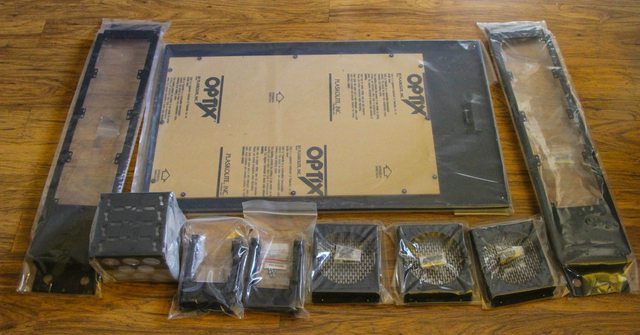
Definitely need to gift the UPS man come Christmas time. Above is 1 XXL window door for Side 1 (because XL just isn't enough to show off 2 FrozenQ reservoirs and the respective loops), 2 480mm rad mounts and a few flexbay/HDD mounts thrown in. Now I have enough for all my rads as well as enough for an additional 480mm and 540mm (180x3) rad if need be. Come to think of it, I got the space for those two as well. Hmmm....

Now I need to clean up the rads with the Mayhems cleaning kits and my own dilute phosphoric acid solution and start putting them all in. I have also decided to go hardline in the motherboard area, at least for Side 1. Copper or acrylic is the question now. What do you guys think?

Also, the build log is now as updated as anywhere else. Hopefully this wasn't a rush since now on it will be slower :)
 
Back
Top