 1
1
Aerocool AirHawk Duo ARGB Review
A Closer Look - Inside »A Closer Look - Outside

Out of the box, the chassis looks pretty darn cool. It is wider than classic ATX cases, and Aerocool has done well by going with the steel top cover instead of adding a plastic element here. You can clearly see the two large fans through the front grill, which will certainly result in some nice airflow. The only gripe I have is the plastic itself, which is quite soft. Pushing down on it with my finger, it gives way. Having thicker layers of plastic would instantly solve this issue and really help give the chassis a higher quality feel.


Looking straight at the front, the AirHawk manages to score both visually and in terms of quality with a very cool-looking mesh design that is absolutely refreshing to see. That carbon weave visual on the cover gives the chassis another visual design element that fits quite nicely. You may pull off the entire cover to reveal the two 180 mm LED fans, clearly the biggest functional selling point of the enclosure. In the rear, things look quite traditional for a modern mid-tower chassis.

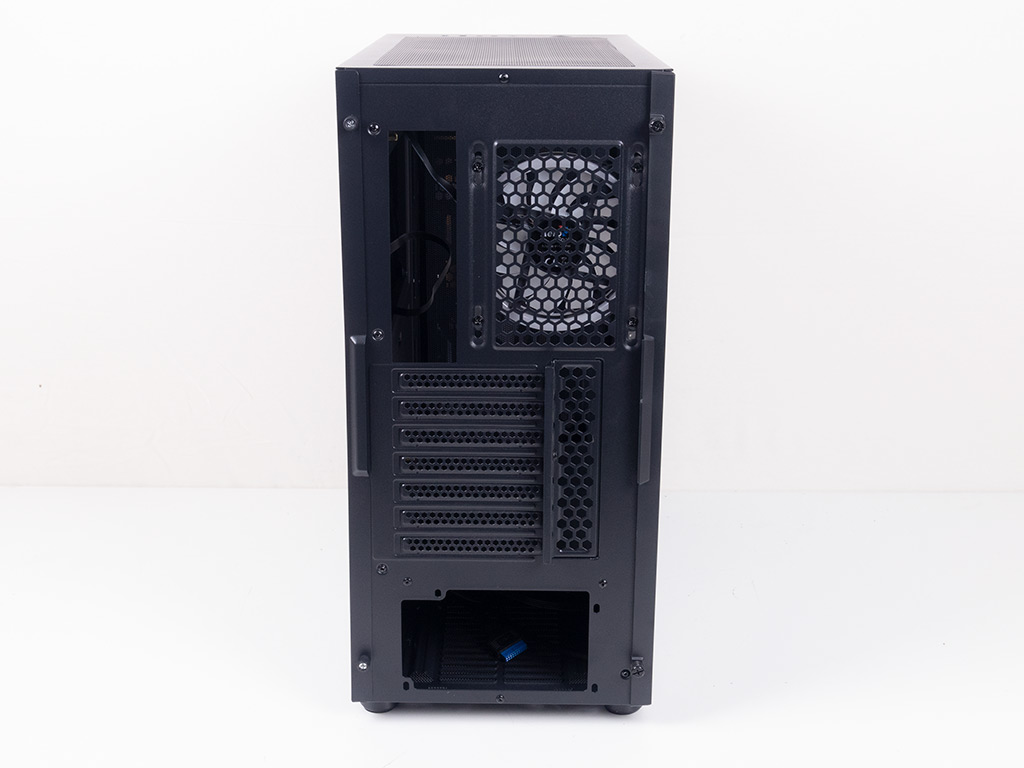
The main side panel of the AirHawk Duo ARGB consists of a slightly tinted, tempered glass window that is held in place with two plastic rails, so you won't see any unsightly screws sticking out of them. While this is really nice, I would have loved to see a more subtle implementation as other brands manage to frame the glass with a black edge and then stick metal edges on these from the inside, which keeps the glass panel completely clean. The opposite side of the chassis consists of a solid steel panel with two thumb screws holding it in place.


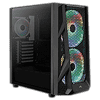
Taking a closer look at the rear of the AirHawk Duo ARGB, there is only a single set of mounting holes for the PSU because it is always meant to face downward. Above that are the seven motherboard expansion slots with break-out instead of reusable covers. While Aerocool includes a single such extra cover, it would have been much better to have all seven or at least two such covers as part of this case. In the very top is another fan set to push hot air out of the back of the chassis. This one is also equipped with ARGB LEDs, which should make for a well-lit chassis interior overall.


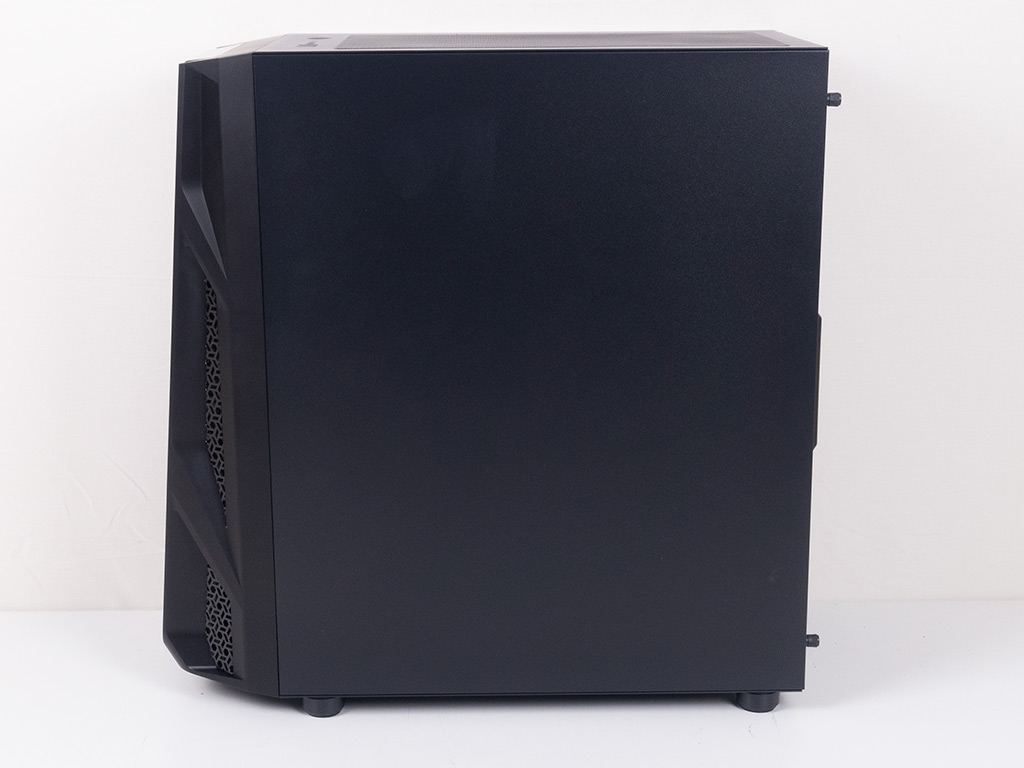
The top can hold two 120 or 140 mm fans and has a large magnetic dust filter. With the fan-mounting positions offset, you should easily be able to install up to a 280 mm radiator as well. In the top, you will also find the usual set of I/O consisting of two USB 3.0, a pair of audio plugs, and a power button. There is a reset button, but it will be used to toggle through the RGB lighting of the chassis if you opt to skip the motherboard control.
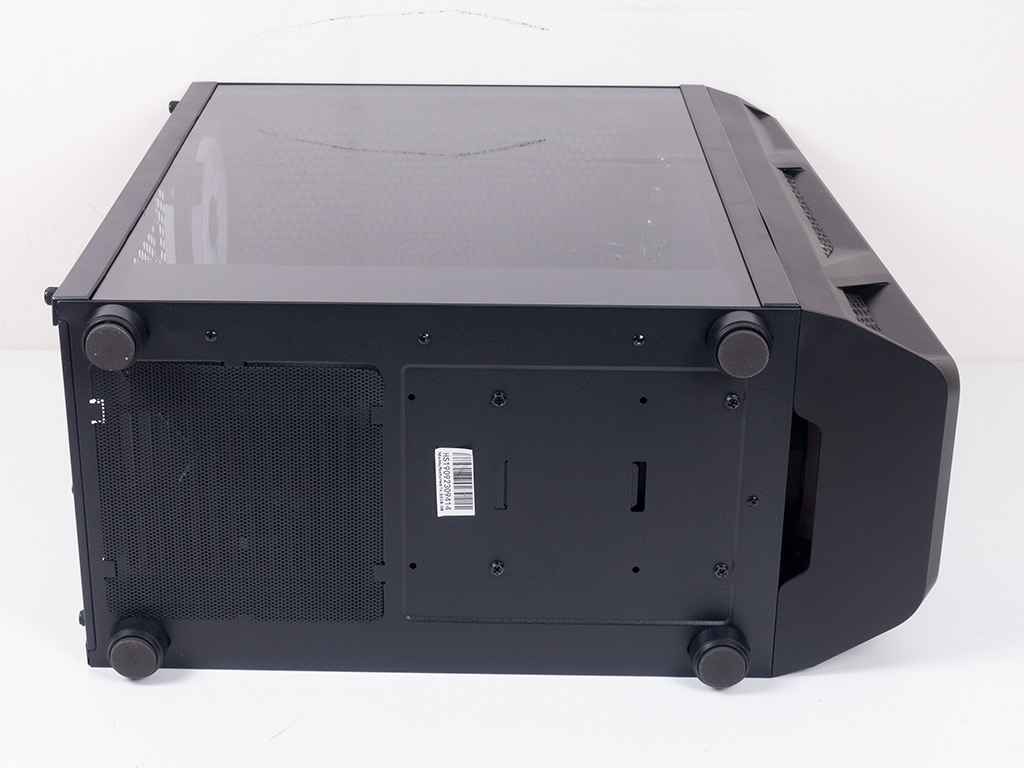
A basic metal mesh dust filter on the underside is protecting the power supply. To reach it, you have to tip over the chassis. We would have loved one that can be pulled out the back of the chassis instead.
Apr 18th, 2024 05:10 EDT
change timezone
Latest GPU Drivers
New Forum Posts
- Will a RTX 4070 TI super bottleneck a Ryzen 9 7950X3D? (30)
- Which air cooler for a ryzen 9 5900x (153)
- Realtek Modded Audio Driver for Windows 10/11 - Only for HDAUDIO (5676)
- Post your JetStream 2 speeds! (140)
- The TPU UK Clubhouse (24725)
- Unlocked Realtek HD Audio Drivers for Windows 11 (Dolby Digital Live/DTS Interactive) (150)
- Sold my a working PSU that I have been using, but buyer says it sparked at the outlet when he plugged it in and asking for a possible refund (9)
- Gigabyte gpu model differences? (30)
- Identify my GPU - RX 570 8GB (or what?) (1)
- FINAL FANTASY XIV: Dawntrail Official Benchmark (47)
Popular Reviews
- Horizon Forbidden West Performance Benchmark Review - 30 GPUs Tested
- PowerColor Radeon RX 7900 GRE Hellhound Review
- ASUS GeForce RTX 4090 Matrix Platinum Review - The RTX 4090 Ti
- Fractal Design Terra Review
- Corsair 2000D Airflow Review
- Minisforum EliteMini UM780 XTX (AMD Ryzen 7 7840HS) Review
- Creative Pebble X Plus Review
- FiiO KB3 HiFi Mechanical Keyboard Review - Integrated DAC/Amp!
- ASUS GeForce RTX 4090 STRIX OC Review
- NVIDIA GeForce RTX 4090 Founders Edition Review - Impressive Performance
Controversial News Posts
- Sony PlayStation 5 Pro Specifications Confirmed, Console Arrives Before Holidays (106)
- NVIDIA Points Intel Raptor Lake CPU Users to Get Help from Intel Amid System Instability Issues (102)
- US Government Wants Nuclear Plants to Offload AI Data Center Expansion (98)
- Windows 10 Security Updates to Cost $61 After 2025, $427 by 2028 (82)
- Developers of Outpost Infinity Siege Recommend Underclocking i9-13900K and i9-14900K for Stability on Machines with RTX 4090 (82)
- TechPowerUp Hiring: Reviewers Wanted for Motherboards, Laptops, Gaming Handhelds and Prebuilt Desktops (71)
- Intel Realizes the Only Way to Save x86 is to Democratize it, Reopens x86 IP Licensing (70)
- AMD Zen 5 Execution Engine Leaked, Features True 512-bit FPU (63)