 1
1
Aerocool AirHawk Duo ARGB Review
Temperature & Noise Testing »Test System
| System Parts for Case Reviews | |
|---|---|
| Processor: | Intel Core i5-9600K |
| Motherboards: | ATX: MSI Z390 GAMING EDGE AC MATX: Z370M GAMING EDGE AC Mini-ITX: MSI Z370I GAMING EDGE AC Provided by: MSI |
| Graphics Card: | Long: Palit GeForce RTX 2080 Gaming Pro OC Short: EVGA GTX 1650 SC Ultra Black 4 GB |
| Memory: | 16 GB XPG GAMMIX D30 DDR4 2666 MHz CL16-18-18 1.20 V 16 GB XPG SPECTRIX D60G DDR4 3000 MHz CL16-18-18 1.35 V Provided by: ADATA |
| HDD: | Western Digital 320 GB 7200 RPM |
| SSD: | ADATA XPG SX850 256 GB ADATA Ultimate SU630 240 GB ADATA Ultimate SU750 256 GB ADATA SX6000 Pro M.2 256 GB ADATA GAMMIX S11 Pro M.2 256 GB ADATA SPECTRIX S40G M.2 256 GB Provided by: ADATA |
| Power Supply: | Fractal Design ION+ 750W 80 Plus Platinum |
| Cooling: | be quiet! Dark Rock 4 be quiet! Dark Rock Slim be quiet! Shadow Rock LP Provided by: be quiet! |
Assembly
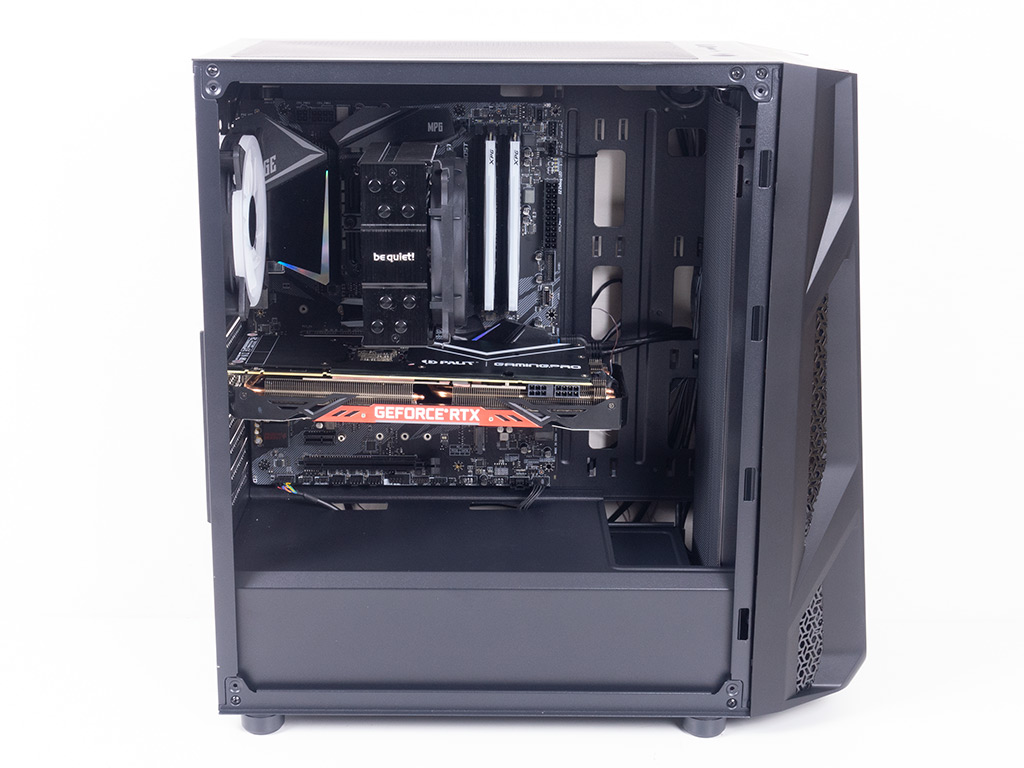
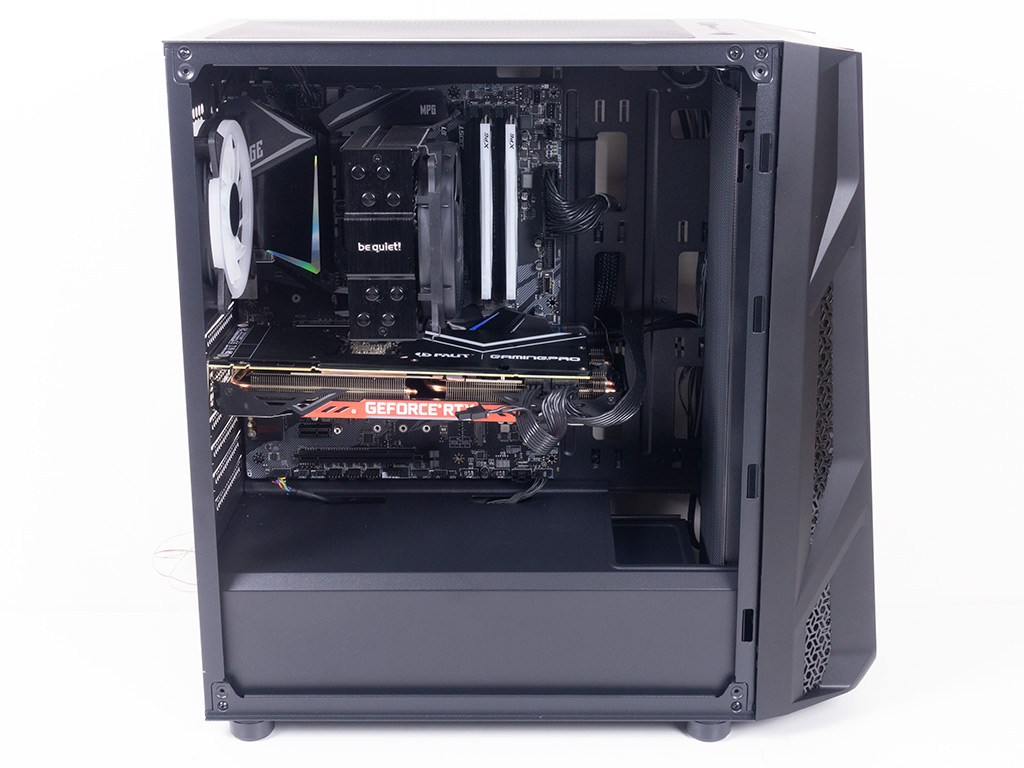
Installing a motherboard is done by traditional means, with spacers and screws. All the openings are very nicely aligned, so you should be able to keep things clean within the AirHawk Duo ARGB. On top of that, users installing an E-ATX board will still have plenty of cable-routing possibilities as well.
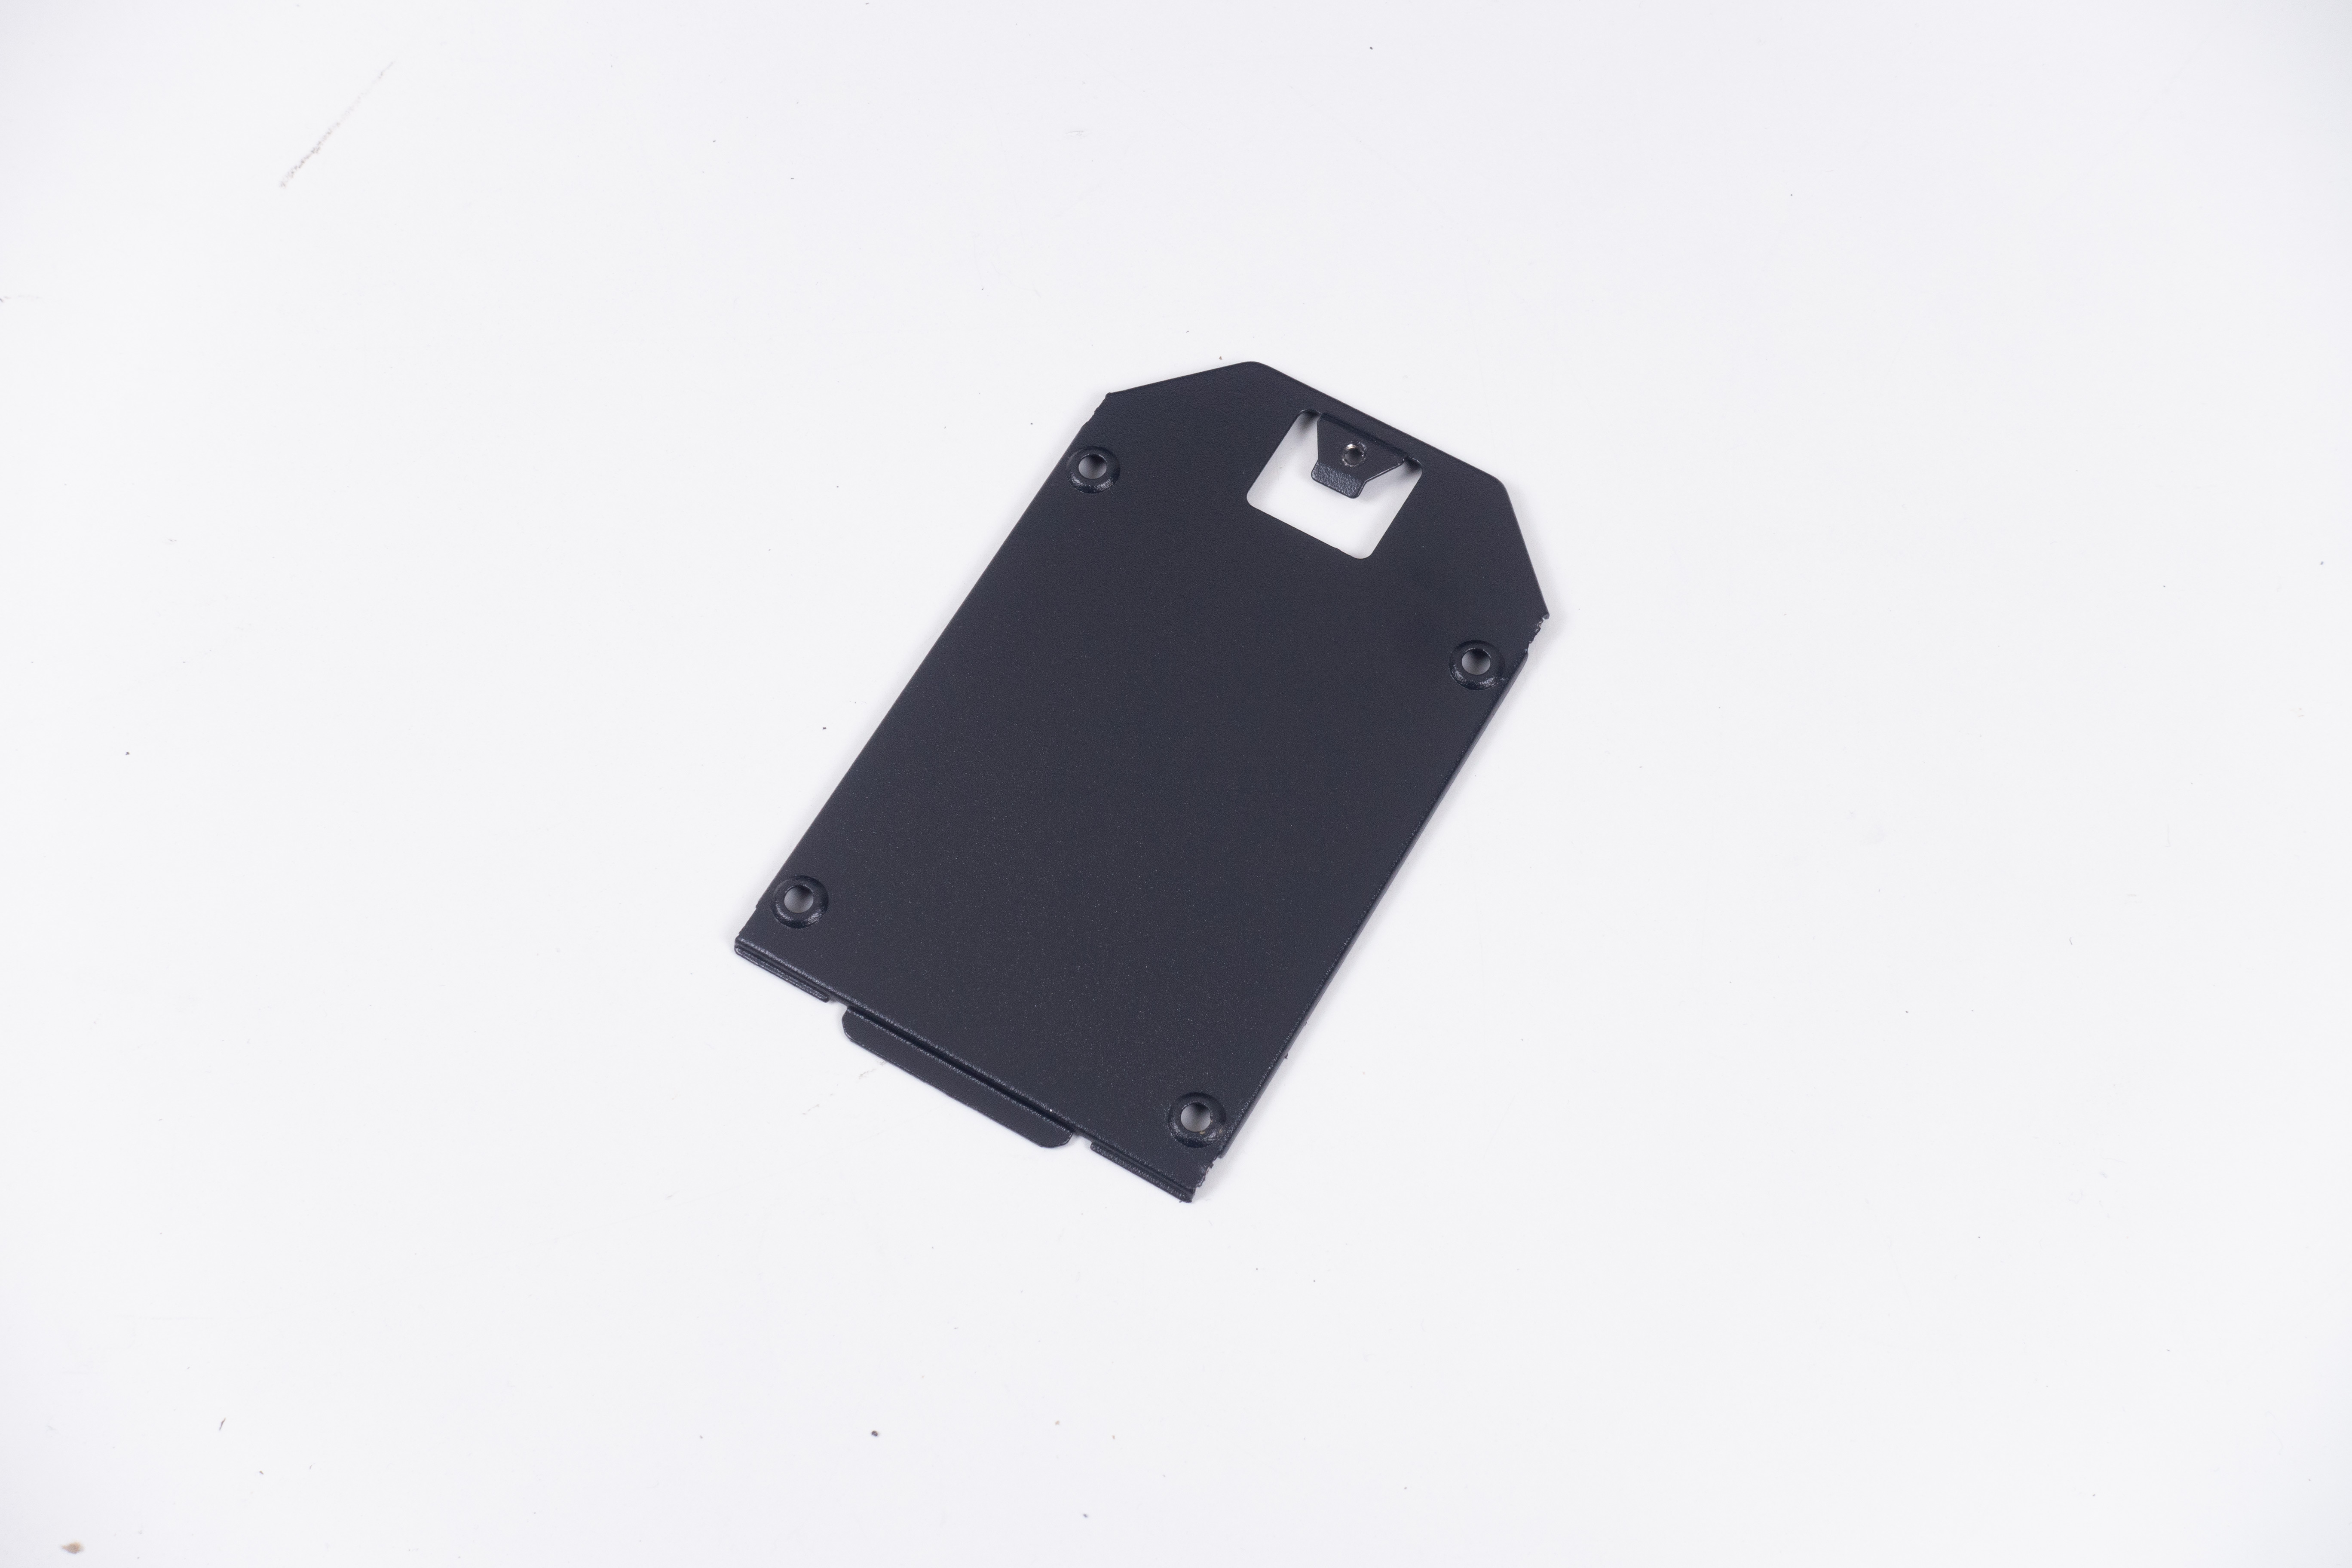
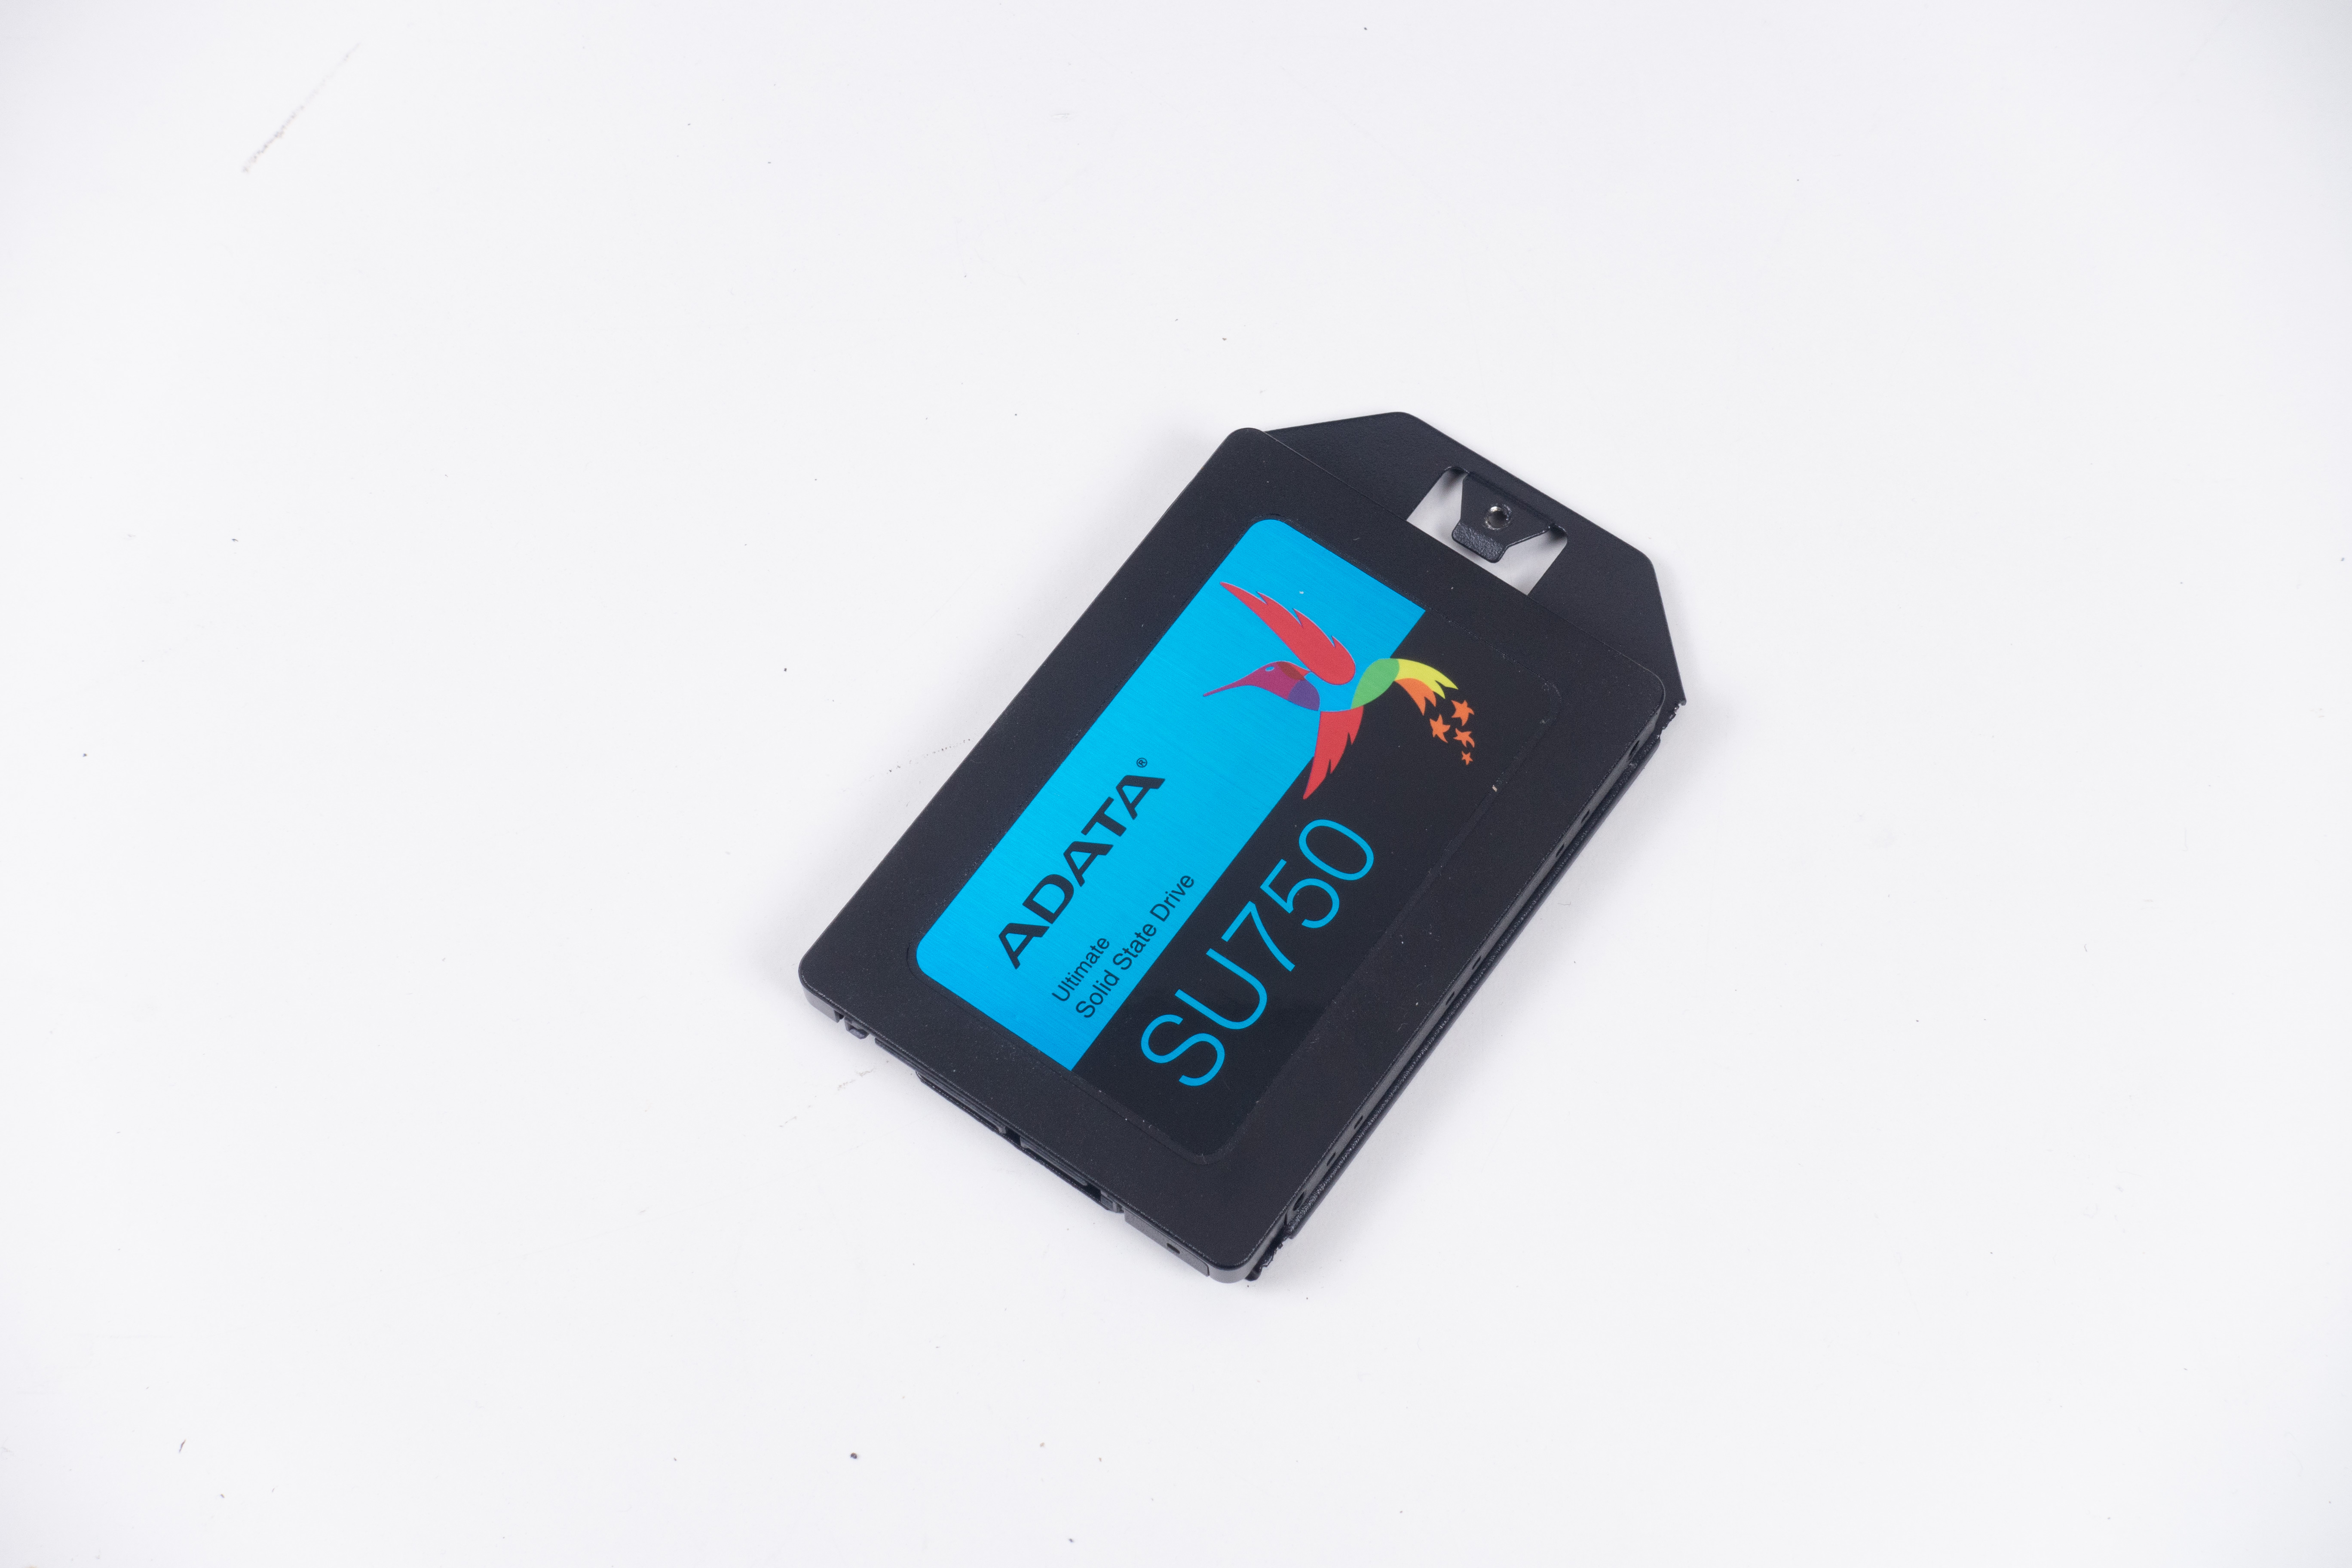
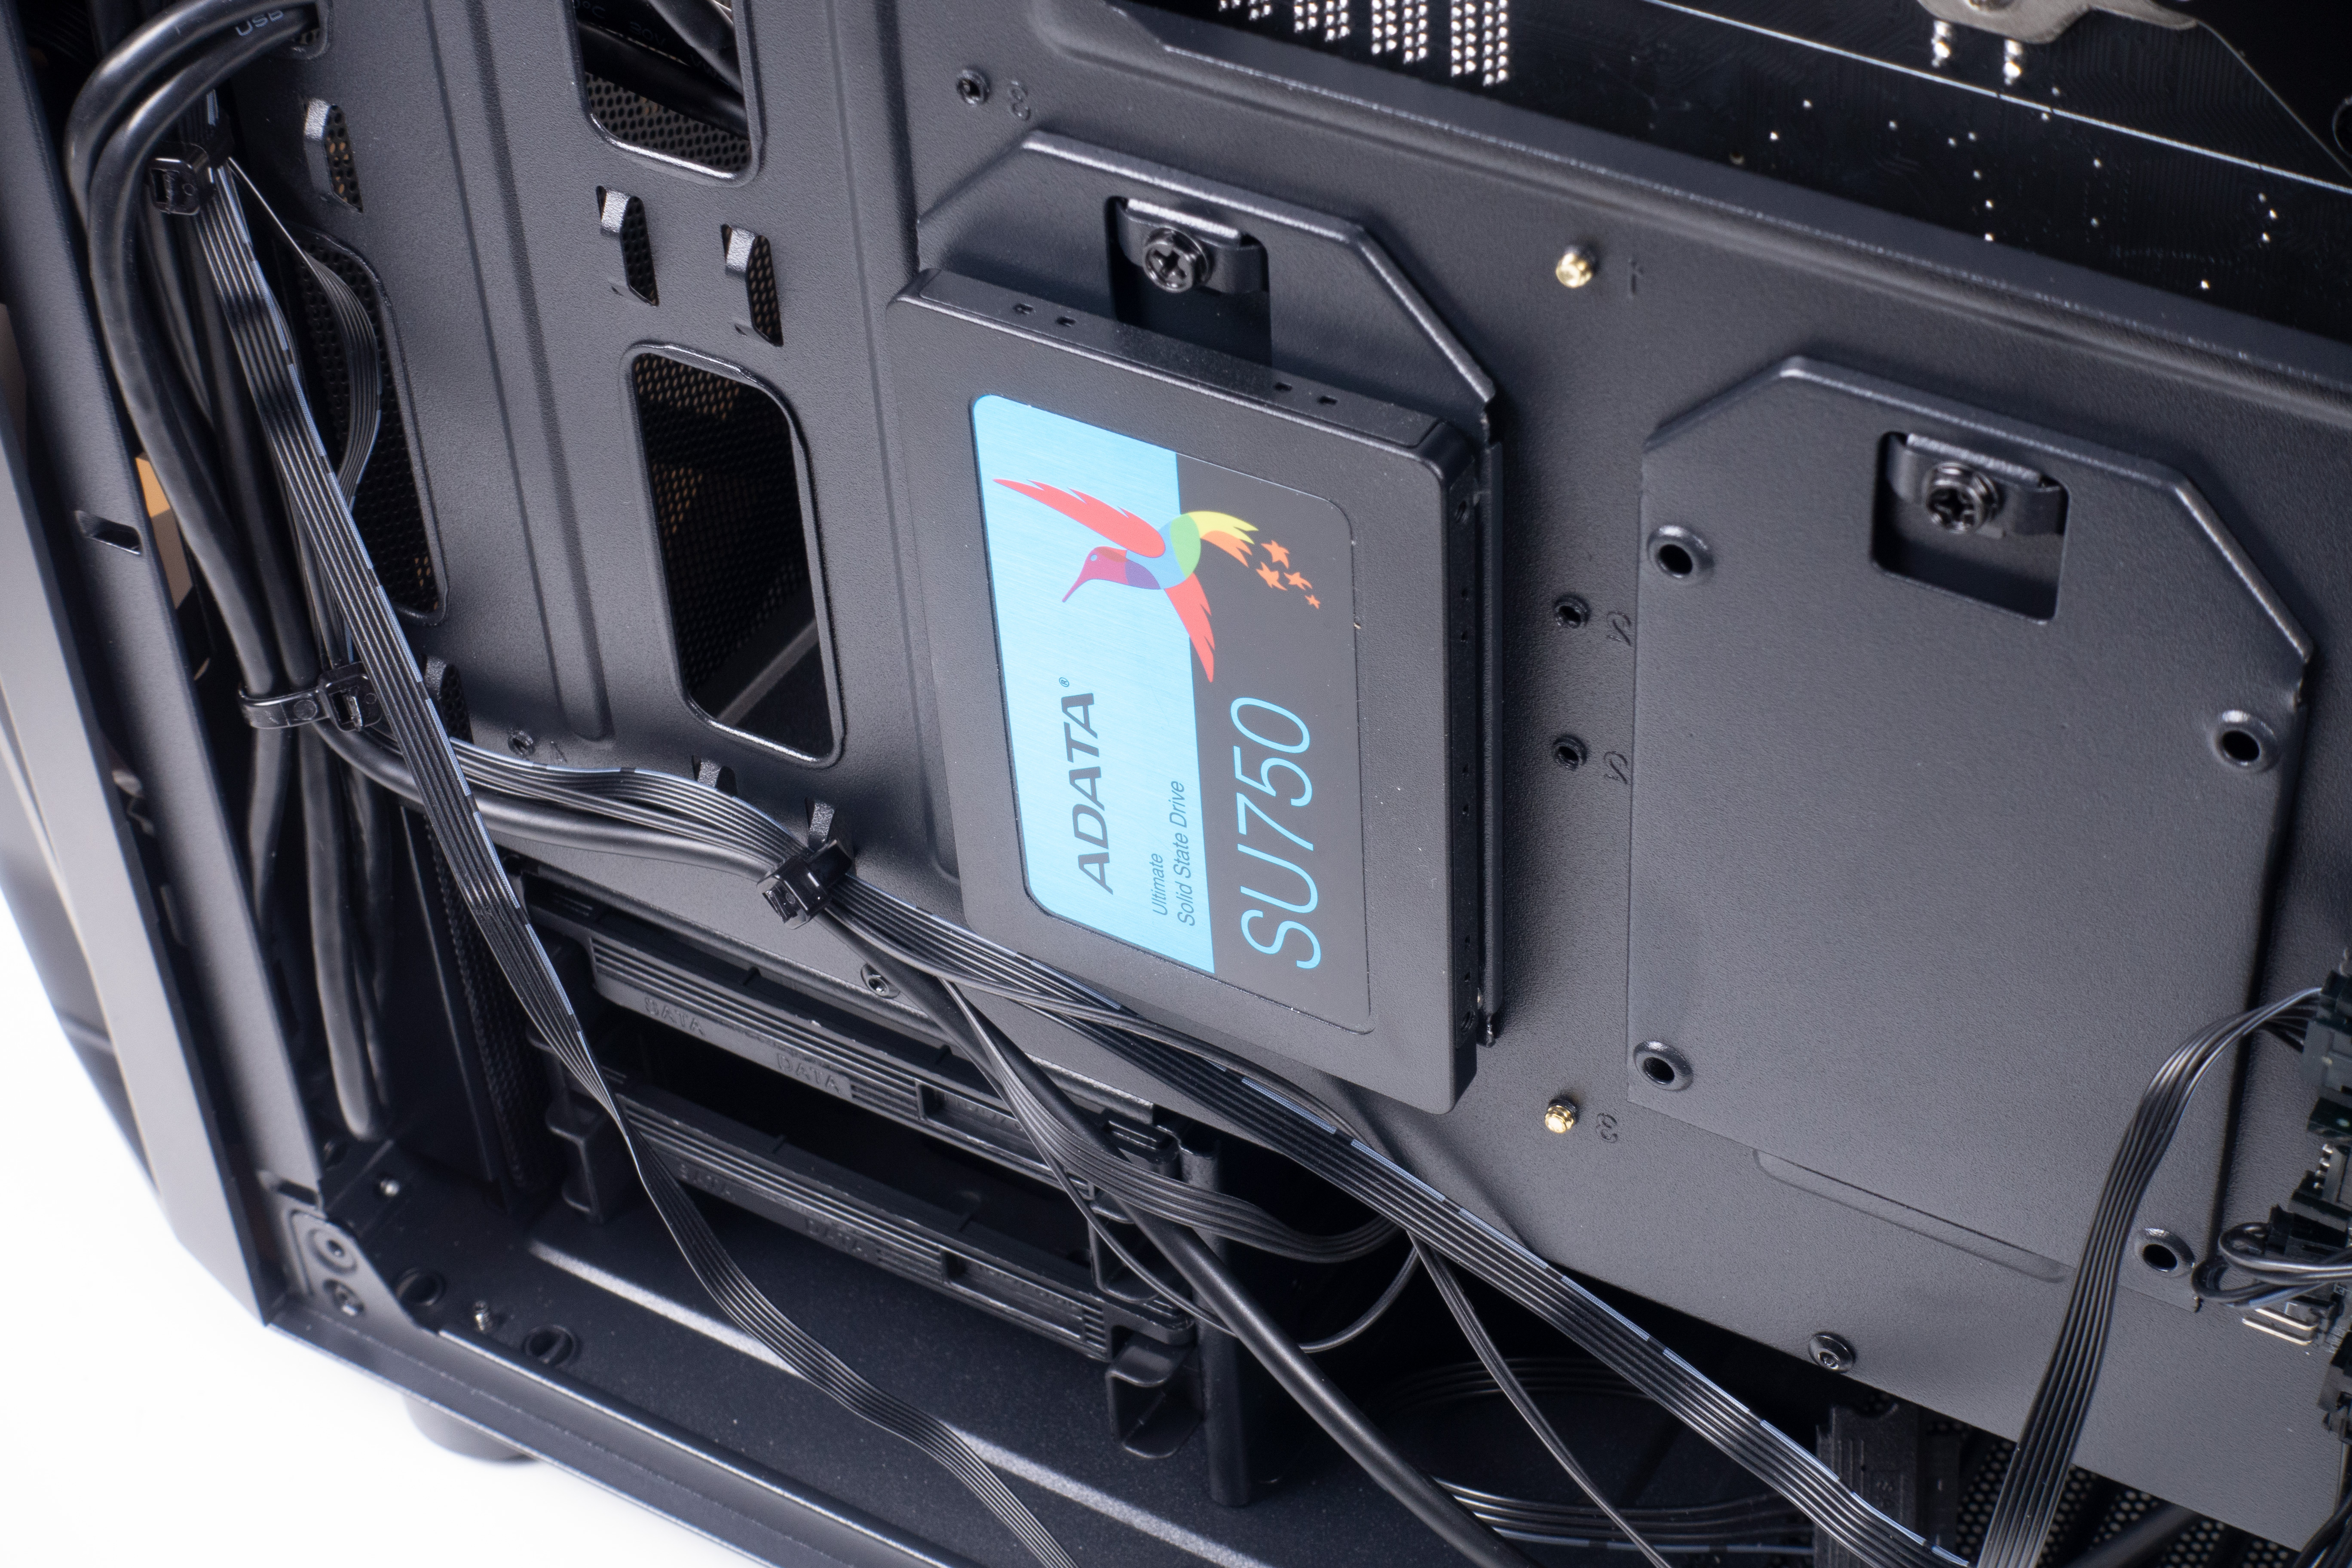
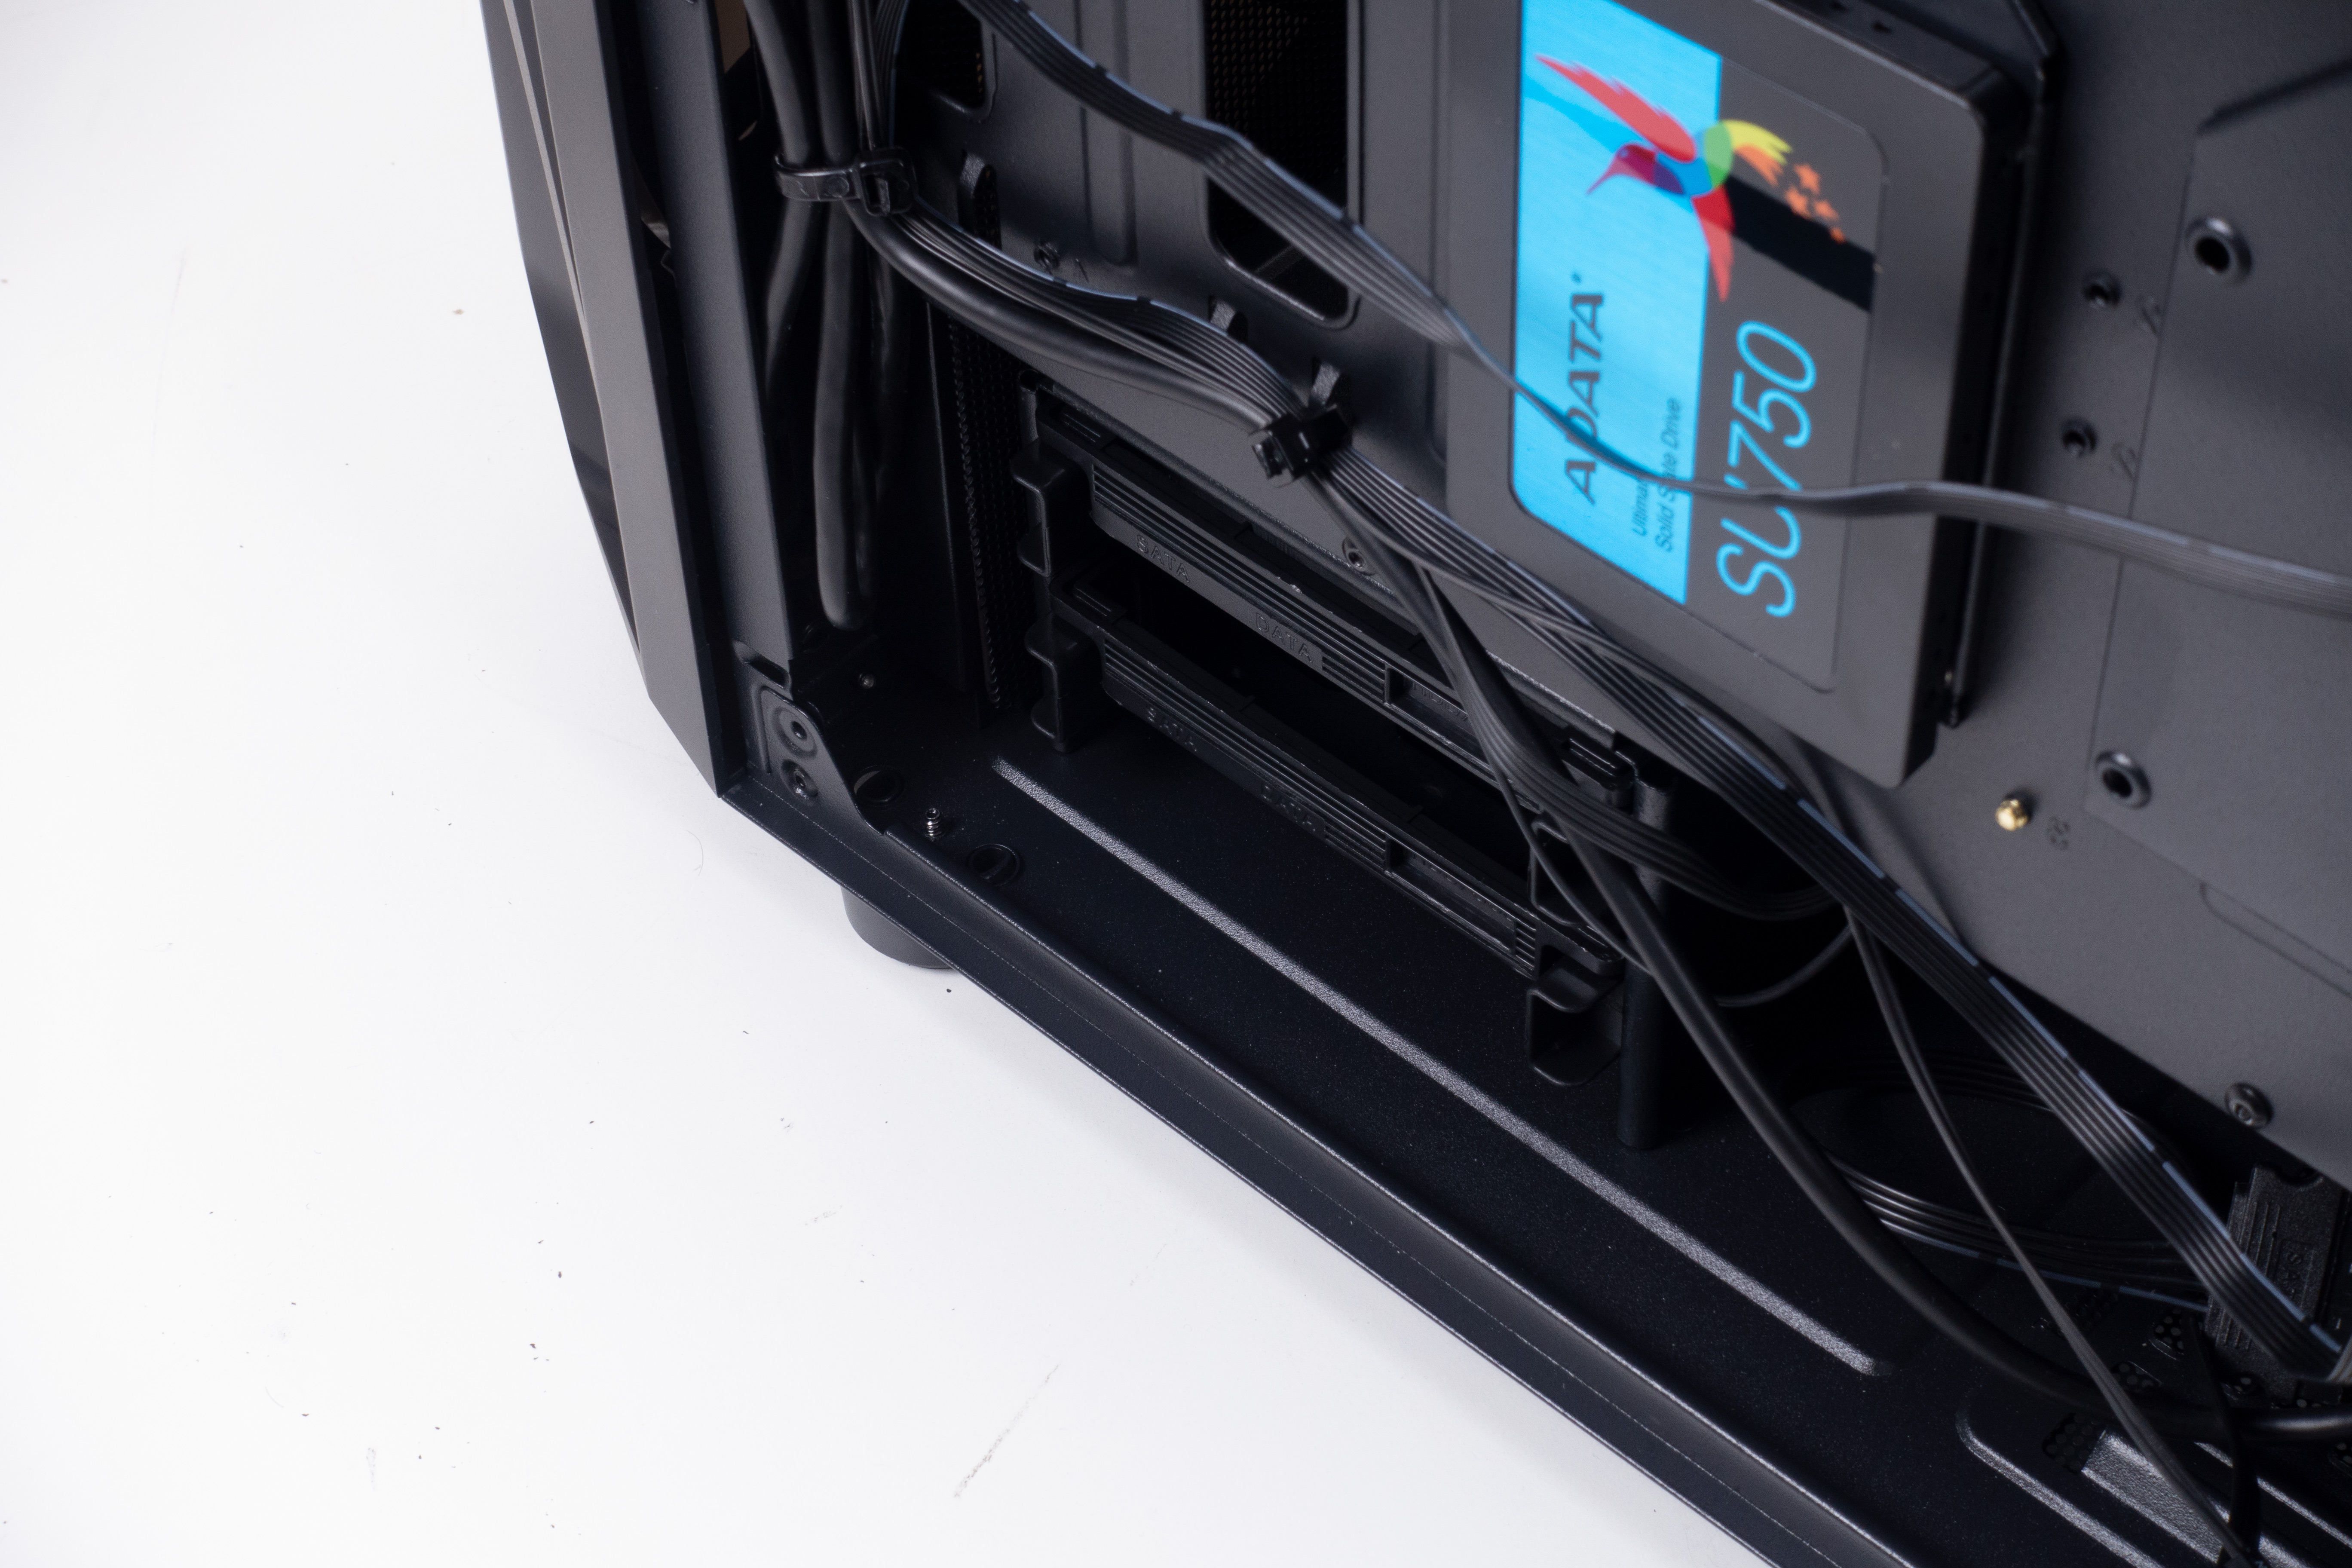
Adding SSDs means you have to remove the metal plate from its locations on the backside of the motherboard tray. Once free, simply screw the drive down and put the whole contraption back from where you grabbed it.
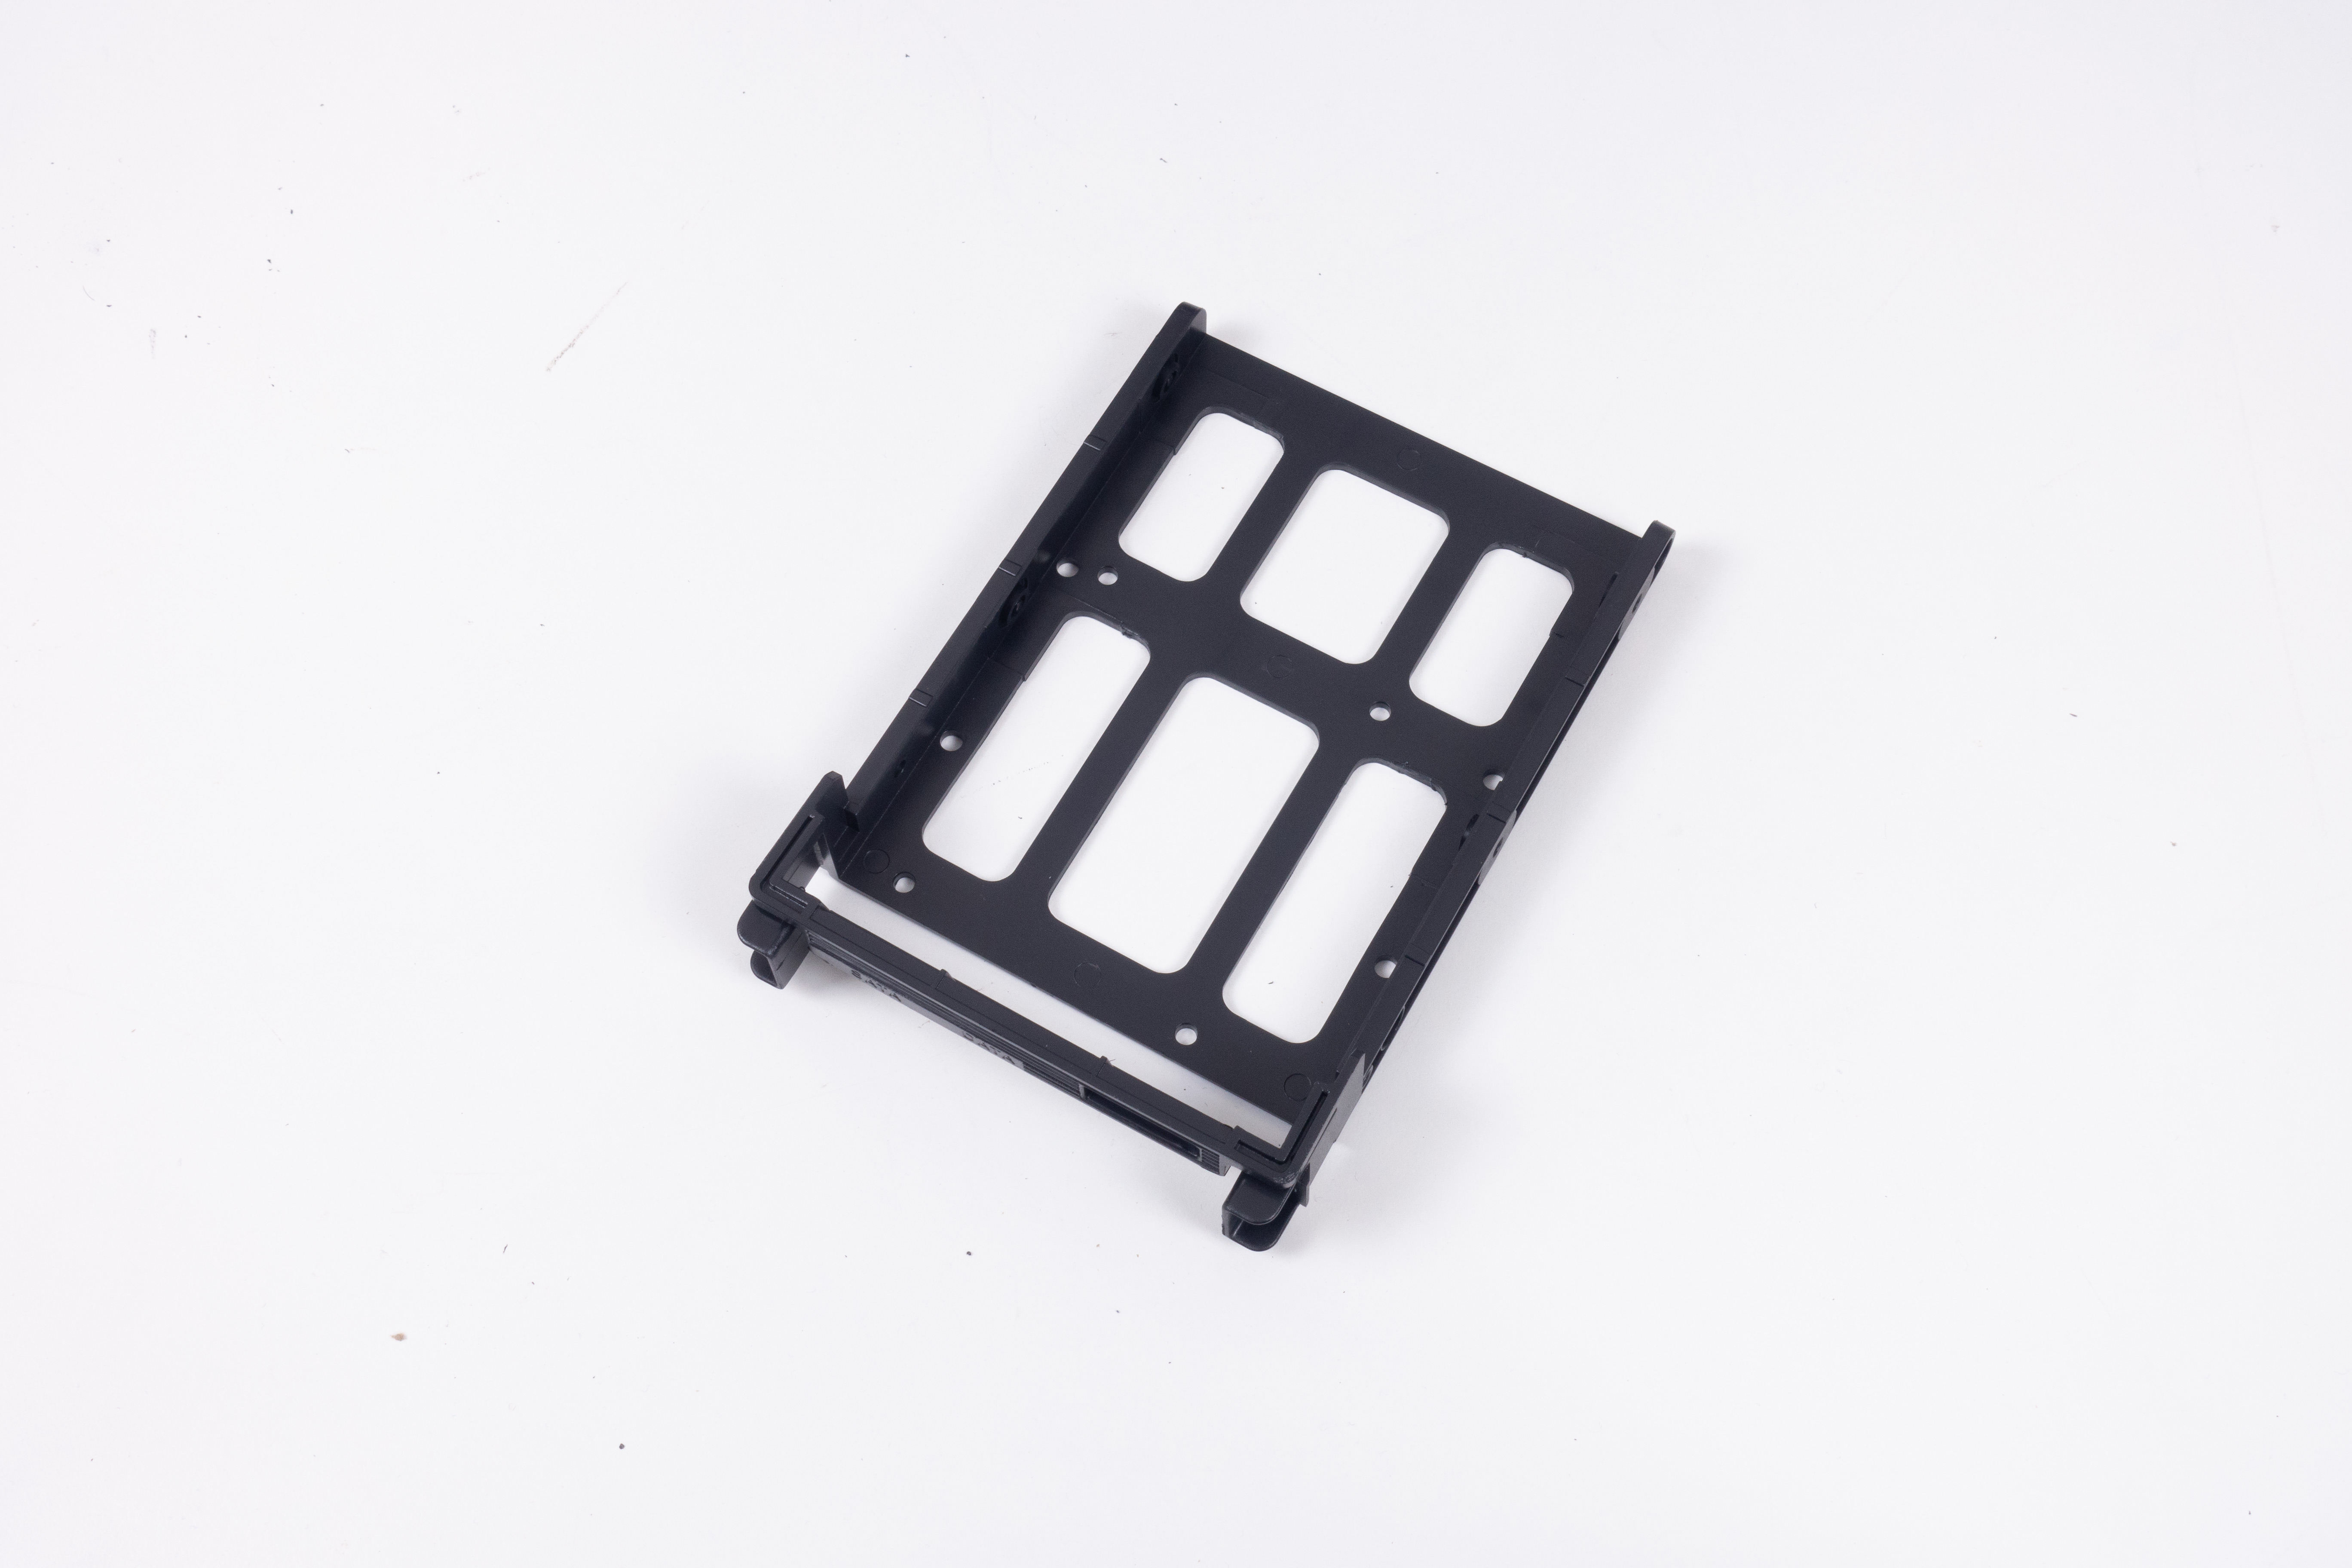
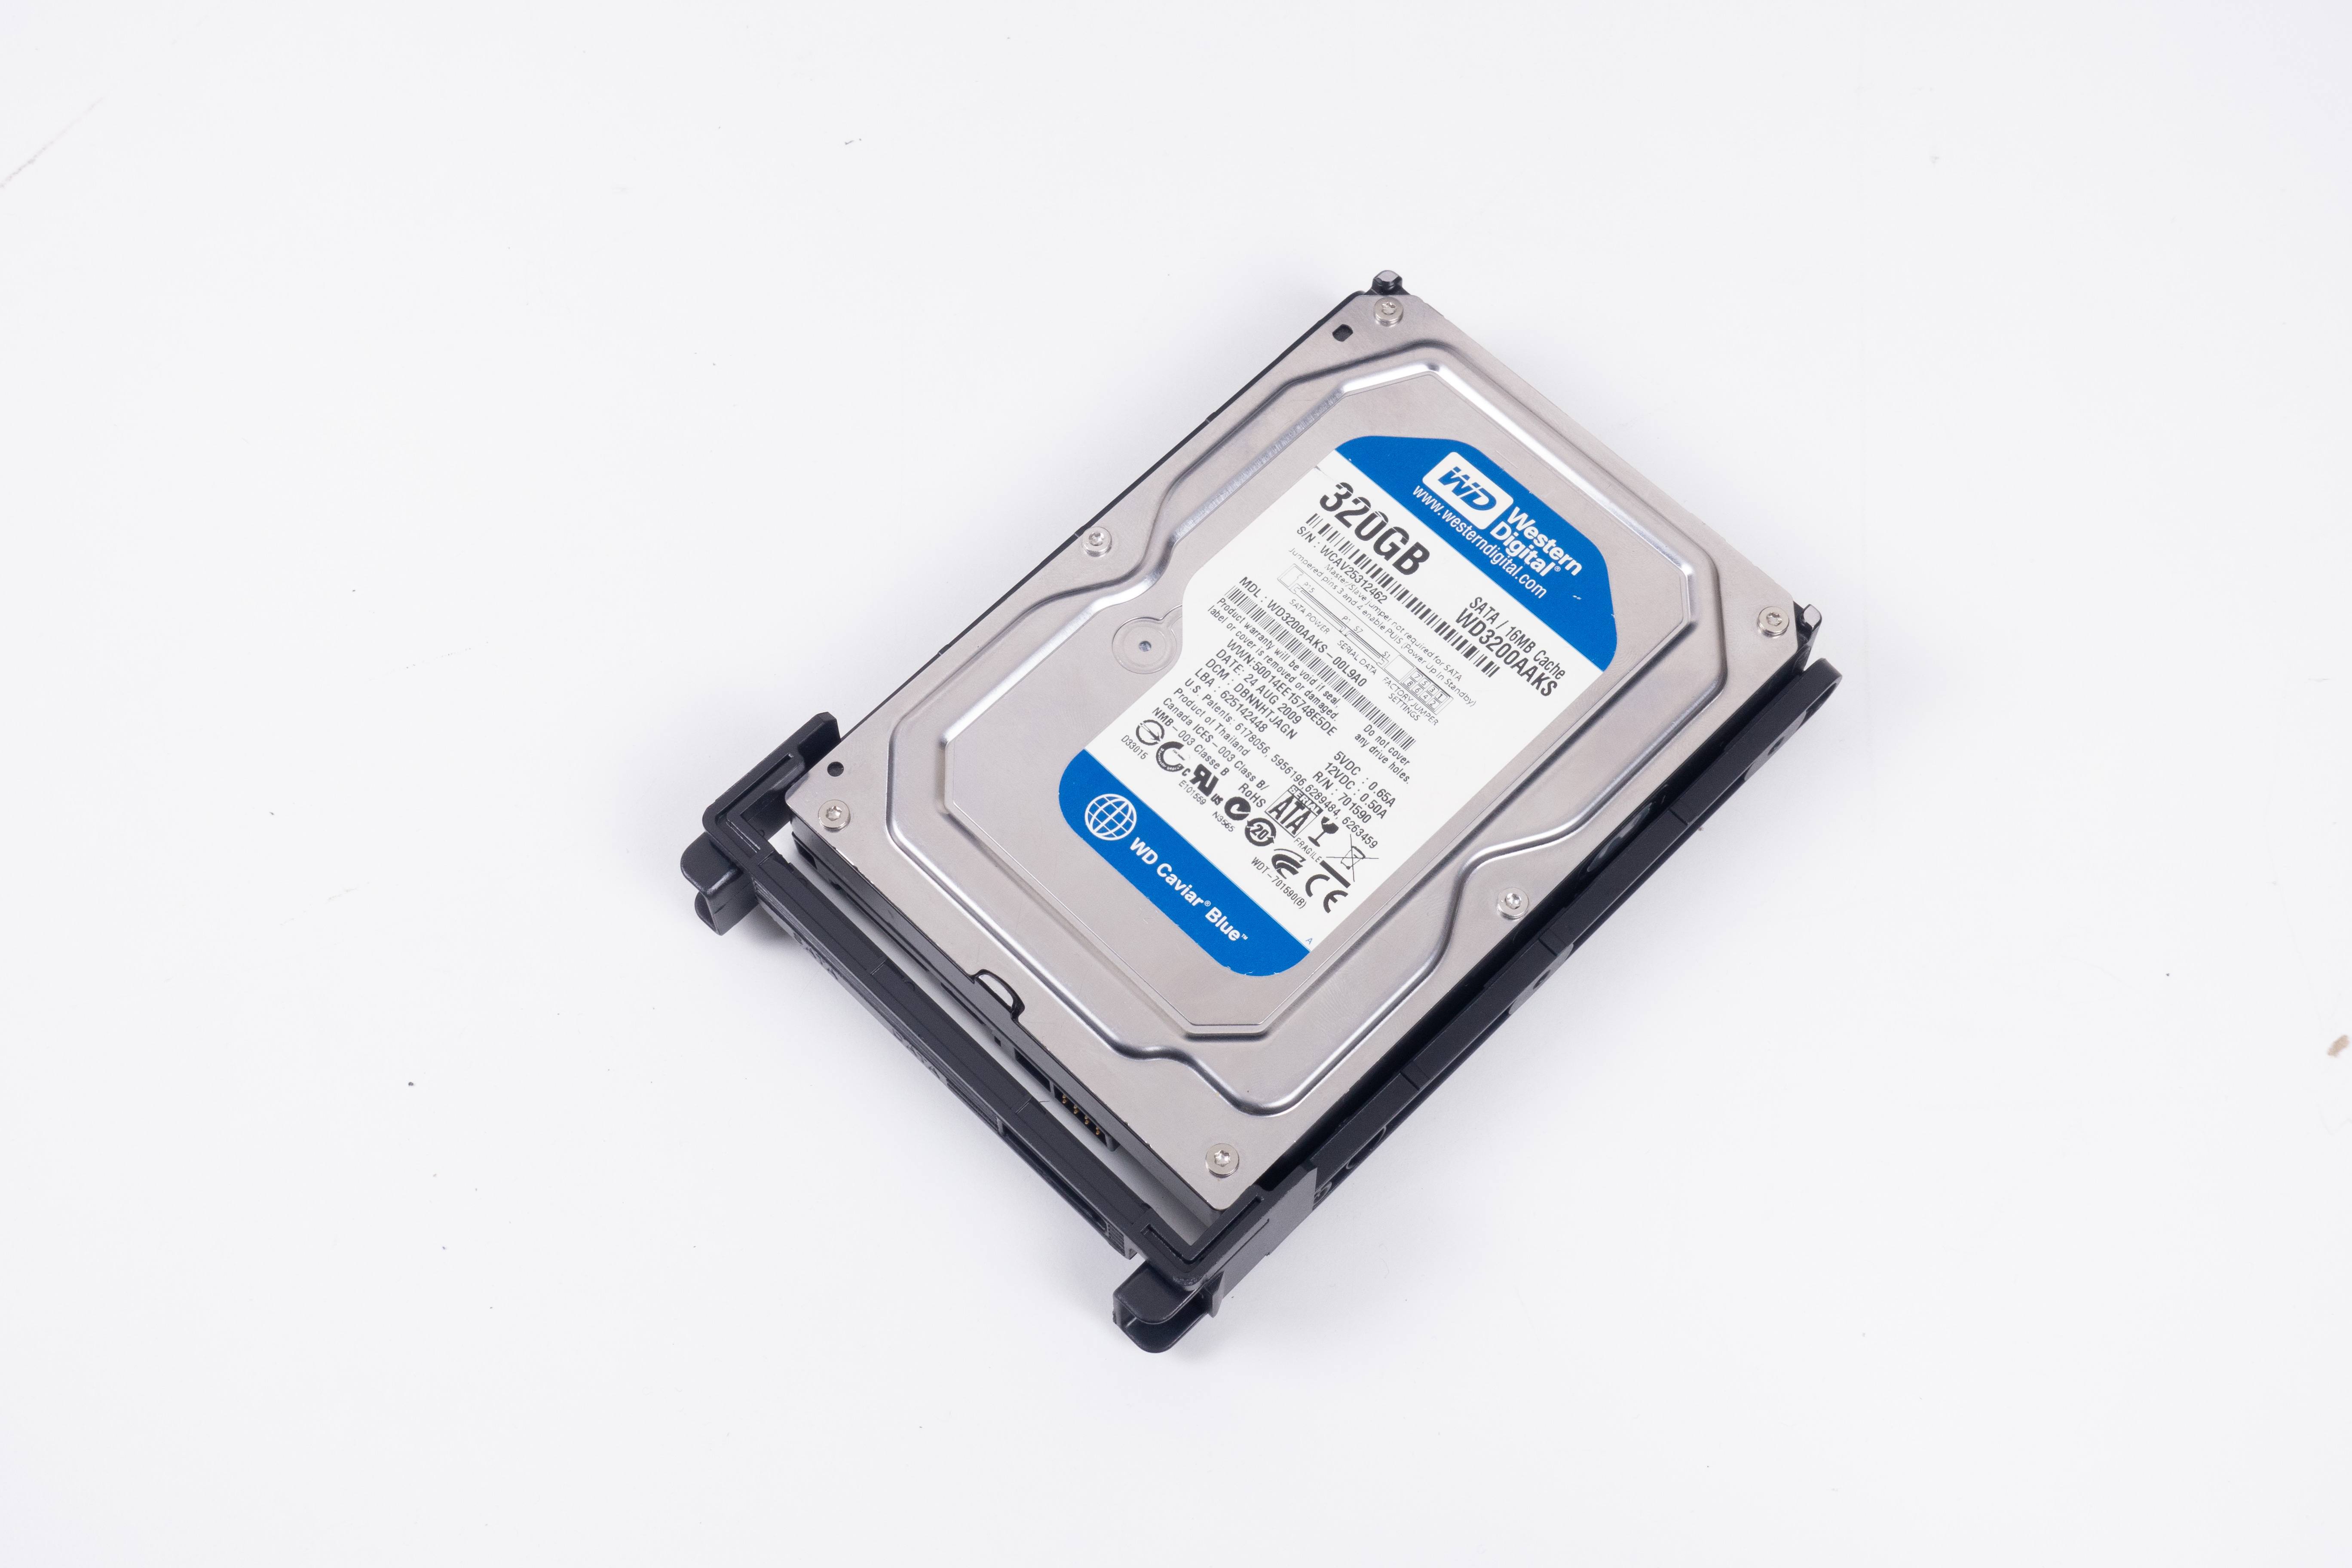

The same workflow holds true for traditional 3.5" drives, as you pull the plastic tray out, screw down the storage unit, and put it back into the slot you got it from. It snaps into place nicely and your drive is well hidden from view while all the connectors are still accessible.
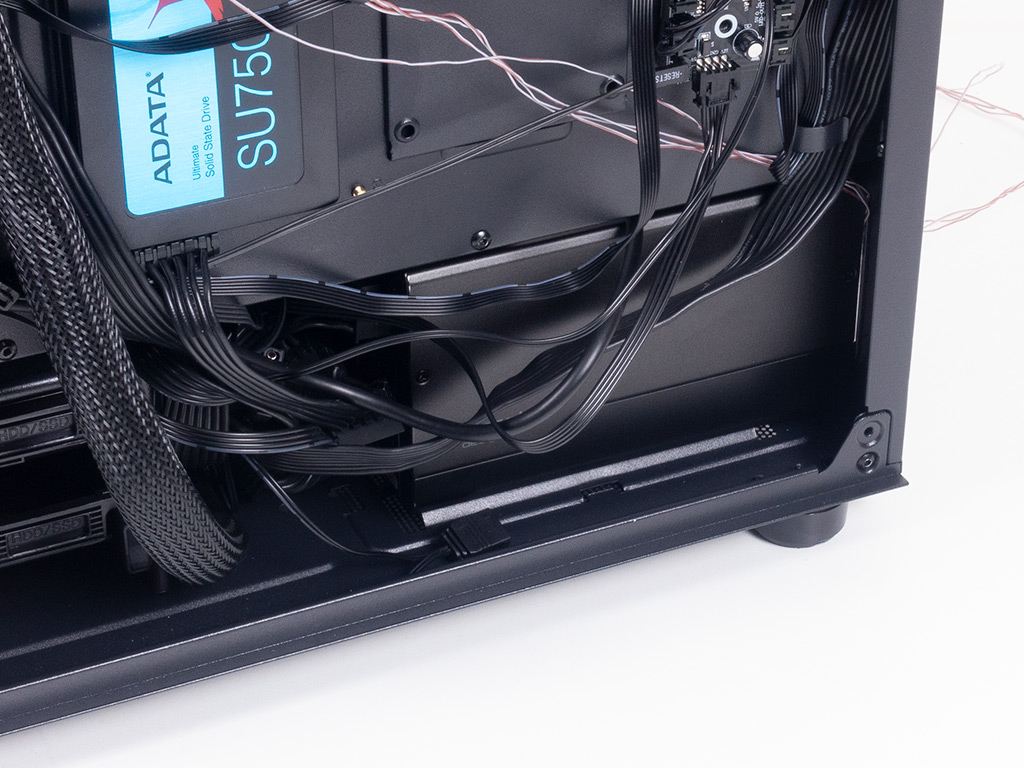
Installing the PSU is done by sliding it in underneath the shroud and securing it with classic case screws. There is ample space, so you should easily be able to use mainstream units without having to take out the 3.5" HDD cage.
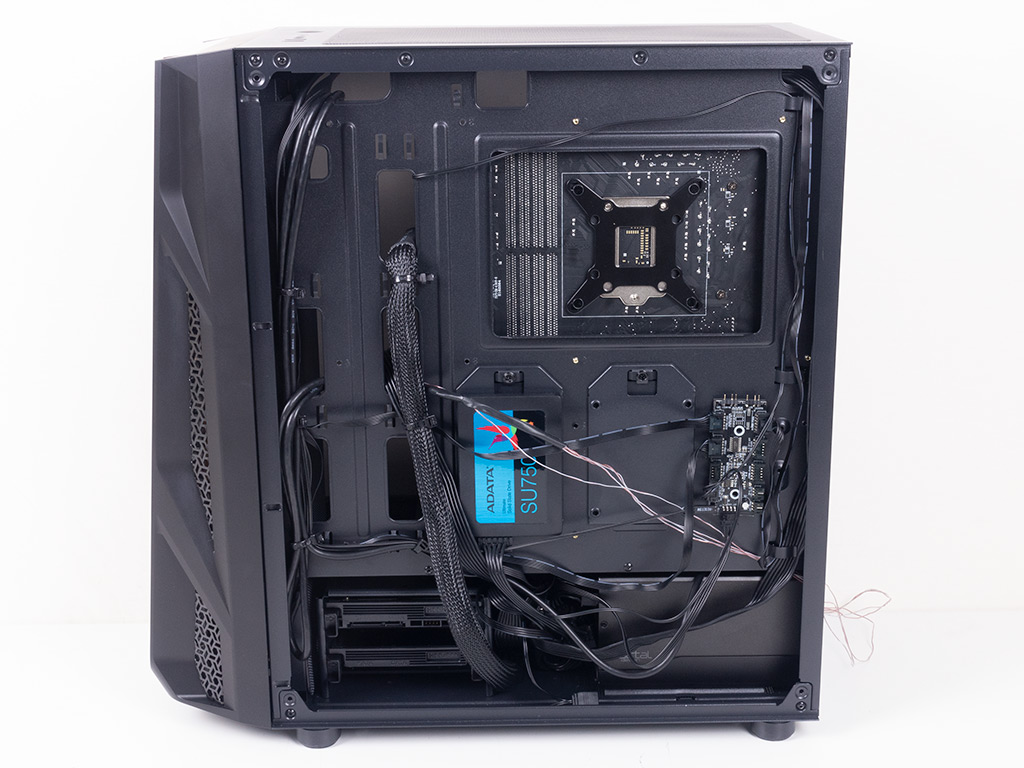
With everything assembled, the Aerocool AirHawk makes a pretty clean impression even though it lacks grommets—the fact that the motherboard tray provides the right openings in the right locations really helps keep it all tidy. All the cable mess is nicely tugged away behind the tray or underneath the shroud.
Finished Looks
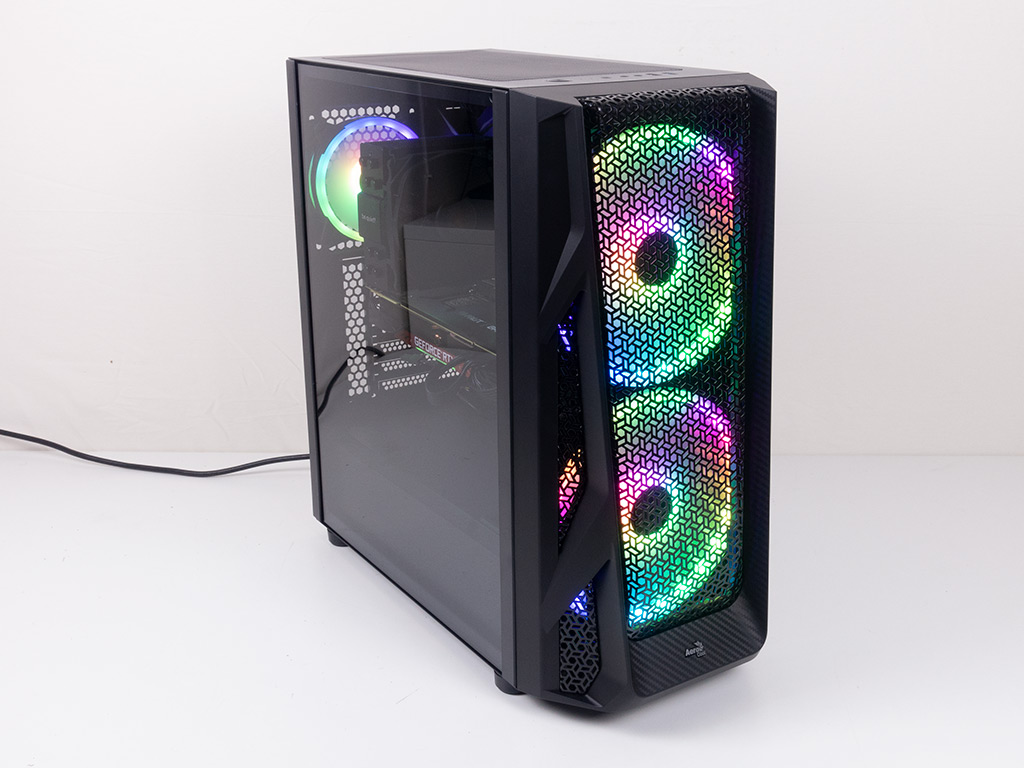
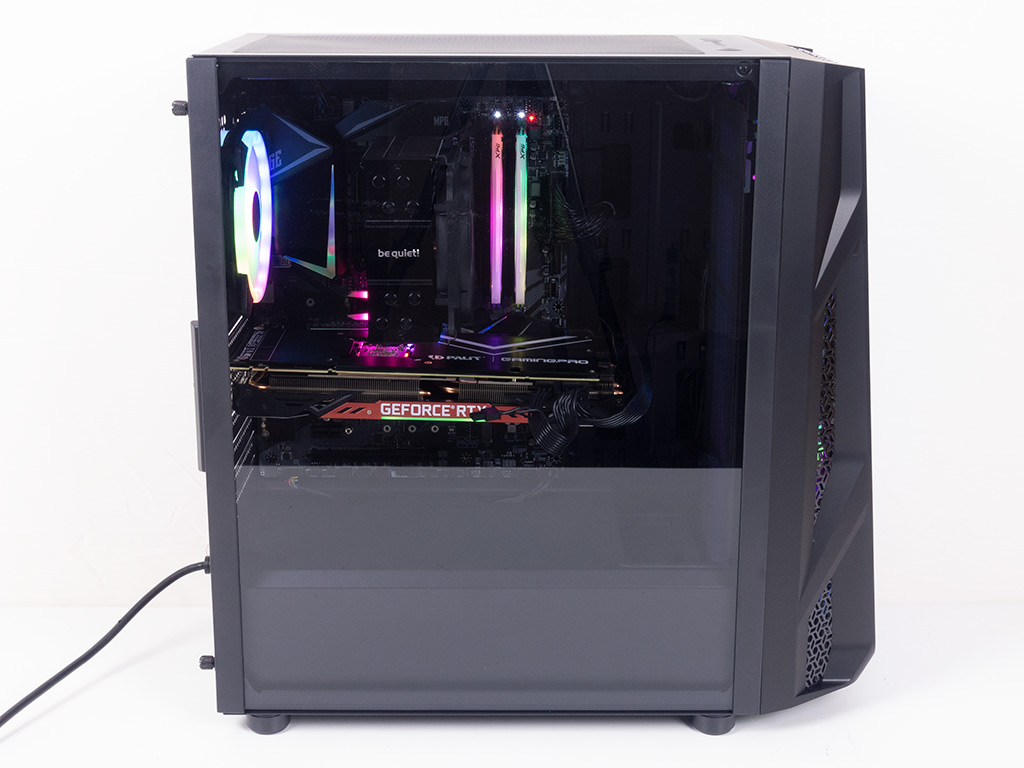
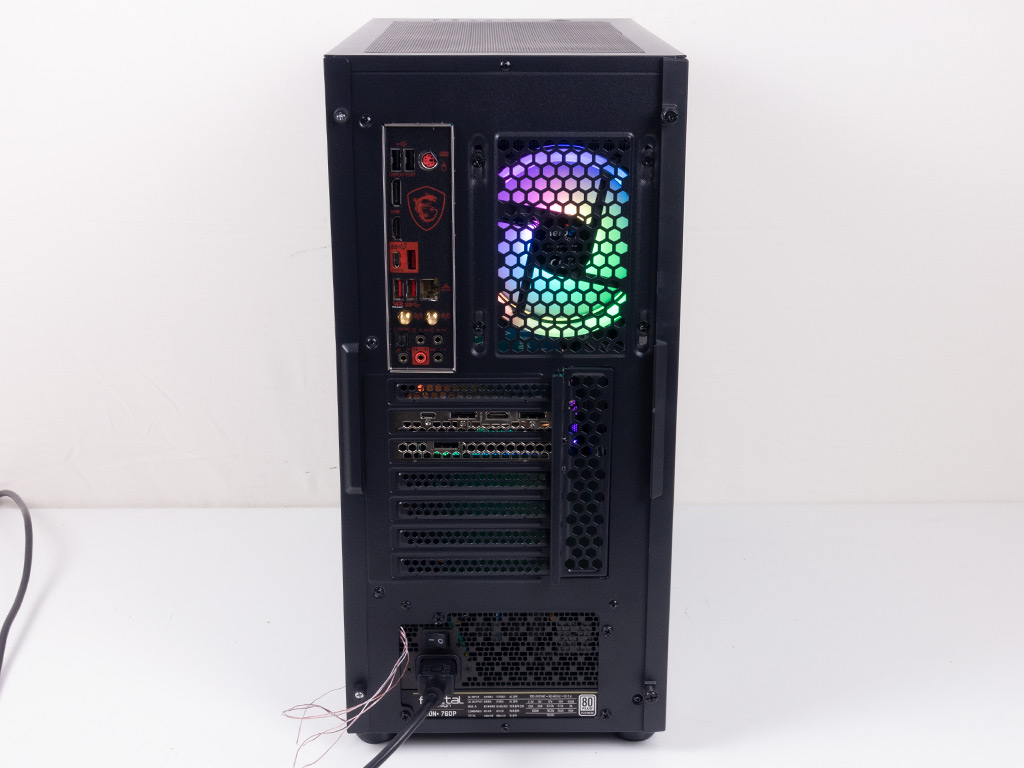
Once turned on, the Aerocool AirHawk Duo ARGB makes a great impression. For a mainstream chassis, looks are important, and the case delivers those with the large intake fans in the front. That having been said, I am not sure if the basic AirHawk will manage to impress like this, which may have it provide less value to the target audience. You can clearly see all the hardware inside the chassis nicely because of the light tint of the glass panel, and all the connectors in the rear are easily accessible—no surprises here.
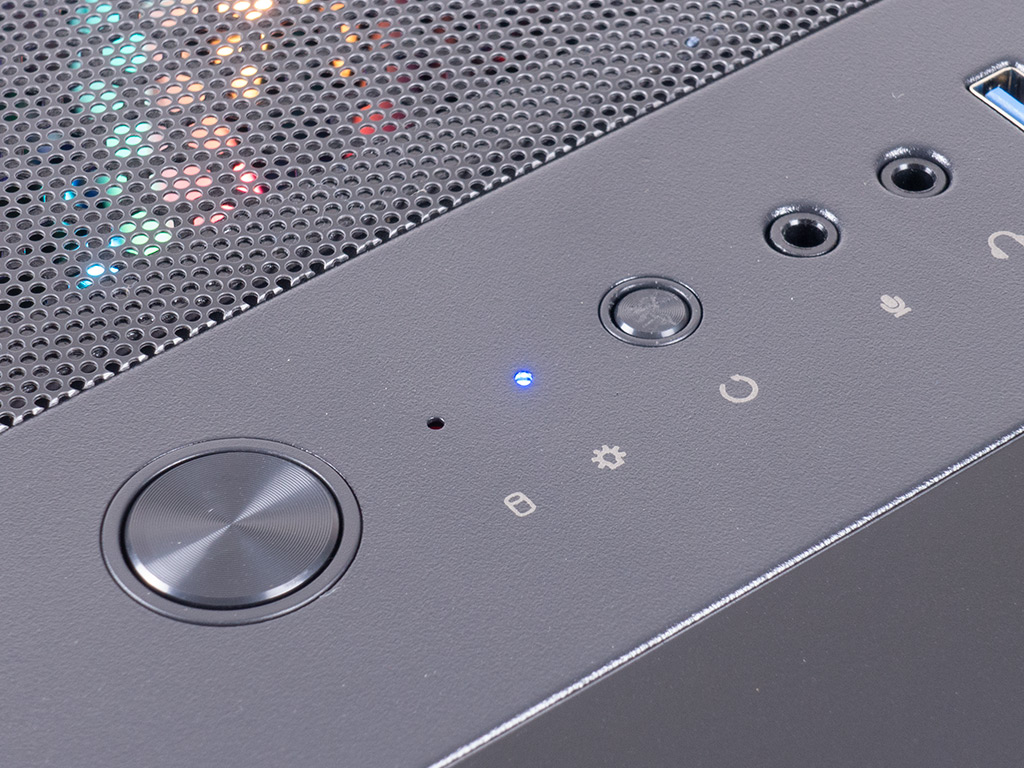
A small blue LED lights up to let you know the system is up and running, which may come in handy with the non-Duo ARGB variant of the chassis.
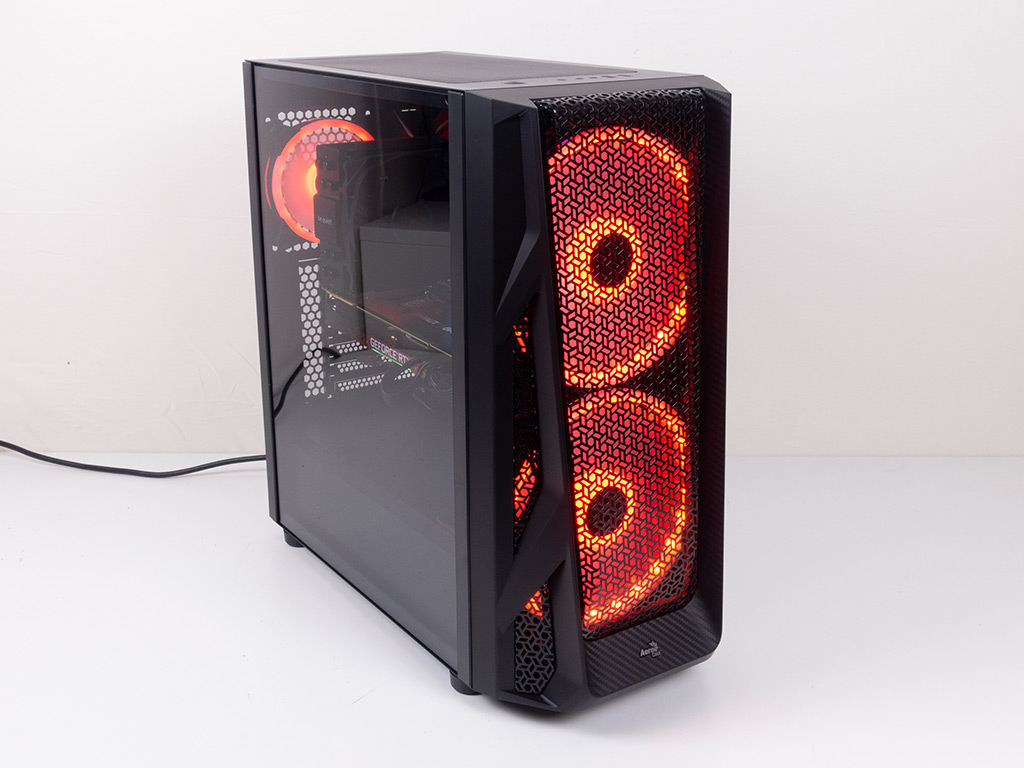
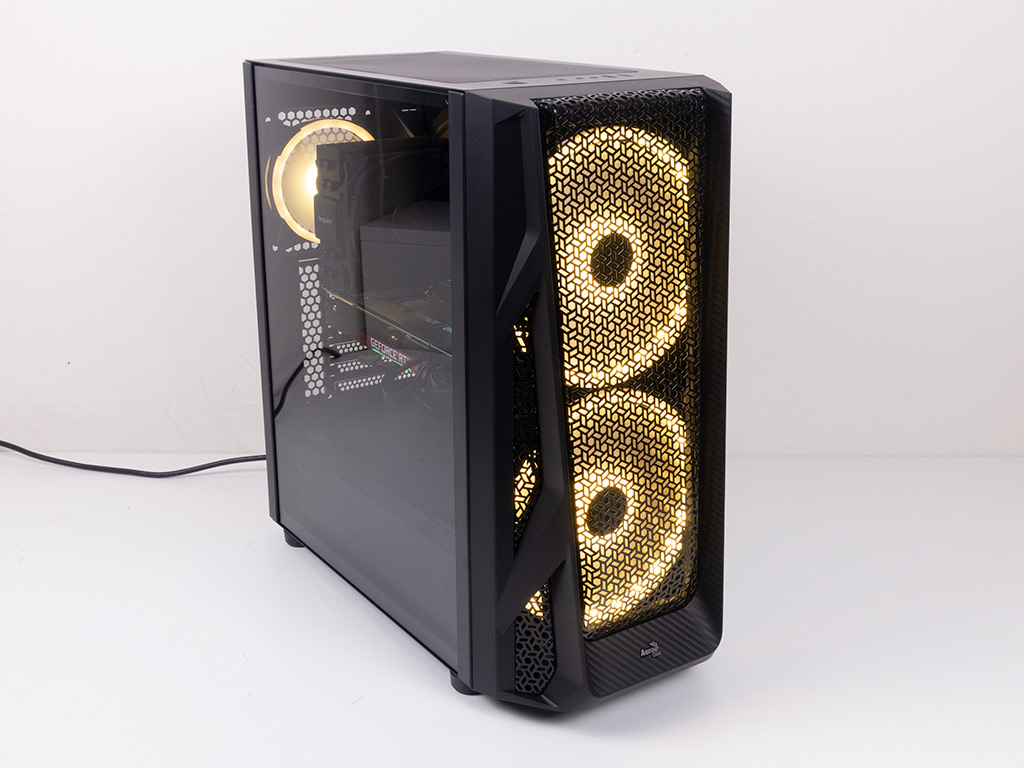
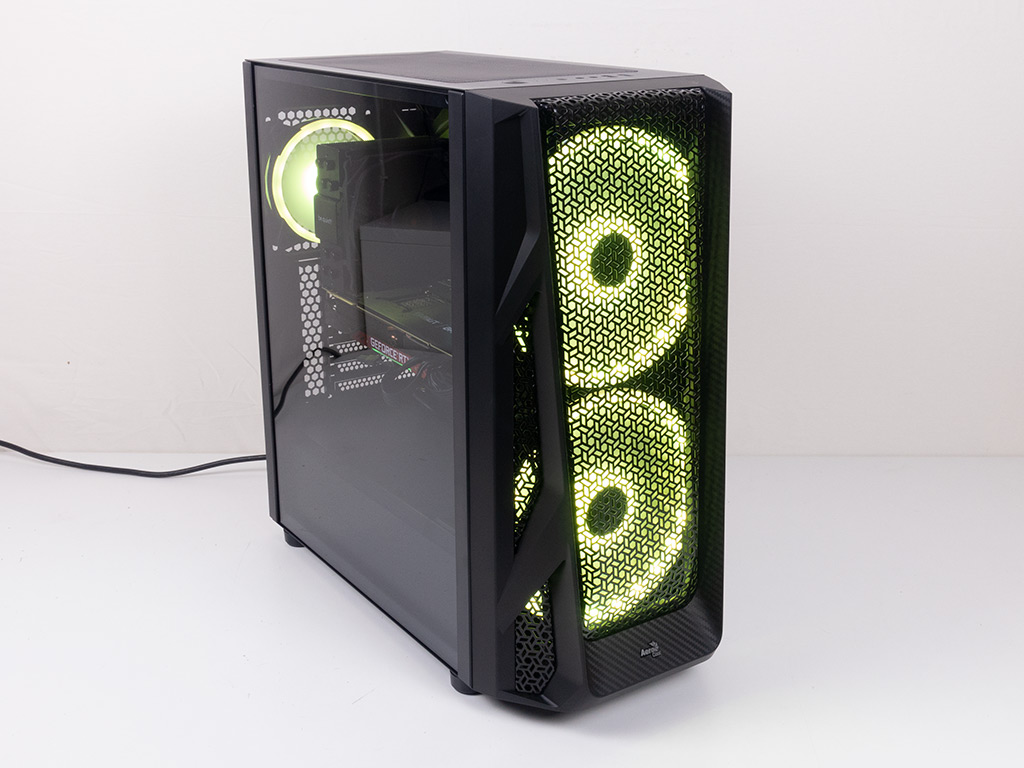
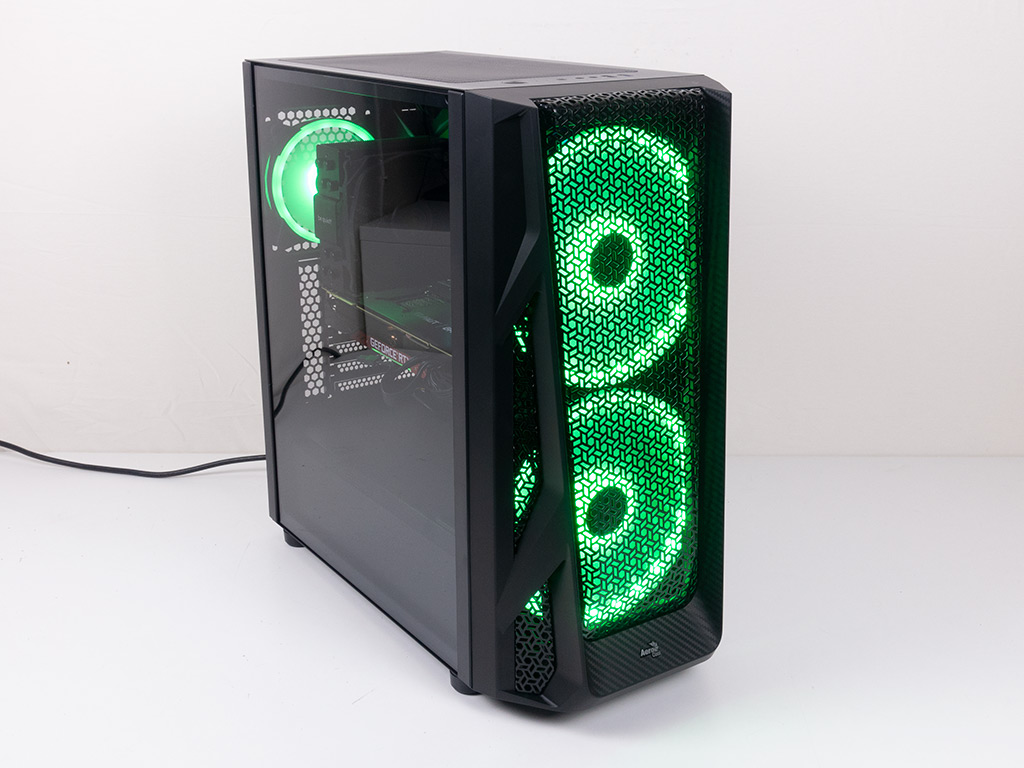
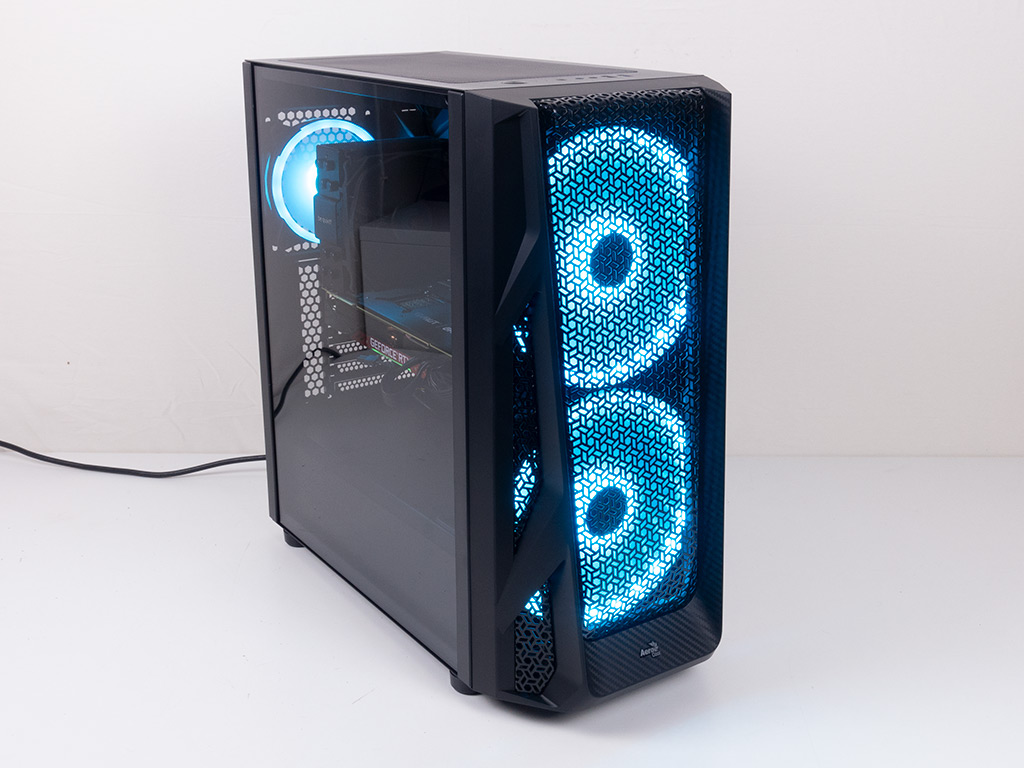
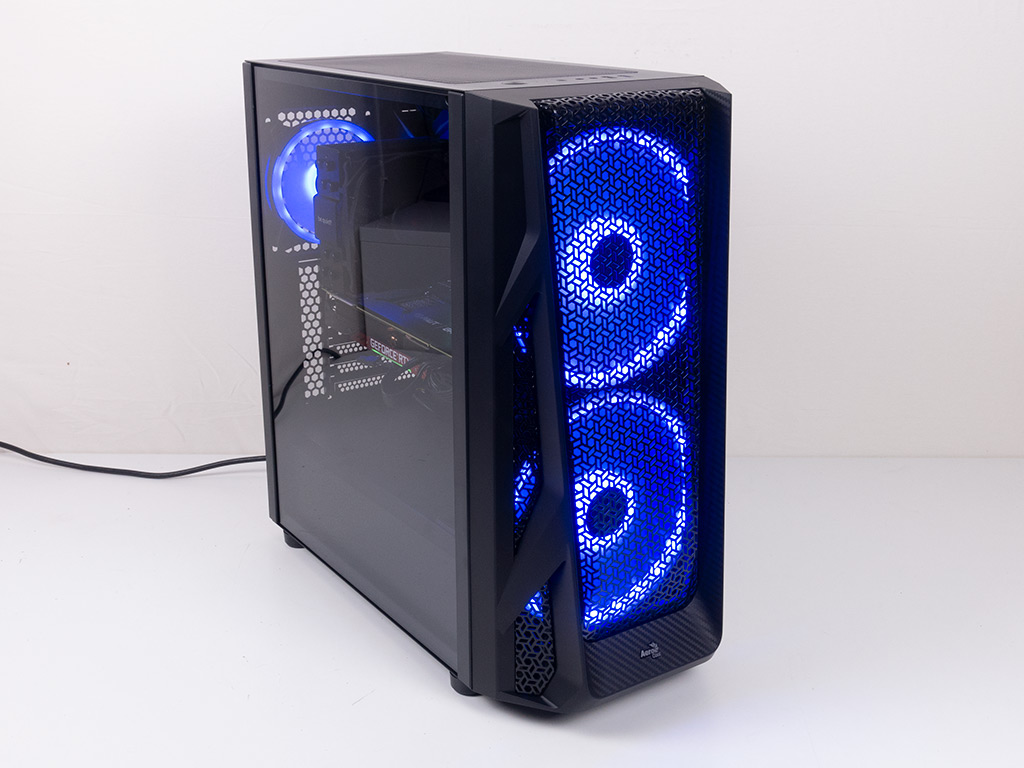
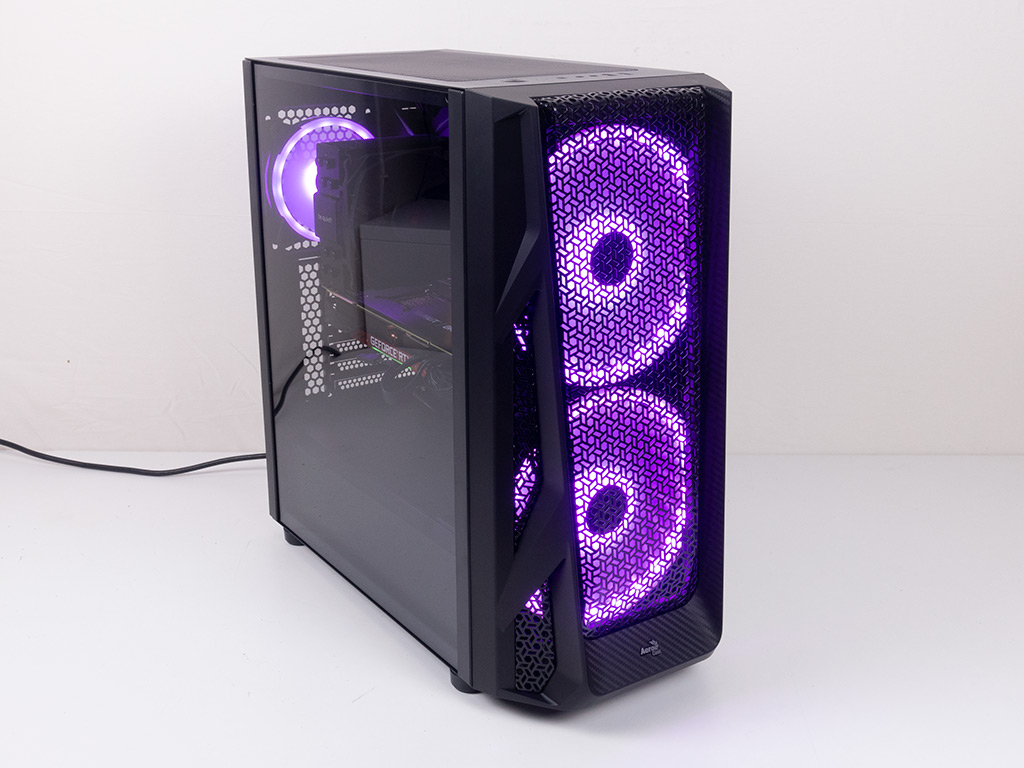
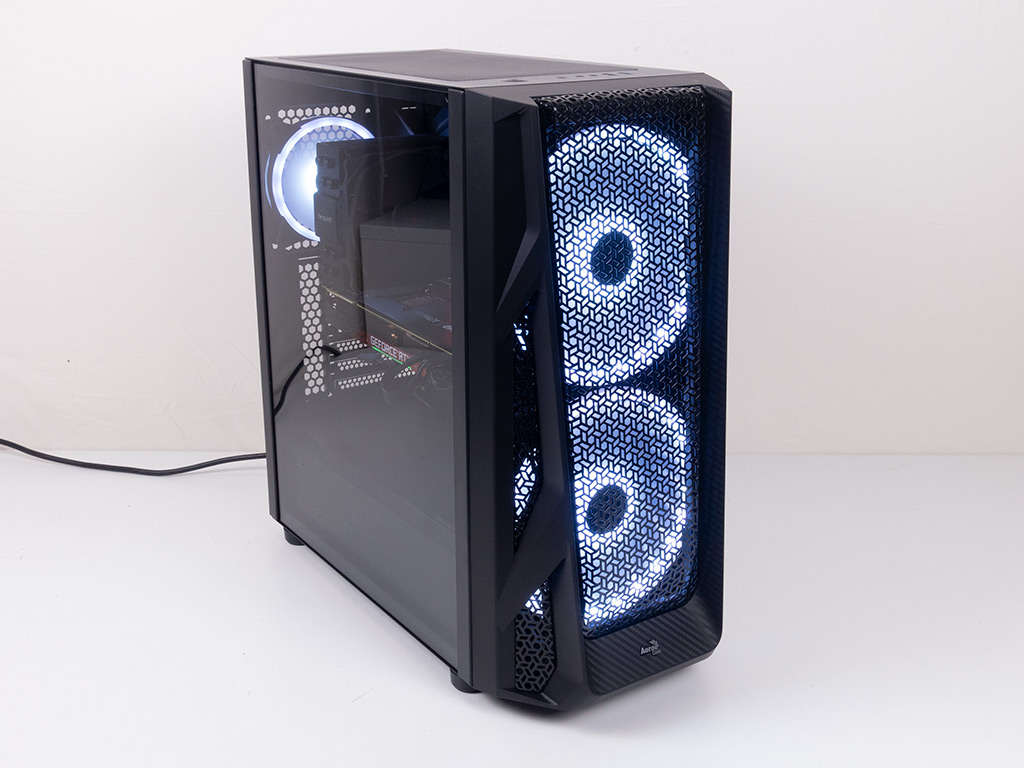
You may cycle through the eight colors of the case by pressing the button on top of the chassis. On top of that, the AirHawk has plenty of dual and multi-colored animations you can go through as well.
Apr 30th, 2024 11:17 EDT
change timezone
Latest GPU Drivers
New Forum Posts
- 7900 XTX Seriously lacking (61)
- Crucial MX500 suddenly dead :( (19)
- Why does my PC shut down even though it's connected to a UPS? (74)
- GS110EMX switch slowing down my gigabit fiber Uploads .. Why ? what setting ? (5)
- EK seems to be having major issues (64)
- Why MS buying all of these Studios is bad for Gaming (57)
- Ghetto Mods (4329)
- What are you playing? (20561)
- Looking for recommendations to upgrade my ap201 (4)
- Arctic MX-6 shelf life is just a couple months? (36)
Popular Reviews
- HYTE THICC Q60 240 mm AIO Review
- Ugreen NASync DXP4800 Plus Review
- Team Group T-Force Vulcan ECO DDR5-6000 32 GB CL38 Review
- MOONDROP x Crinacle DUSK In-Ear Monitors Review - The Last 5%
- Upcoming Hardware Launches 2023 (Updated Feb 2024)
- Thermalright Phantom Spirit 120 EVO Review
- AMD Ryzen 7 7800X3D Review - The Best Gaming CPU
- FiiO K19 Desktop DAC/Headphone Amplifier Review
- ASUS Radeon RX 7900 GRE TUF OC Review
- Alienware Pro Wireless Gaming Keyboard Review
Controversial News Posts
- Intel Statement on Stability Issues: "Motherboard Makers to Blame" (176)
- Windows 11 Now Officially Adware as Microsoft Embeds Ads in the Start Menu (156)
- Sony PlayStation 5 Pro Specifications Confirmed, Console Arrives Before Holidays (117)
- AMD's RDNA 4 GPUs Could Stick with 18 Gbps GDDR6 Memory (108)
- NVIDIA Points Intel Raptor Lake CPU Users to Get Help from Intel Amid System Instability Issues (106)
- AMD "Strix Halo" Zen 5 Mobile Processor Pictured: Chiplet-based, Uses 256-bit LPDDR5X (103)
- US Government Wants Nuclear Plants to Offload AI Data Center Expansion (98)
- TechPowerUp Hiring: Reviewers Wanted for Motherboards, Laptops, Gaming Handhelds and Prebuilt Desktops (90)