 4
4
Akasa AllInOne Control Panel Review
Panel in Action »A Closer Look

The paint job if the AllInOne is simply said - perfect. It is thick, glossy and of very high quality. The top has a few air vents, but the unit does not heat up at all and the bottom is completely clean as well.


The device is secured using normal screws. There are three pairs of holes on either side, so it should fit perfectly inside your case, no matter what you are using.


The front is divided into two parts. The connections are placed toward the left, while the LCD and fan control is located on the right side of the front. The connections are protected by a drop down door. While the plastic is of high quality, the door hinges are made of the same material as well. It will break off quite easy if you were to bump into it while it is open.
The card reader is placed above the connectors. It can handle all major card formats, so you will not need anything else. The only format missing would be SDHC. The USB 2.0 and FireWire ports can be seen in the bottom right corner. The audio connectors and the video plug are placed right above the SATA connectors.
The LCD display is rather small, but should suffice for the intended use. There are four menu buttons under it. "Plus", "minus" to control the fan speed and "reset" and "mode" inbetween these.


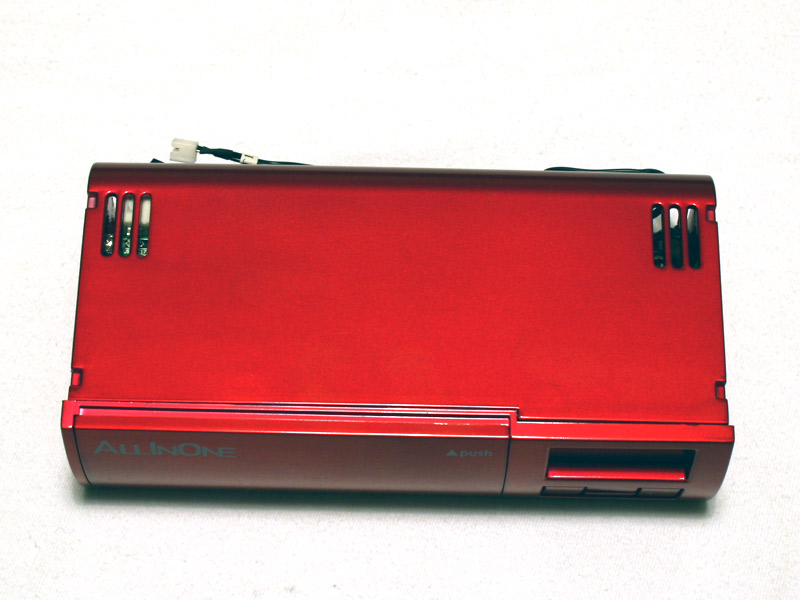
The back holds three further cables and all the connectors can be seen. I took off the top cover to expose the PCBs inside the AllInOne. Turns out, that it is quite packed inside the compact unit. The three cables are already attached to the unreachable connectors of the device, so there is no reason for you to take off the top as I did.
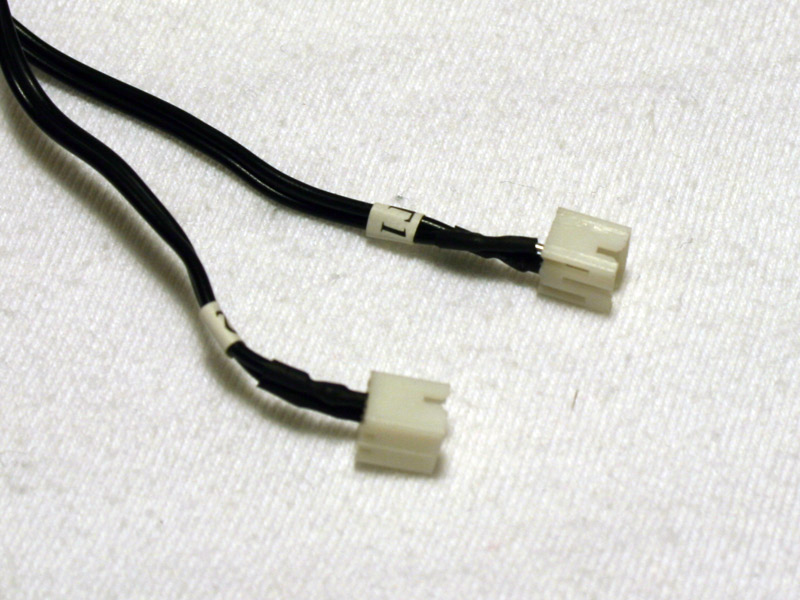

Two of the three cables are meant for the thermal diodes, while the other is used by the card reader and connects to a USB 2.0 mainboard header.
May 5th, 2024 20:02 EDT
change timezone
Latest GPU Drivers
New Forum Posts
- Arctic MX-6 shelf life is just a couple months? (92)
- Only some humans can see refresh rates faster than others, I am one of those humans. (128)
- Apparently Valve is giving refunds on Helldivers 2 regardless of hour count. Details inside. (68)
- The Official Thermal Interface Material thread (1152)
- Horizontal black lines popping up on my screen? (15)
- [HELP] AMD GPU FINDING BIOS PROBLEM (11)
- Envinda RX 580 2048SP 8GB no image (13)
- What software are you using to monitor CPU temps during gaming session? (16)
- Battery swap for cyberpower UPS (55)
- Overheating/undervolt/setup issues (0)
Popular Reviews
- Finalmouse UltralightX Review
- Meze Audio LIRIC 2nd Generation Closed-Back Headphones Review
- ASRock NUC BOX-155H (Intel Core Ultra 7 155H) Review
- Montech Sky Two GX Review
- Cougar Hotrod Royal Gaming Chair Review
- Upcoming Hardware Launches 2023 (Updated Feb 2024)
- AMD Ryzen 7 7800X3D Review - The Best Gaming CPU
- Alienware Pro Wireless Gaming Keyboard Review
- HYTE THICC Q60 240 mm AIO Review
- Logitech G Pro X Superlight 2 Review - Updated with 4000 Hz Tested
Controversial News Posts
- Intel Statement on Stability Issues: "Motherboard Makers to Blame" (240)
- Windows 11 Now Officially Adware as Microsoft Embeds Ads in the Start Menu (167)
- AMD to Redesign Ray Tracing Hardware on RDNA 4 (153)
- Sony PlayStation 5 Pro Specifications Confirmed, Console Arrives Before Holidays (117)
- AMD's RDNA 4 GPUs Could Stick with 18 Gbps GDDR6 Memory (114)
- NVIDIA Points Intel Raptor Lake CPU Users to Get Help from Intel Amid System Instability Issues (106)
- AMD Ryzen 9 7900X3D Now at a Mouth-watering $329 (104)
- AMD "Strix Halo" Zen 5 Mobile Processor Pictured: Chiplet-based, Uses 256-bit LPDDR5X (103)