 42
42
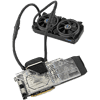
Alphacool Eiswolf 2 AIO GPU Cooler Review
Performance Testing »Installation

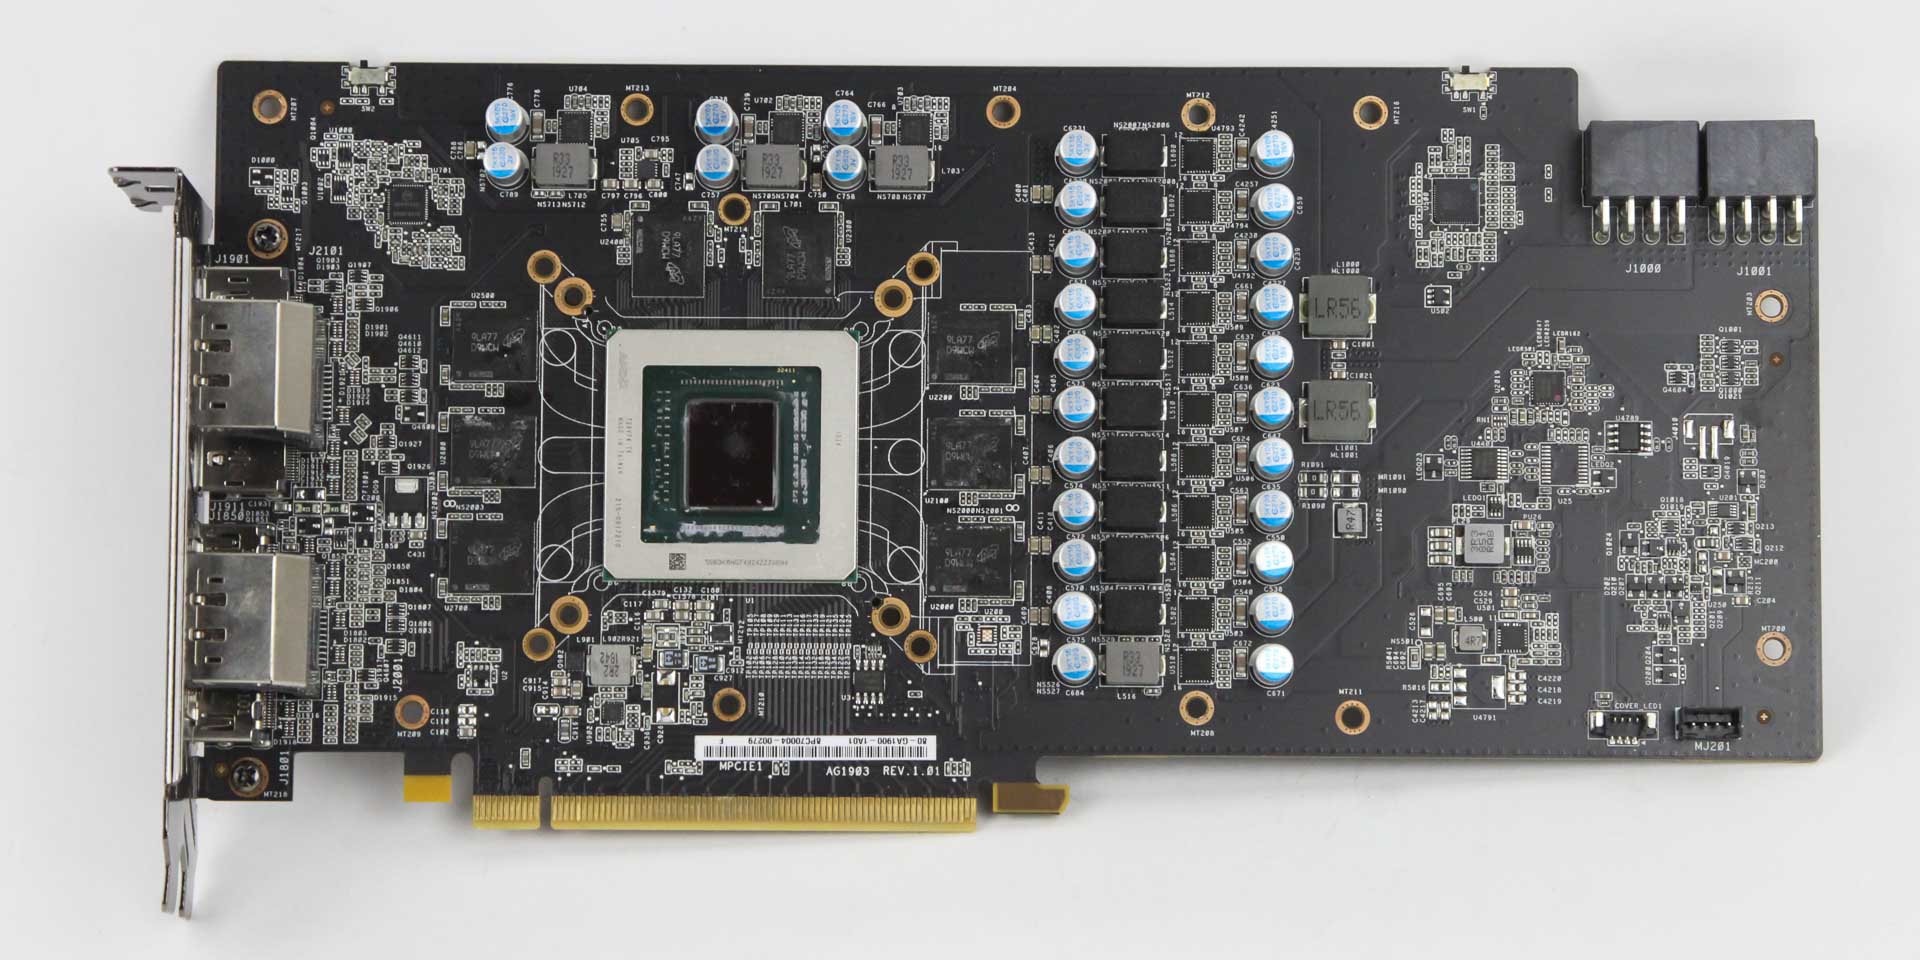
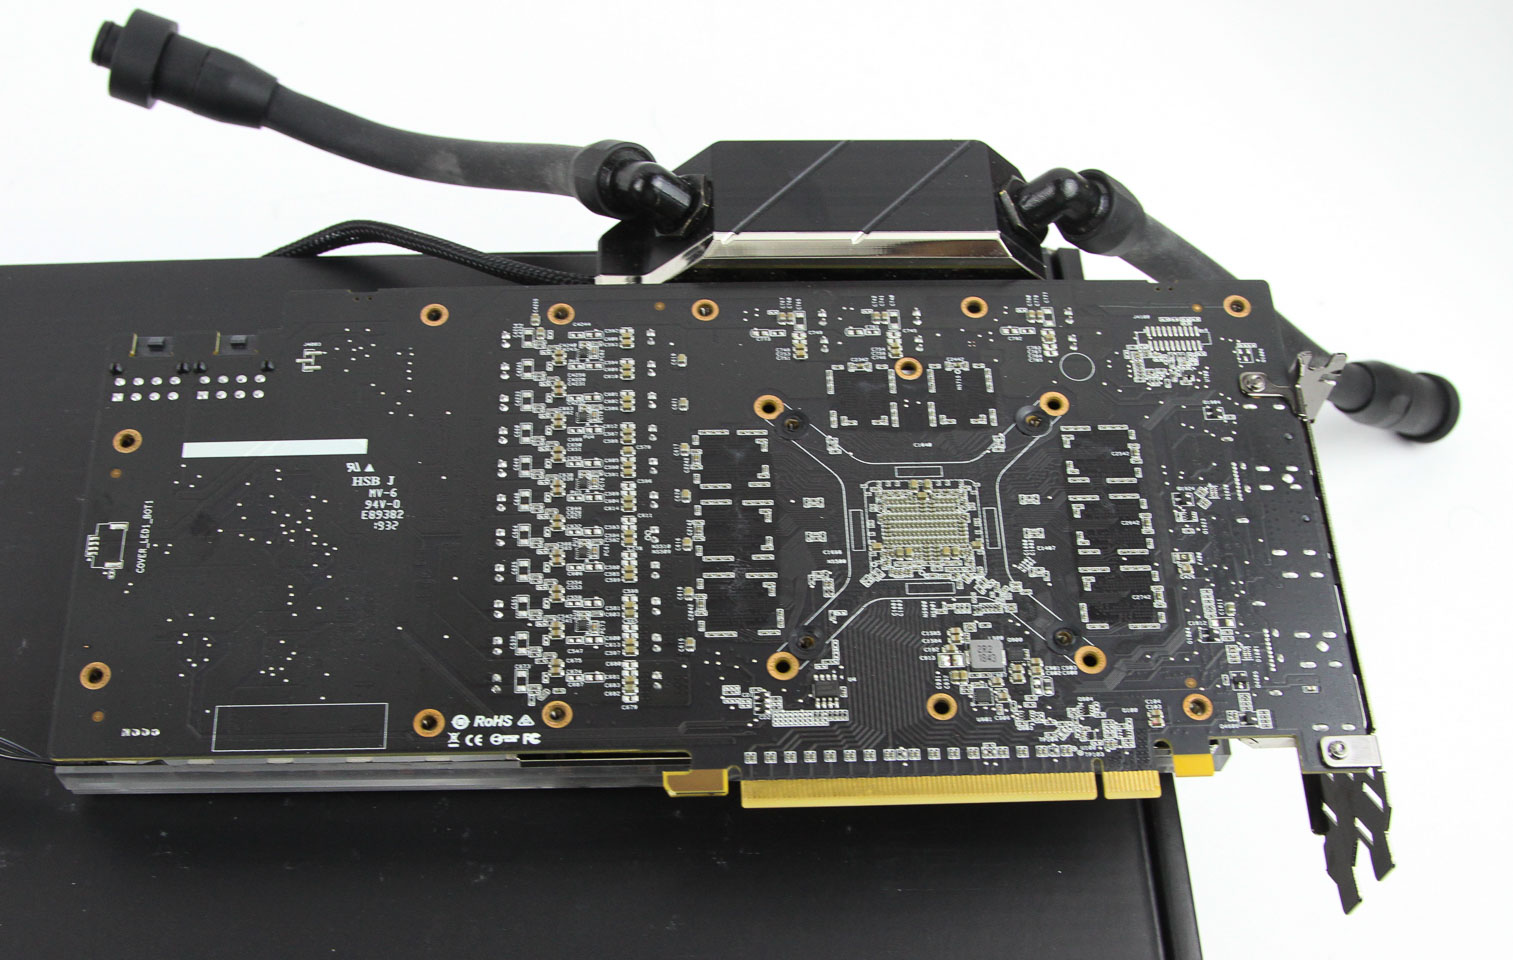

Installation of such GPU AIOs typically begins with the water block itself, and full-cover blocks such as the one on the Alphacool Eiswolf 2 are PCB-specific. Begin with the removal of the stock cooler, which can differ even for those cards with the same PCB, and clean off any remnants of thermal pads and/or paste on the PCB itself. Get familiar with the layout of the PCB and then check the contact surfaces on the cold plate of the GPU block to make sure you know which surfaces are going to transfer heat to the block. Refer to the manual to figure out which thermal pads to use where as it is again dependent on the PCB you have. Then apply the pads and paste, and I usually pre-spread thermal paste for GPUs and carefully place the block over it. Press the two together slightly, and turn the ensemble around over a box with the GPU I/O section hanging off the edge as seen above. Then install the block using screws with the built-in standoffs, beginning with the four around the GPU core and moving outwards. Depending on your GPU, you may have to use a nut to secure an edge screw or two near the I/O section.


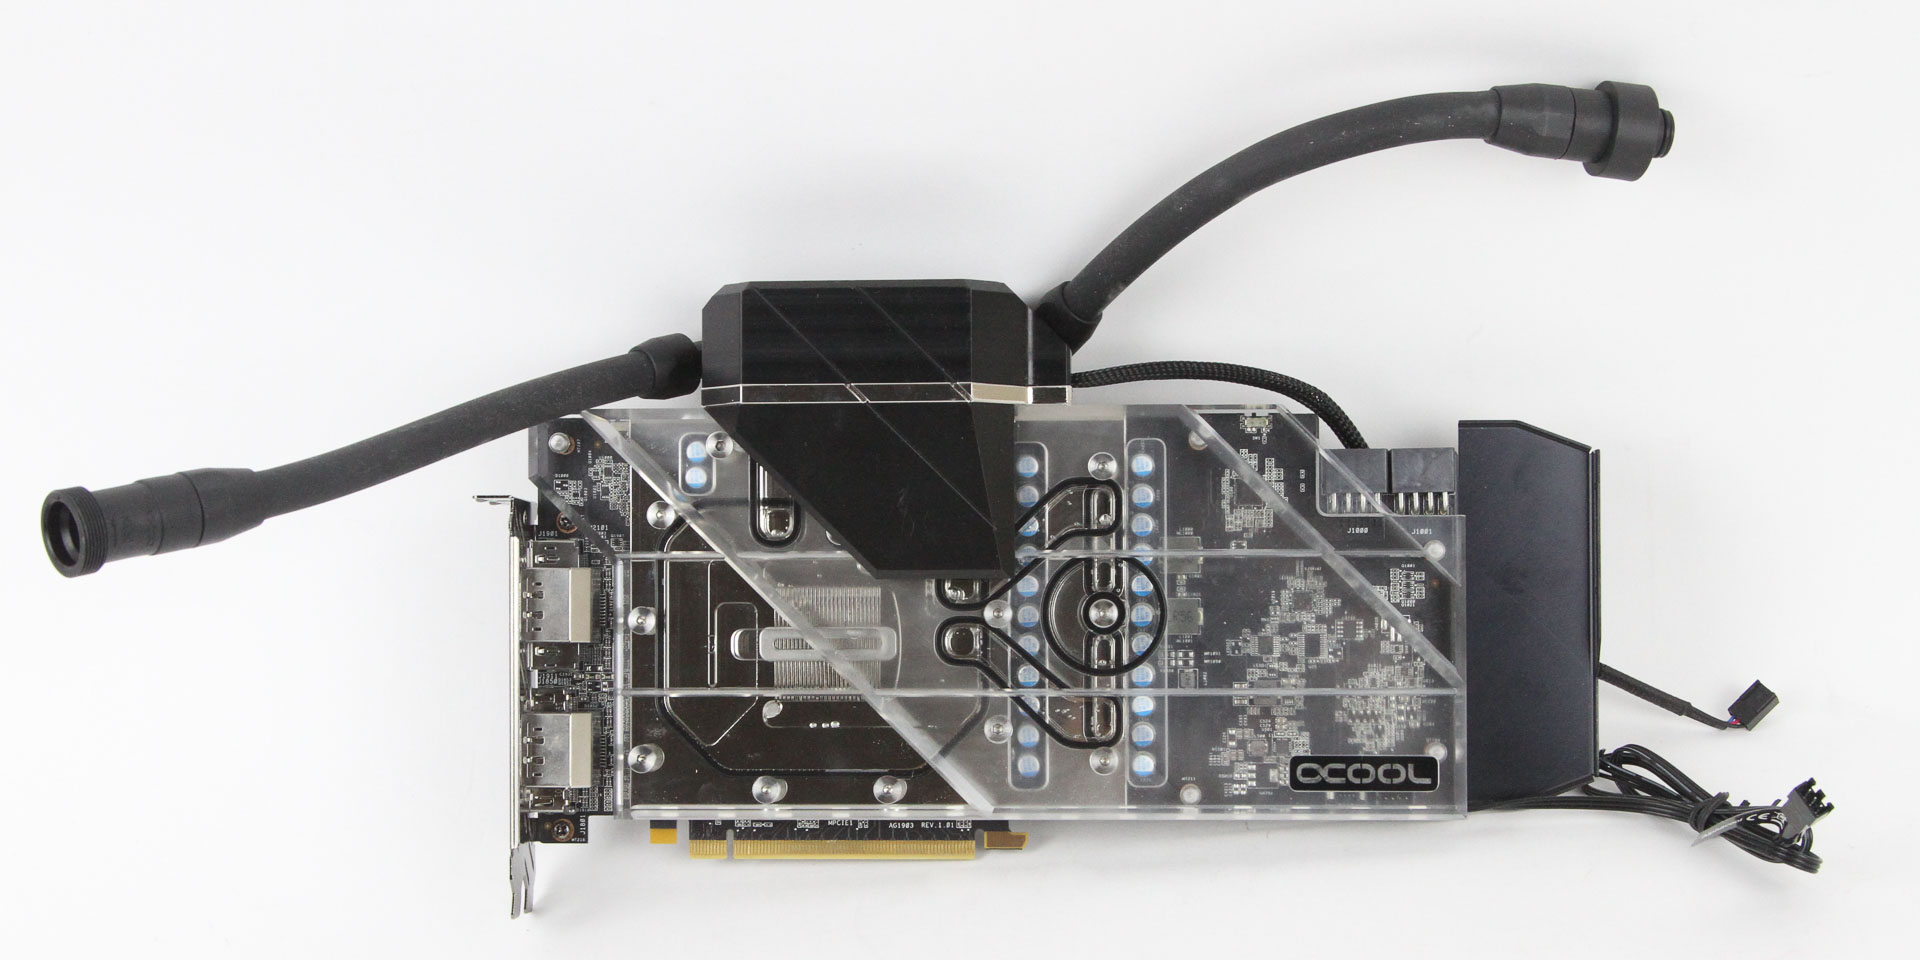
If you have a compatible backplate, chances are you may want to use it with the block as well. Stock backplates are supported natively more often than not by GPU block makers, and the only change needed may be different/longer screws. In this case, the non-reference PCB and associated GPU block meant that there were screws for the backplate as well, and the manual covered it, too. Once assembled, you get a dense piece of copper combined with aesthetics galore for function AND form.

The rest of the installation process is quite dependent on your case, but it typically covers installing the radiator to the case with shorter screws, or a radiator/fan combination to the case with longer screws. Decide on how best to orient the fans for optimal airflow, especially if you have other radiators/fans in your build. With that done, if you have no other compatible Alphacool AIO parts, simply thread the QDCs together, connect the cables, and you are good to go for power. If you have an Eisbaer Aurora, for example, use the QDCs of the two together for a longer loop comprising two pumps, two blocks, and two radiators!
Lighting


Here is a look at the digital RGB LEDs in action with the provided multifunction controller, be it static or dynamic. They are neatly hidden when off and result in concentric lighting rings when in motion on the fans, which makes for an impressive light show. The LEDs on the block are less subtle, with directional effects from the bottom shining upwards, and a single color LED for the pump unit lights up in green (for NVIDIA cards) or red (for AMD cards) to backlight the writing there. Compatibility with motherboards through the included adapter cable is also excellent to see here, as it helps with more such products inside the case and beyond.
May 7th, 2024 13:15 EDT
change timezone
Latest GPU Drivers
New Forum Posts
- Throttle STOP Program Function (1)
- Nvidia 474.82 driver (4)
- What's your latest tech purchase? (20468)
- Current Sales, Bundles, Giveaways (10228)
- Free Games Thread (3786)
- Intel Core "Special Edition" Owners' Club (38)
- TPU's Nostalgic Hardware Club (18496)
- Arkane Austin and Redfall: what happened? (42)
- 6800XT Red Devil with 18°C difference from Core to Hotspot (8)
- not impressed - nvme vs ssd (33)
Popular Reviews
- Finalmouse UltralightX Review
- Corsair iCUE Link RX120 RGB 120 mm Fan Review
- Cougar Hotrod Royal Gaming Chair Review
- Meze Audio LIRIC 2nd Generation Closed-Back Headphones Review
- Upcoming Hardware Launches 2023 (Updated Feb 2024)
- ASRock NUC BOX-155H (Intel Core Ultra 7 155H) Review
- AMD Ryzen 7 7800X3D Review - The Best Gaming CPU
- CHERRY XTRFY M64 Pro Review
- ASUS Radeon RX 7900 GRE TUF OC Review
- Montech Sky Two GX Review
Controversial News Posts
- Intel Statement on Stability Issues: "Motherboard Makers to Blame" (252)
- AMD to Redesign Ray Tracing Hardware on RDNA 4 (196)
- Windows 11 Now Officially Adware as Microsoft Embeds Ads in the Start Menu (167)
- NVIDIA to Only Launch the Flagship GeForce RTX 5090 in 2024, Rest of the Series in 2025 (128)
- Sony PlayStation 5 Pro Specifications Confirmed, Console Arrives Before Holidays (119)
- AMD's RDNA 4 GPUs Could Stick with 18 Gbps GDDR6 Memory (114)
- NVIDIA Points Intel Raptor Lake CPU Users to Get Help from Intel Amid System Instability Issues (106)
- AMD Ryzen 9 7900X3D Now at a Mouth-watering $329 (104)