 40
AMD Ryzen AI Halo Review - Local-AI Powerhouse with 128 GB of Memory
(40 Comments) »Introduction

The Ryzen AI Max+ 395 isn't new. AMD's top "Strix Halo" APU has shipped in Mini-PCs for about a year, and is almost always reviewed like a small gaming PC. That misses the point: it was built to run large AI models locally, on your own desk and without a cloud account, and it's very good at it. So that's what we'll focus on in this review.
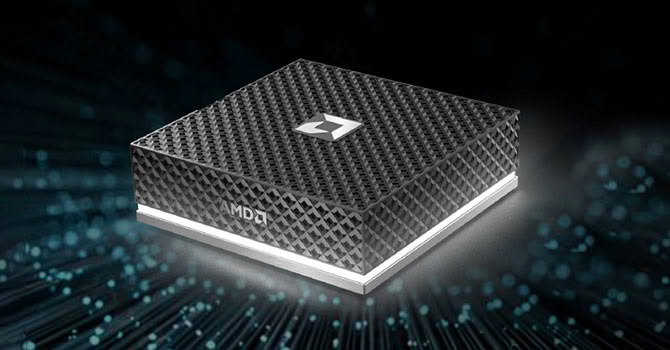
The AMD Ryzen AI Halo is a complete 150 mm-square, ~1 kg machine with 16 Zen 5 cores, a Radeon 8060S RDNA 3.5 GPU and an XDNA 2 NPU, but the number that really matters is the 128 GB of unified LPDDR5X-8000 memory. That's the core of the story for this product—you'll be able to run huge AI models that no other consumer hardware can touch. A GeForce RTX 5090, the fastest consumer GPU you can buy, has "just" 32 GB GDDR7 VRAM, so the moment a model no longer fits, it's the little AMD box that keeps running while the mighty 5090 will fail. AMD brands this specific model as the Ryzen AI Halo Developer Platform, priced at $4,000 compared to $7,000 for NVIDIA's 128 GB DGX Spark. The same concept is available from many other Mini-PC vendors; look for "Ryzen AI 395."
Gorgon Halo—the Ryzen AI 495 successor to Strix Halo—has been announced recently, too, and will start shipping in the coming weeks and months, with support for up to 192 GB of faster LPDDR5X-8533 memory. It seems to be the exact same design, just with more memory and the upgraded CPU, which is really just clocked 100 MHz higher on both the CPU and GPU (it's the same silicon chip).
So this isn't your typical Mini-PC review. The usual material is here (photos, teardown, gaming, power), but I'll be investigating what 128 GB of unified memory makes possible: local LLMs, image and text generation, speech-to-text, a coding assistant and a few experiments we haven't seen anyone else try.
| Specifications | |
|---|---|
| APU | AMD Ryzen AI Max+ 395 "Strix Halo" 16 cores / 32 threads, Zen 5 Up to 5.1 GHz boost TSMC N4P process |
| GPU | Integrated GPU AMD Radeon 8060S RDNA 3.5 40 Compute Units (2560 shaders) |
| NPU | AMD XDNA 2 up to 50 TOPS |
| Memory | 128 GB unified LPDDR5X-8000 ~256 GB/s bandwidth Up to 96 GB for the GPU |
| Storage | 2 TB M.2 NVMe SSD PCIe Gen 4 x4 |
| Display Outputs | 1x HDMI 2.1b DisplayPort via USB-C |
| I/O Ports | 3x USB-C (USB4) 1x USB-C (power input only) 1x 10 Gbps Ethernet (RJ-45) |
| Networking | Wi-Fi 7 Bluetooth 5.4 10 GbE wired |
| Operating System | Windows 11 or Linux |
| TDP | 120 W |
| Dimensions / Weight | 150 x 150 x 45.4 mm (5.9 x 5.9 x 1.79 in) 1016 g (AMD claims <1.2 kg, which seems wrong, we measured it) |
| Price | $4,000 |
Packaging
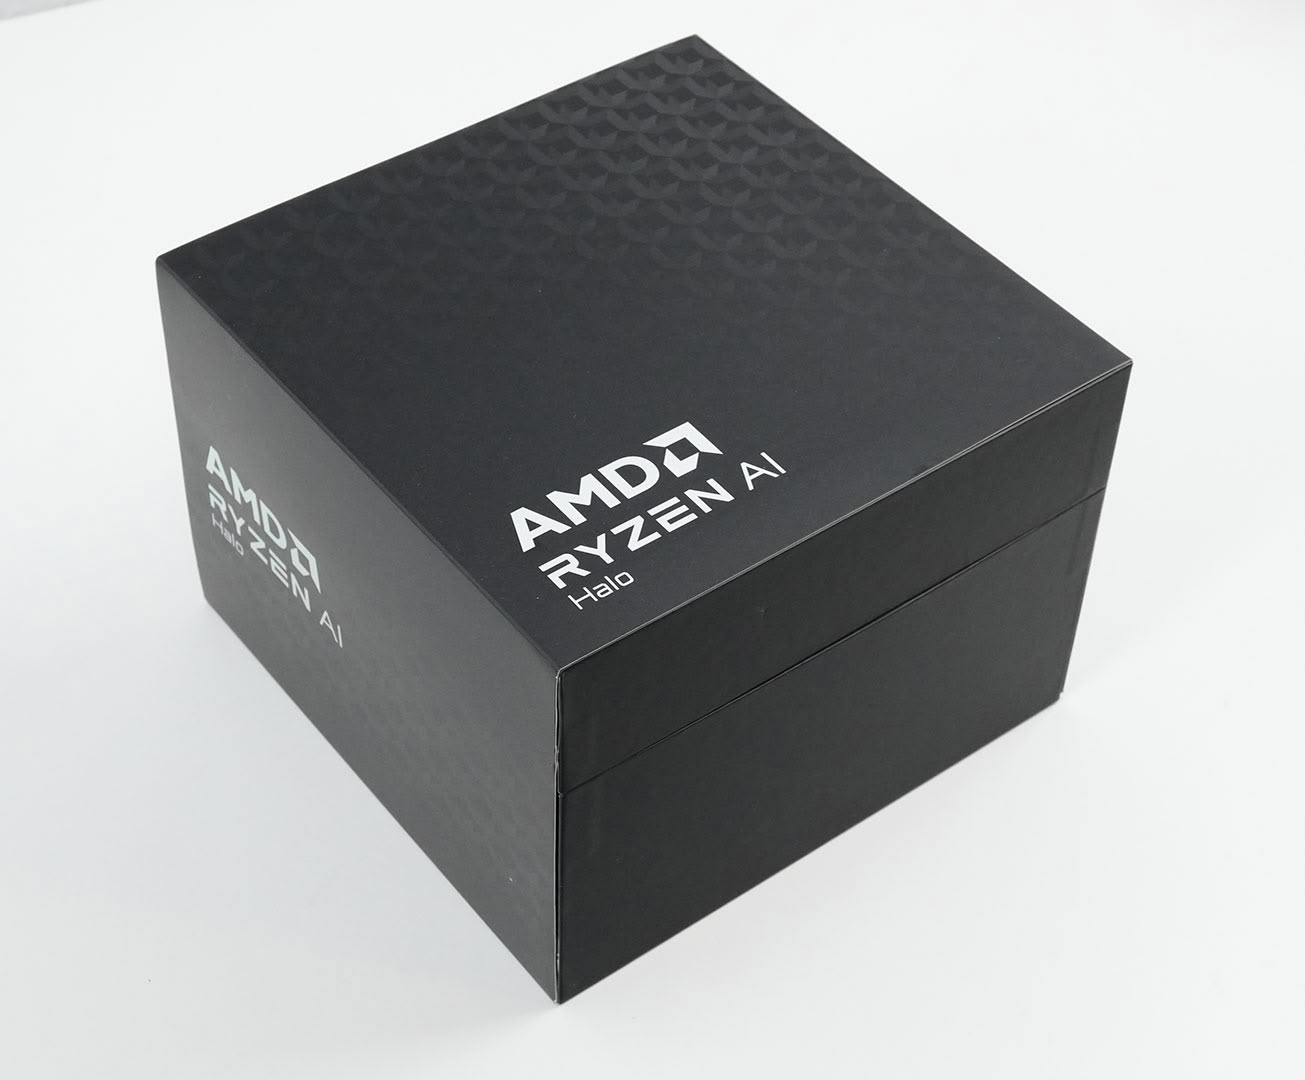
The Ryzen AI Halo arrives in a small black box, very clean and understated.
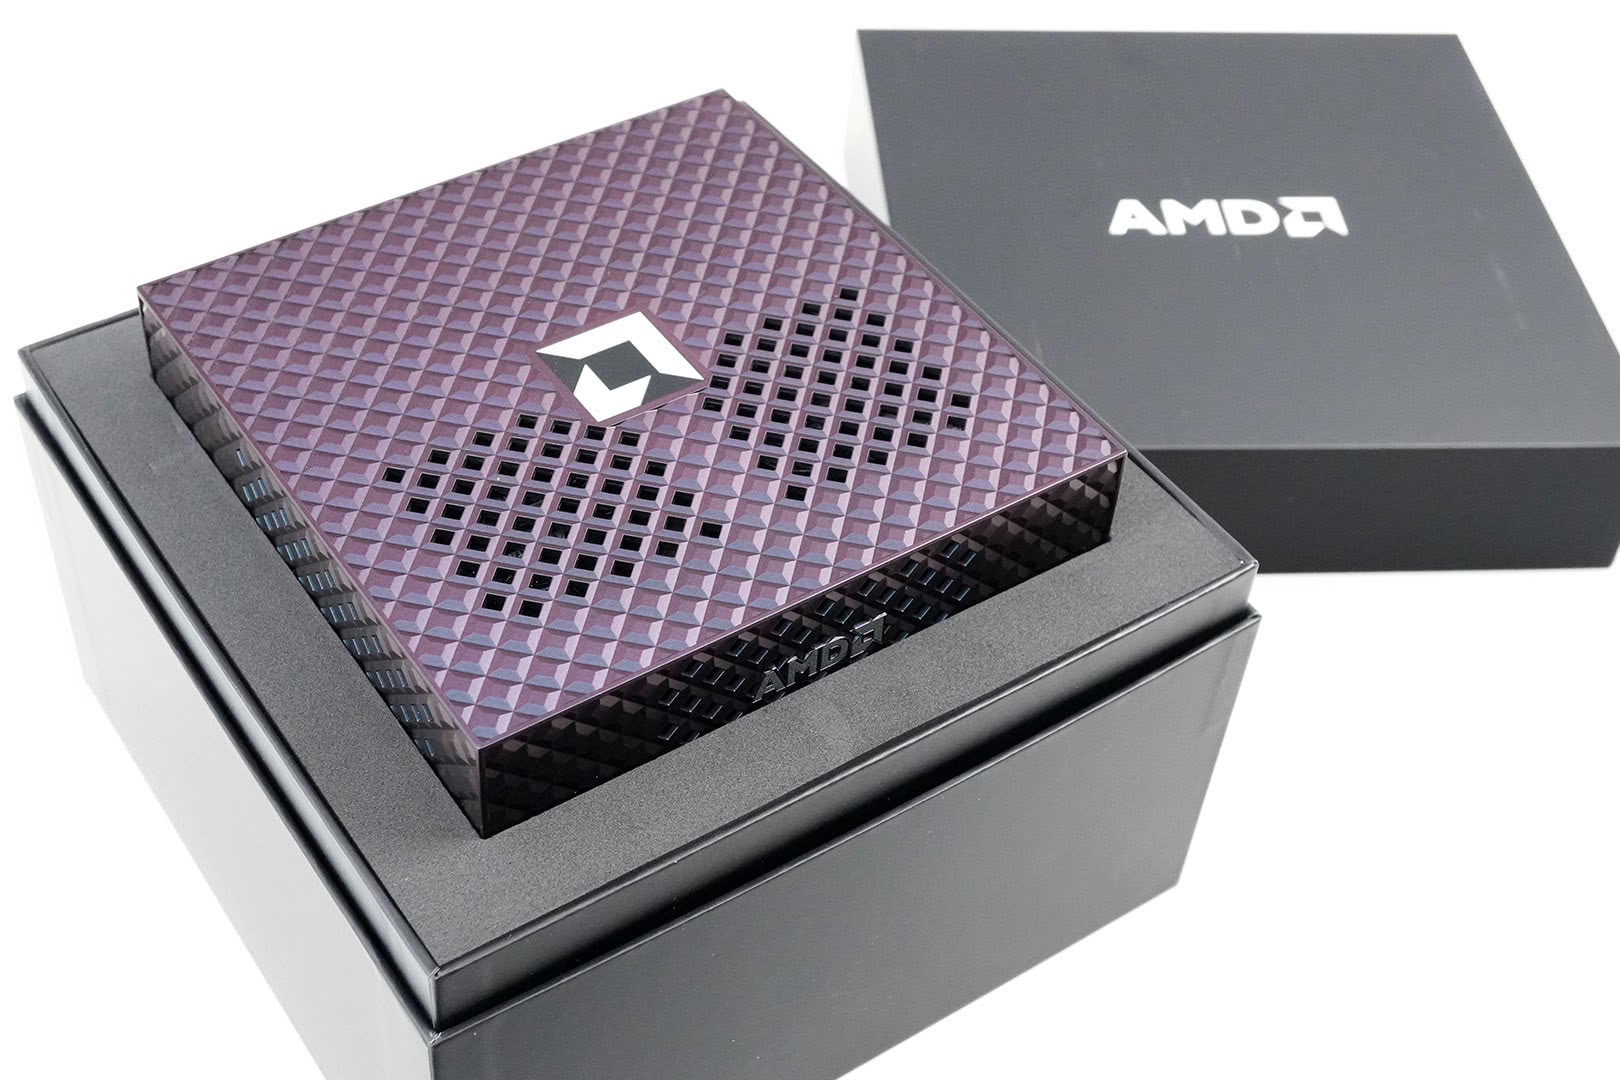
Upon opening, you are greeted by the Mini-PC sitting right on top, and its shiny surface detail makes a great first impression.
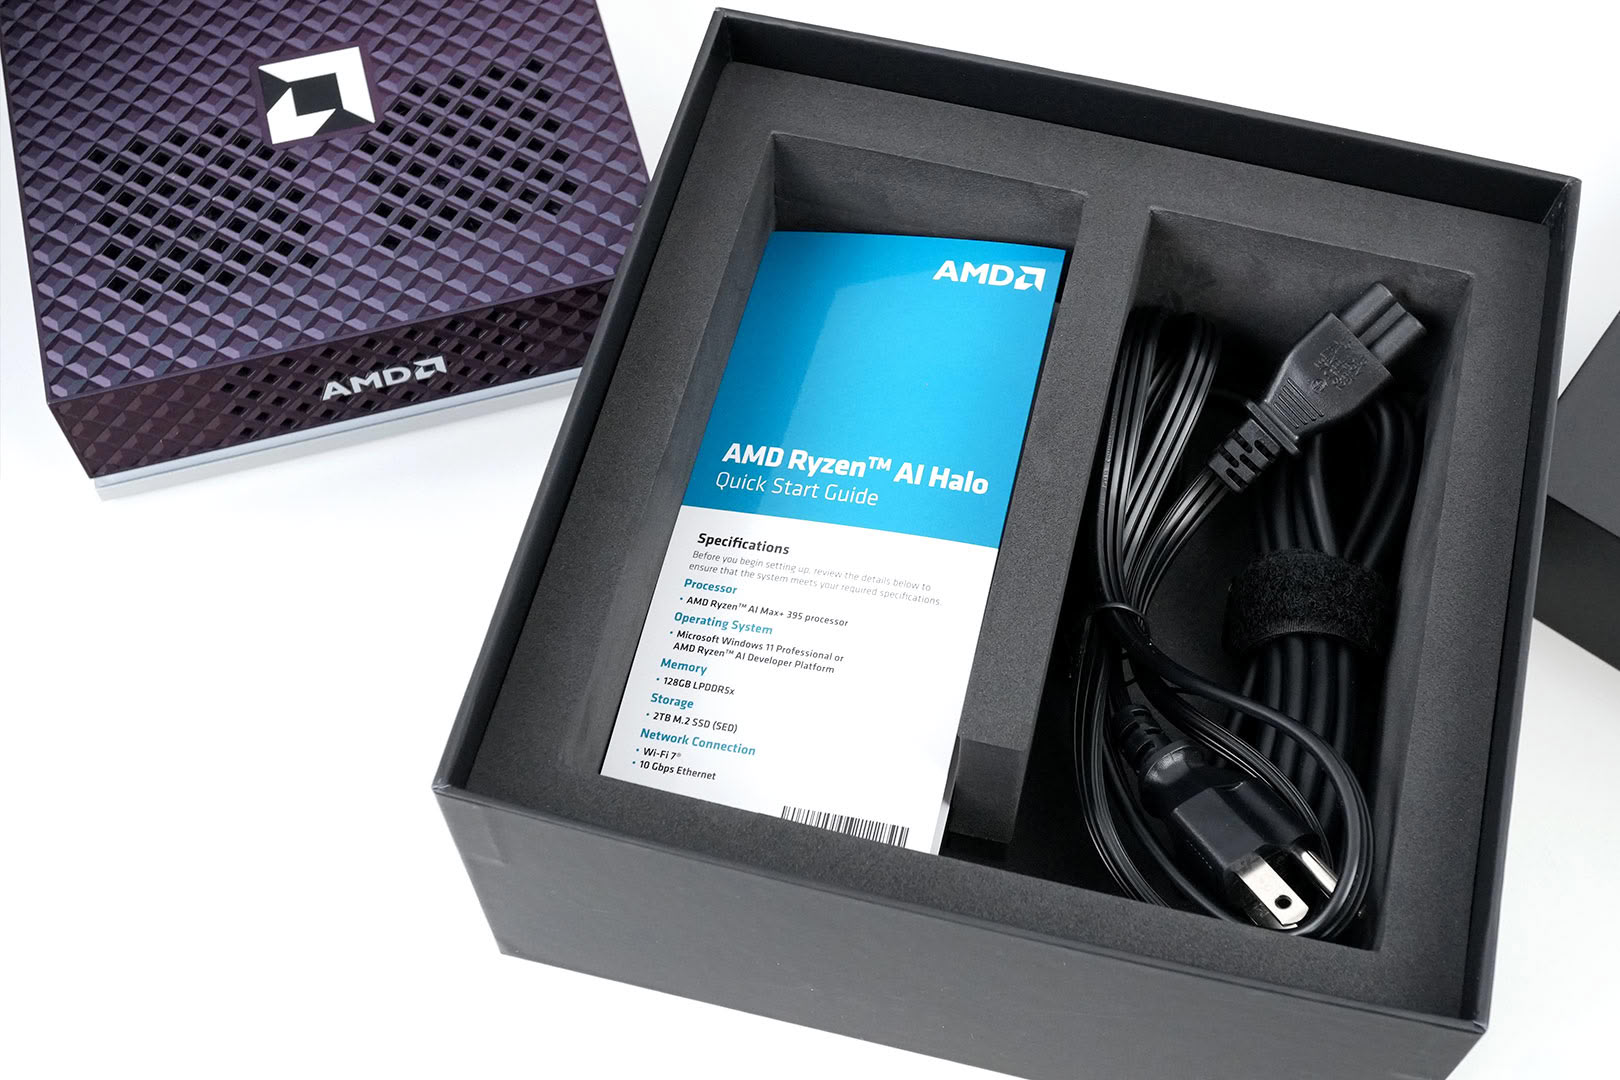
Below the Ryzen AI Halo itself you'll find some documentation and the external power brick.
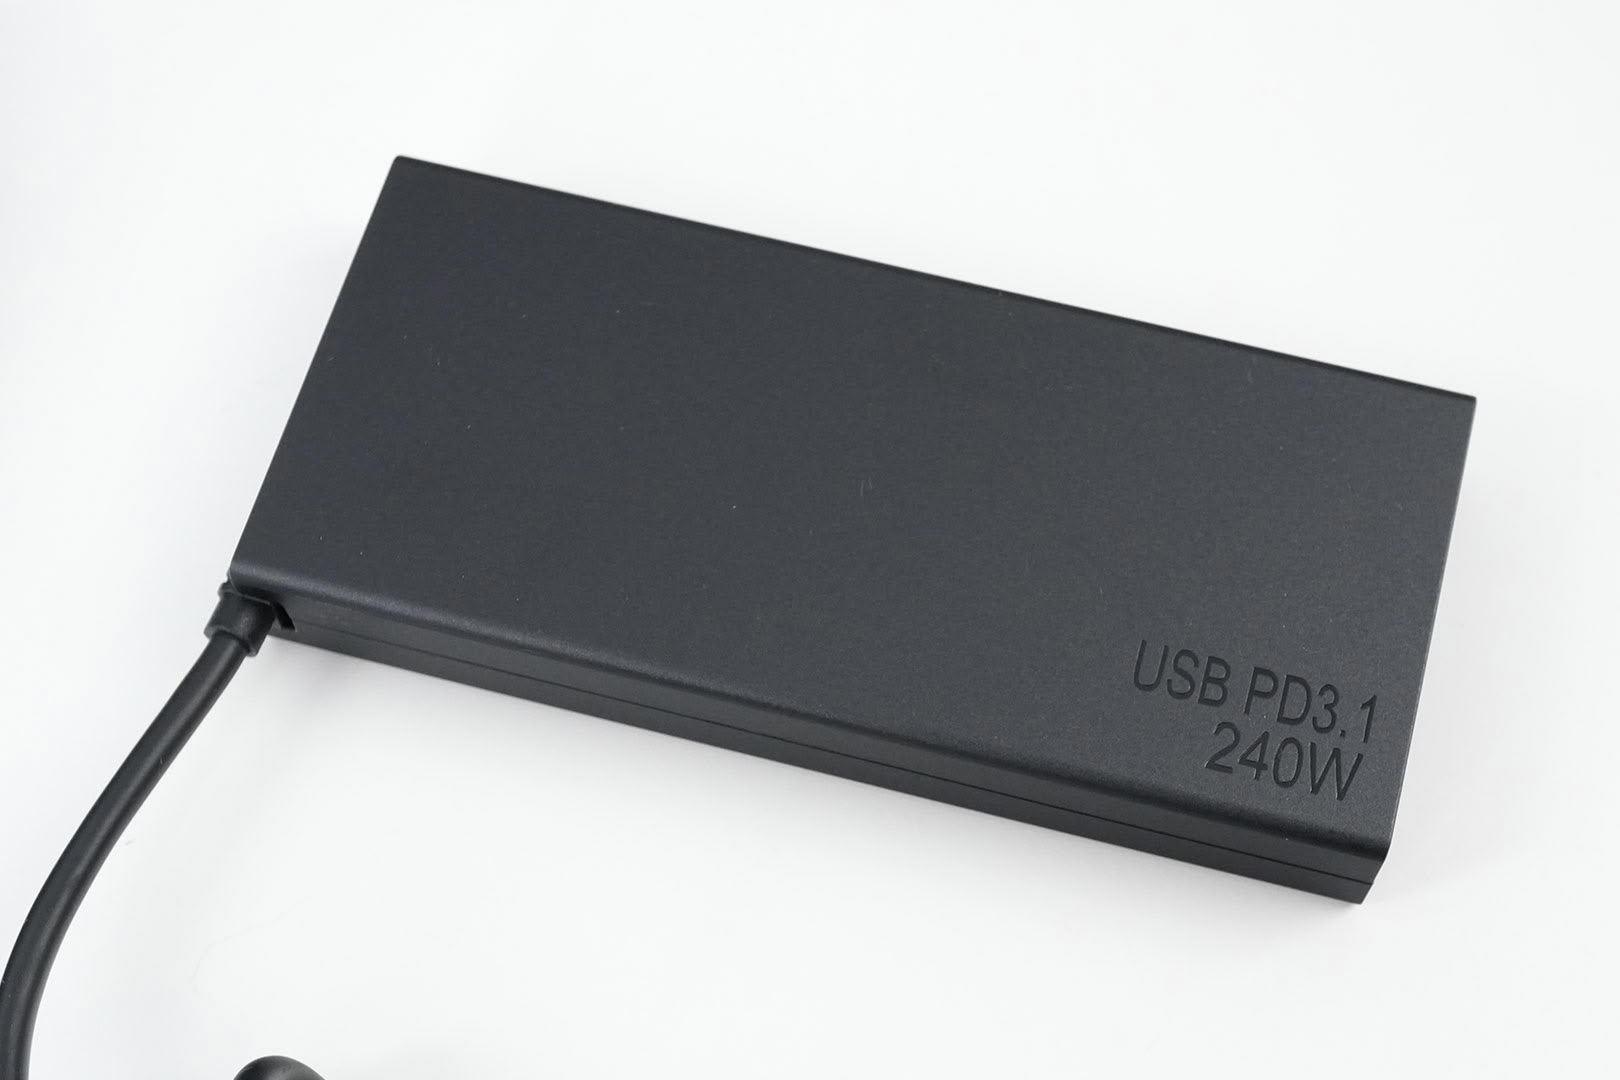
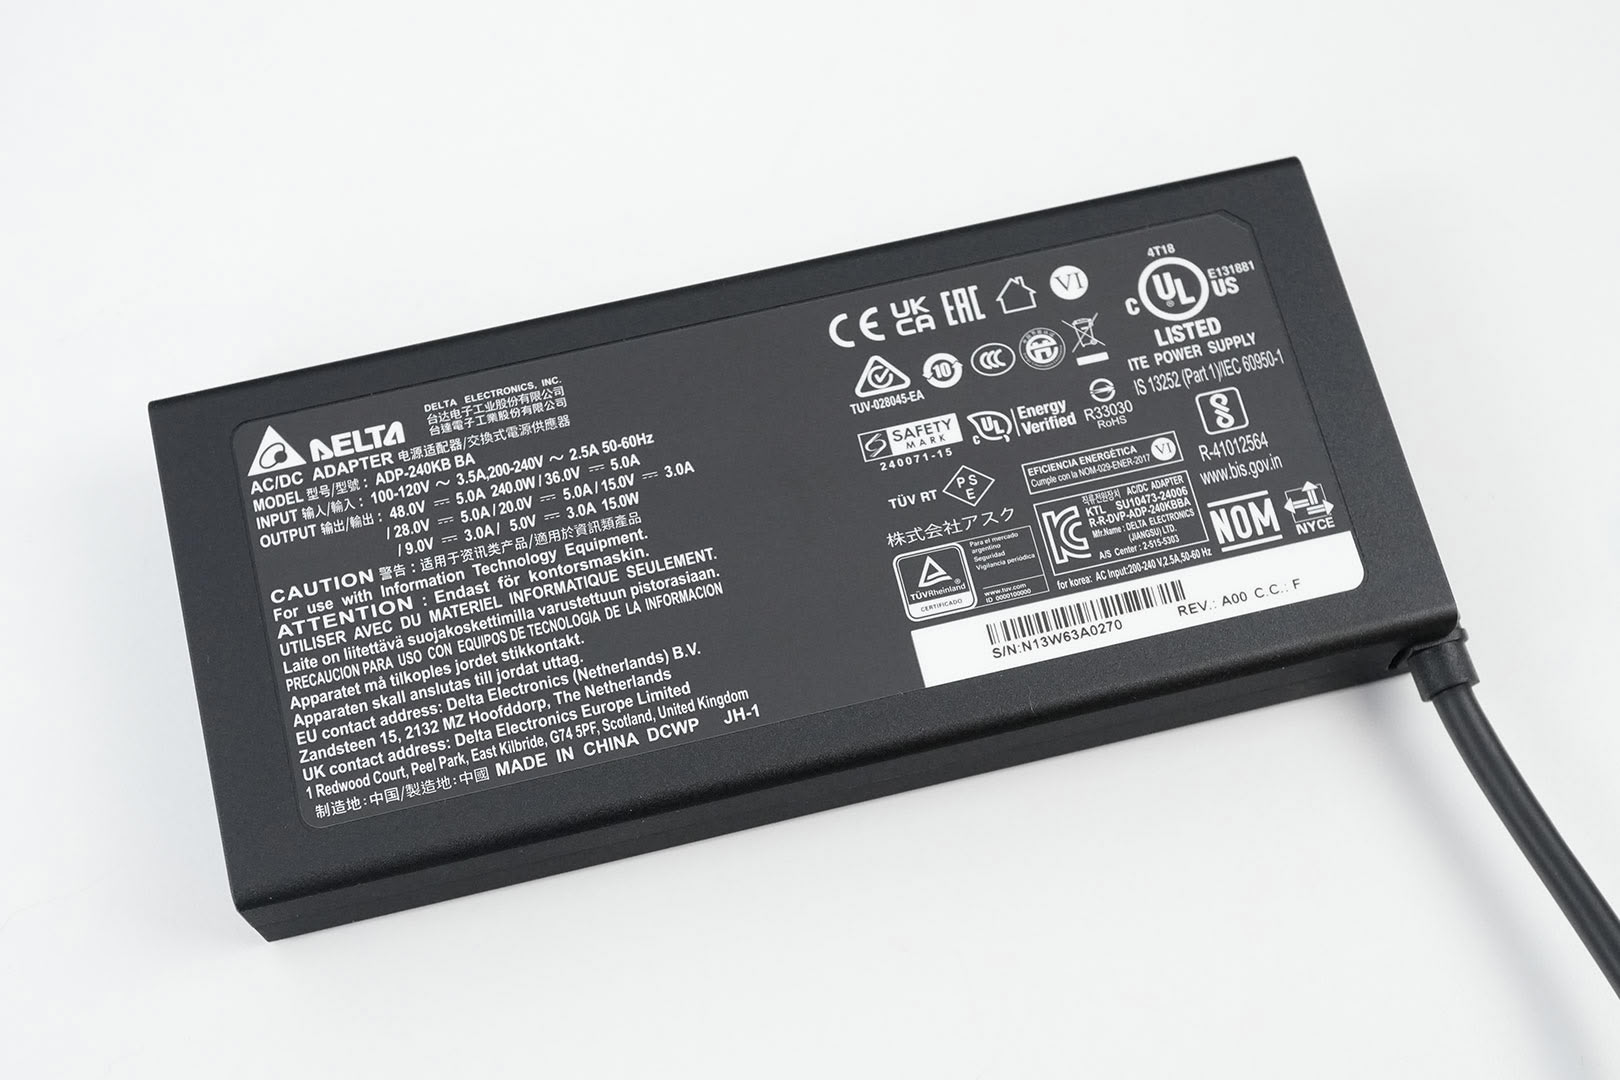
The AC adapter is made by Delta, one of the leading PSU manufacturers. It's rated for up to 240 W of output—the Ryzen AI Halo won't go nearly that high, but we did make it break 200 W in this review, after maxing out its power-limit setting manually.
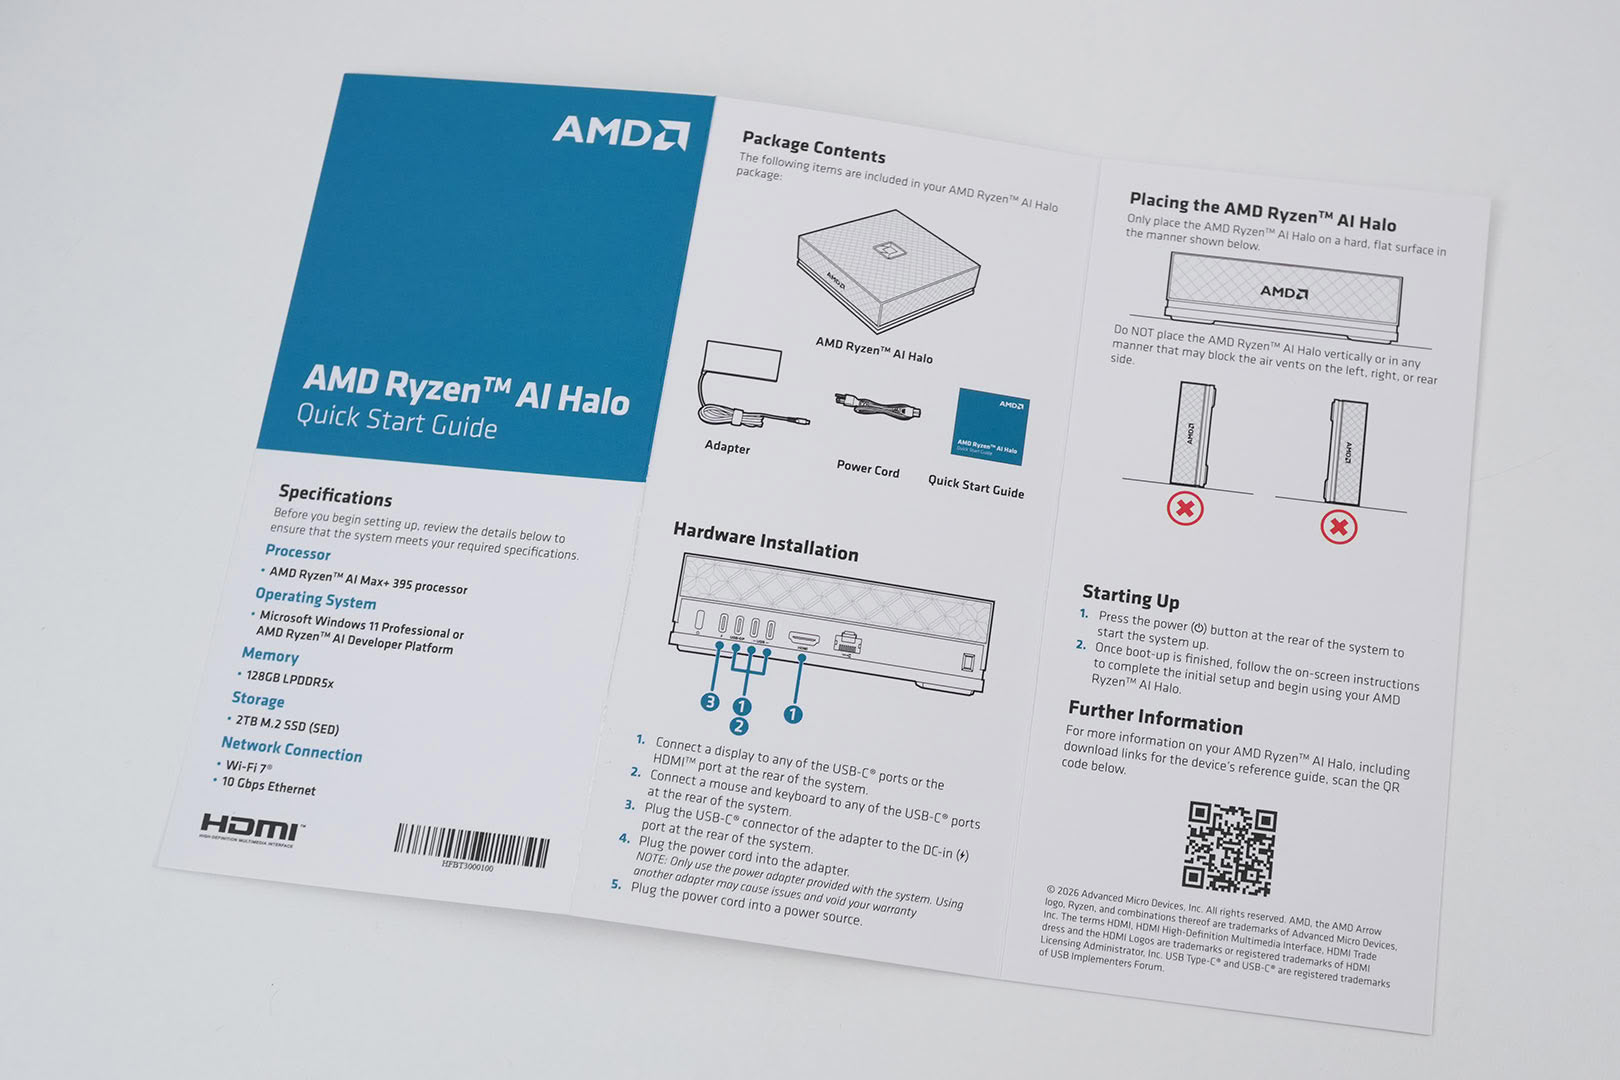
Also included is a quick-start guide. It's really basic; the main documentation is online and available from the box after startup.
The Ryzen AI Halo System
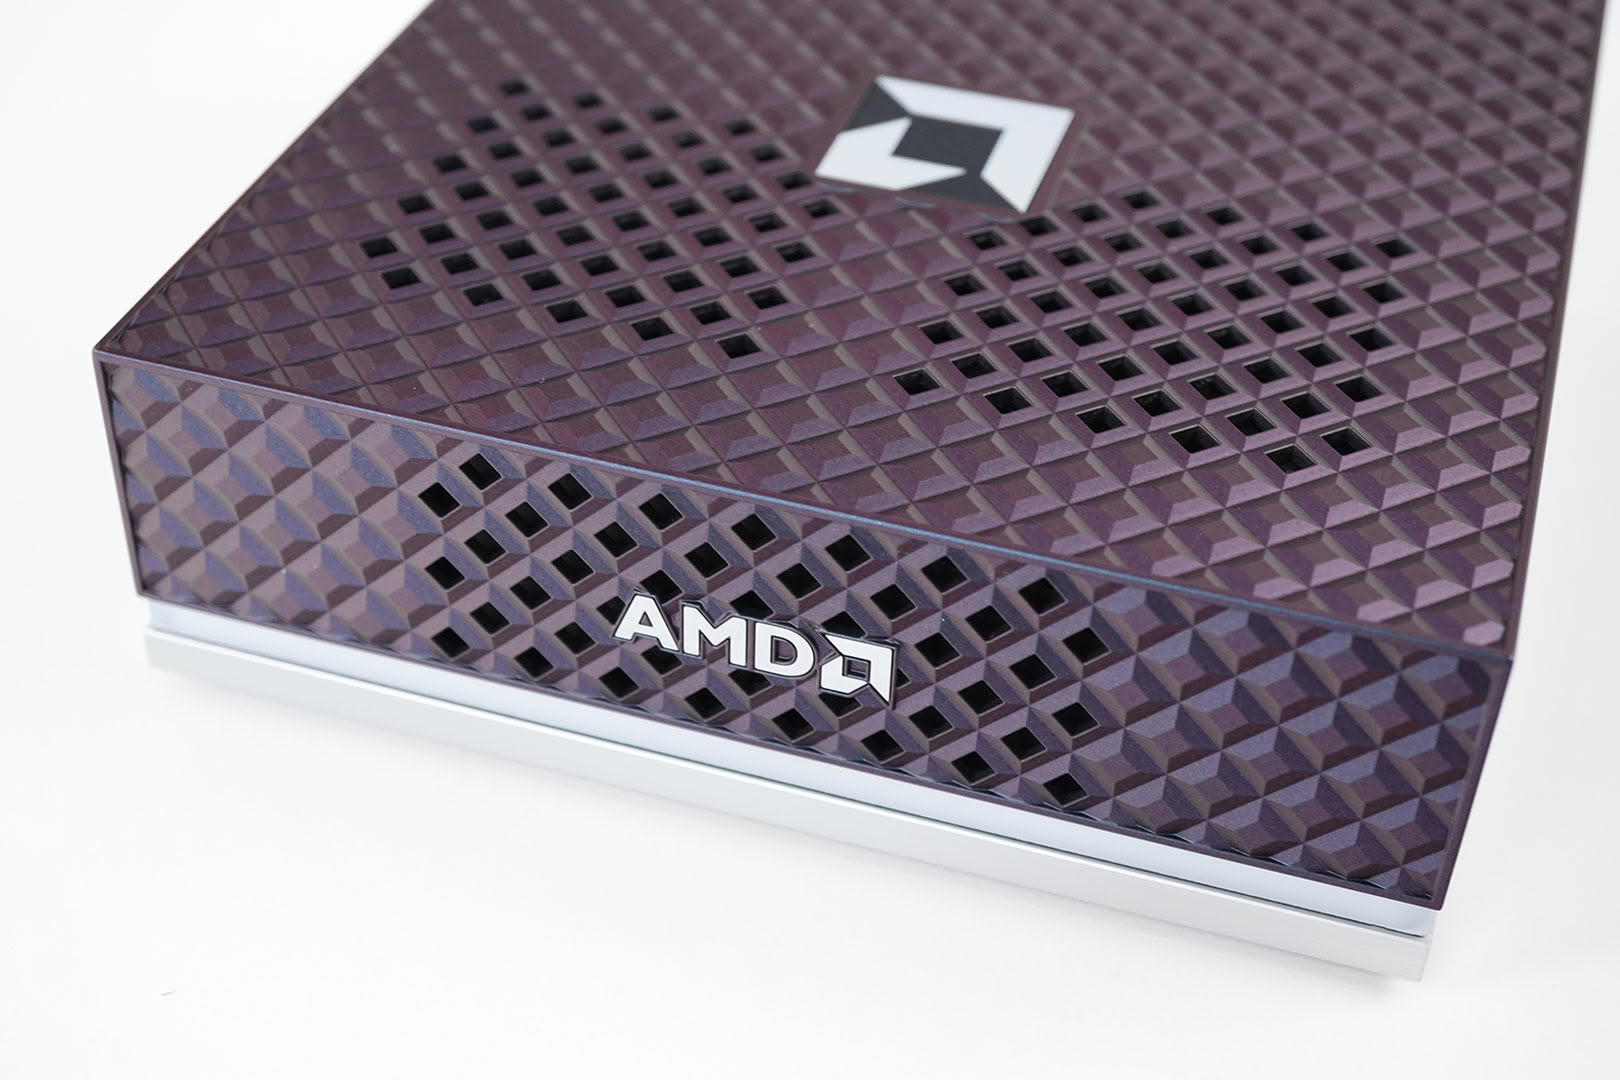
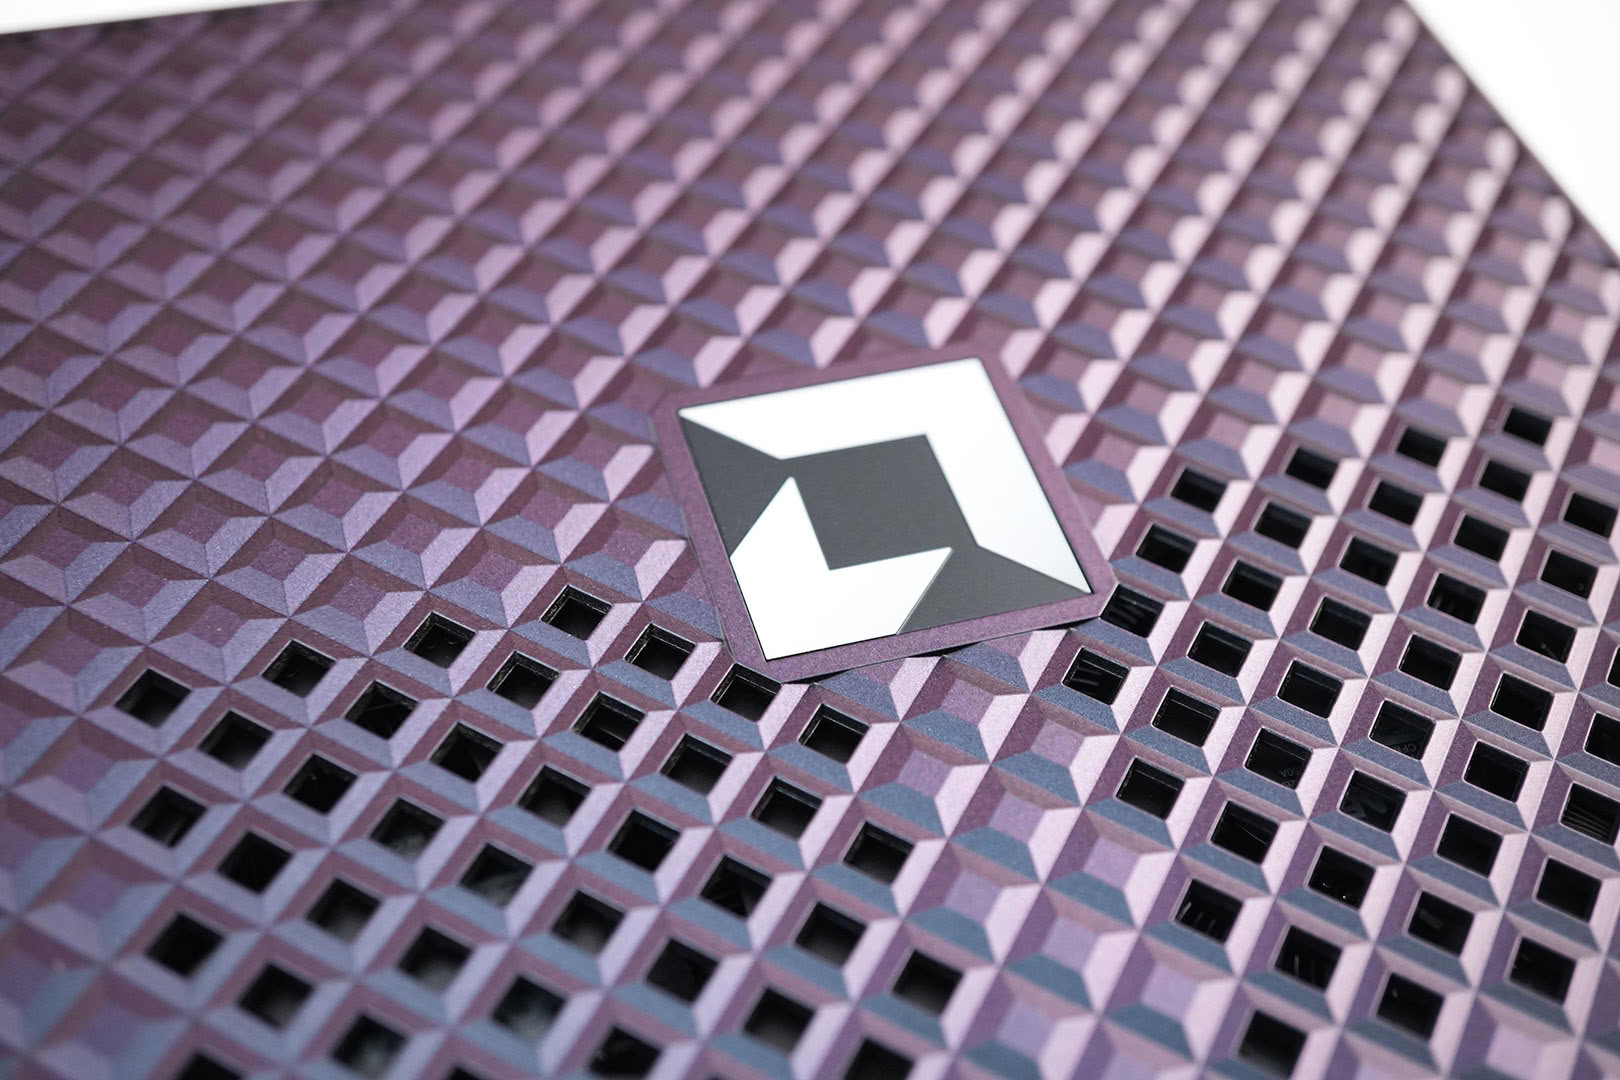
AMD really came up with a nice design here. There's a lot of structural detail, and I like the color theme: black at first glance, but it shifts to a nice purple hue depending on the angle of the light.
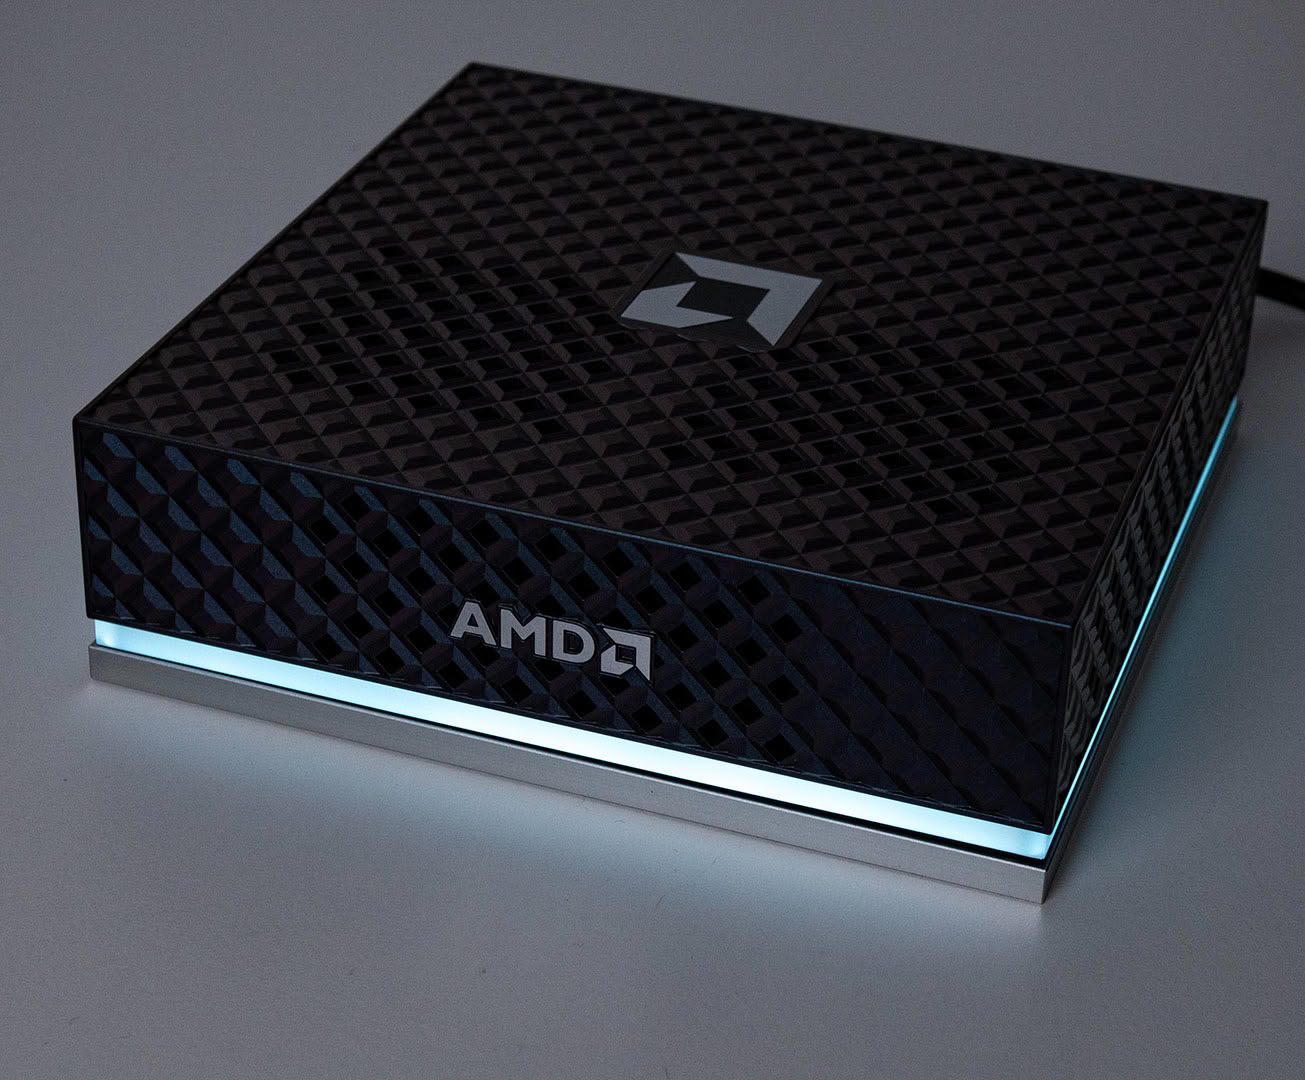
Below the AMD logo on the front, above the silvery bottom plate, there's a white area that lights up during operation. A solid white glow means it's powered on; it breathes blue in standby, and it doubles as a diagnostic: fast-blinking white signals a power-rail problem, solid red a memory failure, and slow-blinking blue a fan fault. This is a welcome difference from the NVIDIA DGX Spark, which has no lighting or any other indicator that it's powered on, something that complicates debugging.
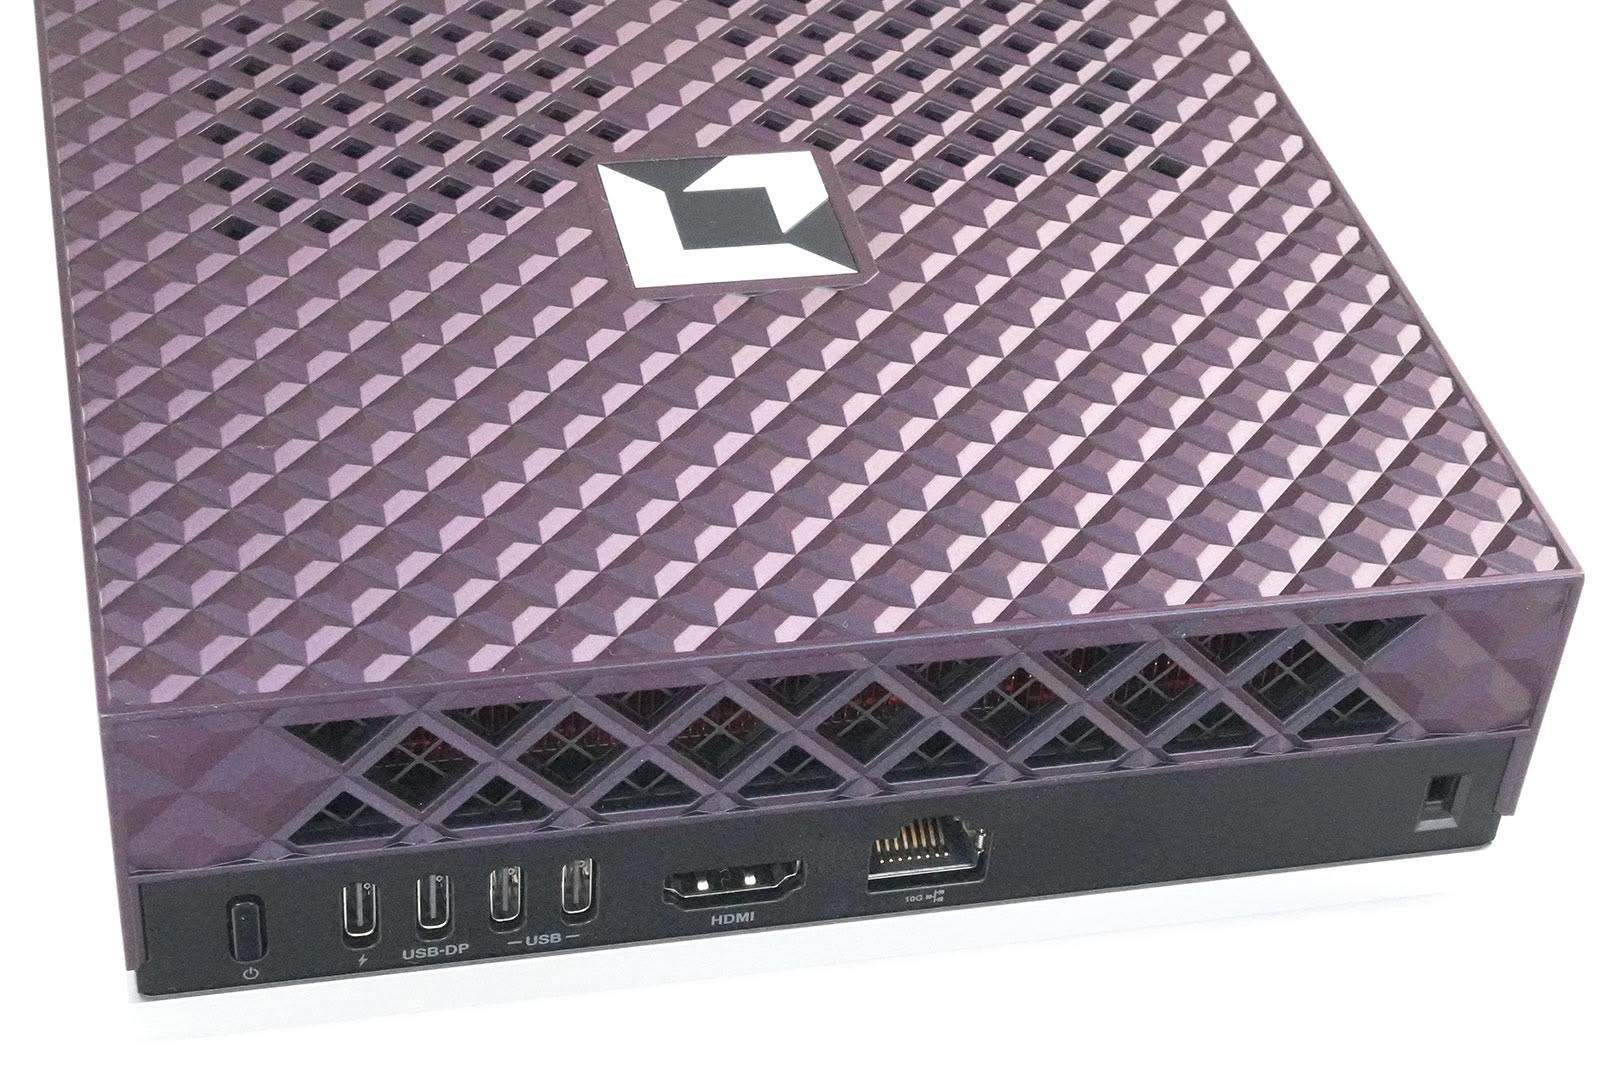
On the back, from left to right, you'll find the power button, a USB-C port for power, a USB-C port that also supports DisplayPort Alt Mode output for a monitor (or just a regular USB-C port if you connect the display via HDMI), two more USB-C ports, HDMI, and 10 Gb Ethernet.
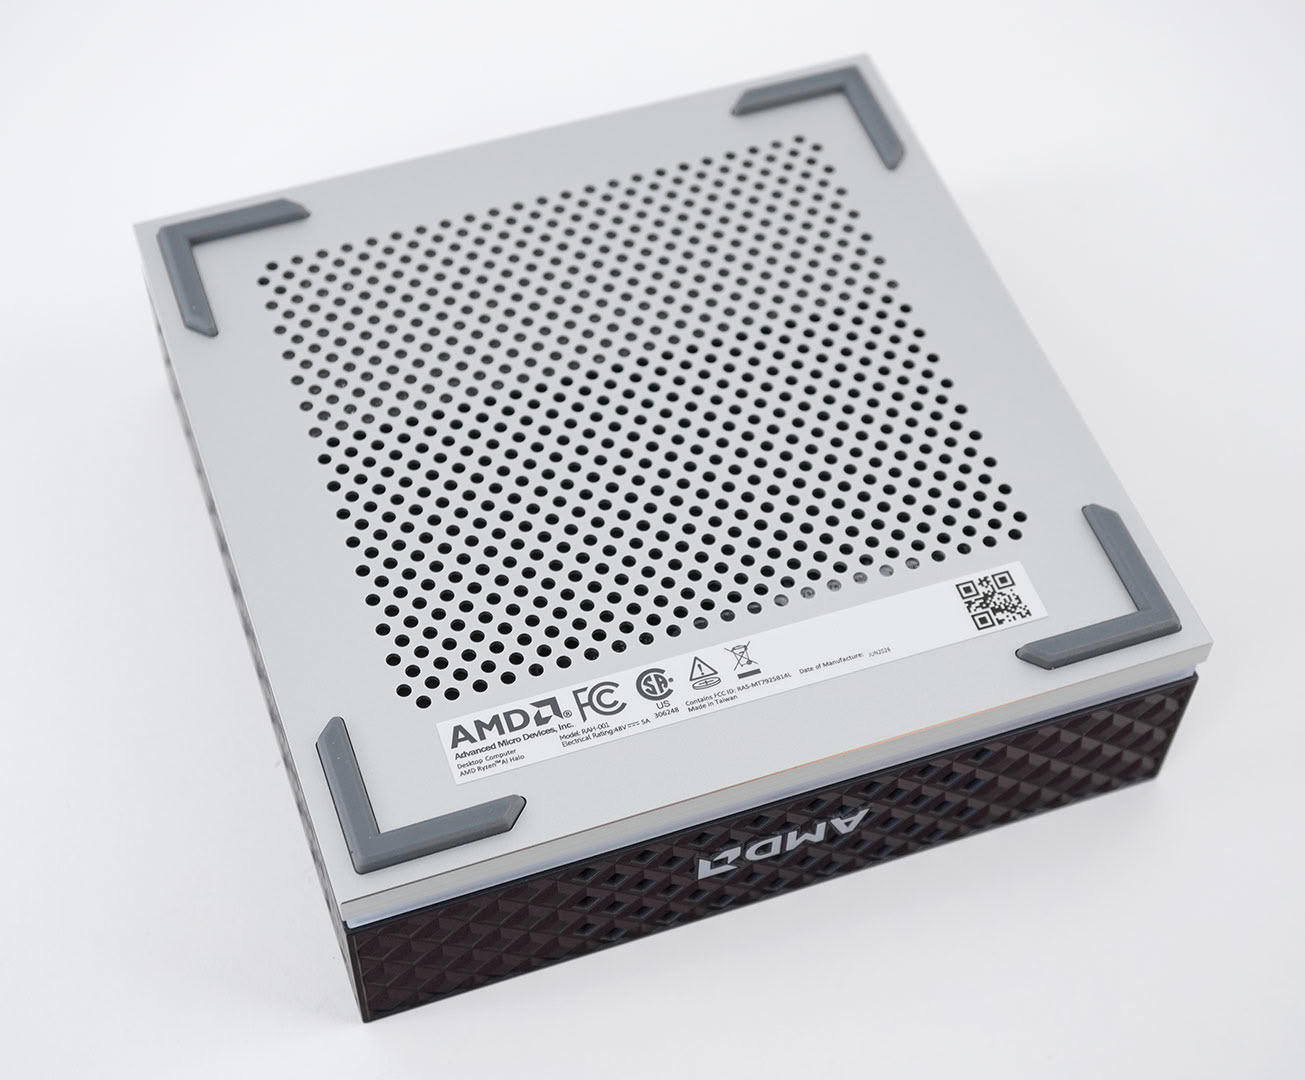
On the bottom you'll find additional air vents and four feet that (I love this) are magnetically attached and cover the screws used to open the unit.
Teardown: A Look Inside
So let's get started with the disassembly. The first part, until you reach the SSD, is easy, then it becomes complicated and there's no way to do it without breaking something that will confirm you took it apart, also there's a bit of glue.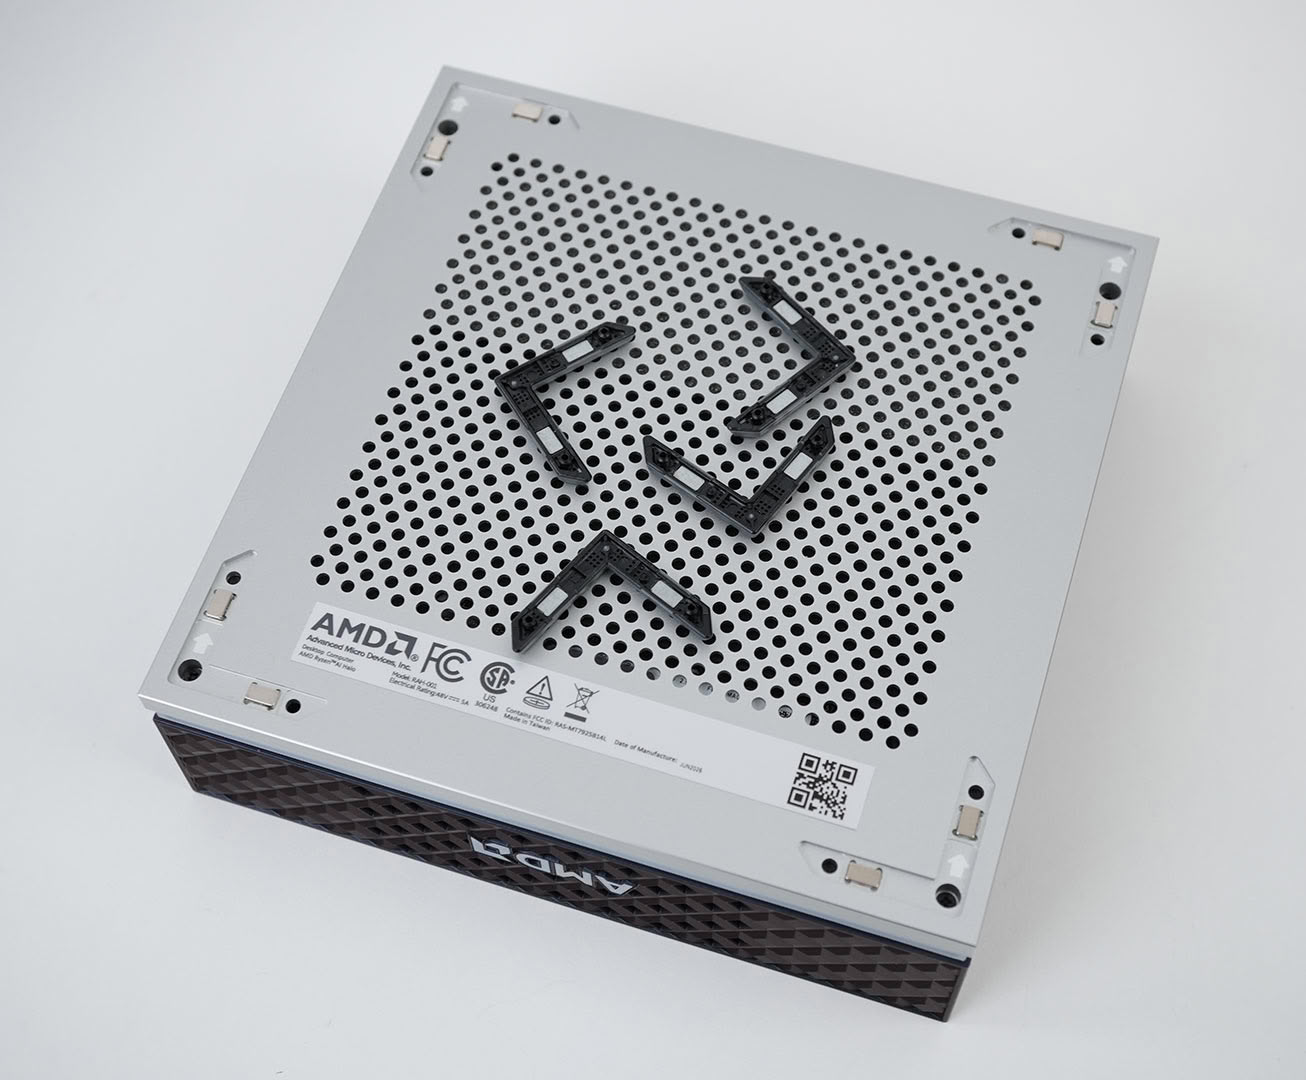
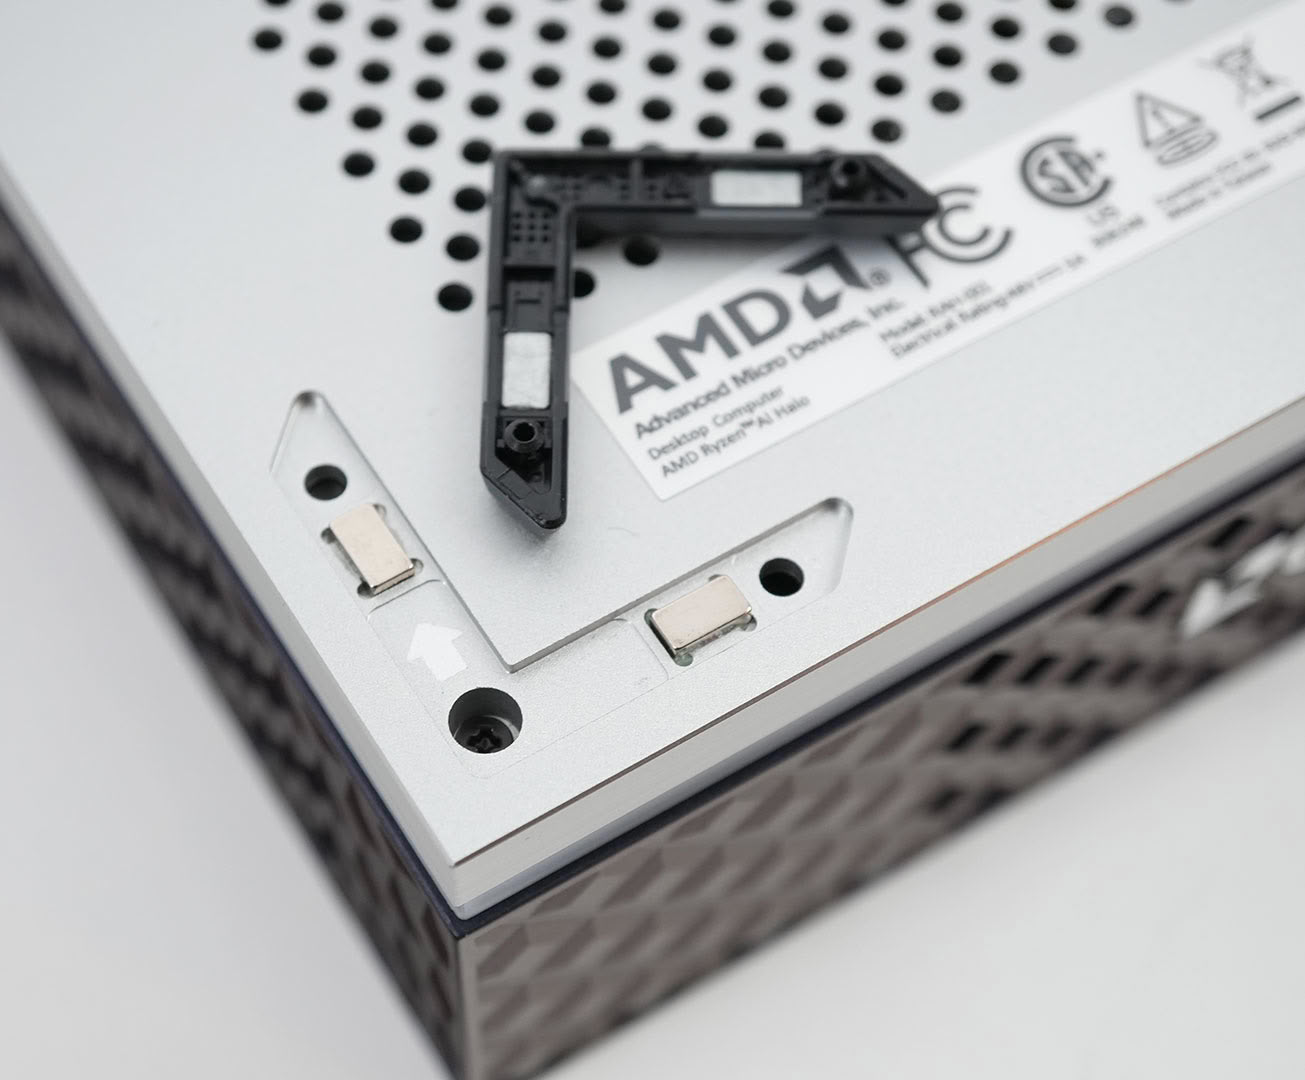
As mentioned on the previous page, the feet are magnetic and are easy to remove. Once you've taken out the four screws below the feet, you can remove the metal cover.
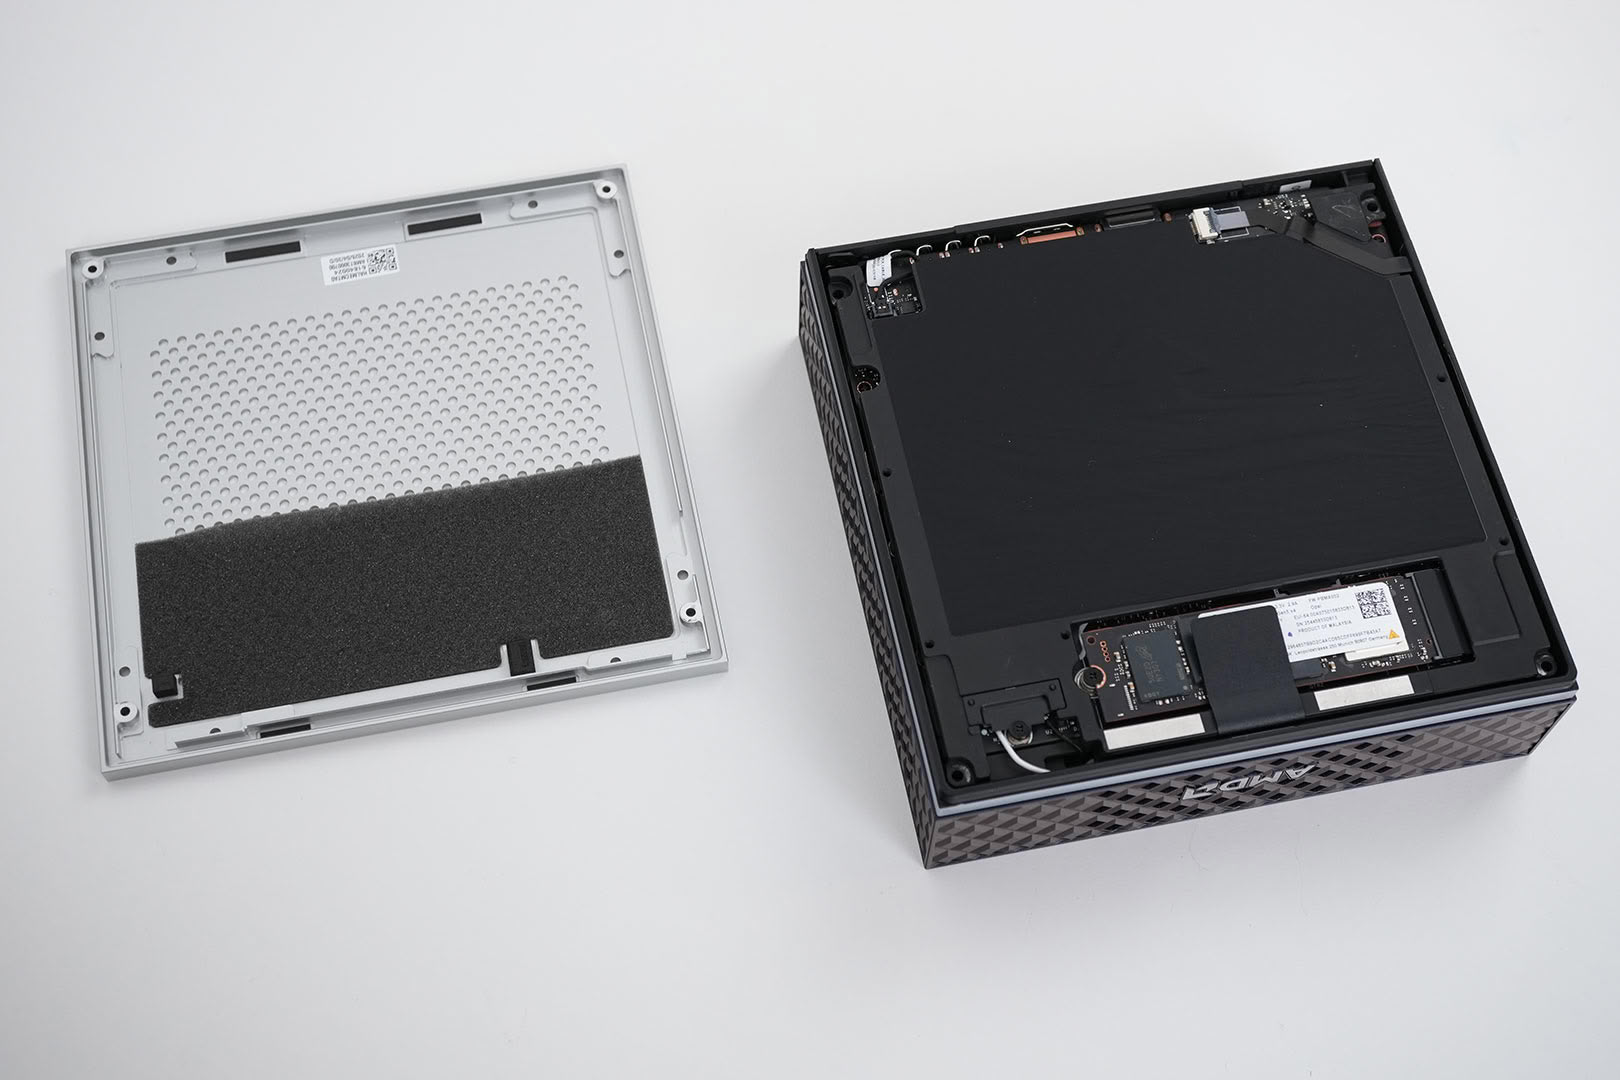
Here you can see both pieces separated, and the SSD is right in sight.
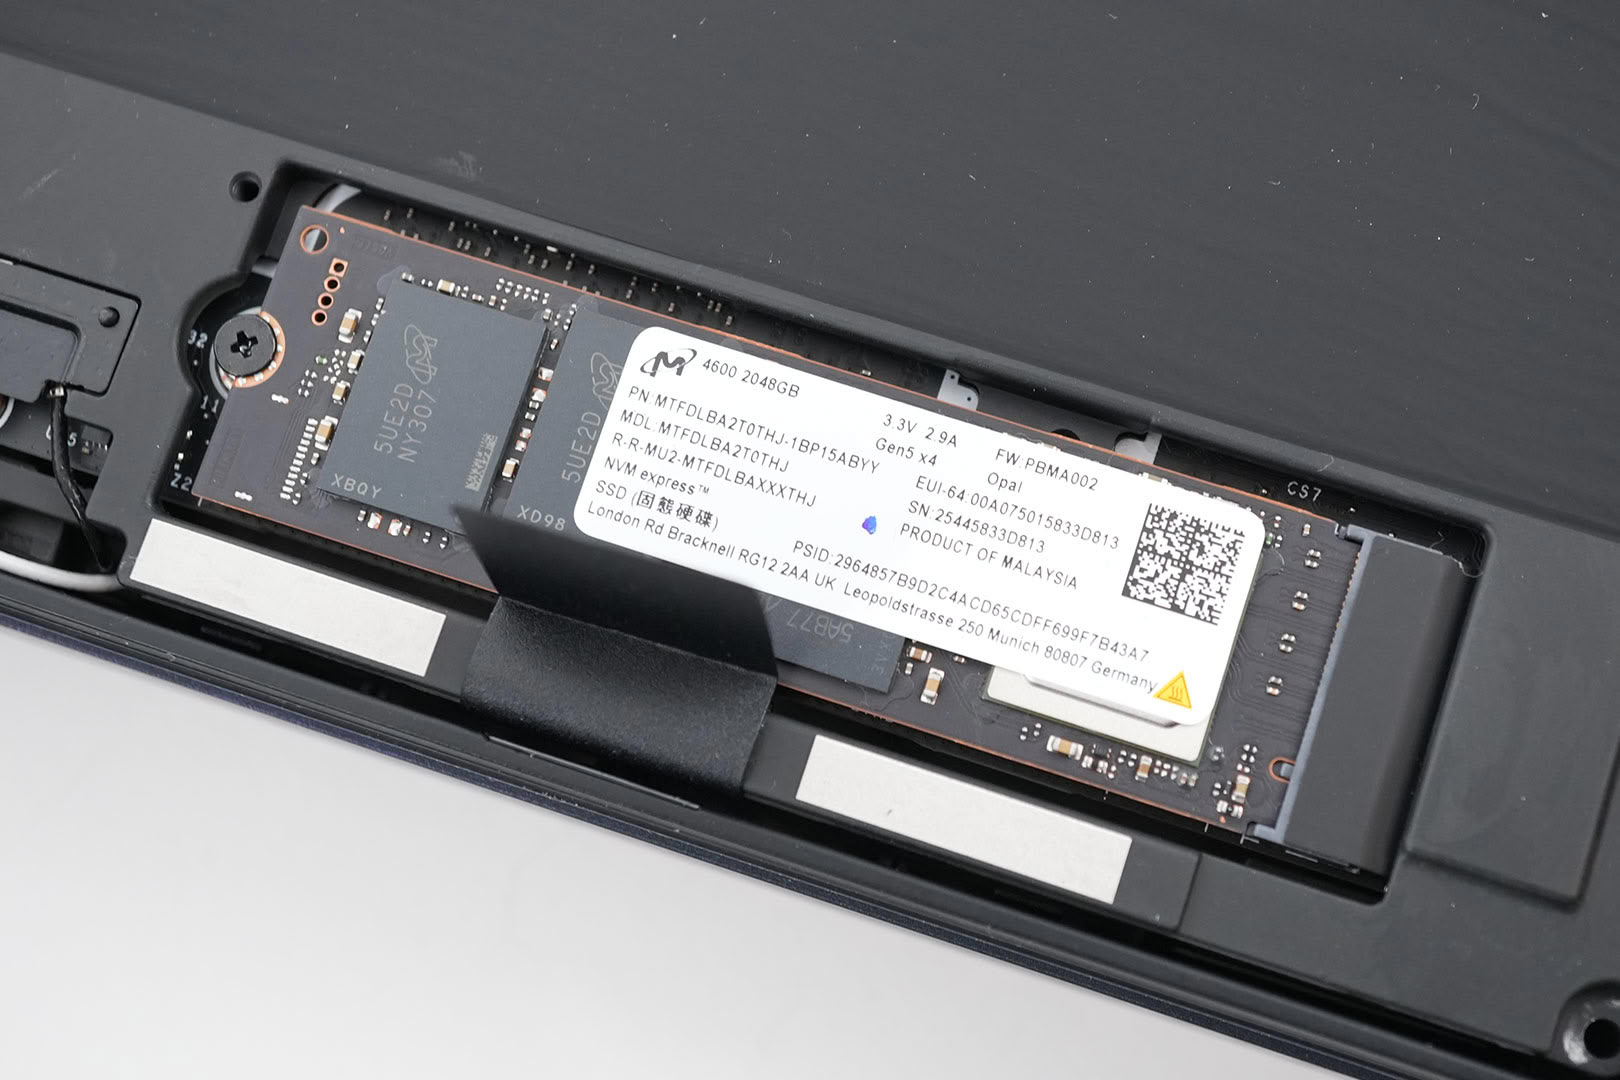
The SSD is a classic PCIe M.2 NVMe SSD—you can replace it with any other M.2 SSD, I've tested that for my Linux installation, there is no lock-in or anything, just plop in another drive and you're good to go. Do note, Strix Halo does not support PCIe Gen 5, so those SSDs will run at Gen 4 speeds only.
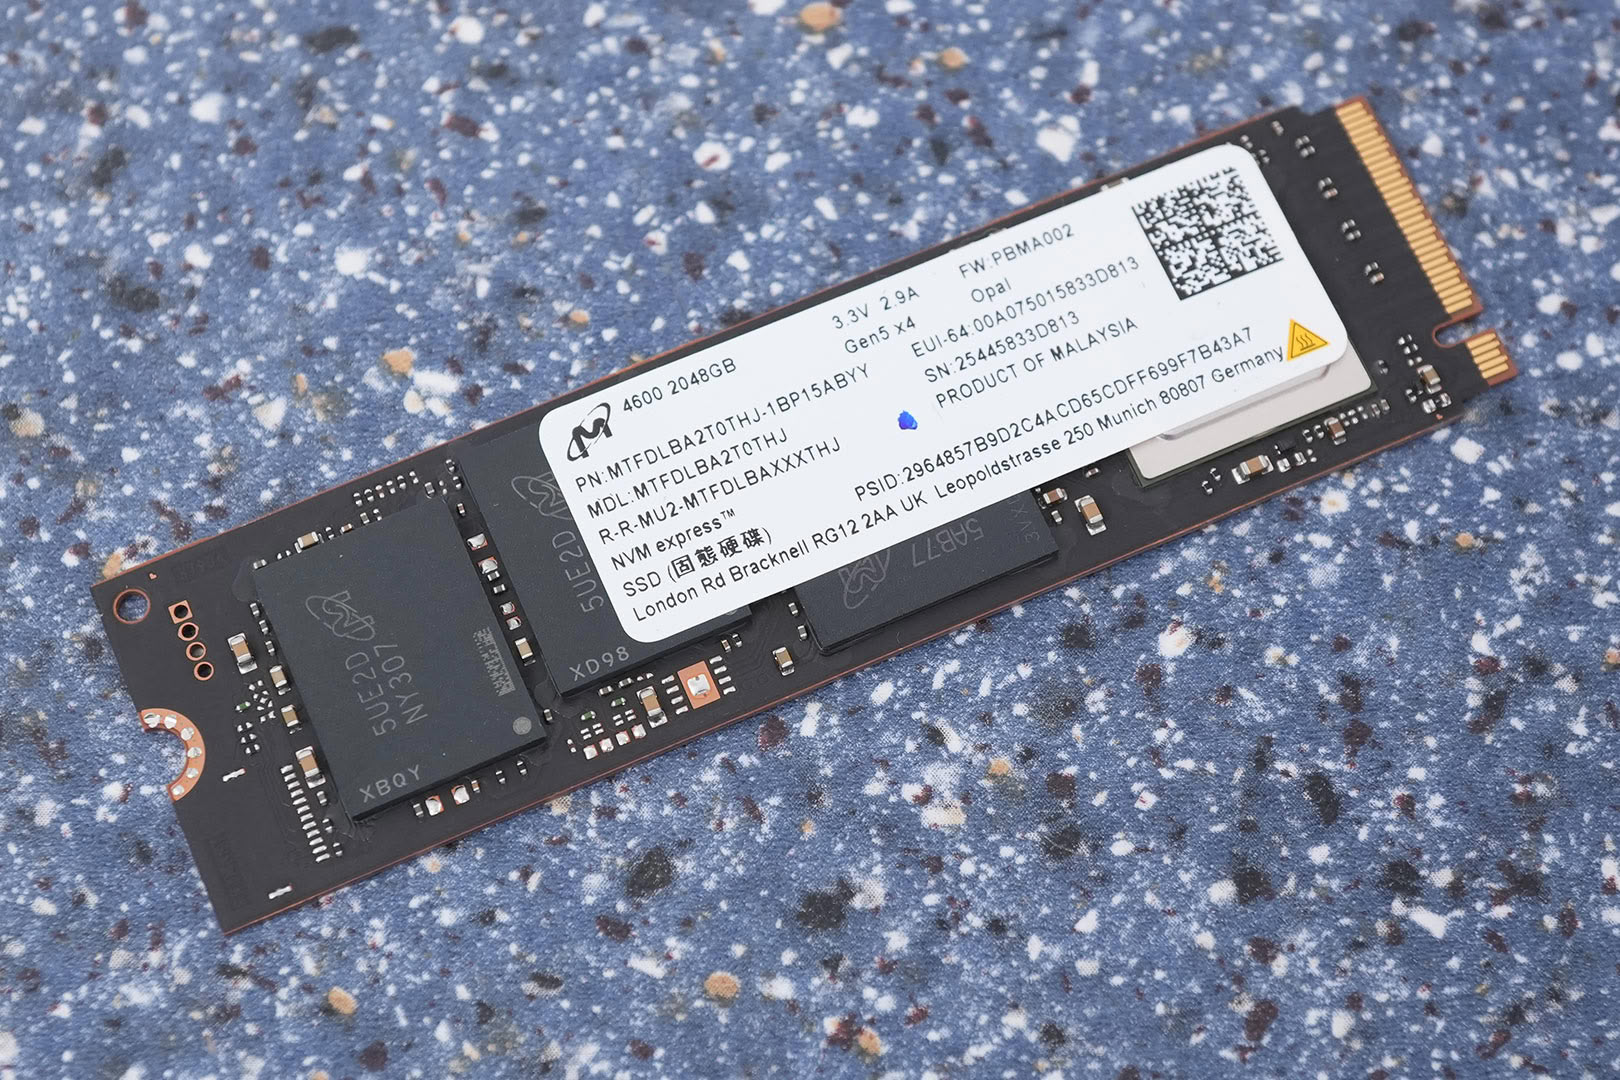
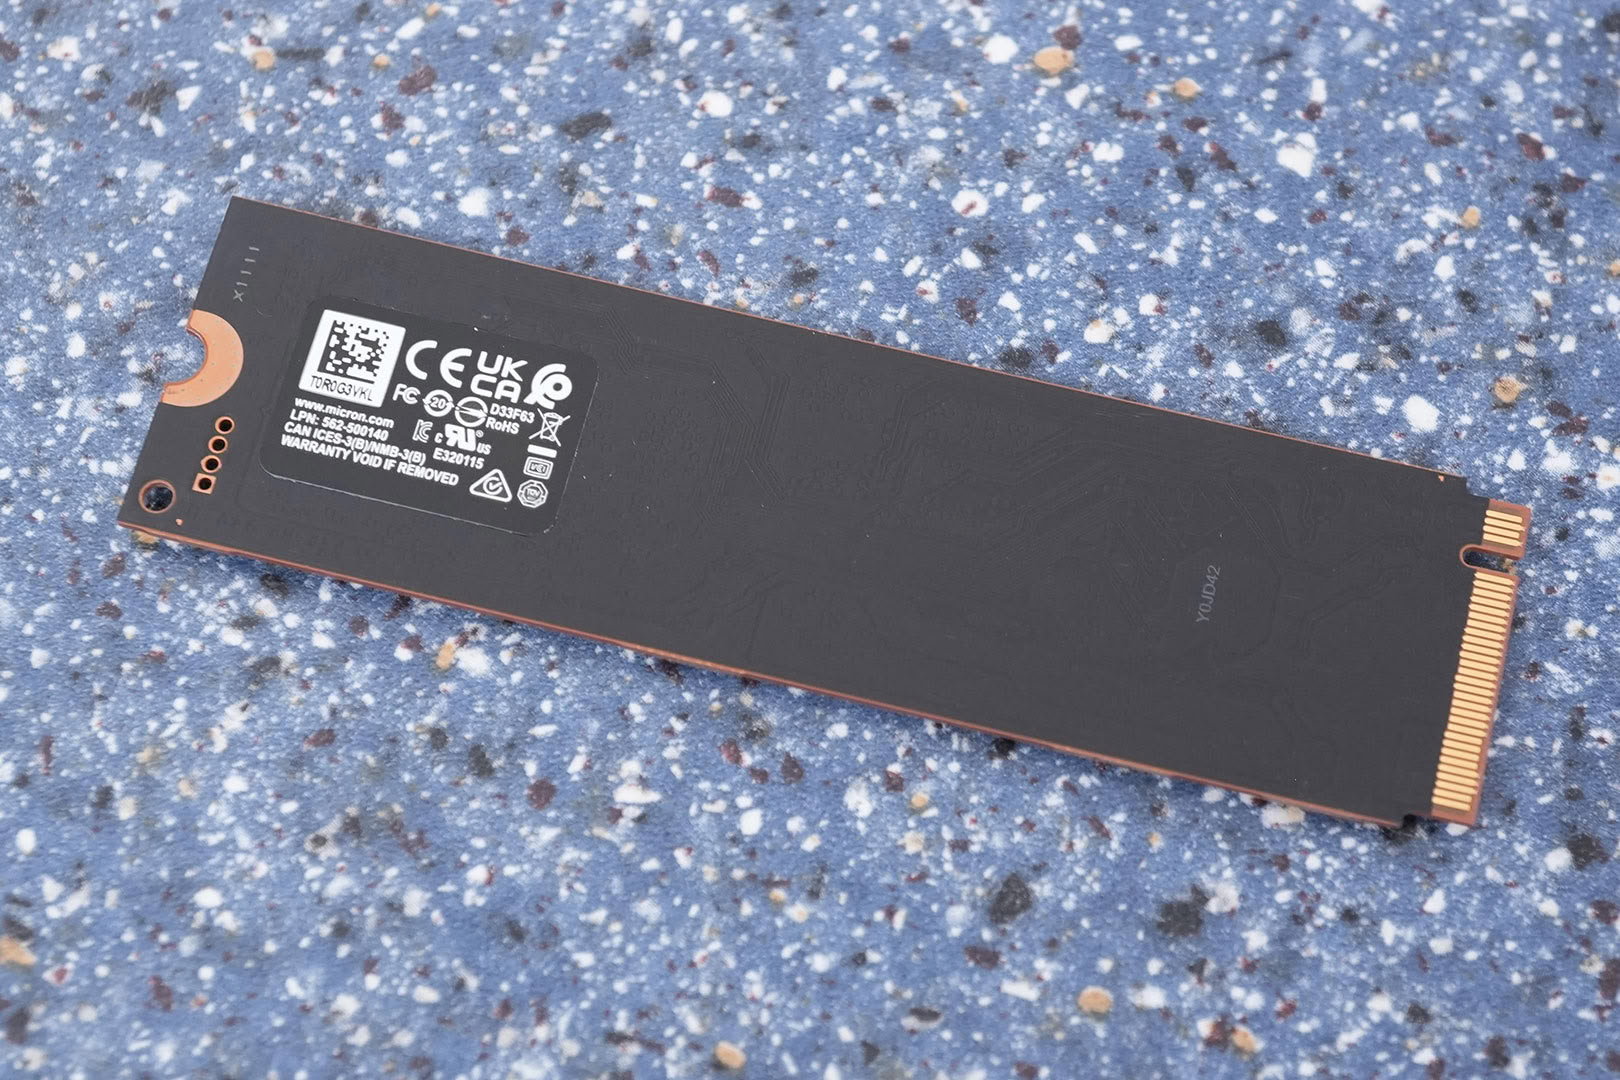
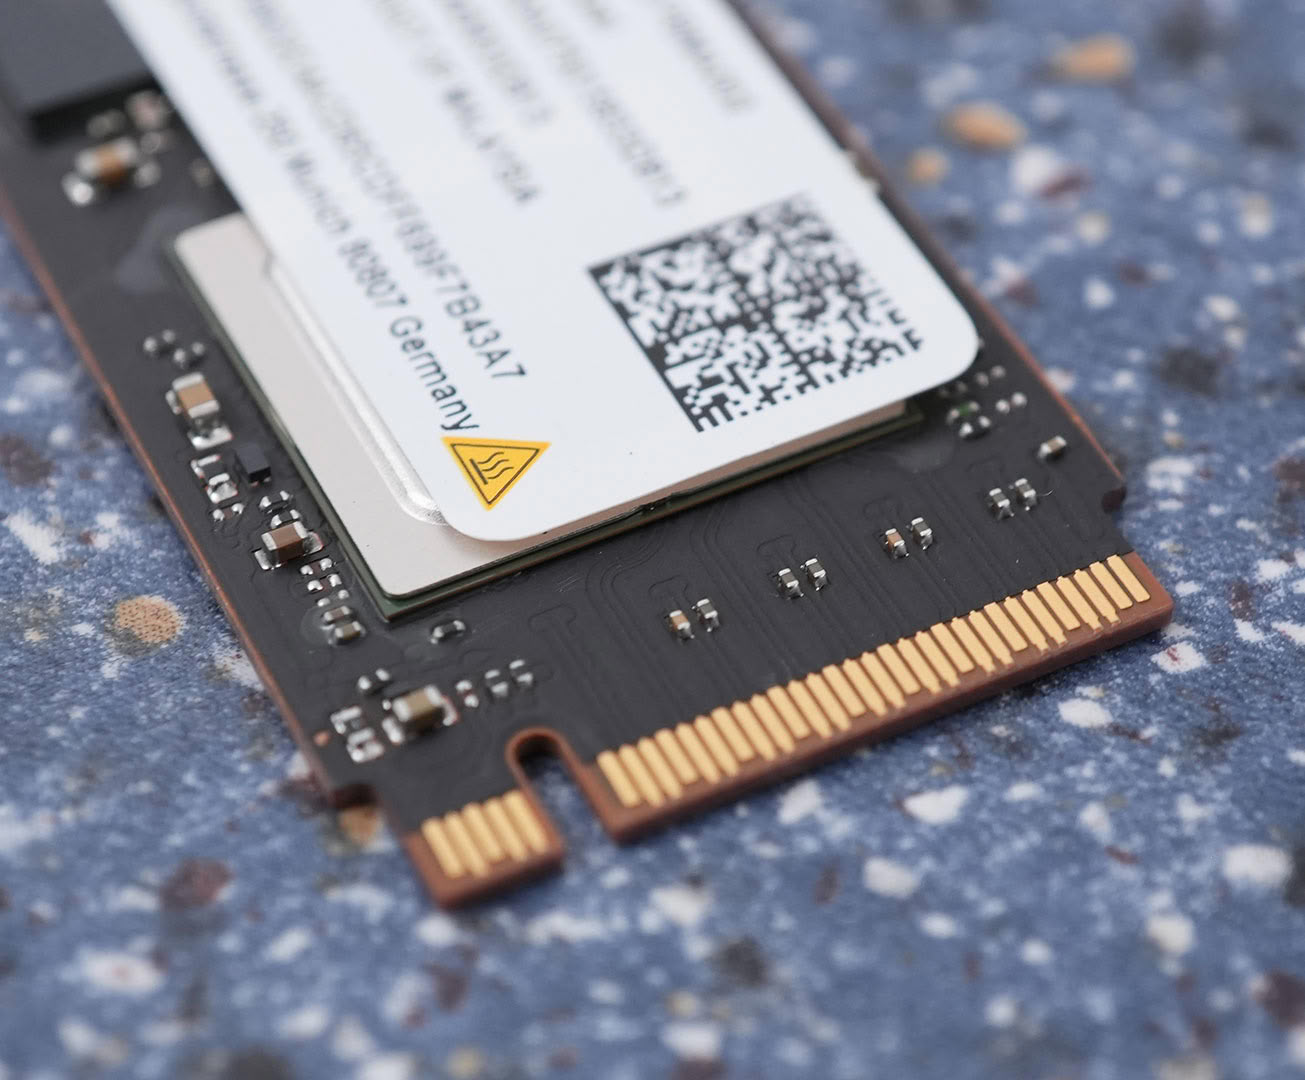
The SSD in the Ryzen AI Halo is a 2 TB Micron 4600 SSD. It's powered by the Silicon Motion SM2508 controller, which makes it a Gen 5 SSD. But wait, didn't I just tell you that Gen 5 SSDs will run at lower speeds? Yes indeed, and it seems AMD is accepting that compromise. Our test results clearly show that we're getting around 7 GB/s out of this SSD, so it's definitely running in Gen 4 mode. In return, you get a very fast, very modern storage controller that offers excellent performance.
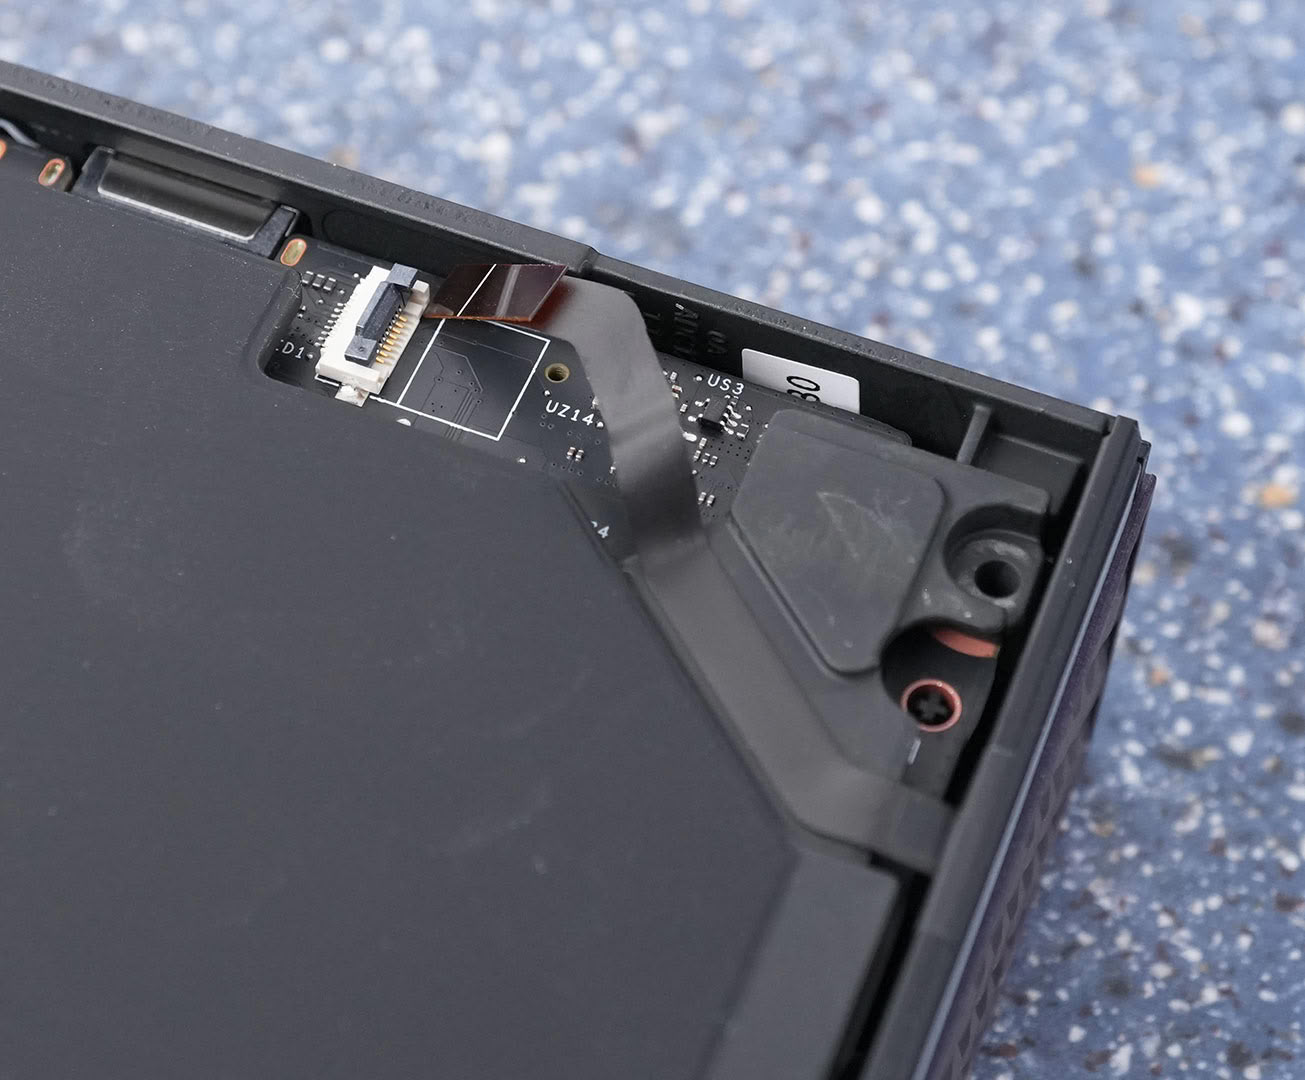
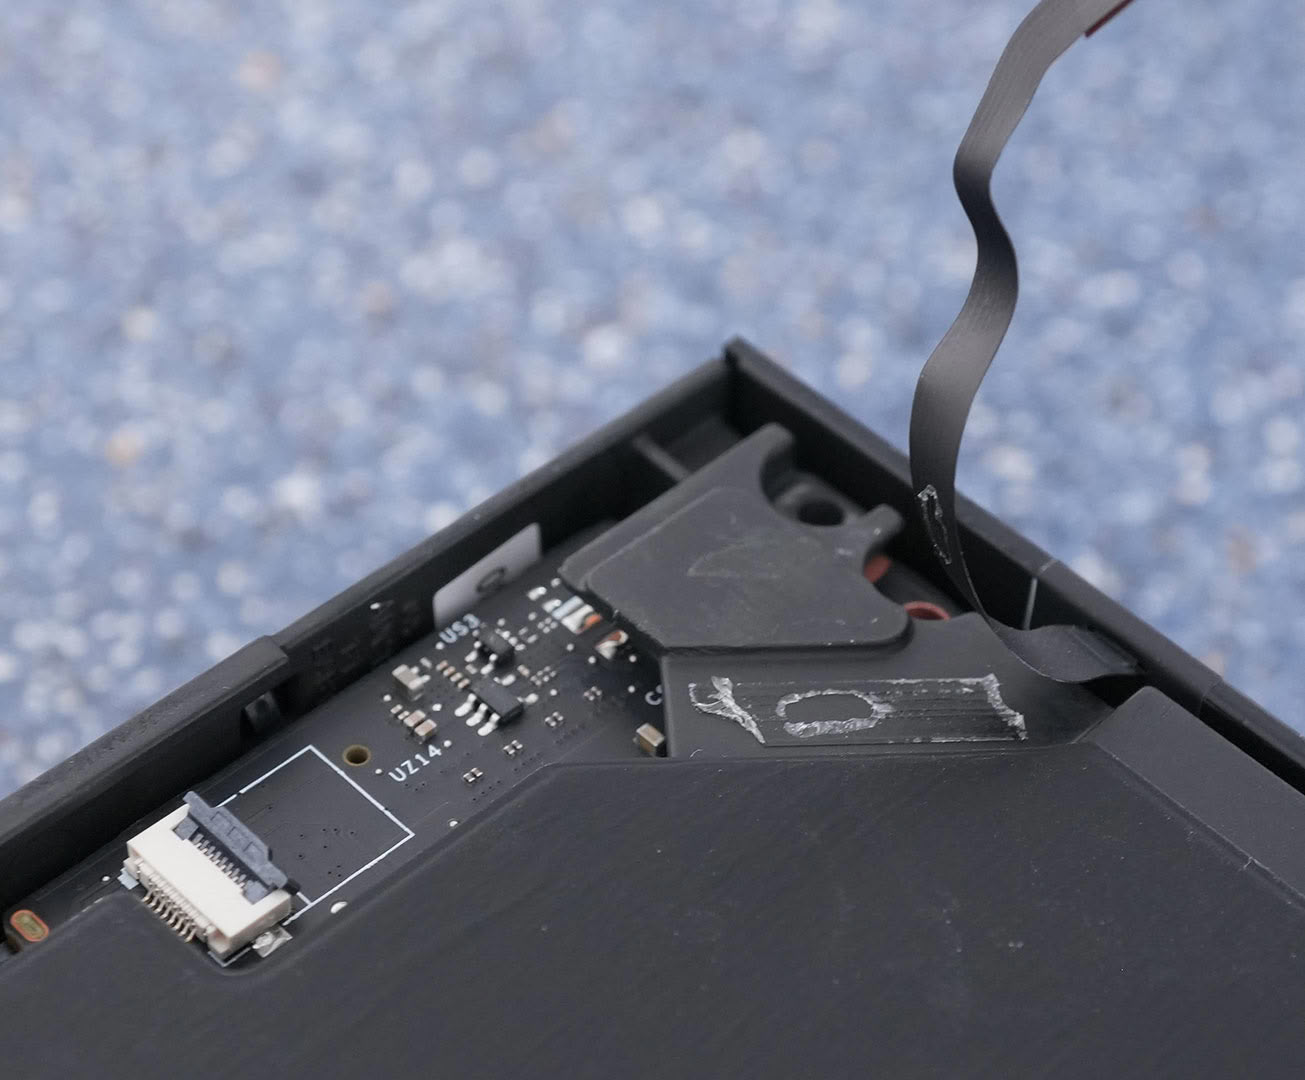
Now it gets sticky, literally. First, you have to remove this small ribbon cable: flip up the black tab on the plug with your finger, then gently pull out the cable. I avoid metal tools here, because it's really easy to break something that way. Note: the cable is glued to the black plate; you have to remove it.
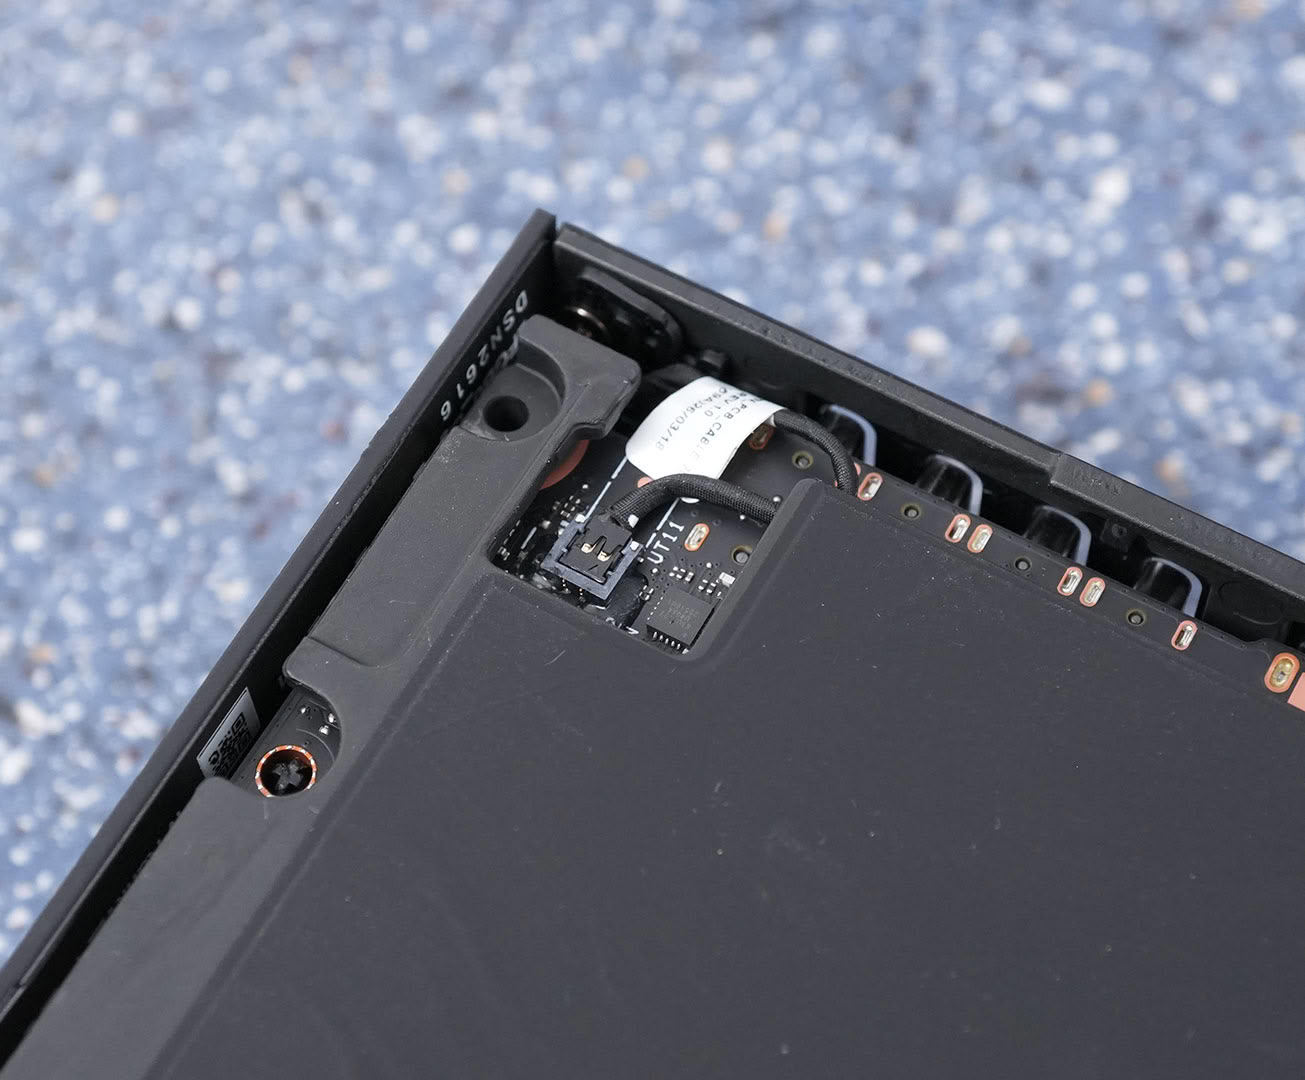
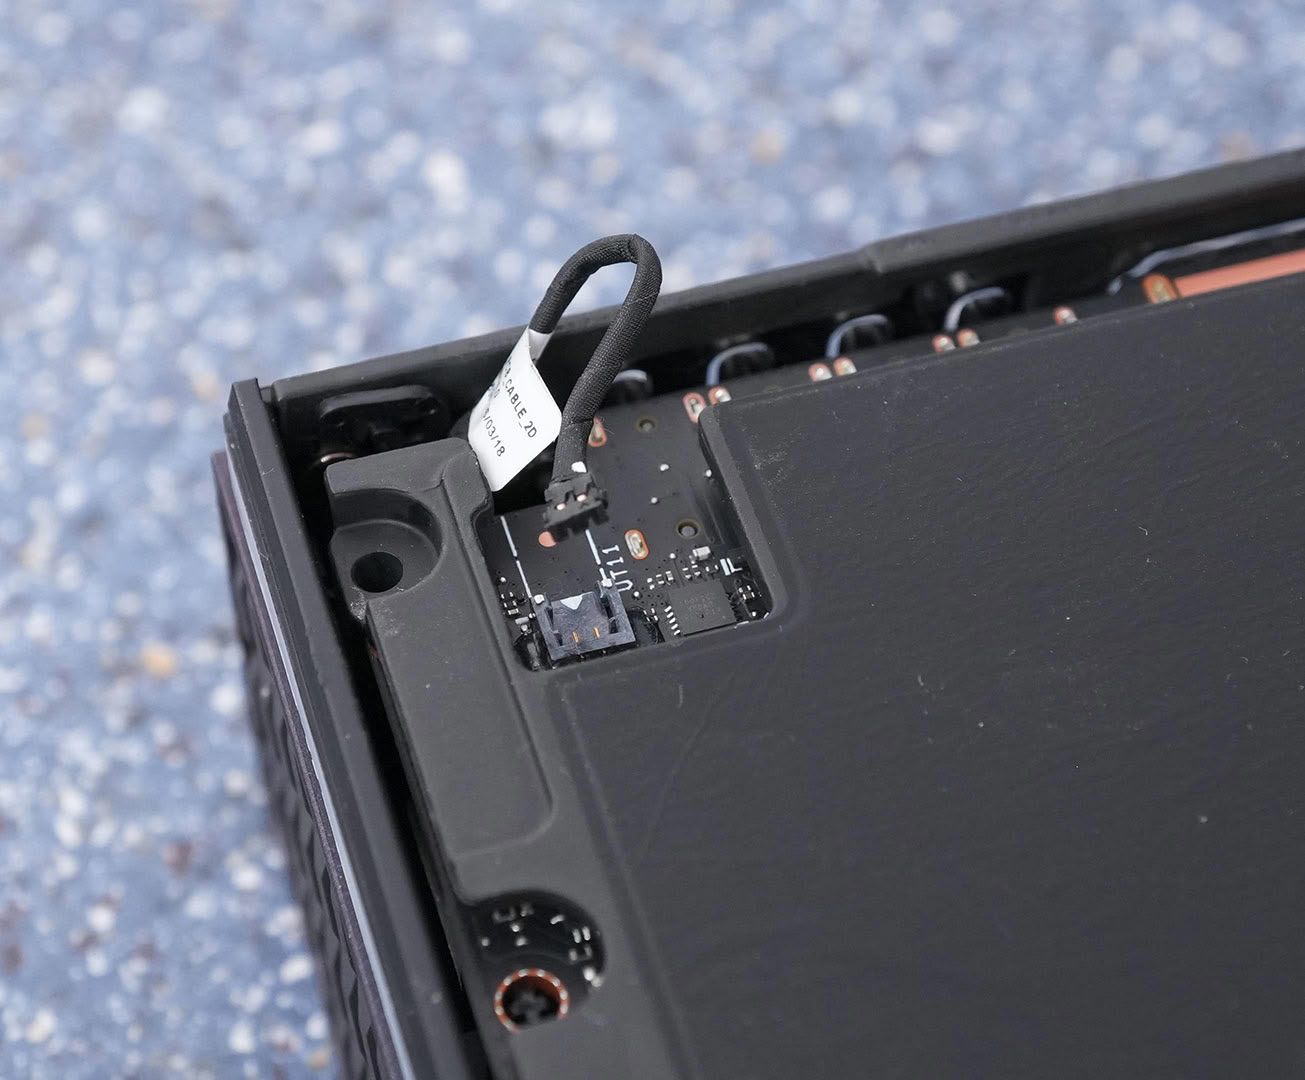
Next up, this little connector: you have to lift it up, so gently get under it and push it upwards; pulling on the cable will not work.
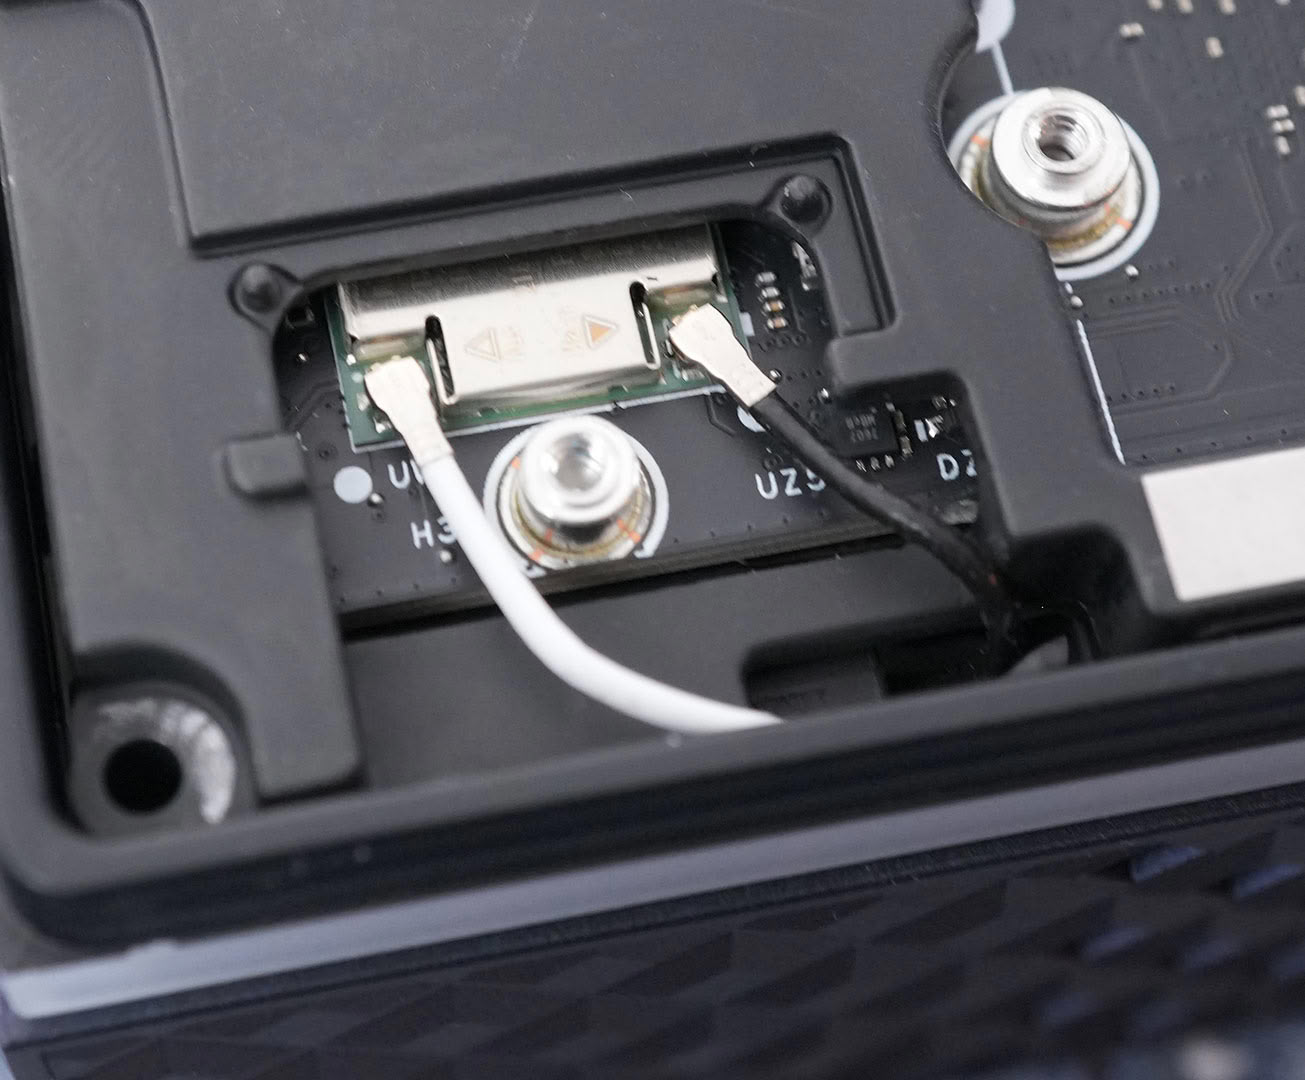
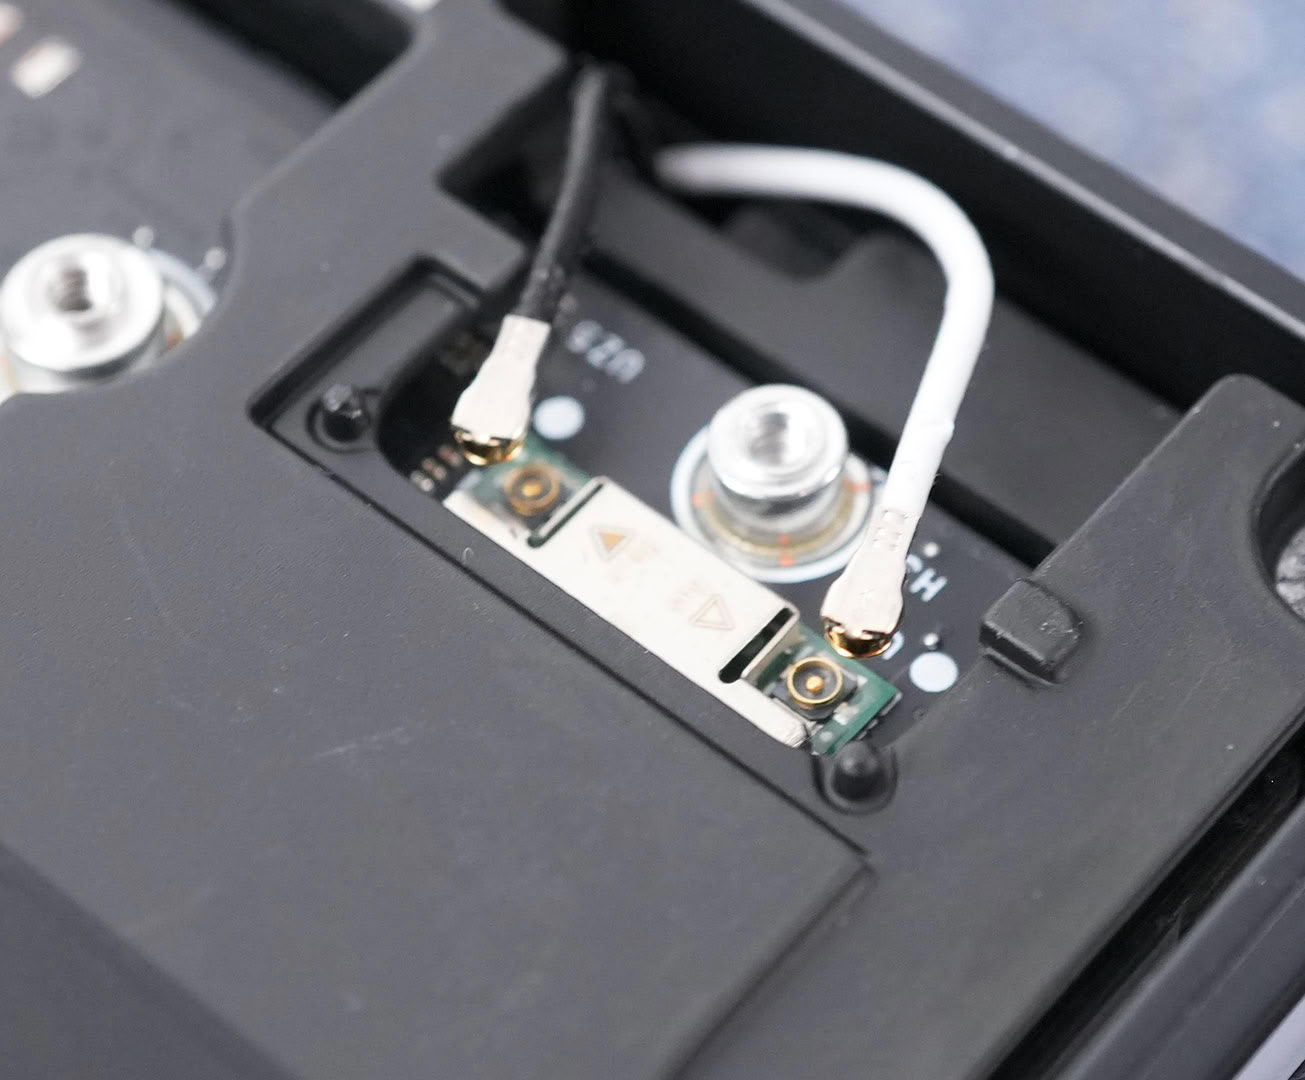
Remove the cable from the Wi-Fi module; these are plugged in fairly loosely, so you can pull on the cable here carefully.
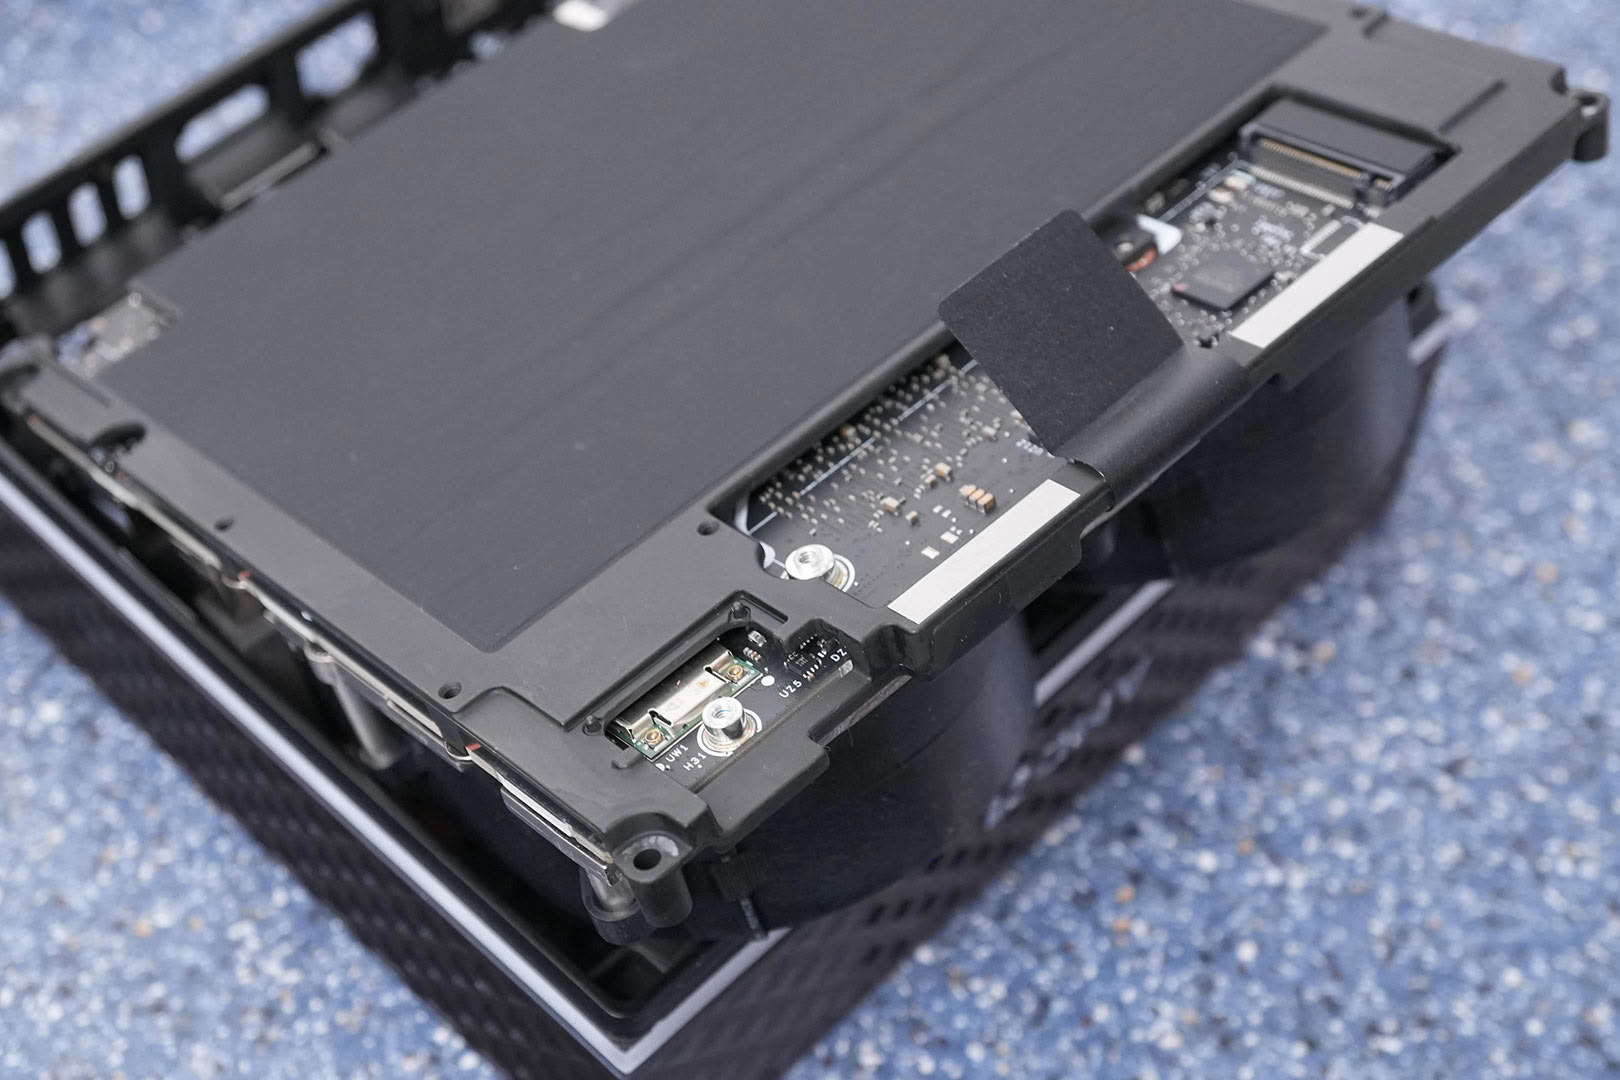
Now grab the black lift tab near the SSD slot and gently pull the unit out of its case.
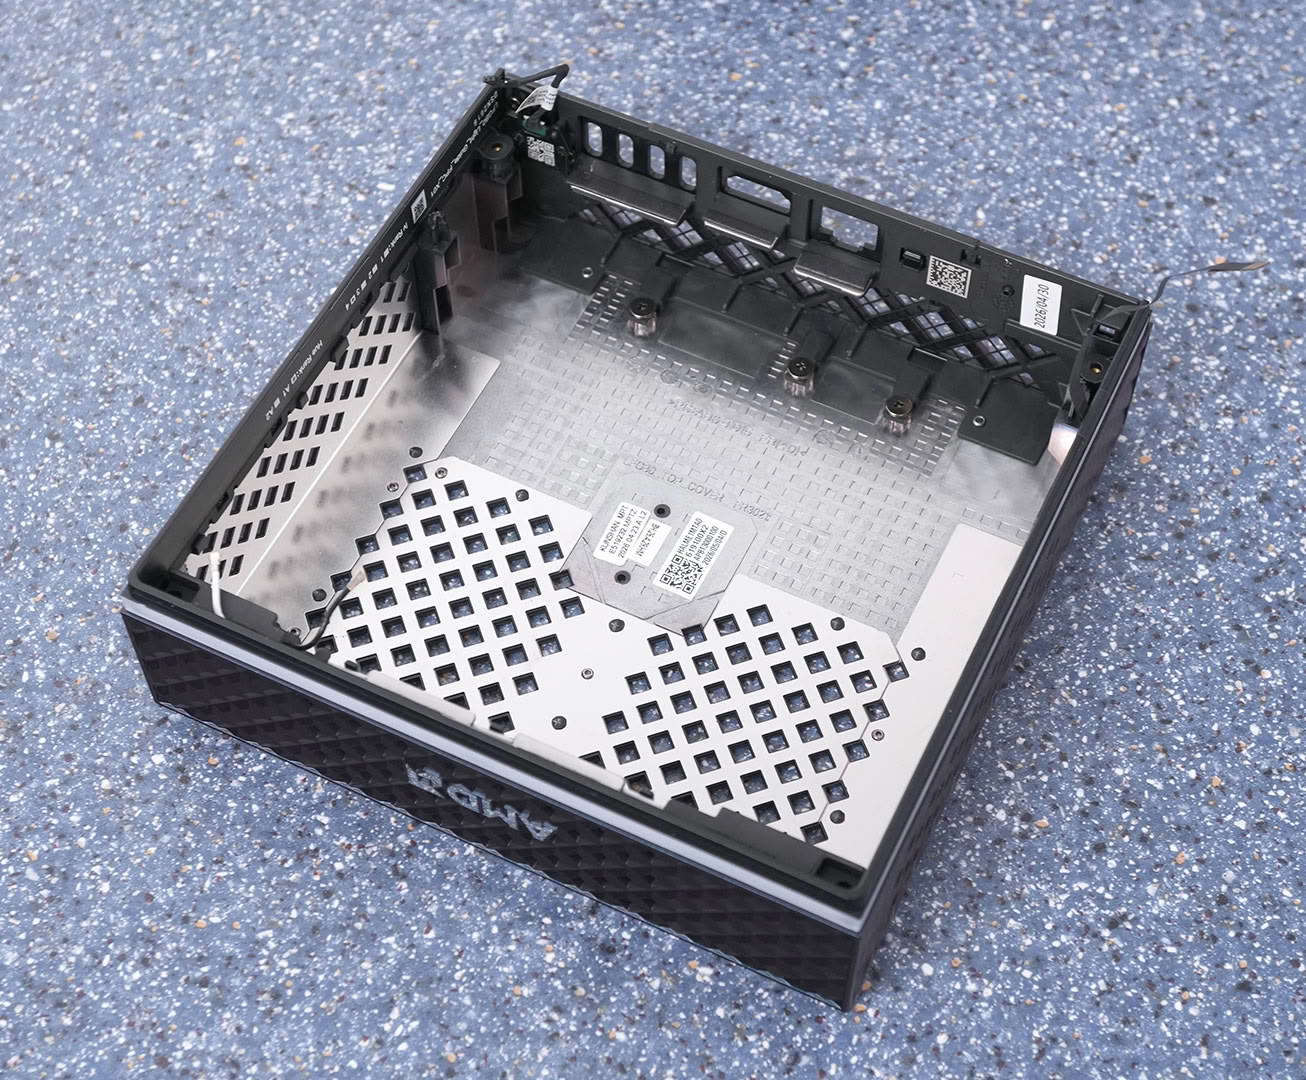
Here's the case; note the power button cable in the top left and the flat LED lighting cable on the top right - you don't want to damage these when pulling.
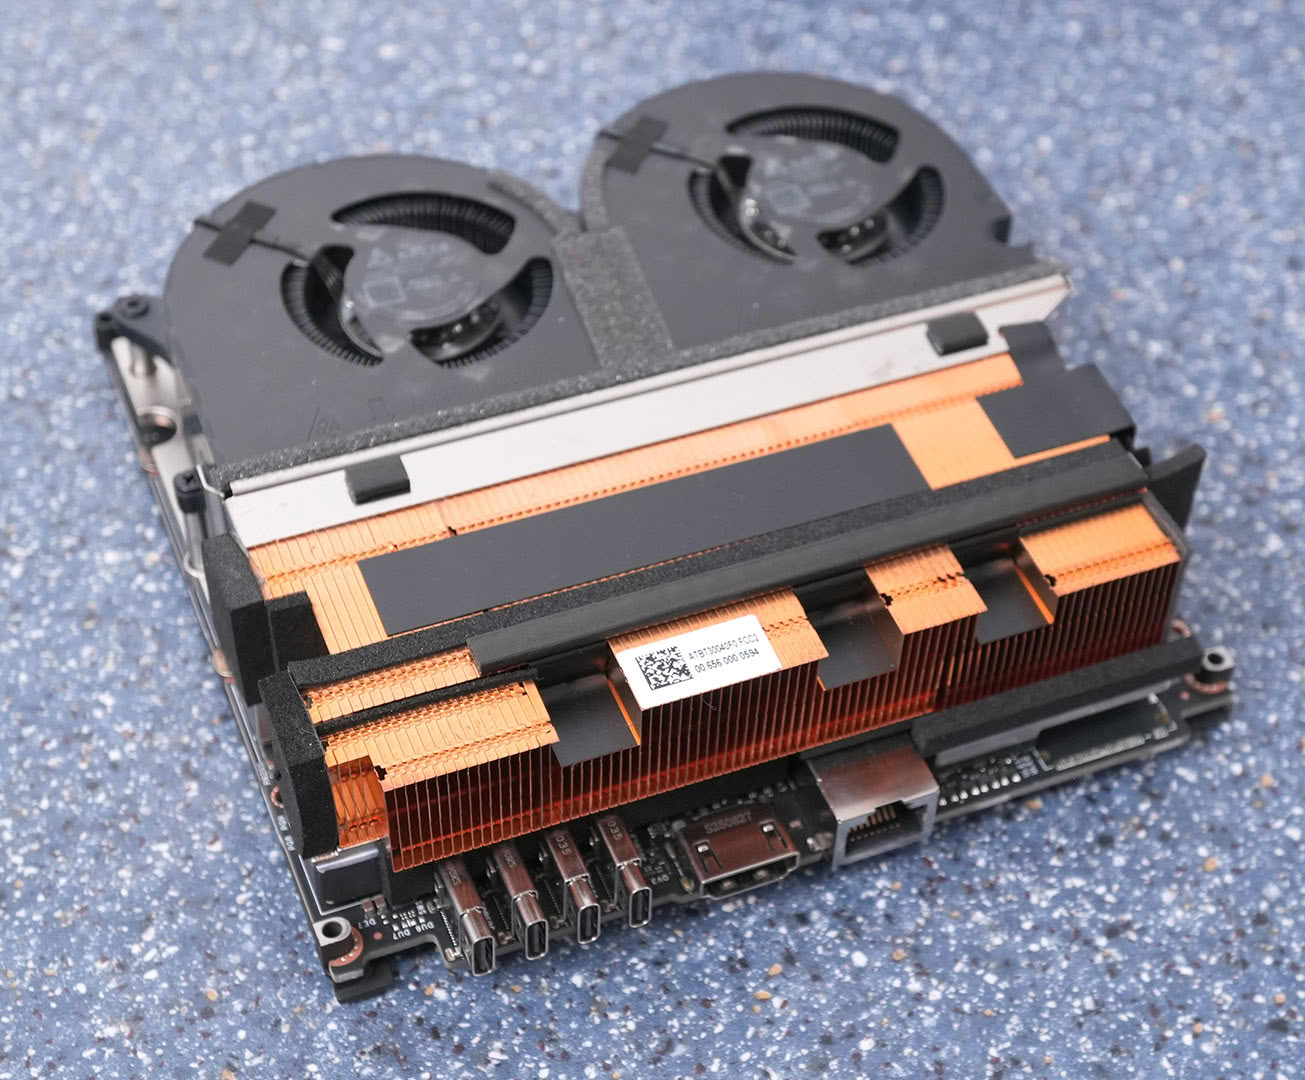
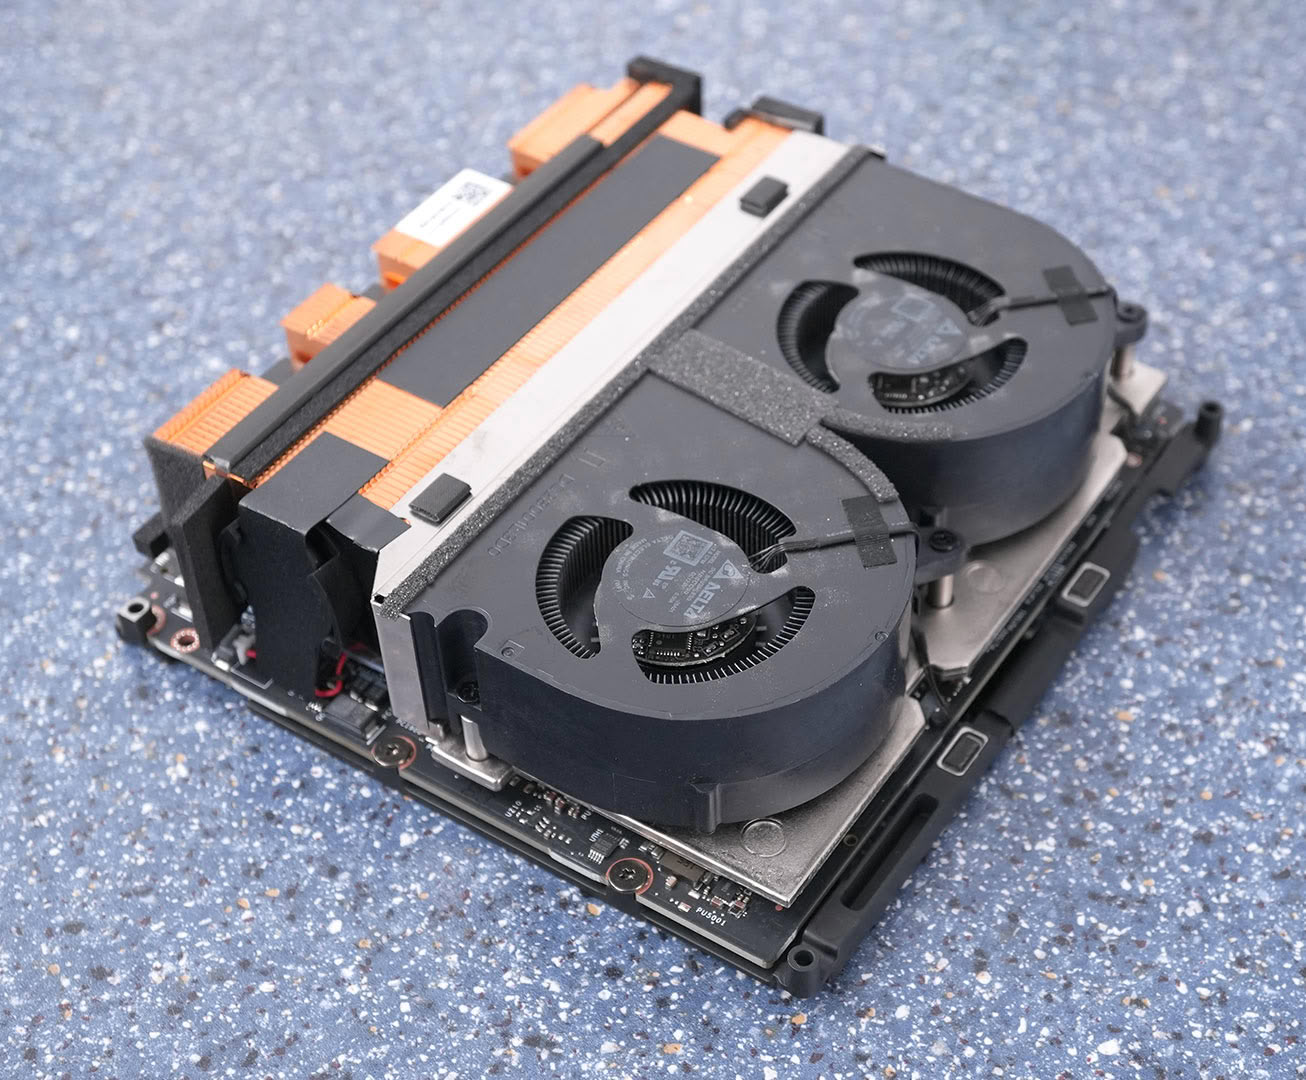
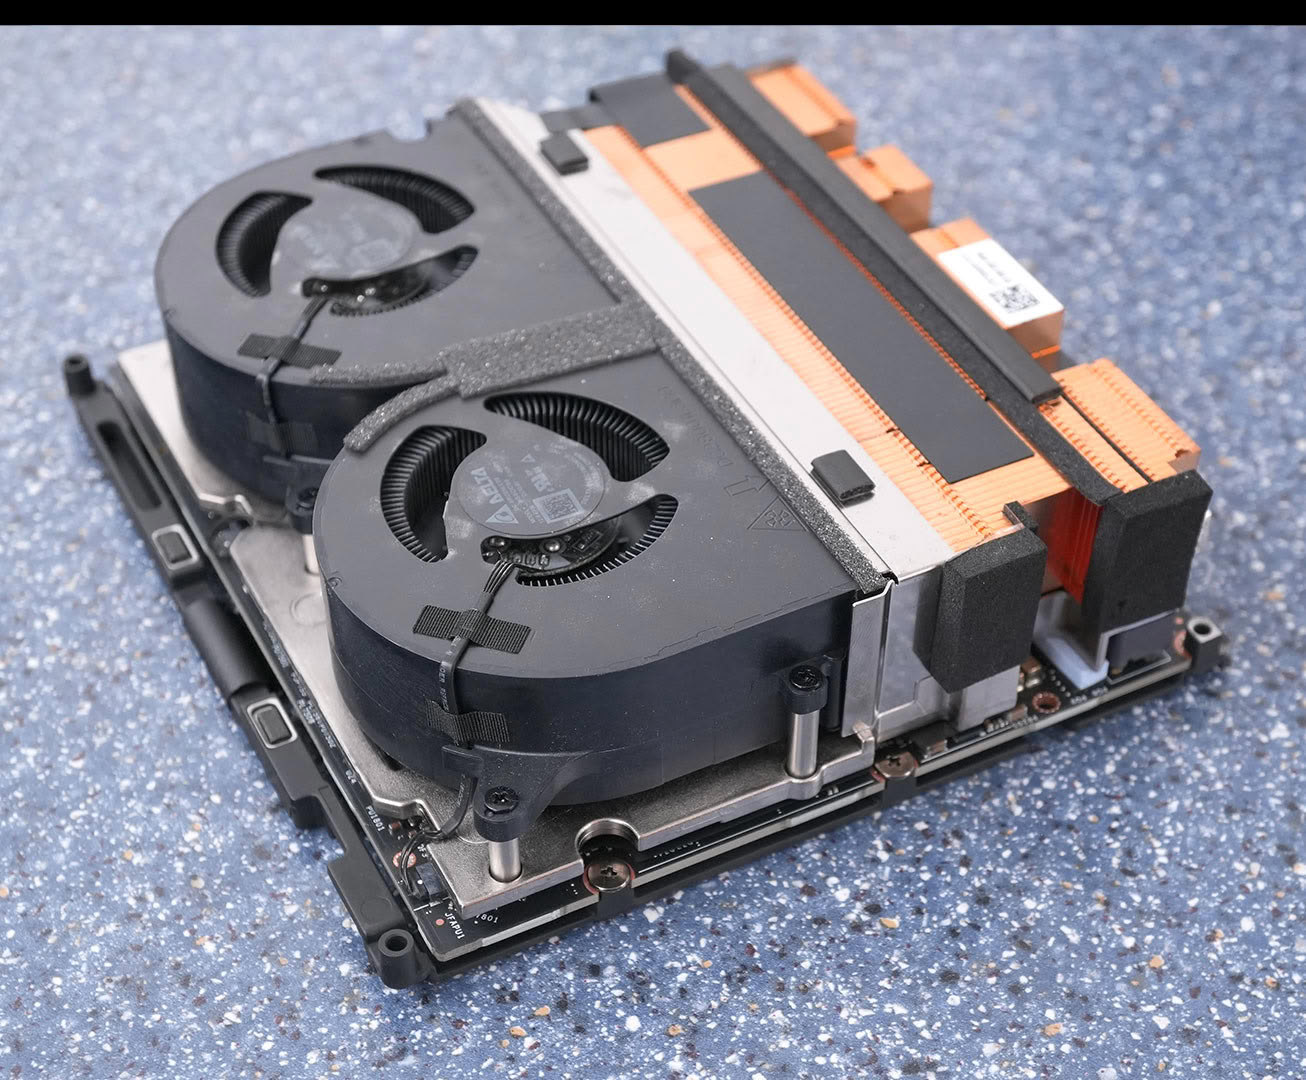
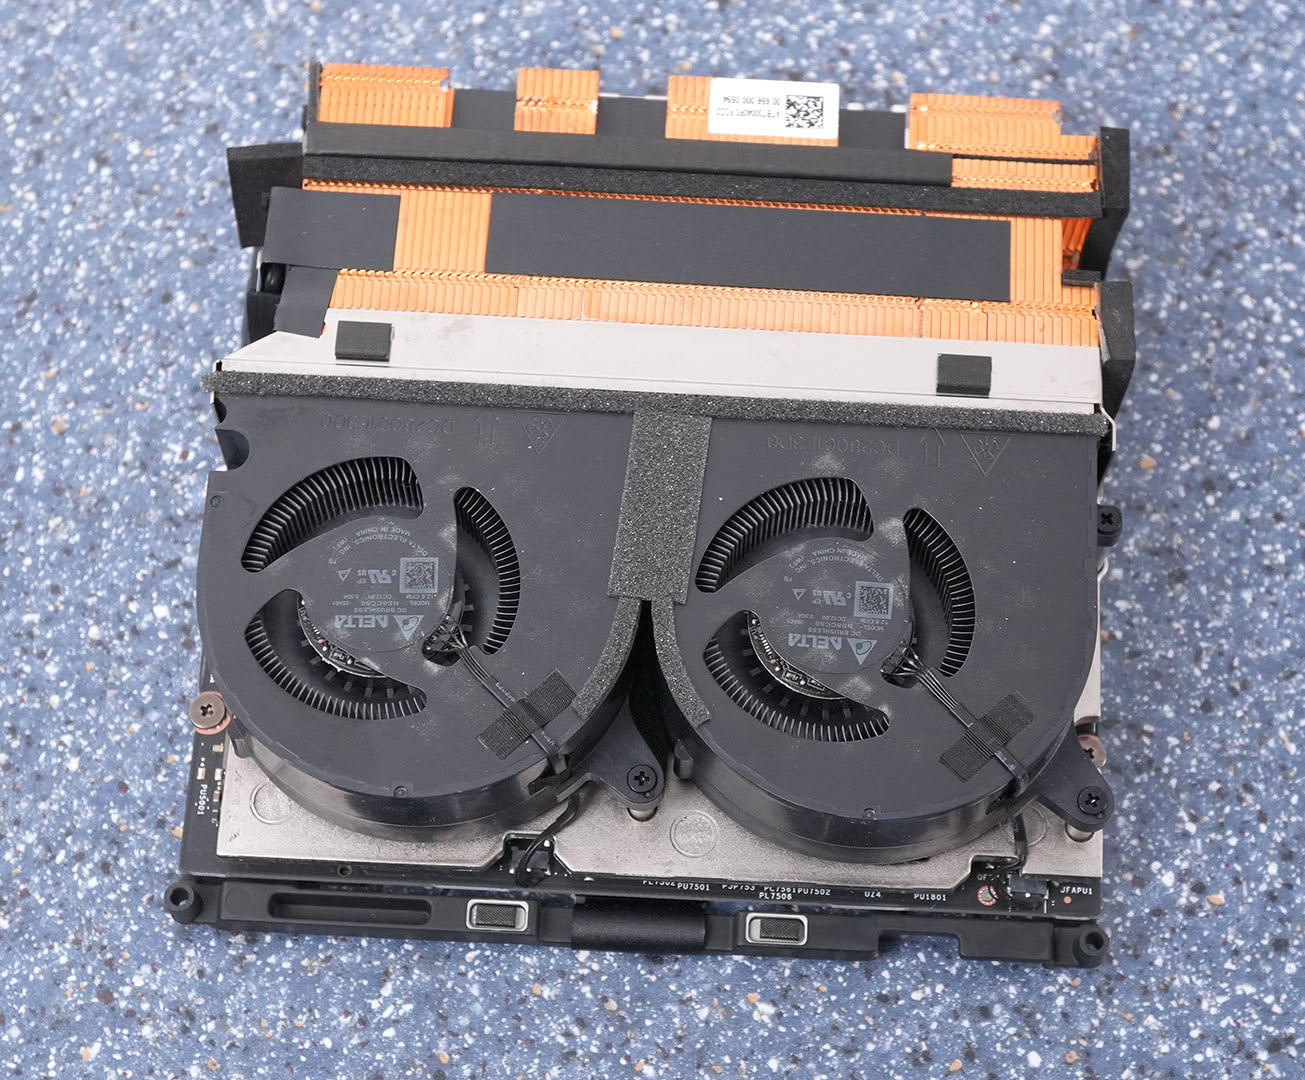
That's what we pulled out: the motherboard with the connectors on the bottom, and a cooling assembly with two fans on top.
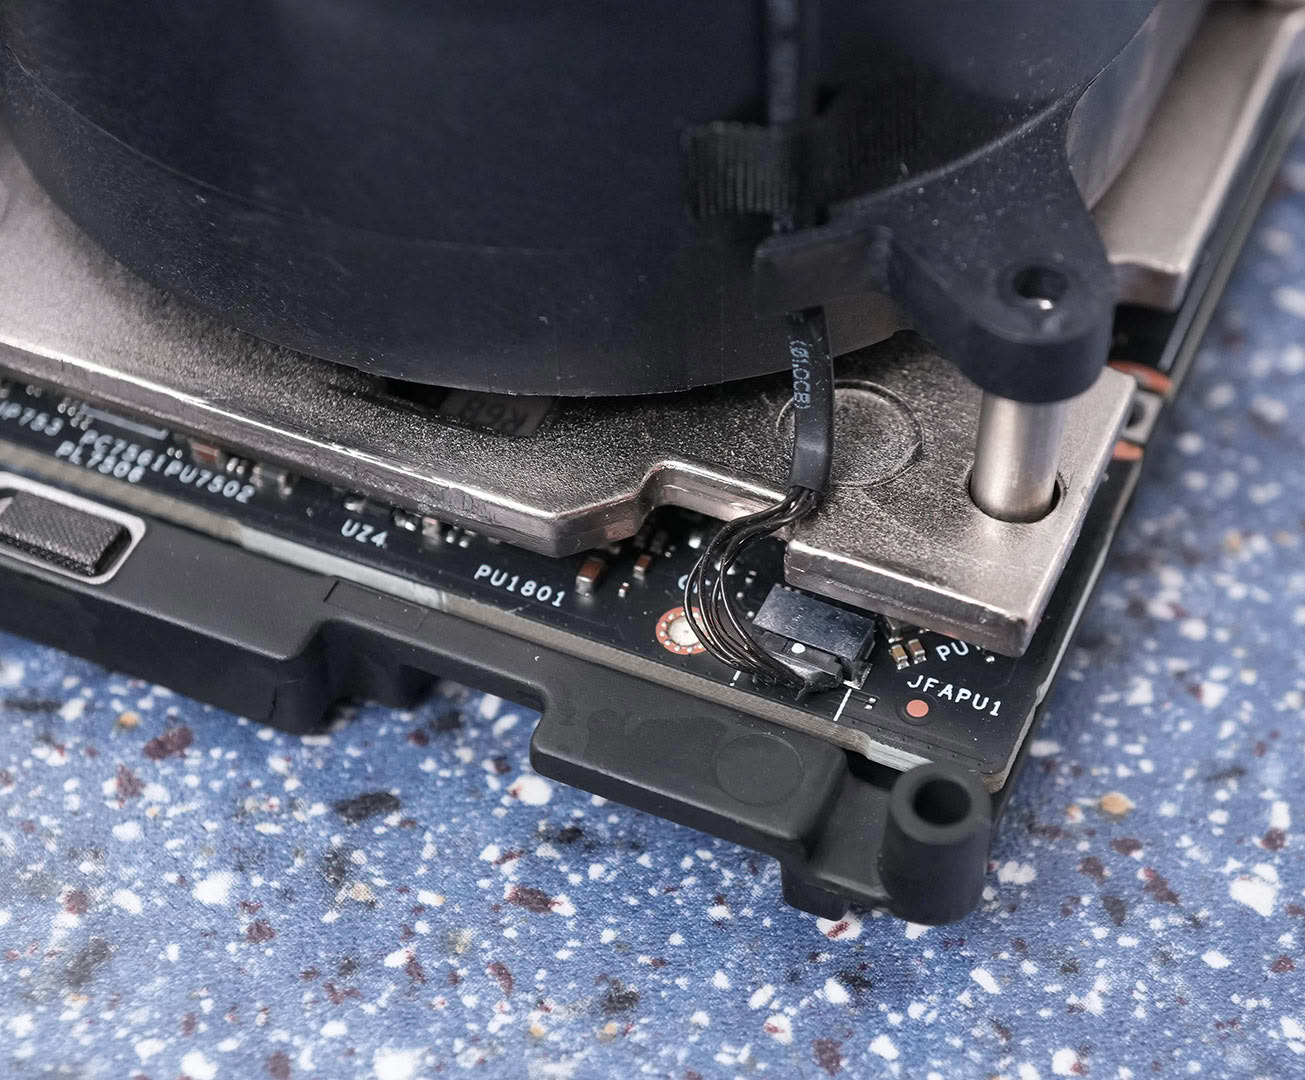
Remove the fan power cables—there's two of them, just one pictured, the other one looks exactly the same. Just pull these out carefully. Prying super carefully on the little tab on the sides of the plugs helps.
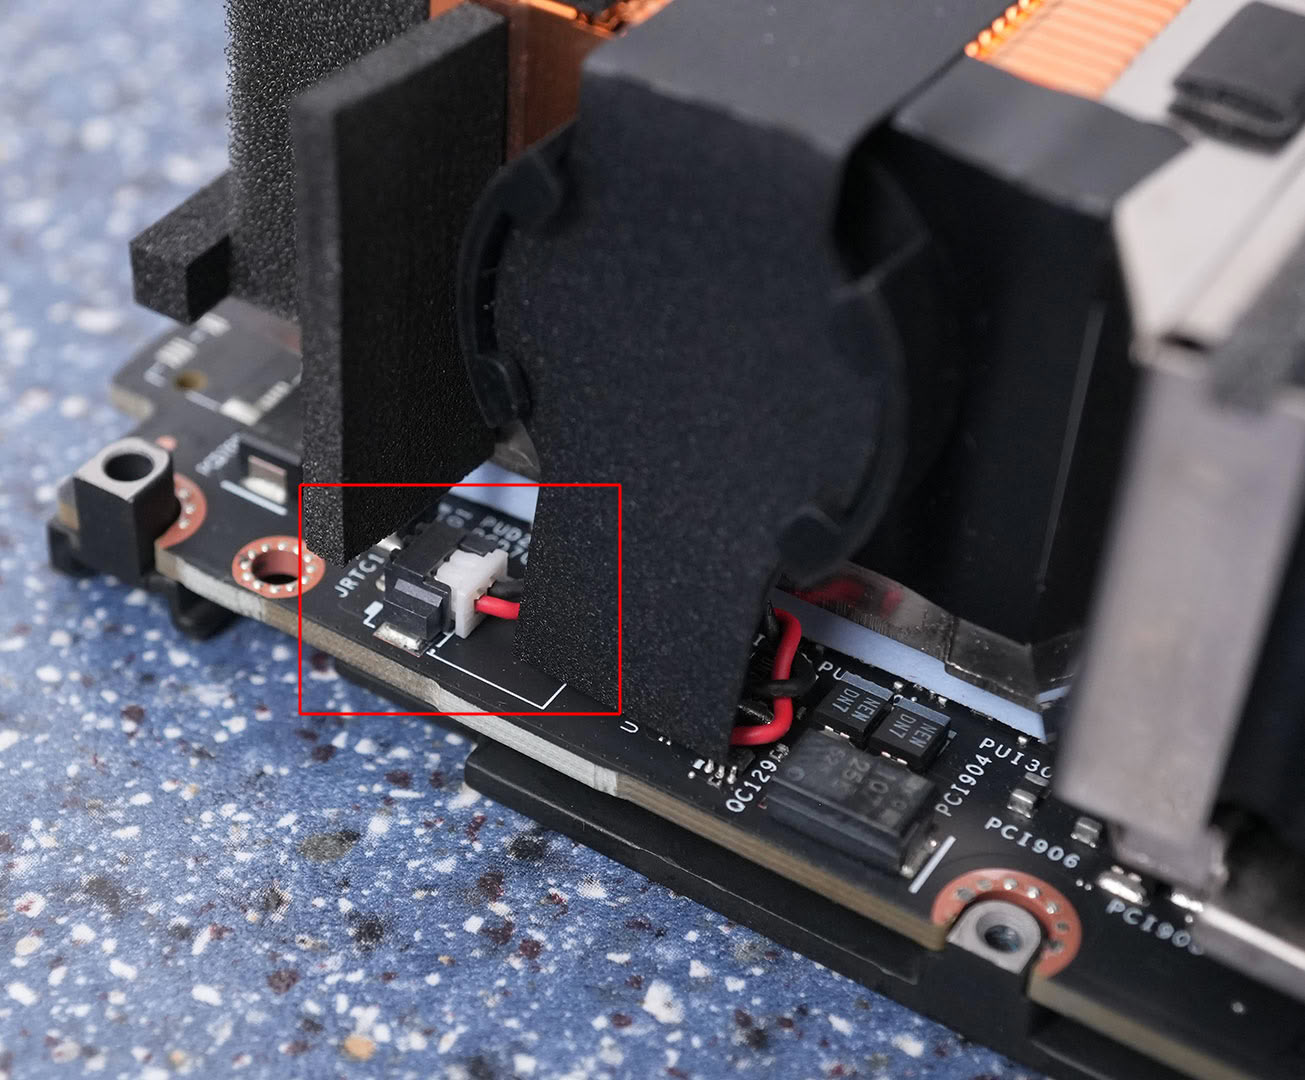
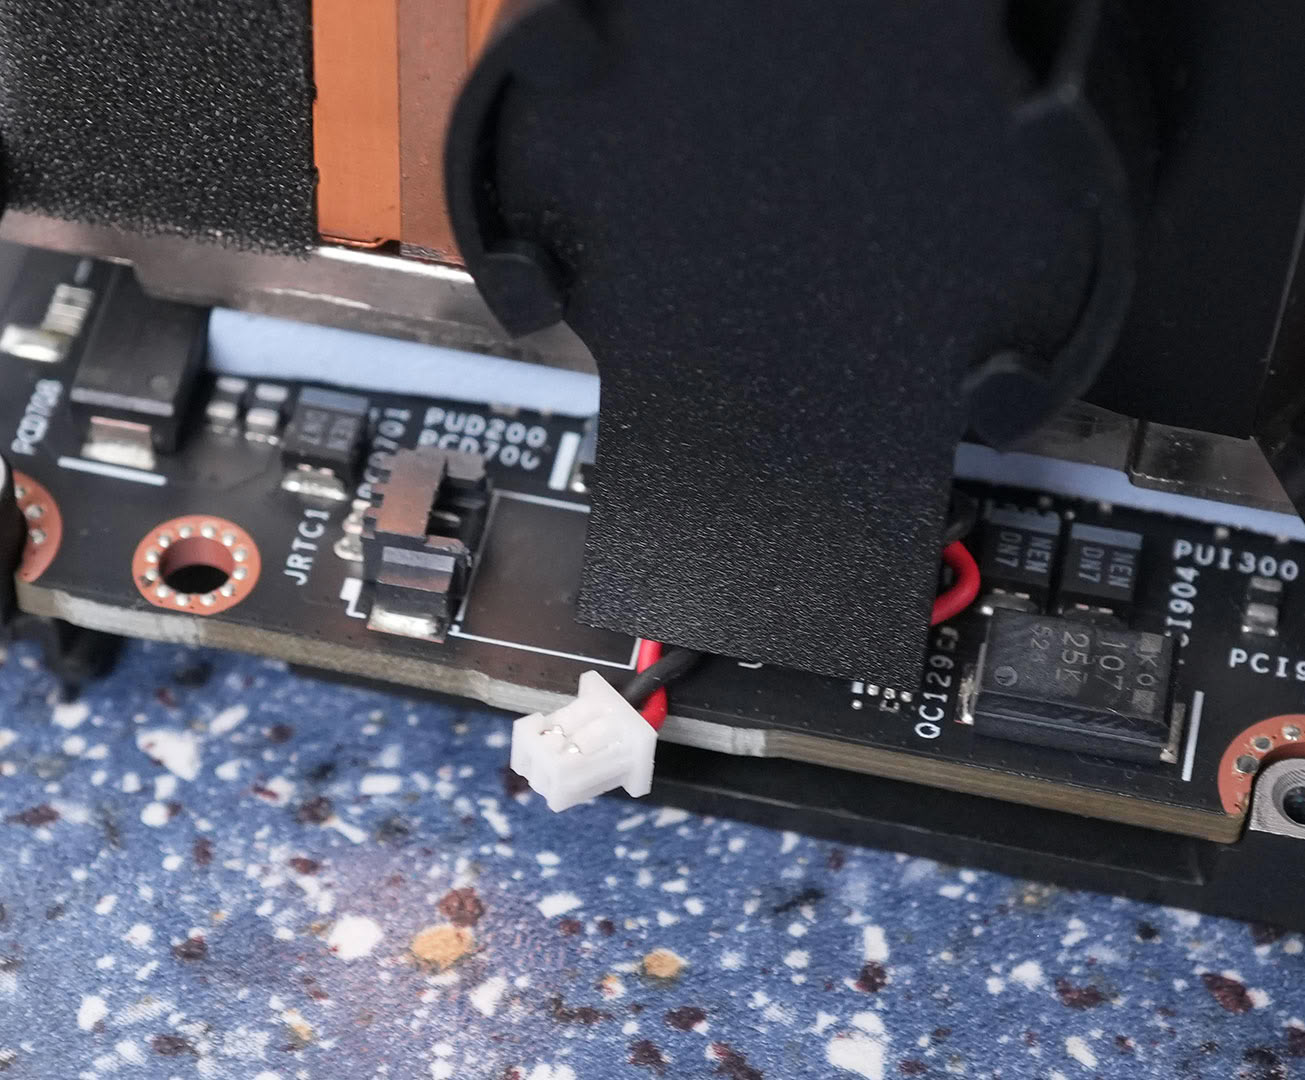
Next, we'll disconnect the CMOS battery. Push this white connector out from the other side, pulling on the cable won't work. Be careful to not slip and damage something here.
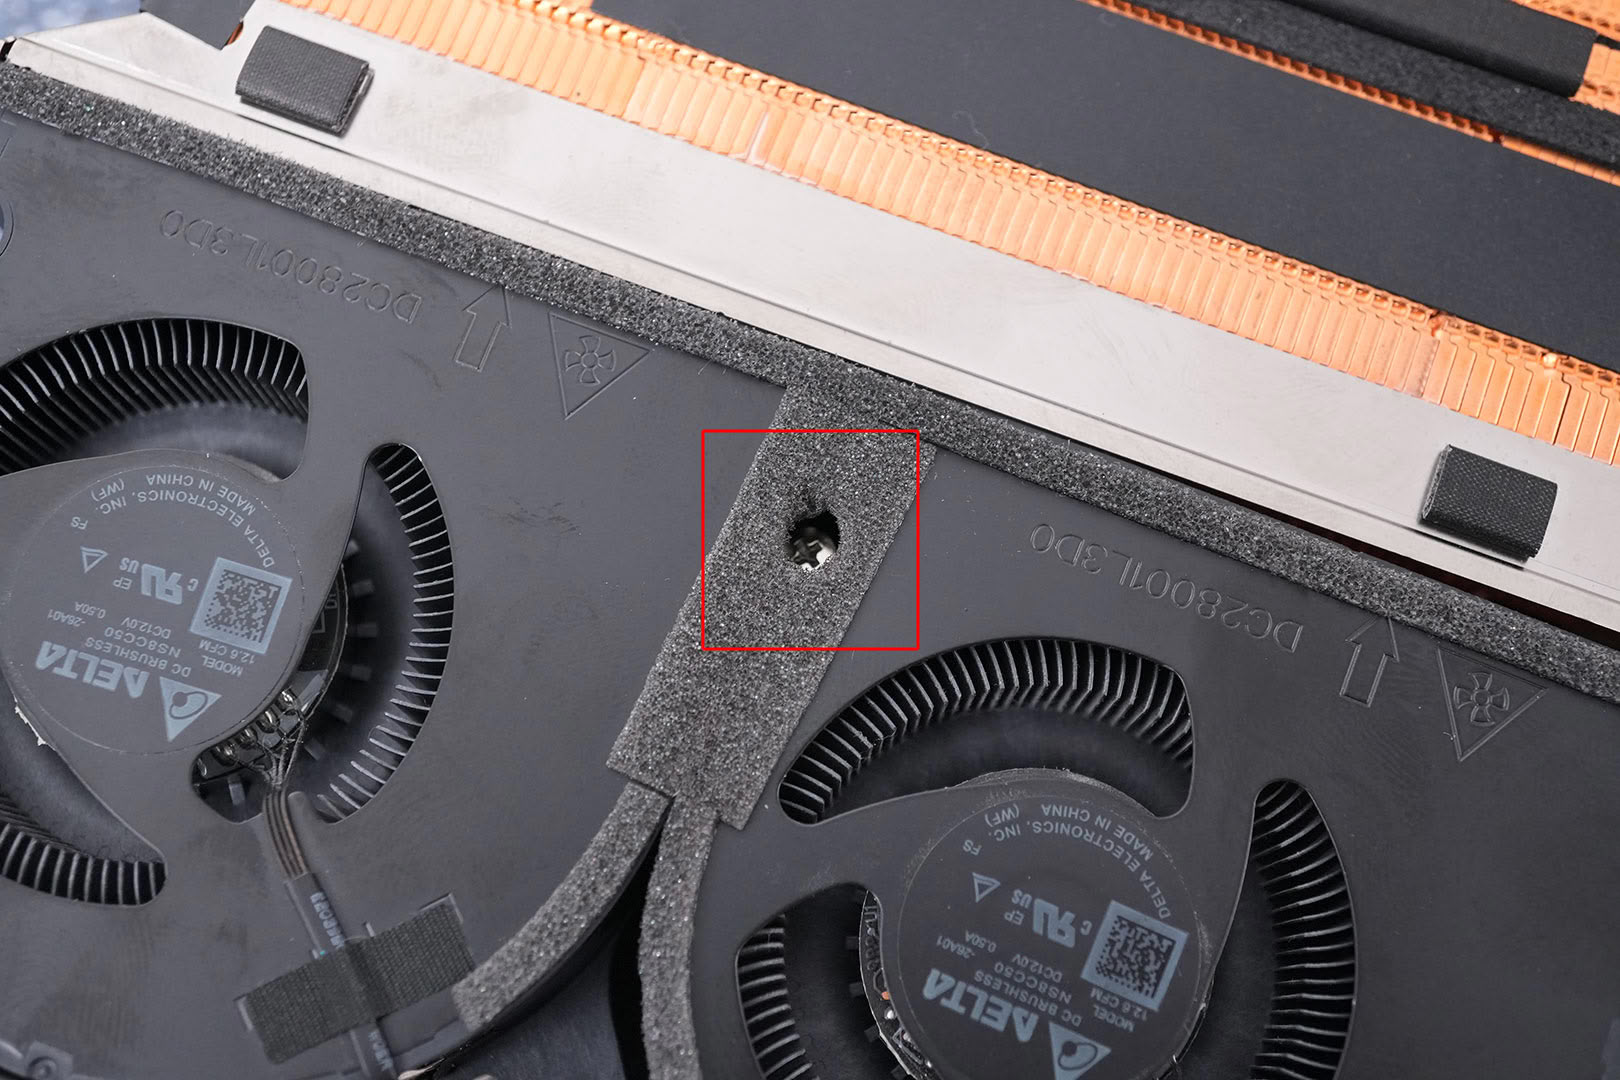
Now it gets ugly. Note the strip of black felt tape; feel with your fingers and punch a hole through with a screwdriver where it feels hollow. This screw has to be removed.
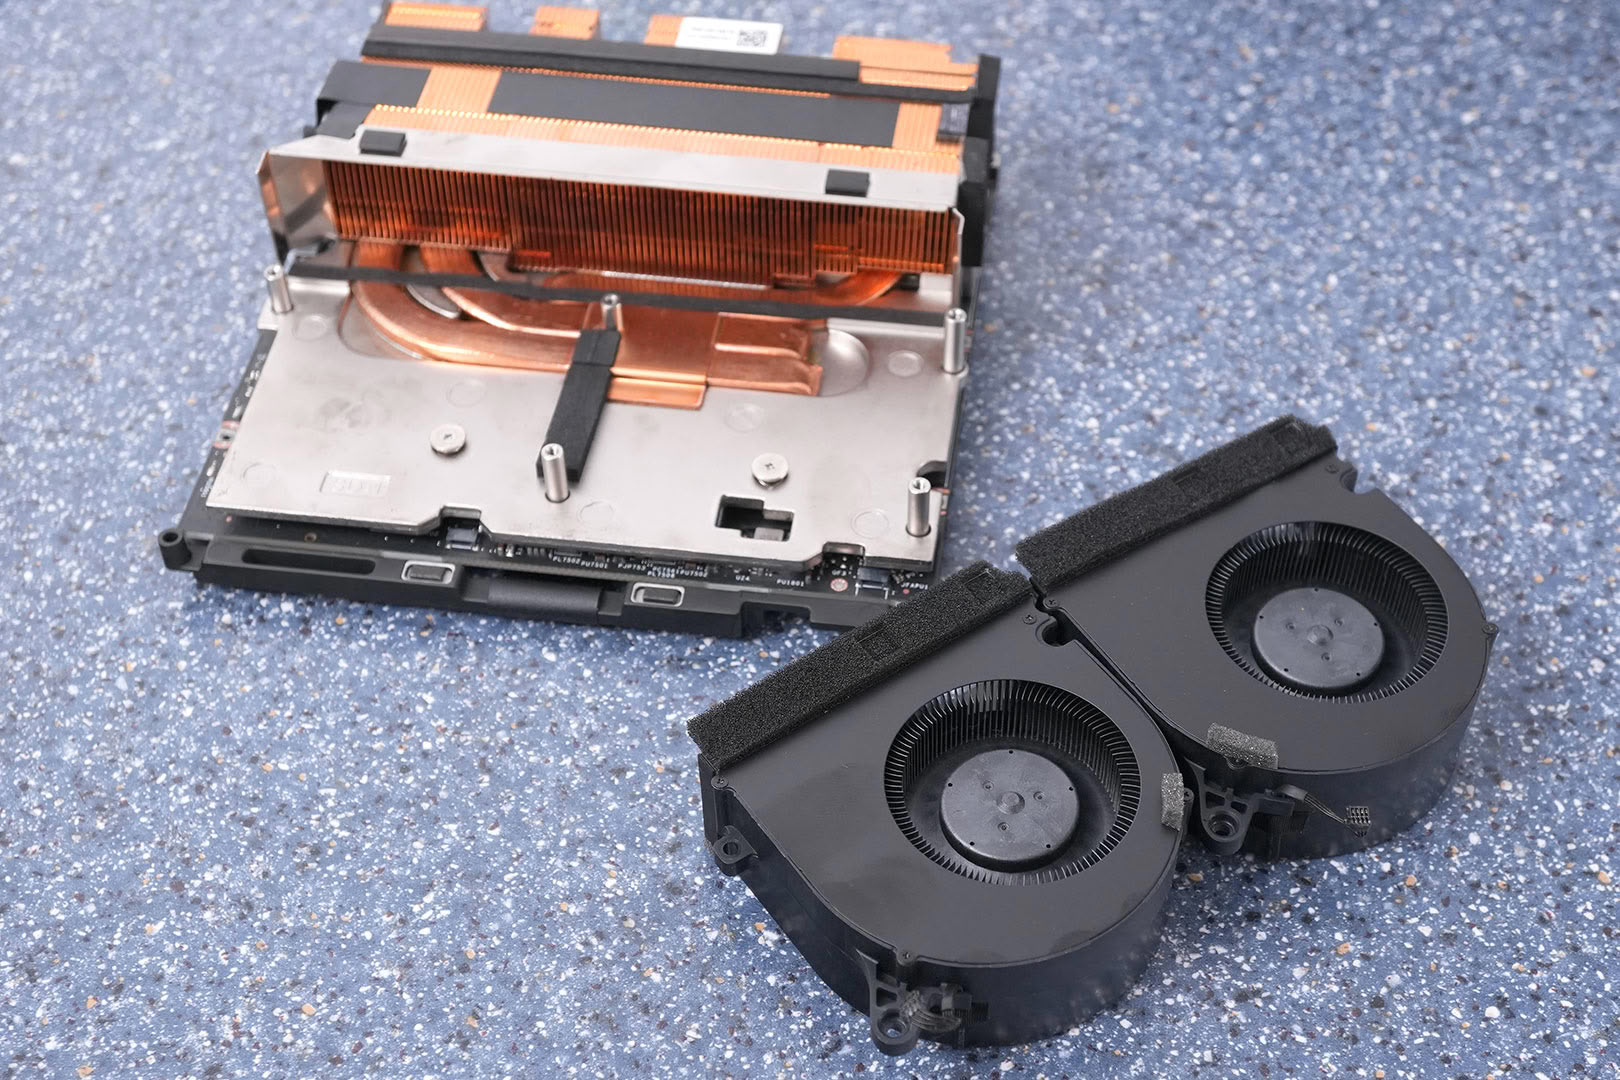
The two fans can be removed now, pull them out horizontally, not upwards.
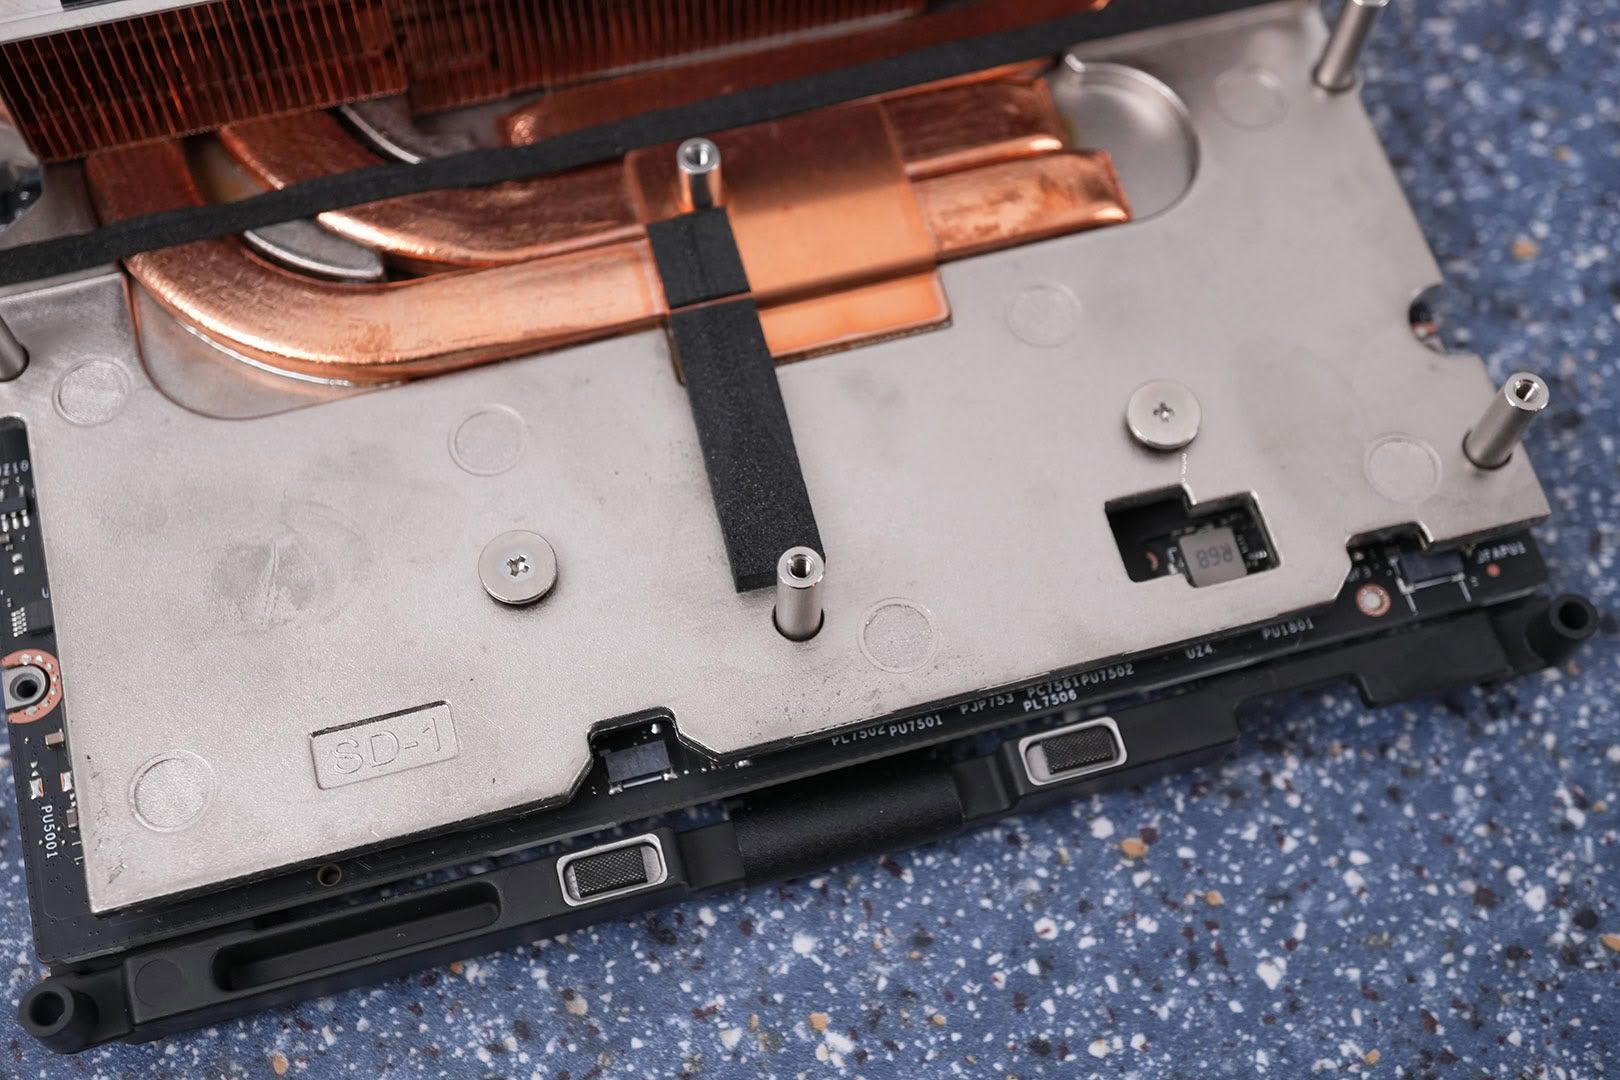
Remove these two screws.
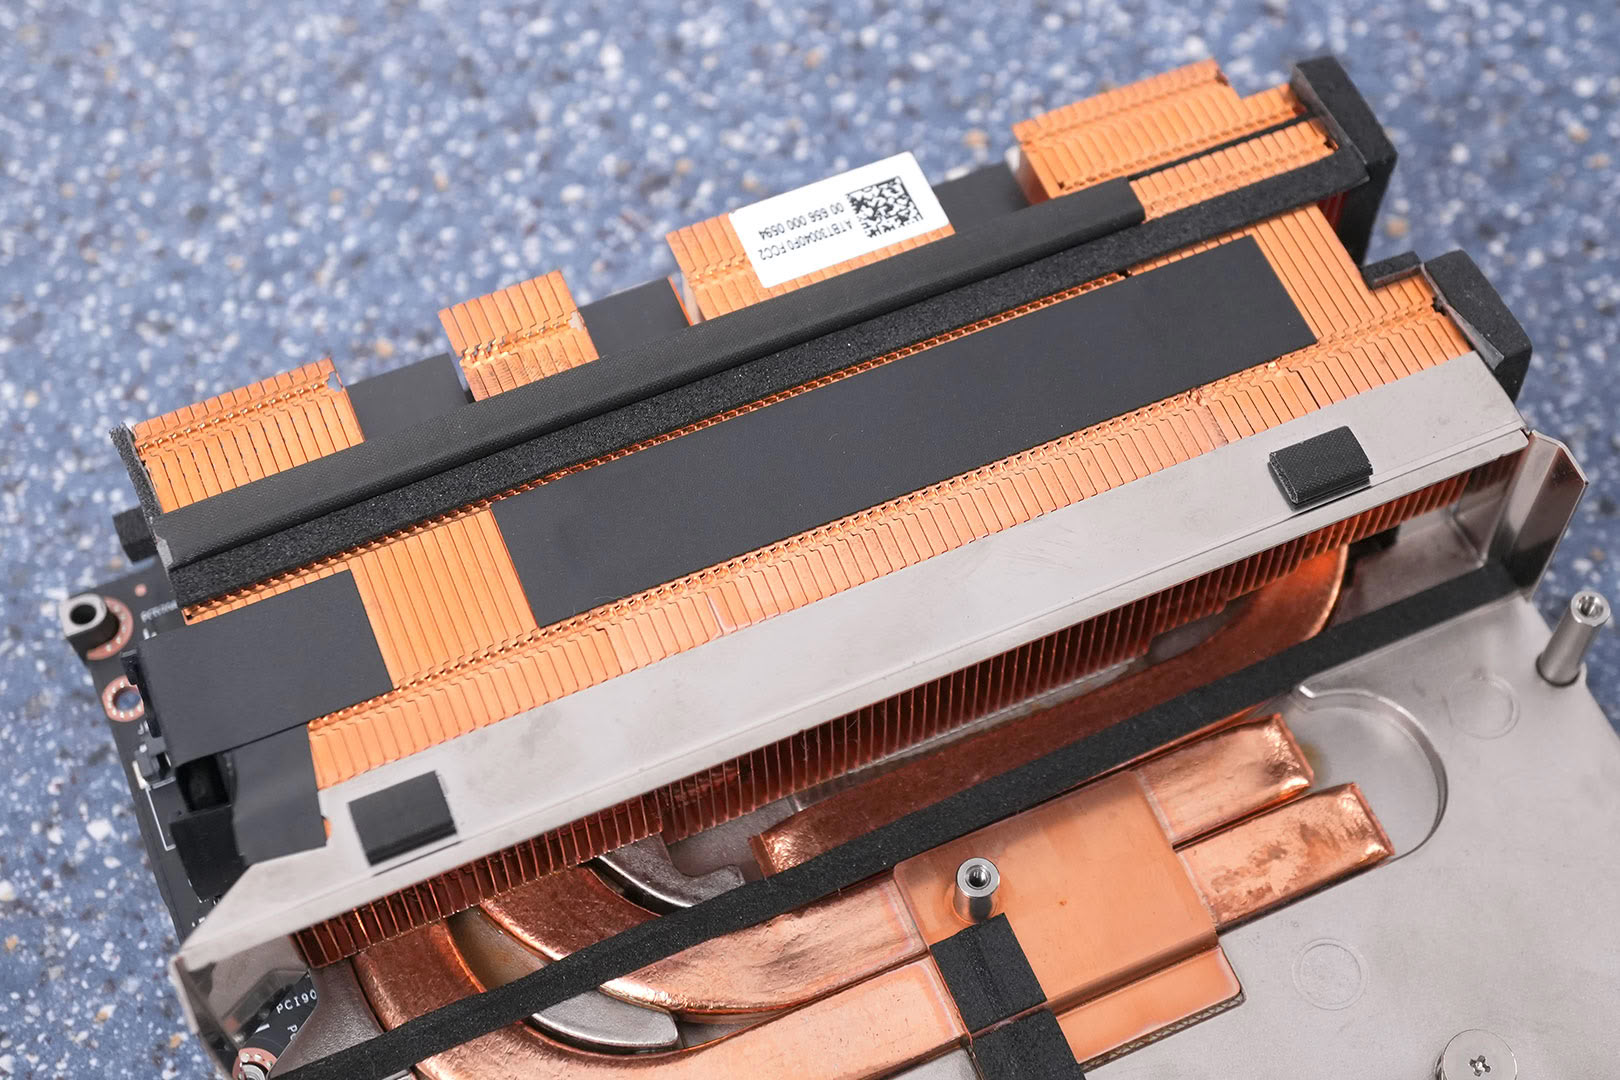
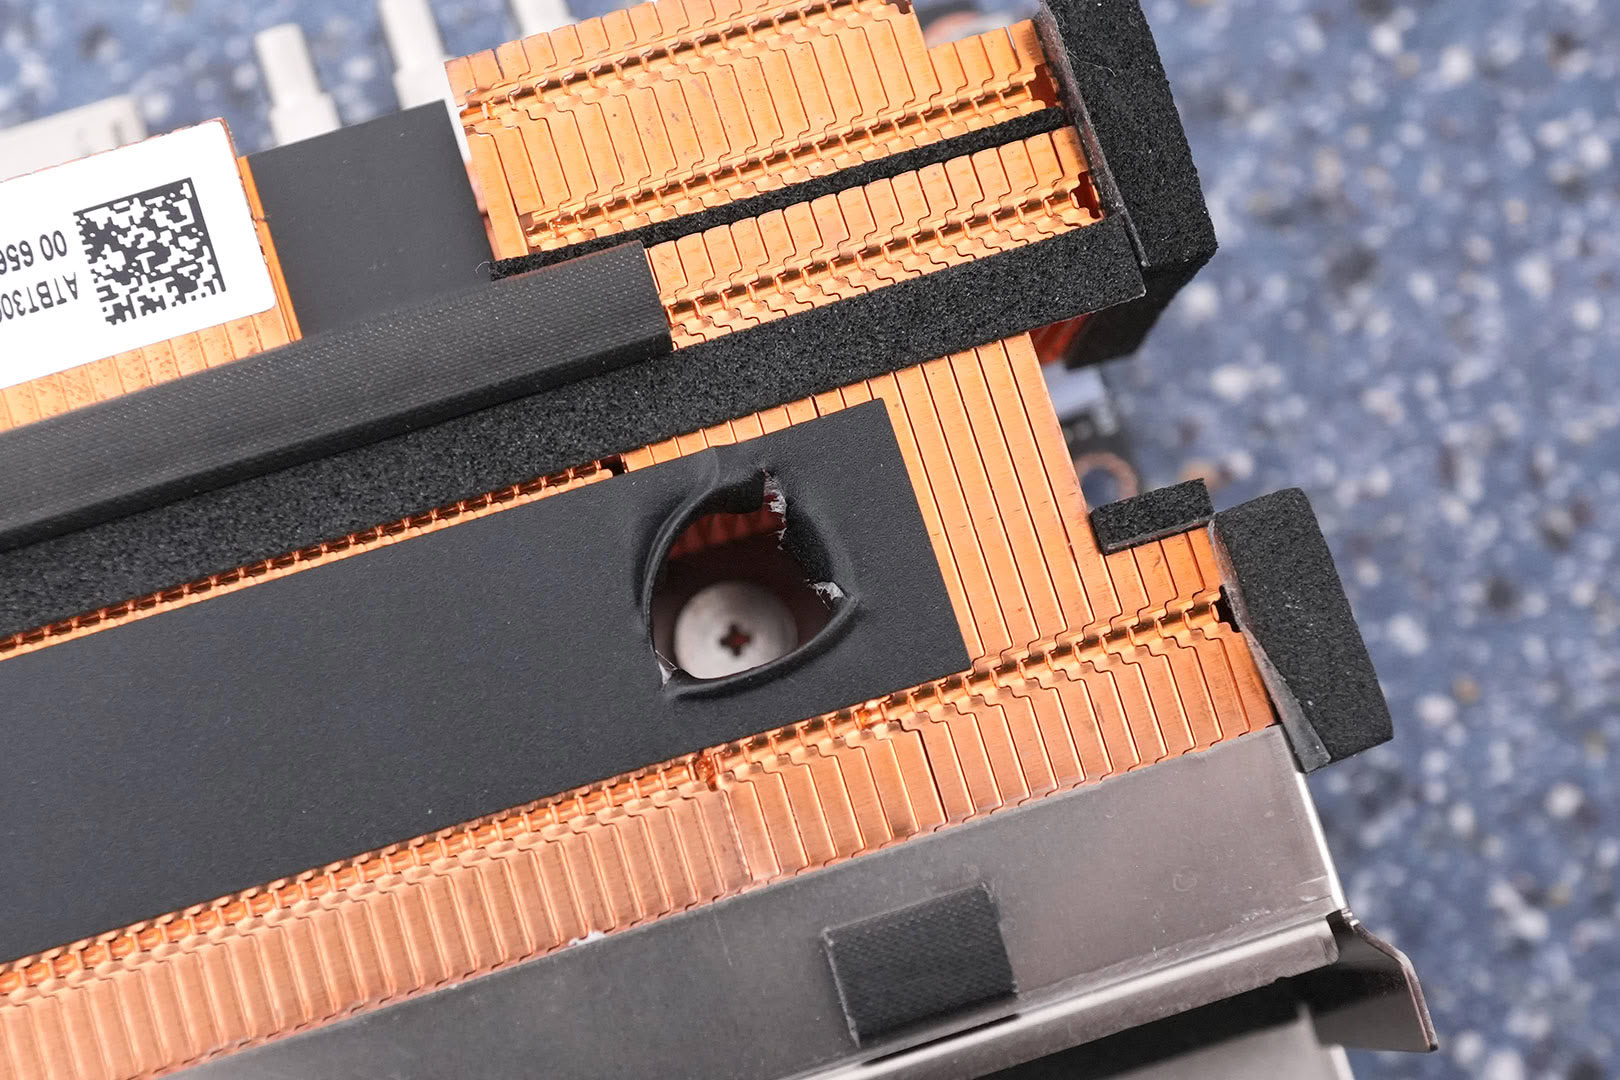
Another strip of black felt tape, guess what—two more hidden screws underneath.
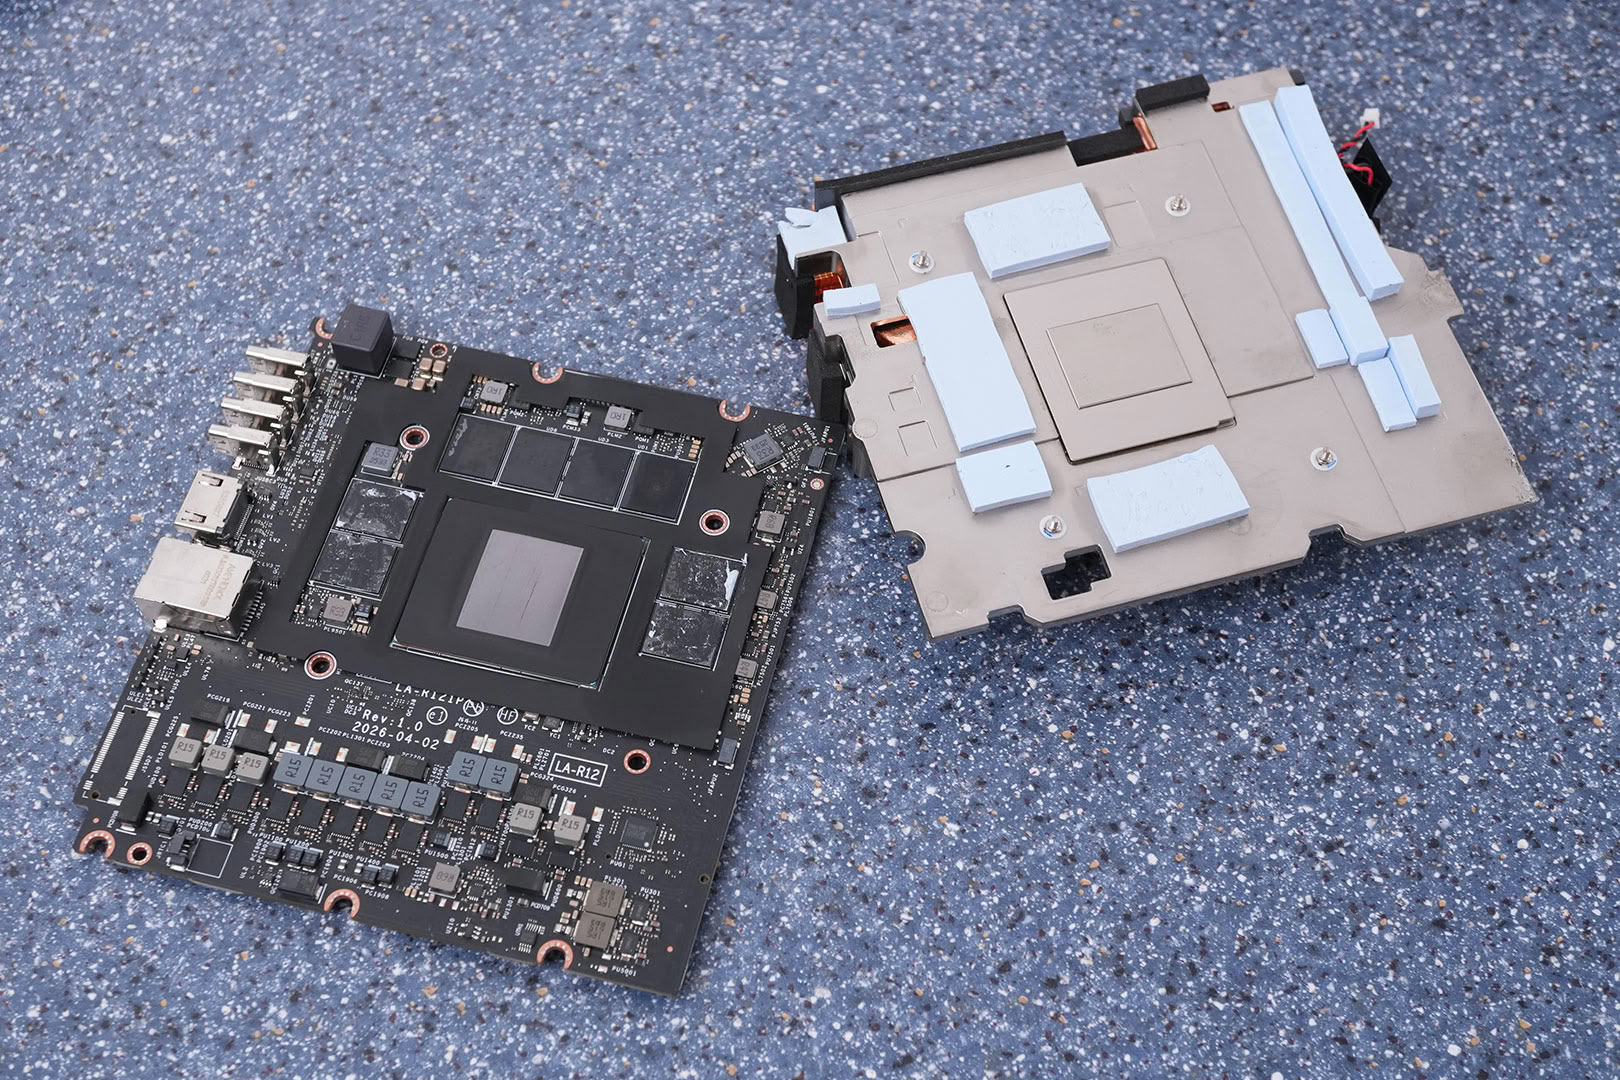
Finally! It's coming apart. Here you can see the motherboard and the cooling assembly, with plenty of thermal pads.
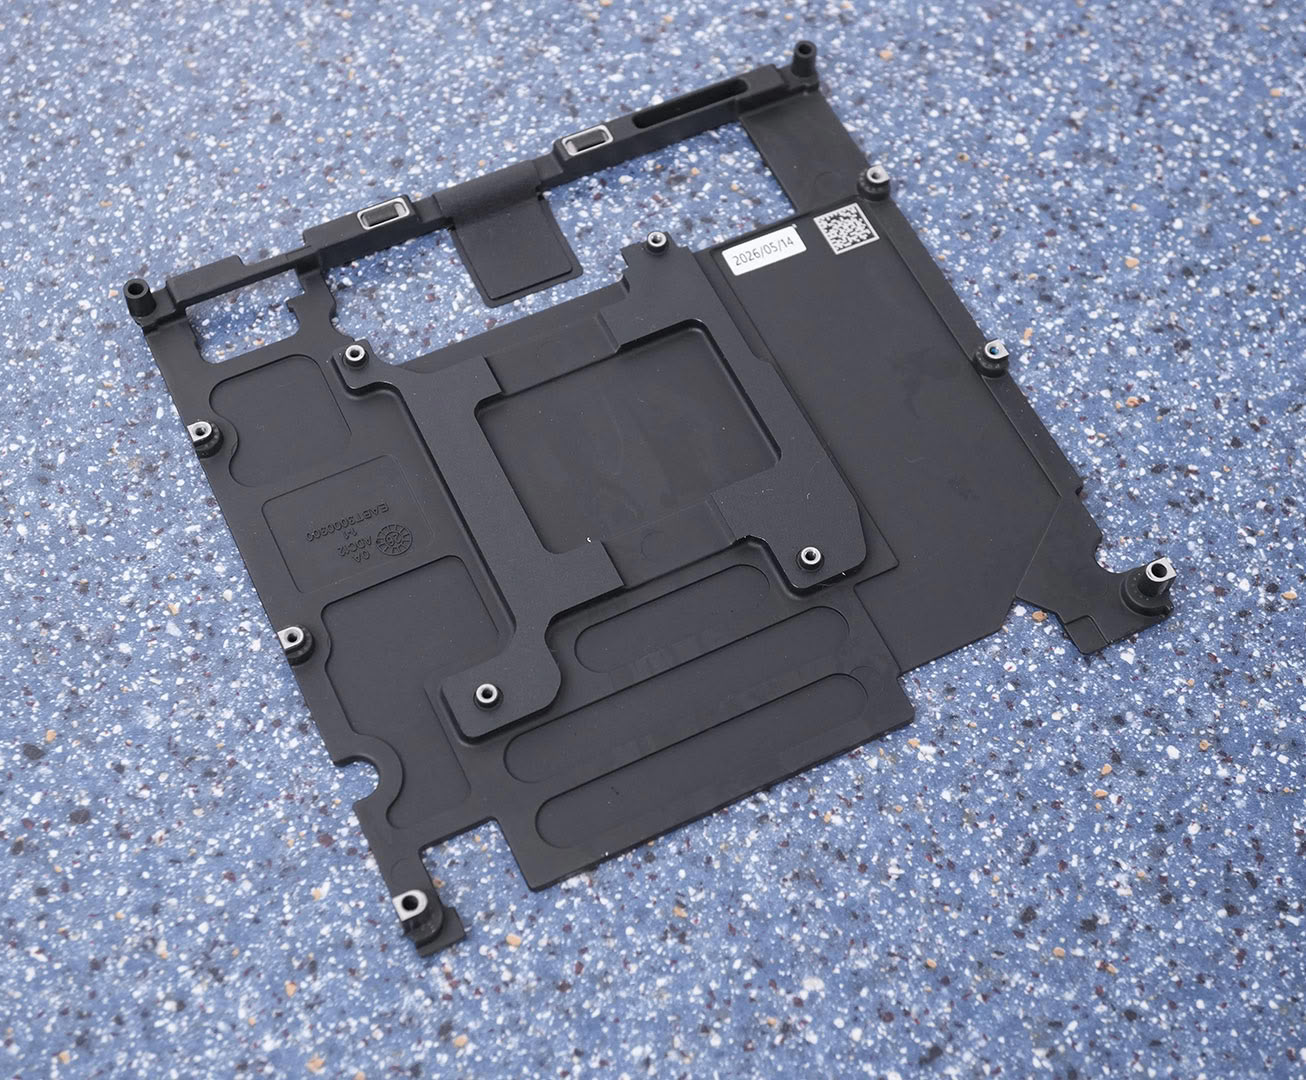
This is the baseplate that used to sit under the motherboard, it came off in that same step.
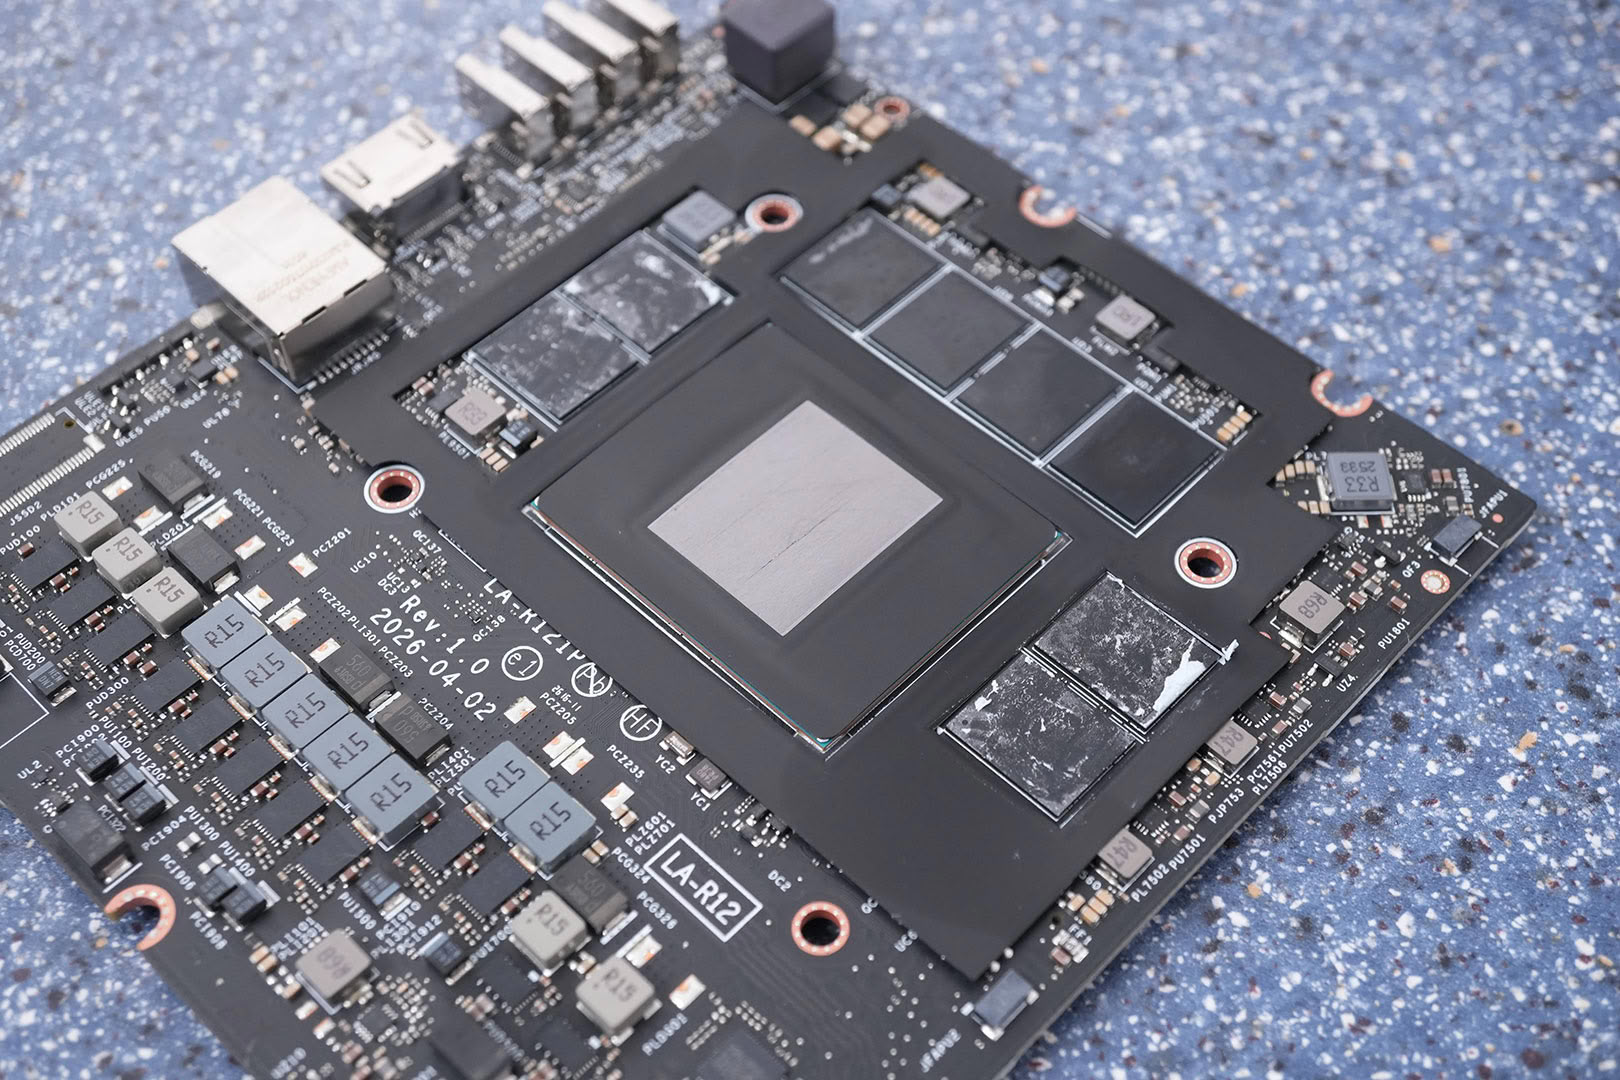
We can see the CPU, surrounded by eight memory chips. Do note: no thermal paste on the CPU, but a slightly transparent plastic foil! This seems to be some Graphene material used instead of classic thermal paste, which ensures there's no pump-out or degradation over time.
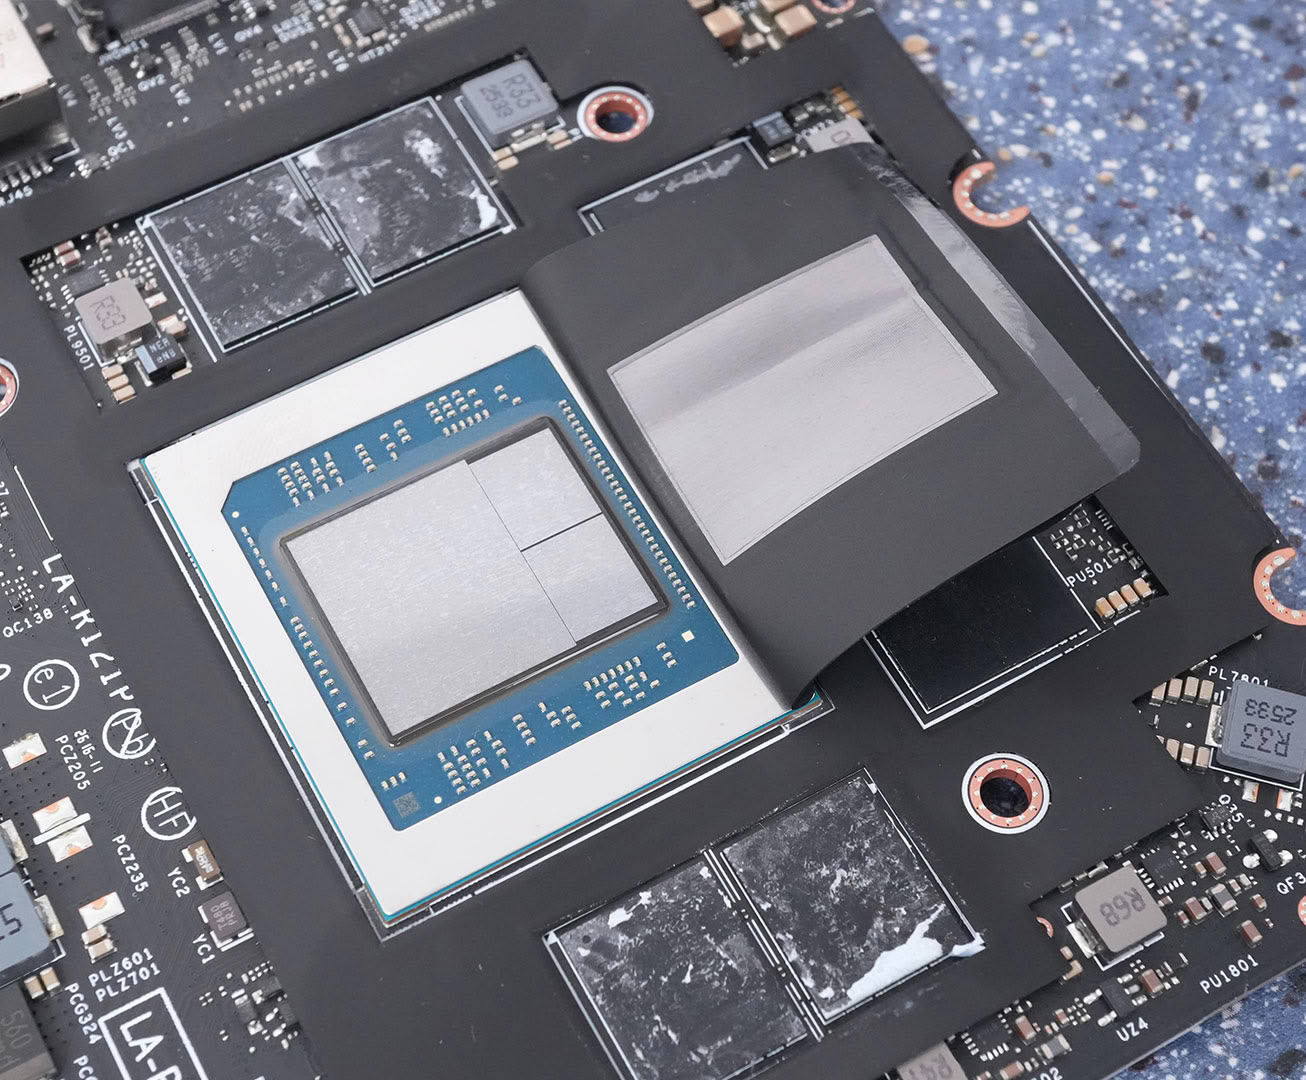
After pulling away the "thermal paste" foil, which uses sticky glue on each side, we can see the processor.
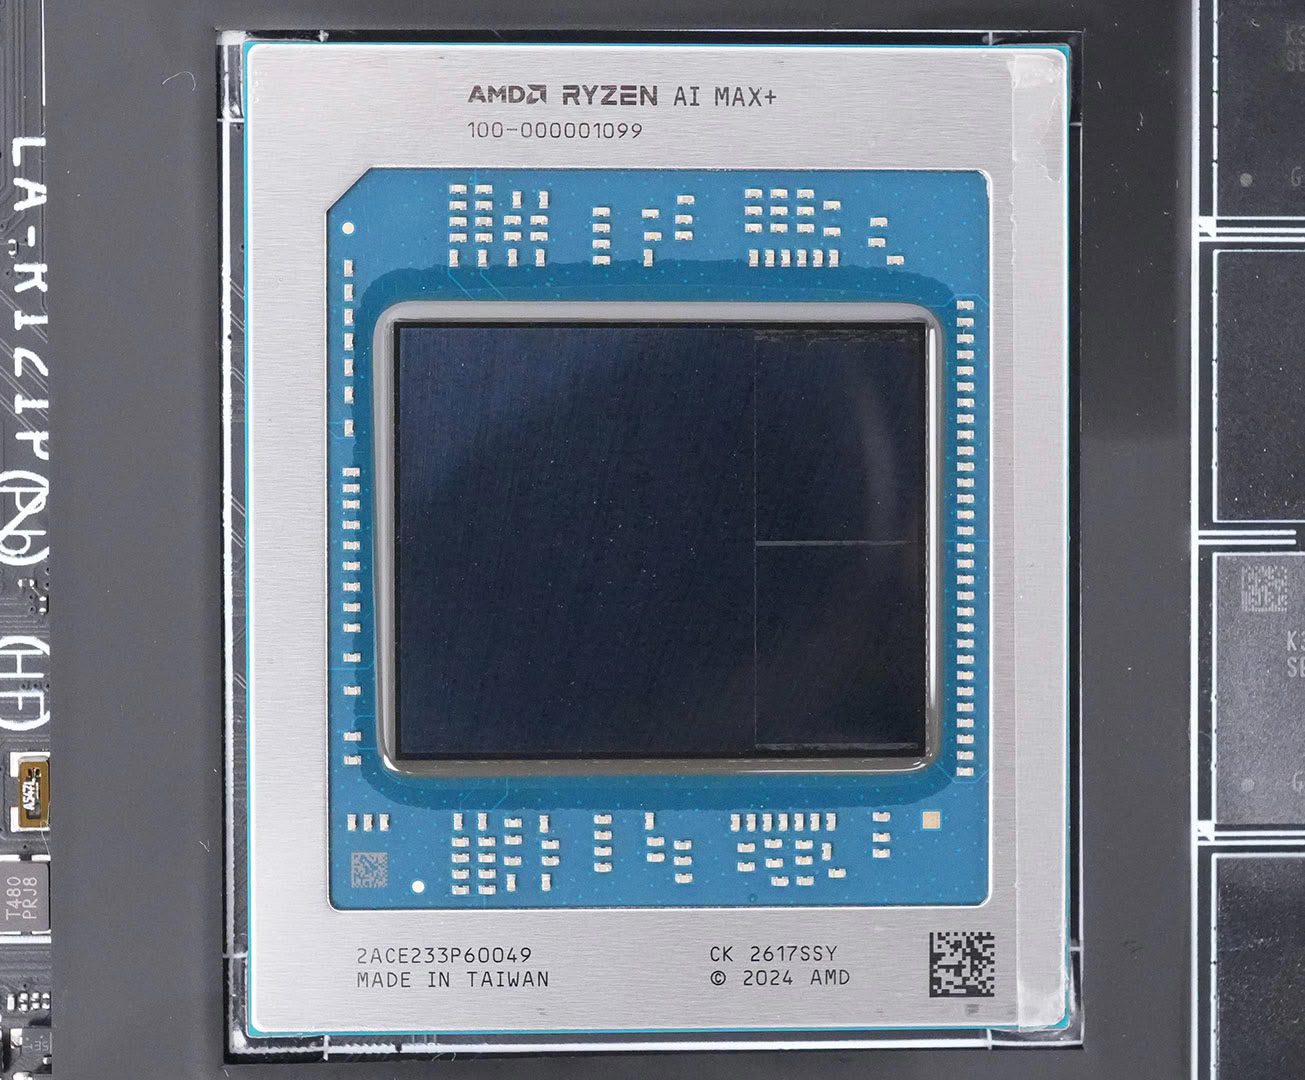
This is AMD's Strix Halo Ryzen AI Max+ CPU. You can see a big central die, which contains the integrated GPU, the NPU, the memory controller, 32 MB Infinity Cache and the rest of the SoC. The two smaller dies on the right side are Zen 5 CCDs, each containing eight cores and 32 MB of cache.
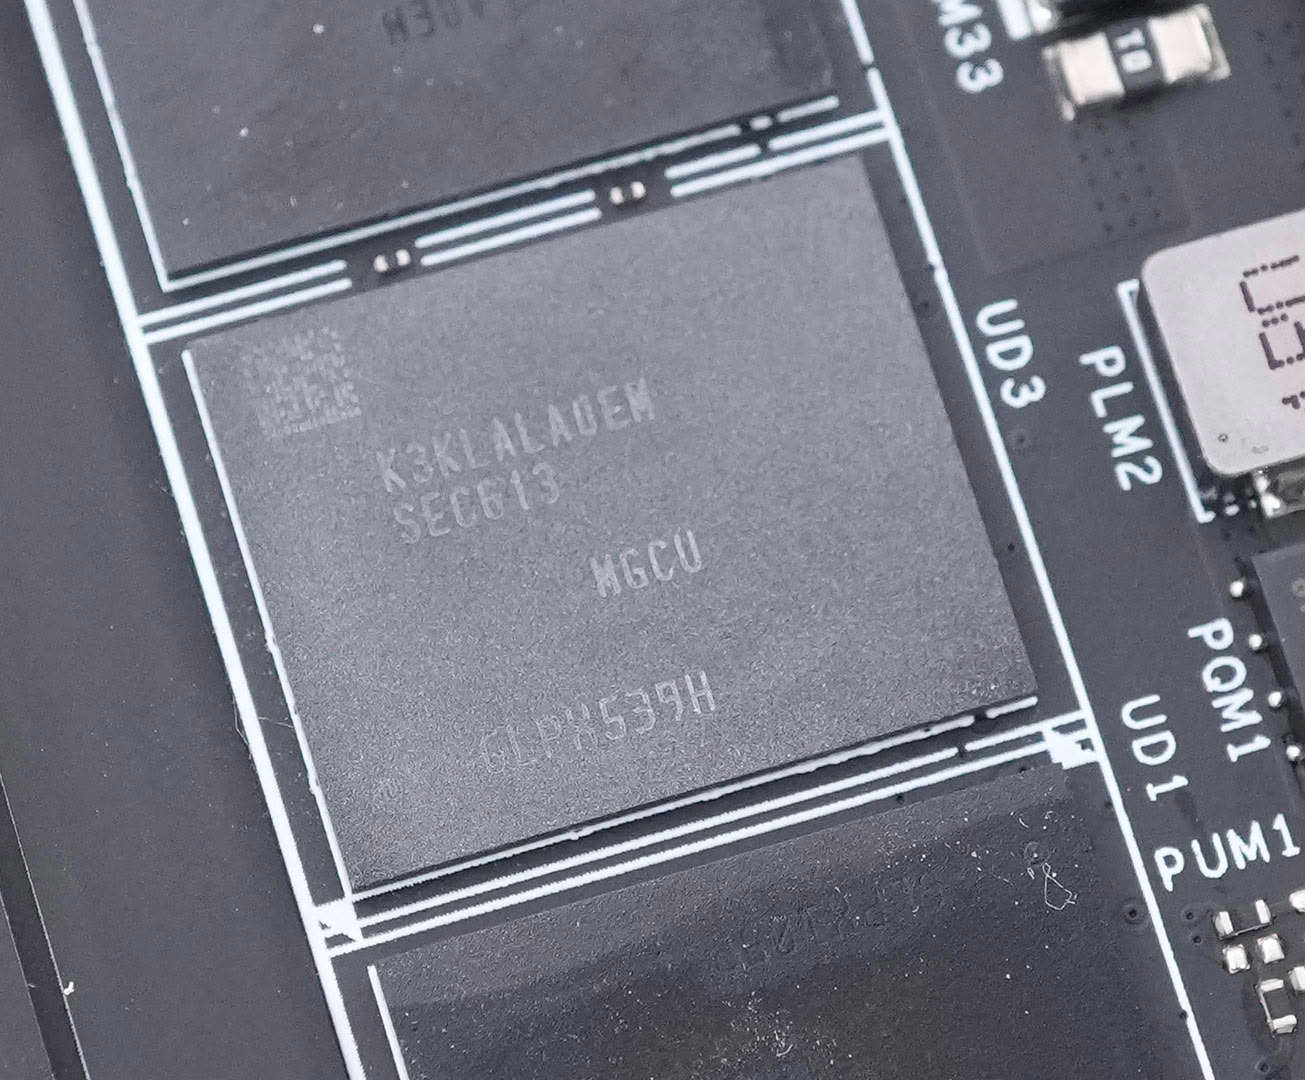
This is the machine's memory: Samsung LPDDR5X-8000, K3KLALA0EM-MGCU with 128 Gbit capacity per chip.
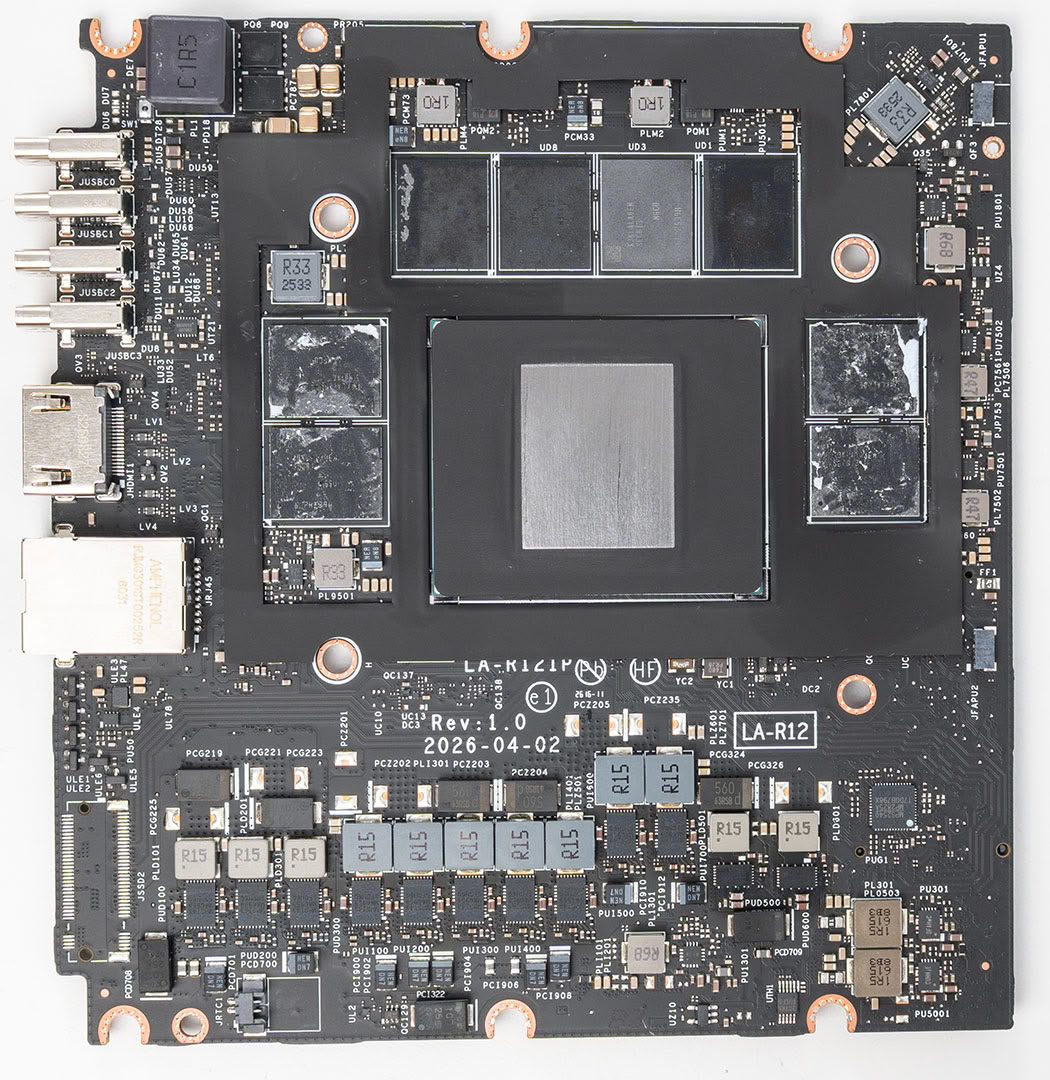
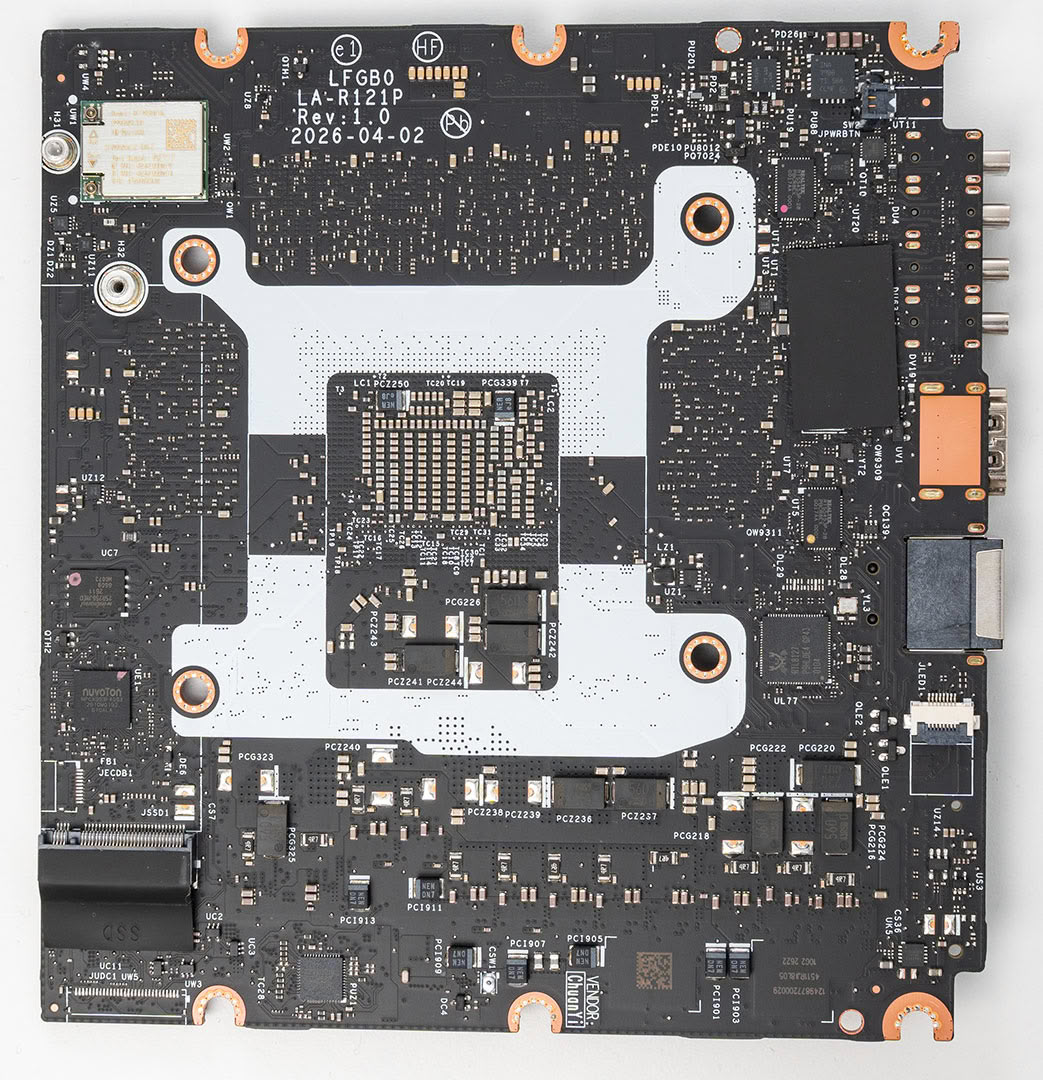
Here's the front and back of the PCB.
Putting the whole box back together is MUCH faster and easier, taking maybe 15 minutes.
AMD Ryzen AI Developer Center

On bootup, after Windows starts, the Ryzen AI Developer Center application opens automatically (you can turn this off, of course, it's purely optional). It's a great piece of software, though: very well-made, with a stylish UI that's genuinely usable.
On the home tab you get two buttons. The first takes you to the AI Playbooks: an AMD-curated website with various examples of how to build AI-powered software stacks; more on that further down on this page. The second page lets you update the software.
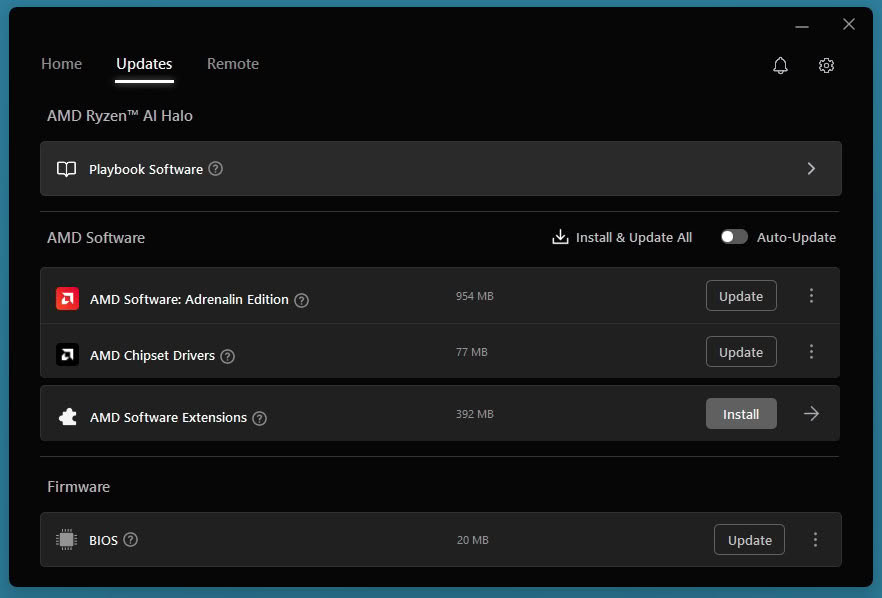
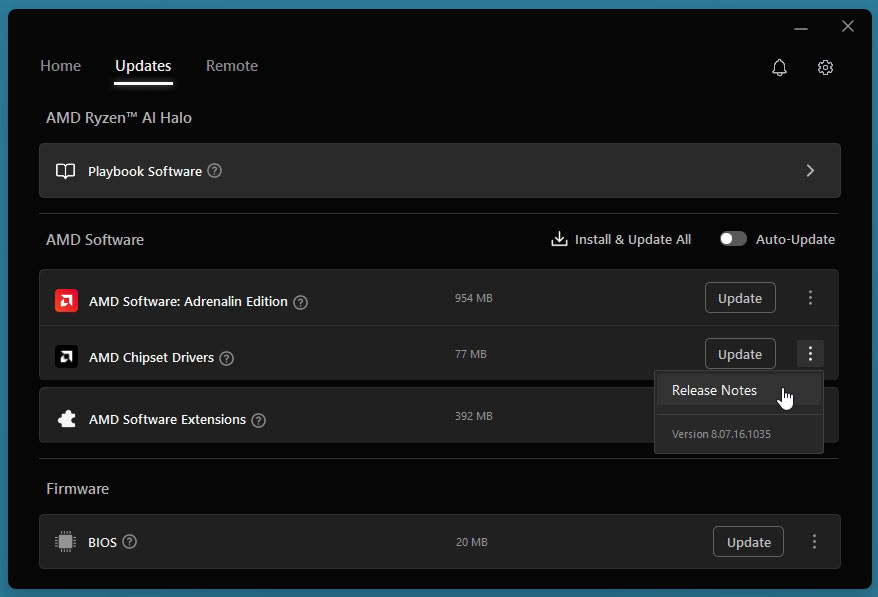
The updates tab covers everything, not just the usual components, but drivers for both graphics and chipset, and even the BIOS. The three-dot menu lets you see release notes and other information; nicely done.

You can also update the preinstalled software packages from here. As you can see, the list is pretty decent, covering the basic use of the system, so you don't have to go hunting for them yourself.
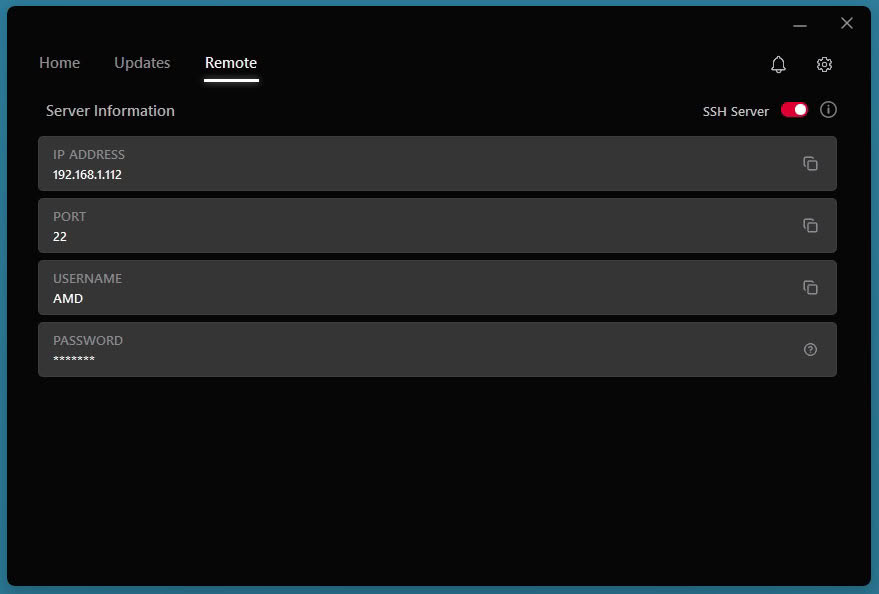
"Remote" lets you enable an SSH server so you can access the machine remotely, which makes it easy to run headless, making this an additional system to offload work to from your main PC.
Radeon Settings
Technically this is called "AMD Software: Adrenalin Edition," but we all know it as AMD's graphics card control panel where you can adjust GPU-related options.
Here you'll find one of the most important settings for this machine: it lets you configure the split between CPU and GPU memory.
The CPU and GPU share a physical pool of RAM, so some of it is carved out and reserved as the GPU's dedicated memory: that reservation is the split. It doesn't strictly have to work this way: the silicon is genuinely unified, and the division is a software convention, not a hardware limit. Windows and most AI tools expect a fixed "VRAM" number to allocate against, so AMD's driver hands the GPU a fixed carve-out; on Linux it can reach much further into the shared pool on demand. Truly unified designs skip the carve-out altogether—Apple Silicon, and also the Arm-based DGX Spark, let the GPU address the whole pool with no split to set. Even the game consoles, which run the same kind of AMD x86 APU with a single pool of physical memory, split it between CPU and GPU.
Our system has 128 GB, so we can pick from various settings. The ideal setting depends on what you're using the system for. For gaming or everyday desktop work the split barely matters (games are happy with a small slice), but for large language models or image generation you want to give the GPU as much as it will take, up to 96 GB, so the whole model fits. The box ships at that maximum allocation, which is the right default for the AI work it's built for.
I'm surprised this option isn't surfaced in the Ryzen AI Developer Center; more visibility for it would be good. Radeon Settings → Performance → Tuning isn't the most obvious path for a non-gaming audience.
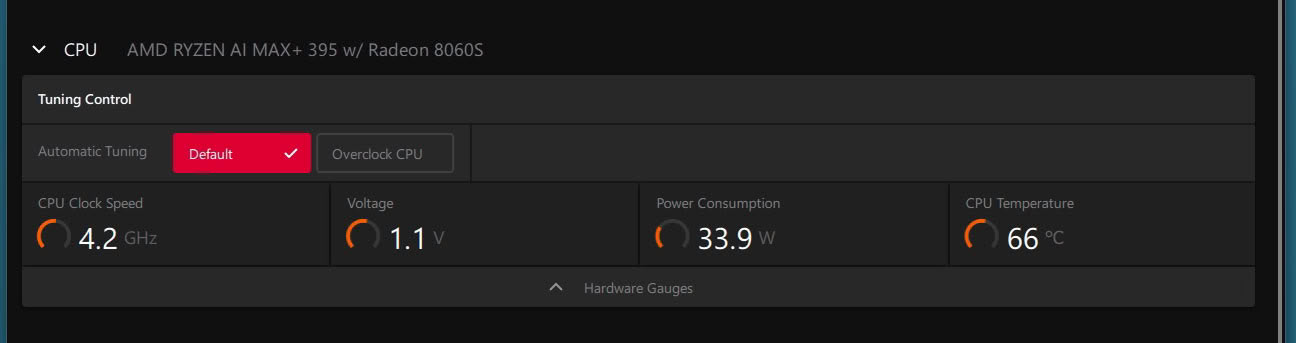
Here you can also find some sensor information, such as CPU frequency, voltage, current power consumption and CPU temperature.
Our Patreon Silver Supporters can read articles in single-page format.
Nov 13th, 2026 21:31 CST
change timezone
Latest GPU Drivers
New Forum Posts
- Tell me about your favourite graphics card (26)
- Crimson Desert (31)
- RenoDX HDR - how to view the differnce Before&After in game? (0)
- Displayport DP80 3M (10ft) cable that can achieve 80gbps stable? (5)
- I'll flash a ASUS ROG Strix RX480 O8G in Cause of Code 43, as a Newbie (1)
- Opinion on Monitor Replacement (6)
- TMOG - post your benchmark results here (16)
- no "PhysX" workable (7)
- Microsoft Exchange/365 outages? (61)
- Unallocated space in ssd , is it normal? (18)
Popular Reviews
- AMD Zen 6 Technical Deep Dive
- Corsair HX1000i Shift Crystal Review
- NZXT C1200 Platinum Review
- Upcoming Hardware Launches 2027 (Updated Nov 2026)
- ASUS ROG Strix B850-I Gaming Wi-Fi7 W Review
- Montech King 95 3D PRO Review
- NZXT H7 RGB+ Review
- NZXT H5 Review
- Phantom Blade Zero Performance Benchmark Review - 35 GPUs Tested
- XPG NIMBUS PLUS Review - Mid-range Chair With Strong Competitors
TPU on YouTube
Controversial News Posts
- NVIDIA Co-Founder and CEO Jensen Huang Officially Resigns (379)
- OpenAI CEO Argues Home PCs Waste the World's Limited DRAM Supply (152)
- NVIDIA Launches Investigation Into Jensen Huang's Relationship With Suspected Chinese Spy (136)
- Intel "Raptor Lake Next" 16-Core and 20-Core CPUs Surface (130)
- Legendary Game Studio BioWare Shuts Down Following EA Layoffs (104)
- Dell CEO Says the Memory Shortage Will Get Worse in 2027 (95)
- NVIDIA GeForce RTX 50-Series Scheduled for up to $500 Price Hike This Week (89)
- Modder Fits RTX 5090 With Four 8-Pin Connectors, Halving Current per Wire (80)