 8
8
Antec Sonata III Review
Finished Look »Installation
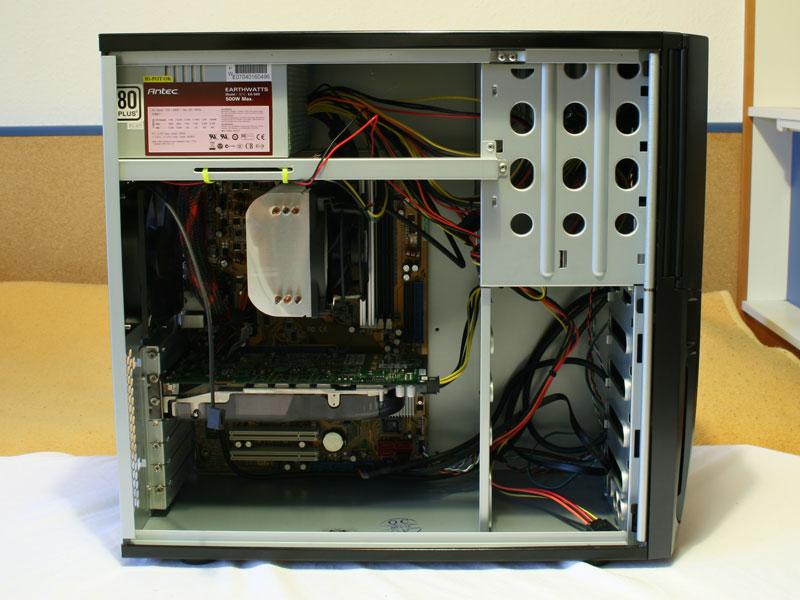
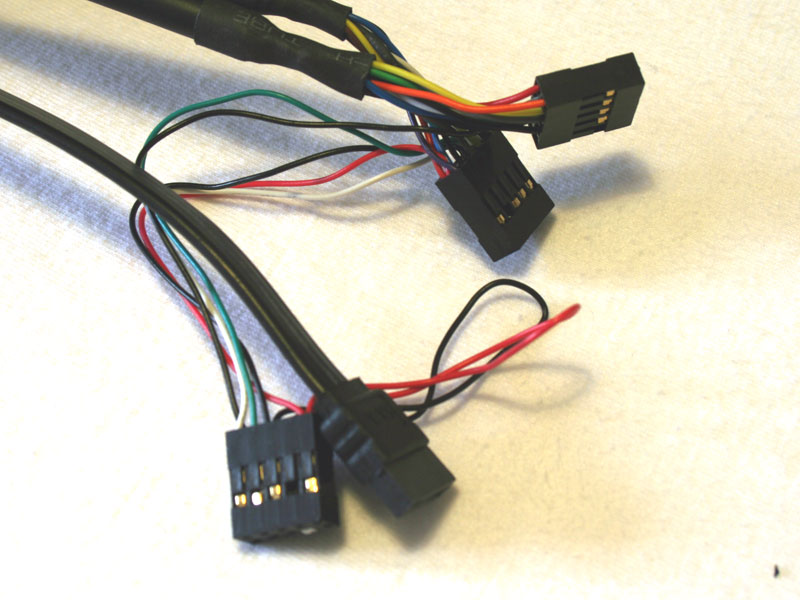
The mainboard installation is simple and is done exacly as one would expect. Antec ships the case with four mainboard standoffs installed, which means you will have to install the additional five, or in this case two before installing an ATX board. The case is quite compact, so you will not be able to fit an eATX board, while an mATX should not pose any problems. The mainboard connectors are of the usual quality in brand name cases. Antec has included plugs for HD Audio and AC '97 connectivity, which is good to see, as the nForce 570 AM2 based board still uses the older AC '97.
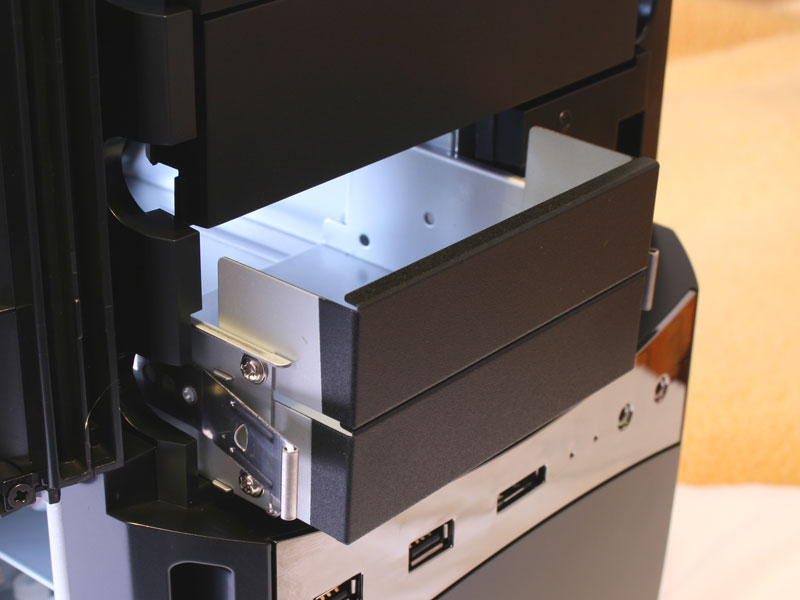
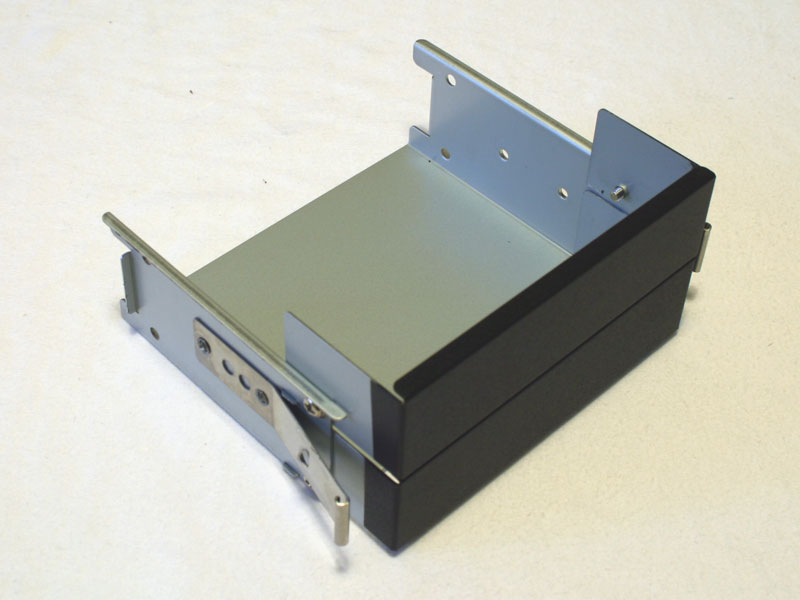
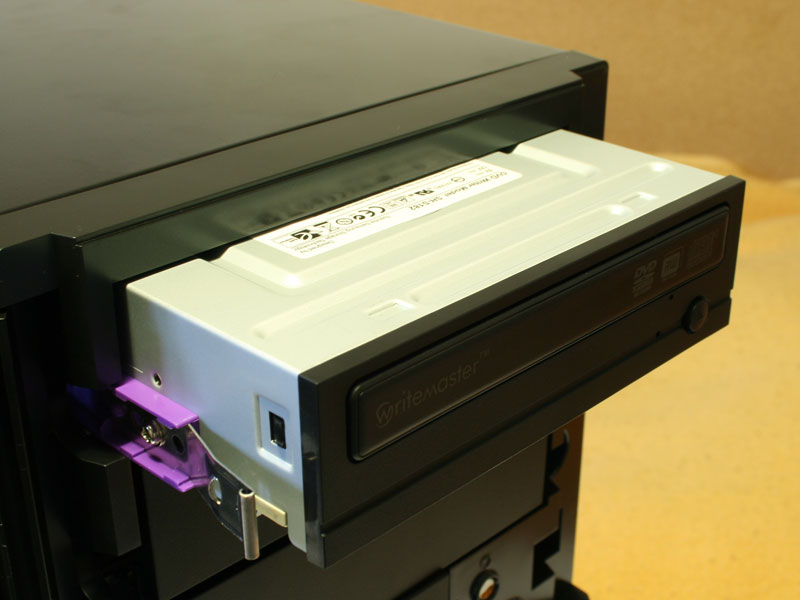
To install external 3.5 inch devices you will need to pull out the drawer through the front of the case. This drawer is made of a thinner steel sheet and held together by the two front covers. Removing the drawer from the case does not require any tools, but the covers are held in place by screws.


Once the cover is removed with a screw driver, the drive/card reader has to be secured with four screws. This means that the installation of such devices actually requires four steps: remove 3.5 inch tray, remove cover, install device and place back into case. The normal approach only requires three steps: pull out cover, place drive in case & secure with screws. This means that Antec's approach is actually more complicated, but required by design, as you cannot remove one side panel of the case.
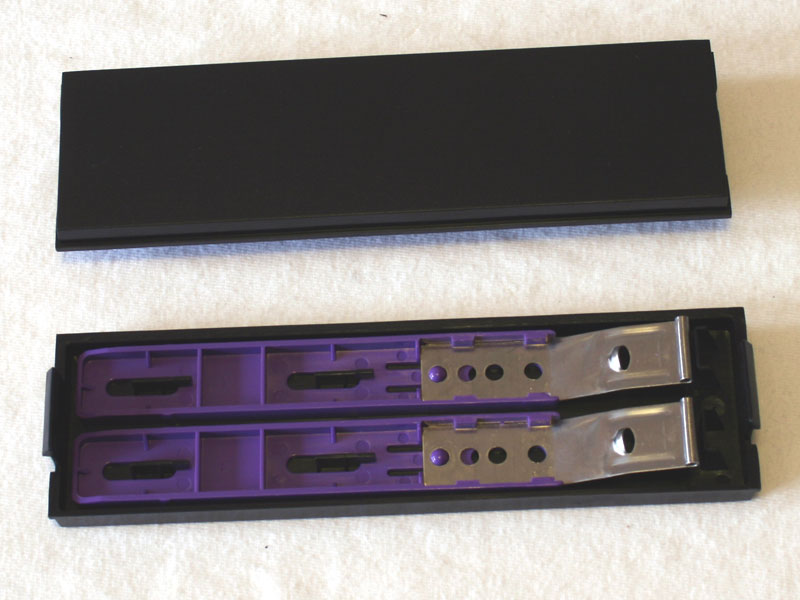

The 5.25 inch drive bays utilizes rails to secure the drives in place. Antec has stored these inside the drive bay covers themselves. These need to be pulled out of the case, the rails then have to be secured to the drive with normal screws, which is then placed back into the device. This means it requires just as many steps as a system without rails, but does make installation a bit easier.

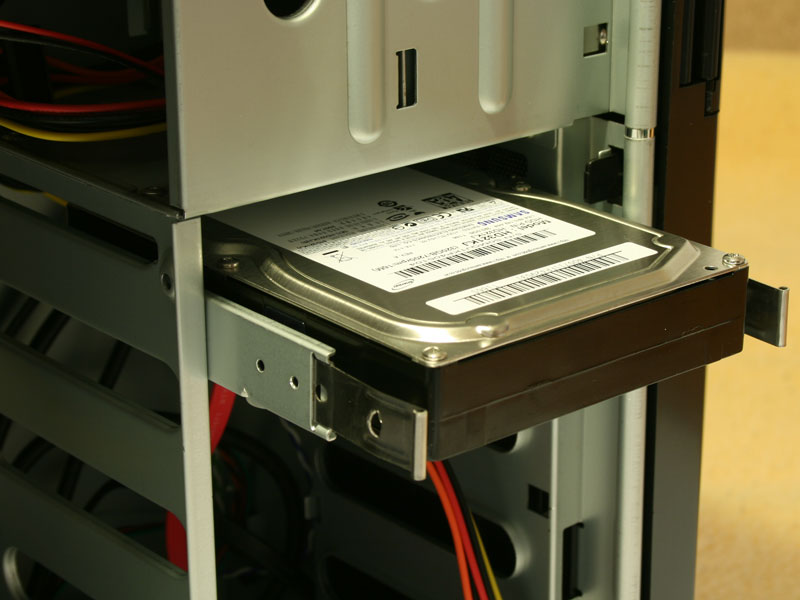
Installing hard drives is done on hard drive drawers. These have rubber rings, which absorb any vibrations of the drive. You are also free to choose which direction you want to install the hard drives. Either place them with the connector out of sight or toward the side panel.
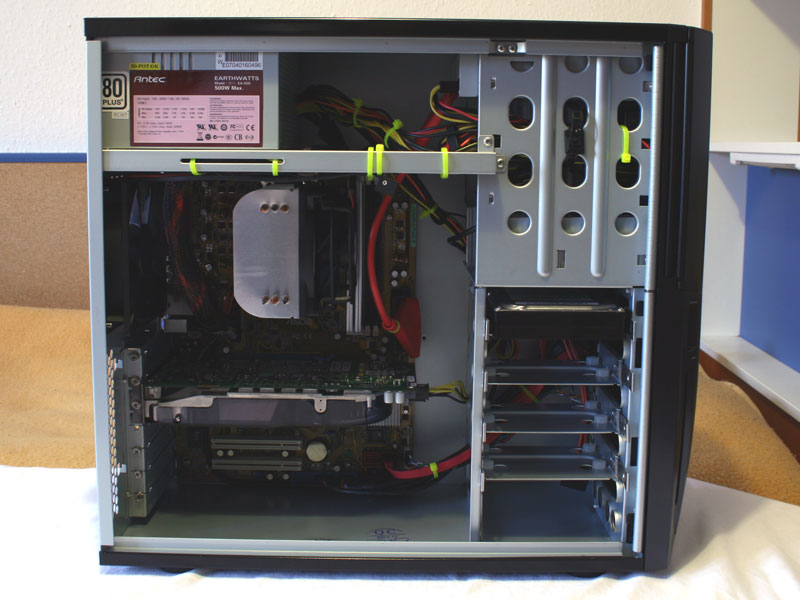
Once everything is installed and the cables mess is cleaned up, the simple but effective internal design becomes apparent. No matter how many drives you use, there will always be space to hide any additional cables behind the hard drives or the external 3.5 inch devices.
May 17th, 2024 19:29 EDT
change timezone
Latest GPU Drivers
New Forum Posts
- EK seems to be having major issues (94)
- Not getting the performance I should be with the components I have (3)
- Safe to replace keycaps with new custom ones? (4)
- AIO Water Cooler vs Tower Air Cooler (47)
- Radeon RX 6700, 6700 XT & 6750 XT users club (939)
- Razer Blade 18 Laptop / ThrottleStop not working :( (3)
- What are you playing? (20668)
- Ghost of Tsushima PC Port !!!! (51)
- ThrottleStop stopped working with Windows 23H2 update, VBS & virtualization disabled, BIOS rollback, no undervolt protection notice, what next? (3)
- not impressed - nvme vs ssd (136)
Popular Reviews
- Homeworld 3 Performance Benchmark Review - 35 GPUs Tested
- Ghost of Tsushima Performance Benchmark Review - 35 GPUs Tested
- Enermax REVOLUTION D.F. X 1200 W Review
- Lofree Edge Ultra-Low Profile Wireless Mechanical Keyboard Review
- Silverstone Shark Force 120 mm Fan Review
- Upcoming Hardware Launches 2023 (Updated Feb 2024)
- AMD Ryzen 7 7800X3D Review - The Best Gaming CPU
- ZMF Caldera Closed Planar Magnetic Headphones Review
- Corsair MP700 Pro SE 4 TB Review
- Horizon Forbidden West Performance Benchmark Review - 30 GPUs Tested
Controversial News Posts
- Intel Statement on Stability Issues: "Motherboard Makers to Blame" (268)
- AMD to Redesign Ray Tracing Hardware on RDNA 4 (227)
- Windows 11 Now Officially Adware as Microsoft Embeds Ads in the Start Menu (172)
- NVIDIA to Only Launch the Flagship GeForce RTX 5090 in 2024, Rest of the Series in 2025 (154)
- AMD Hits Highest-Ever x86 CPU Market Share in Q1 2024 Across Desktop and Server (138)
- AMD RDNA 5 a "Clean Sheet" Graphics Architecture, RDNA 4 Merely Corrects a Bug Over RDNA 3 (130)
- AMD's RDNA 4 GPUs Could Stick with 18 Gbps GDDR6 Memory (114)
- AMD Ryzen 9 7900X3D Now at a Mouth-watering $329 (104)