 50
50
Asus Prime AP201 Review
Thermal Stress Test »Review System
| System Parts for Case Reviews | |
|---|---|
| Processor: | Intel Core i5-12600K Provided by: Intel |
| Motherboards: | ATX: ASUS ROG Strix Z690-E Gaming WiFi mATX: ASUS TUF Gaming B660M-PLUS WiFi D4 ITX: ASUS ROG STRIX Z690-I Gaming WiFi Provided by: ASUS |
| Graphics Card: | Gigabyte Radeon RX 6600 Eagle Provided by: Gigabyte ZOTAC GAMING GeForce RTX 3060 Ti Twin Edge OC Provided by: Zotac |
| Memory: | 32 GB XPG LANCER RGB DDR5 6000 MHz 32 GB XPG CASTER DDR5 6400 MHz 32 GB XPG HUNTER DDR5 5200 MHz Provided by: ADATA |
| HDD: | Toshiba MG08ADA400E 7200 RPM SATA III Provided by: Toshiba |
| SSD: | ATX:XPG GAMMIX S70 BLADE 1 TB mATX: ADATA LEGEND 840 512 GB ITX: XPG SPECTRIX S20G 500 GB ADATA Ultimate SU800 512 GB ADATA Ultimate SU720 500 GB Provided by: ADATA |
| Power Supply: | ATX: Fractal Design ION+ 650W 80 Plus Gold SFX: Fractal Design ION SFX-L 650W 80 Plus Gold Provided by: Fractal Design |
| Cooling: | be quiet! Pure Loop 120/240/280/360 Provided by: be quiet! |
Assembly
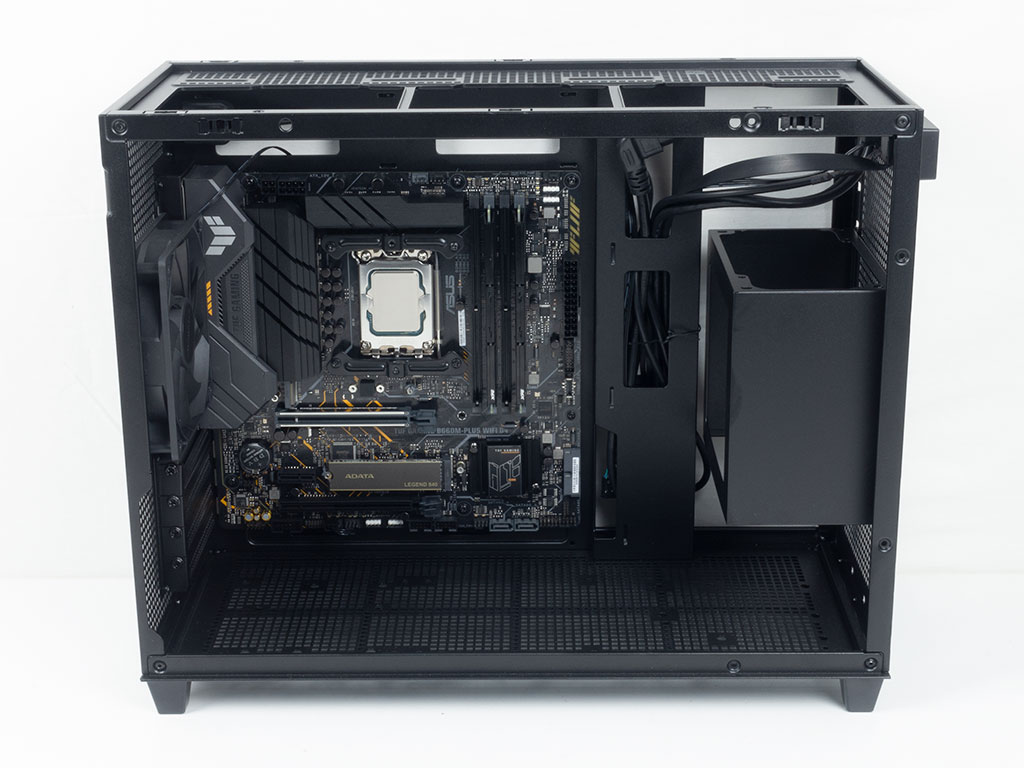
Installing the motherboard is done by tried and tested means, using spacers and screws. The motherboard "tray" is spacious on all three planes, as expected. Even below the board, ASUS has designed the AP201 to have some room, so any installed storage or fans would not interfere with your board or block access to connectors along the bottom edge.
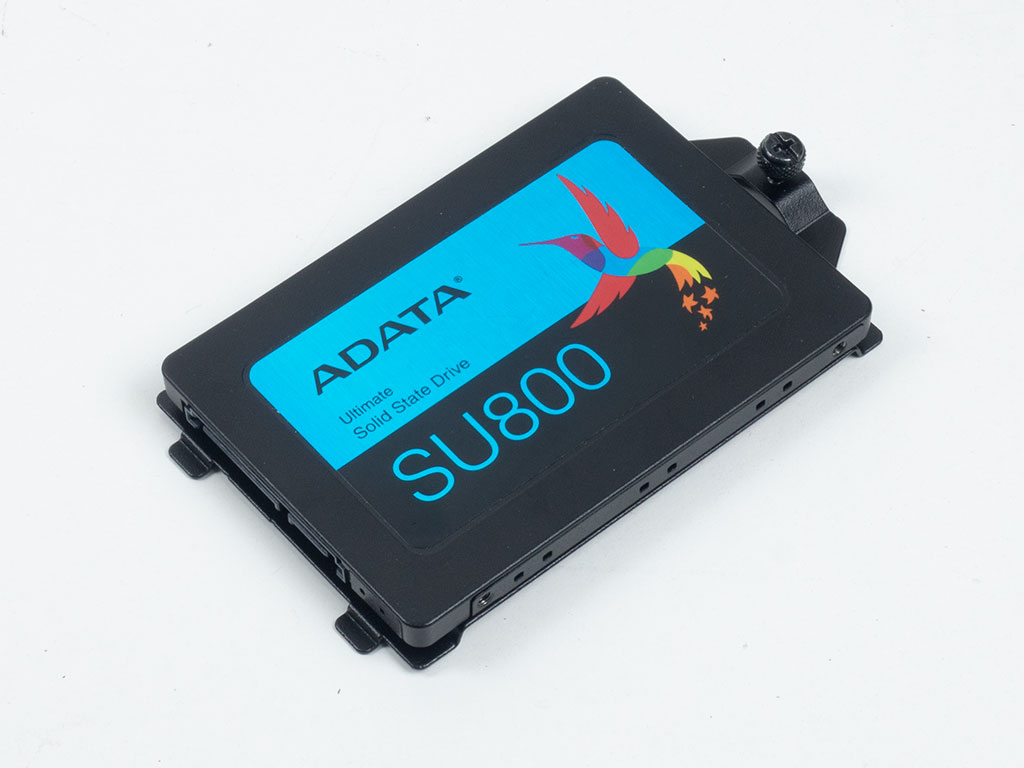
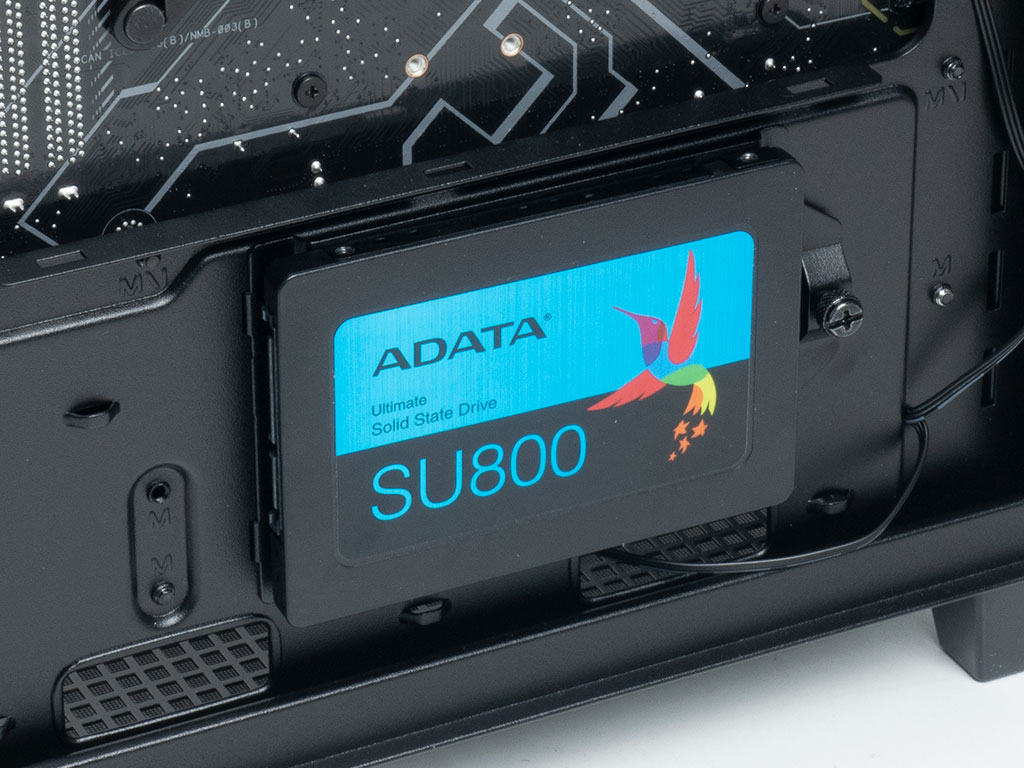
While you may install 2.5" drives on the floor or the front of the chassis, we opted to place the drive out of view, to keep things as clean as possible. Simply screw down the drive unto the tray and put it back unto the motherboard tray. The thumb screw will hold the whole contraption in place securely and the drives ports face towards the front of the chassis correctly.
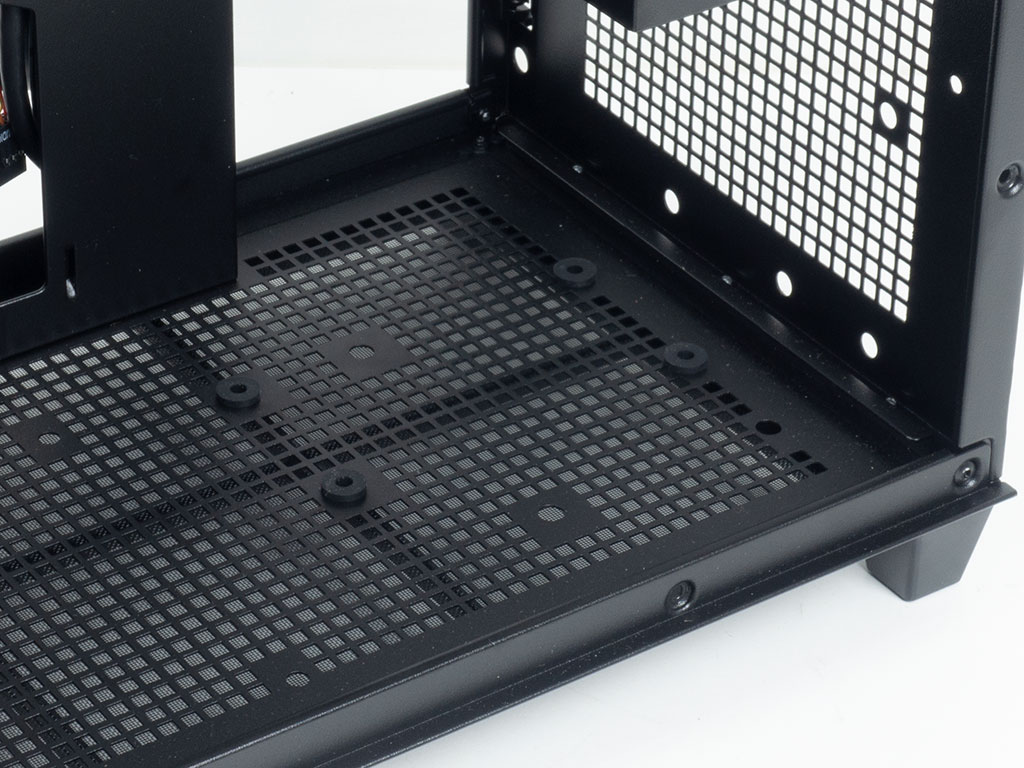

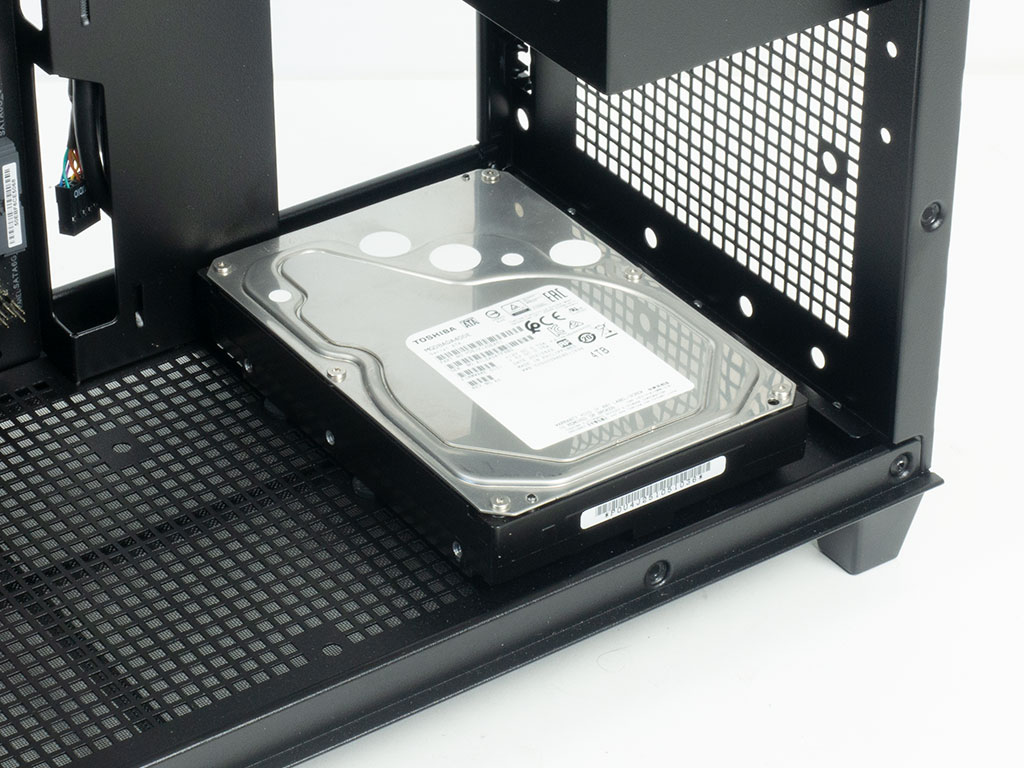
To install a drive on the floor of the chassis, you do unfortunately have to tip it over and pull off the dust filter. This could have been avoided if Asus had holes that offered a larger opening, and then utilized rubber ringed screws to slide it into a narrower end - this is something many competing cases offer. That said, placement options of the 2.5/3.5" drives are great, essentially allowing you to hide up to two of them in your build.
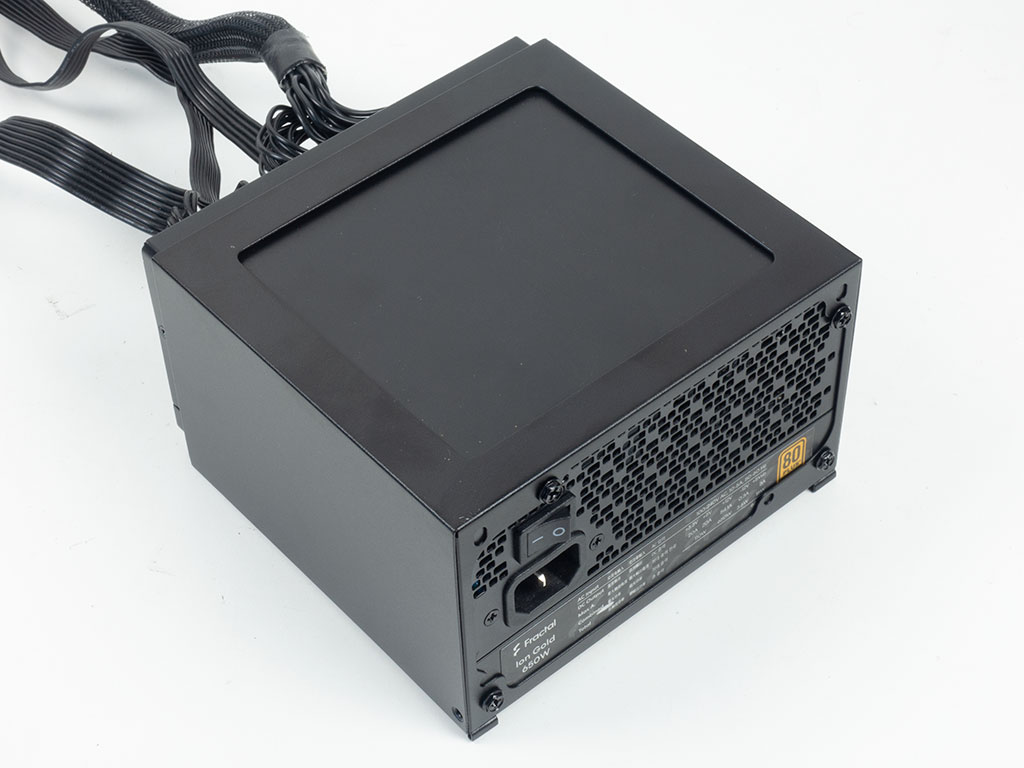

To insert your PSU, you first have to remove the cage from the front of the chassis. Once filled, pick one of the three mounting positions and use the two screws to secure it in place. As the front is perforated just like the rest of the AP201, you are meant to install the power supply with its fan facing forward so that it may pull in fresh air and push it out the top of the chassis.
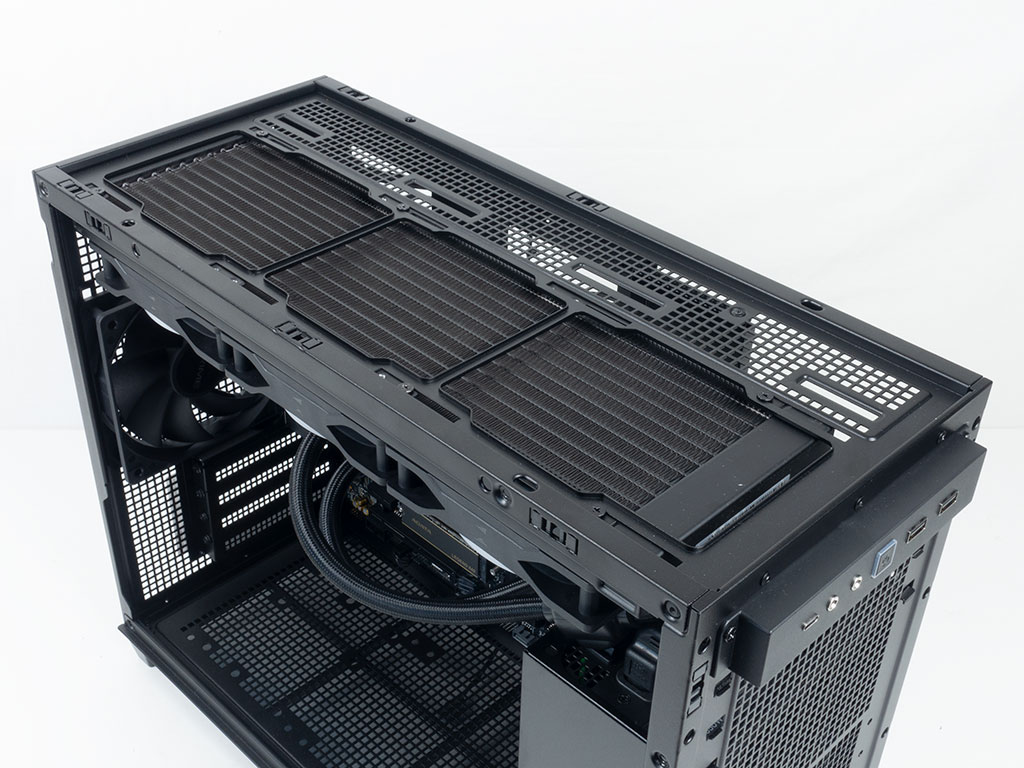
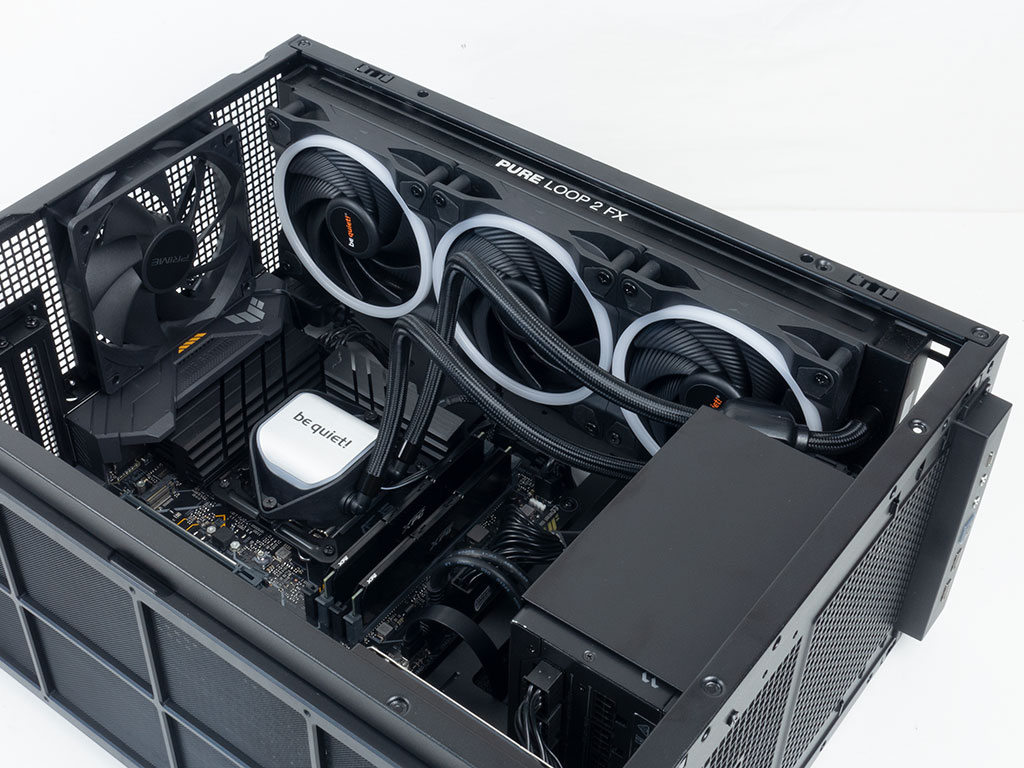
Even with all the hardware installed, adding a 360 mm AIO with a bulky inline pump was a breeze, with space to spare. There is also plenty of space between the motherboard and fans, so you should easily be able to connect components.
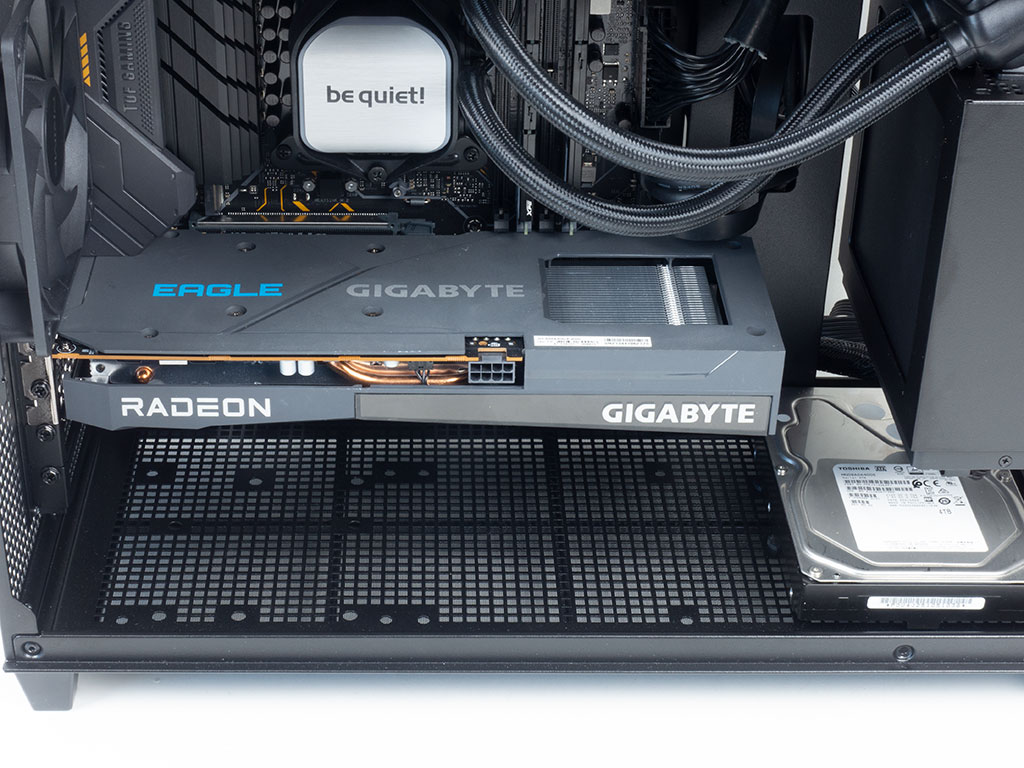
Lastly, installing your GPU is straight forward with excess room to spare. ASUS advertises up to 338 mm in compatible GPU length, more than enough for the vast majority of choices on the market. However, if ASUS redesigned the PSU cage with less metal, then users could even install an SFX unit to eek out more room for GPUs, storage and cooling hardware.
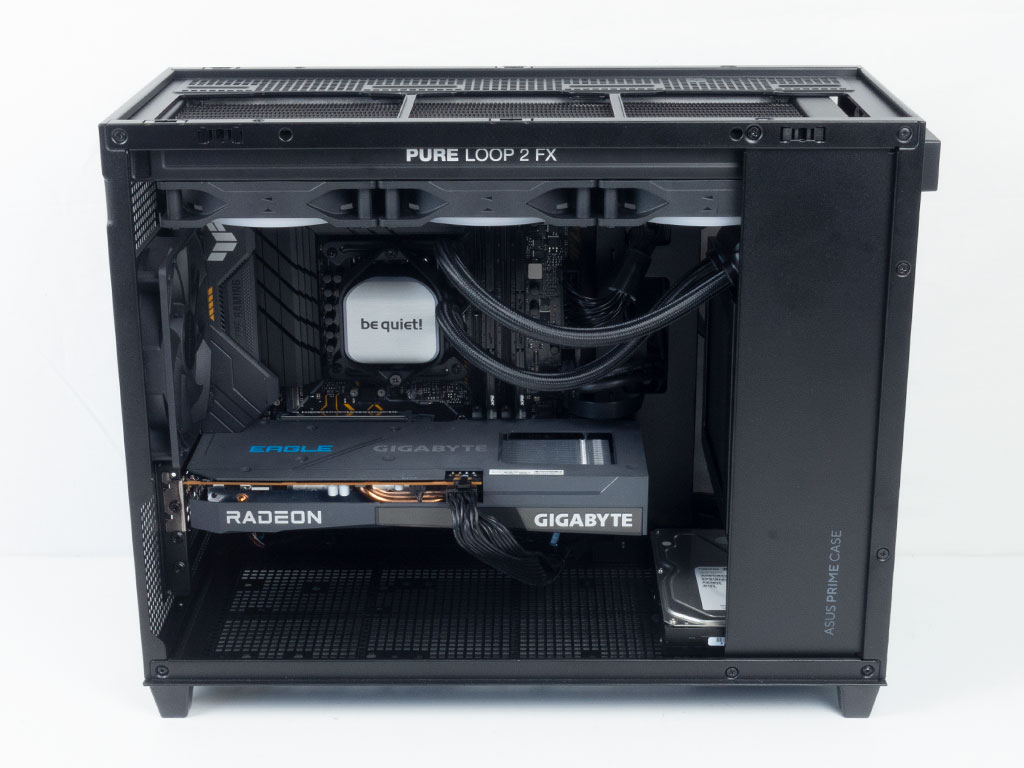

With everything installed, the Asus PRIME AP201 manages to be very clean and tidy within the interior as we were able to hide all the cable mess behind the motherboard tray. Doing so, with the ARGB leads and fan wiring took a little work, but there is plenty of clearance and ample hooks to use for a useful final result.
Finished Looks


Turning the Asus PRIME AP201 on, the chassis doesn't really let you know the system is turned on, besides a subtle white glow around the power button, easily overpowered by the studio lights.
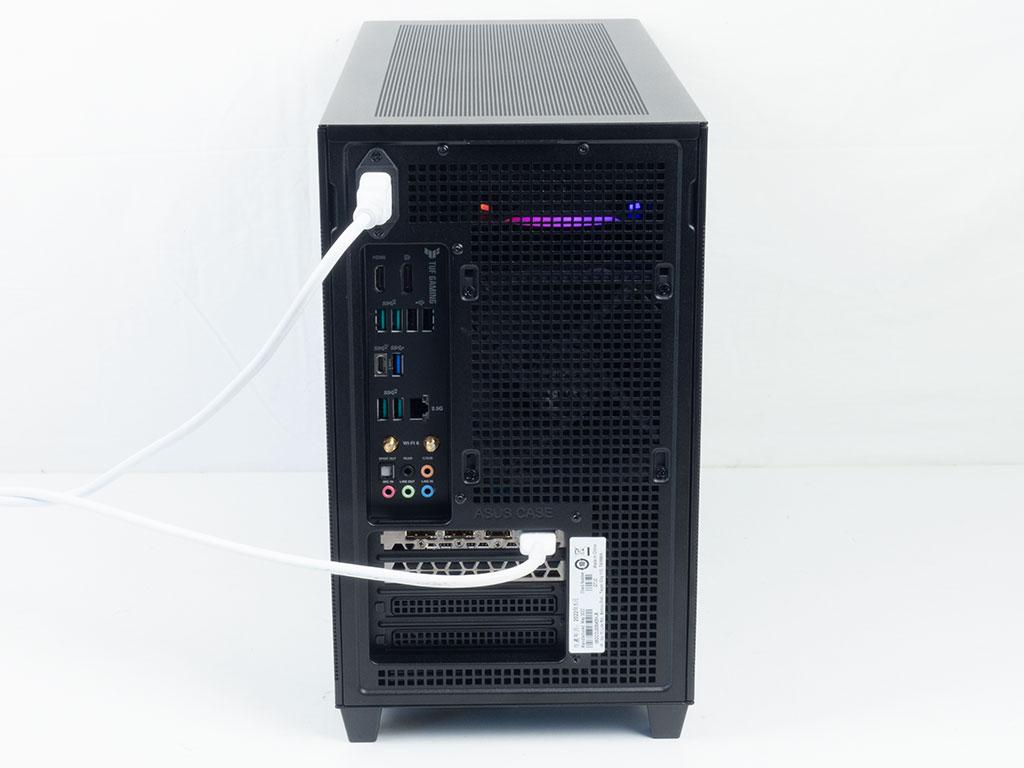
In the front, no glow from the components is visible as the PSU is located here. Should your PSU have an ARGB fan, the AP201 is one of the few cases on the market that would allow you to feast your eyes on that lighting element, usually hidden under normal circumstances. In the rear, you can see some of the lighting from the AIO shine through and, with the exception of the power plug, everything is where you would expect it to be.
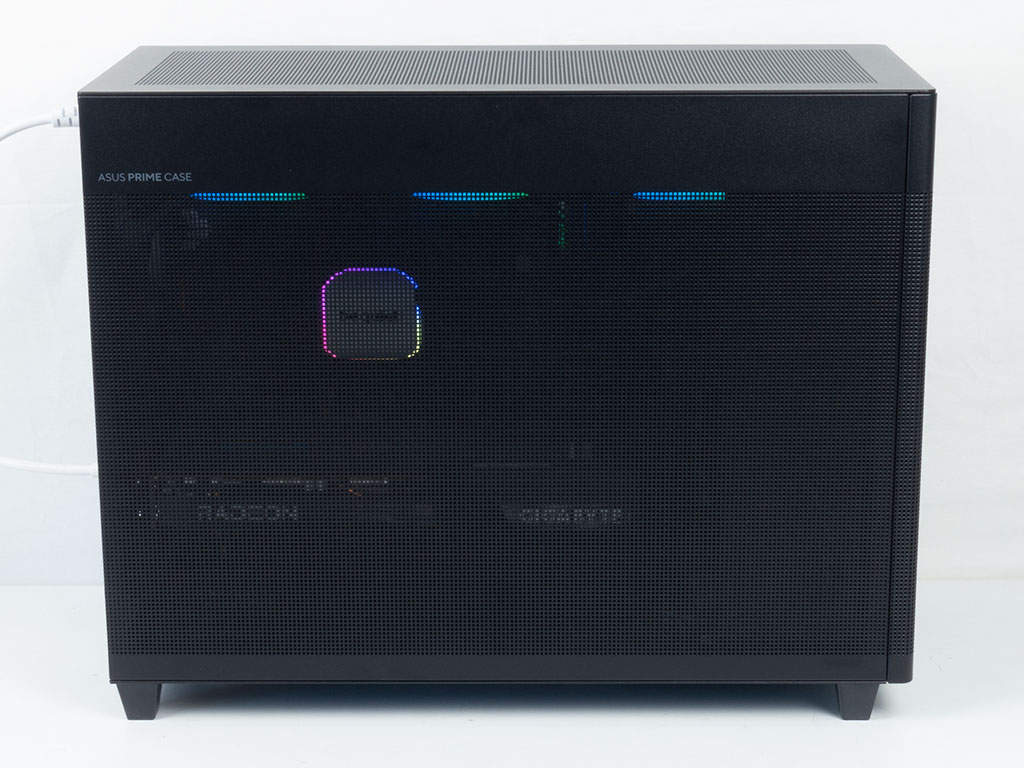

The main side panel with its fine perforation also allows you to glimpse the lighting elements of the hardware even with limited illumination. This bodes well for air flow and thermals. Similarly on the opposite side, the SSD and even the CPU mounting bracket are visible through the panel.
May 11th, 2024 22:00 EDT
change timezone
Latest GPU Drivers
New Forum Posts
- LOWER SSD PRICES (8)
- Ryzen Owners Zen Garden (7302)
- EKWB - ideas for IMPROVING products and NEW products (14)
- What's your latest tech purchase? (20509)
- 2024 and STILL no dark mode? (31)
- GPU clean enough? (5)
- Homeworld 3 [Official Thread] (11)
- X670 owners, what kind of PCH temps do you you see? (18)
- Ghost of Tsushima PC Port !!!! (31)
- AM5 boot times improve RADICALLY with memory context restore enabled (46)
Popular Reviews
- ZMF Caldera Closed Planar Magnetic Headphones Review
- ThundeRobot ML903 NearLink Review
- Corsair MP700 Pro SE 4 TB Review
- Bykski CPU-XPR-C-I CPU Water Block Review - Amazing Value!
- CHERRY XTRFY M64 Pro Review
- Upcoming Hardware Launches 2023 (Updated Feb 2024)
- ASRock NUC BOX-155H (Intel Core Ultra 7 155H) Review
- Corsair iCUE Link RX120 RGB 120 mm Fan Review
- AMD Ryzen 7 7800X3D Review - The Best Gaming CPU
- ASUS Radeon RX 7900 GRE TUF OC Review
Controversial News Posts
- Intel Statement on Stability Issues: "Motherboard Makers to Blame" (266)
- AMD to Redesign Ray Tracing Hardware on RDNA 4 (206)
- Windows 11 Now Officially Adware as Microsoft Embeds Ads in the Start Menu (171)
- NVIDIA to Only Launch the Flagship GeForce RTX 5090 in 2024, Rest of the Series in 2025 (146)
- Sony PlayStation 5 Pro Specifications Confirmed, Console Arrives Before Holidays (119)
- AMD's RDNA 4 GPUs Could Stick with 18 Gbps GDDR6 Memory (114)
- NVIDIA Points Intel Raptor Lake CPU Users to Get Help from Intel Amid System Instability Issues (106)
- AMD Ryzen 9 7900X3D Now at a Mouth-watering $329 (104)