 8
ASUS Prime AP202 Review
Thermal Stress Test »Assembly
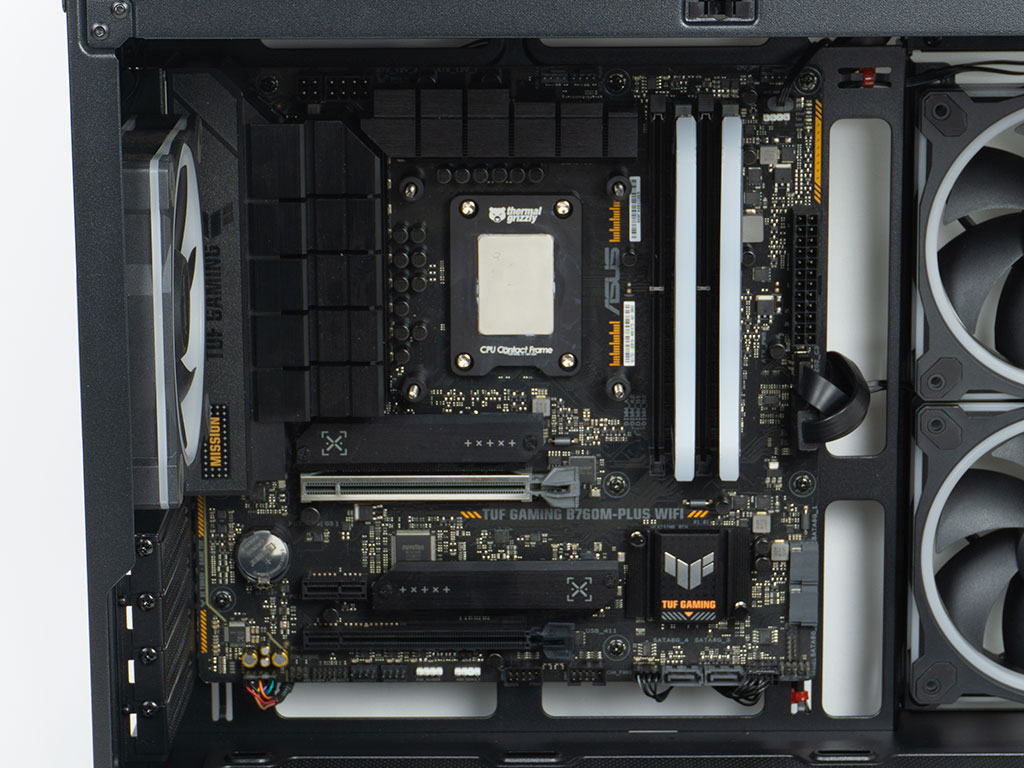
Installing a motherboard is done by traditional means using the pre-installed spacers and supplied screws. The cable management openings line up nicely around the board, but grommets would have been great to see here to keep things as clean & tidy as possible.
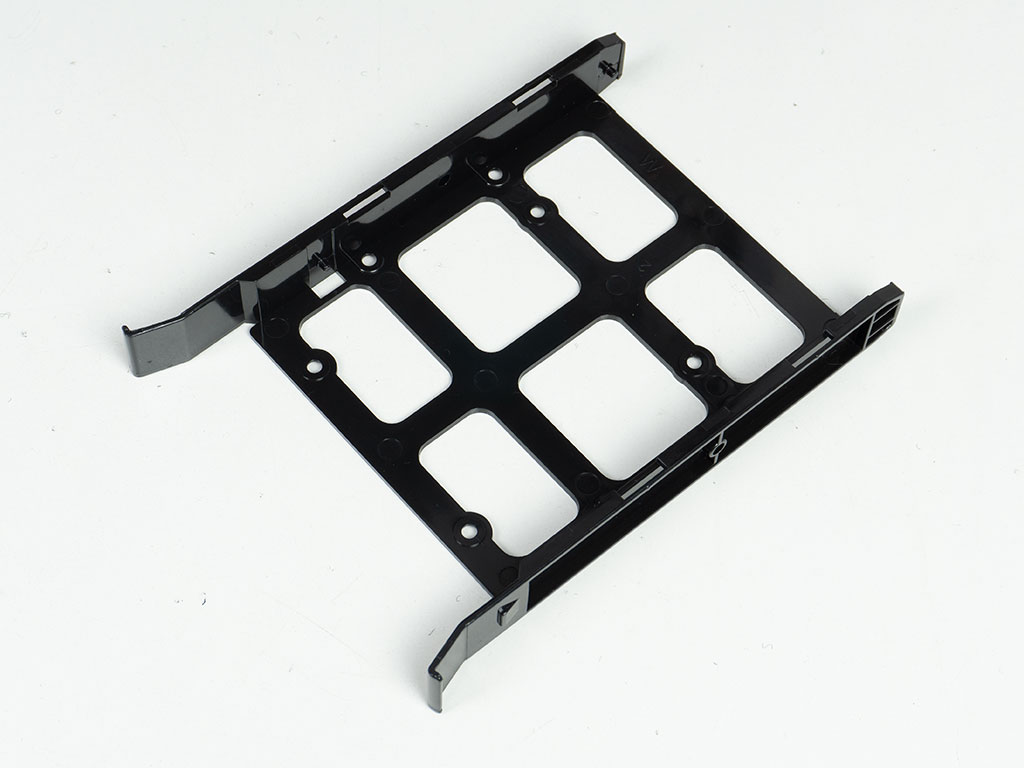
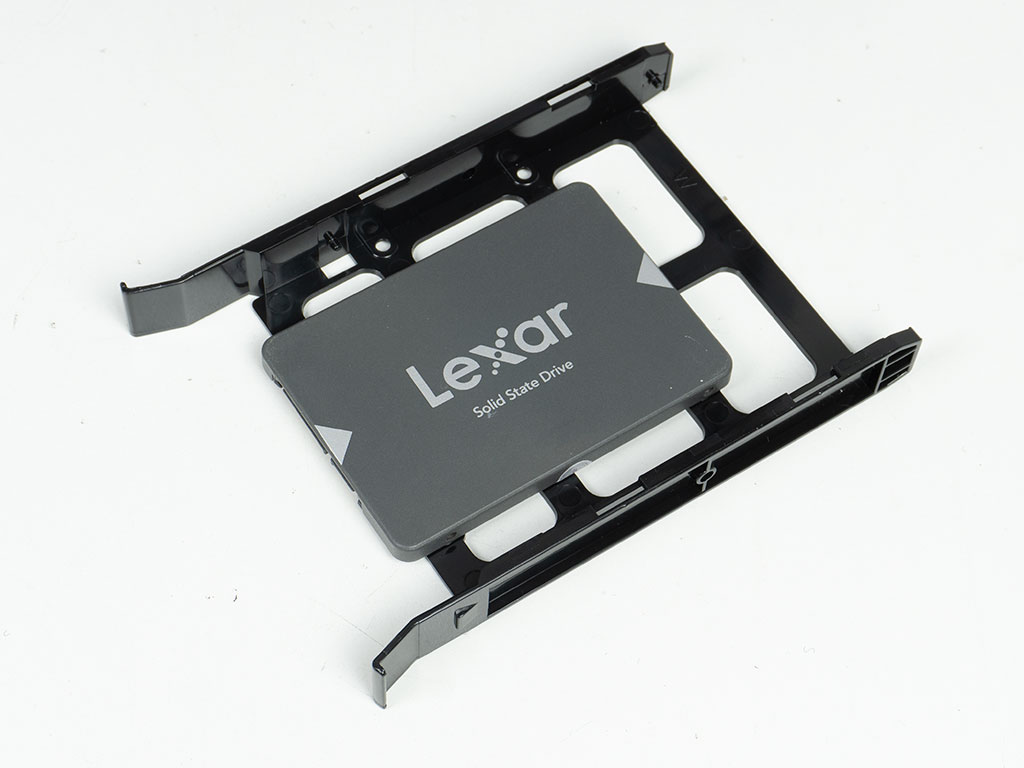
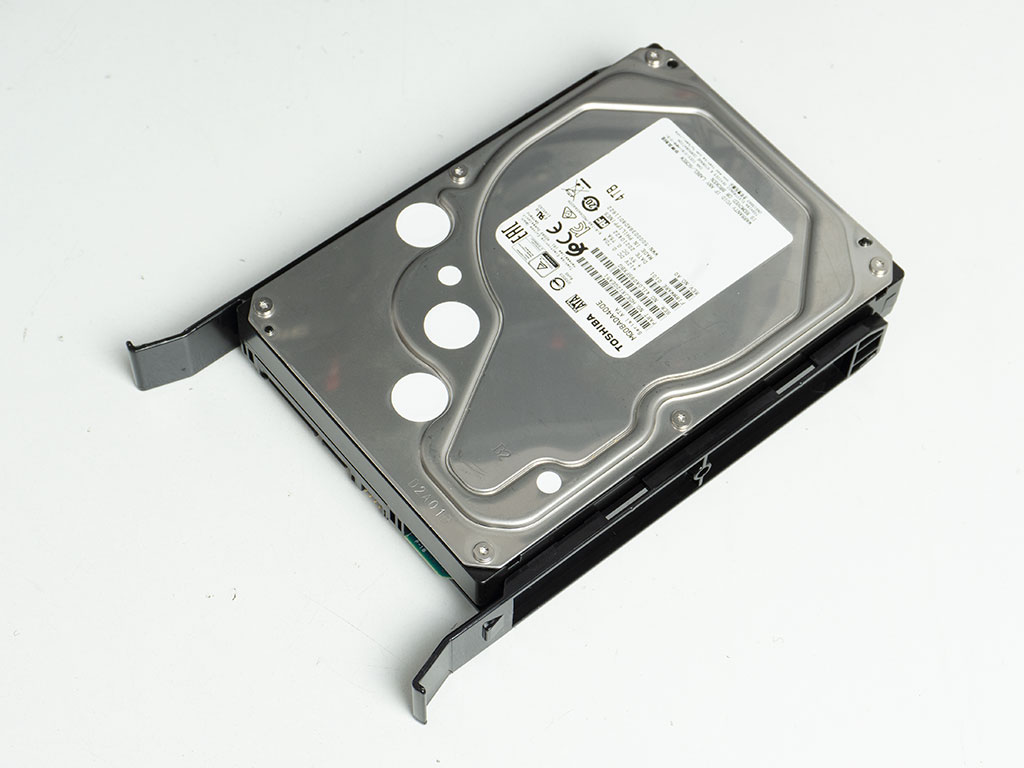
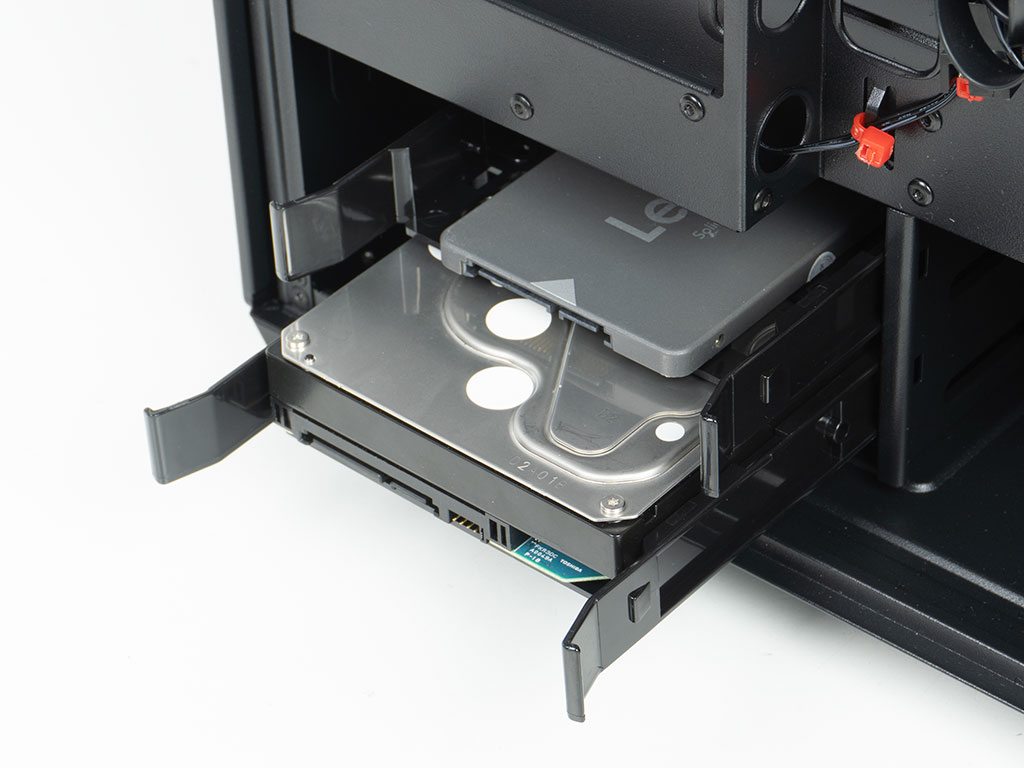
The plastic storage trays can each hold one drive of either size and while the 2.5" variants require you to use screws, the larger 3.5" storage devices will clip right in without the need for any tools. Once filled, simply slide them into the cage until the trays clip into place securely.
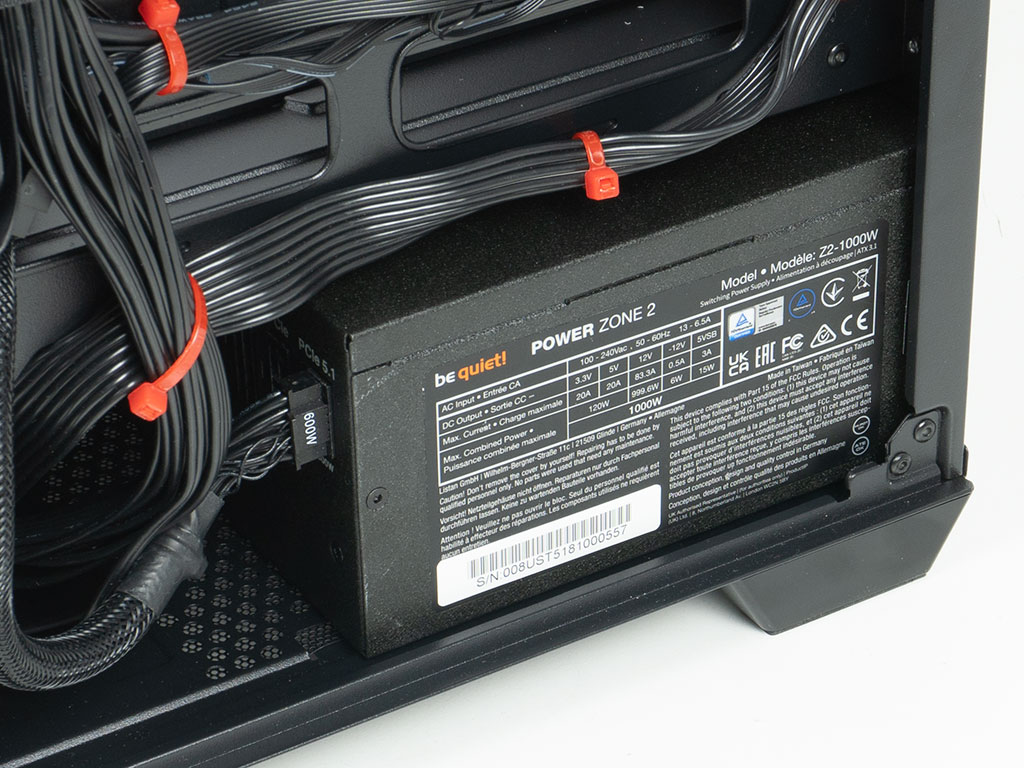
Adding a PSU is straightforward as well, as it is secured the usual way with four screws through the back of the chassis. There is lots of room, so you should have no issues picking the one you want regardless of housing size.
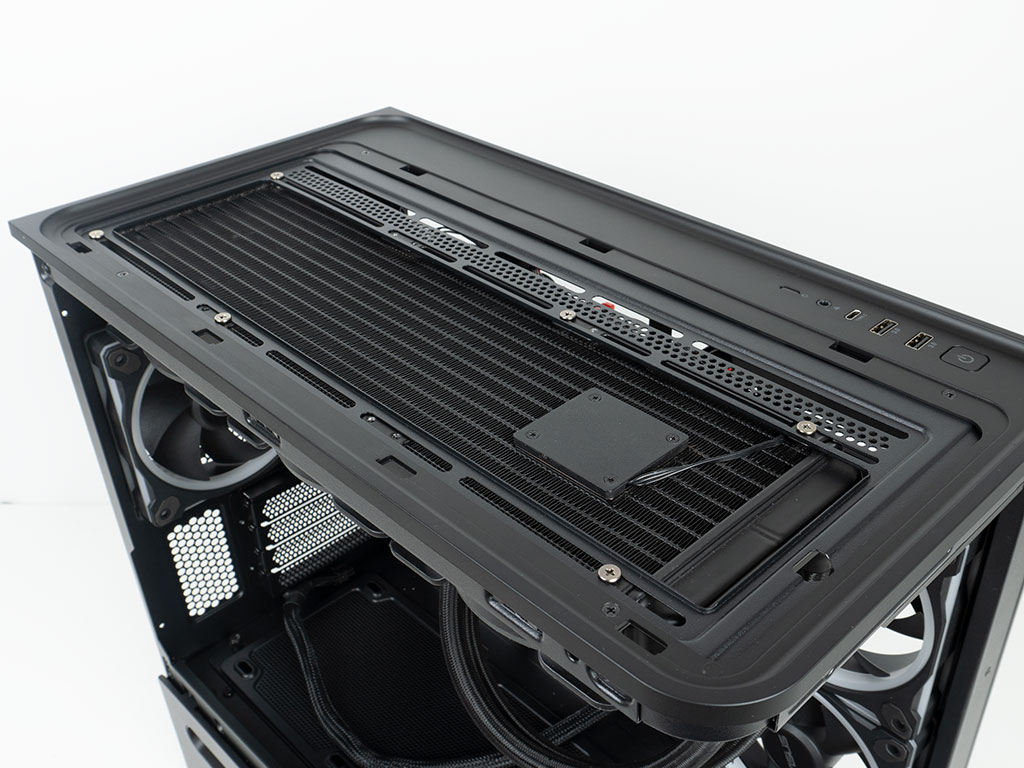
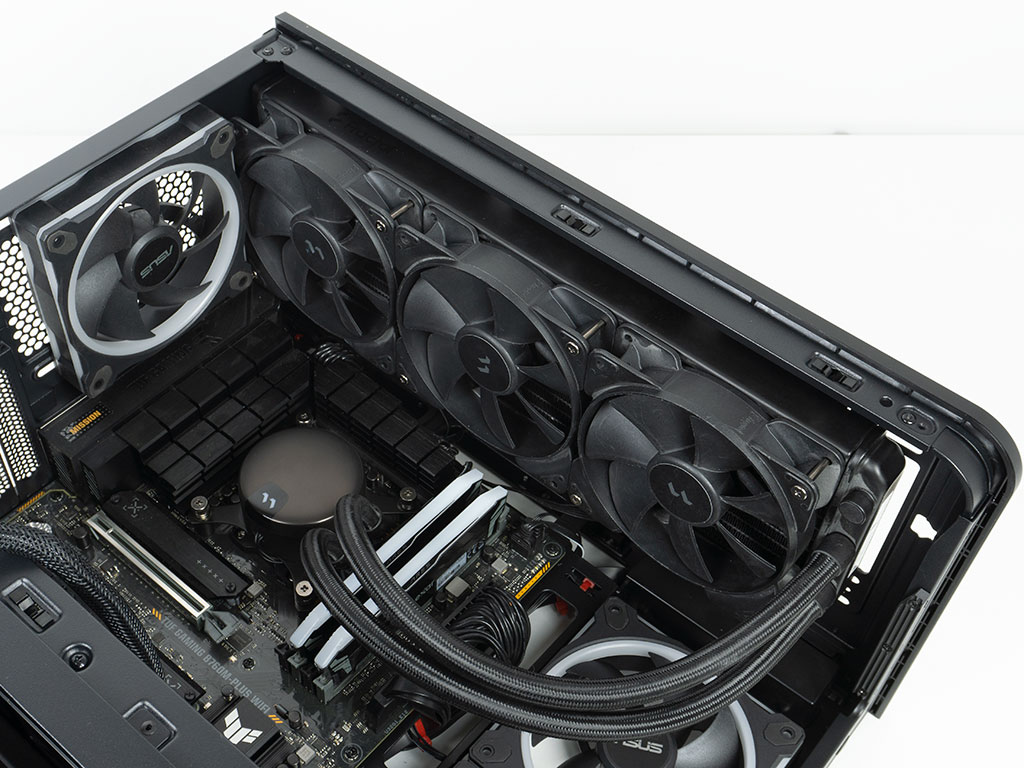
The step of installing a 360 mm AIO in the ceiling was just as easy with enough clearance so that you could reach the connectors at the top edge of the board in a pinch (Editor's note: all the pun intended). You could also opt for thicker AIO variants from Arctic or HYTE as long as you stick to 120 mm fan sizing.
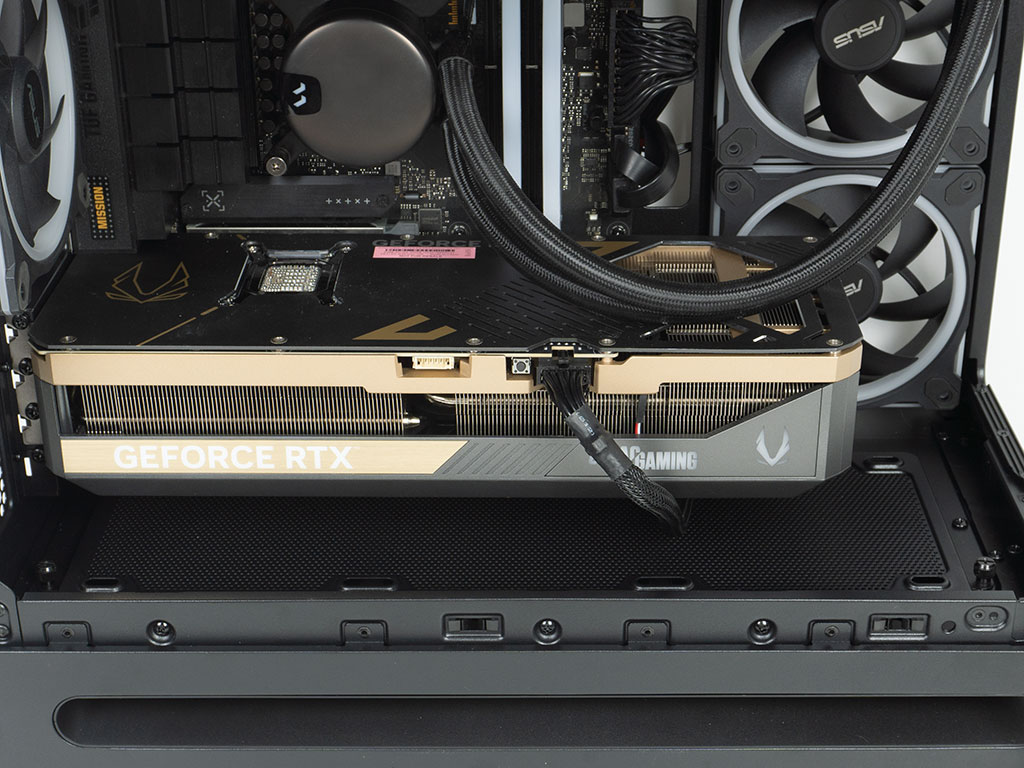
As expected, big GPUs also fit nicely inside the Prime AP202 as it offers a clearance of up to 400 mm. In other words, there should not be any GPUs out there that won't fit.


With everything installed, the interior of the ASUS Prime AP202 looks quite clean, but this is due to the fact that the GPU and AIO hide the openings from view. With them not having grommets, that is what you will have to rely on. But as the glass is tinted heavily anyway, you wouldn't be able to make out those details once it's all put together. Behind the motherboard tray, the wiring can be well organized, thanks to the numerous hooks for cable management and the Velcro cable channel.
Finished Looks
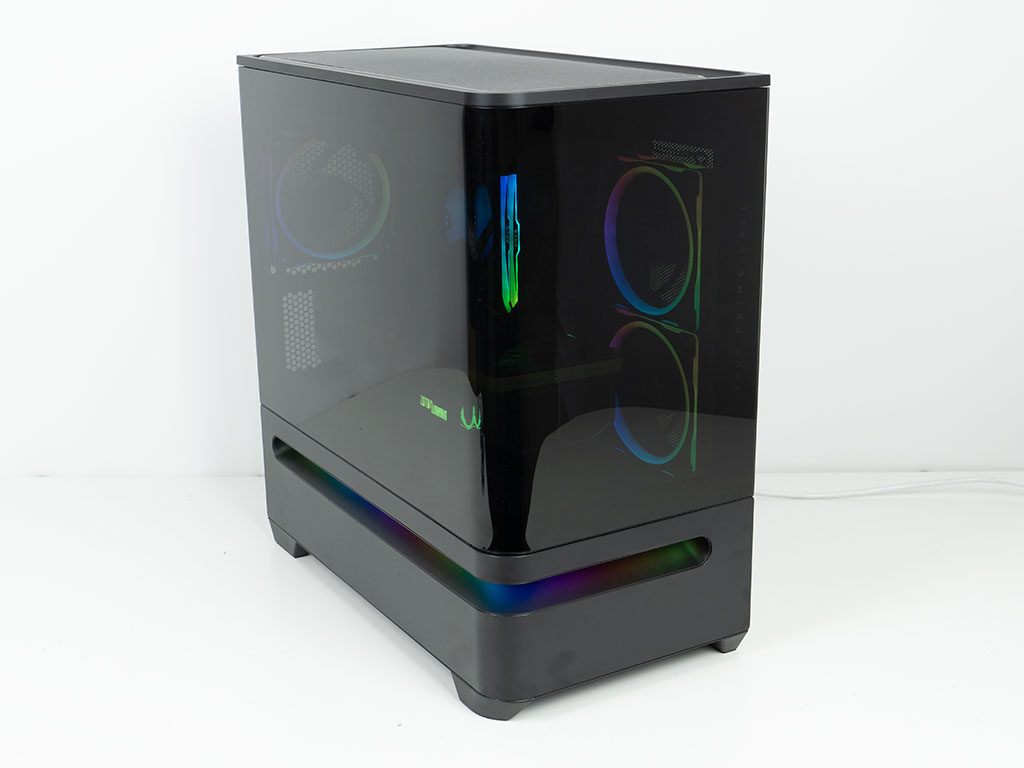
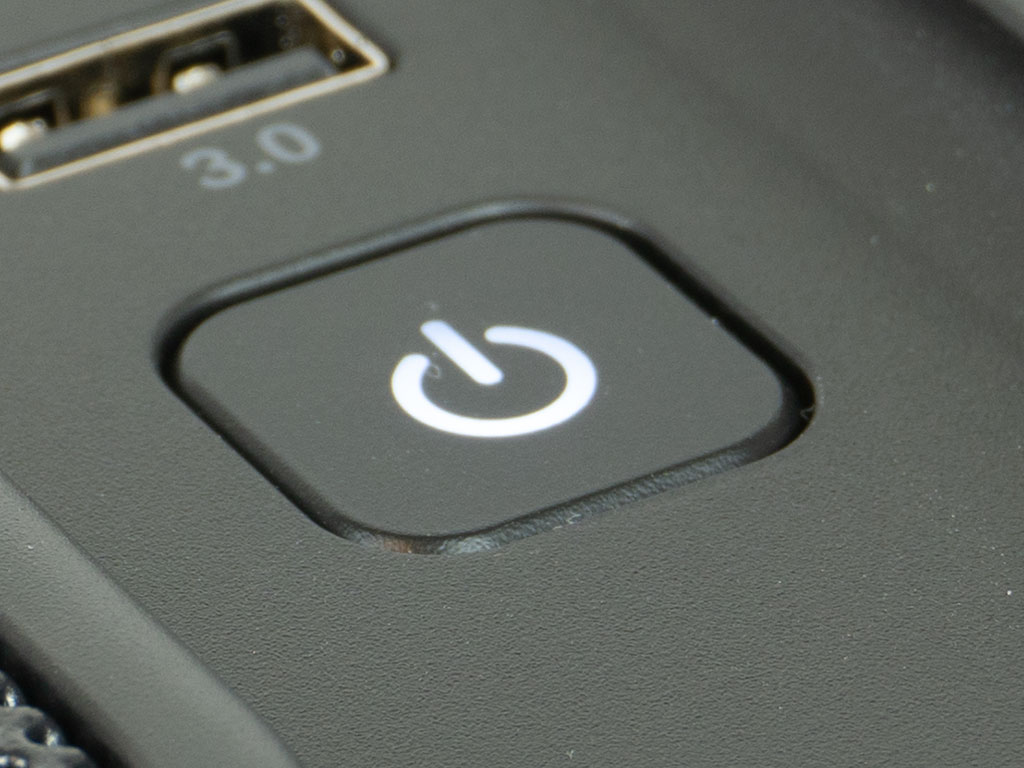
Once the system is turned on, the white LED embedded in the power button is lit up as well. On top of that you can clearly see the glow of the ARGB strip inside the ventilation slot, which looks really cool. The interior lighting components are muted as expected, due to the tinted glass.
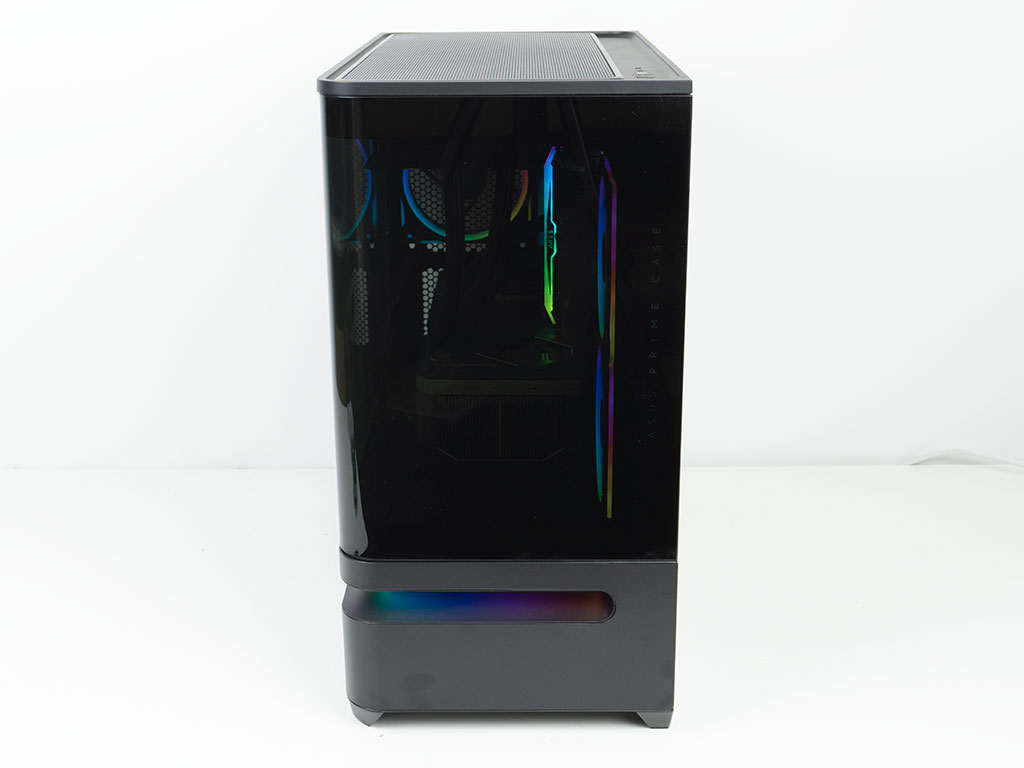
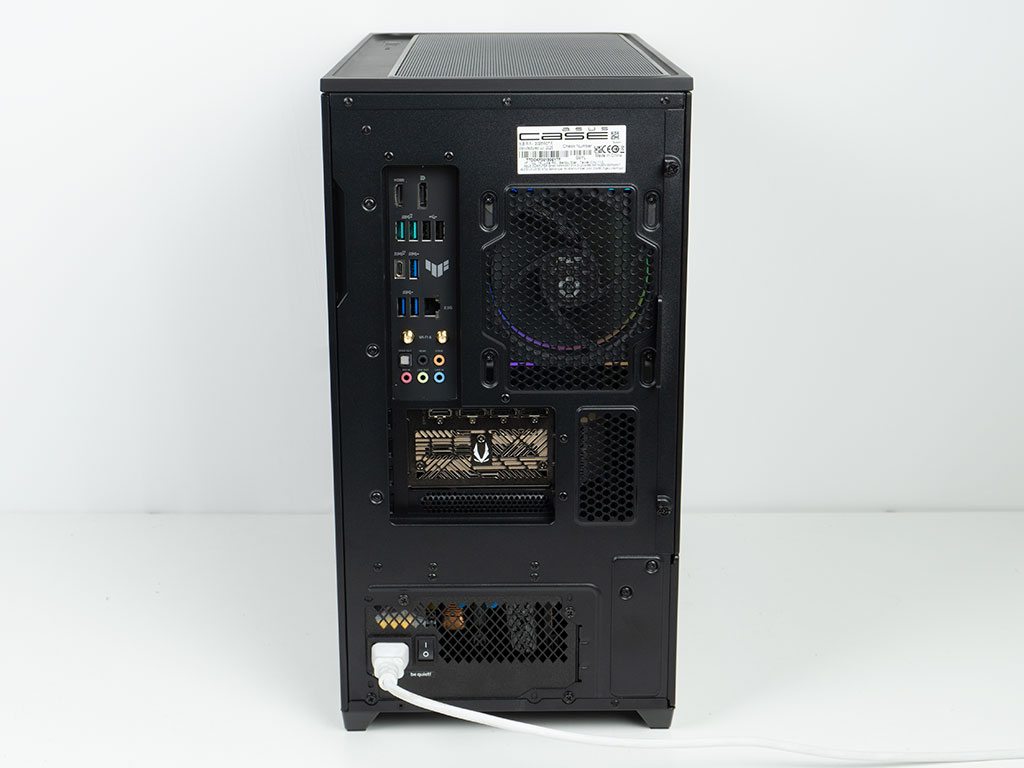
When viewed from the front, you can see the internal ARGB elements a bit better, but the GPU, which does not have any in our build, completely goes under. In the rear, everything is where you would expect to see it, as the overall layout of the Prime AP202 is pretty traditional.


When viewing the filled chassis from the side, you can see your GPU a bit better. Turning the case around, the side fans are also visible, thanks to their ARGB rings.
Nov 21st, 2026 03:33 PST
change timezone
Latest GPU Drivers
New Forum Posts
- UPS what one to get? (0)
- Anthrophics IPO (28)
- What's your latest tech Freebie? (85)
- TPU's Nostalgic Hardware Club (22178)
- RX 9000 series GPU Owners Club (2252)
- Windows 11 General Discussion (7743)
- Without Jensen, PC gaming will be (52)
- Zen 3 IF/IMC degradation (242)
- AI generated images... (230)
- Intel Core Ultra 5 processor 250K Plus (15)
Popular Reviews
- Microsoft Surface Laptop Ultra Review - The Next-gen Arm Laptop
- Ugreen NASync DXP4800 GT Review
- Corsair RM1200e (Second Generation) Review
- Pulsar Office Tour & First Look at P1 Dual-Sensor Mouse
- Upcoming Hardware Launches 2027 (Updated Nov 2026)
- Acemagic Retro X3 Review
- Biwin Black Opal NV7400 2 TB Review
- AMD Ryzen 7 9800X3D Review - The Best Gaming Processor
- AMD Zen 6 Technical Deep Dive
- Chieftec Iceberg PRO 360 DARK Review
TPU on YouTube
Controversial News Posts
- NVIDIA Co-Founder and CEO Jensen Huang Officially Resigns (491)
- Report: Jensen Huang Eyes NVIDIA Comeback (257)
- Open Letter Asking NVIDIA to Reinstate Jensen Huang Passes 115,000 Signatures (184)
- OpenAI CEO Argues Home PCs Waste the World's Limited DRAM Supply (152)
- NVIDIA Launches Investigation Into Jensen Huang's Relationship With Suspected Chinese Spy (136)
- Intel "Raptor Lake Next" 16-Core and 20-Core CPUs Surface (130)
- Legendary Game Studio BioWare Shuts Down Following EA Layoffs (104)
- NVIDIA GeForce RTX 50-Series Scheduled for up to $500 Price Hike This Week (89)