 54
ASUS ROG Edition 20 - Celebrating 20 years of Republic of Gamers
ROG Edition 20 Build in Action & Closing Thoughts »The ROG Edition 20 Build
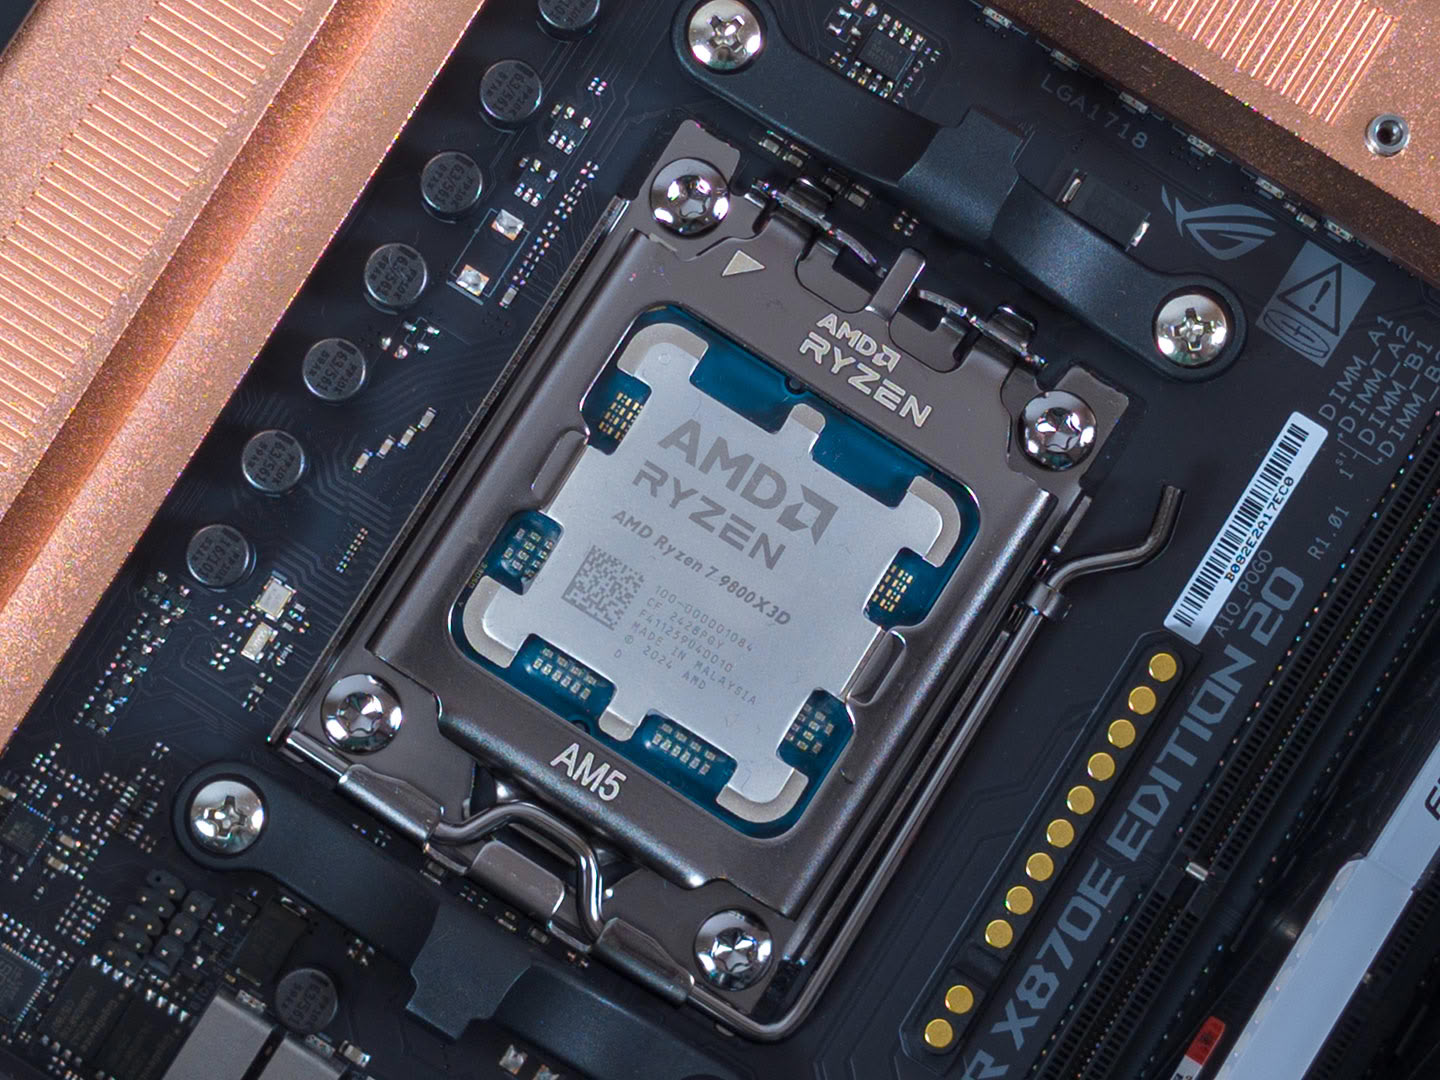
The first thing in any build is to prepare the motherboard by doing the riskiest thing first: installing the CPU. While we build systems daily (the editor writing this article built well over 700 systems as part of case reviews), the stakes felt much higher with this Edition 20 build. Fortunately, as you can see, the AMD Ryzen 7 9800X3D made it into the socket perfectly.
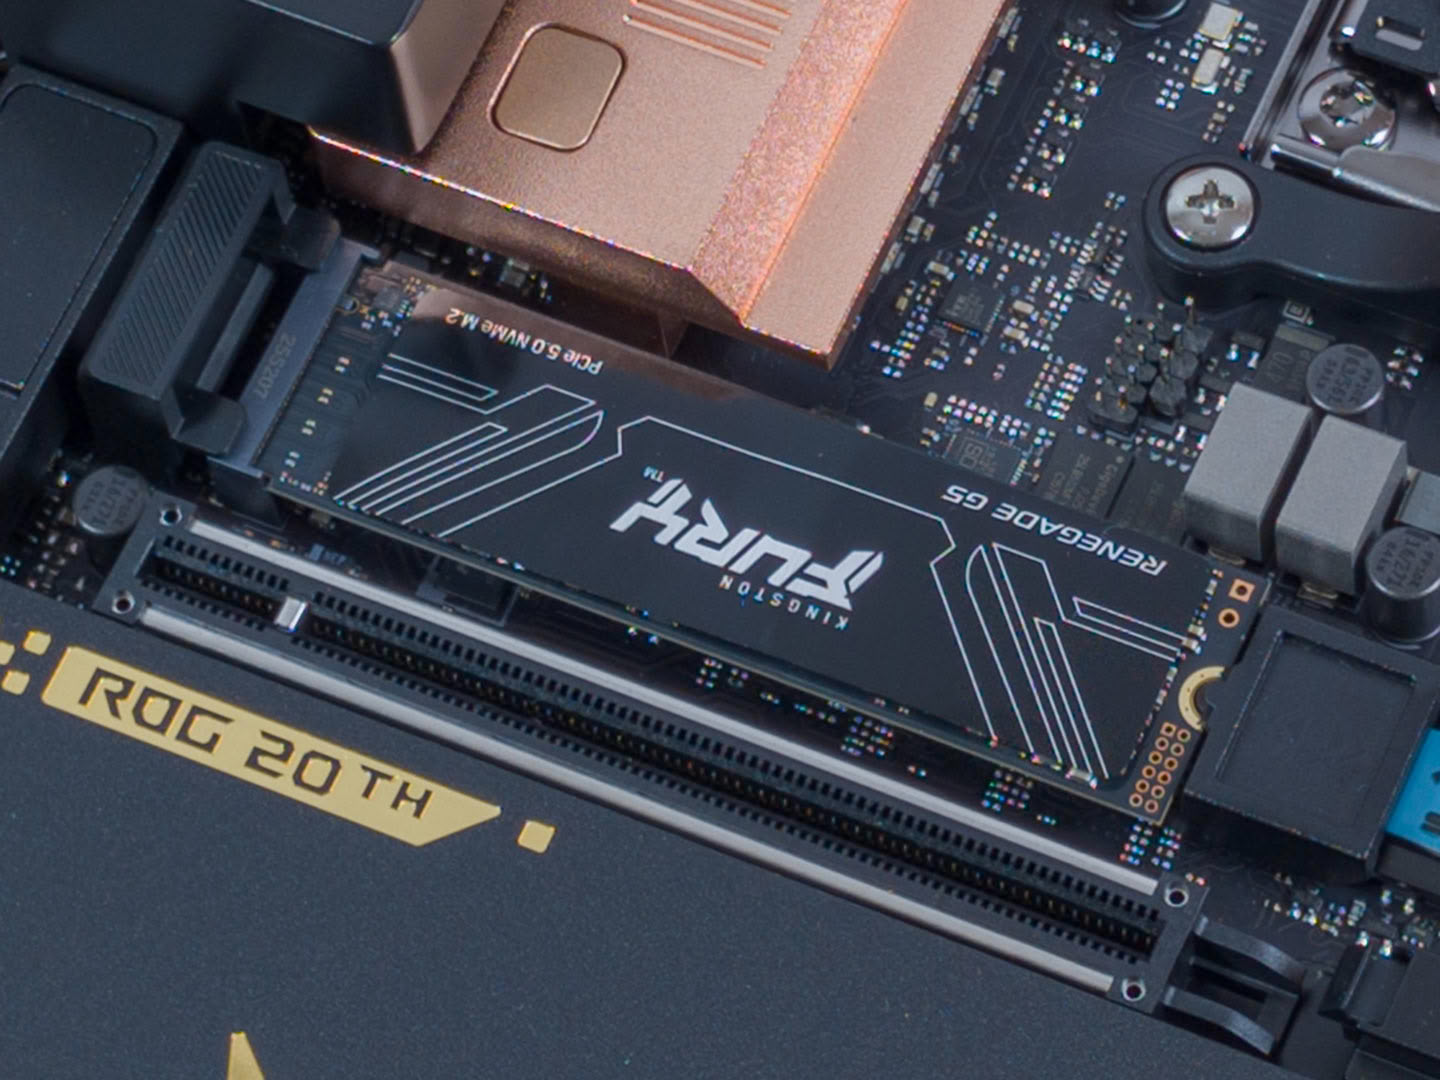
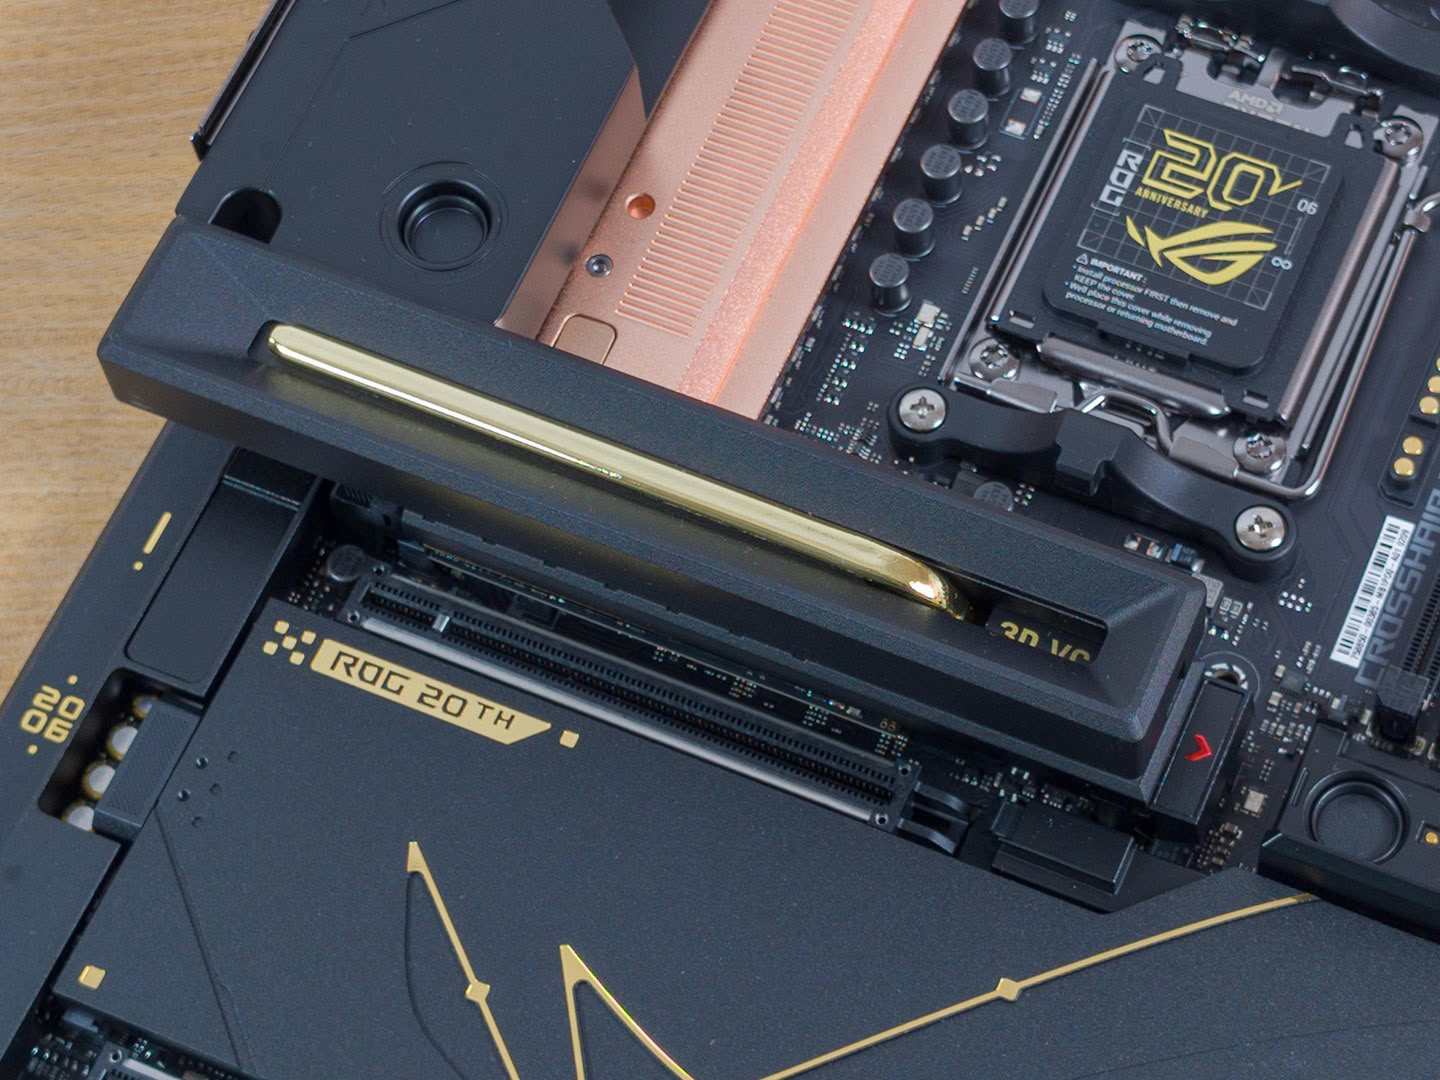
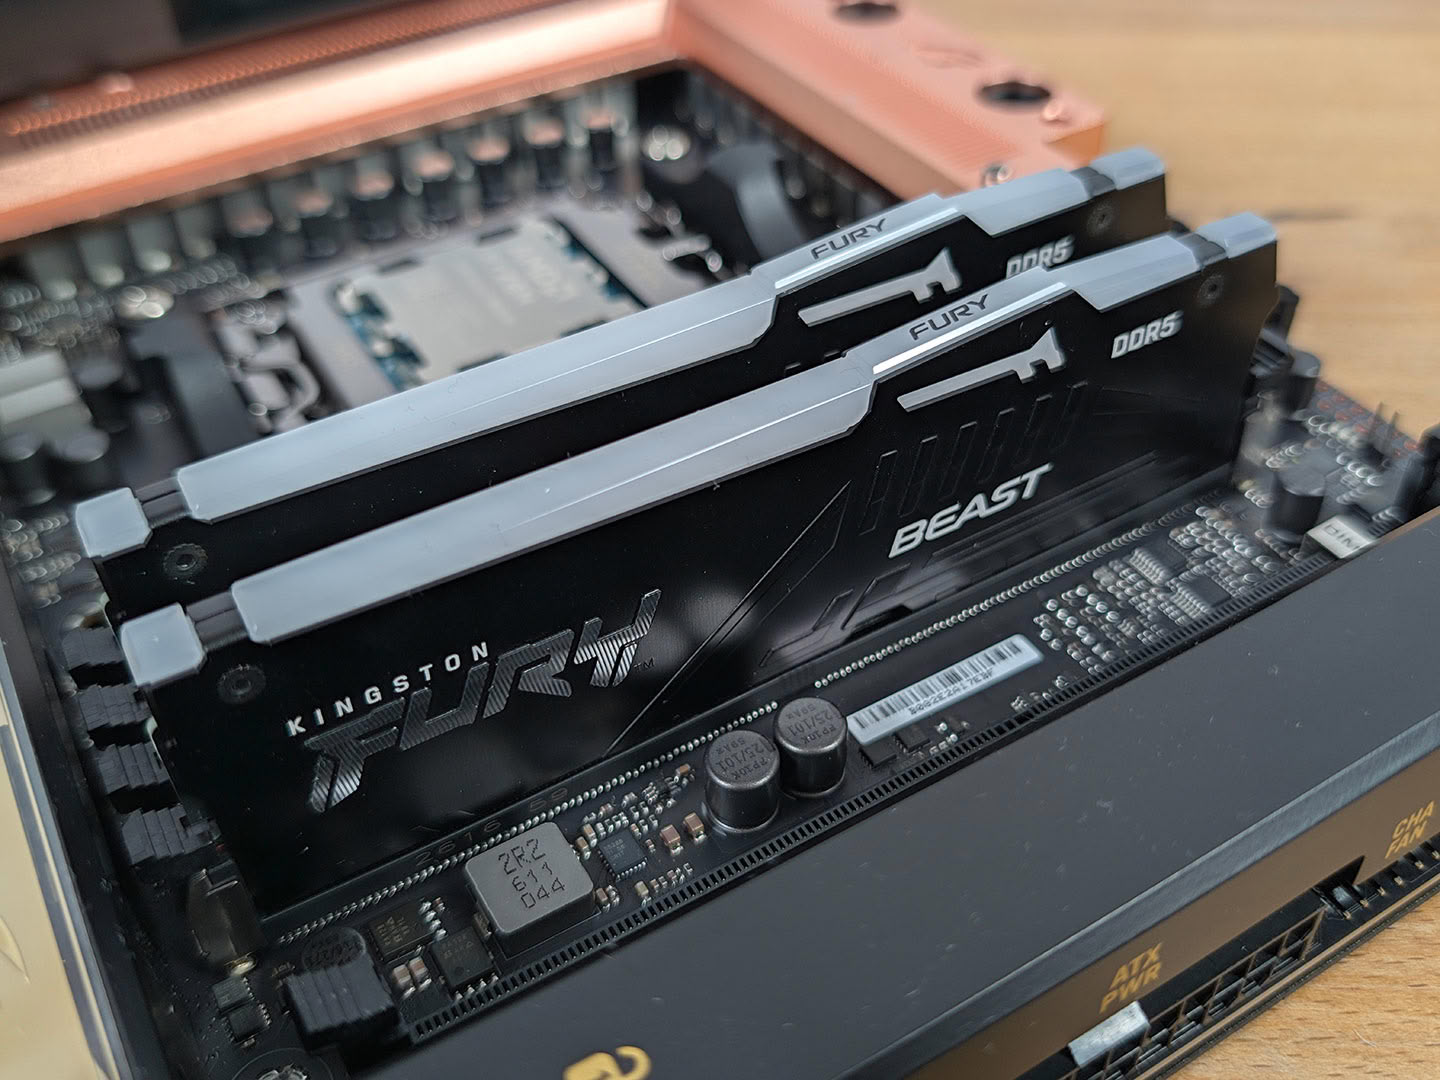
We added the Kingston Fury Renegade G5 SSD right under the biggest heatsink on the X870E Edition 20. Thanks to the tool-less locking functionality, doing so was a breeze. Similarly, clipping the memory into two of the four DIMM slots went without a hitch.
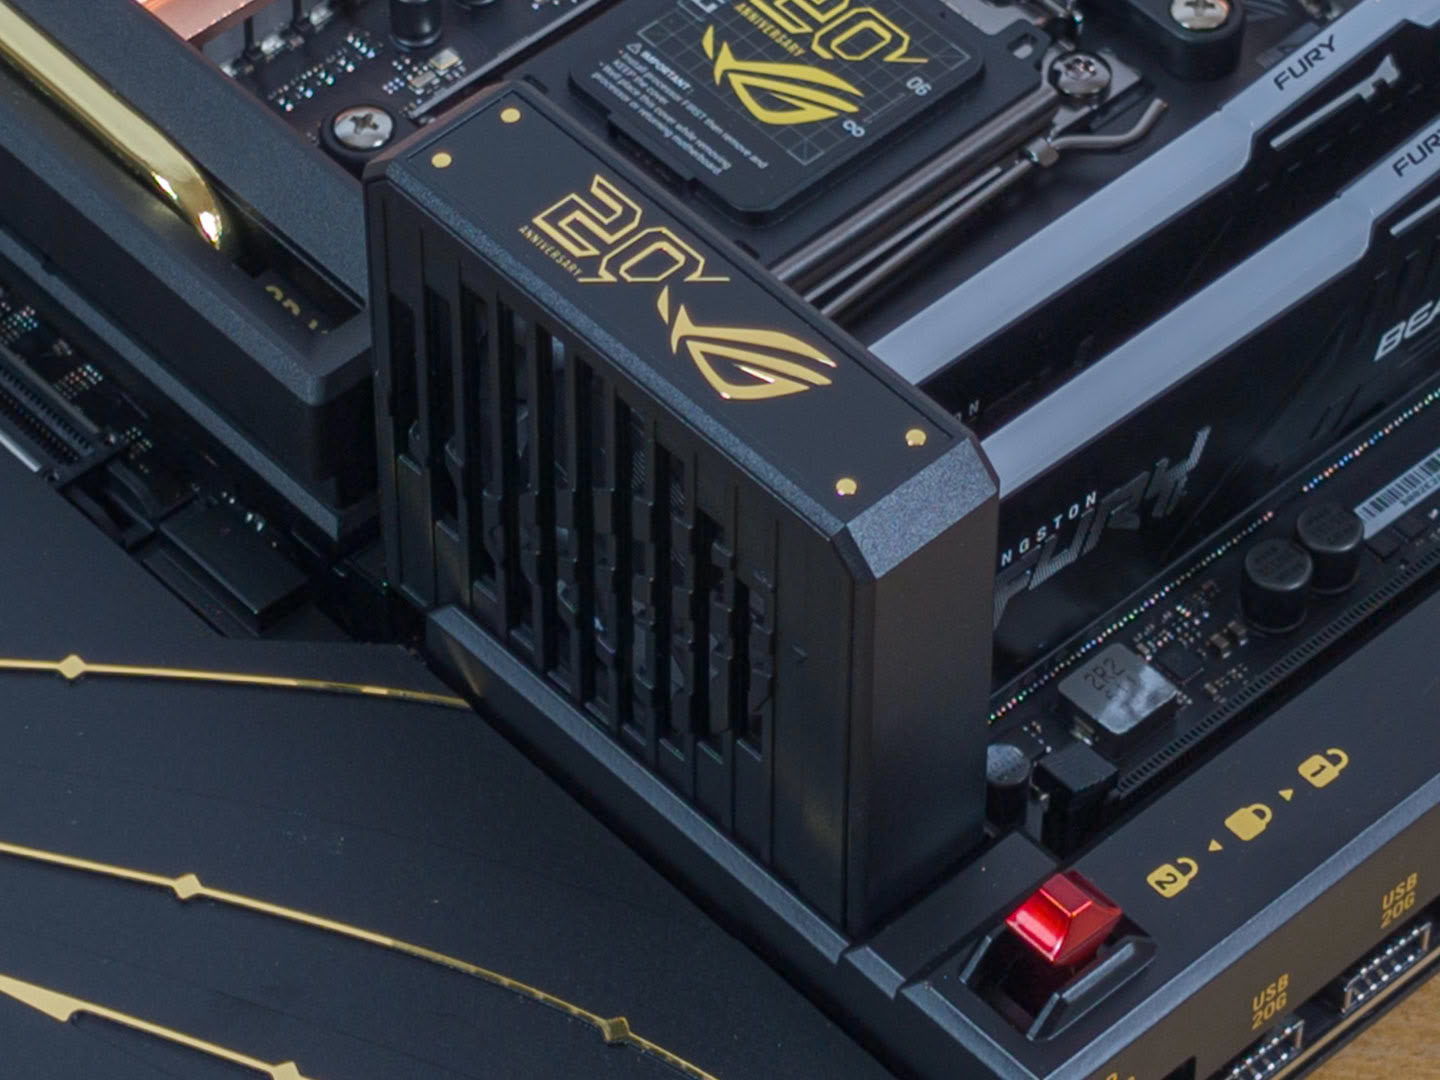
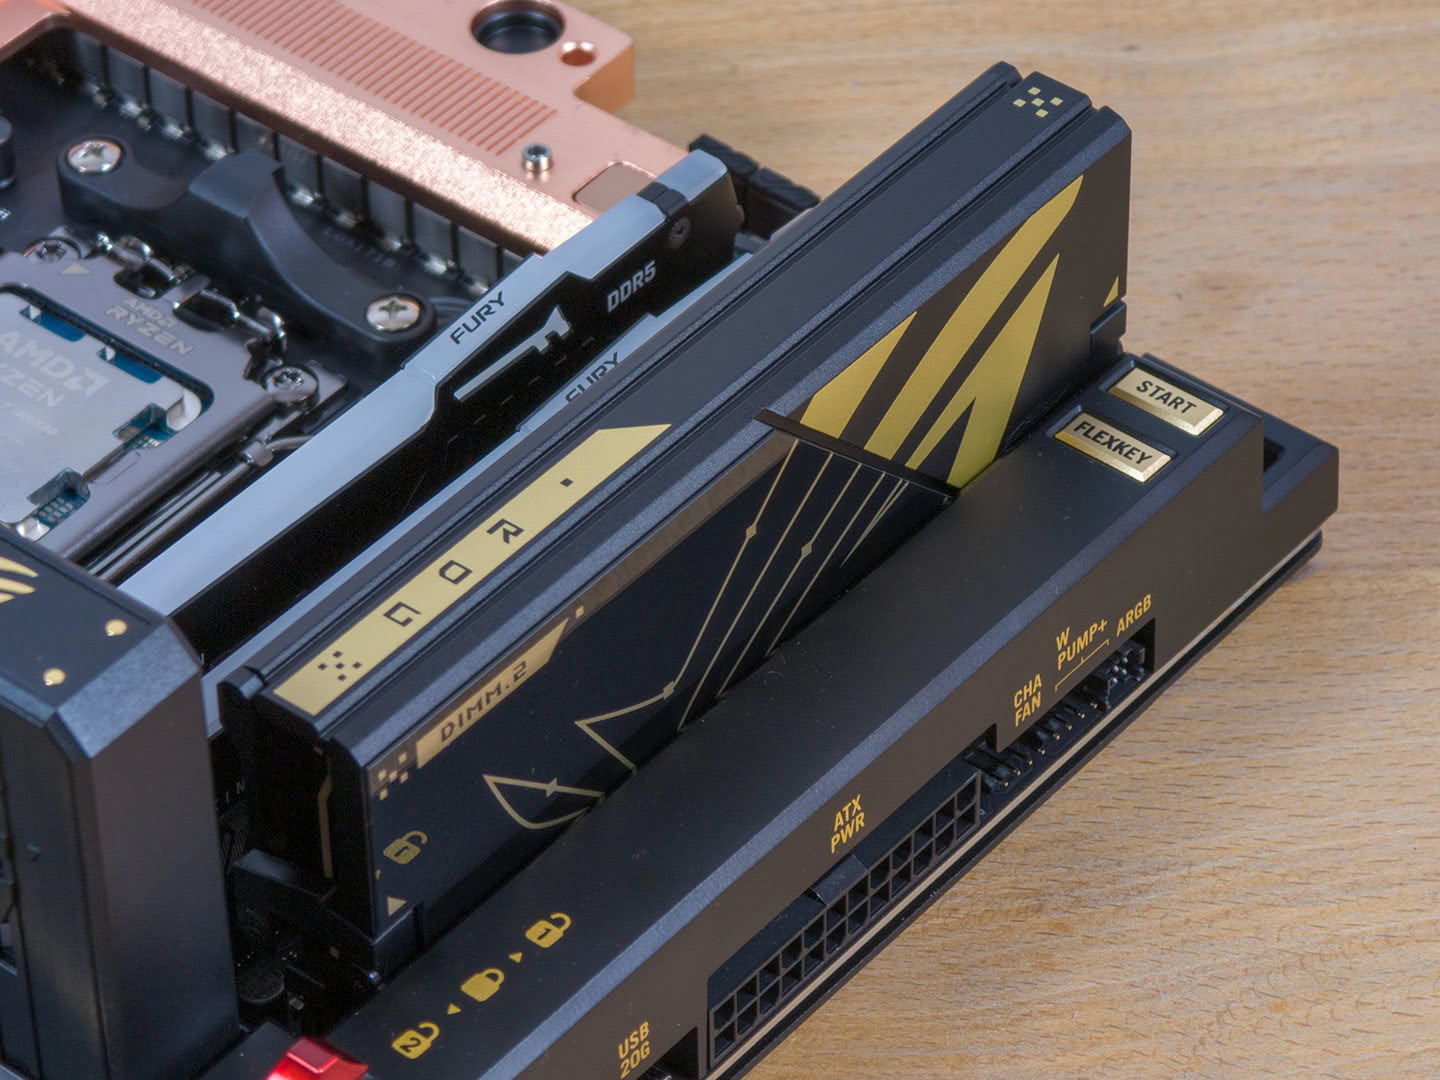
Naturally, with the memory in place, snapping in the cooling fan made sense, followed by the DIMM.2 PCB just for good measure and the additional branding. The fact that the ROG Crosshair X870E Edition 20 can hold 10 drives is just pure overkill in the best possible way.
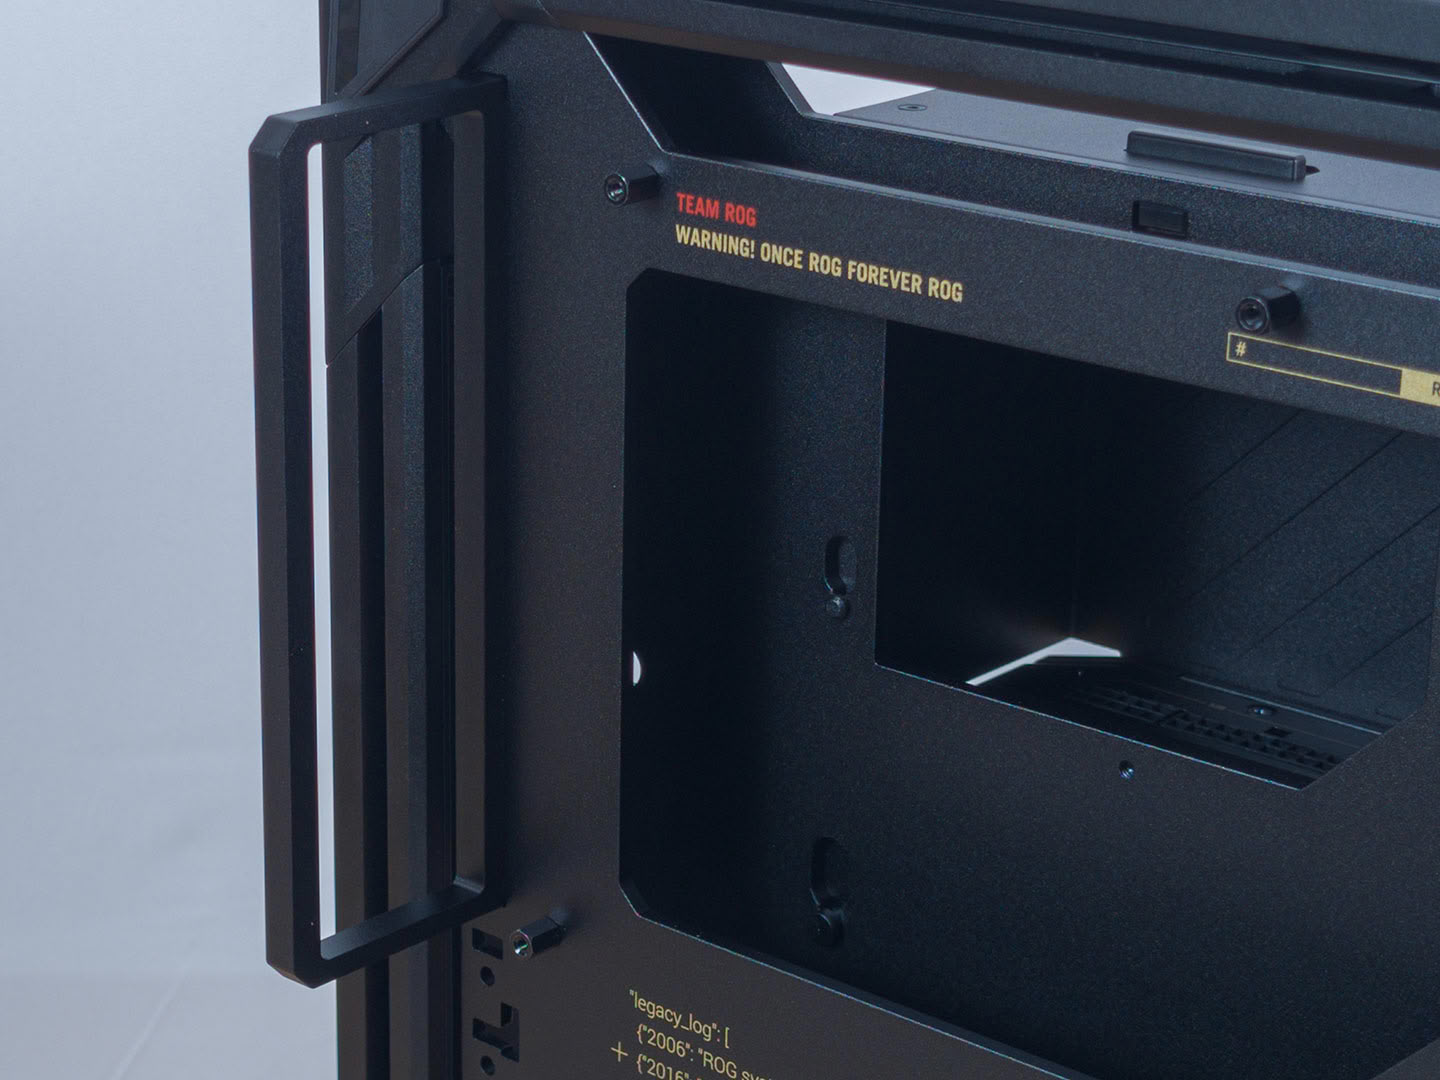
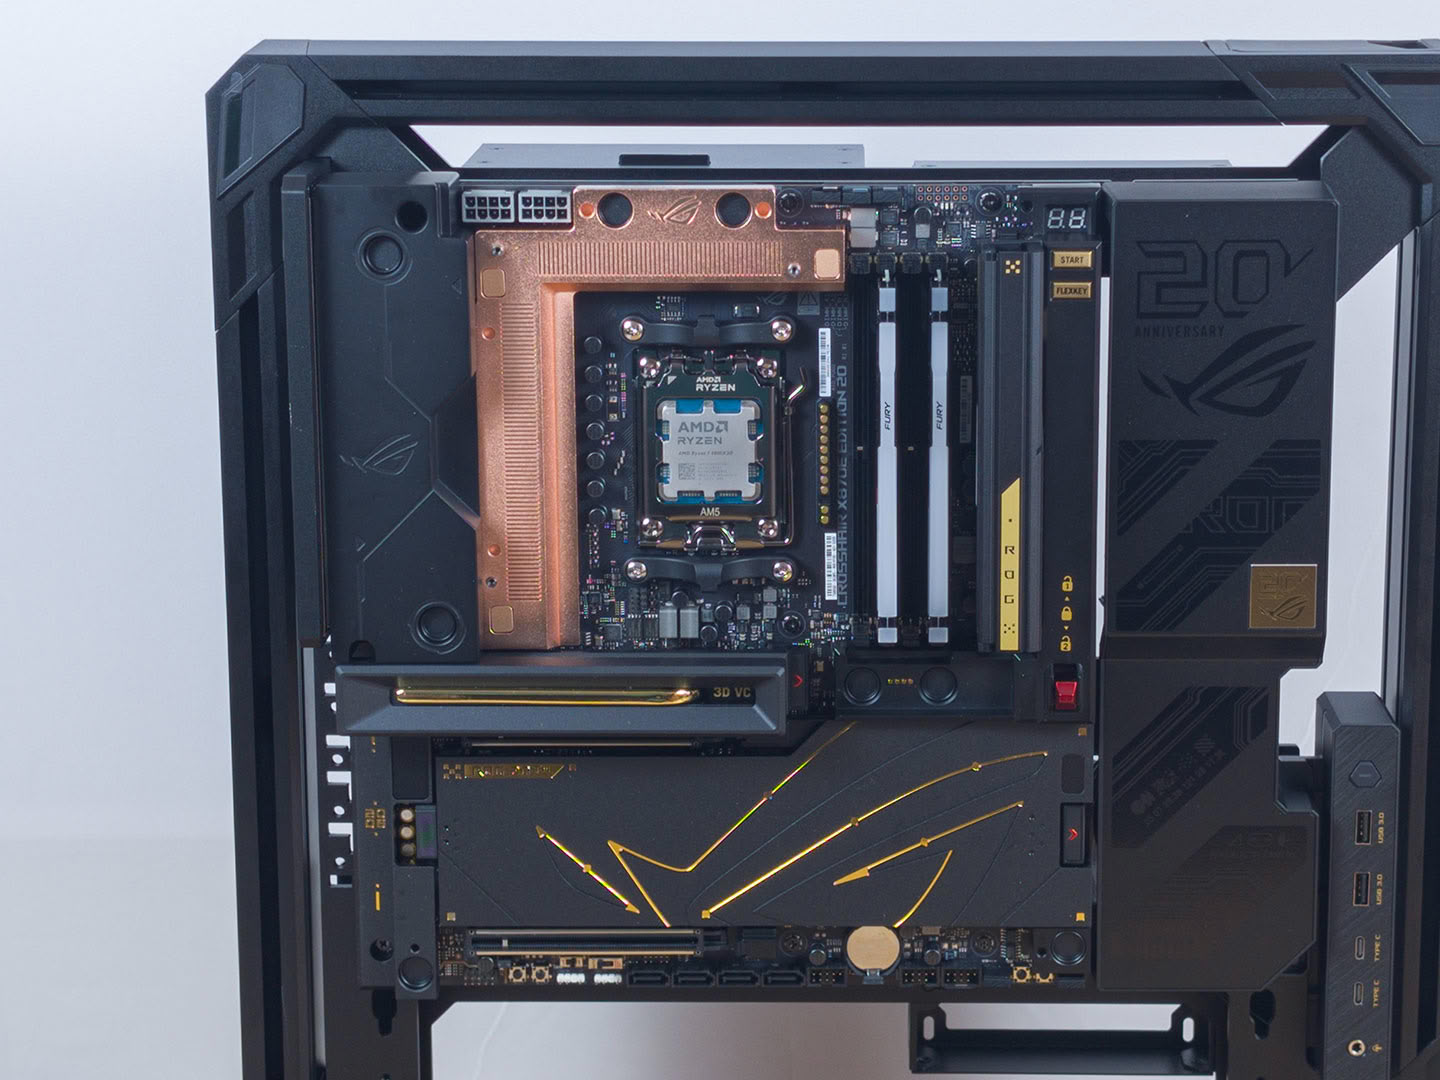
With the motherboard components assembled, we first installed the backplate bracket of the GR20 and then the board itself (Editor's note: we took off the magnetic Memory Q-Fan for now, just so it would not accidentally get knocked off during further assembly of the build).
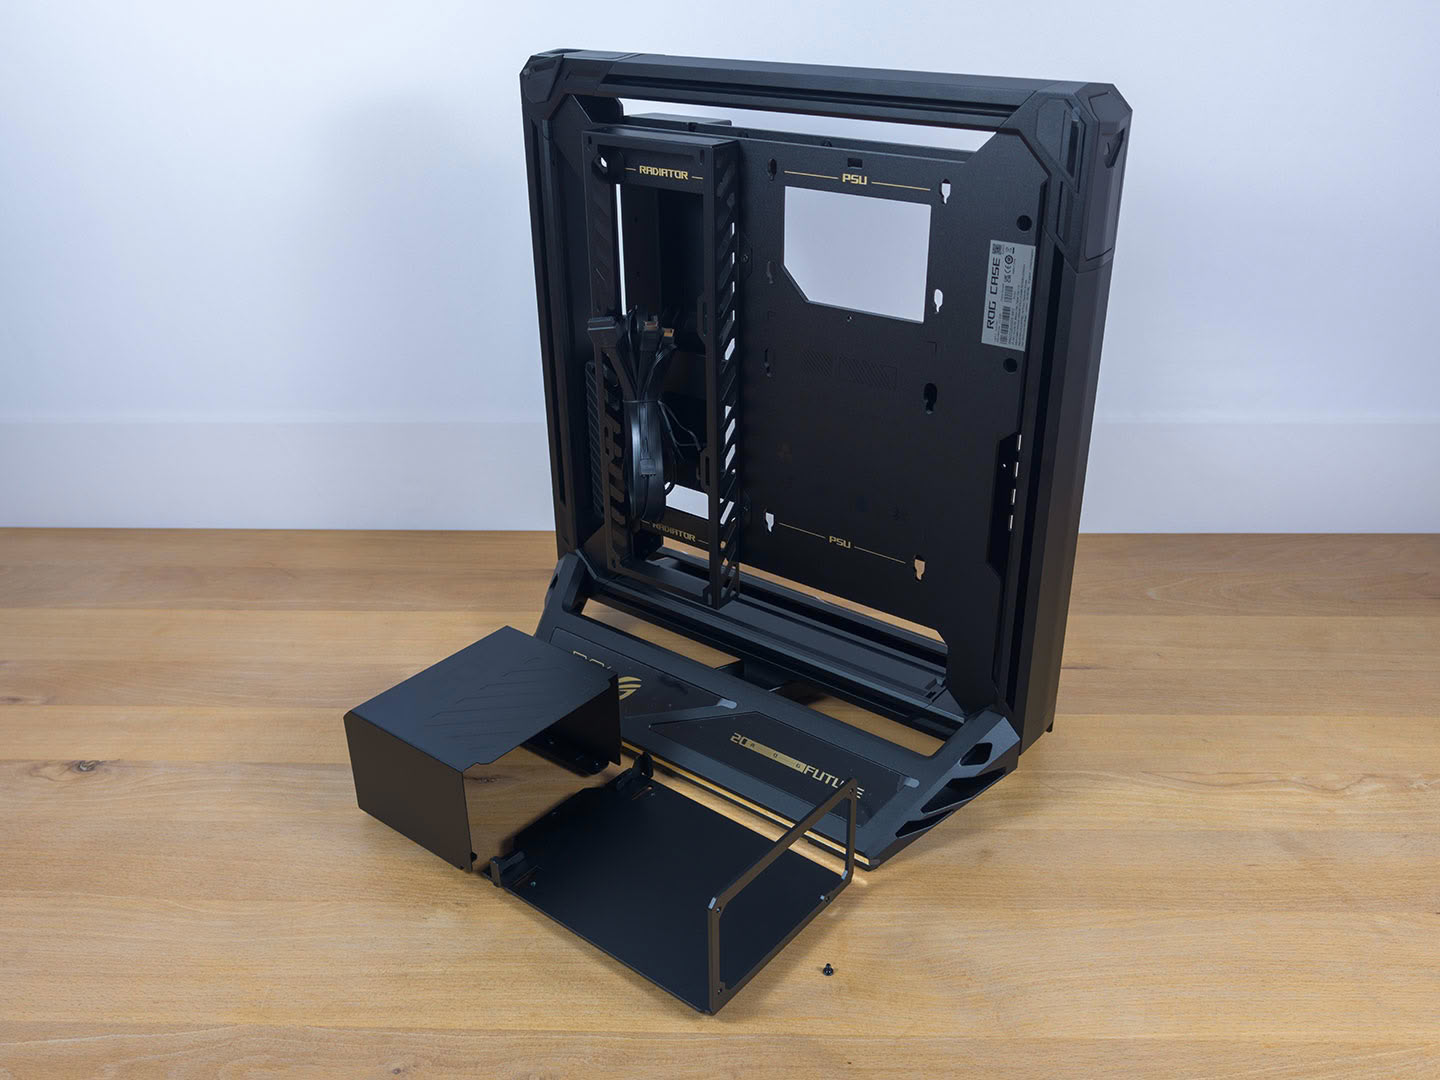
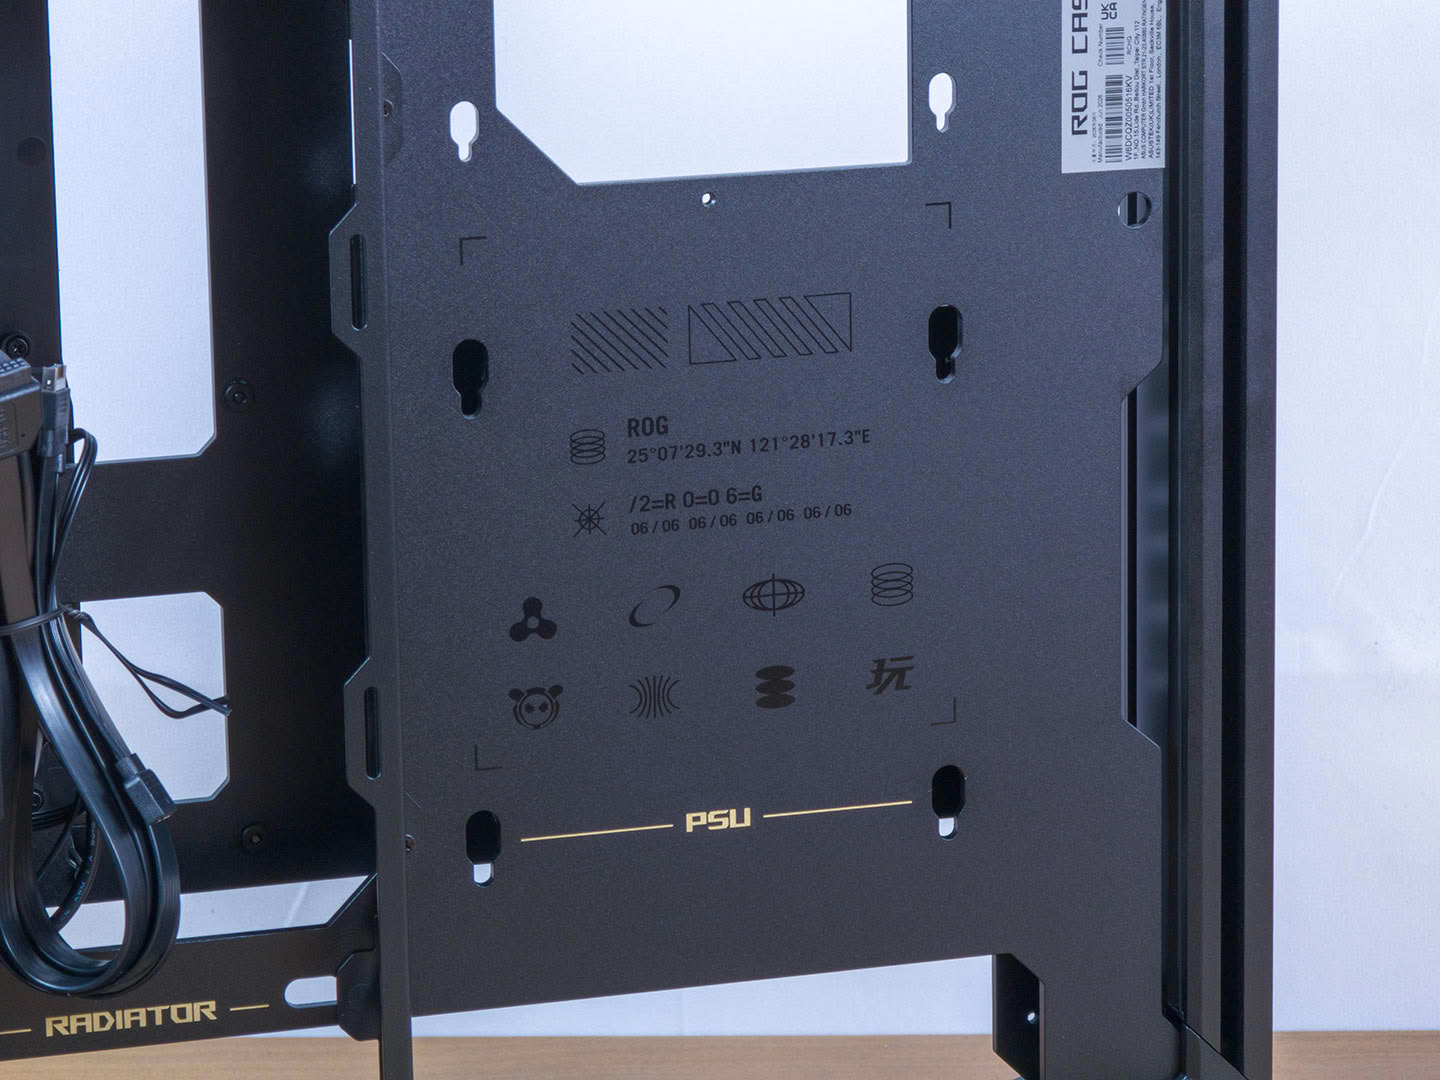
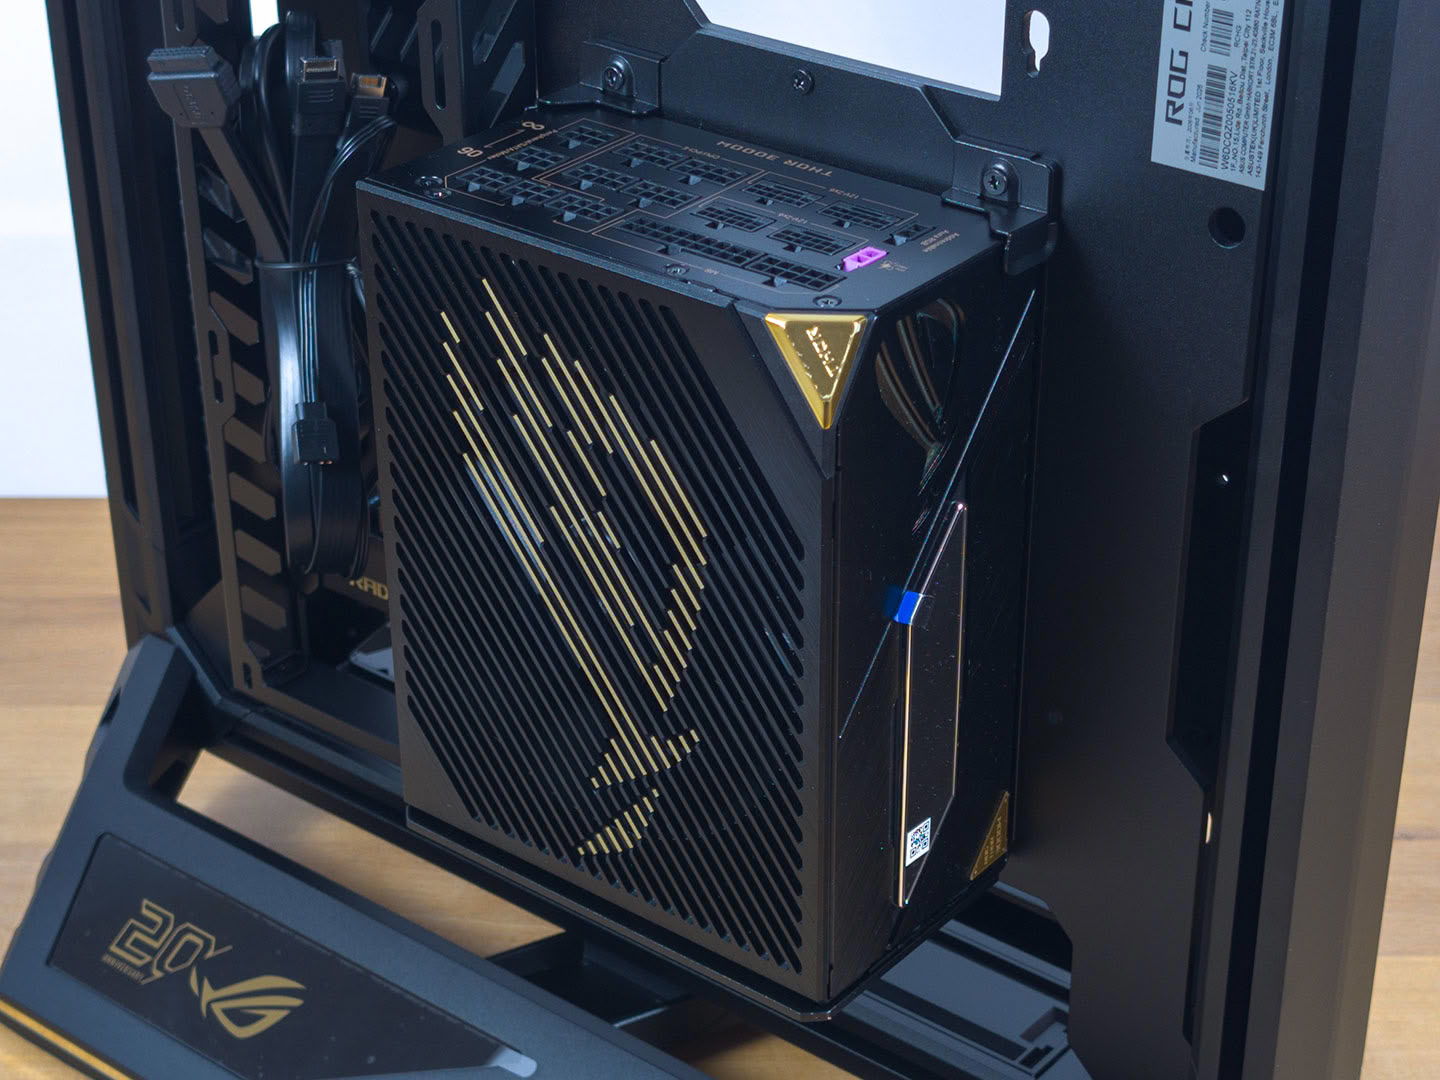
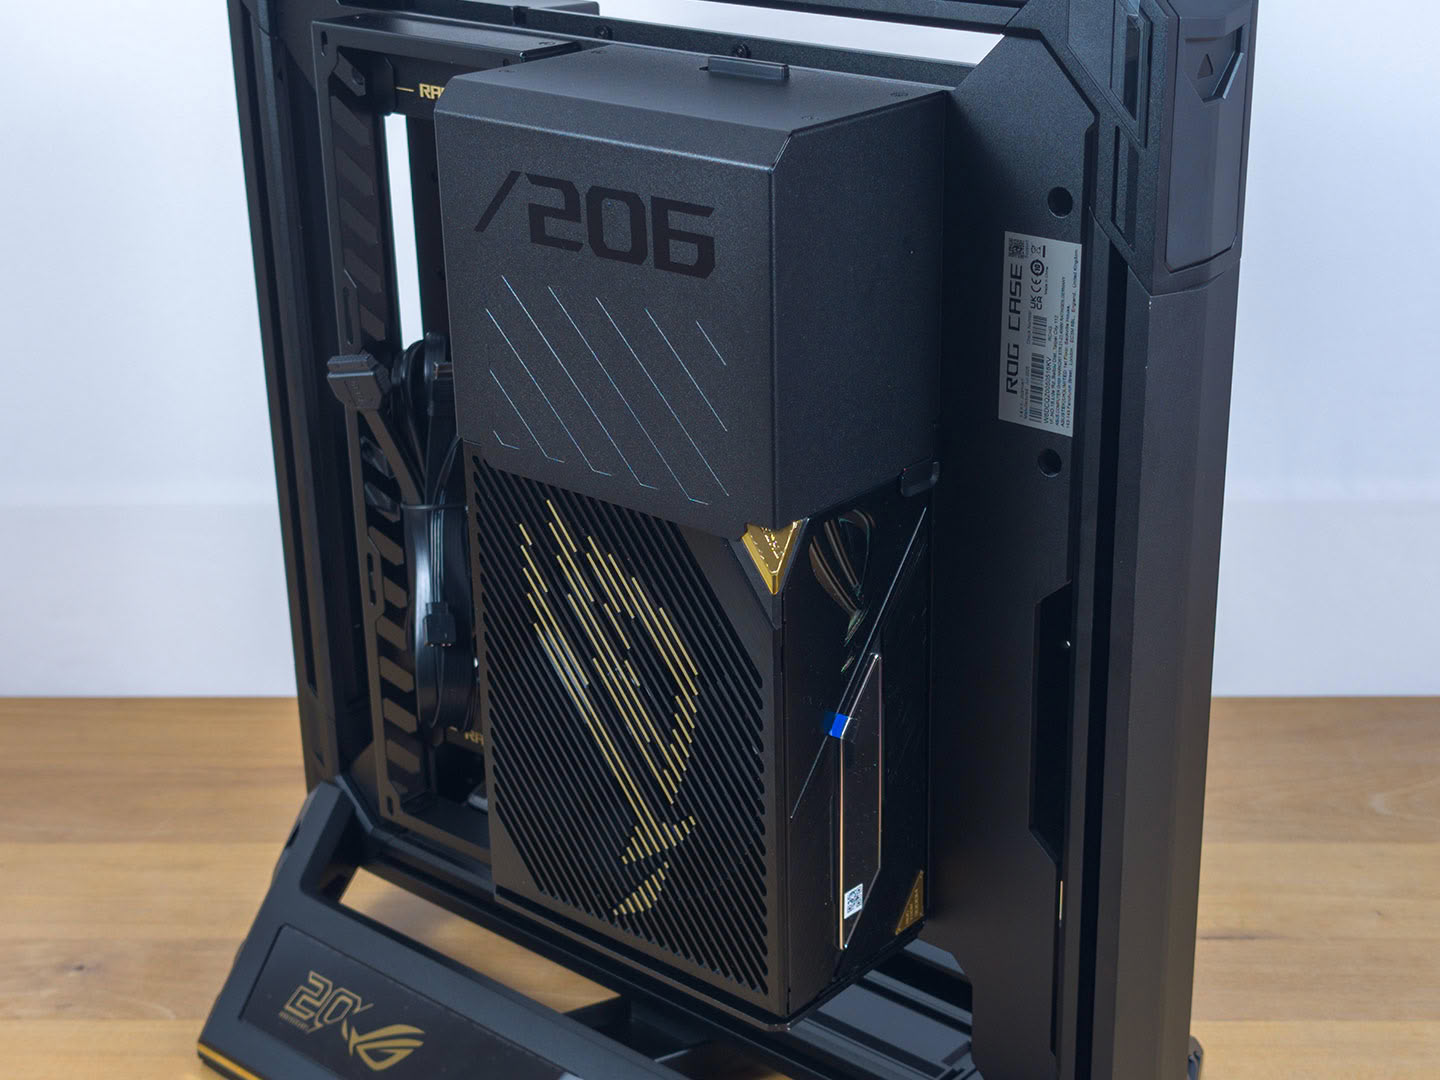
Before installing anything bulky like the AIO or GPU, we secured the PSU behind the motherboard by first removing the cable cover and mounting bracket from the case, then fitting the Thor power supply. Thanks to the cover and cable space in the spine of the case, you quite literally don't have to worry about any cable mess. We did buy black and gold zip ties, fully expecting to use them, but ended up never needing any.
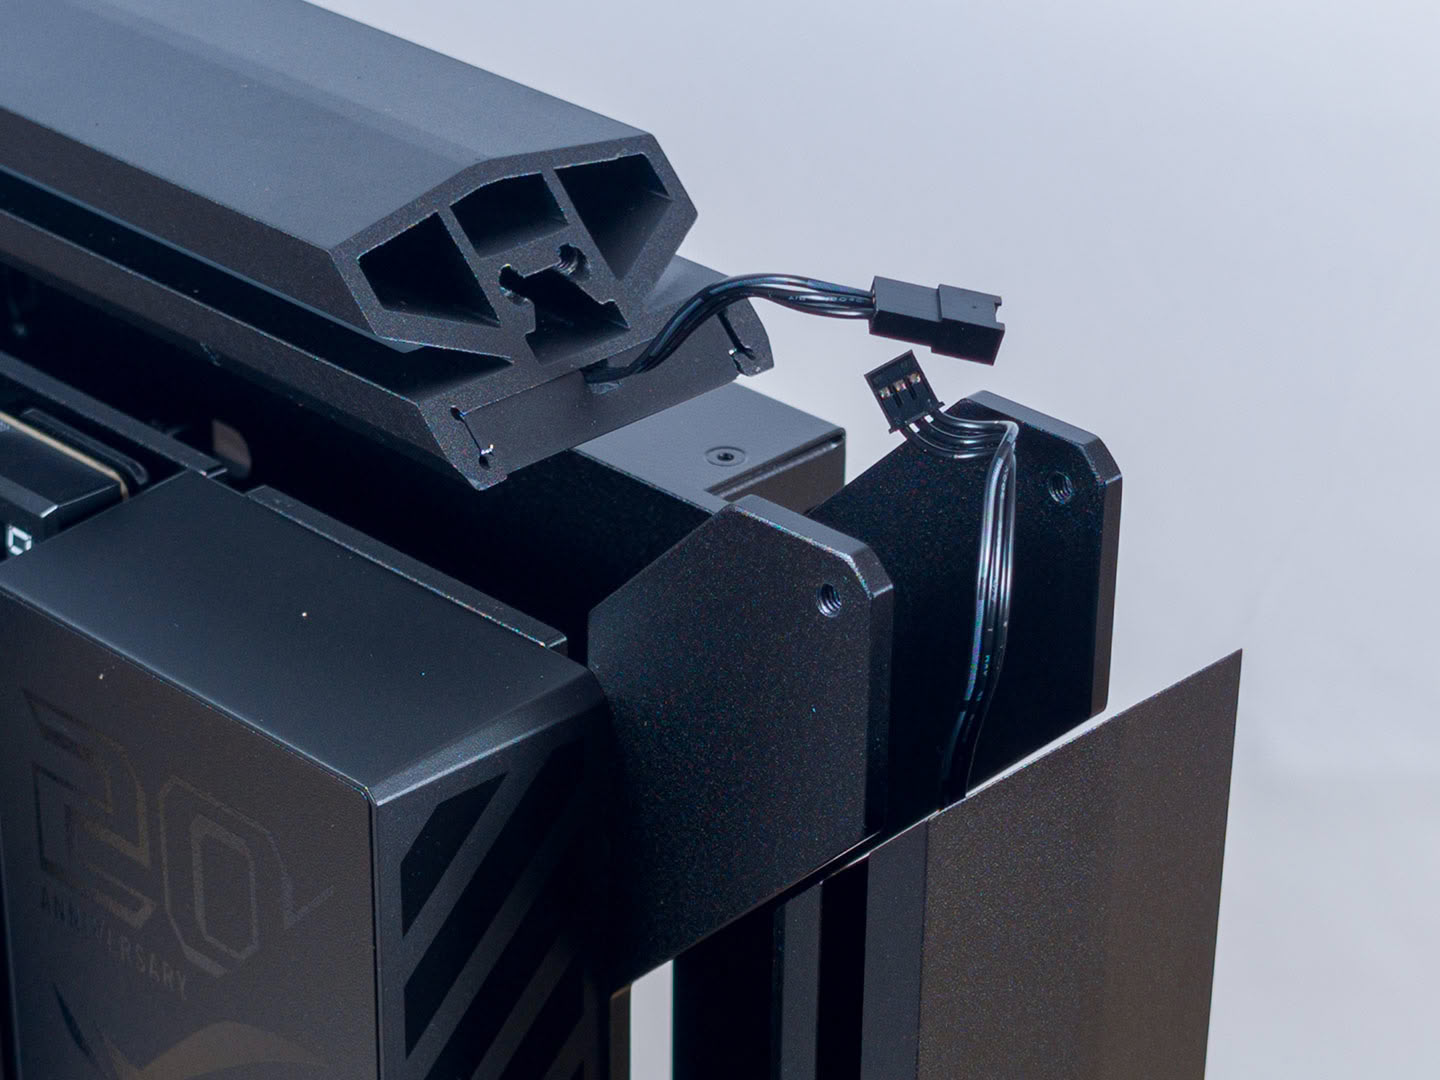
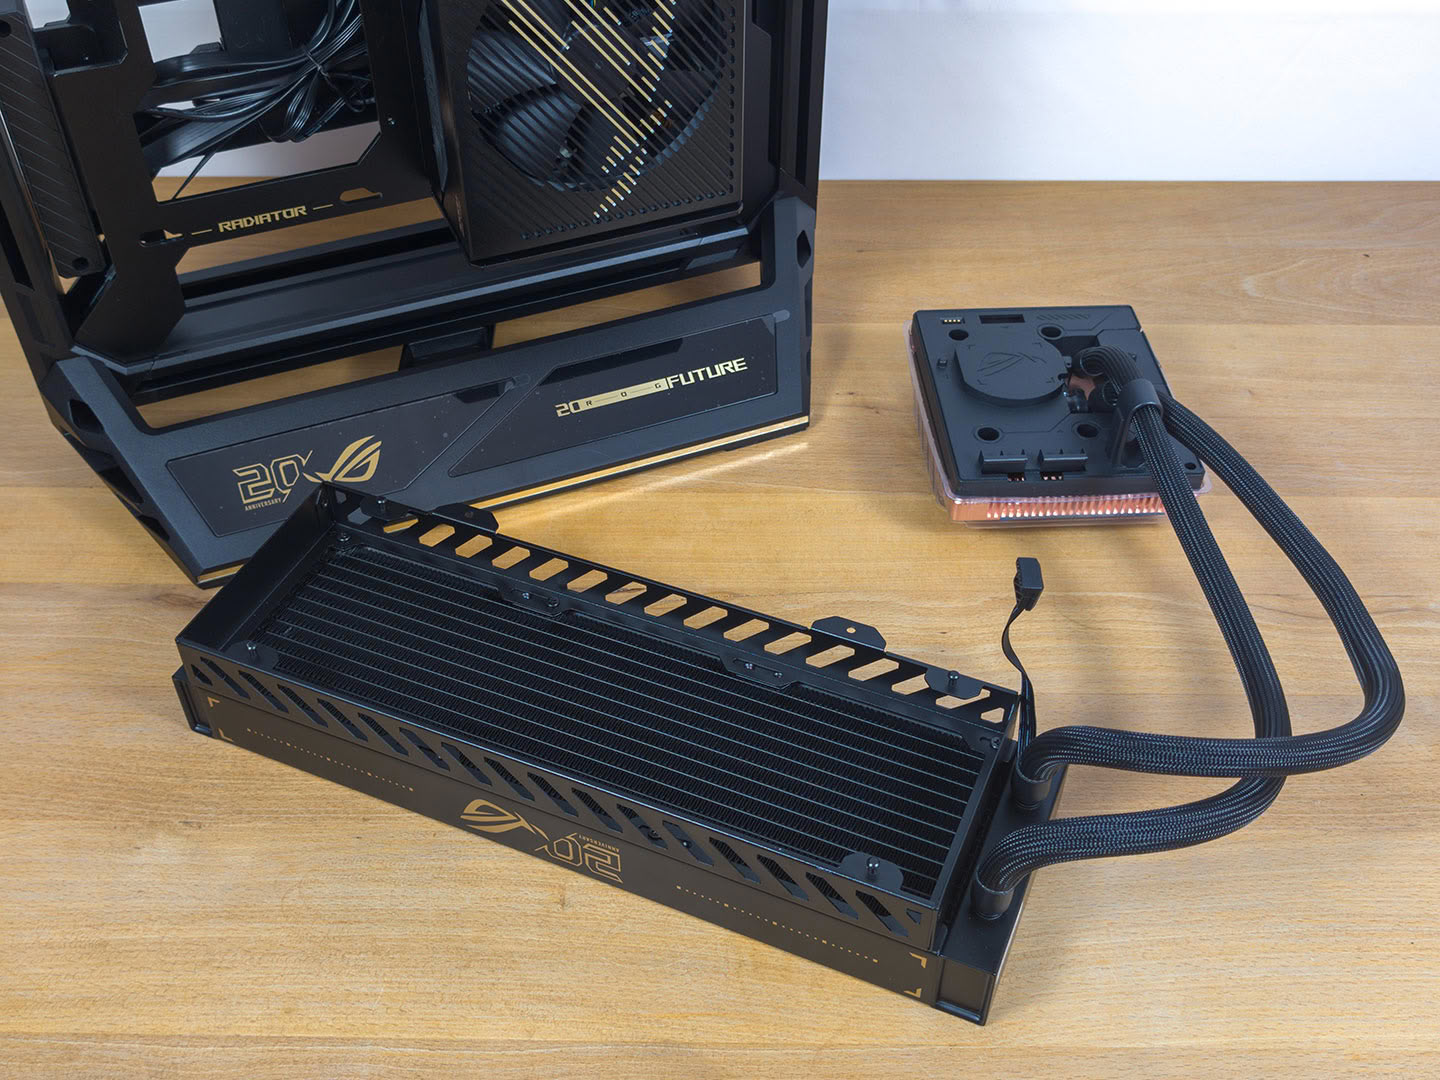
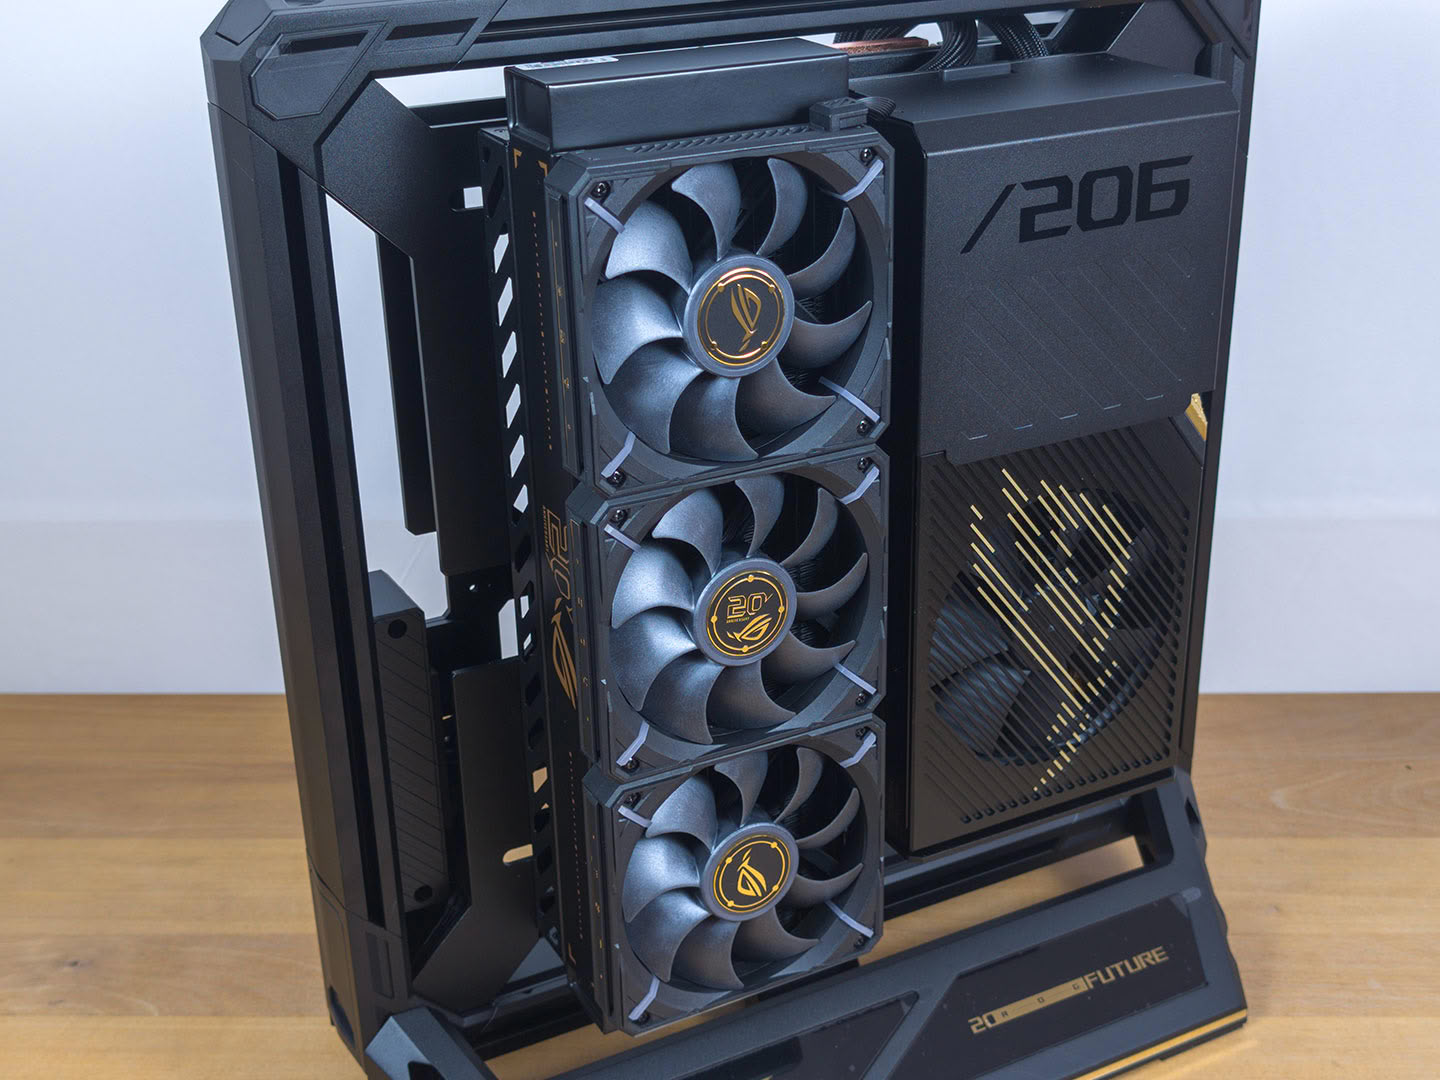
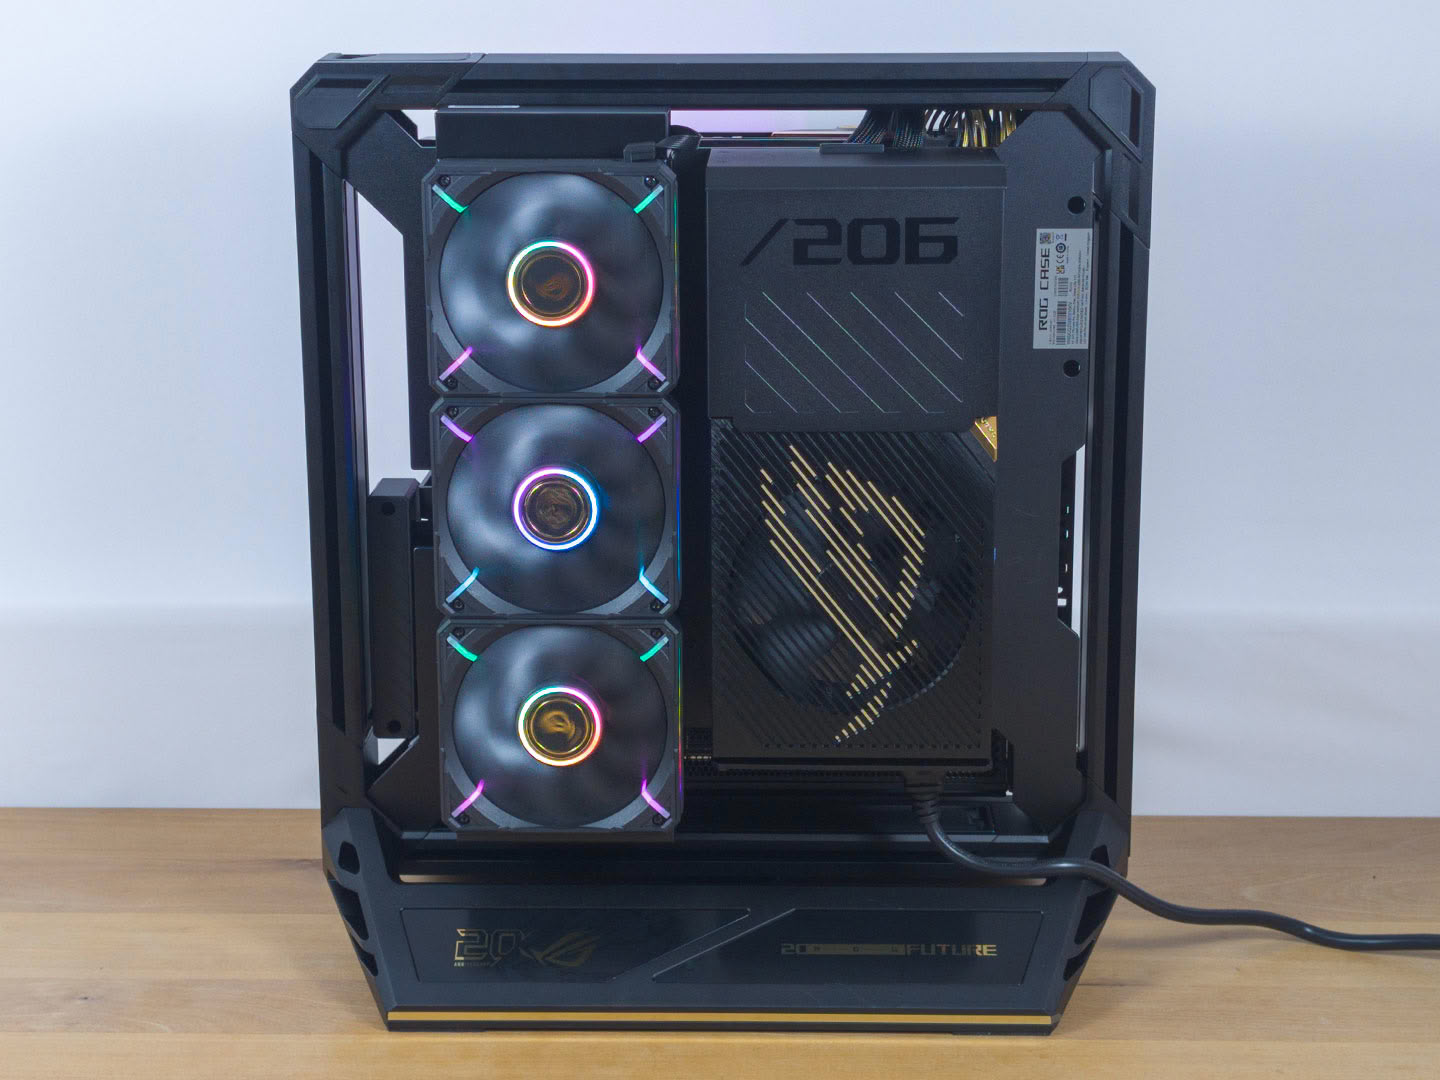
To add the AIO, you will have to take off a corner piece to allow the AIO tubing to be hidden away, which means also disconnecting the cable for the built-in ARGB lighting. Even with that off, the frame structure is so strong that you could rotate the chassis around in that state without issue. The AIO is then mounted on the removable frame on the back of the case. Once that is secured, you can fit the fans and plug in the single cable to power them all.
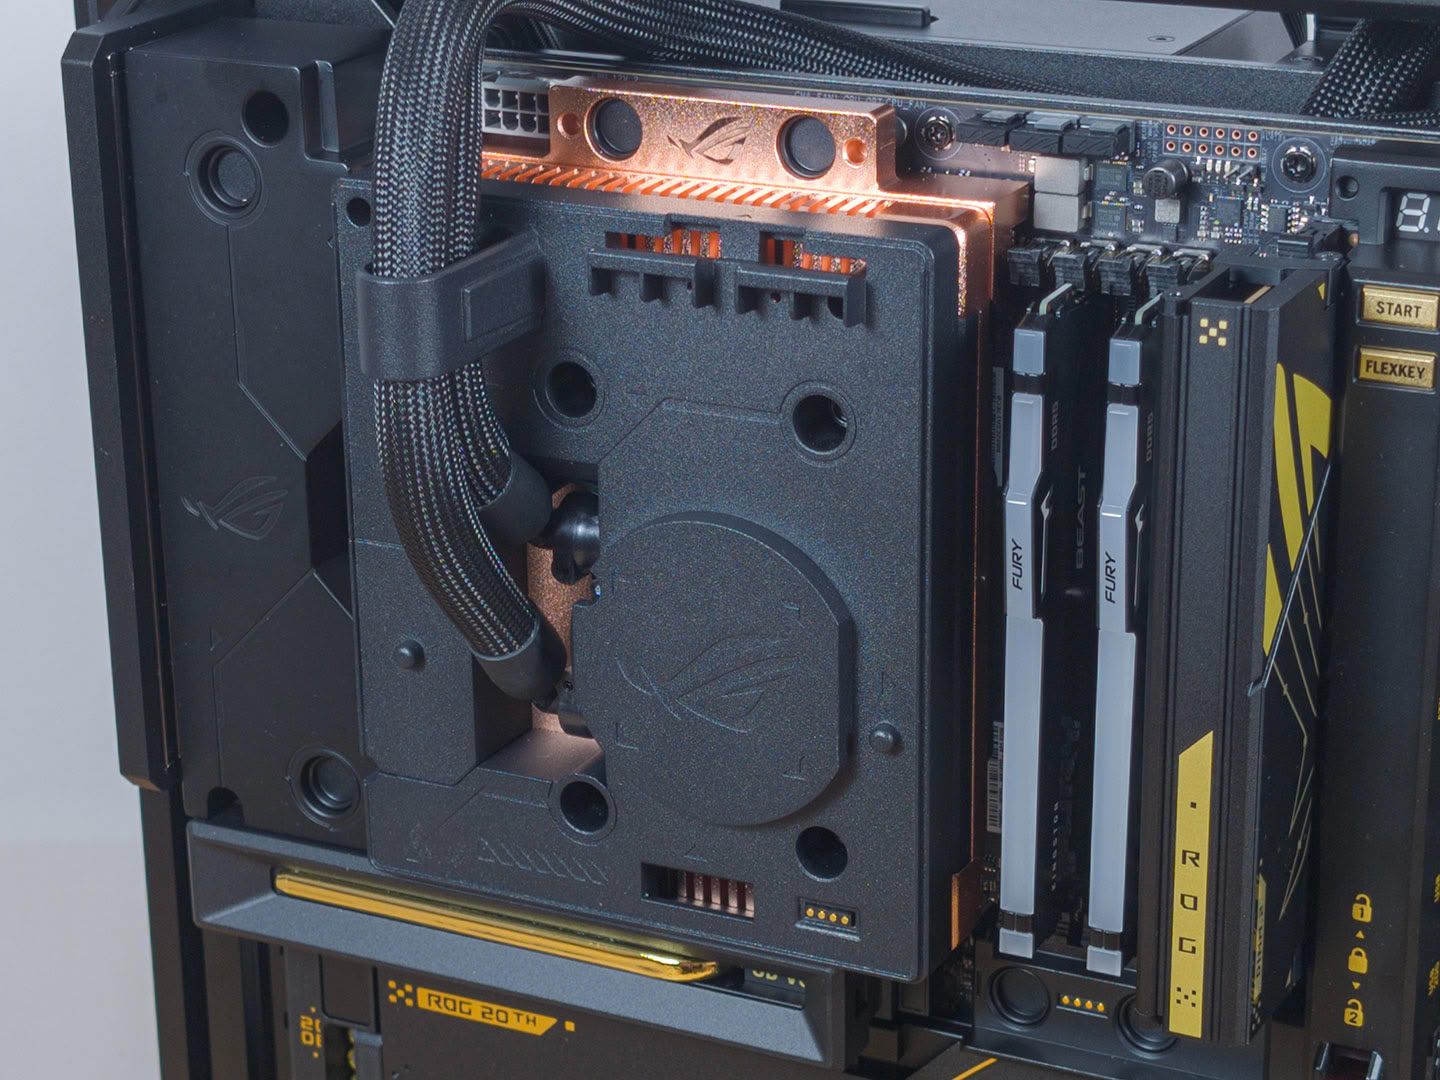
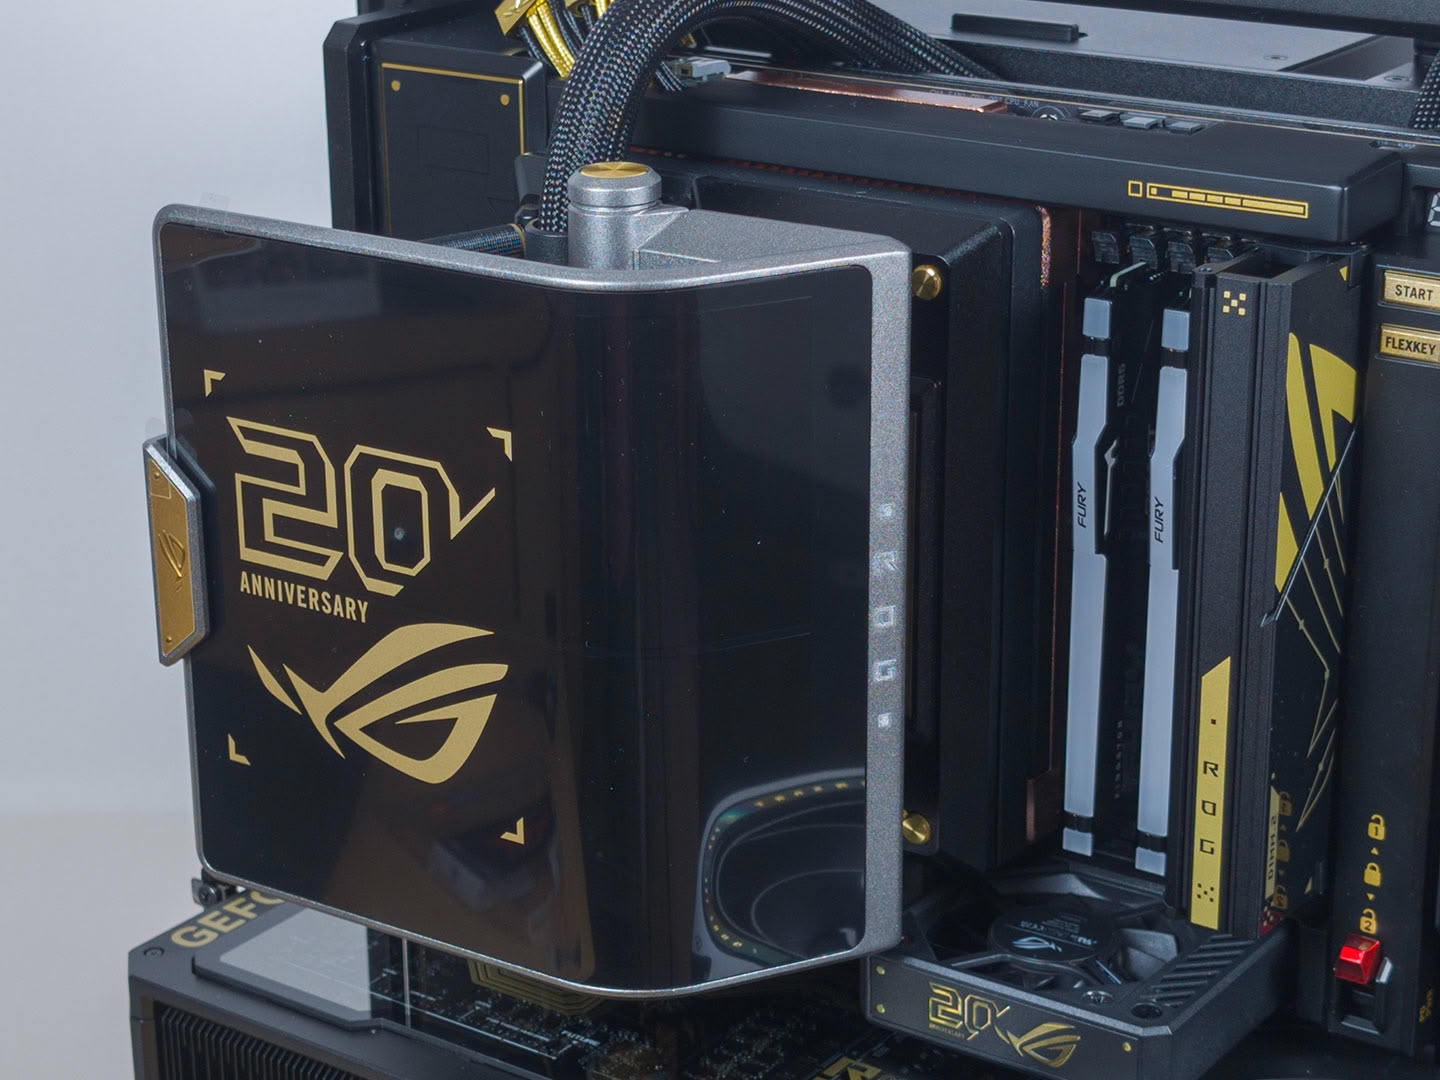
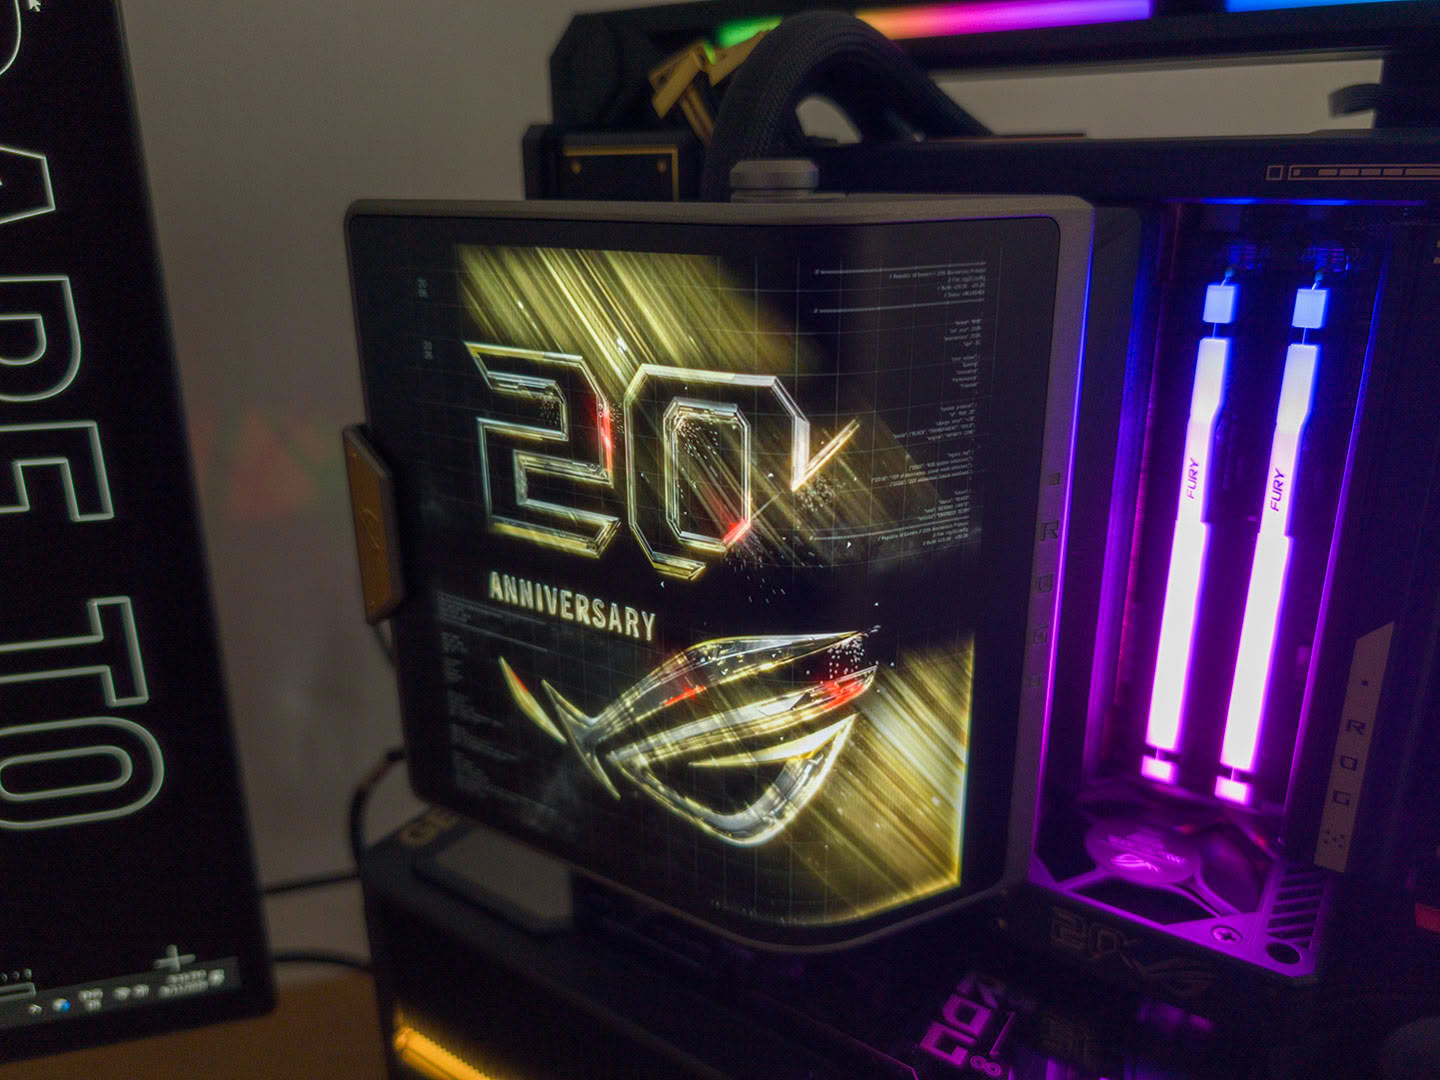
With the AIO radiator firmly held in place and the tubing routed inside the case spine, securing the giant block was extremely easy. Simply remove the plastic AMD mounting bars, then screw the block into place with the embedded screws. Lastly, simply clip the big, curved screen onto the block - that's it. No cables to route, no connectors to figure out. ASUS engineered this AIO to take conveniently care of everything in that regard.
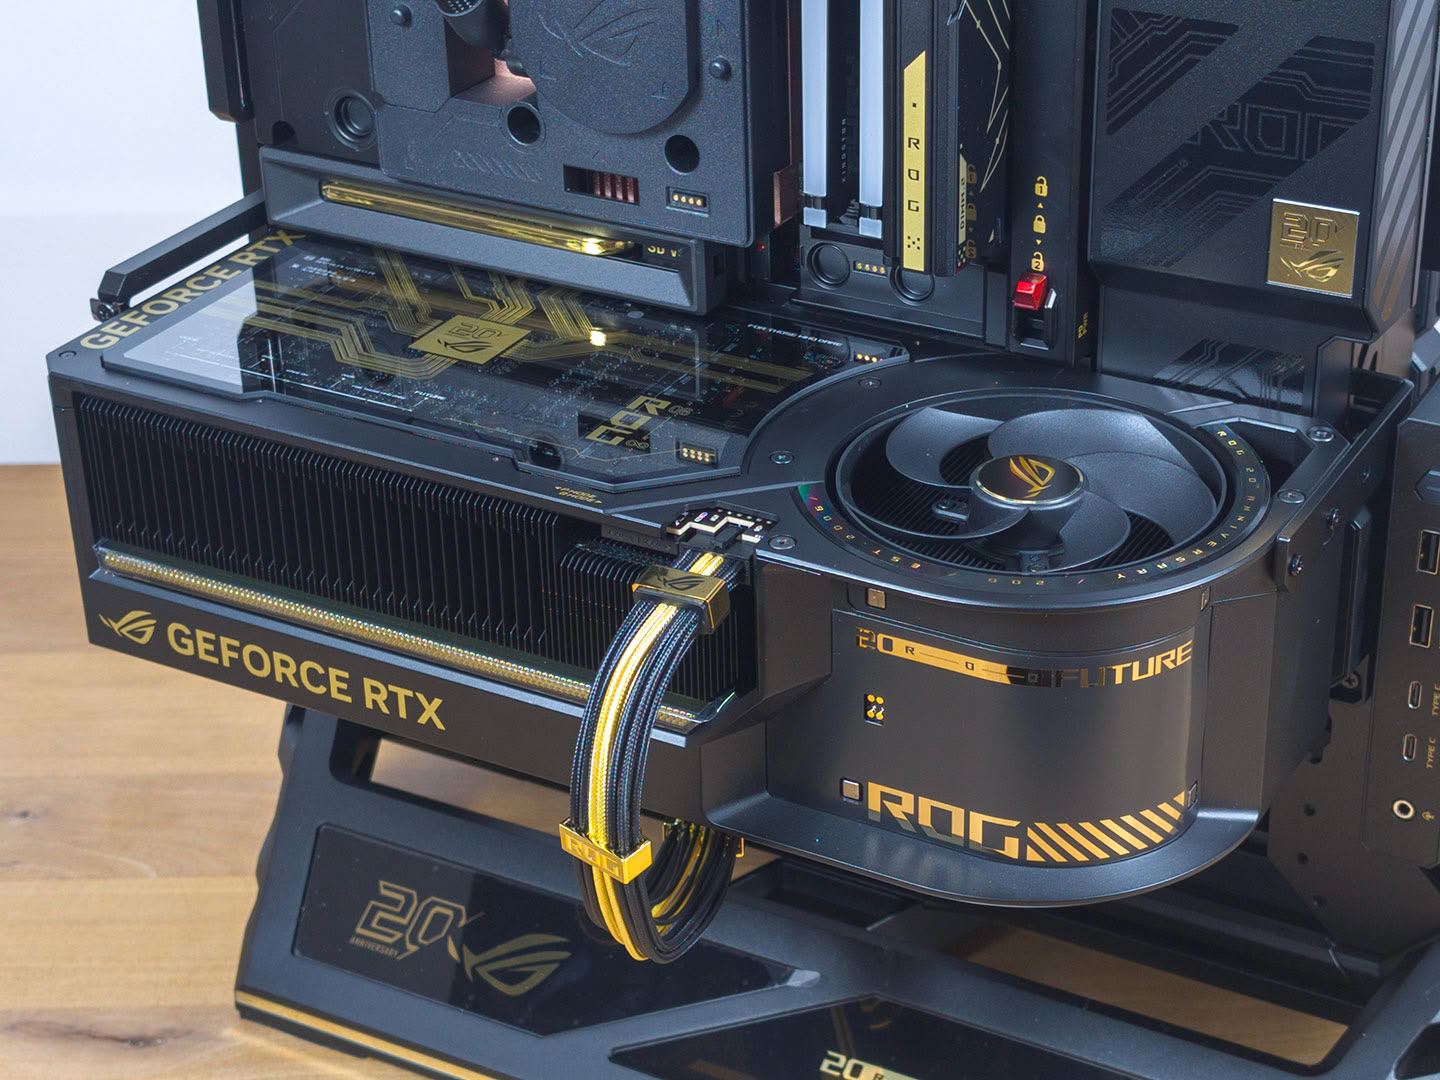
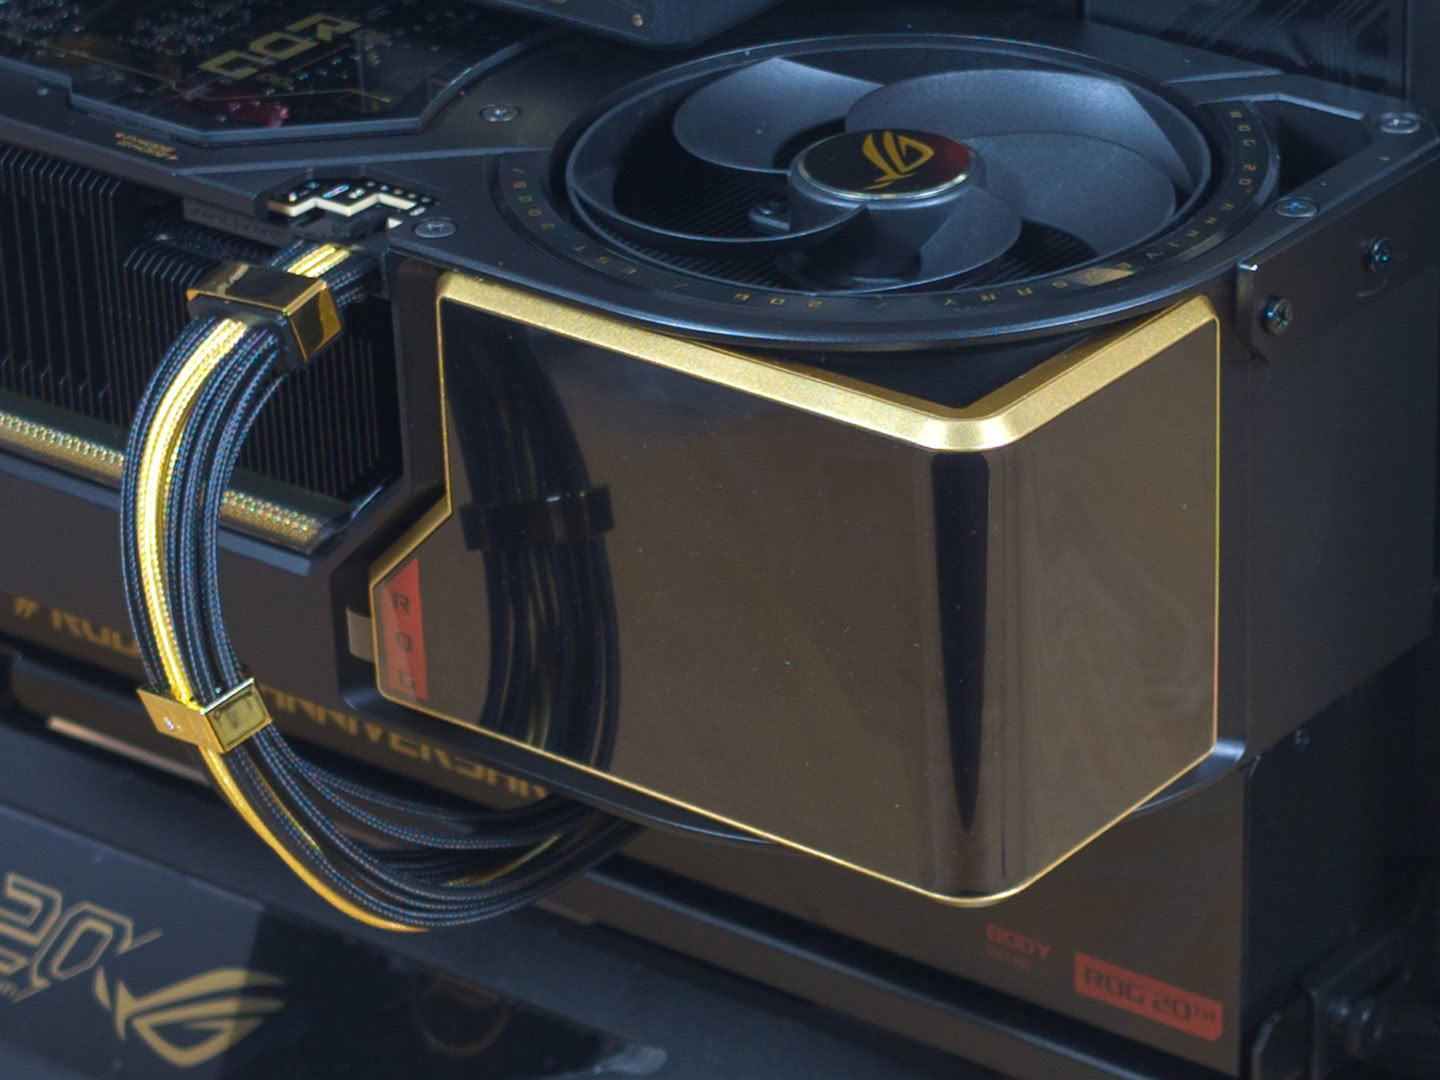
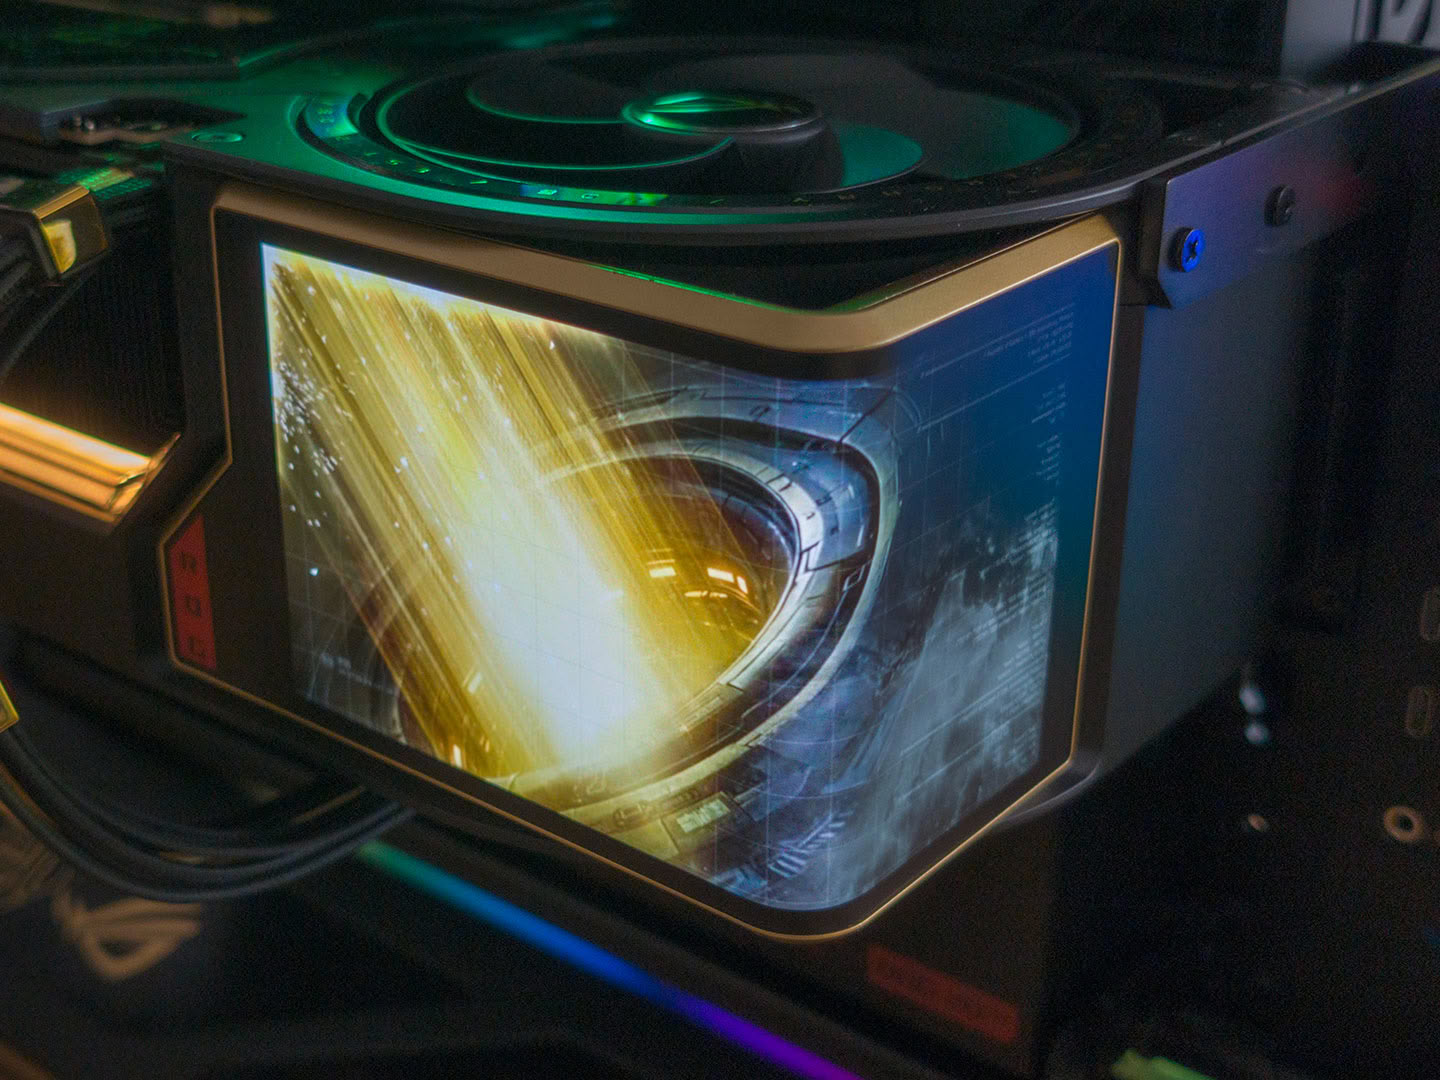
Before installing the massive ROG Astral GeForce RTX 5090 Edition 20, you will have to first secure the expansion slot bracket of the chassis. Then, you should place the glass cover on the GPU before installing it. The included metal support bracket at the end of the graphics card keeps it perfectly straight, despite its sheer size. Lastly, simply snap the display into place and make sure to install the short USB cable to run from the backside of the GPU to one of the ports on the motherboard backplate.
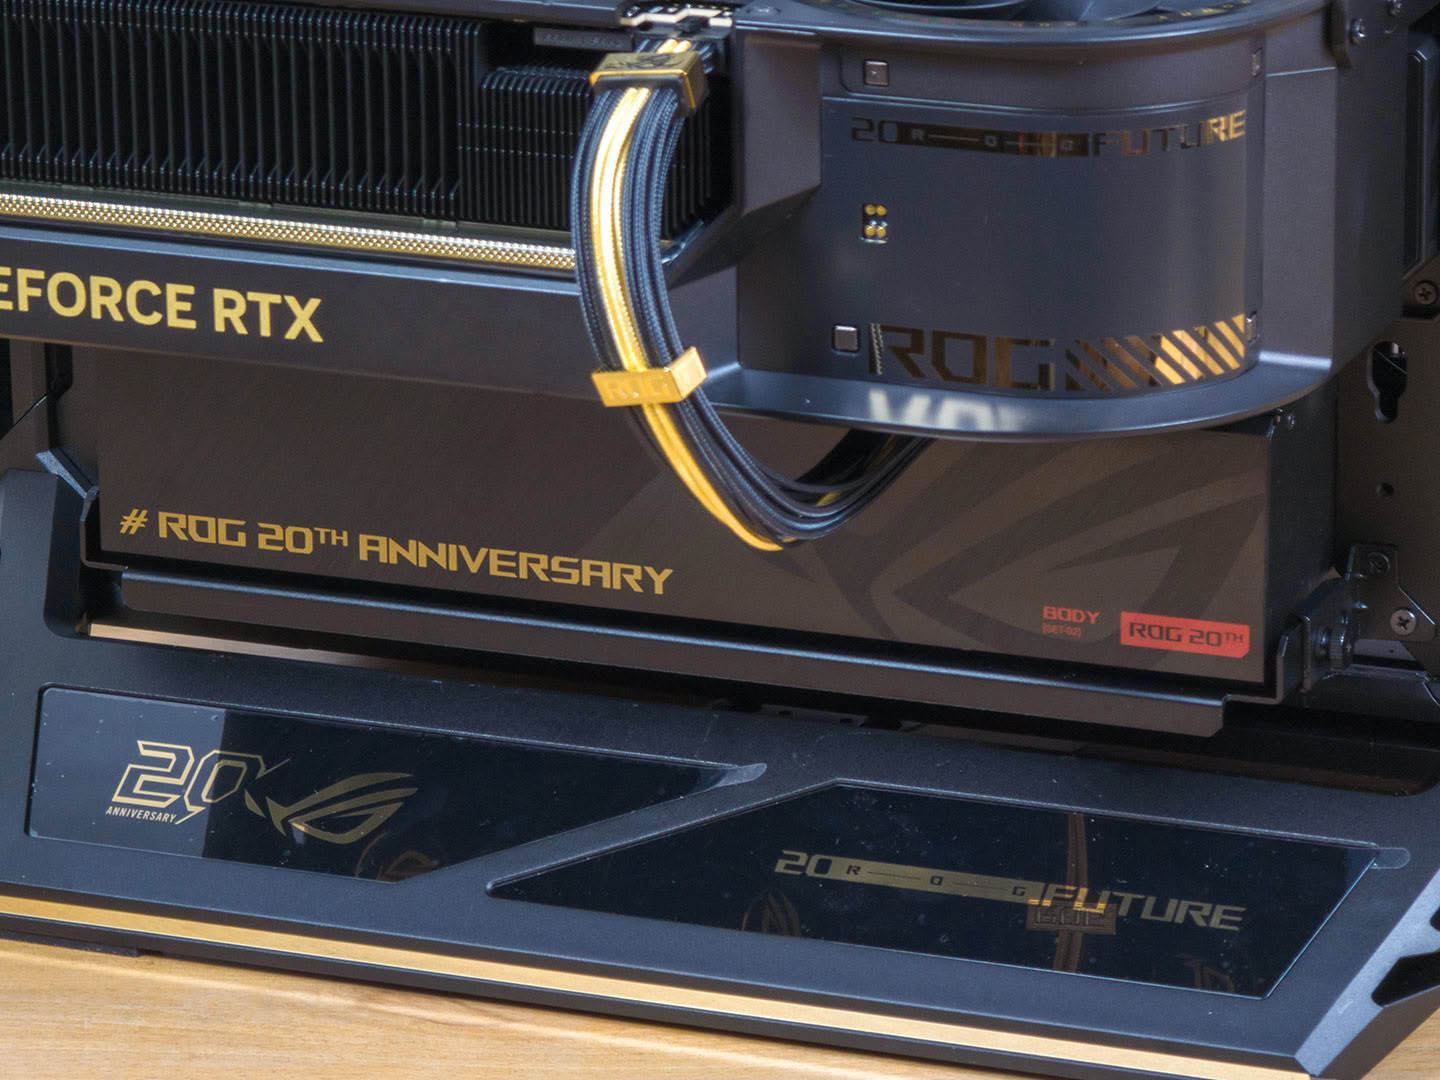
With everything connected, we added the cross-flow fan at the bottom by securing it with four screws. It allows for a little bit of adjustment in terms of depth and angle as well.
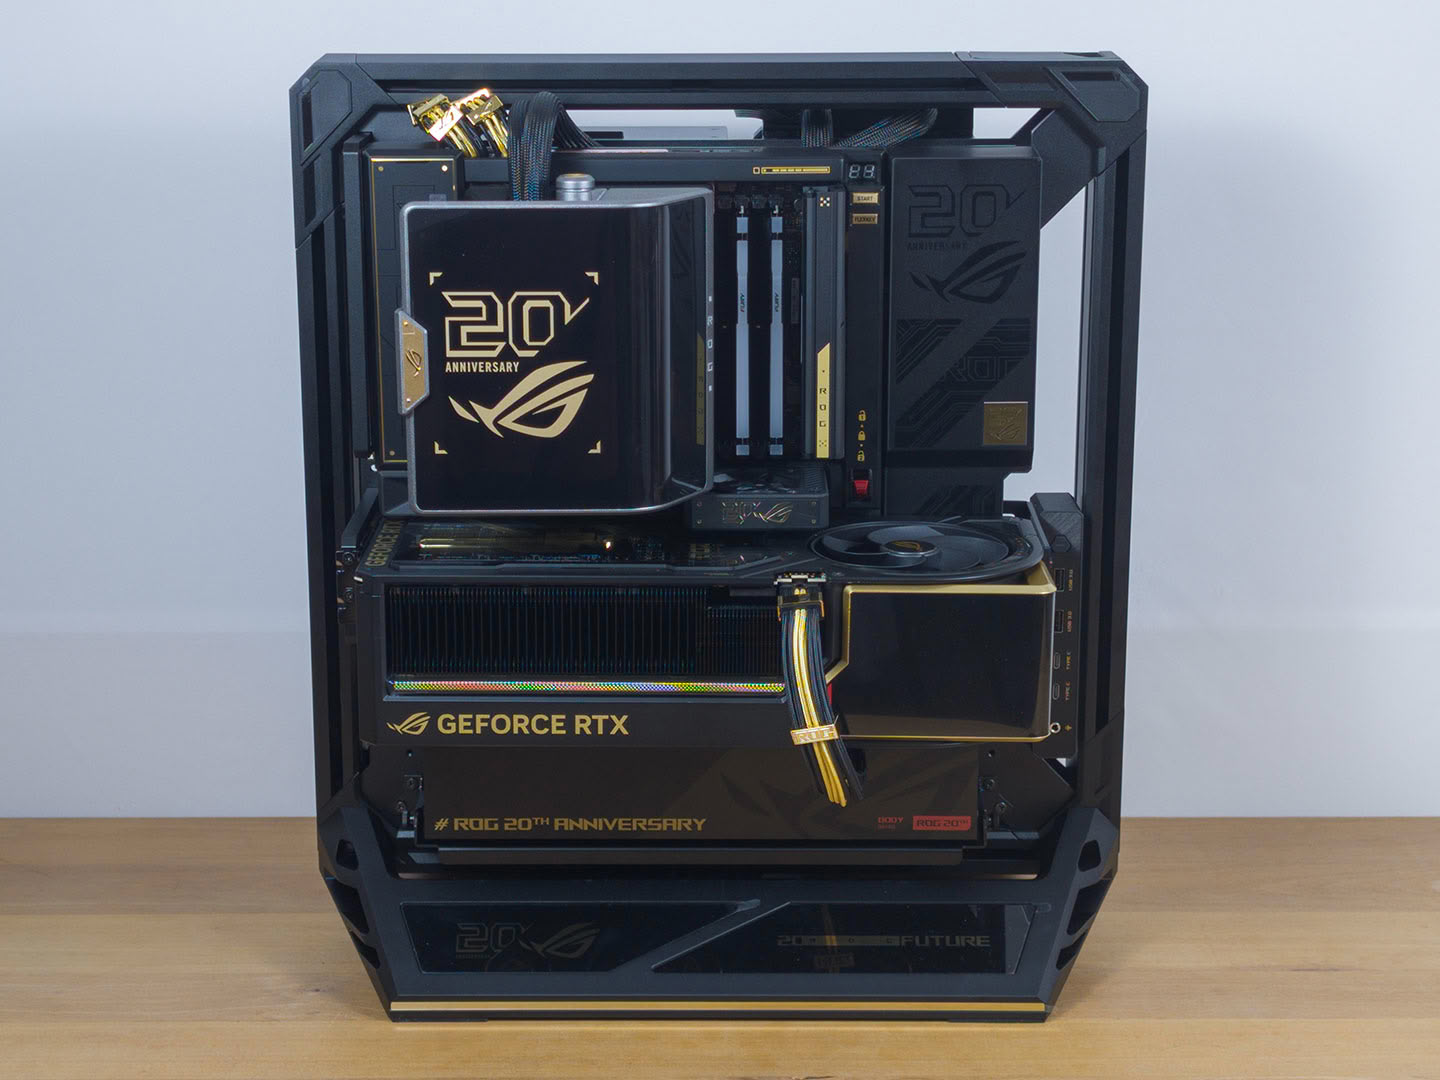
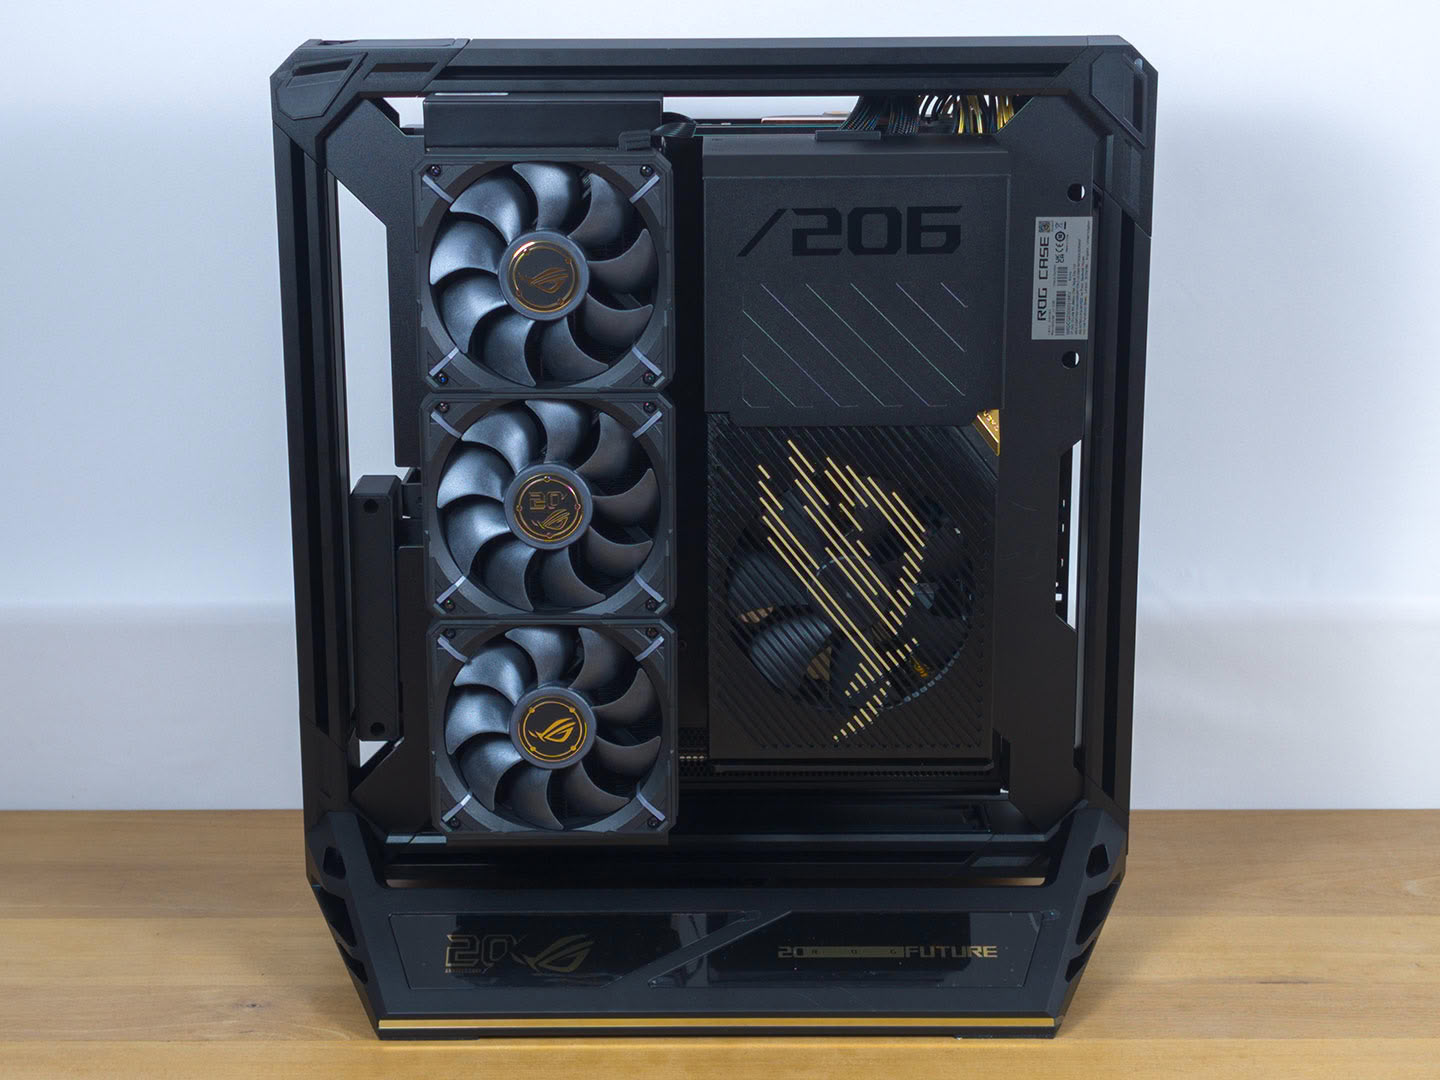
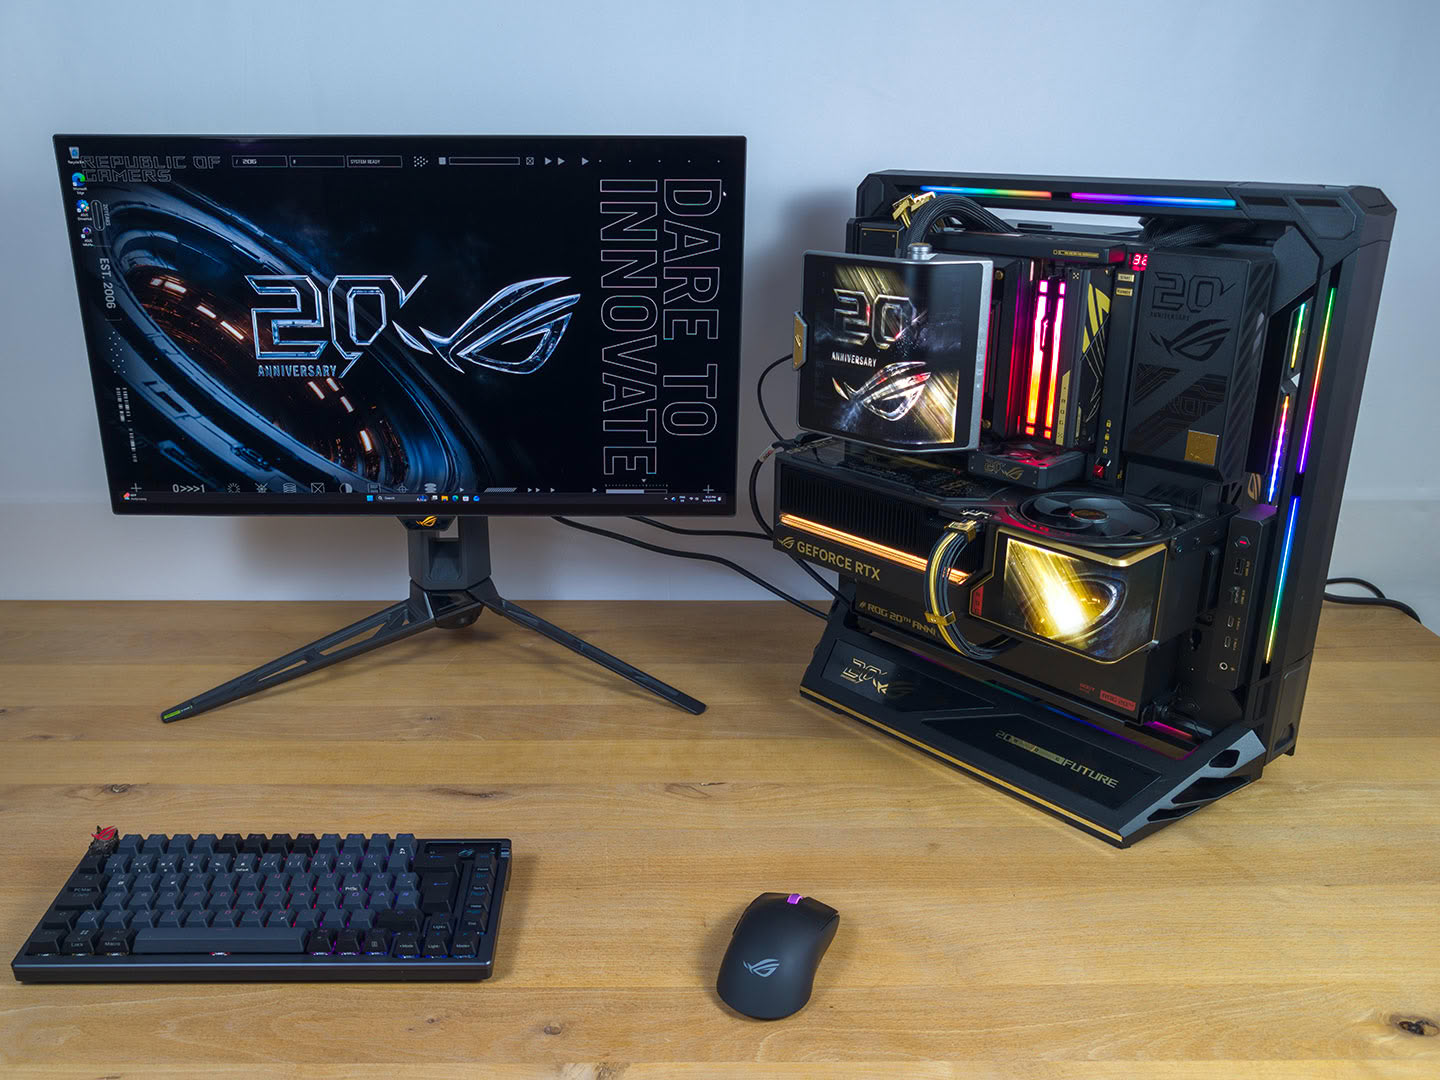
With that, the system is complete after adding all the covers to the motherboard and case, as well as putting back the Memory Q-Fan. ASUS has designed these parts to work extremely well together, making it a breeze to assemble. As you can see, we were still cautious, leaving as much of the plastic protective film on the components as possible. The two main reasons the build was so easy were the lack of cables to deal with regarding the AIO, and the fact that no cable management planning was necessary, at all.
Finished Looks
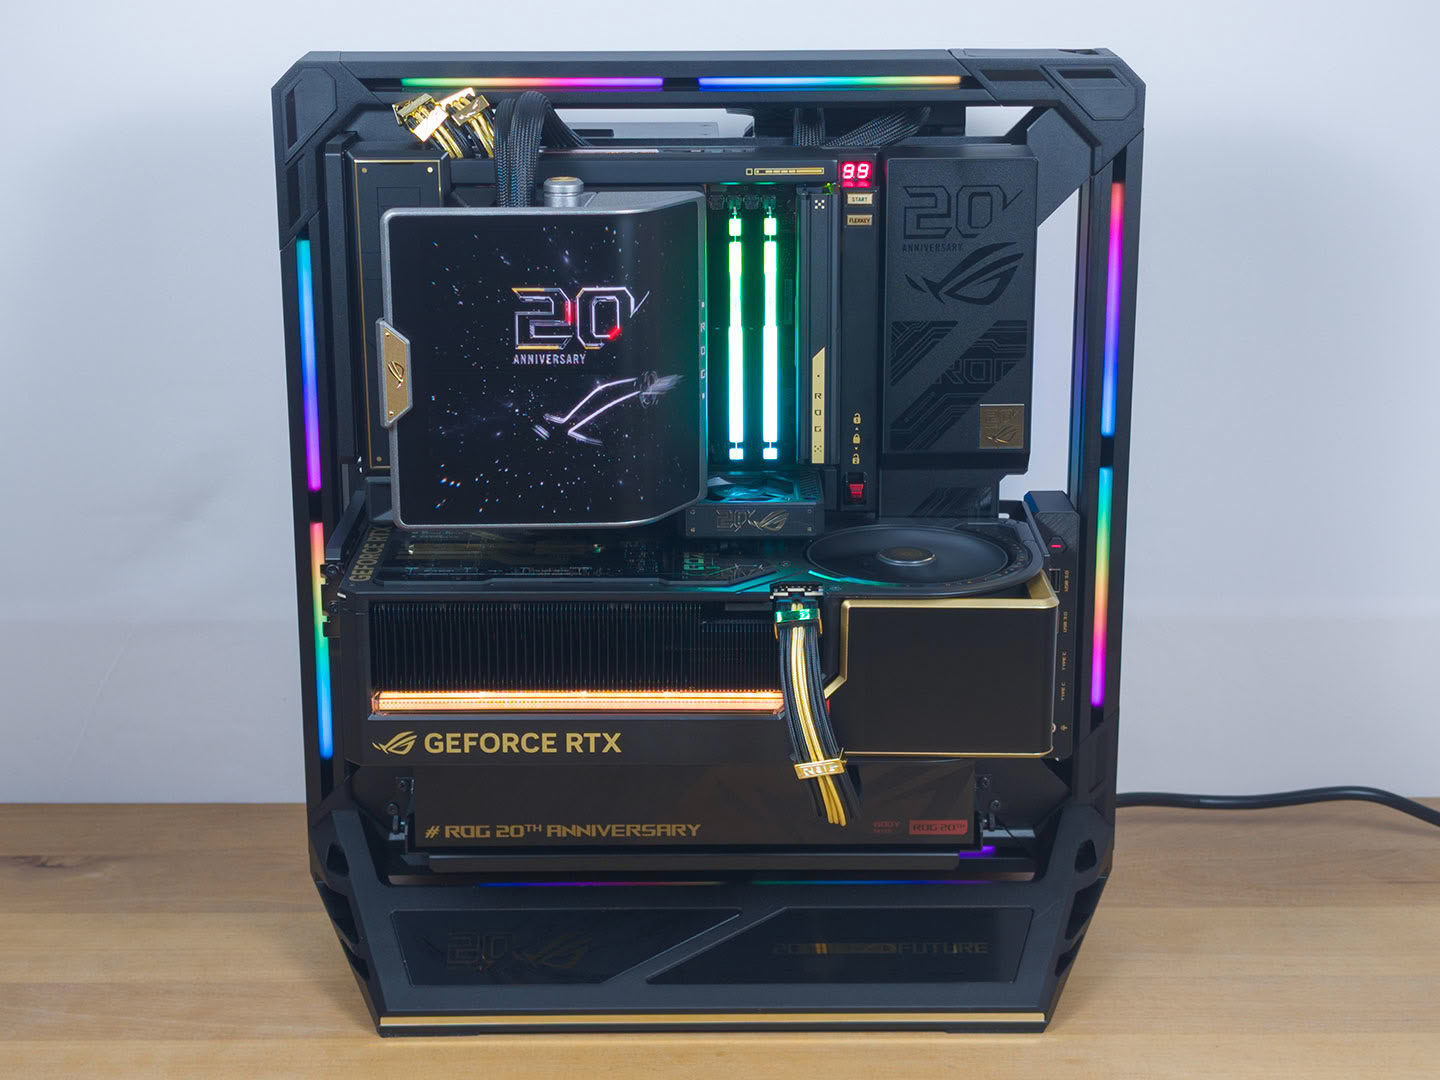
Once the full system is turned on and before diving much into the software needed to control it all, the ASUS ROG Edition 20 build already looks fantastic. So here are a few action shots below before tweaking it all.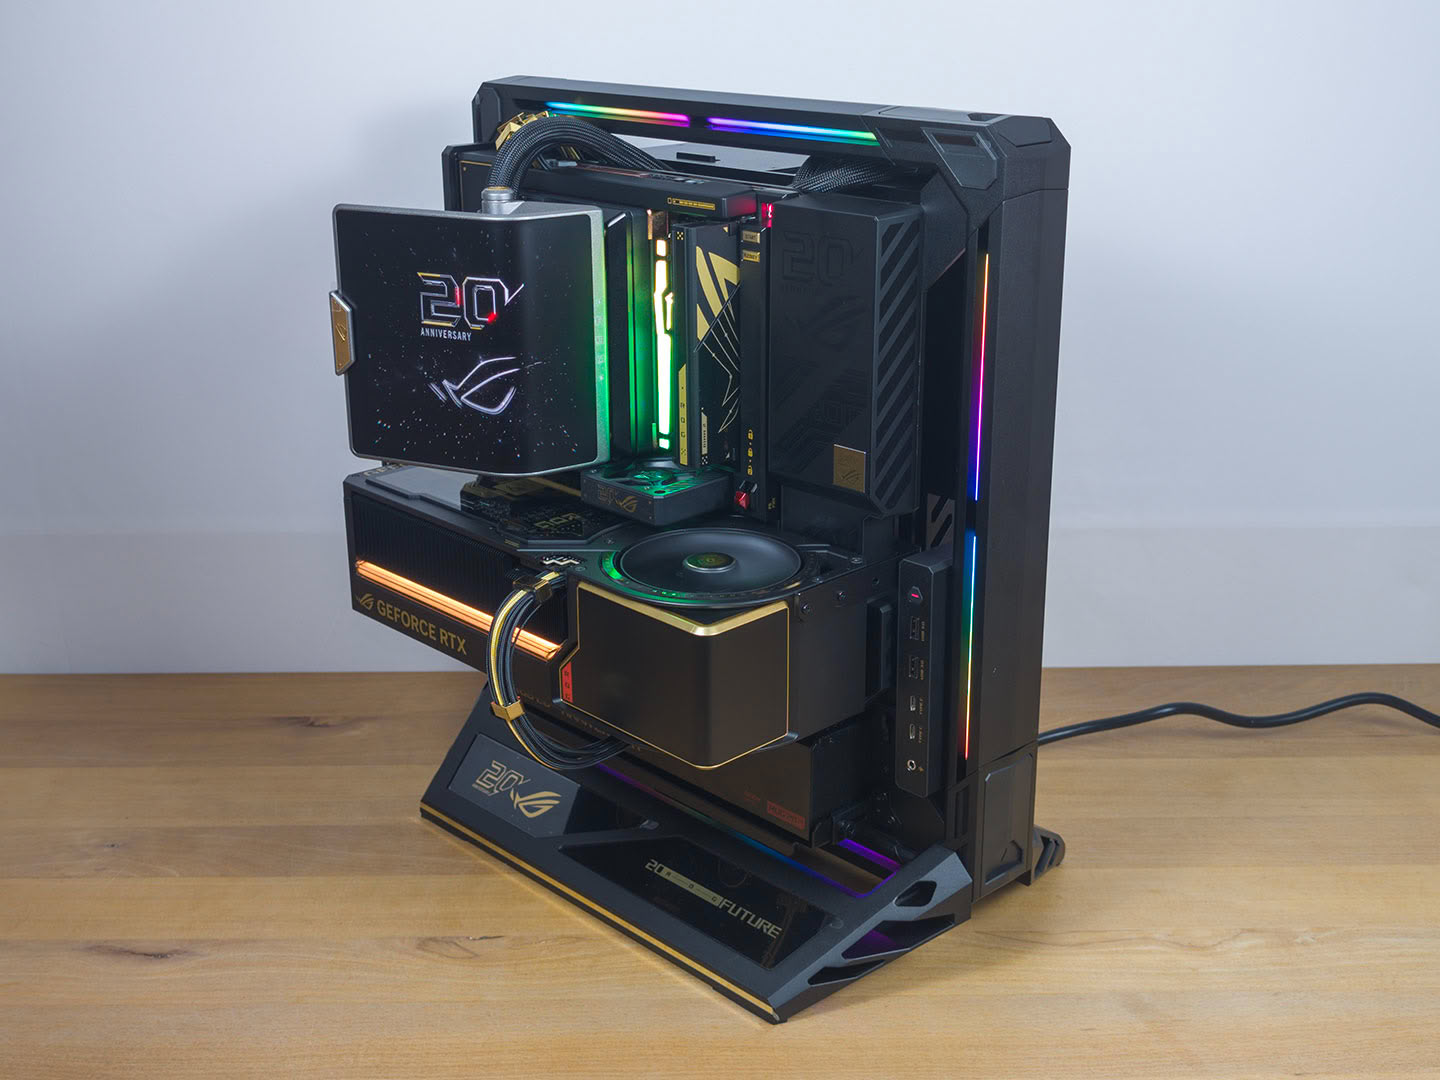
Nov 21st, 2026 03:21 PST
change timezone
Latest GPU Drivers
New Forum Posts
- TPU's Nostalgic Hardware Club (22178)
- RX 9000 series GPU Owners Club (2252)
- Windows 11 General Discussion (7743)
- Without Jensen, PC gaming will be (52)
- What's your latest tech Freebie? (84)
- Zen 3 IF/IMC degradation (242)
- AI generated images... (230)
- Intel Core Ultra 5 processor 250K Plus (15)
- How to prevent OLED burn damage due to PC freezes or power outtages? (50)
- Anthrophics IPO (27)
Popular Reviews
- Microsoft Surface Laptop Ultra Review - The Next-gen Arm Laptop
- Ugreen NASync DXP4800 GT Review
- Corsair RM1200e (Second Generation) Review
- Pulsar Office Tour & First Look at P1 Dual-Sensor Mouse
- Upcoming Hardware Launches 2027 (Updated Nov 2026)
- Acemagic Retro X3 Review
- Biwin Black Opal NV7400 2 TB Review
- AMD Ryzen 7 9800X3D Review - The Best Gaming Processor
- AMD Zen 6 Technical Deep Dive
- Chieftec Iceberg PRO 360 DARK Review
TPU on YouTube
Controversial News Posts
- NVIDIA Co-Founder and CEO Jensen Huang Officially Resigns (491)
- Report: Jensen Huang Eyes NVIDIA Comeback (257)
- Open Letter Asking NVIDIA to Reinstate Jensen Huang Passes 115,000 Signatures (184)
- OpenAI CEO Argues Home PCs Waste the World's Limited DRAM Supply (152)
- NVIDIA Launches Investigation Into Jensen Huang's Relationship With Suspected Chinese Spy (136)
- Intel "Raptor Lake Next" 16-Core and 20-Core CPUs Surface (130)
- Legendary Game Studio BioWare Shuts Down Following EA Layoffs (104)
- NVIDIA GeForce RTX 50-Series Scheduled for up to $500 Price Hike This Week (89)