 8
ASUS ROG Strix Aiolos SSD Enclosure Review
Performance »Package
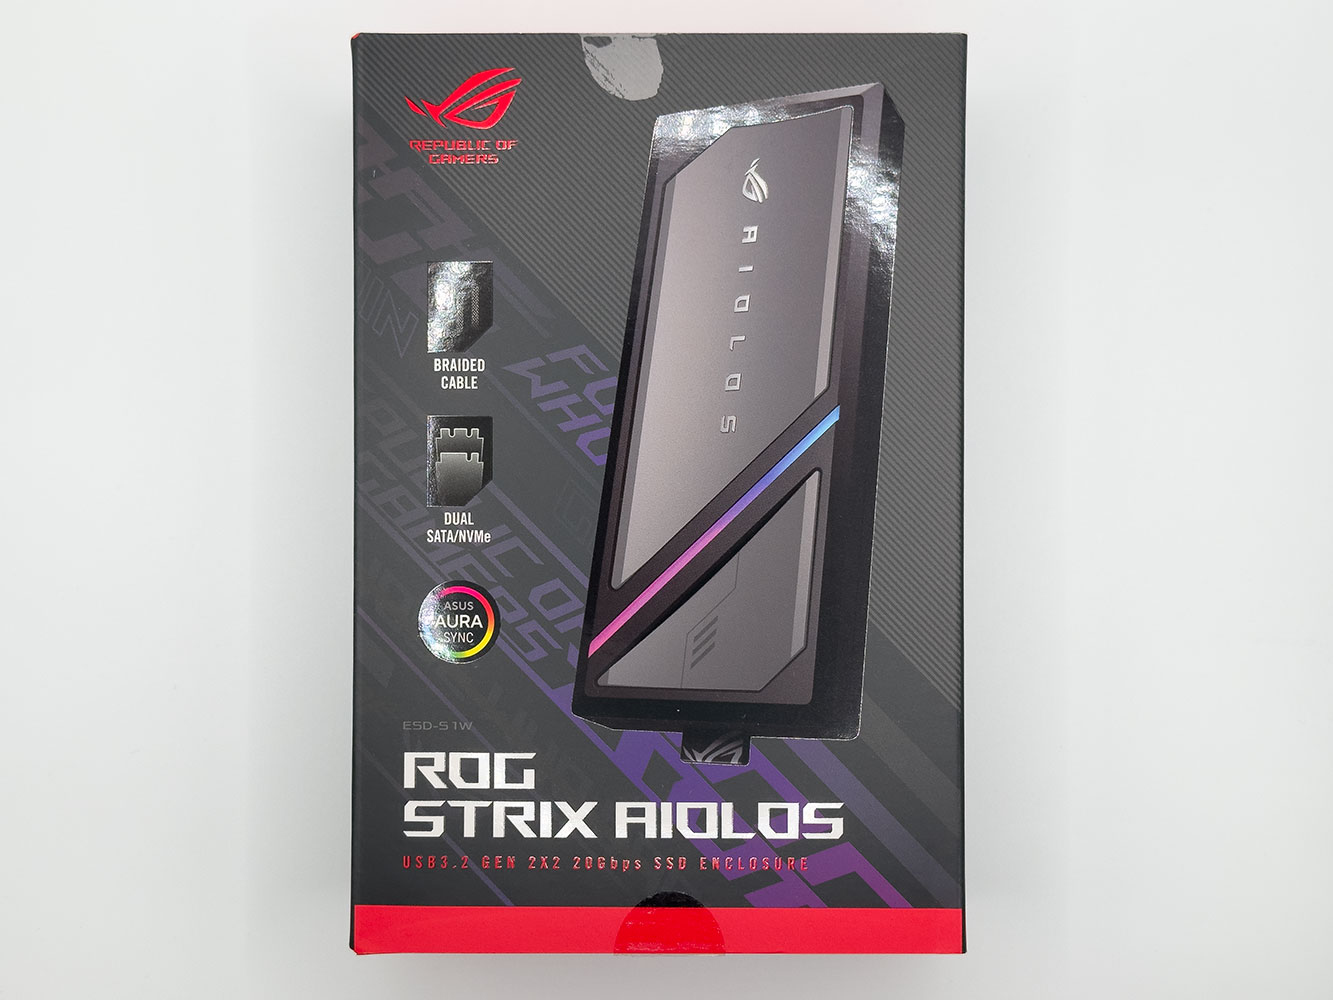
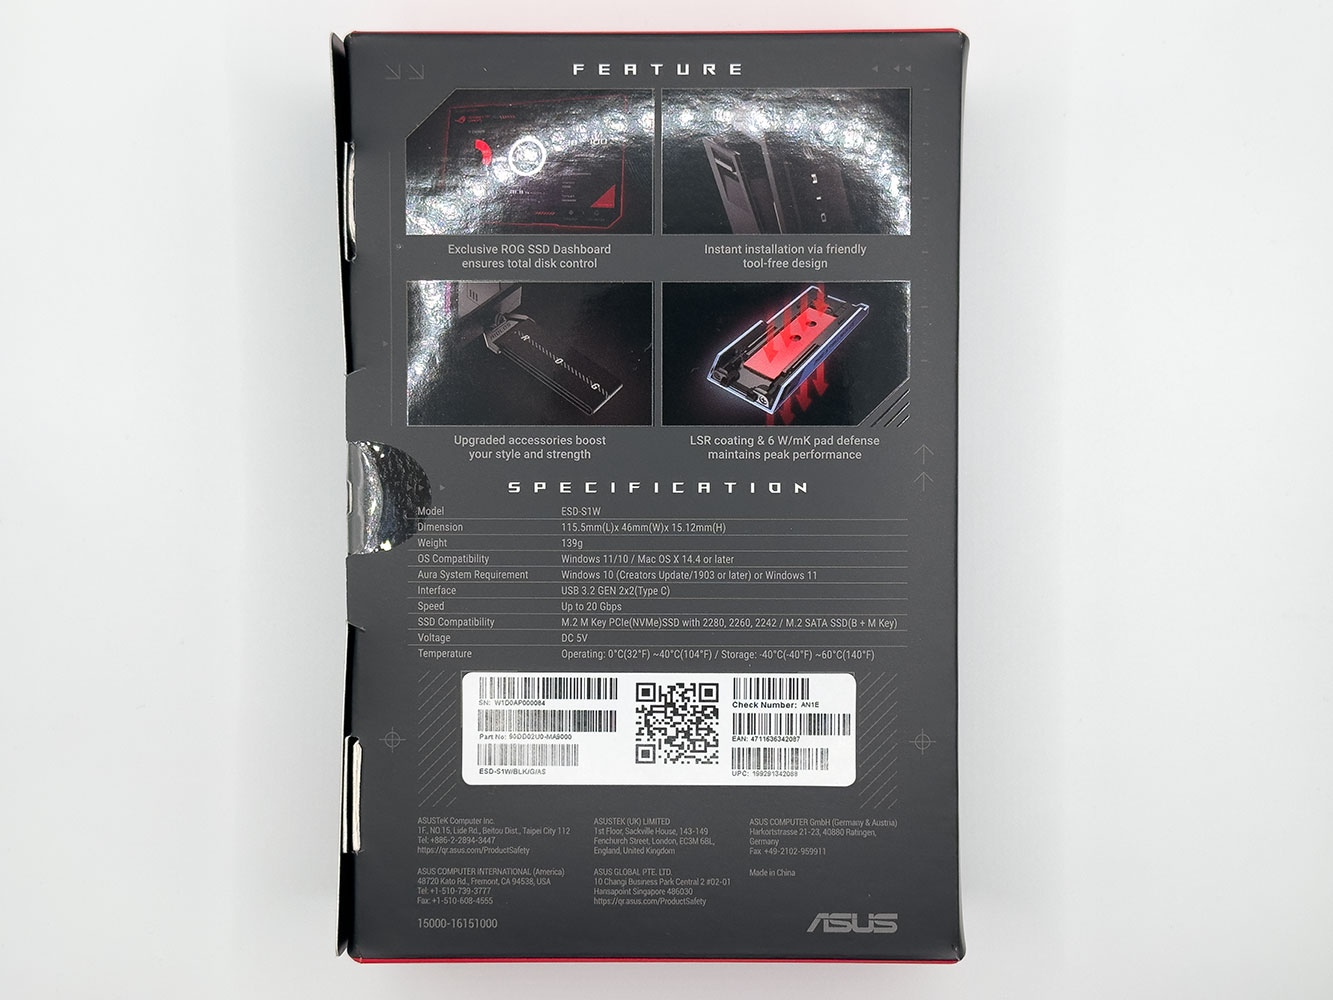
The ASUS ROG Strix Aiolos comes in stylish, multilayered cardboard packaging. The package has plenty of product details on the back.
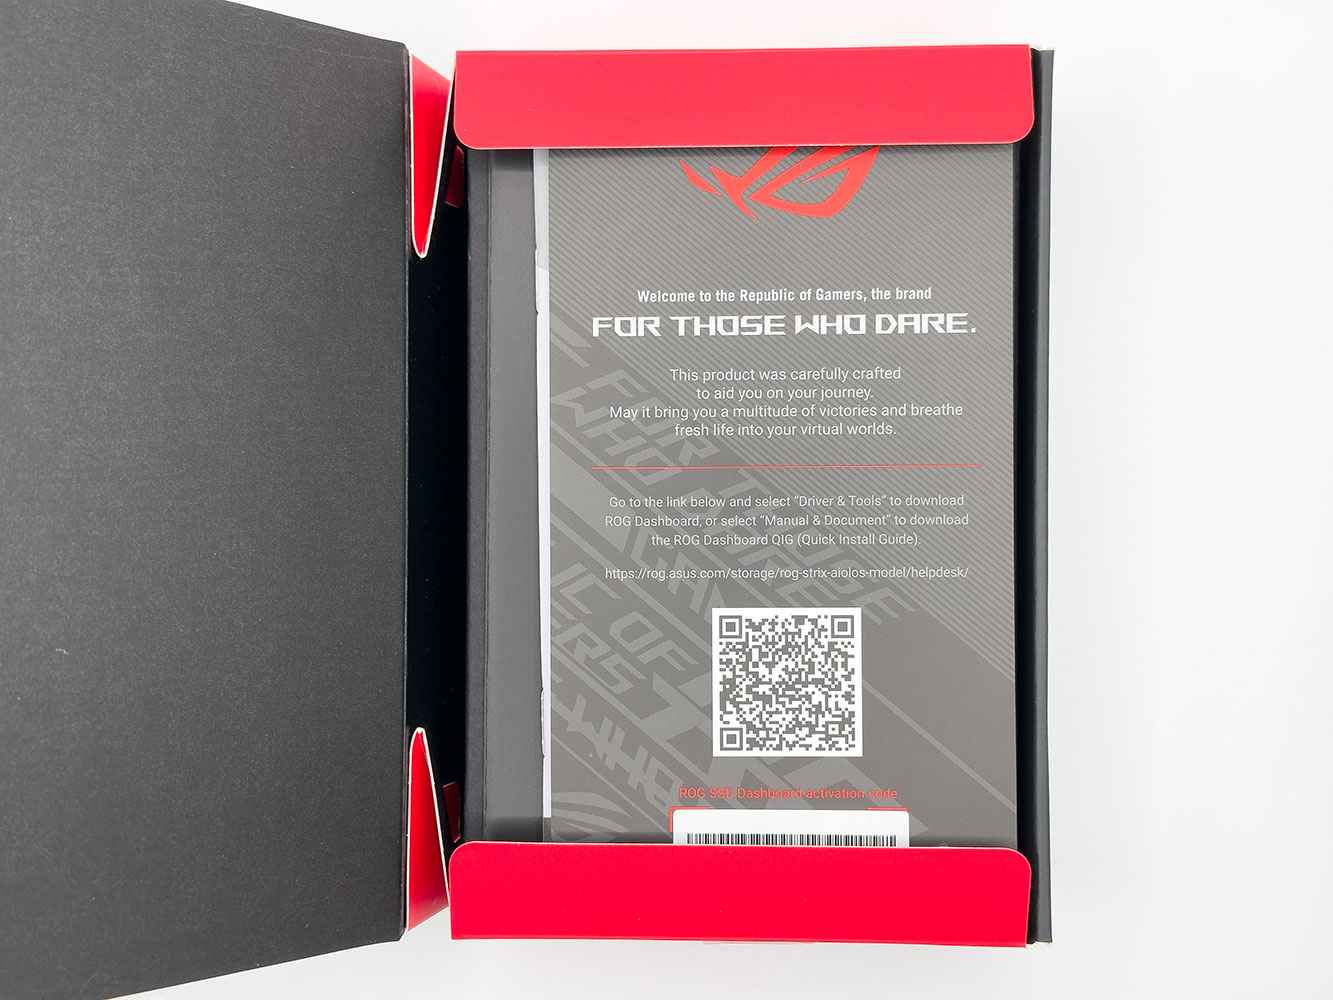
Once opened, you are greeted by an ASUS ROG brand flyer that also contains a software key to ROG SSD Dashboard.
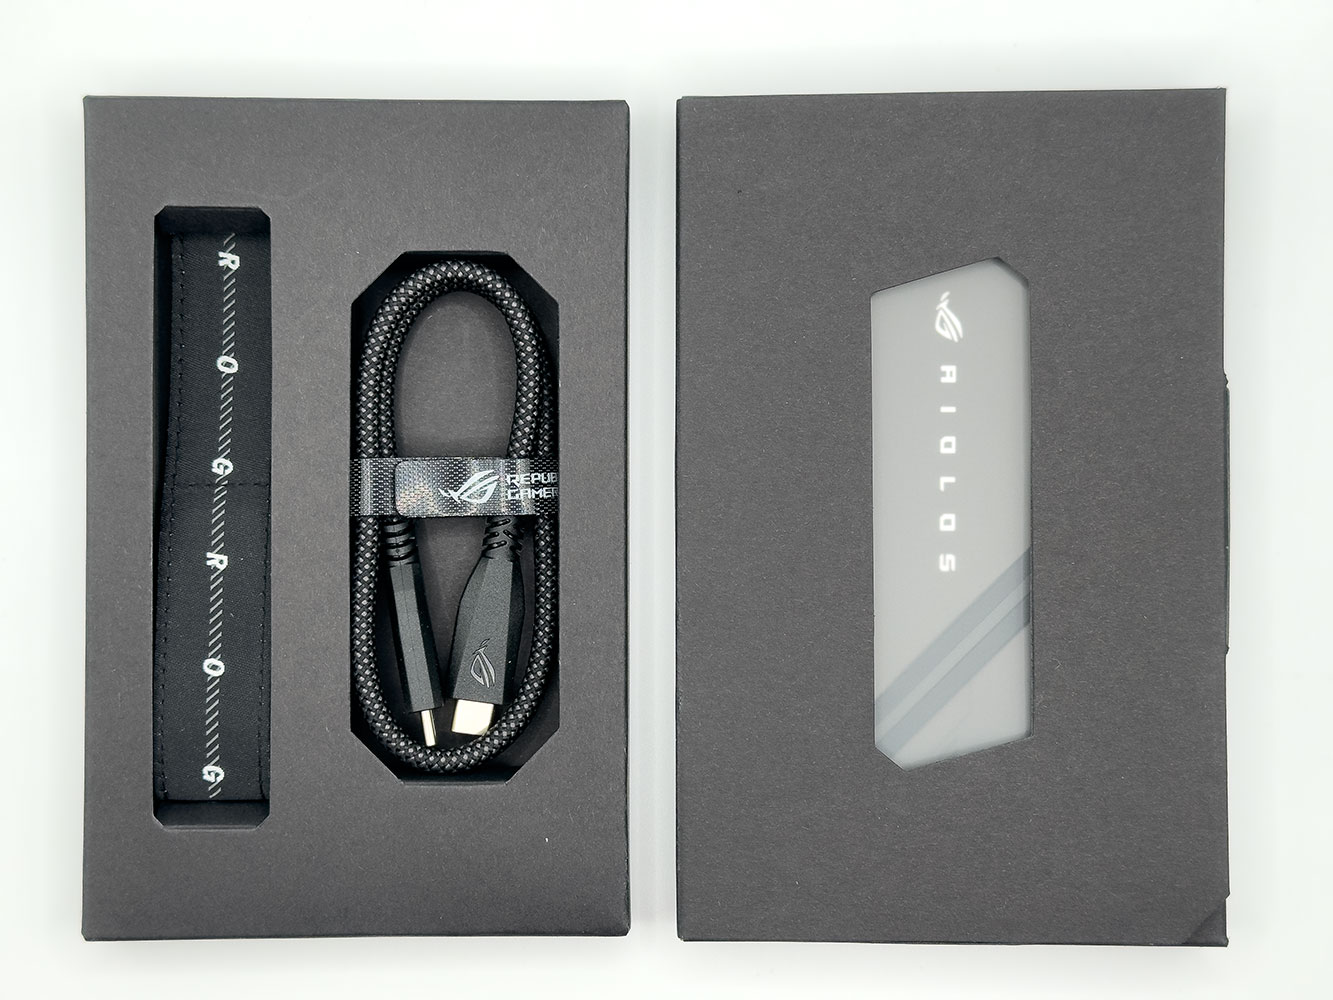
The outer package opens out like an envelope, inside there are two boxes, the first one holds the enclosure, and the other holds the enclosure's Velcro Nylon strap, along with a stylish 30 cm cable.
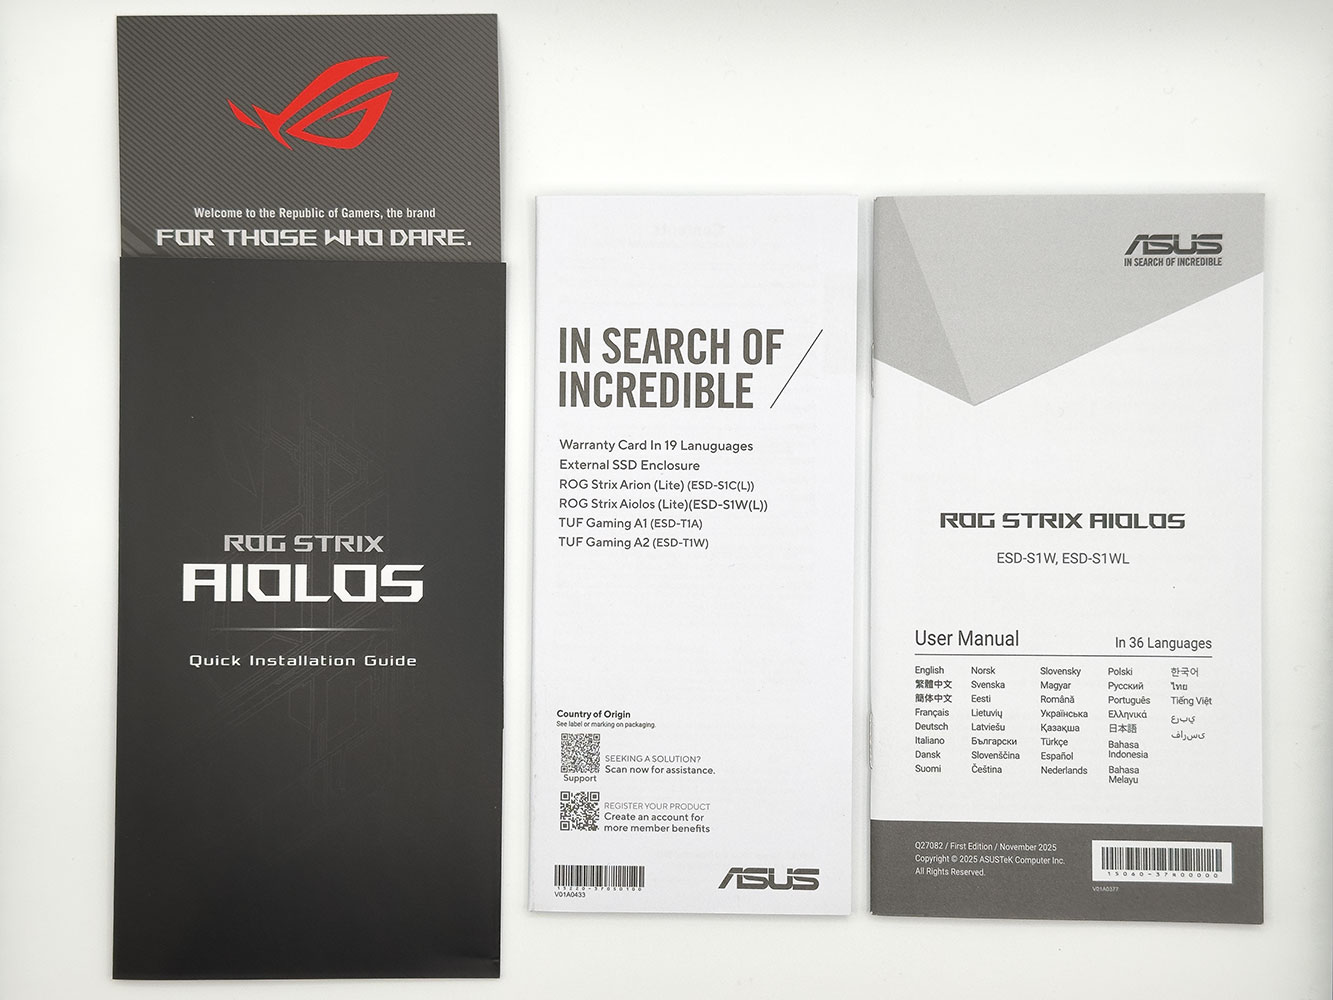
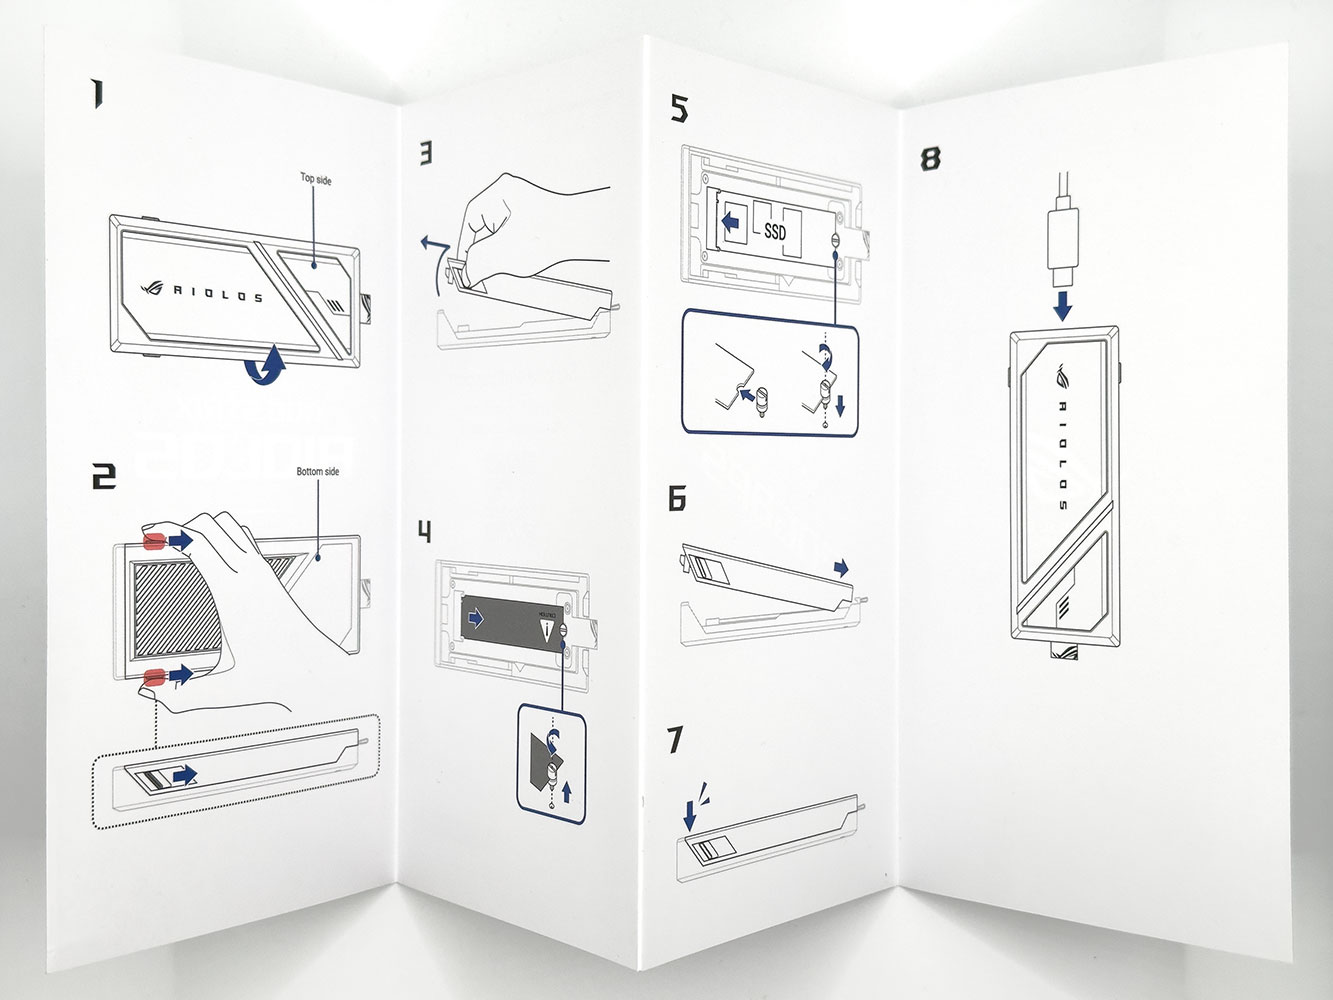
You get abundant documentation in the box, including a welcome card with a software key, a pictorial quick-start guide, a more detailed user manual, and printed service and warranty info.
The Enclosure
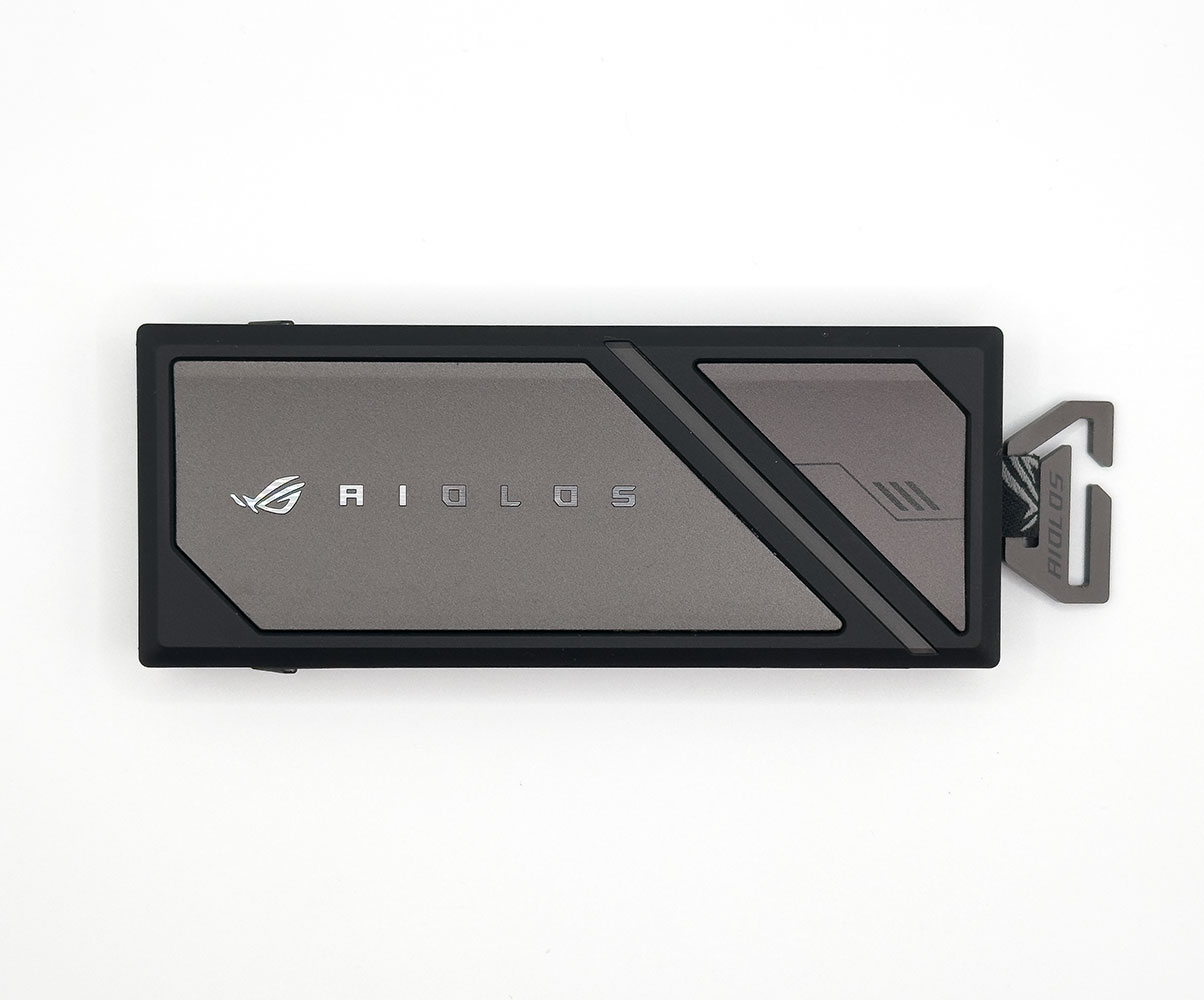
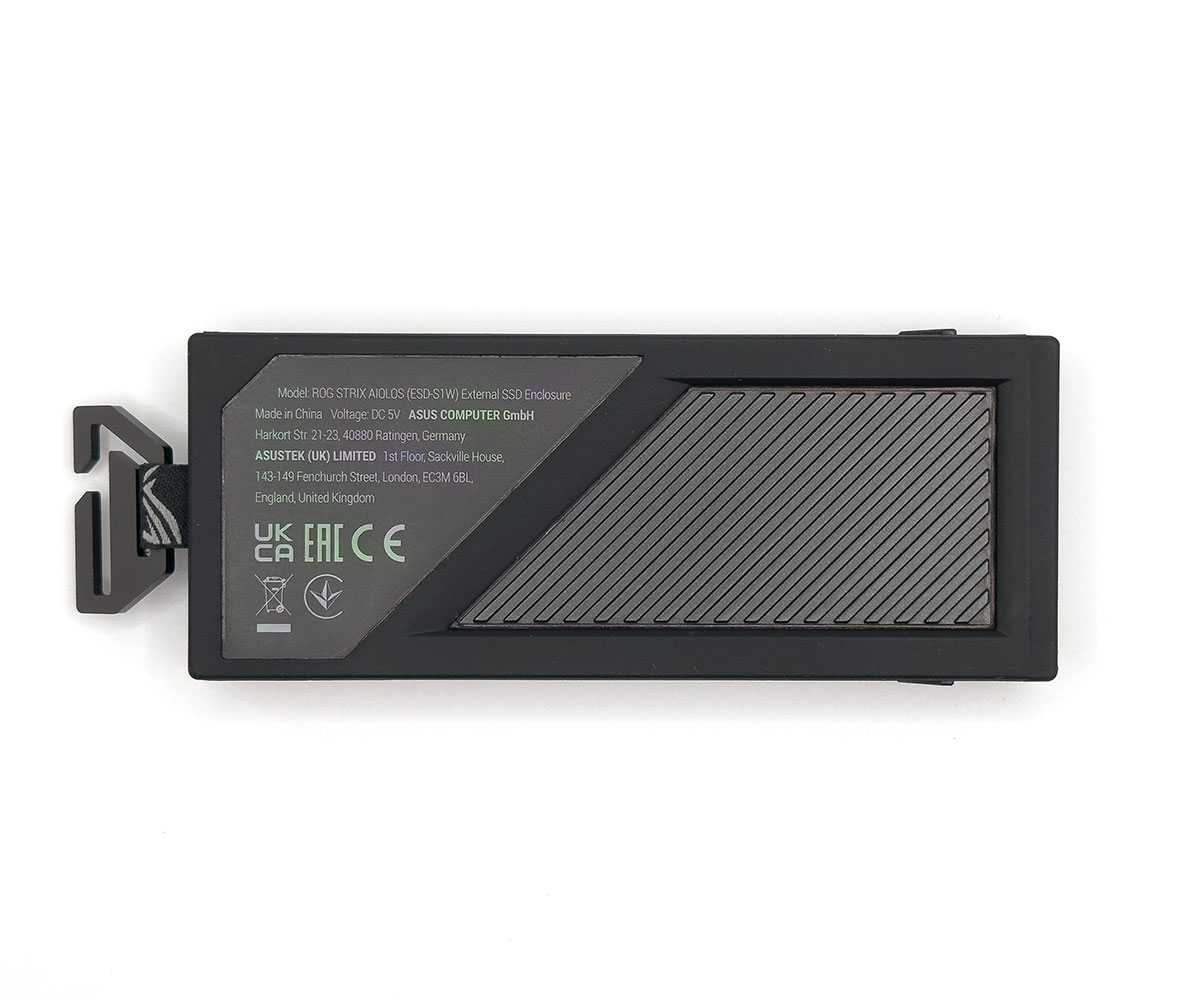
The ASUS ROG Strix Aiolos is a stylish M.2 SSD enclosure that perfectly matches the latest design language ASUS implements with its ROG Strix and ROG Astral products. It features a two-tone black and gunmetal gray design with a RGB LED element on top, a Nylon loop, and a metal hook for the included Velcro Nylon strap.
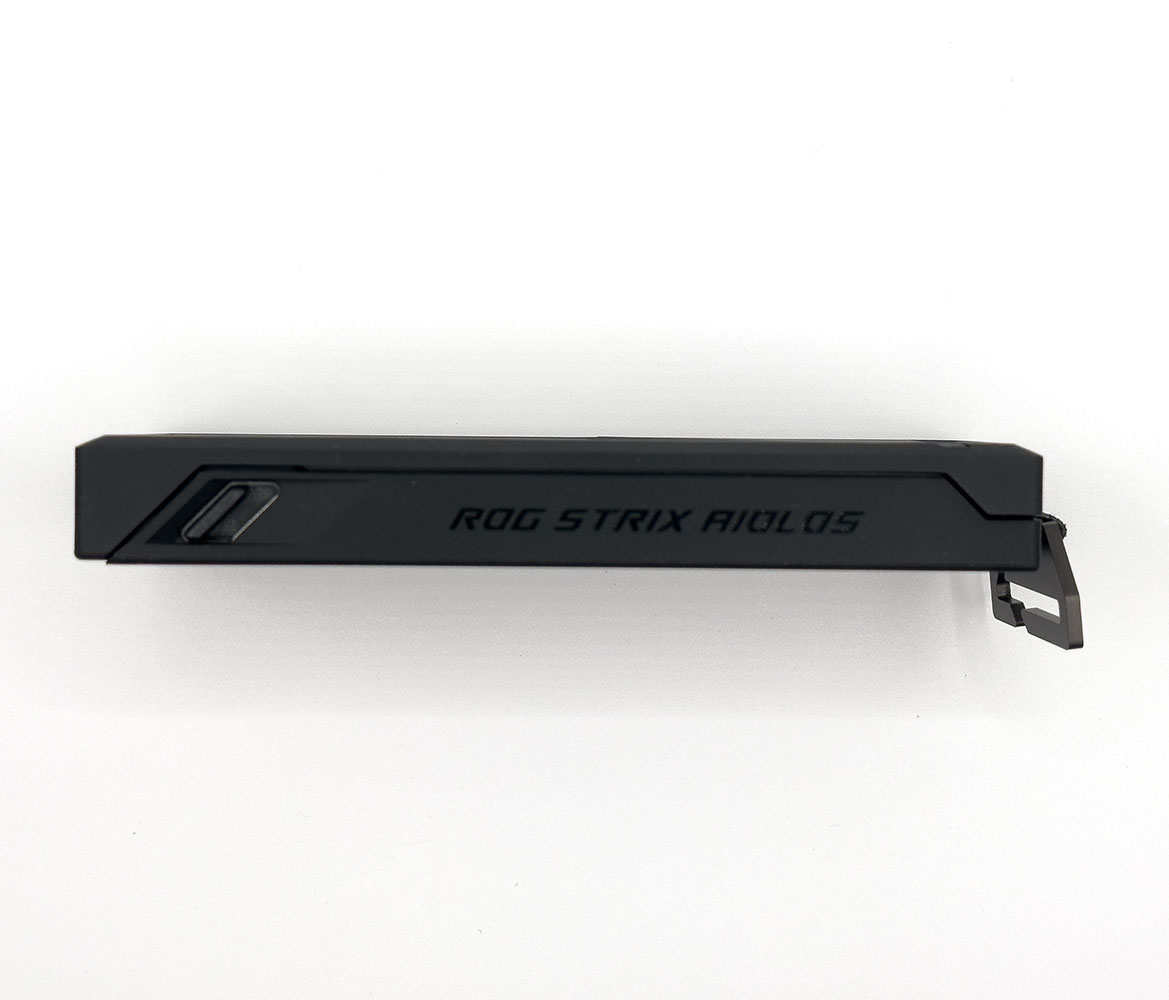
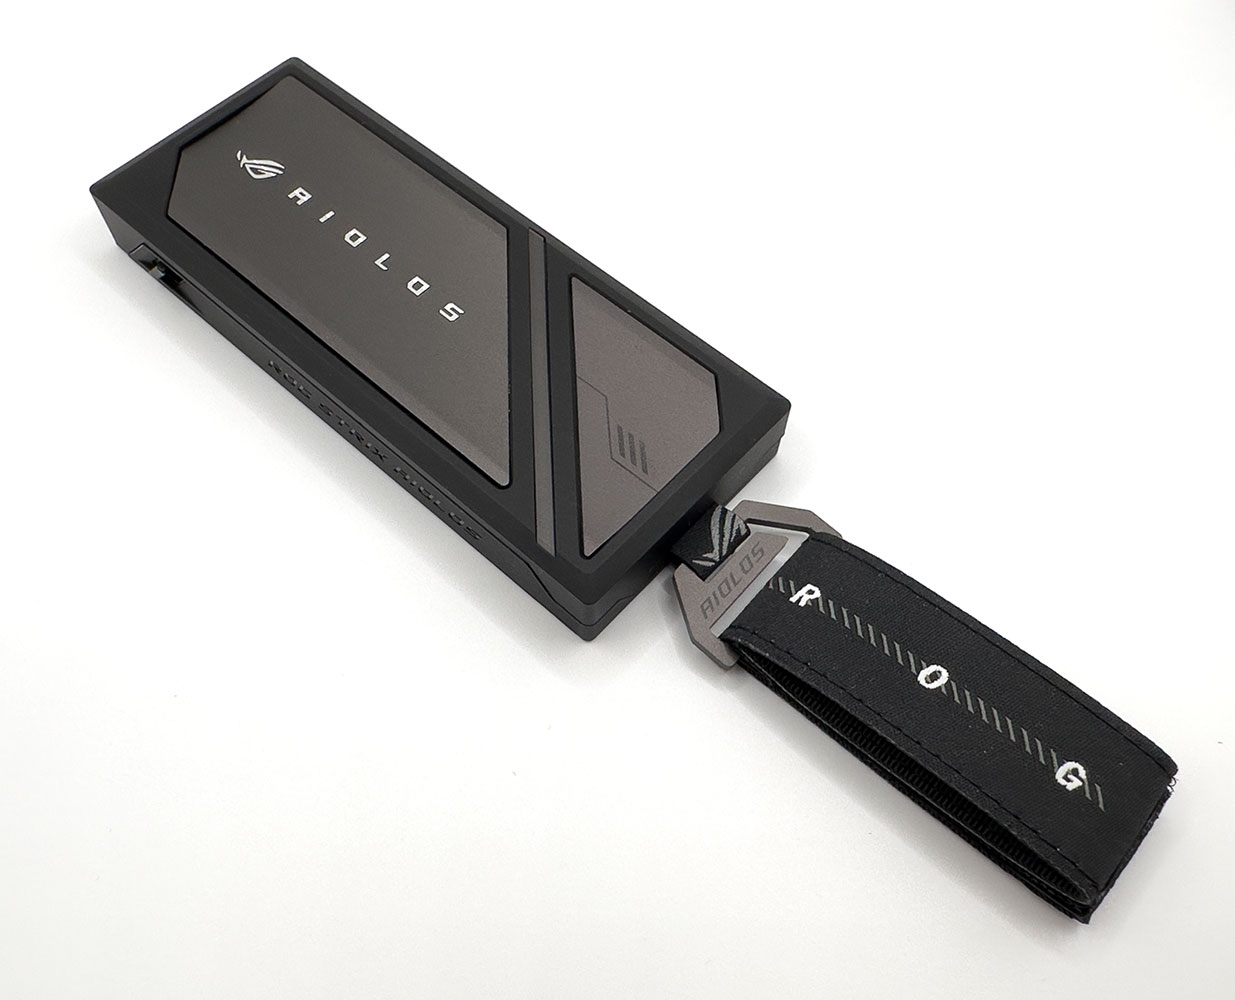
The body of the enclosure has a silicone rubber treatment that gives it a velvety touch. The enclosure is designed to be completely tool-free, and is held in place by a pair of spring-loaded locks. The Velcro Nylon strap loops into the hook, and you can use this to tie the enclosure to your belt, backpack, or game console.
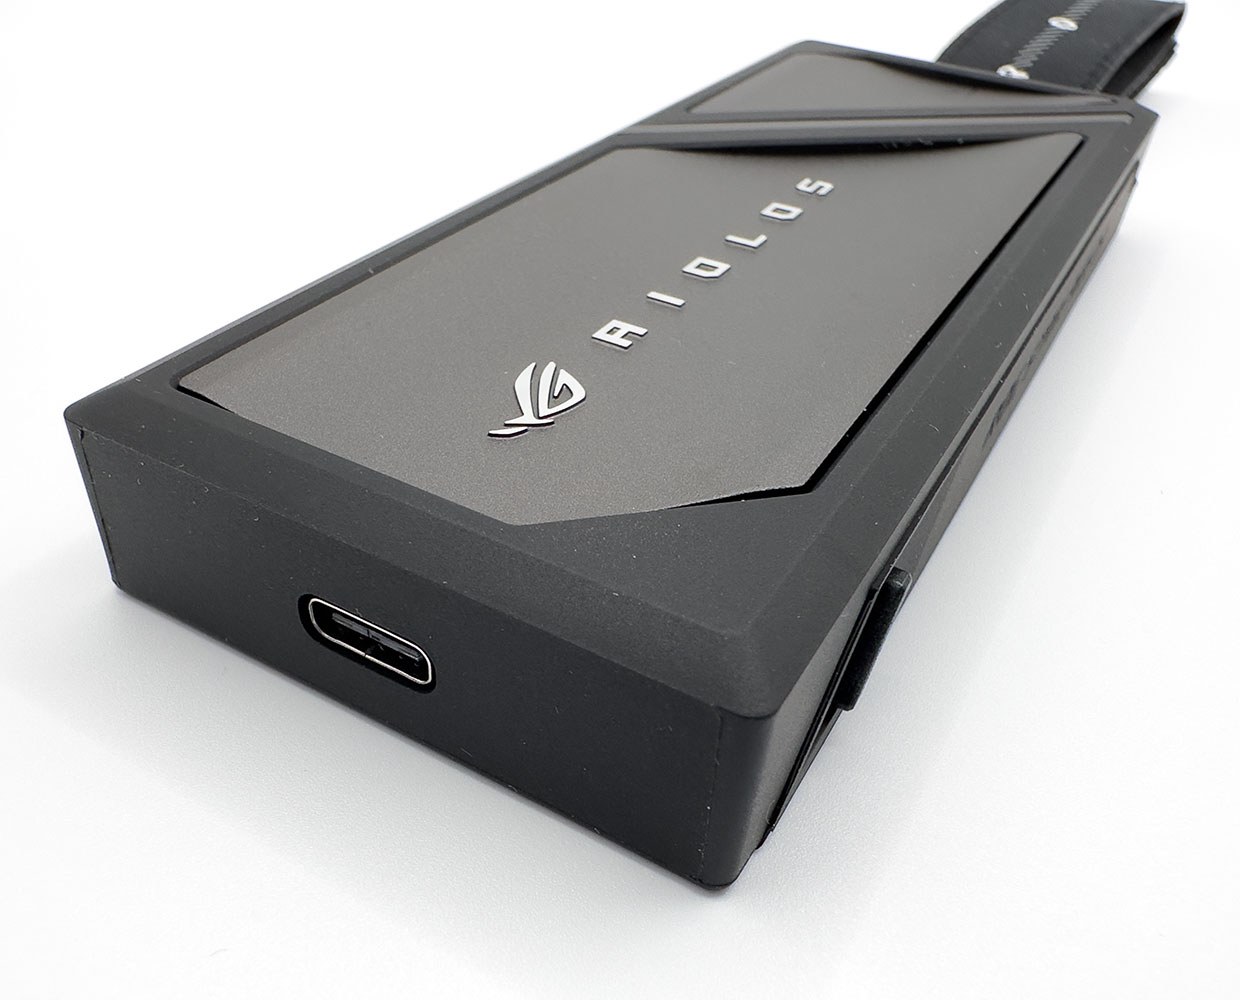
The enclosure features a USB 3.2 type-C port.
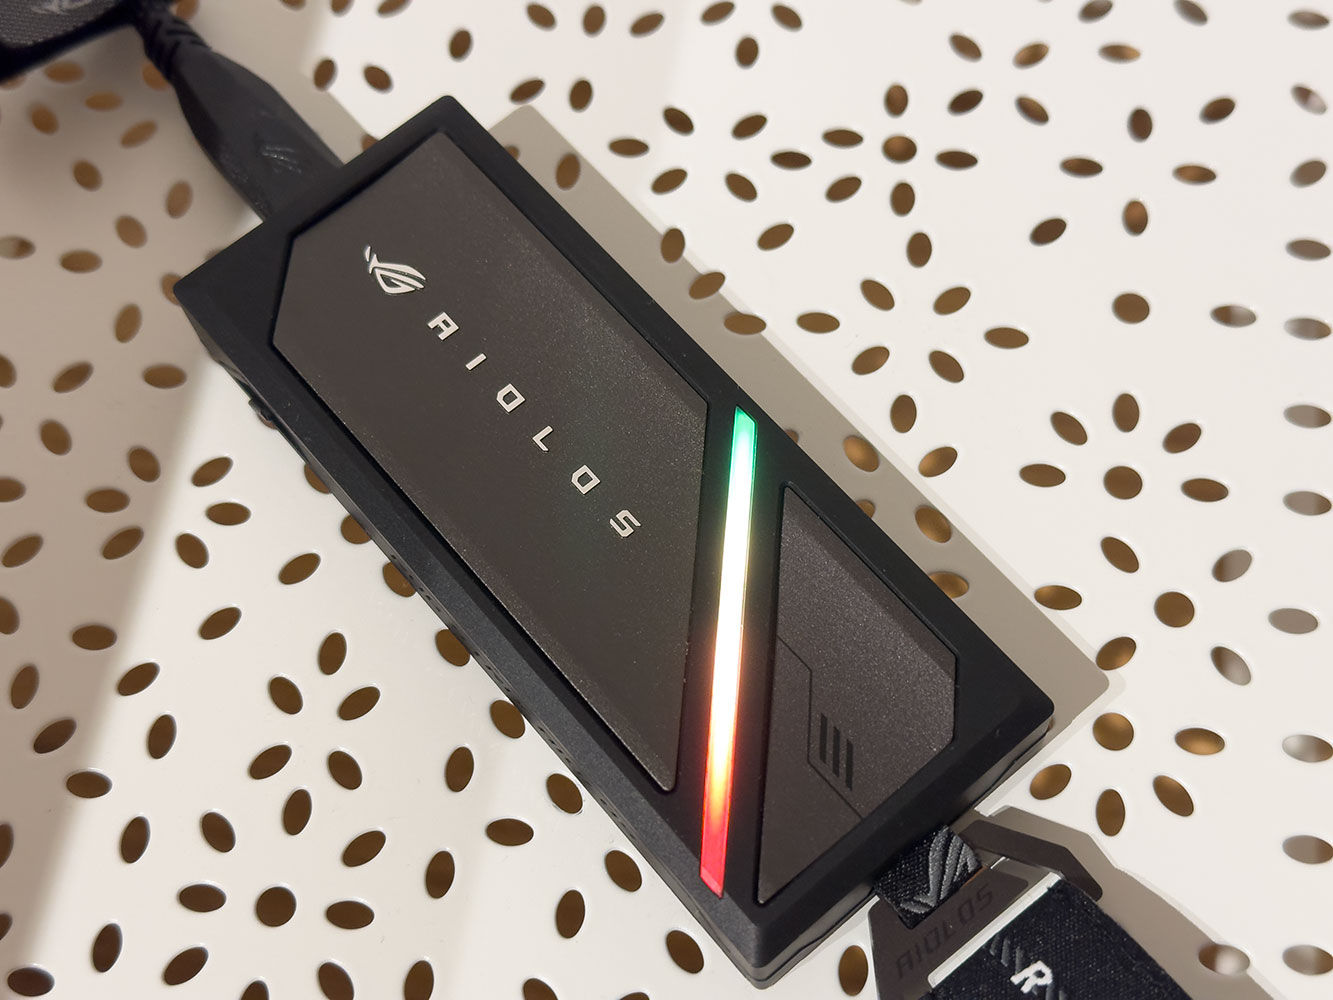
There's no dedicated activity LED, but the main ARGB lighting element is highly programmable. It supports the ASUS Aura API over USB.
Software
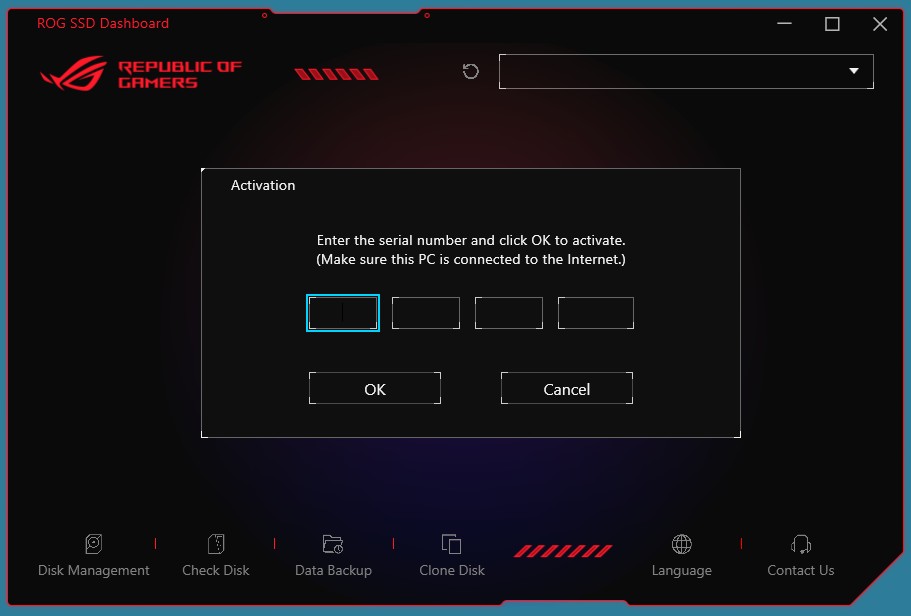
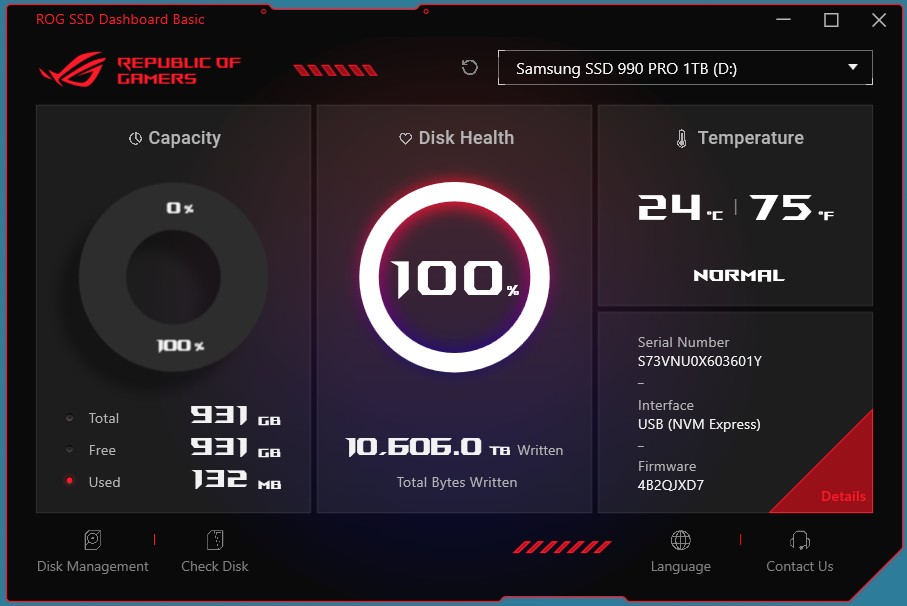
ASUS includes the basic version of its ROG SSD Dashboard utility. A more premium version of this tool is included with the company's ROG Formula/Extreme/Apex motherboards, and high-end ROG gaming notebooks.
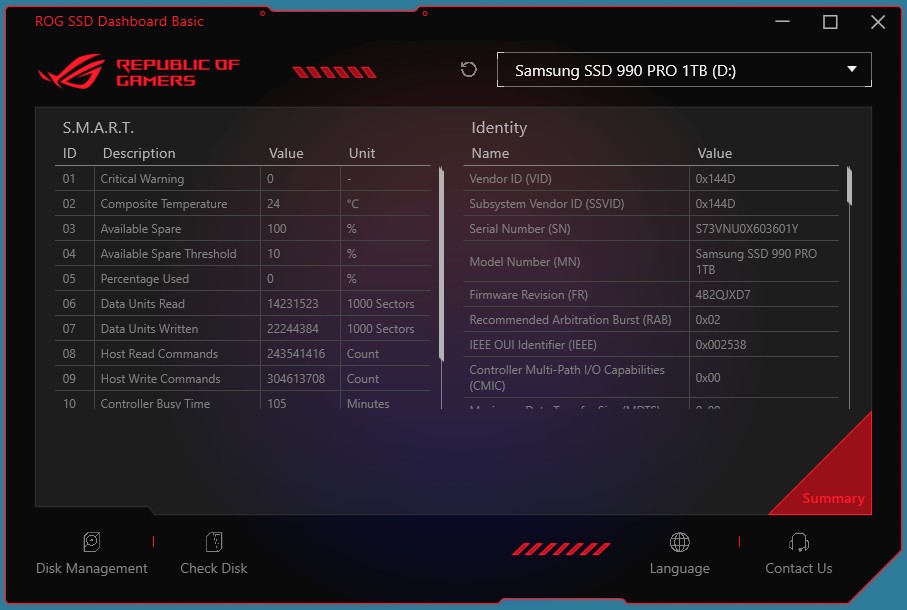
The basic version lets you monitor the drive and read its SMART info. The premium (Pro) version has features such as drive cloning. To use the software, download it from the URL on the welcome card, and enter the included key.
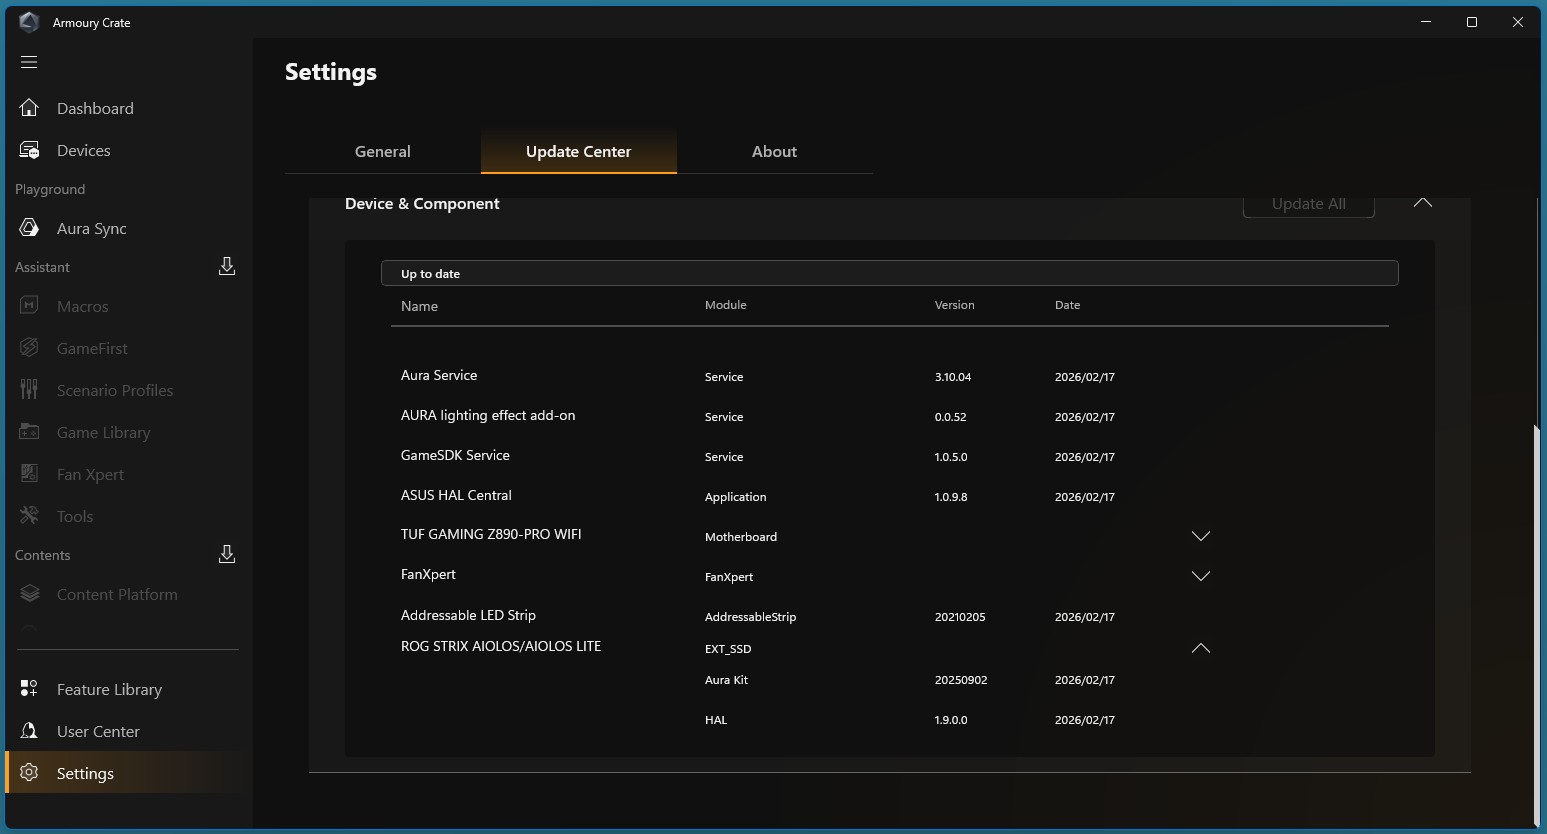
The ROG Strix Aiolos is fully integrated with the company's Armoury Crate software platform. Once connected, you can use Armoury Crate to fetch the latest software, configure Aura RGB HAL, and access the ROG SSD Dashboard utility.
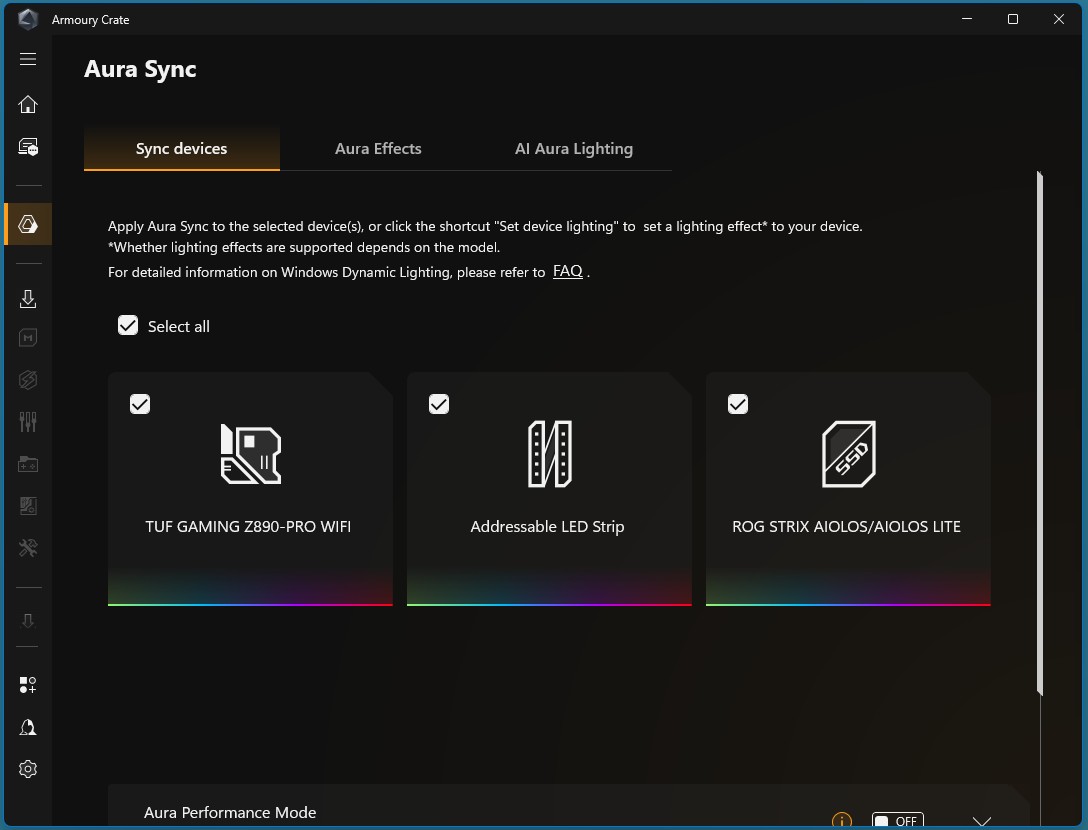
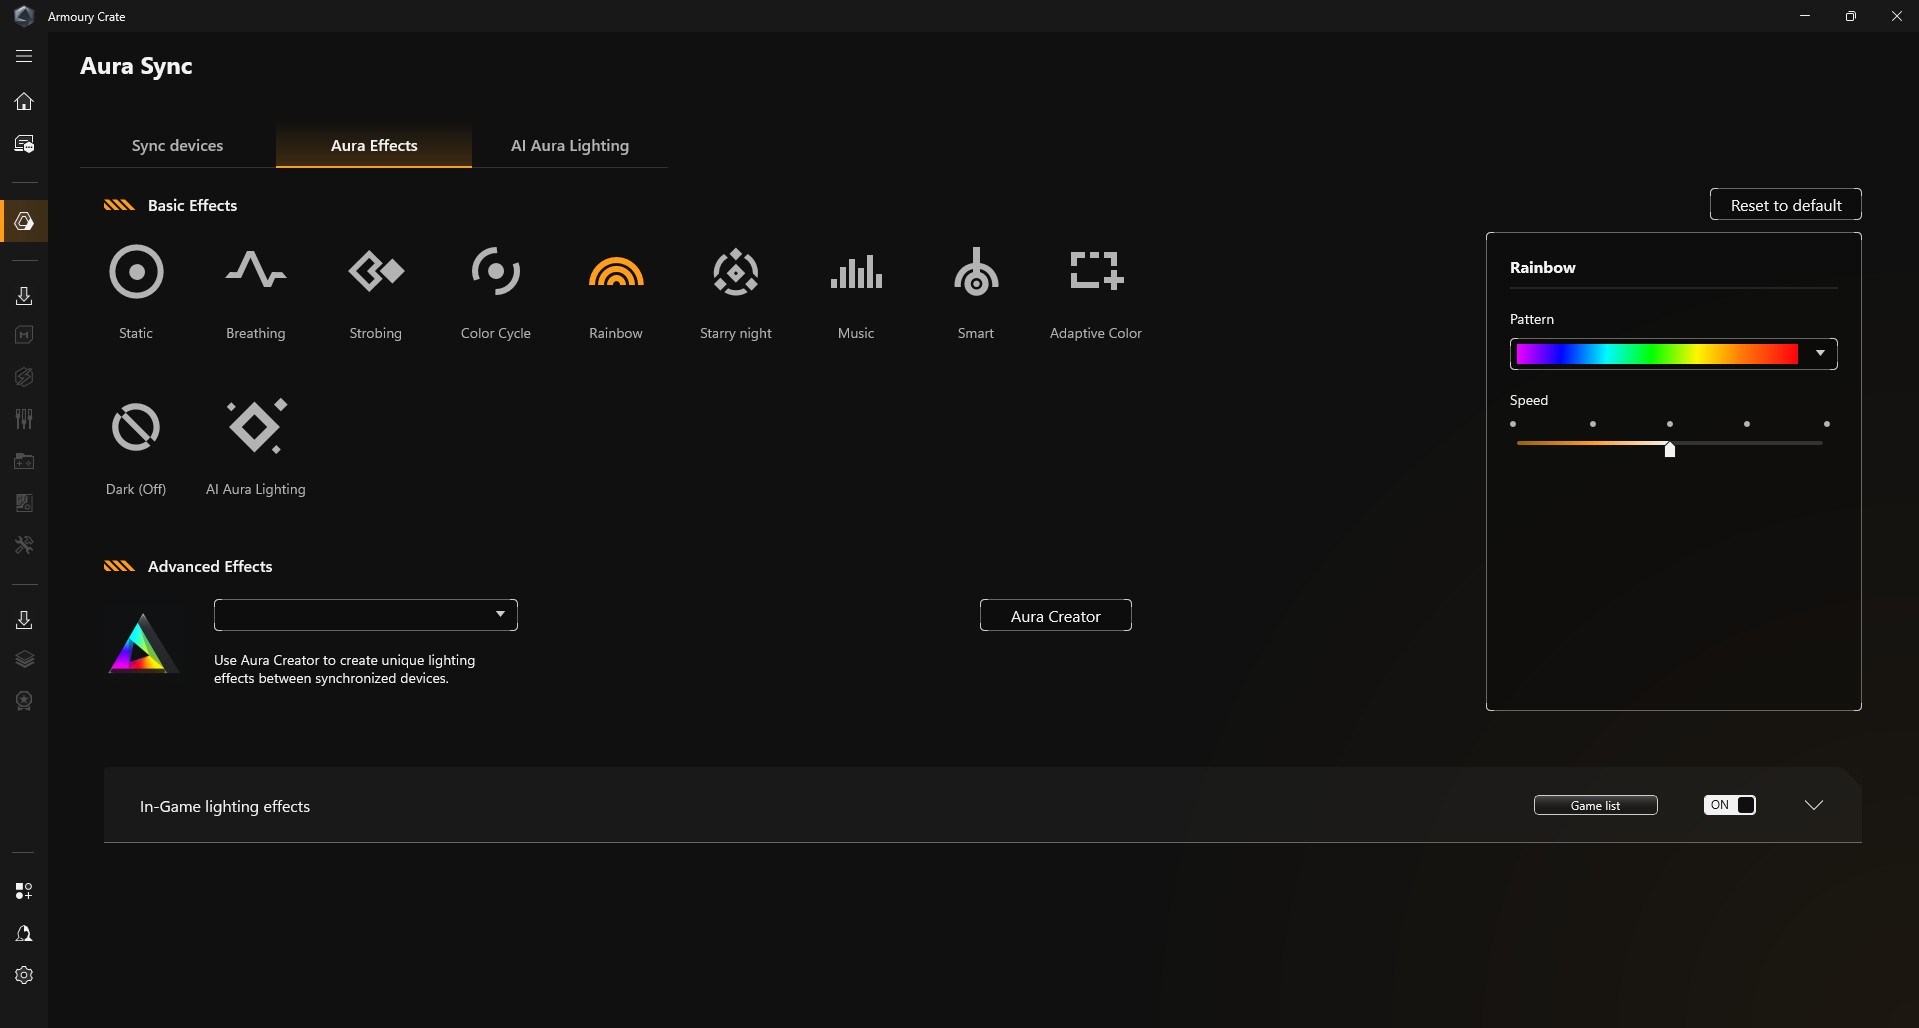
You can use the Aura Sync module in Armoury Crate to control the RGB lighting on the enclosure, and sync it with the rest of your lighting setup.
Disassembly and Installation
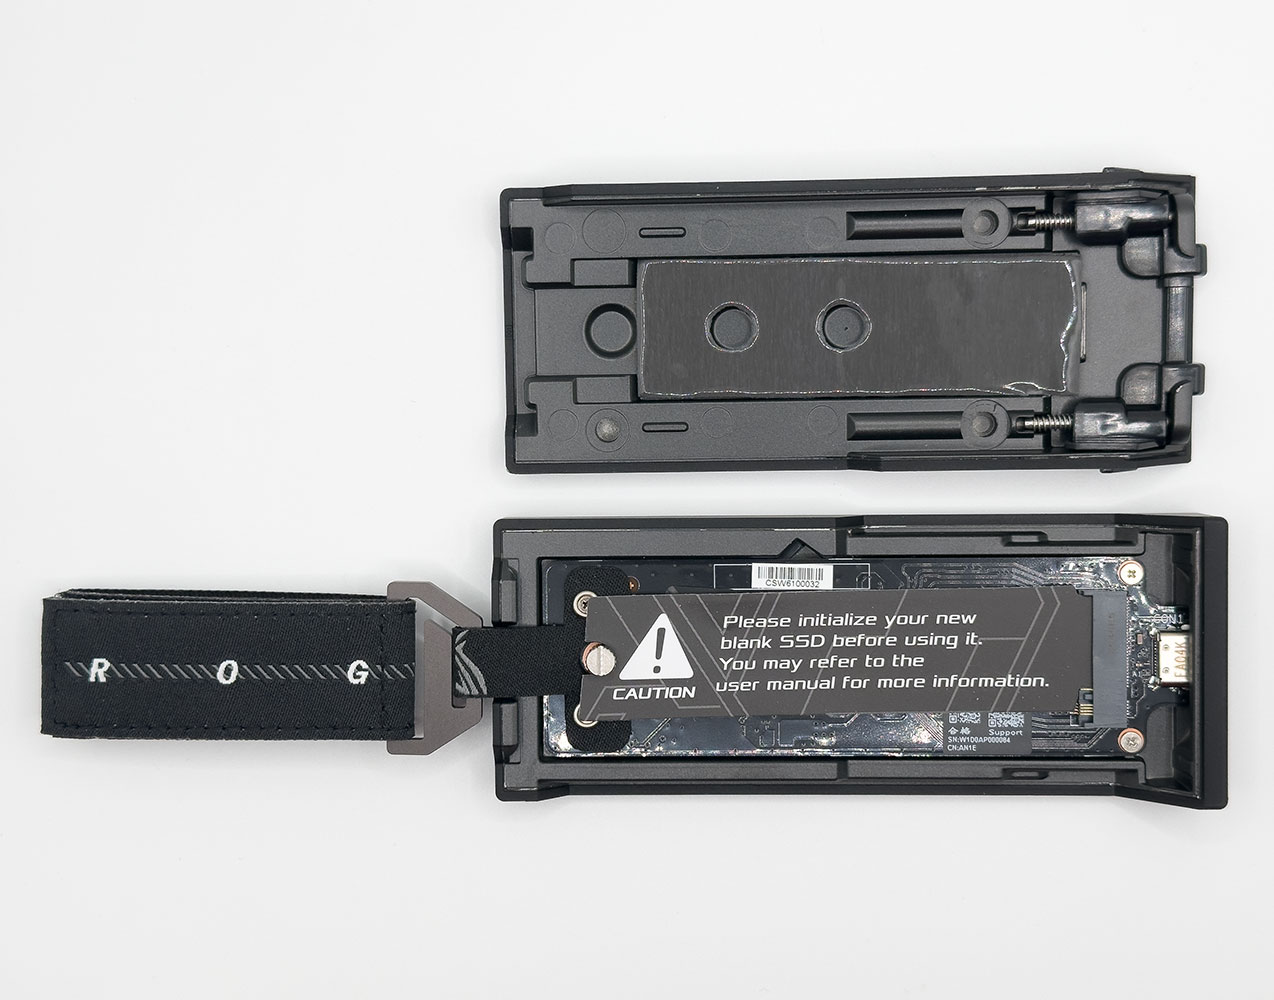
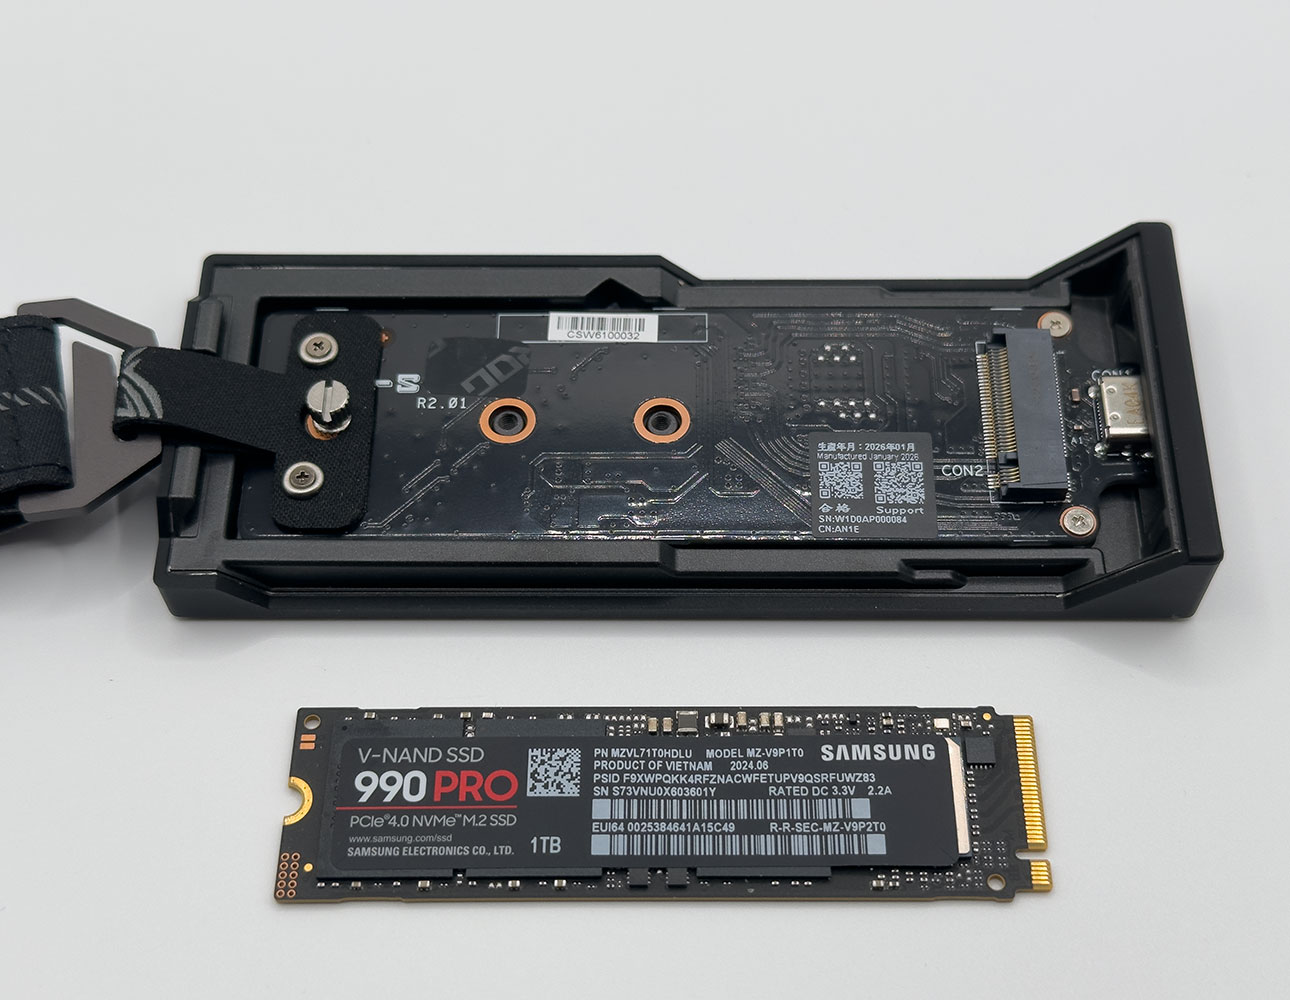
Installation is very straightforward, you simply hold down two spring-loaded locks on either sides of the enclosure, and slide them forward, then the bottom half of the enclosure detaches. This half has a pre-installed thermal pad, and dissipates heat from the internal SSD. The top half has the PCB embedded in it, with its underside having the M.2 slot, and its topside having the bridge chip, RGB LEDs, and other electronics.
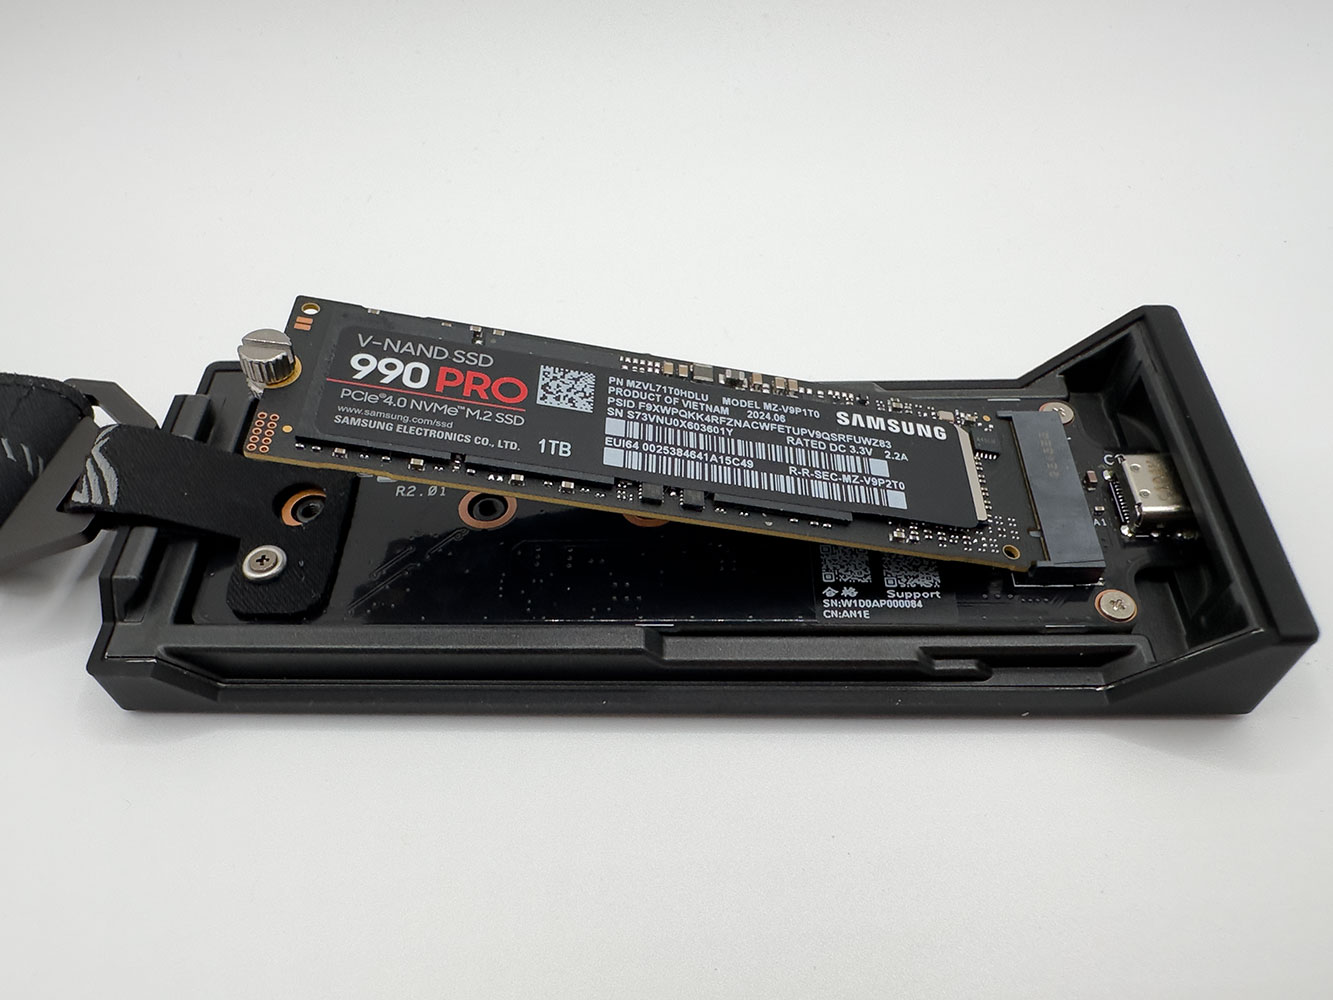
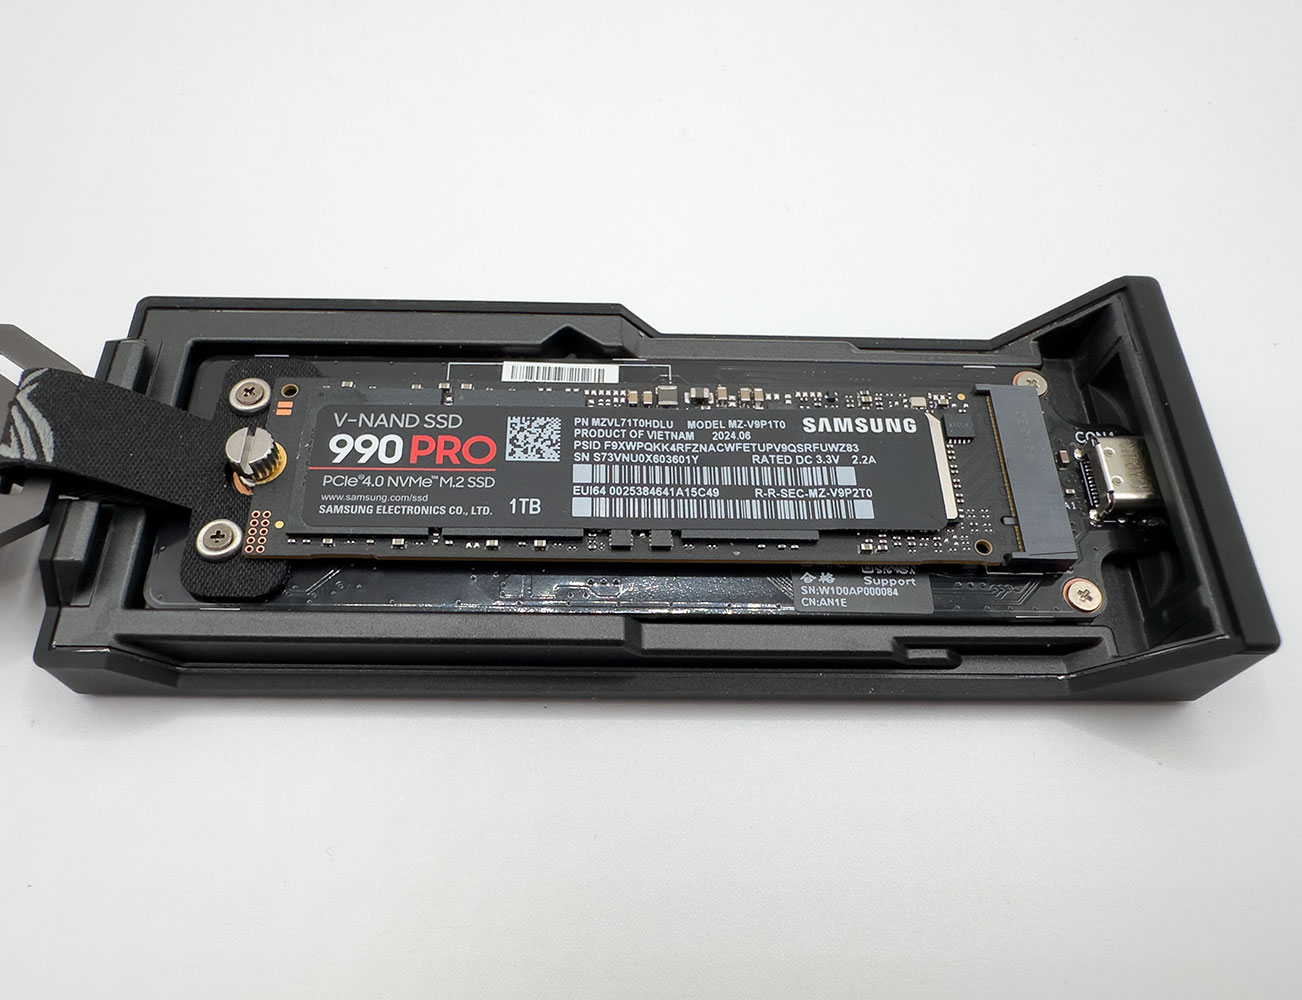
To install your SSD, you unfasten the thumbscrew that doubles up as a standoff, slot its notch into an inserted SSD, and drive it into the mount hole. There are pre-installed mount holes for M.2 2280, M.2 2260, and M.2 2242. An M.2 2230 mount would have been nice.
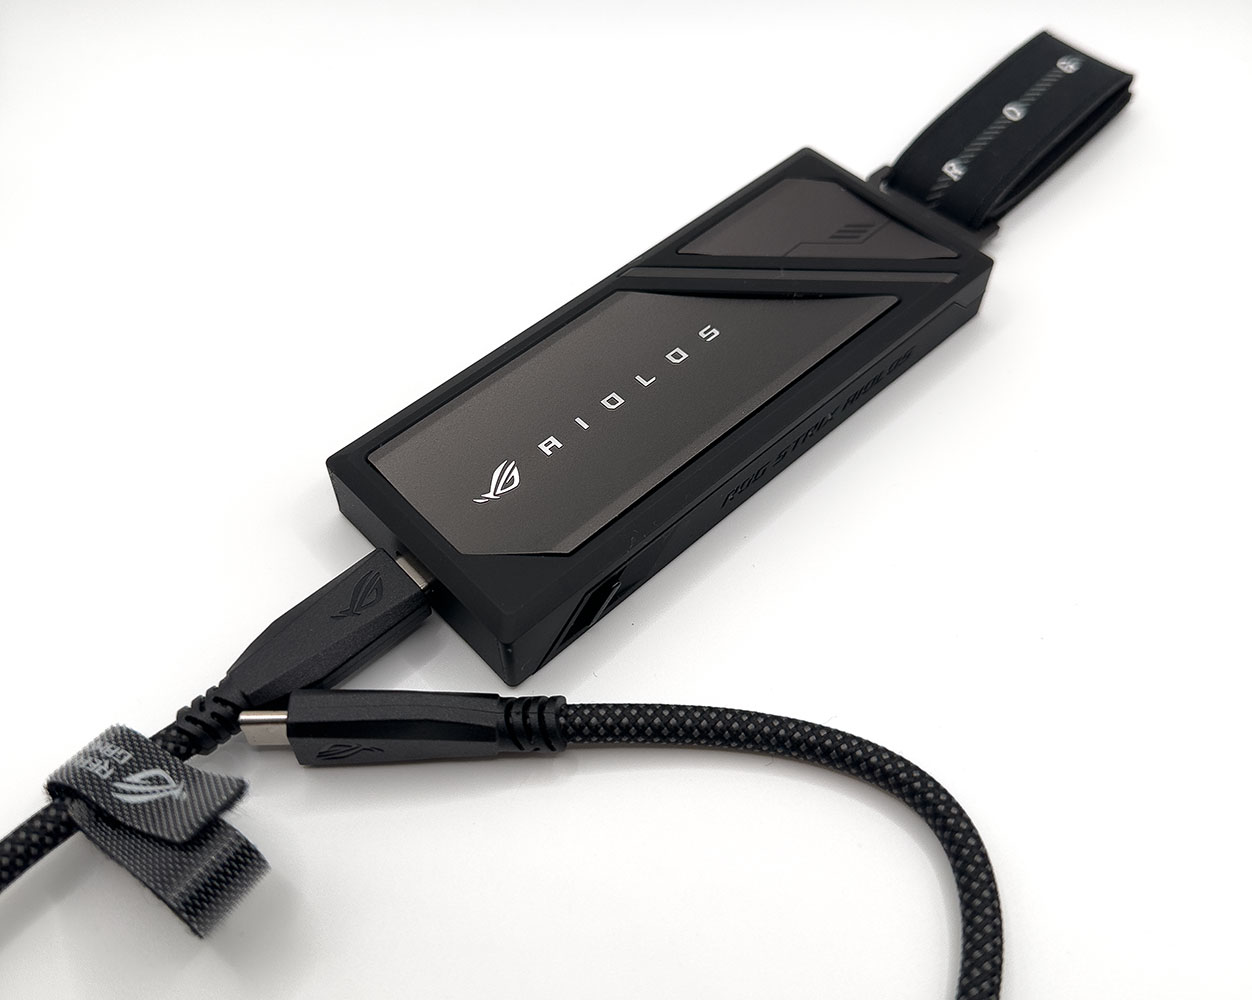
With the drive installed, simply replace the bottom half by driving its two edge notches into mount-holes on the top half, and press the two halves together for the spring-loaded locks to set in. The enclosure is now ready for use.
Teardown and Components
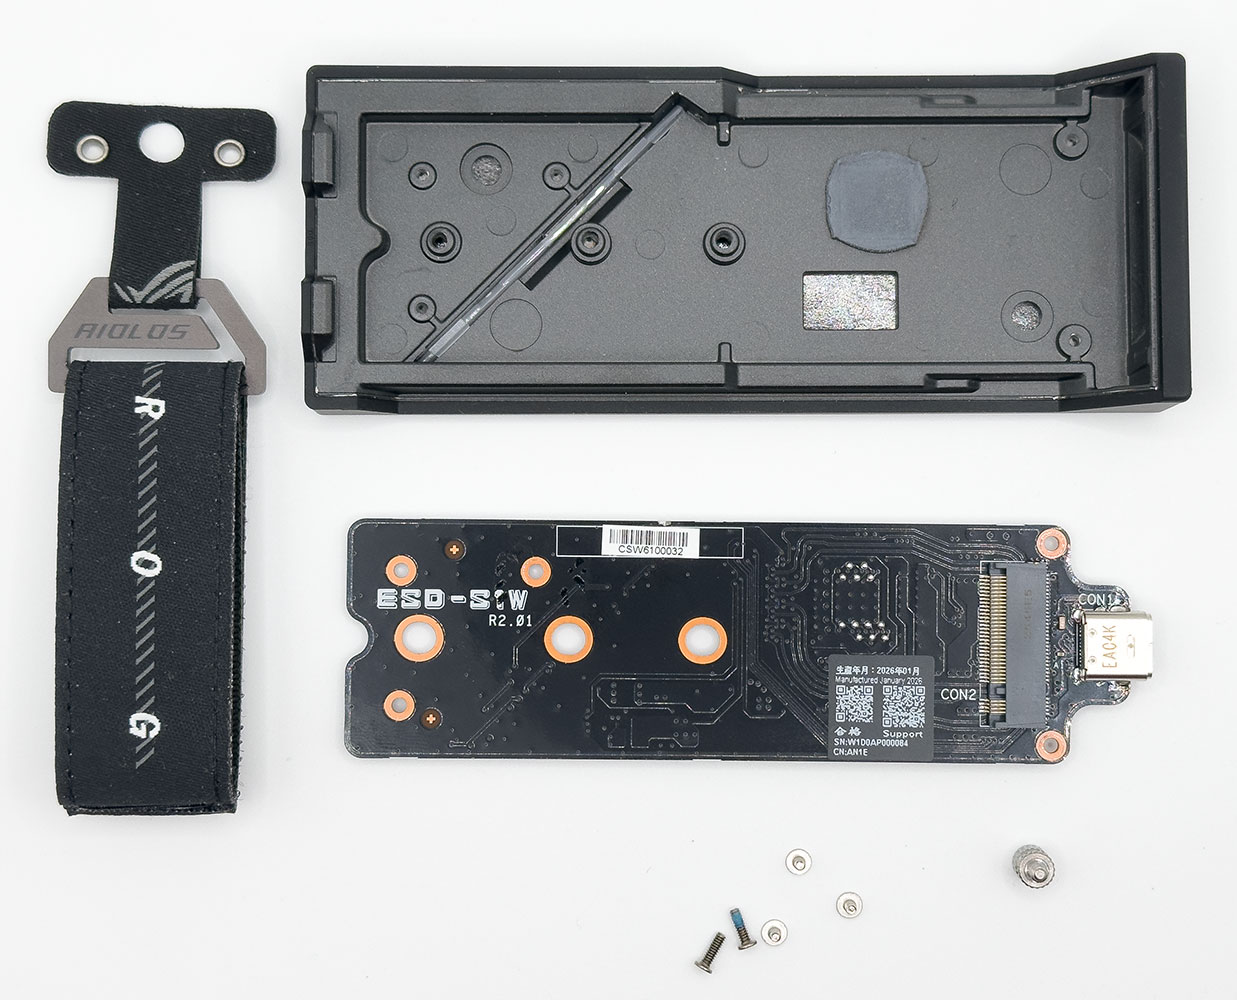
We begin our teardown by first removing the installed SSD, and then removing the five small Philips screws holding the PCB in place. Four of these are along the edges, the fifth one is under a security tape near the M.2-2260 mount hole. Two of these screws have washers and hold down a Nylon loop that sticks out of the enclosure, through which the metal hook goes through.
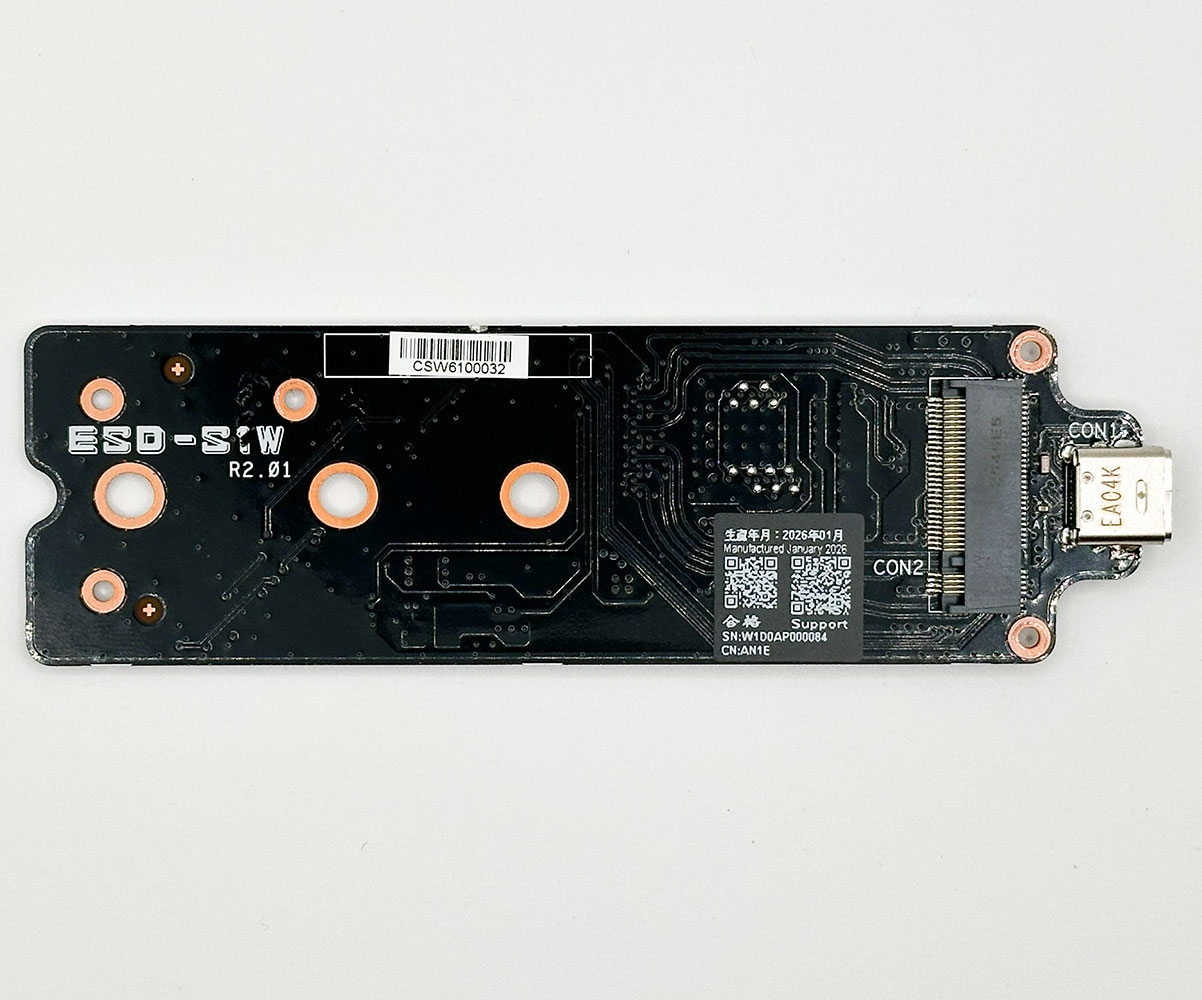
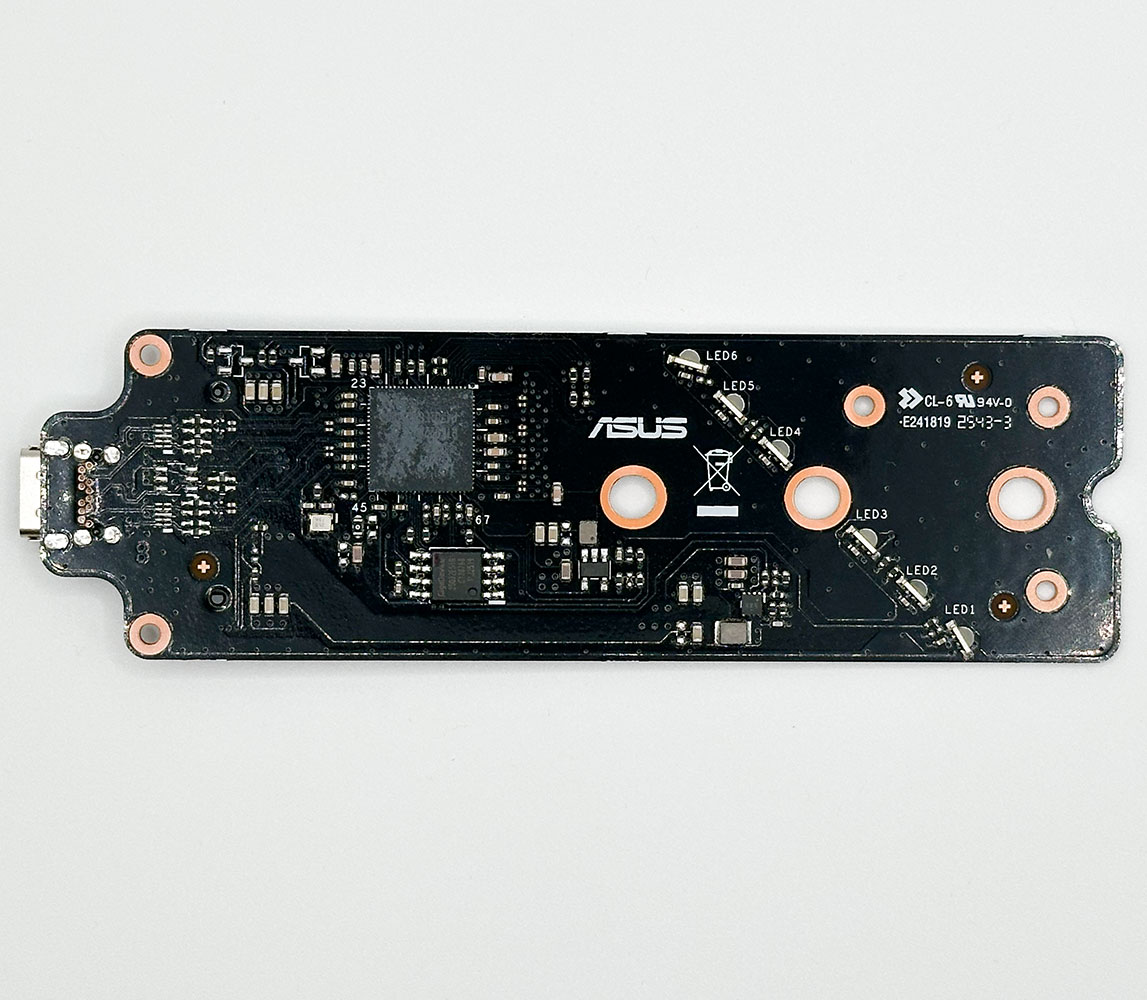
The PCB is pretty spartan. The bottom side has nothing except the M.2 slot, which supports M.2 NVMe and M.2 SATA SSDs, while the top side has the controller, its OPROM, and the six ARGB LEDs that make up the enclosure's lighting setup. These project light into a silicone diffuser.
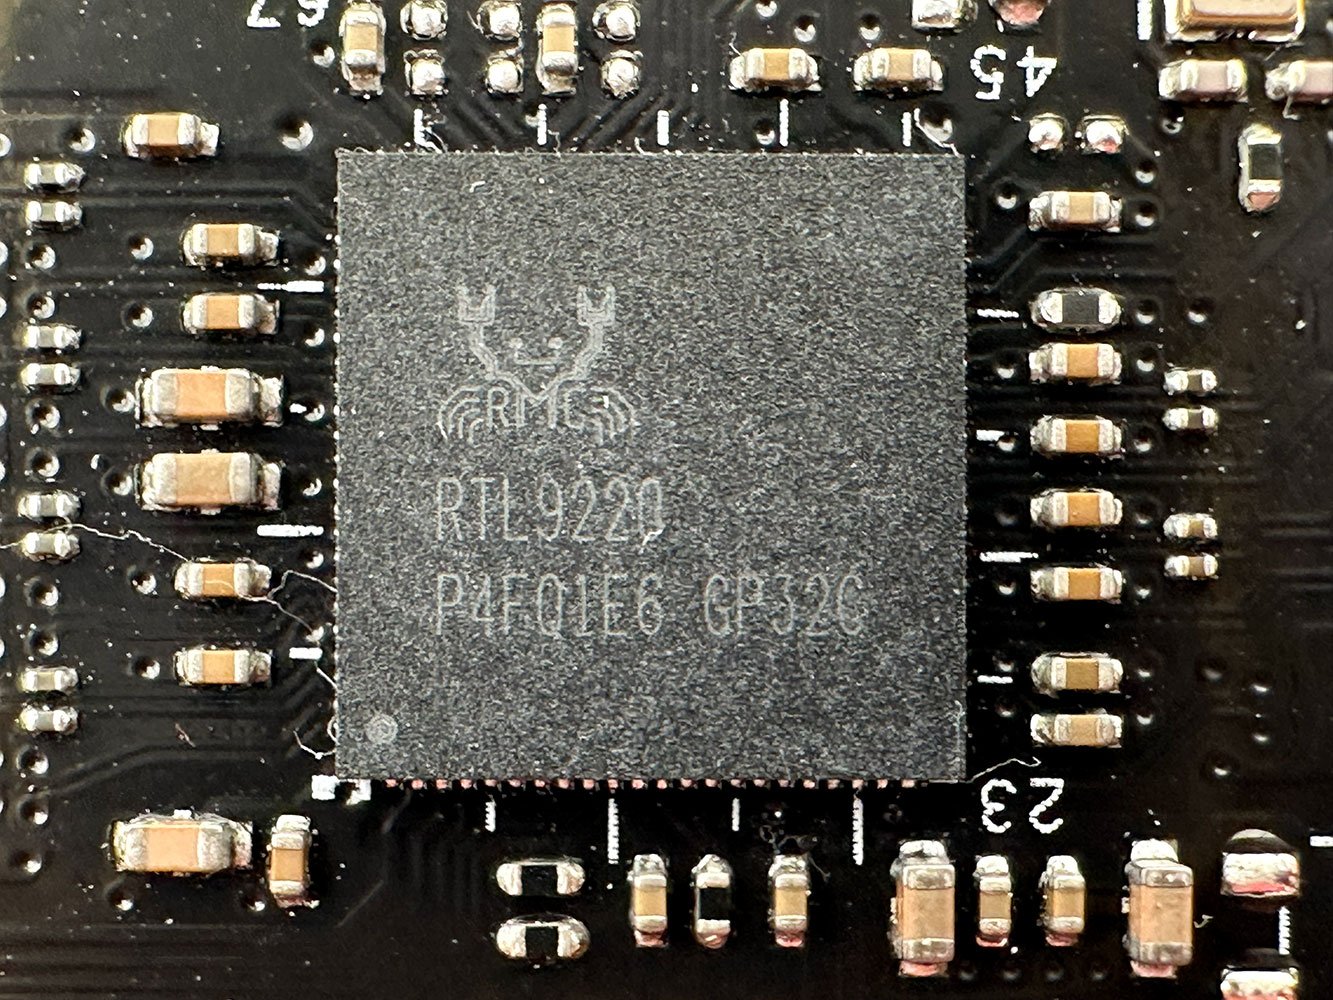
ASUS is using the Realtek RTL9220 bridge chip. This chip takes in a 20 Gbps USB 3.2 Gen 2x2 uplink, and puts out a PCI-Express 3.0 x4 downlink for the M.2 slot, as well as one SATA 6 Gbps AHCI link that comes into use when a M.2 SATA SSD is installed. It also integrates an addressable RGB LED controller. When an NVMe SSD is installed, the controller doesn't directly expose it to the host as an NVMe device like newer USB4 enclosure bridge chips do, rather, it abstracts the installed drive as a USB-attached SCSI (UASP) device, with its own device ID. This is why ASUS asks you to initialize the drive (create a partition table) before you install it into this enclosure.
Nov 21st, 2026 04:15 PST
change timezone
Latest GPU Drivers
New Forum Posts
- What's your latest tech Freebie? (86)
- TPU's Nostalgic Hardware Club (22179)
- [Poll] 12V-2x6 Connector Protection: What Are You Using? (WireView / Ampinel / Equalizer / Other / Nothing) (50)
- UPS what one to get? (1)
- Anthrophics IPO (28)
- RX 9000 series GPU Owners Club (2252)
- Windows 11 General Discussion (7743)
- Without Jensen, PC gaming will be (52)
- Zen 3 IF/IMC degradation (242)
- AI generated images... (230)
Popular Reviews
- Microsoft Surface Laptop Ultra Review - The Next-gen Arm Laptop
- Ugreen NASync DXP4800 GT Review
- Corsair RM1200e (Second Generation) Review
- Pulsar Office Tour & First Look at P1 Dual-Sensor Mouse
- Upcoming Hardware Launches 2027 (Updated Nov 2026)
- Acemagic Retro X3 Review
- Biwin Black Opal NV7400 2 TB Review
- AMD Ryzen 7 9800X3D Review - The Best Gaming Processor
- AMD Zen 6 Technical Deep Dive
- Chieftec Iceberg PRO 360 DARK Review
TPU on YouTube
Controversial News Posts
- NVIDIA Co-Founder and CEO Jensen Huang Officially Resigns (491)
- Report: Jensen Huang Eyes NVIDIA Comeback (257)
- Open Letter Asking NVIDIA to Reinstate Jensen Huang Passes 115,000 Signatures (184)
- OpenAI CEO Argues Home PCs Waste the World's Limited DRAM Supply (152)
- NVIDIA Launches Investigation Into Jensen Huang's Relationship With Suspected Chinese Spy (136)
- Intel "Raptor Lake Next" 16-Core and 20-Core CPUs Surface (130)
- Legendary Game Studio BioWare Shuts Down Following EA Layoffs (104)
- NVIDIA GeForce RTX 50-Series Scheduled for up to $500 Price Hike This Week (89)