 12
12
Asus ROG Strix Magnus Review
Software & Aura RGB Lighting System »Closer Examination


First thing I had to figure out after connecting the microphone to my PC was where the hell its front is, the one I'm supposed to point towards my face. What confused me was the fact that the Aura LEDs are on what turned out to be the rear of the microphone. You would assume the idea is to put the RGB lights where you can see them. In this case, you'd be wrong. If you have the same dilemma, let me help you out - the front of the microphone is the one with the 3.5-mm ports, volume dials, USB ports, buttons, and recording pattern switch. Now that I wrote it all down, it's actually quite obvious.


Even though it seems like the microphone has a metal body, it's almost entirely made out of plastic. However, it's extremely robust - so much so that you'll have no trouble convincing your friends that Asus' engineers used aluminum or steel, if you so desire.

The rear of the microphone is where the Aura RGB lighting system is located. There are three lighting zones - the ROG logo and the two stripes, one on each side. One additional LED has been placed below the microphone, and that's the only one visible from the front. It's not possible to set different colors or effects for the aforementioned lighting zones. I've reserved an entire section of the review for the Aura RGB effects and software, so you can find everything else RGB LED-related there.


Even though the metal mesh, located on top of the microphone, won't let you take a peek at the three built-in 14-milimeter condenser capsules, it's good to be aware of their placement and exact orientation because that will certainly help you properly position the microphone. Luckily, Asus has a render of the capsules on their website, so we now know for certain that the middle capsule is facing directly forward while the outer two are pointing to their appropriate sides.


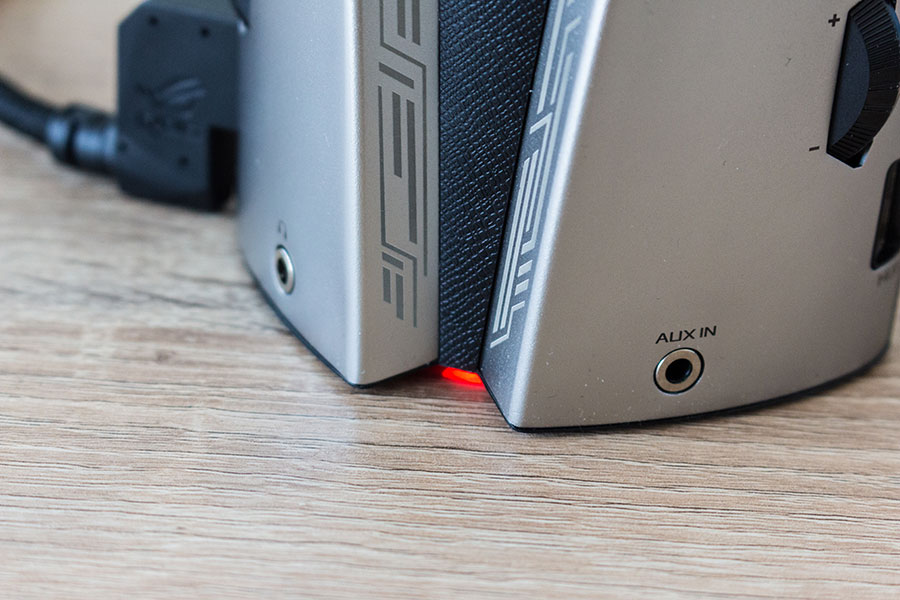
Both sides of the Magnus' lower part offer a single 3.5-mm audio port. The right one is marked as AUX IN, and that's exactly what it is - a simple auxiliary port you can use as a standard audio input or to record the sound from your music instruments, mobile devices, etc. You'll need an appropriate audio cable, one with a 3.5-mm male plug on both sides, to connect it to your device of choice. The said, such a cable isn't supplied with the microphone, but you should be able to get one from just about anywhere, for no more than a couple bucks.

The left 3.5-mm port on the microphone is marked with a pair of headphones. It's actually a so-called direct monitoring port, one that allows you to hear the sound that's being captured by the microphone "directly", with virtually no latency because the signal doesn't have to travel to your PC and back. The purpose of this port is to allow you to hear what your voice sounds like in any chosen position and orientation of the microphone. You can also use it to figure out the optimal balance between in-game volume and the volume of your voice. You do that by simply going to the sound settings in the Control Panel and making the "ROG Strix Gaming Audio" your default playback device. After you do, you'll hear the in-game sound and your own voice through the direct monitoring port. You can then increase the microphone's sensitivity (volume) and/or lower the game's volume accordingly. The volume of the 3.5-mm direct monitoring port can be adjusted with the dial on the left side of the microphone.

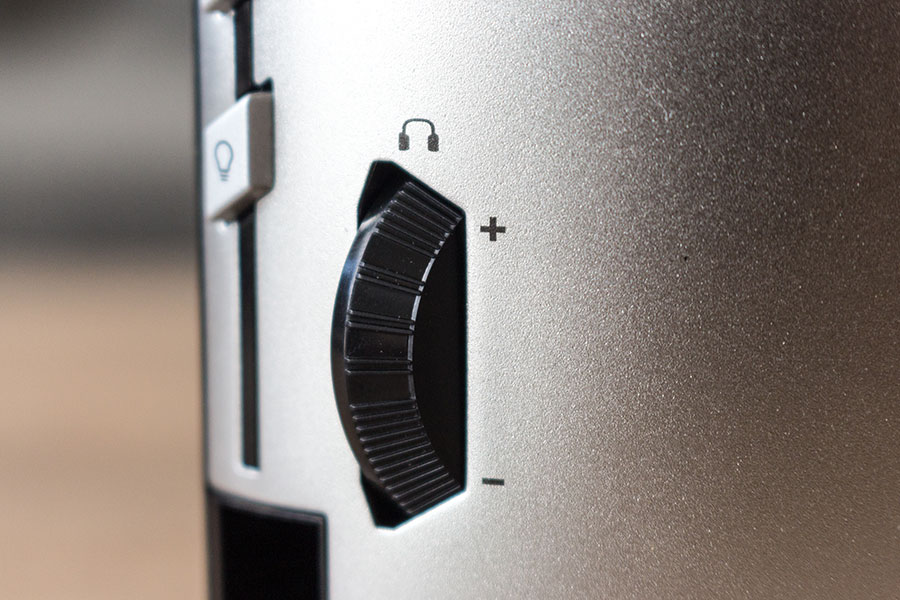
How do you increase or lower the microphone's volume? By using the dial on its right side. Its adjustment range is very wide, which is good because you'll have no trouble setting the microphone's sensitivity to just the way you want it. The dial itself has a series of markings, which will let you quickly switch between several of your preferred volume levels once you have studied them carefully to figure out their logic. Asus basically split the dial into four "zones". You'll know which zone you're in by referring to the markings on the volume dial itself, with the lowest volume "zone" being represented by a single wider gap between the markings and the highest "zone" having four of those gaps. The same logic is applied to the volume dial that's in charge of the built-in direct monitoring headphone jack, by the way.
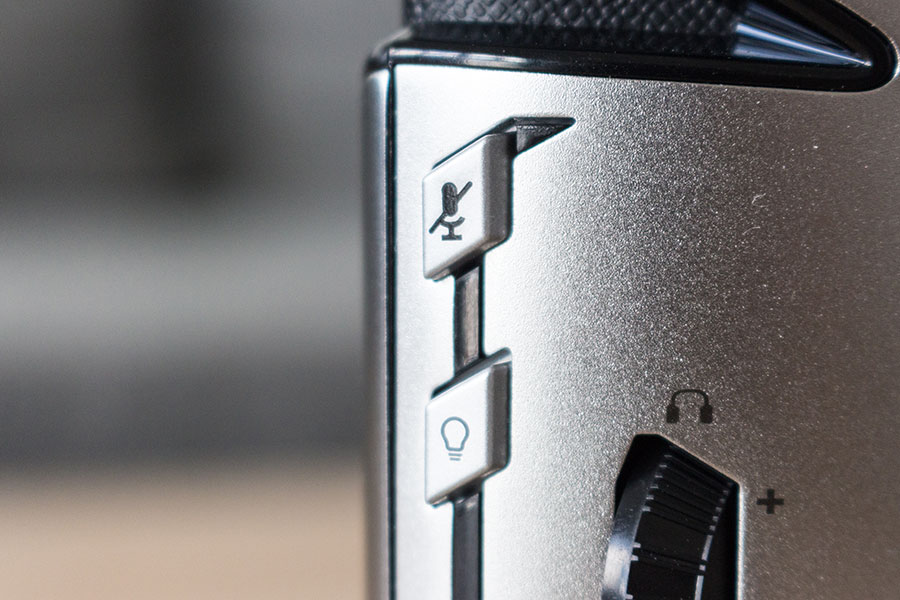
The left side of the microphone also sports a couple buttons. The upper one will mute the microphone until you press it again, and the one below is used to activate or deactivate the Aura RGB lighting system. Sadly, Asus didn't remember to link the Aura RGB lighting to the mute function. The ability to set a special lighting scheme to activate when the microphone is muted would have been fantastic, but such isn't the case. A faint, almost discrete red light, subtly emitting from the mute button, is the only indicative bit of information. There's no way you'll properly see it without tilting your head, and that's something that constantly annoyed me while I was using the ROG Strix Magnus for Twitch streaming and chatting with my teammates.
Good news is that a feature like that can most likely be added on a software level, as Windows certainly knows when the microphone has been muted. Perhaps, we'll see it added in an upcoming release of the Aura software, fingers crossed!

Three different recording modes can be selected by using the switch on the right side of the microphone. These modes are called Cardioid, Stereo, and ENC. You can find more on each of these, along with a bunch of audio samples in the microphone performance section of this review.

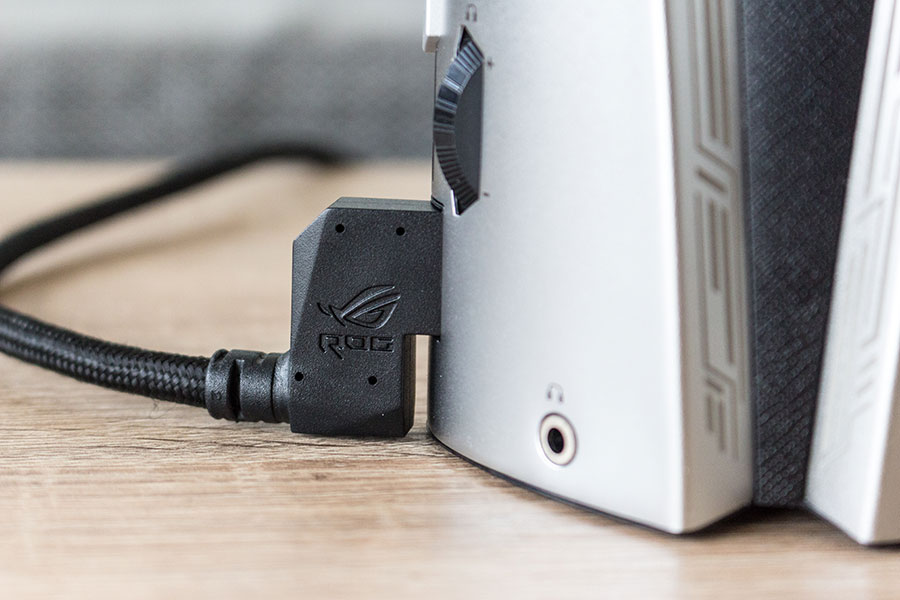
In order to connect the microphone to your PC, you'll use the USB 3.0 port found on its left side. The supplied connector is L-shaped and absolutely massive - it sticks out of the microphone quite a bit. You definitely do want a robust cable connection on the microphone itself, especially if you plan to mount it on a stand or an arm, but I think they overdid it. A smaller, subtler connector, one that would nicely fit into the body of the microphone while still remaining detachable would work much better, especially since Asus is openly trying to spare us from buying a microphone mount, suggesting we should simply place the ROG Strix Magnus in front of the keyboard.
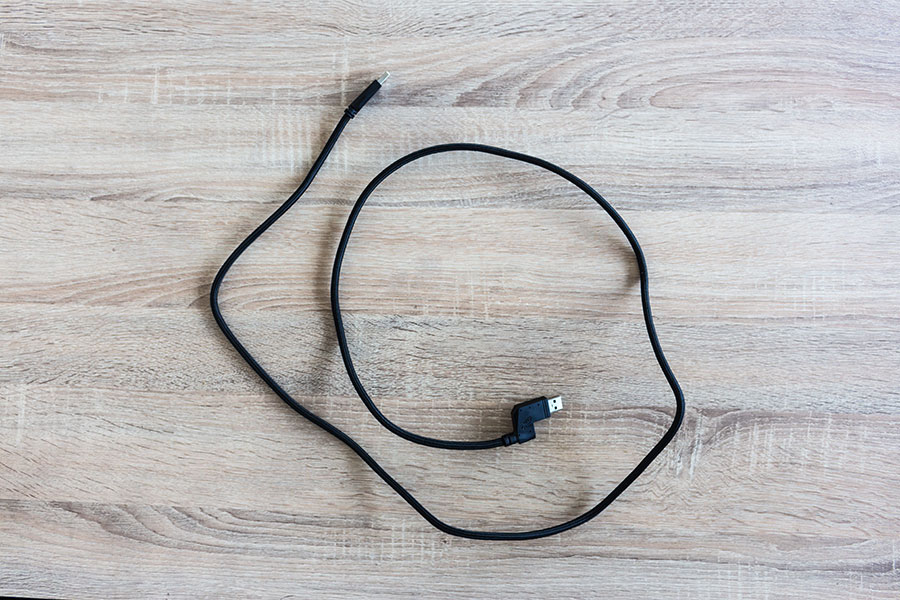

The USB cable is also very thick, completely braided, and quite rigid. Unfortunately, it's also laughably short. Coming in at a mere 1.5 meters, it basically gives you no freedom at all to move the microphone around on the table unless your case is sitting right next to your monitor, on top of the table, or you have an USB 3.0 hub at hand. This is a strange omission, one we don't usually see in the world of studio-grade microphones. For comparison, the Rode NT-USB comes with a 6-meter cable, and the Audio-Technica AT2020USB+ has a 3-meter cable included.
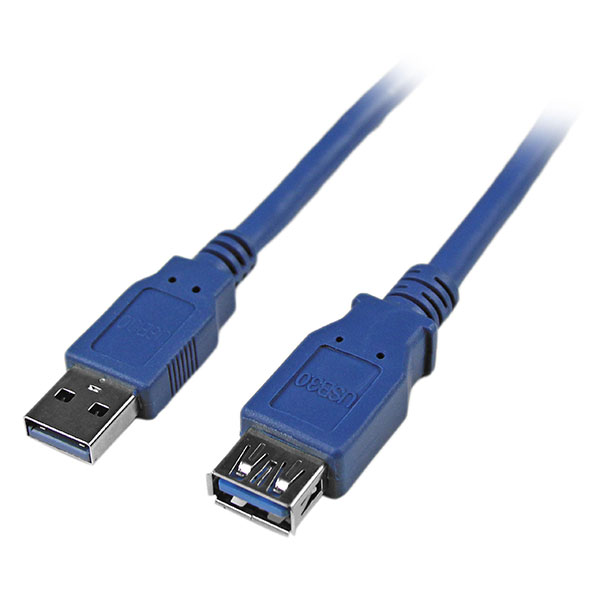

It was virtually impossible for me to use the ROG Strix Magnus properly before buying a simple 1.5-meter USB 3.0 extension cable, and my case is on top of my table! While you're down at the store, you can also consider getting a black 3-meter USB 3.0 cable with male Type-A connectors on both sides. By using one, you can completely replace the supplied USB 3.0 cable. You'll end up with a nicer-looking microphone and a cable that's easier to move around and manage. The hole in the body of the microphone is wide enough to easily accept pretty much any standard USB 3.0 plug.

The other USB connector on the microphone - the one positioned on its right side - is a single-port USB 2.0 hub, suitable for plugging in your peripherals, flash drives and such. Make sure you connect the microphone to the USB 3.0 port on your motherboard if you have one or the USB 2.0 hub won't work.


Below the microphone is a thread for standard camera mounts. Thankfully, Asus remembered to include an adapter that makes it possible to mount the microphone on standard microphone stands as well.

Here's what the ROG Strix Magnus looks like when mounted on the microphone arm. A bit strange I have to say, mostly because of the unusual shape of the microphone. It's also worth noting that the microphone is very light, so if you plan to mount it like this, make sure you have an arm that allows you to adjust the tension of its springs. Otherwise, there's no way the microphone will stay in the desired position. I ran into this problem after attaching it to one of my all-time favorite microphone arms among Twitch and YouTube streamers, the Rode PSA1 ($100). Its springs made the Magnus jump all the way up and into the air as soon as I let go of the arm, rendering it unusable.
Apr 16th, 2024 19:48 EDT
change timezone
Latest GPU Drivers
New Forum Posts
- Dropped an HDD, it became unreadable. Can it be fixed? (9)
- Overclocking A8 6500 CPU (2)
- Dell Workstation Owners Club (3049)
- Is there any scientific reason airplanes don't get weighed before take off? (33)
- Help with troubleshooting rx 6800 xt (gigabyte master type c) (0)
- Will a RTX 4070 TI super bottleneck a Ryzen 9 7950X3D? (24)
- Asus 7 PIN fans to standard 4 pin PWM? (7)
- Battery swap for cyberpower UPS (39)
- Which air cooler for a ryzen 9 5900x (151)
- Are there RGB lit split keyboards? (6)
Popular Reviews
- Horizon Forbidden West Performance Benchmark Review - 30 GPUs Tested
- PowerColor Radeon RX 7900 GRE Hellhound Review
- Galax GeForce RTX 4070 Super EX Review
- Fractal Design Terra Review
- ASUS GeForce RTX 4090 Matrix Platinum Review - The RTX 4090 Ti
- Corsair 2000D Airflow Review
- Minisforum EliteMini UM780 XTX (AMD Ryzen 7 7840HS) Review
- Creative Pebble X Plus Review
- FiiO KB3 HiFi Mechanical Keyboard Review - Integrated DAC/Amp!
- ASUS GeForce RTX 4090 STRIX OC Review
Controversial News Posts
- NVIDIA Points Intel Raptor Lake CPU Users to Get Help from Intel Amid System Instability Issues (102)
- Sony PlayStation 5 Pro Specifications Confirmed, Console Arrives Before Holidays (100)
- US Government Wants Nuclear Plants to Offload AI Data Center Expansion (98)
- Developers of Outpost Infinity Siege Recommend Underclocking i9-13900K and i9-14900K for Stability on Machines with RTX 4090 (82)
- Windows 10 Security Updates to Cost $61 After 2025, $427 by 2028 (79)
- TechPowerUp Hiring: Reviewers Wanted for Motherboards, Laptops, Gaming Handhelds and Prebuilt Desktops (70)
- Intel Realizes the Only Way to Save x86 is to Democratize it, Reopens x86 IP Licensing (70)
- AMD Zen 5 Execution Engine Leaked, Features True 512-bit FPU (63)