 2
2
Asustor AS-204TE Review
ADM Operating System & Administration Walkthrough »Software


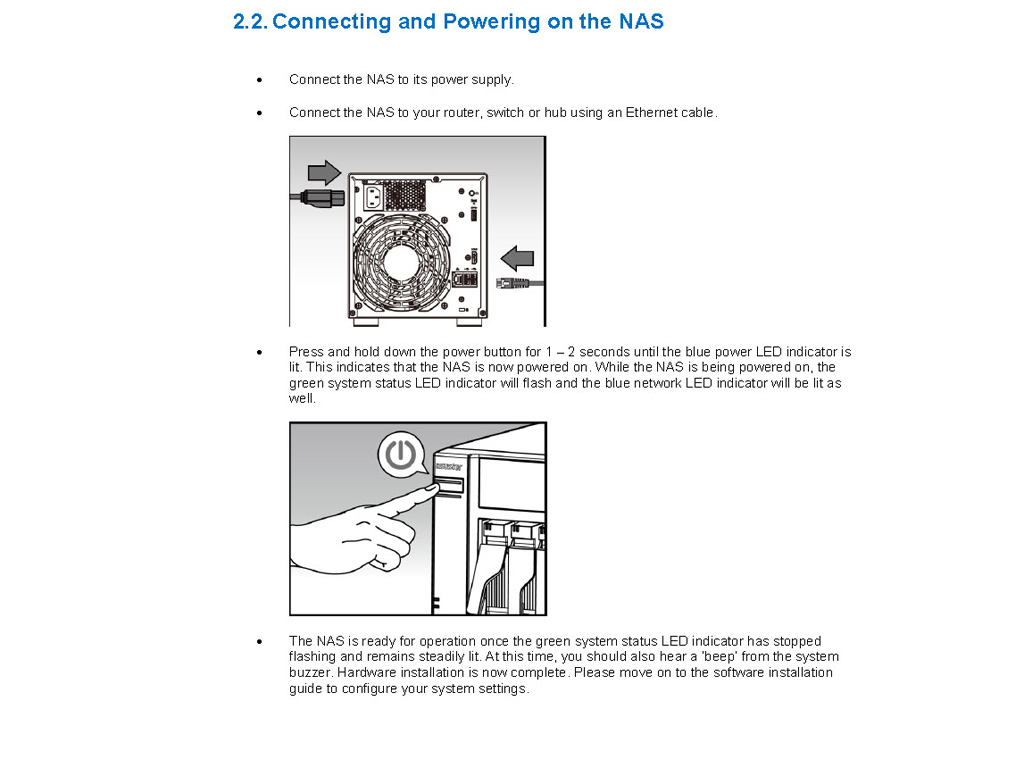
You will have to load the bundled software disc into the drive of a client PC after installing the HDDs into the NAS and connecting all cables (power and network). Asustor suggests reading through the Quick Start Guide first, and we agree with them. You will also find their User Guide on the same disc, so you should take a look at it as well.

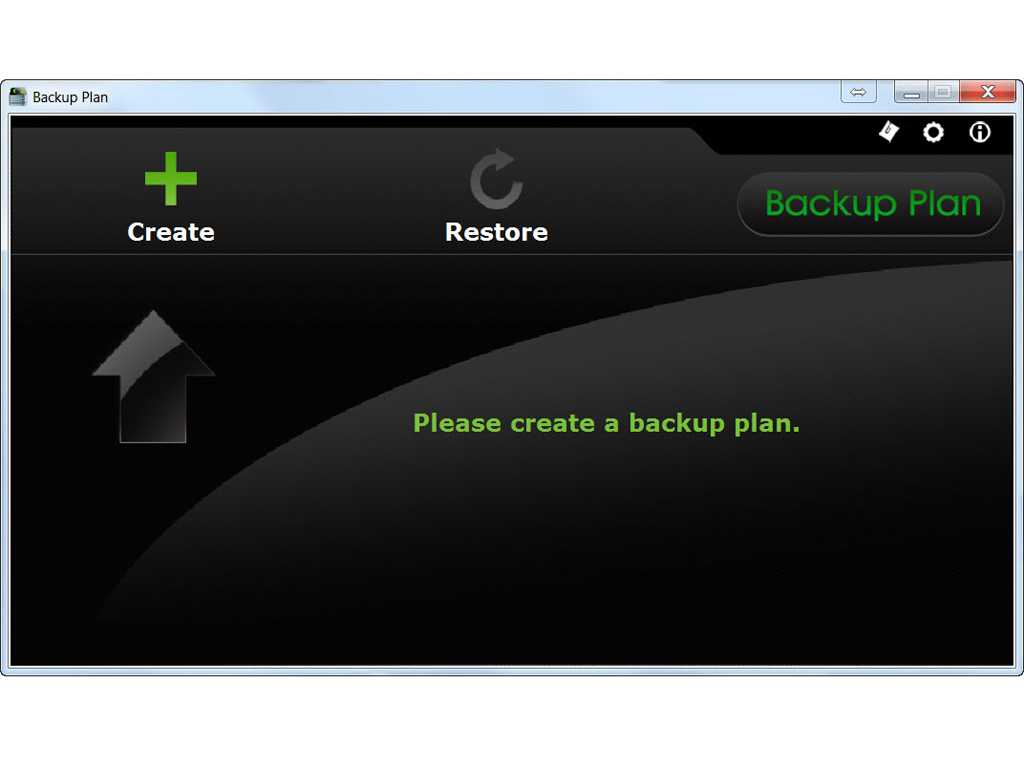
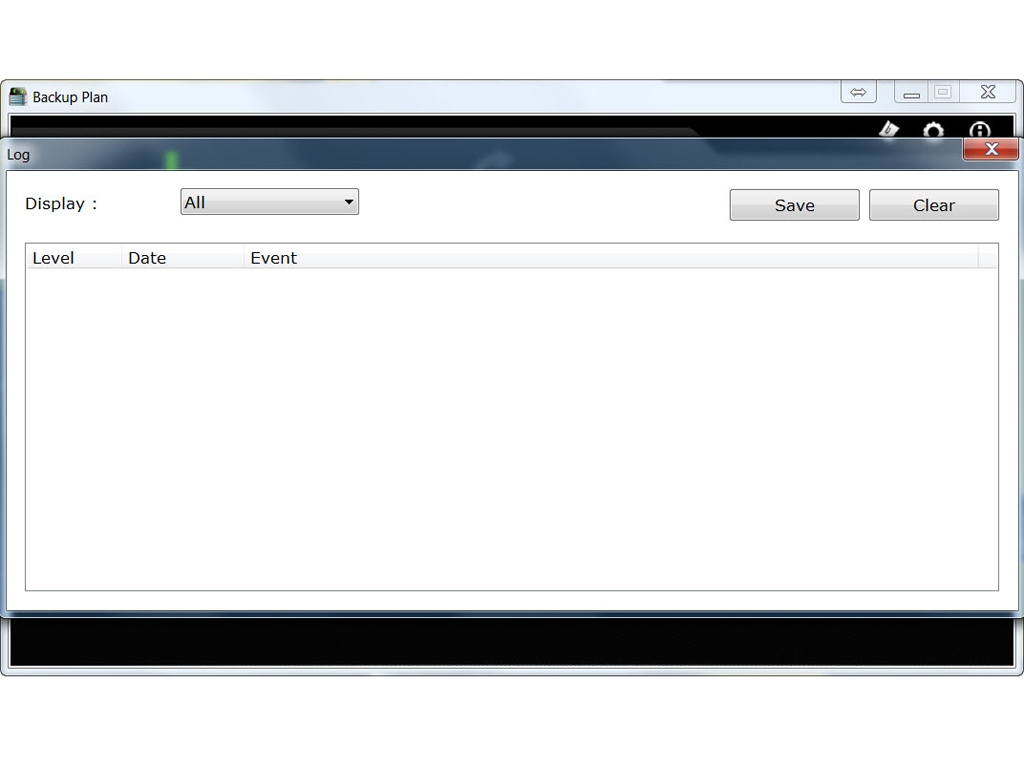

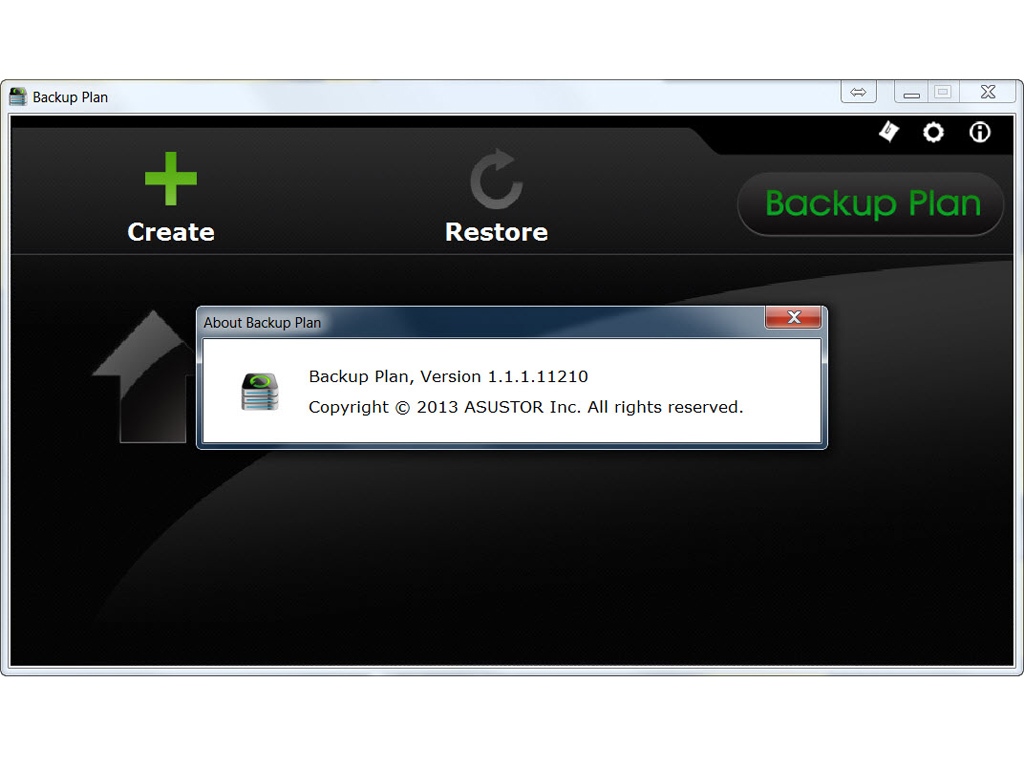
The provided disc comes with Asustor's Control Center, which we will discuss below, and the Backup Plan application. As it name suggests, it allows you to create a backup plan or restore from a backup file.


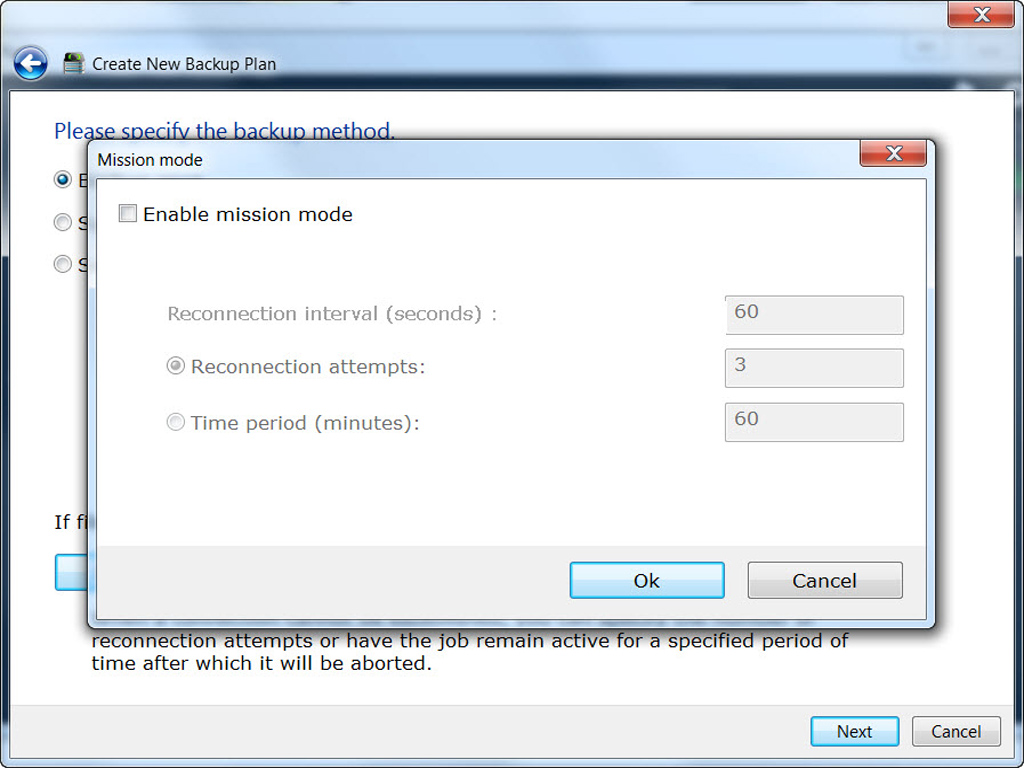

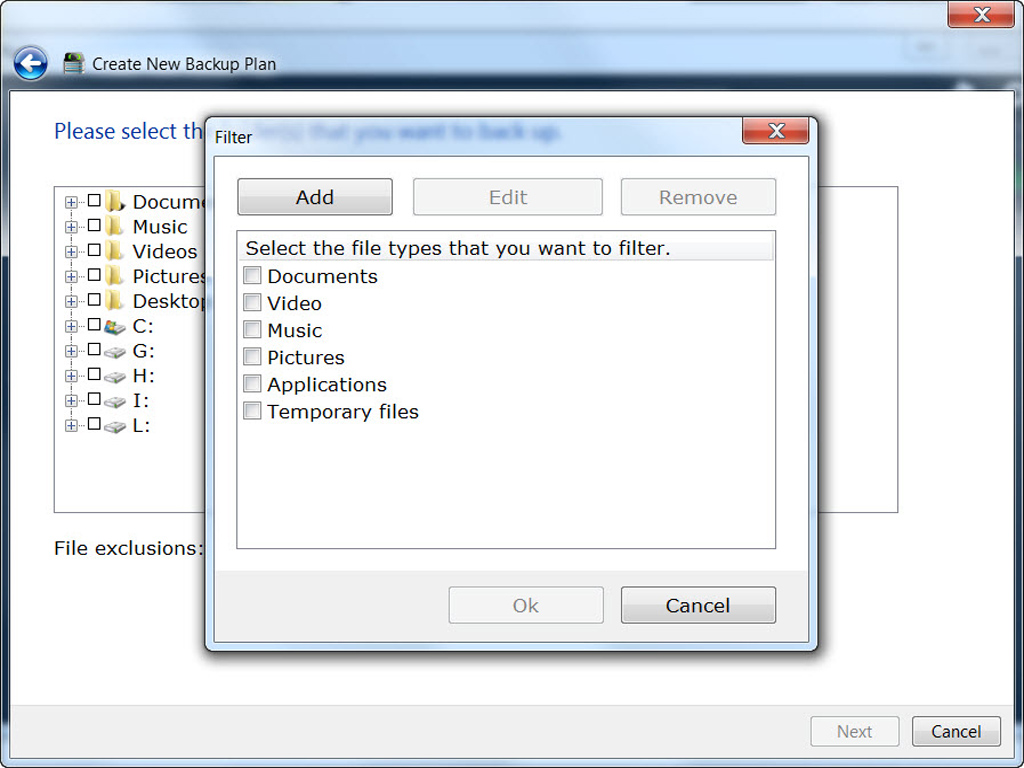

As you can see in the above, the Backup Plan application comes with a lot of backup options.


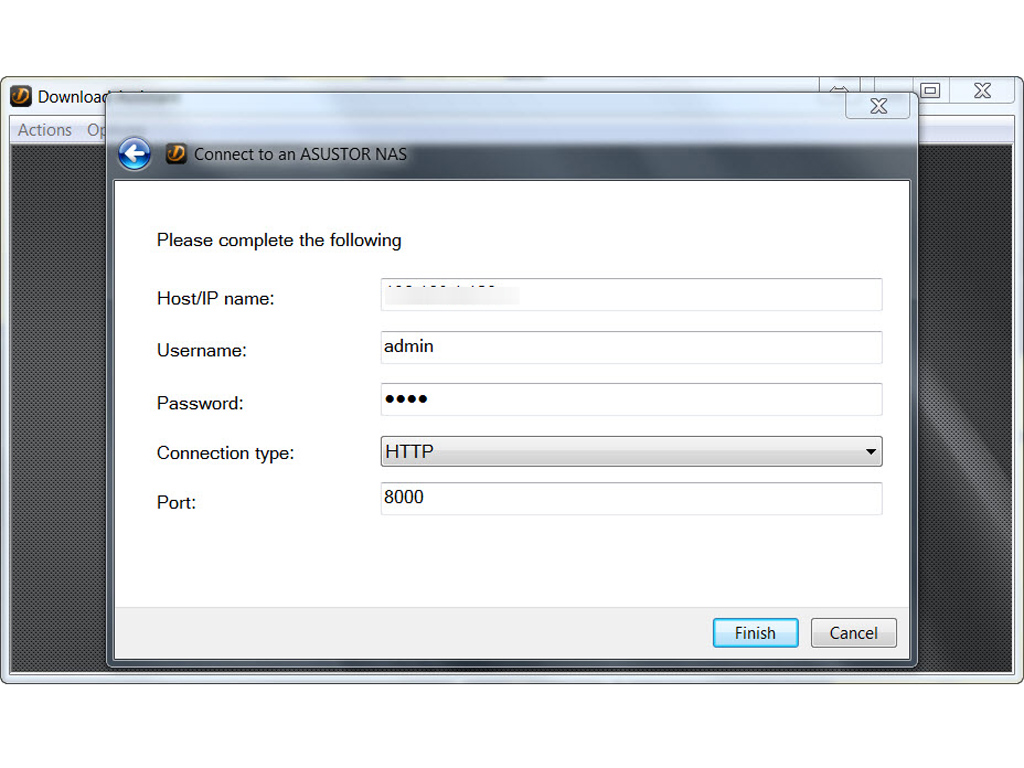
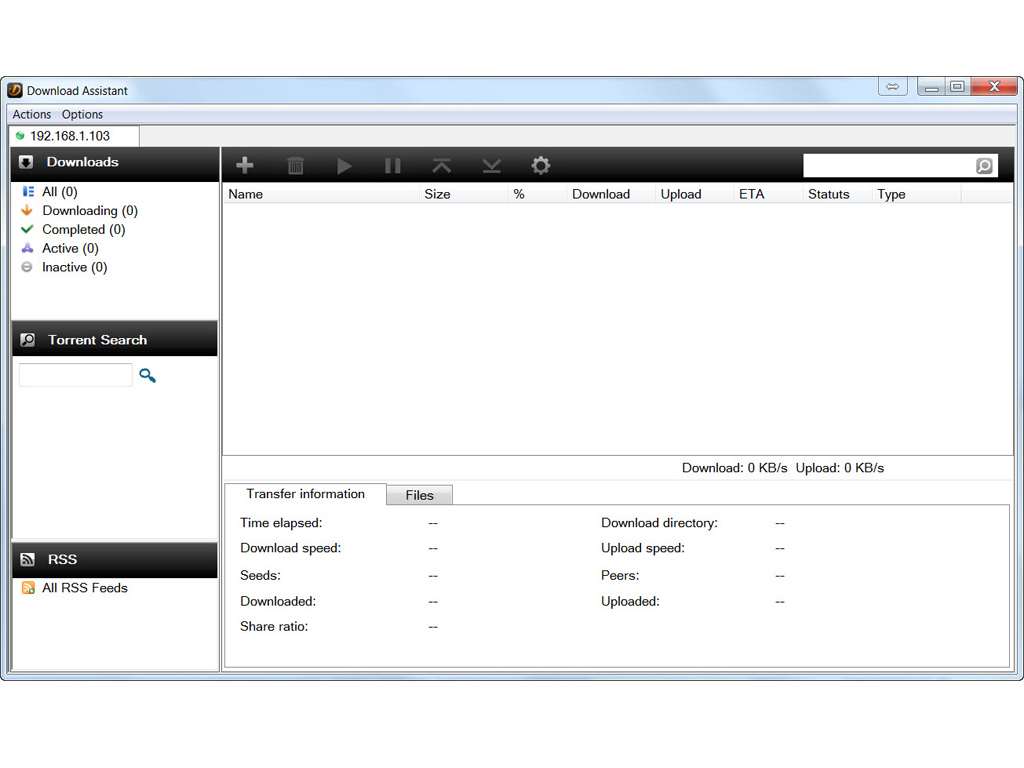
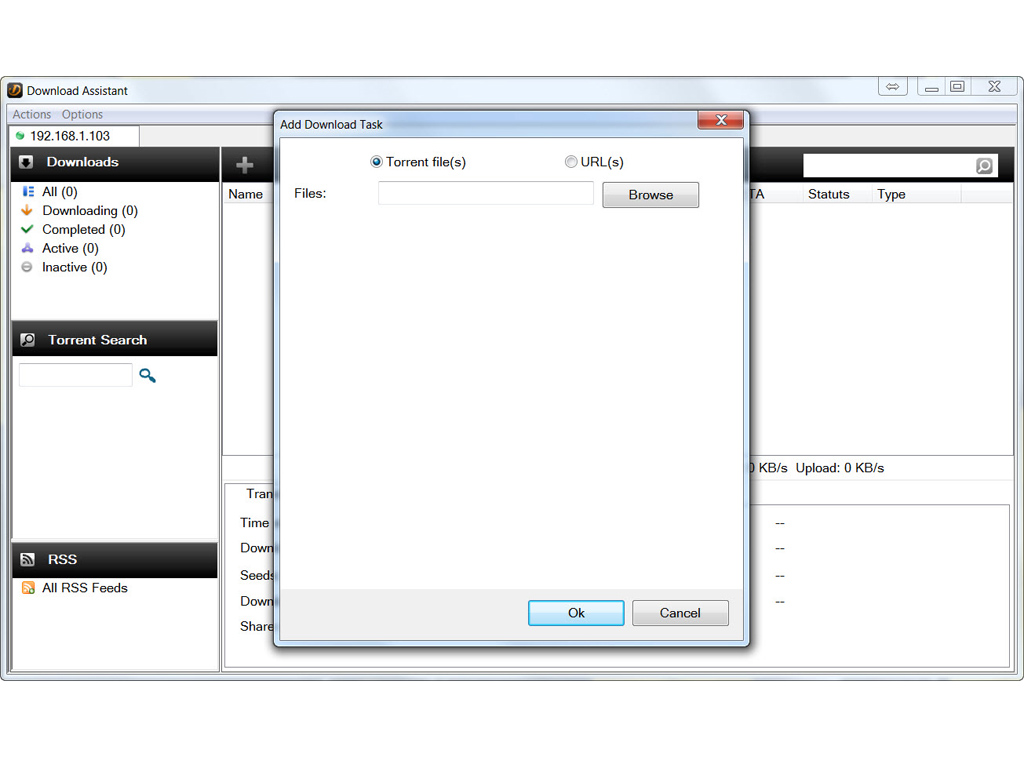
Asustor also provides you with their Download Assistant, an application that allows you to interact with the Download Center app, which you can install to the NAS via any Windows or Mac system. Download Center also gives users the ability to pick the content they want to download off a torrent before a download starts.


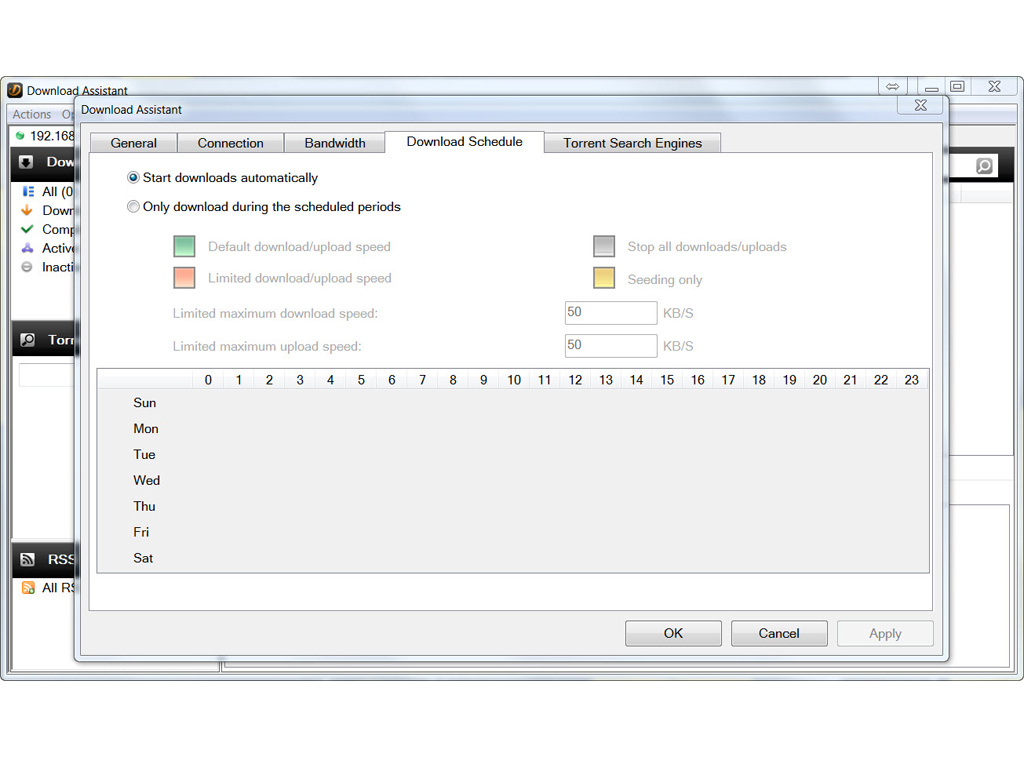

The Download Assistant includes a customizable download schedule, the Smart Download function, which allows users to automatically add download tasks for torrents placed into the Smart Download folder. We should stress that you must install Download Center on the NAS for Download Assistant to work.
Asustor Control Center & Initial Setup

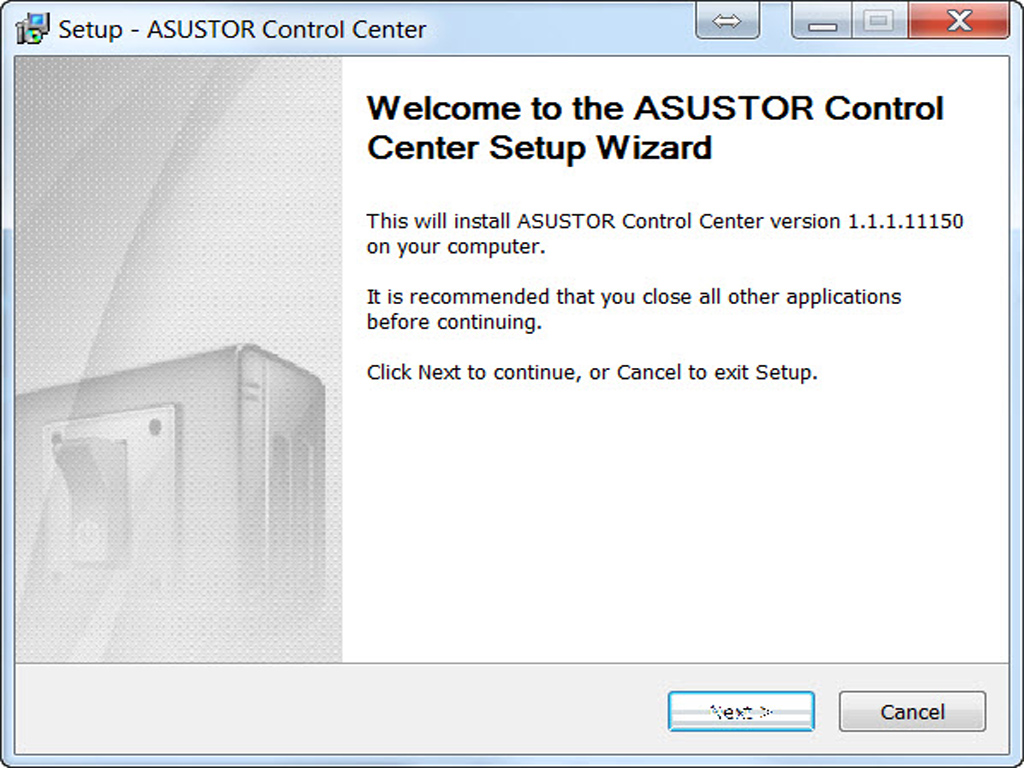


It's now time to install Asustor's Control Center. This application will not only find the NAS on your network, but will also allow for its effortless and quick configuration.


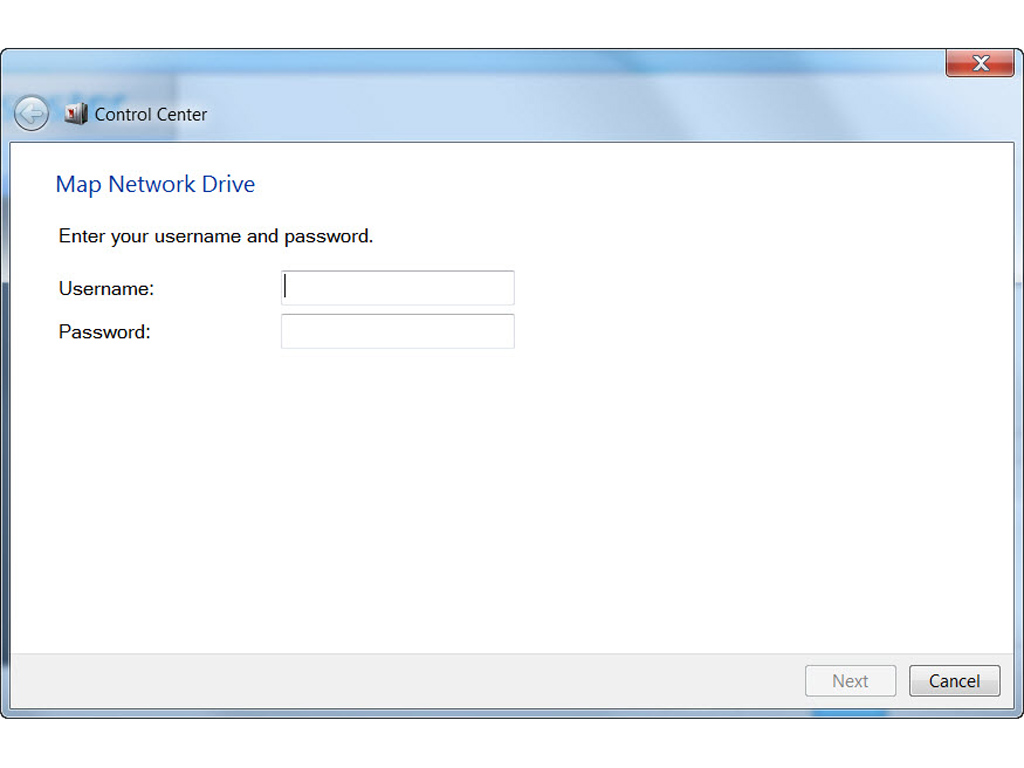


Once inside the Control Center, easily configure various options of the NAS, map a network drive, create a remote file folder, or connect to the NAS via FTP.


Asustor's Control Center also easily allows you to initialize the NAS through Web Setup. The first step of the initialization process asks you to make sure that at least the first tray has an HDD installed, and not to power the NAS down or remove the aforementioned disk. You will then be prompted to either download a fresh version or install a version of ADM. If you have access to the Internet, we highly recommend installing ADM off the net to make sure it is up to date. The initial configuration begins after you have done so, and you will be asked whether you'd like to one-click setup everything instead of doing so manually. We chose the manual route since we like to be in control over every step of the initialization procedure.
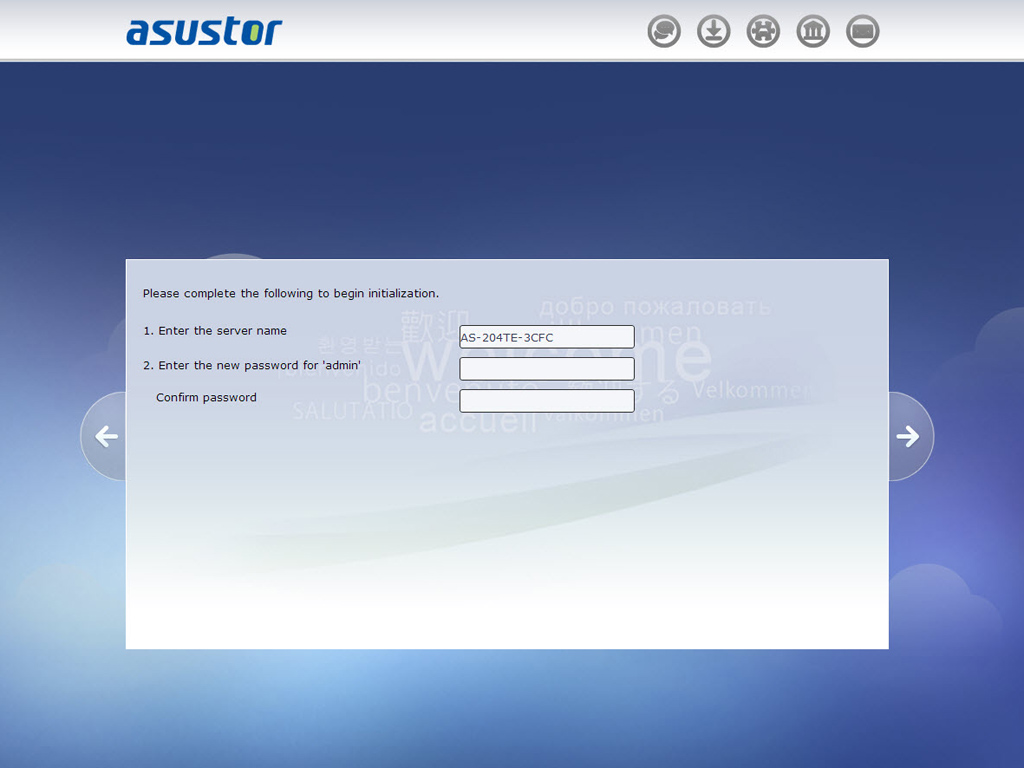
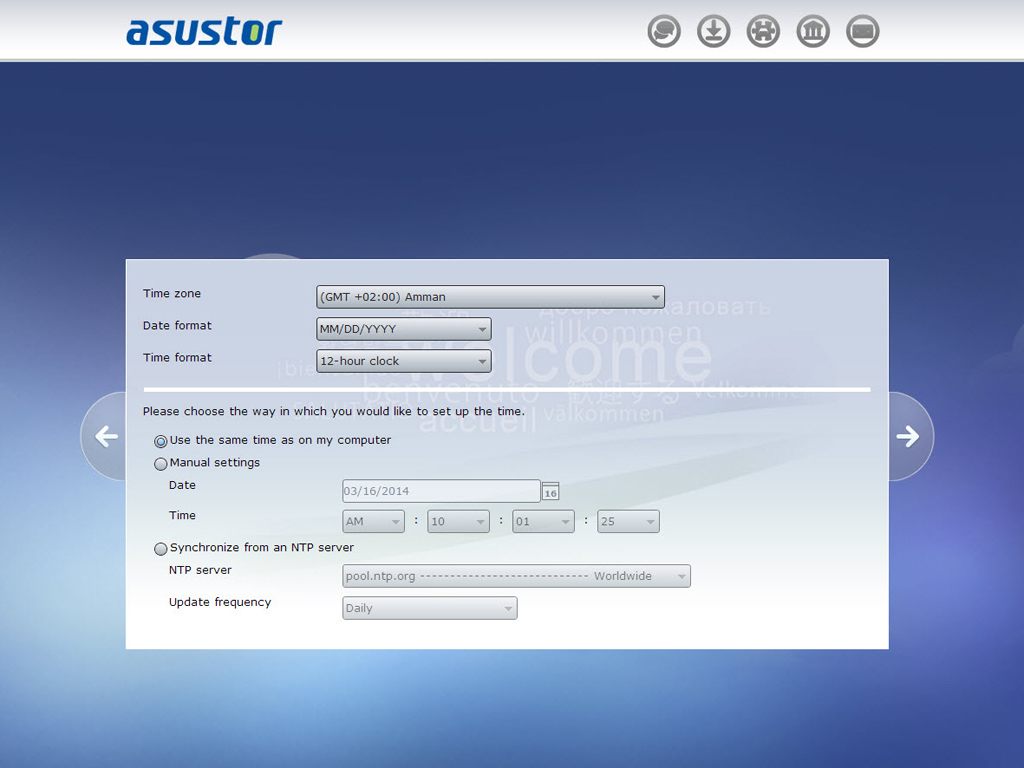
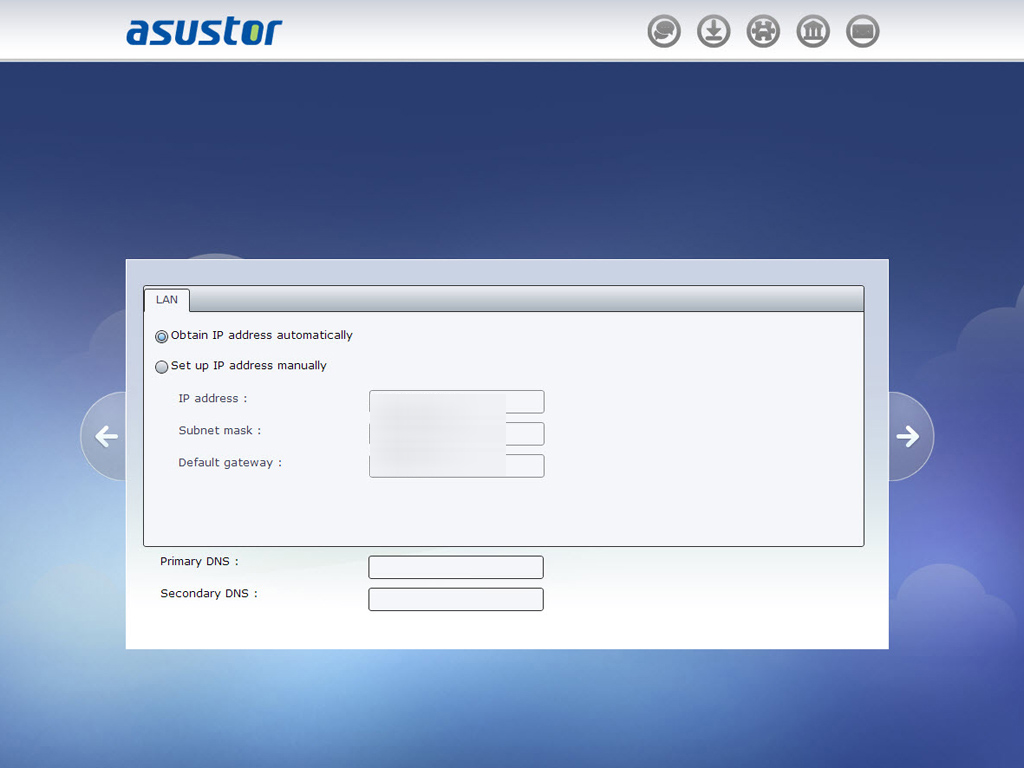

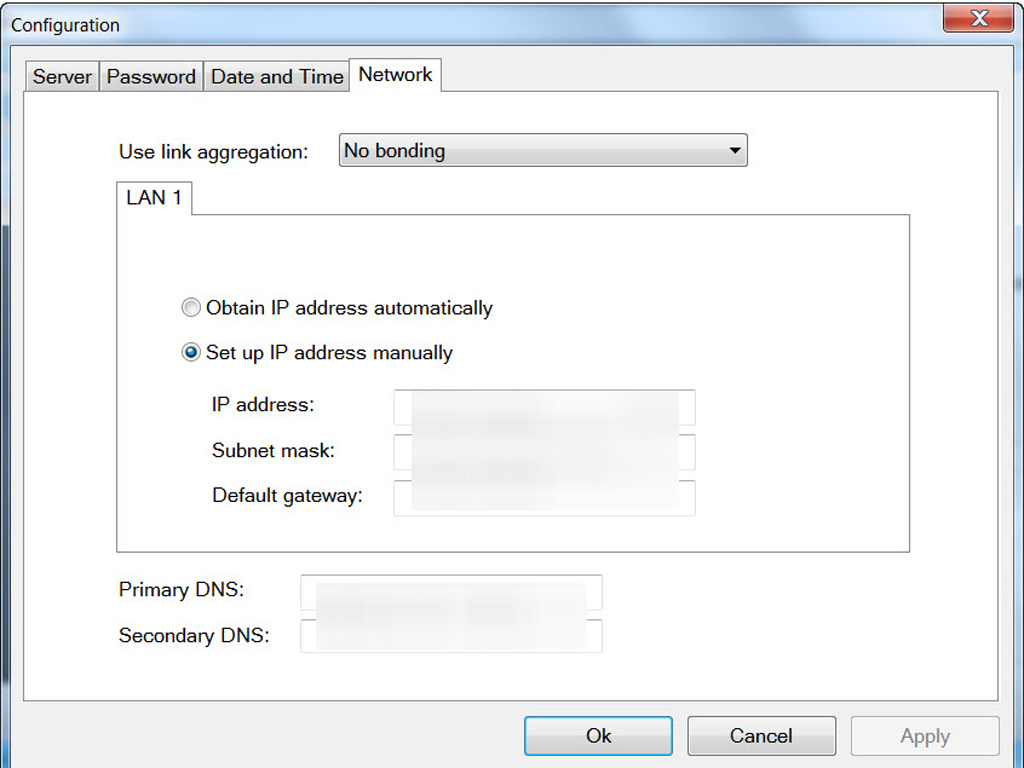
You will now be asked to pick an admin password. You will then configure the time and network settings and pick the RAID configuration that best suits your needs. There are RAID levels, but you can also configure your disks in JBOD (Just a Bunch of Disks) or pick to run everything off a single disk if you cannot afford to install an HDD into every tray.


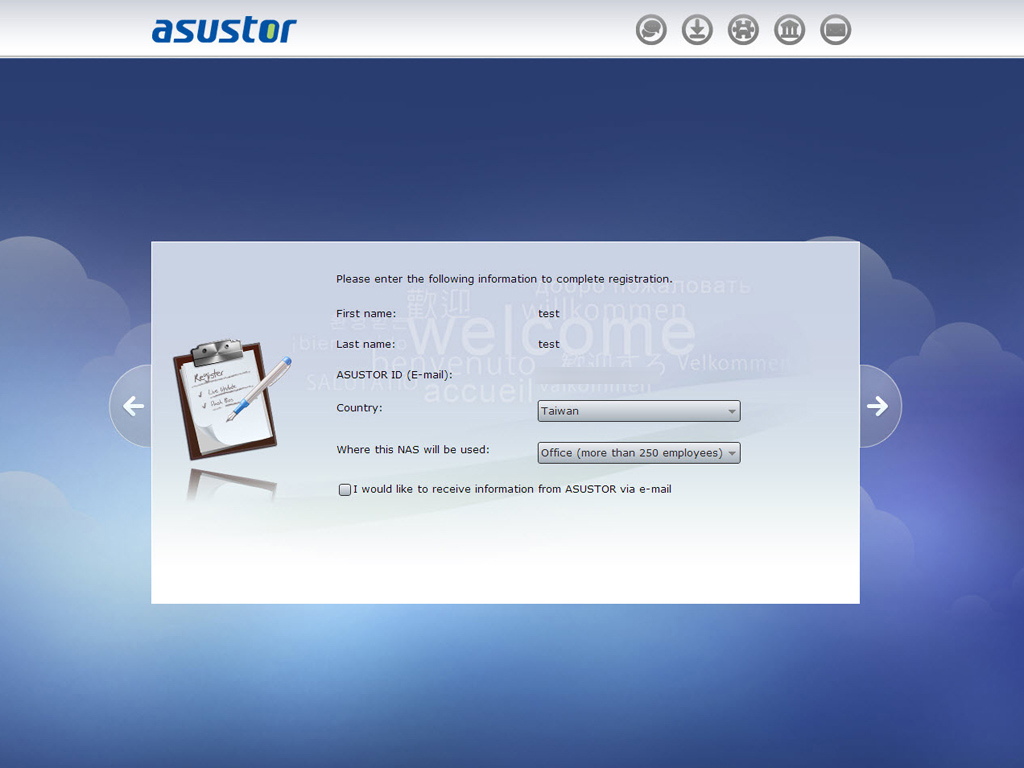

We started the second part of the initialization process after setting the RAID level. Configuring RAID didn't take long, and we were then quickly prompted to register our NAS to obtain an Asustor ID, which is necessary in order to download additional applications for the device.

You will now be redirected to the login page, where you have to input your credentials to proceed to the administration interface.
May 13th, 2024 10:08 EDT
change timezone
Latest GPU Drivers
New Forum Posts
- not impressed - nvme vs ssd (83)
- How we ended with 16x9 Aspect ratios (0)
- 5950X - Lowering SOC Voltage at 0.9 (6)
- Purchased an AX1200i PSU as part of some forward planning, what tier is this PSU? (64)
- Why does my PC shut down even though it's connected to a UPS? (88)
- ASRock Deskmini Owner's Club (31)
- Post your Cinebench R23 Score (2955)
- Looking for recommendations to upgrade the GPU (43)
- Rare GPUs / Unreleased GPUs (1882)
- Dell Undervolting Lock Removed for 9th Gen Intel CPU (i7-9750h) (5)
Popular Reviews
- ZMF Caldera Closed Planar Magnetic Headphones Review
- Corsair MP700 Pro SE 4 TB Review
- Bykski CPU-XPR-C-I CPU Water Block Review - Amazing Value!
- ThundeRobot ML903 NearLink Review
- Upcoming Hardware Launches 2023 (Updated Feb 2024)
- CHERRY XTRFY M64 Pro Review
- AMD Ryzen 7 7800X3D Review - The Best Gaming CPU
- Homeworld 3 Performance Benchmark Review - 35 GPUs Tested
- ASUS Radeon RX 7900 GRE TUF OC Review
- Corsair iCUE Link RX120 RGB 120 mm Fan Review
Controversial News Posts
- Intel Statement on Stability Issues: "Motherboard Makers to Blame" (266)
- AMD to Redesign Ray Tracing Hardware on RDNA 4 (224)
- Windows 11 Now Officially Adware as Microsoft Embeds Ads in the Start Menu (172)
- NVIDIA to Only Launch the Flagship GeForce RTX 5090 in 2024, Rest of the Series in 2025 (152)
- Sony PlayStation 5 Pro Specifications Confirmed, Console Arrives Before Holidays (119)
- AMD's RDNA 4 GPUs Could Stick with 18 Gbps GDDR6 Memory (114)
- AMD Hits Highest-Ever x86 CPU Market Share in Q1 2024 Across Desktop and Server (111)
- AMD Ryzen 9 7900X3D Now at a Mouth-watering $329 (104)