 19
19
be quiet! Light Wings 120 mm PWM High-Speed Fan Review
Performance Testing »Closer Examination


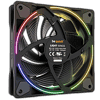
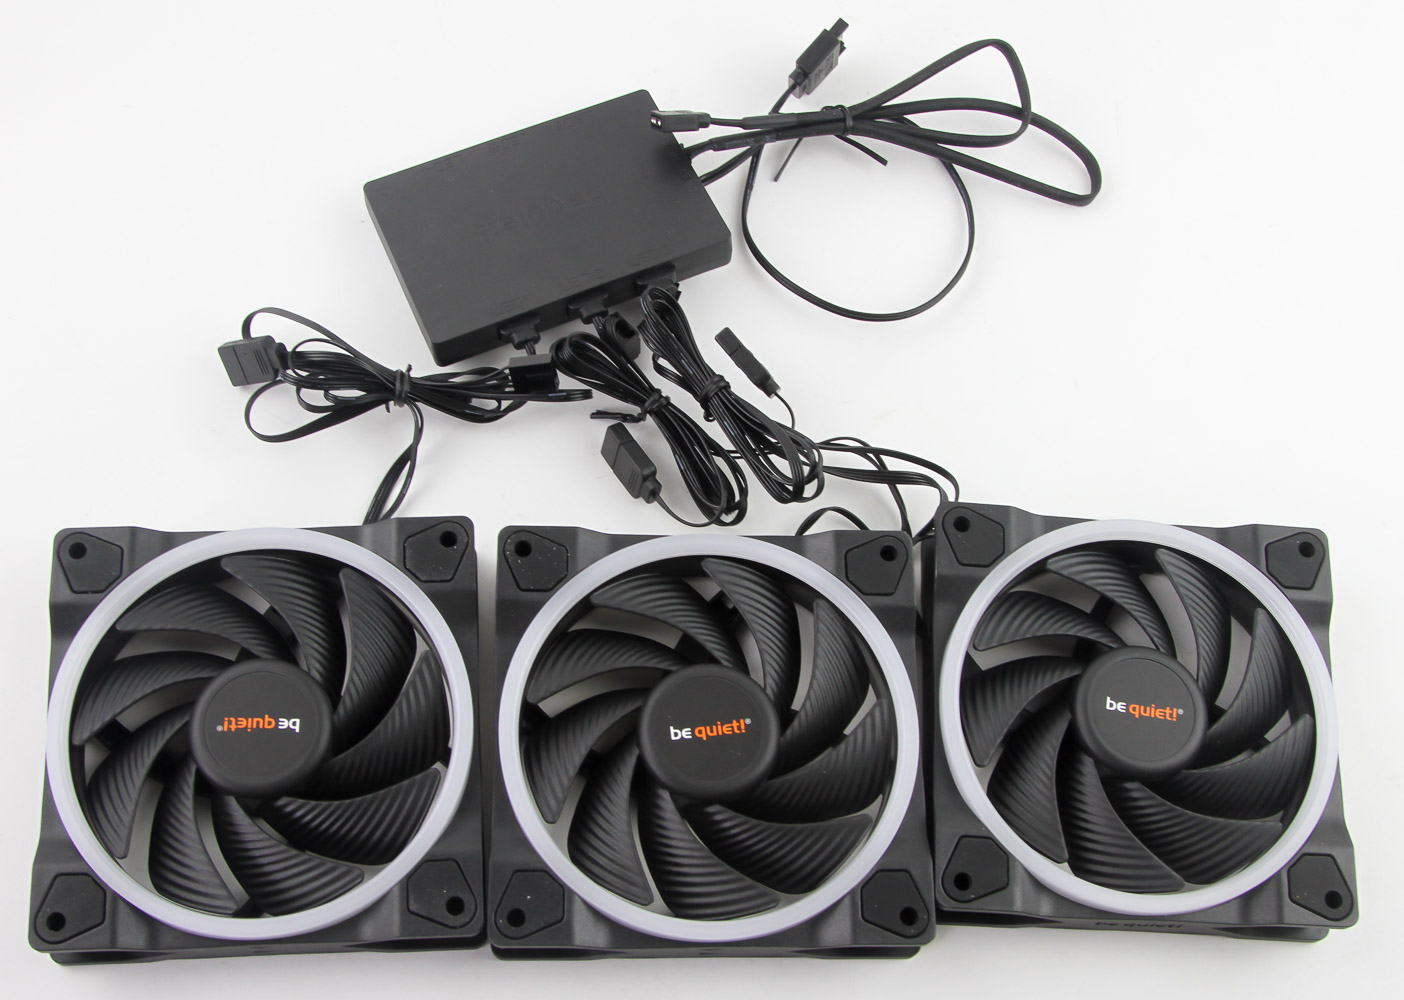
I had to post a photo of all three fans together, if only to give you a better idea of how they would look installed next to each other. Cable management will be key! The design language of the be quiet! Light Wings is certainly taken from previous be quiet! fans, including the Silent Wings 3. In fact, now is as good a time as any to discuss what's different with the high-speed versions. See how the fans above have nine impeller blades? The regular versions have seven, with more room between blades to where it looks just like the Silent Wings 3 but with an LED ring on the hub. This is the first such difference between two differently rated speed version fans that I am aware of, one that might go unnoticed by many.
Don't expect any LCP or ultra-tiny gaps to the frame as the be quiet! Light Wings aims to address the market that wanted RGB fans from the company without much of a compromise on performance and noise. As such, we get the same wavy patterns as on the Silent Wings 3 which aim to break turbulence and put forth a more consistent airflow field past the fan. The impeller on this high-speed version swoops inward more in a clear move to increase static pressure. The central hub is about average in size and has a logo sticker, and we see markings on the frame for the logo and direction of fan rotation and airflow. This is a typical 120 x 120 x 25 mm fan with 105 mm fan-hole spacing to match those in your case, radiators, and coolers, and has closed corners with vibration-dampening silicone pads on either side.


A look at the back shows a fairly typical quad-stator vane configuration set perpendicular within themselves, although two are thicker than the rest to account for cables behind those. Notice the thin, split-up RGB ring on the back here; it's much thinner than on the front and effectively piggybacks off the LEDs prioritizing the front. I can appreciate what this brings to the table for those installing these in a pull configuration, for example, but you are quite unlikely to notice it much if the radiators are mounted along the motherboard tray, such as in the CORSAIR 5000 series of cases. The motor inside is rated for a maximum power consumption of 0.46 A on the 12 VDC rail, which presumably excludes the separately powered LEDs. This is typically the peak value in UL testing; in practice, it is the worst-case scenario including start-up boost and all that. The fans consumed closer to 0.25 A each while operating, which isn't bad for a 2500 RPM fan. I'd still recommend using a powered PWM hub, or going with 1-2 fans per fan header just to be safe.
It's quite telling then that be quiet! chose to include a powered ARGB hub, but not a PWM splitter for the fan motors. The RGB lighting is clearly a very important marketing point even based on the press release and social media chatter about these from the company. As such, I was not surprised to see a fairly standard rifle bearing employed, which admittedly should be just fine considering the internal lubrication leading to a quieter performance and better longevity than the general sleeve bearing it improves upon. be quiet! does not provide further details on the motor or bearings. Based on what is visible, the solder job is quite clean, and we see the two different cables coming off two different parts on the PCB.

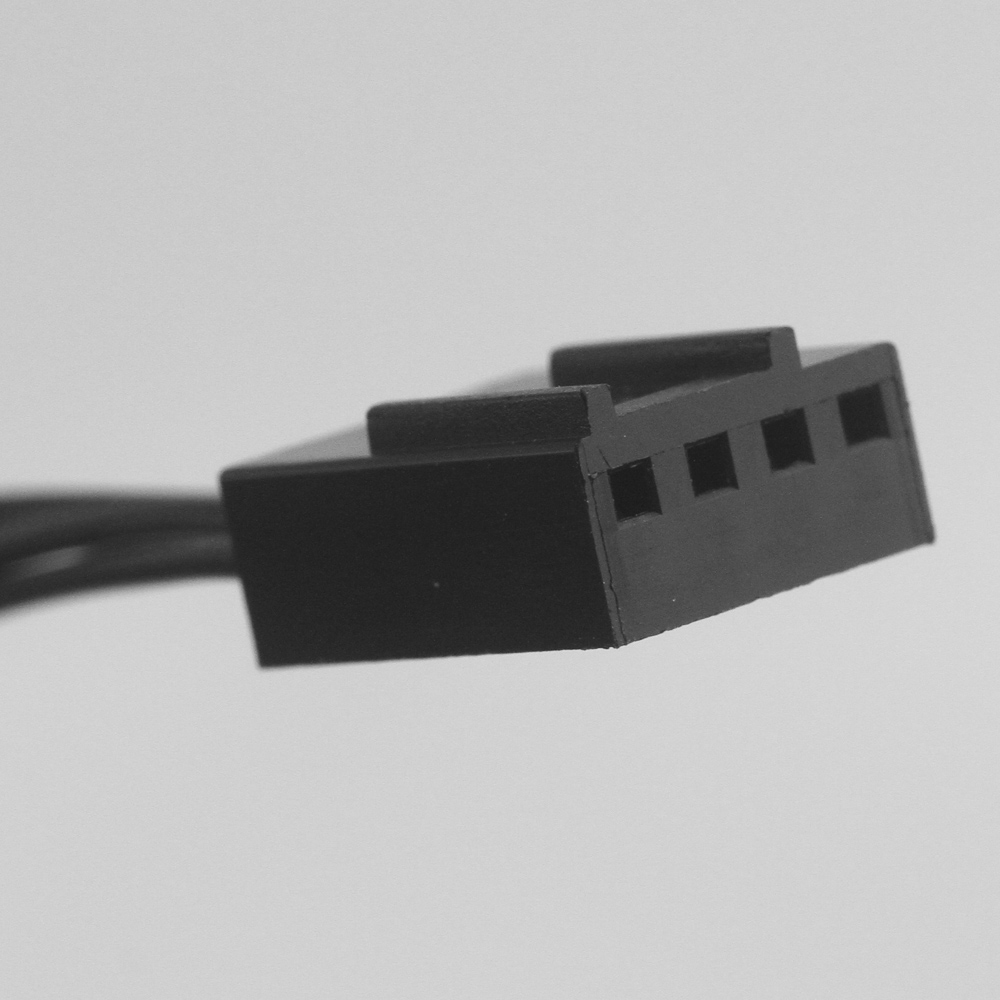

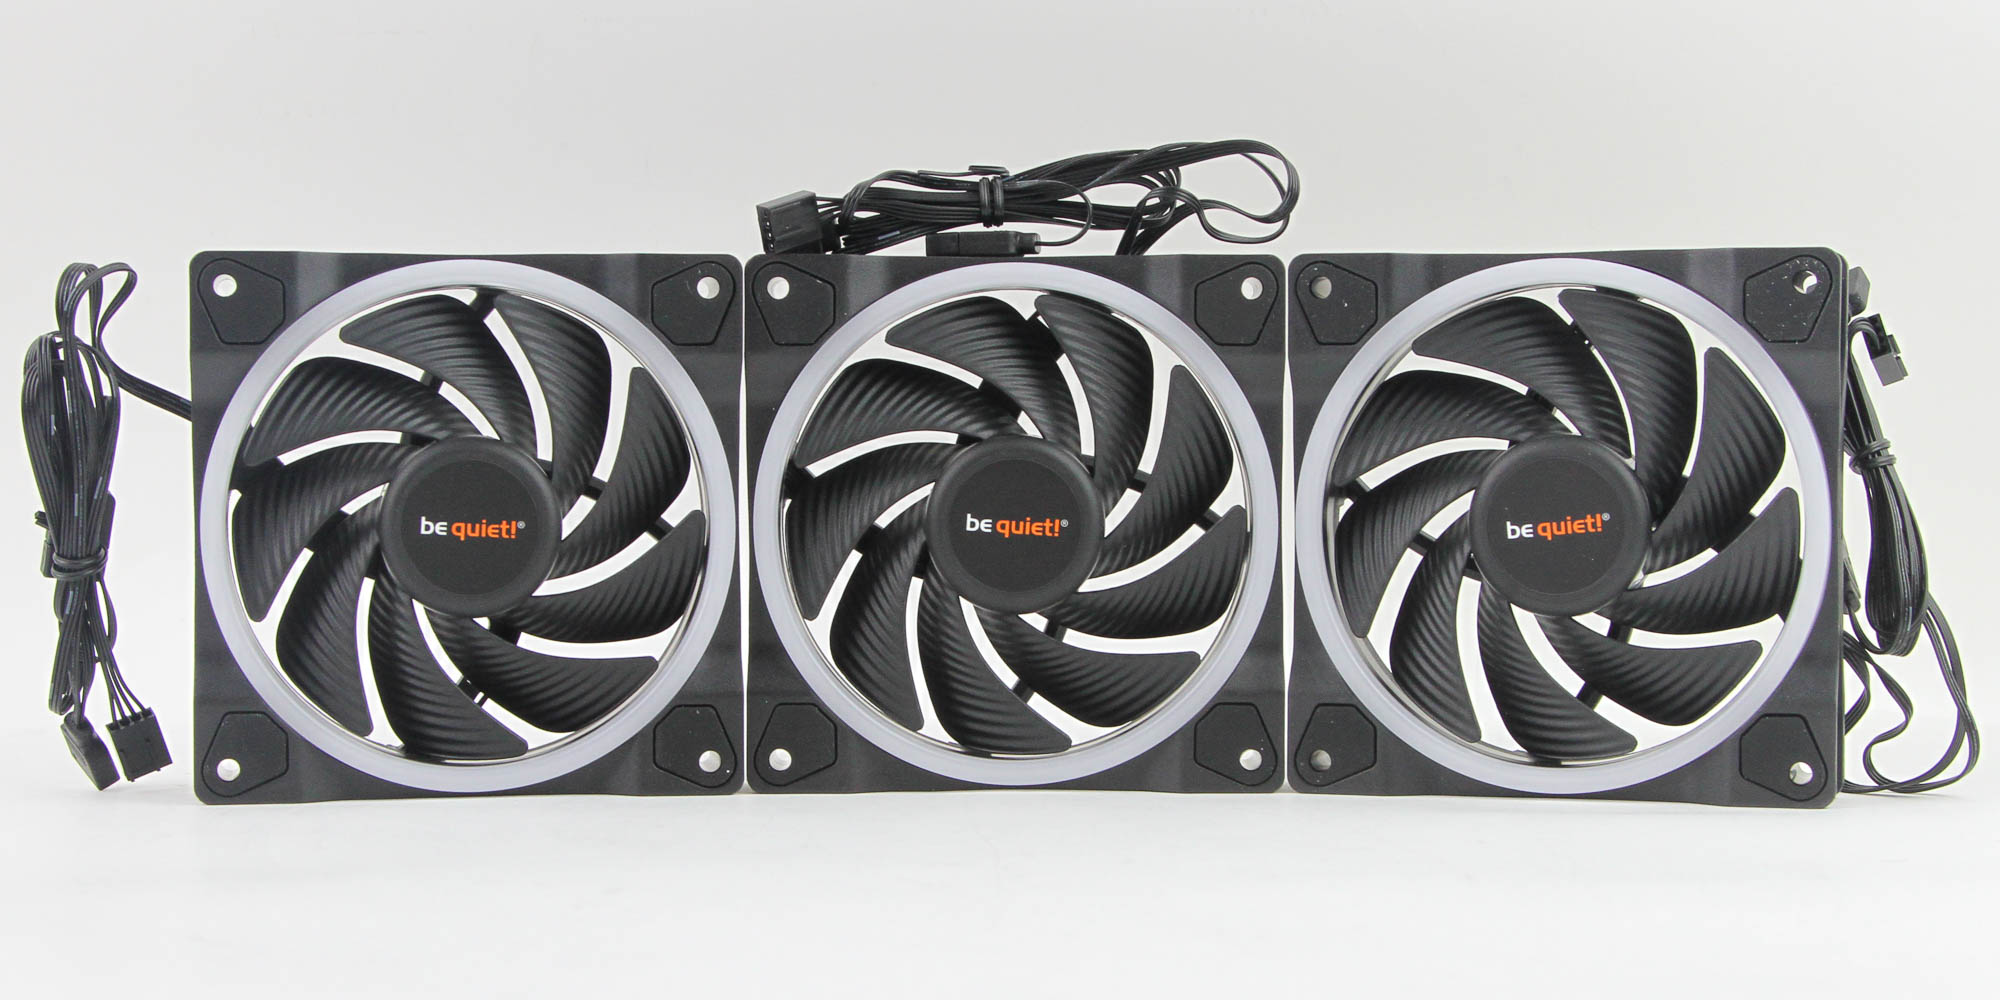
Both cables are ribbon-style and flat, with black insulation over each wire, stacked one above the other as they exit the frame. A cable tie keeps things clean for now, but you end up with two cables that try to revert to the folded manner in which they arrived, making it hard to flatten and arrange these along the sides of your case. As such, these do not handle much different than the heatshrink and tube sleeving job seen so often. The cables are long enough for most cases, probably too long in the case of the LED cable as there is the option to go with the RGB hub, but also notice that there is a daisy-chain connector to connect multiple fans to the same powered LED header depending on the capacity of your motherboard or LED controller. Once again, the PWM connector not getting any such love is going to have folks thinking that priorities are more on the RGB.

I recommend going with the included ARGB hub even though it is purely a splitter and does not allow for sequential effects for the connected fans. With that done, connect the mini 3-pin connector to the hub, which now has two cables just for the fan LEDs. The 5 V ARGB connector goes to your motherboard or LED controller, and it takes a spare SATA connector from your PSU to power the LEDs. This still leaves three more cables to account for, so consider buying a powered PWM splitter as well since it's going to get messy otherwise.
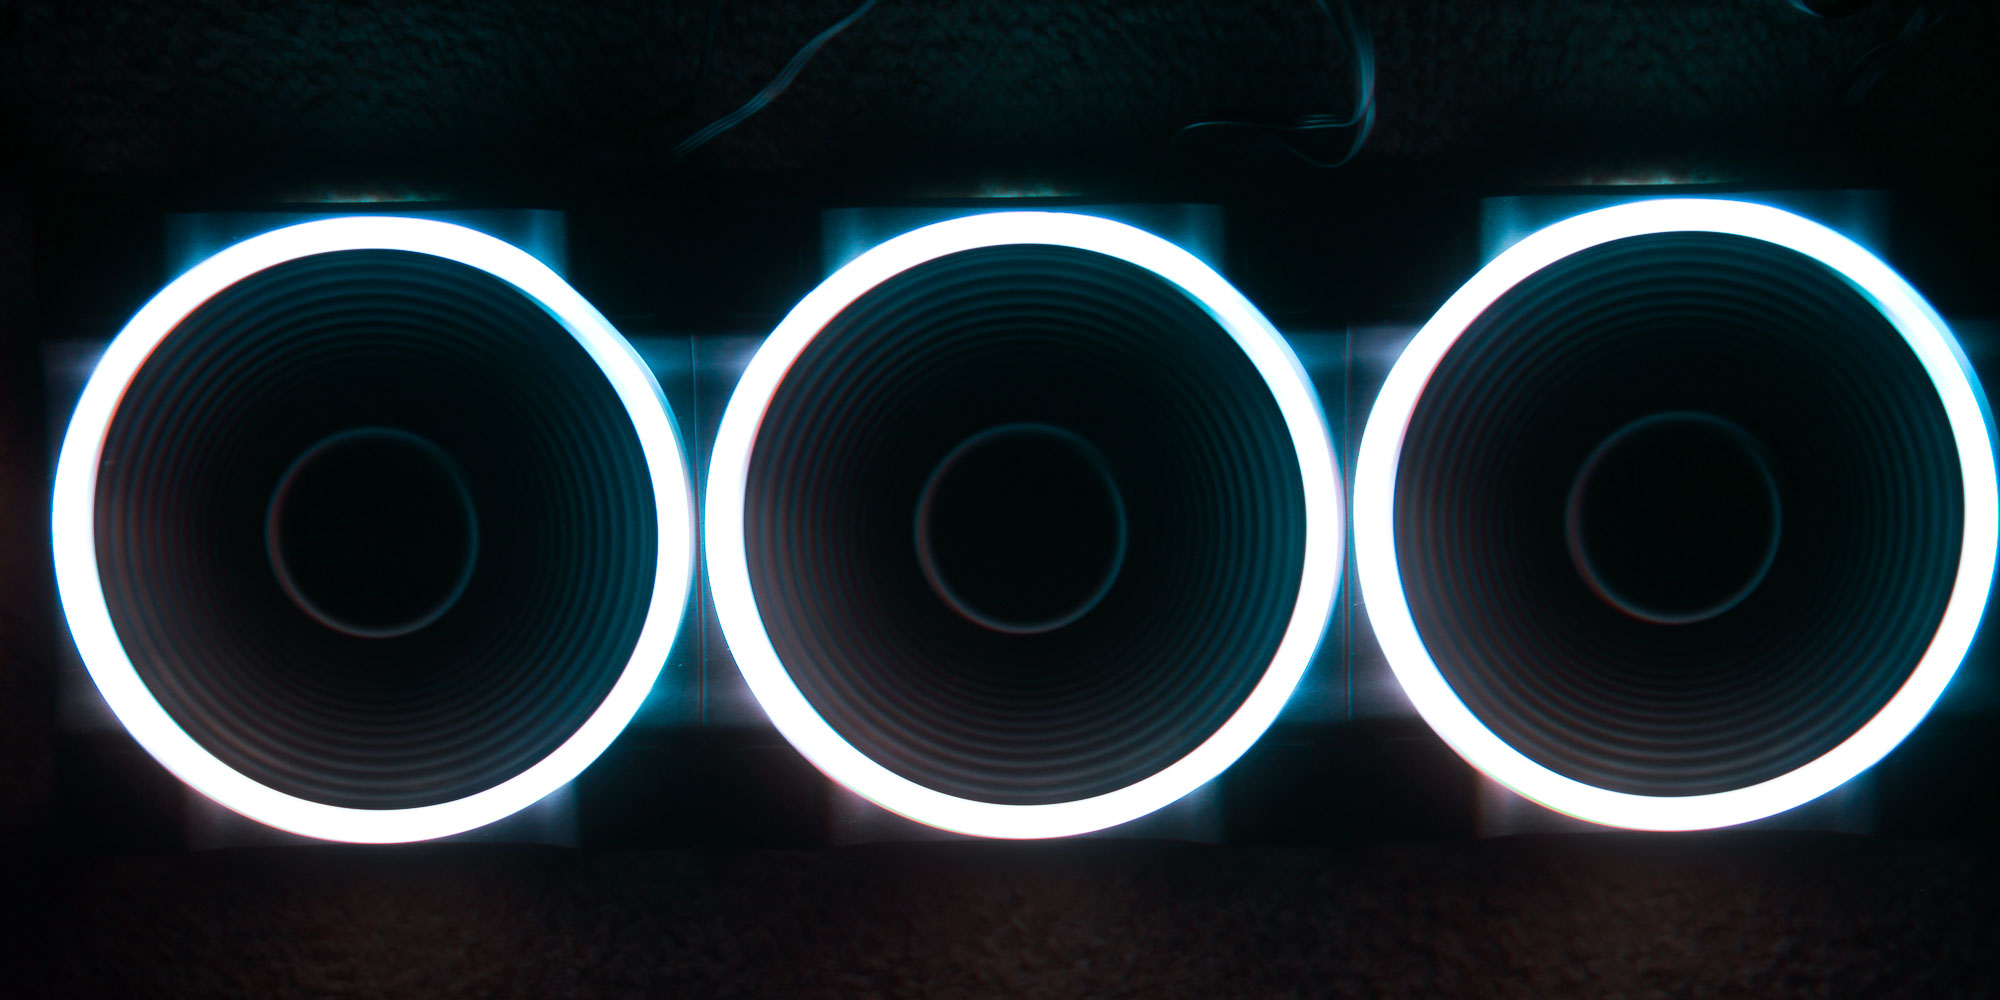

My current system doesn't make it easy to photograph powered and lit up RGB fans outside the case, so I used a simple LED controller instead. As such, excuse the more mundane lighting effects above, and note that the fans do light up exactly how you set them up. There are 19 ARGB LEDs per fans, which makes for a bright LED ring up front that is also diffused and uniform enough to be one of the better such implementations I have seen. The LED ring on the back is too thin and subtle to be an attraction, and having it lit up in the dark without it being blurry is difficult. I suspect folks interested in the be quiet! Light Wings fans are going for the front ring anyway, be it from the side or front. With three fans, there's 57 LEDs to power, so daisy-chaining the LED cables and connecting all of these to a single header is limiting, which may well be the case on your motherboard and why I suggested using the ARGB hub.
Apr 26th, 2024 06:16 EDT
change timezone
Latest GPU Drivers
New Forum Posts
- What's your latest tech purchase? (20346)
- Share your AIDA 64 cache and memory benchmark here (2918)
- Secure boot already open help (1)
- What are you playing? (20535)
- Best SSD for system drive (83)
- TPU's Nostalgic Hardware Club (18472)
- Last game you purchased? (258)
- Alphacool CORE 1 CPU block - bulging with danger of splitting? (22)
- Nvidia CMP 100-210 or 100HX (GV100 GPU) (9)
- Horizontal black lines popping up on my screen? (7)
Popular Reviews
- HYTE THICC Q60 240 mm AIO Review
- Alienware Pro Wireless Gaming Keyboard Review
- MOONDROP x Crinacle DUSK In-Ear Monitors Review - The Last 5%
- Upcoming Hardware Launches 2023 (Updated Feb 2024)
- Thermalright Phantom Spirit 120 EVO Review
- RTX 4090 & 53 Games: Ryzen 7 5800X vs Ryzen 7 5800X3D Review
- ASUS Radeon RX 7900 GRE TUF OC Review
- NVIDIA RTX 4090: 450 W vs 600 W 12VHPWR - Is there any notable performance difference?
- RTX 4090 & 53 Games: Core i9-13900K vs Ryzen 7 5800X3D Review
- FiiO K19 Desktop DAC/Headphone Amplifier Review
Controversial News Posts
- Windows 11 Now Officially Adware as Microsoft Embeds Ads in the Start Menu (122)
- Sony PlayStation 5 Pro Specifications Confirmed, Console Arrives Before Holidays (117)
- NVIDIA Points Intel Raptor Lake CPU Users to Get Help from Intel Amid System Instability Issues (106)
- AMD "Strix Halo" Zen 5 Mobile Processor Pictured: Chiplet-based, Uses 256-bit LPDDR5X (101)
- US Government Wants Nuclear Plants to Offload AI Data Center Expansion (98)
- AMD's RDNA 4 GPUs Could Stick with 18 Gbps GDDR6 Memory (89)
- Developers of Outpost Infinity Siege Recommend Underclocking i9-13900K and i9-14900K for Stability on Machines with RTX 4090 (85)
- Windows 10 Security Updates to Cost $61 After 2025, $427 by 2028 (84)