 16
16
Beelink SER5 Pro 5600H Mini-PC Review
Test Systems »A look Inside
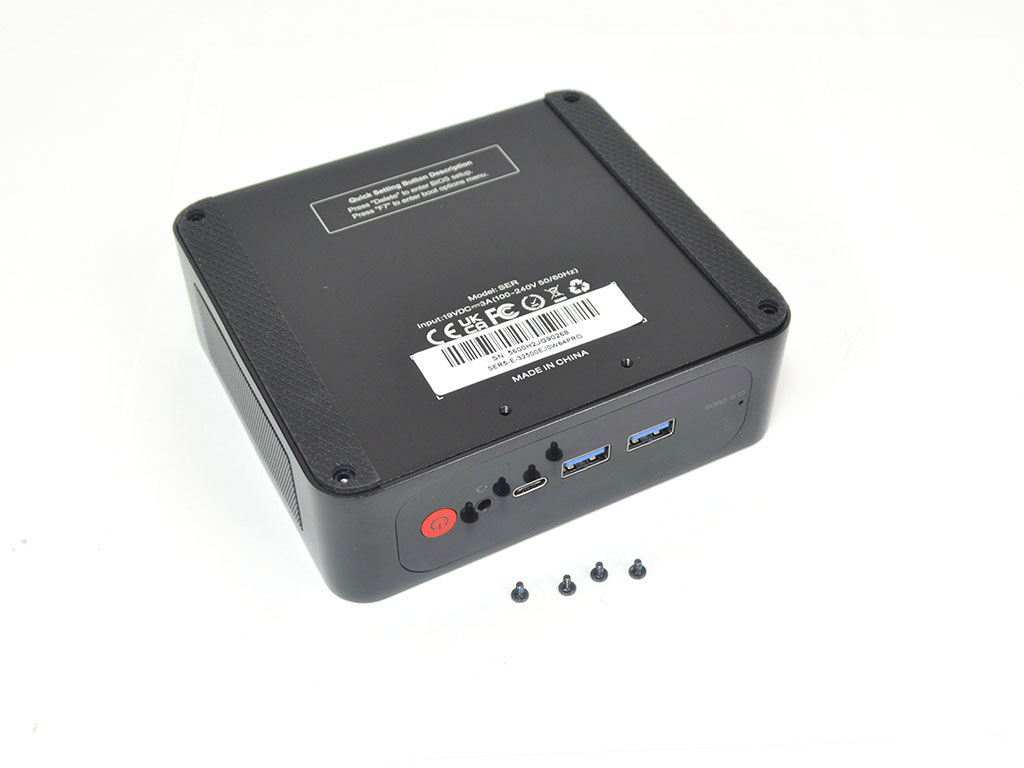
Taking the Beelink SER5 PRO 5600H apart is a very easy process. To start with, you will need to remove the four screws located at each corner on the bottom. With that done, the bottom plate can be lifted up and over. Do not pull too far or too hard, as there is a SATA ribbon cable attached to the bottom plate, as it also serves as a 2.5-inch HDD tray. At this point, you now have access to both system memory and storage.
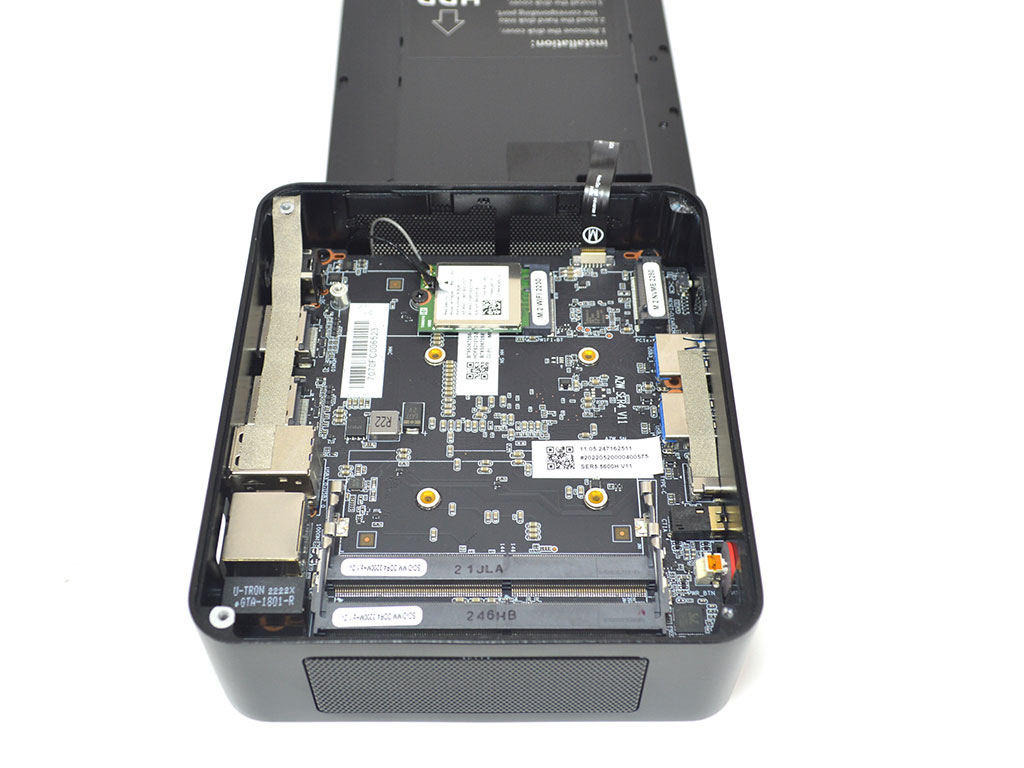

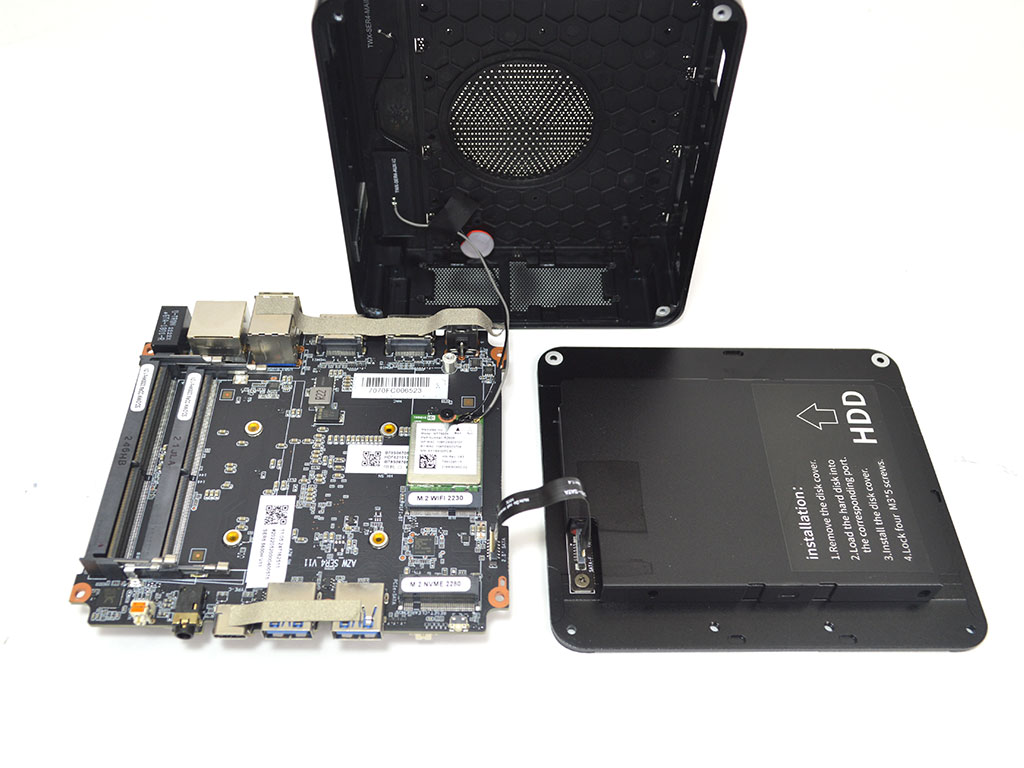
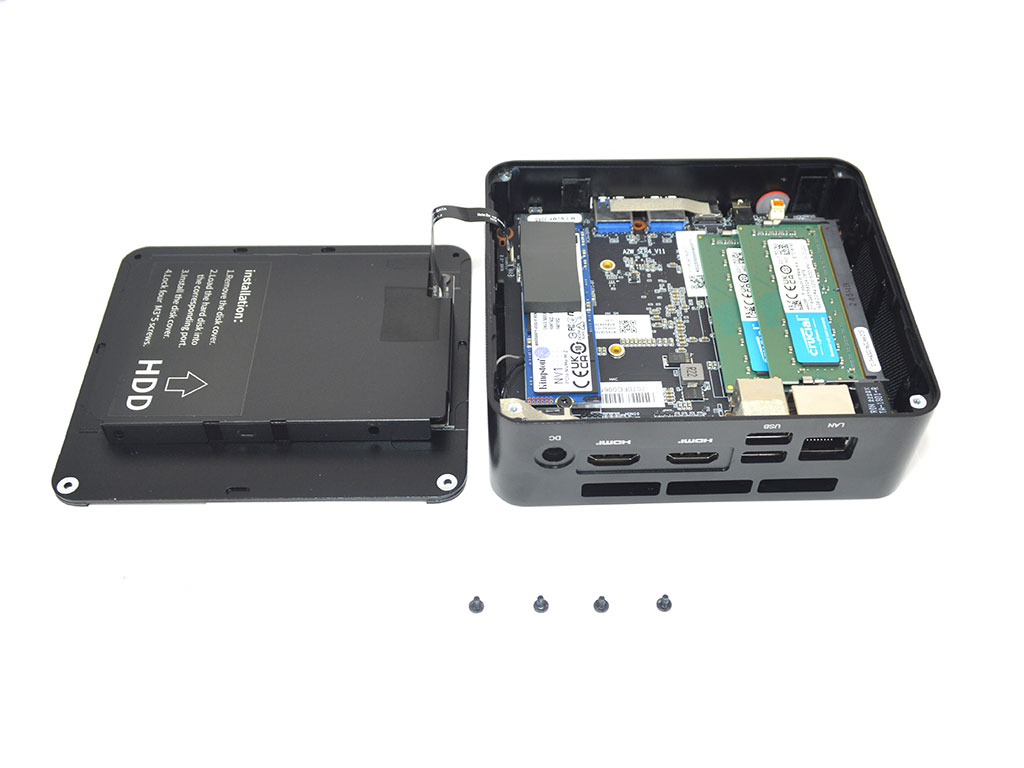
While going beyond this likely isn't needed for any future upgrades, if you want to give the system a deep clean, you can do so by removing the memory and SSD for a clearer look. At this point, we can see Beelink is using a MediaTek RZ608 Wi-Fi module which is Wi-Fi 6E 2x2 rated, offering Bluetooth 5.2 support. Fun fact, this particular module was made via a partnership with MediaTek and AMD. That said, to remove the motherboard, you will need to remove four screws located in each corner. Once those screws are taken out, the motherboard can be removed, but be careful as the Wi-Fi antenna cables are rather short. Even so, enough slack is present that you can separate everything, as shown here.
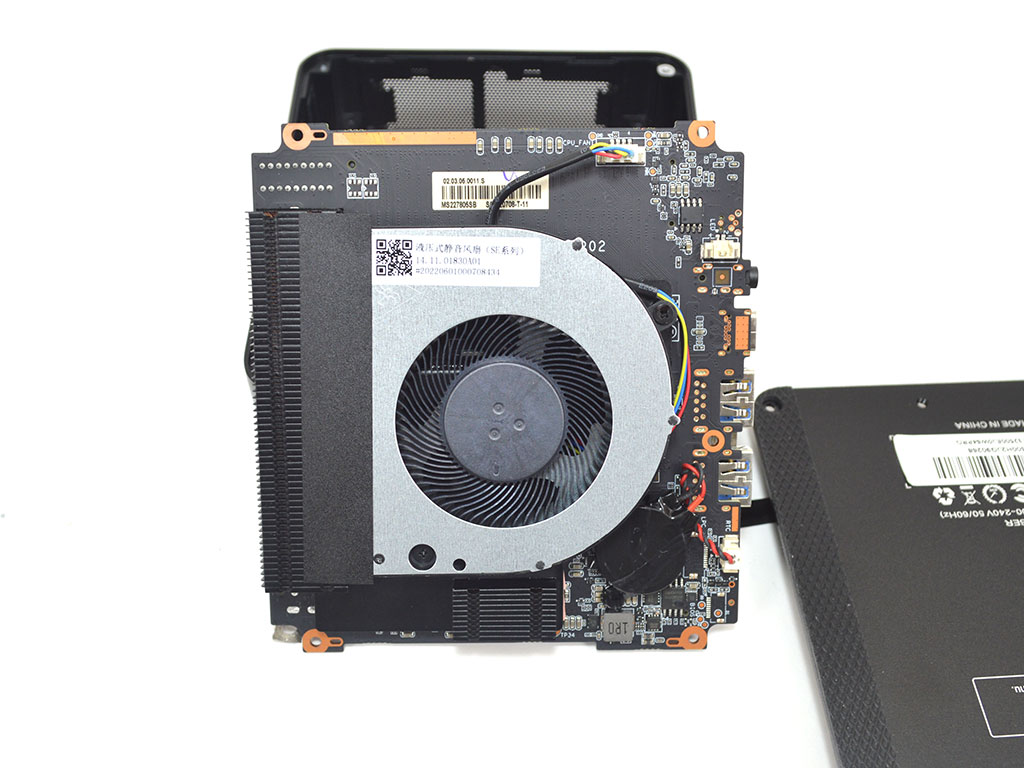
With everything carefully separated, you can now flip the board over to gain access to the CPU cooler and fan, along with the CMOS battery.

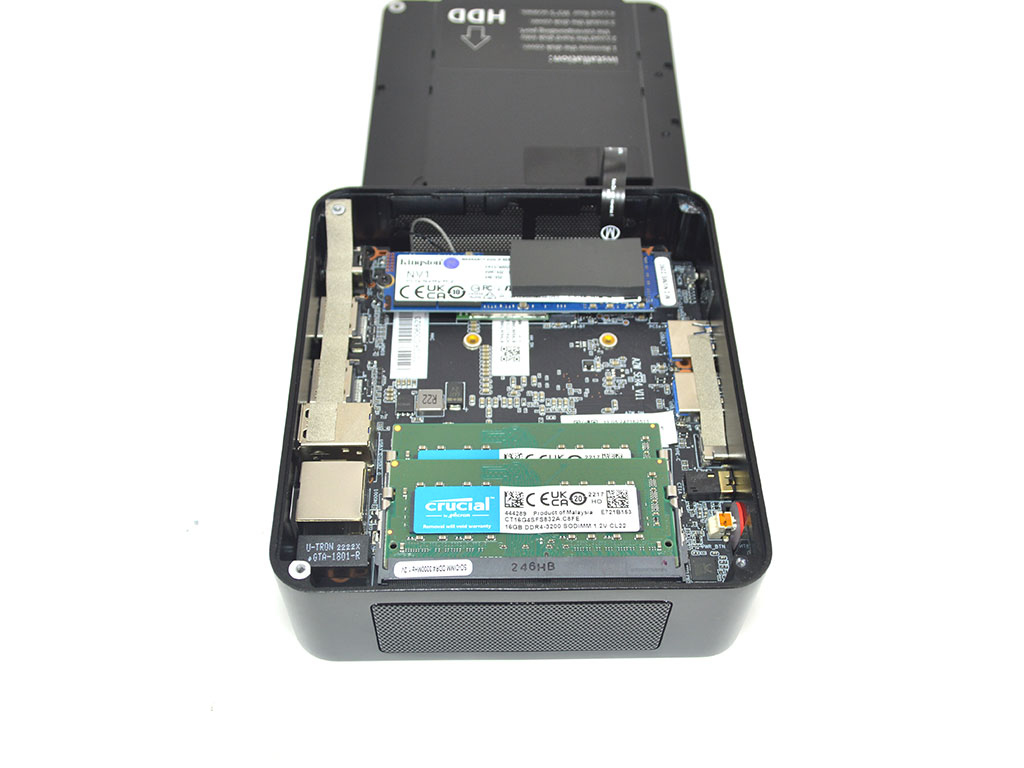
Finally, a closer look at the memory and SSD reveals that Beelink opted to use a Kingston NV1 PCIe 3.0 NVMe SSD and 2x 16 GB of Crucial DDR4 3200 MHz SODIMM memory modules.
Jun 8th, 2024 08:16 EDT
change timezone
Latest GPU Drivers
New Forum Posts
- How to quickly & easily fix coil-whine(coil choke noise) (862)
- need the ppid of Asus tuf rtx 4070ti super oc, but cant find it anywhere (7)
- Has Youtube Lost it's Mind? (18)
- Windows 7 and Gigabyte 299x wu8 (22)
- 9900X3D - Will AMD solve the split CCD issue (110)
- GPU-Z installer broken on Windows Vista since 2.57, NVIDIA driver version detection issue (5)
- prices of RTX 40 Series (2)
- [Help] Another Chinese RX580 8GB 2048SP Problem Thread (13)
- Premium DisplayPort 2.1 & HDMI 2.1 cables (8)
- TPU's Nostalgic Hardware Club (18567)
Popular Reviews
- Intel Lunar Lake Technical Deep Dive - So many Revolutions in One Chip
- NZXT H6 Flow RGB Review
- Pulsar Xlite V3 Review
- AQIRYS HYDRA 360 AIO Review
- Upcoming Hardware Launches 2024 (Updated May 2024)
- Corsair iCUE XC7 RGB Elite LCD CPU Water Block Review
- Kioxia Exceria Plus G3 2 TB Review
- AMD Ryzen 7 7800X3D Review - The Best Gaming CPU
- Ghost of Tsushima Performance Benchmark Review - 35 GPUs Tested
- Thermal Grizzly KryoSheet Review - Tested on RX 7900 XTX with 475 W
Controversial News Posts
- AMD RDNA 5 a "Clean Sheet" Graphics Architecture, RDNA 4 Merely Corrects a Bug Over RDNA 3 (142)
- AMD Hits Highest-Ever x86 CPU Market Share in Q1 2024 Across Desktop and Server (140)
- NVIDIA RTX 5090 "Blackwell" Founders Edition to Implement the "RTX 4090 Ti" Cinderblock Design (118)
- Core Configurations of Intel Core Ultra 200 "Arrow Lake-S" Desktop Processors Surface (101)
- AMD Zen 5 Storms into Gaming Desktops with Ryzen 9000 "Granite Ridge" Processors (95)
- Biden Administration to Revive Trump-Era Tariffs on China-made GPUs and Motherboards (95)
- ASRock Innovates First AMD Radeon RX 7000 Graphics Card with 12V-2x6 Power Connector (94)
- AMD Ryzen 9000 Zen 5 Single Thread Performance at 5.80 GHz Found 19% Over Zen 4 (88)