 3
3
BitFenix Ronin Review
Value & Conclusion »Assembly

Installing the motherboard within the Ronin is done by utilizing traditional stand-offs. The large Phanteks cooler fits into the case well, as does the long graphics card. All the cables only have a short distance to travel because of the openings in the motherboard tray.
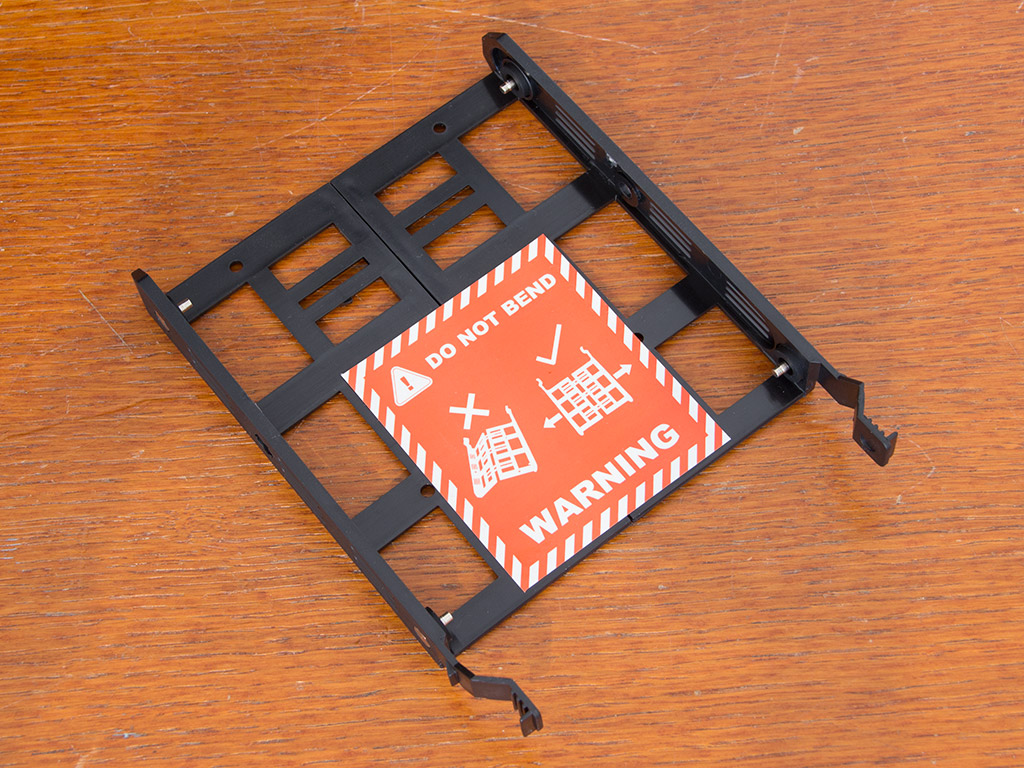


BitFenix utilizes plastic trays to hold hard drives. These slide out easily, but BitFenix included a large red sticker mentioning the fact that you do not bend the trays to place a drive within them—simply pull them apart. Once a drive is in place, slide it into the bay of your choice until it snaps into place. Those installing 2.5" drives into these trays will still have to use the included screws and a screwdriver.


Installing the optical drive requires you to remove the entire front first. You won't be able to open the bay of your choice otherwise. Doing so also reveals a dust filter BitFenix placed on the 120 mm fan in the front. Use the additional dust filter to keep things clean within the chassis; that is, if you happen to install another such cooler below it. Once the bay is free, slide the optical drive in and push the lock back into place. While it does keep the device from sliding around, there is still quite a bit of play, so you should sink a single screw into the appropriate location to pin any 5.25" unit down properly.

Installing the PSU is done by traditional means, with the included screws. There is nothing out of the ordinary here as even larger units will fit nicely as long as you do not install a fan onto the floor of the chassis.


With all the parts and cables in place, the Ronin already makes a good impression, and that without the cover. Put it in place and you will no longer be able to see most of the leads by looking at the interior straight on. All the cables have also been routed and hidden behind the motherboard tray. Securing them is not an issue because of a large number of hooks for cable ties.
Finished Looks
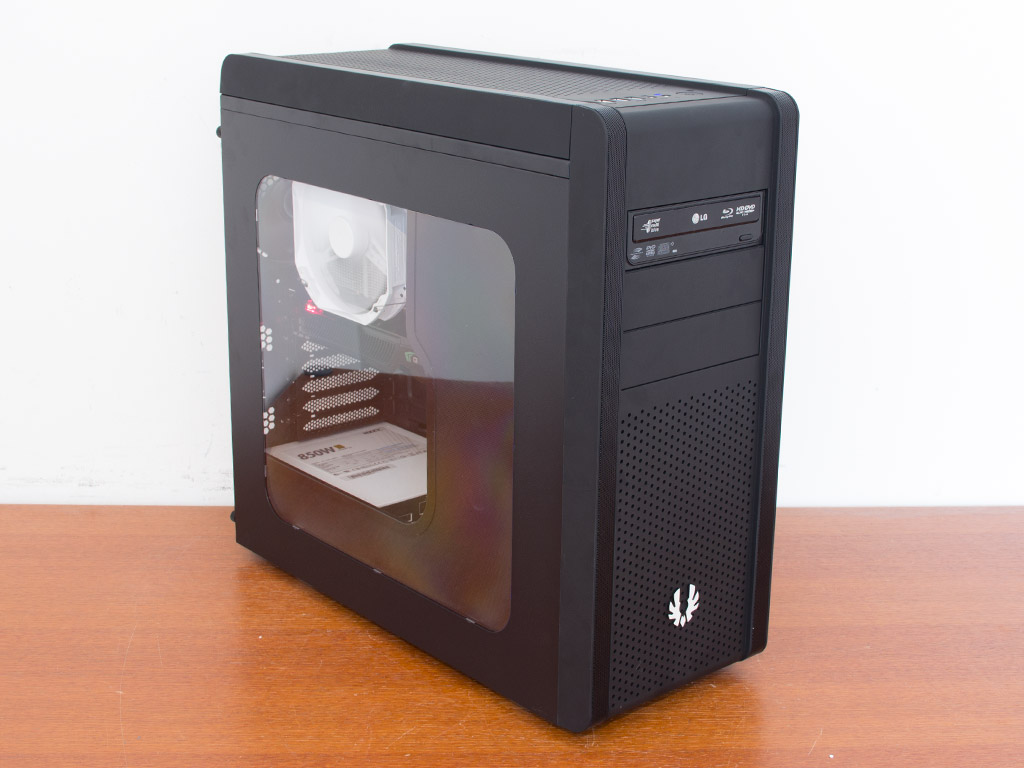

Once the side panels have been placed back on the BitFenix Ronin, it makes a great impression. I am a big fan of understated, clean-looking cases, and the symmetric window simply adds to that. A fairly bright blue LED on top of the chassis lights up to let you know that the system is up and running.


The black drive in the front fits the entirety of the Ronin's design well. The surface treatment of the chassis is not really black, but more of a dark gray. The two metal mesh strips also contrast nicely with a black drive. Looking at the white components within the case and having your components visible without any ugly cables or drives is certainly quite spiffy. I can see people placing logos of all the brands inside their system on the internal cover, with some indirect lighting much like that of a heavily modified car out of The Fast and the Furious. All the connectors in the rear are where you would expect them to be.
May 5th, 2024 06:14 EDT
change timezone
Latest GPU Drivers
New Forum Posts
- Arctic MX-6 shelf life is just a couple months? (86)
- Only some humans can see refresh rates faster than others, I am one of those humans. (116)
- Is updating BIOS to beta versions a good idea if you have the most recent version installed but still face issues? (6)
- Resolution problems in-game with Av receiver (windows 11) (0)
- Unigine Heaven 4.0 Benchmark Scores Part 2 (931)
- AI Benchmark Alpha version 0.1.2 (2)
- Post your Speedometer 3.0 Score (38)
- What's your latest tech purchase? (20439)
- Strange system crashes out of nowhere, help (25)
- My Laptop is having issues with PL2 and EDP OTHER (10)
Popular Reviews
- Finalmouse UltralightX Review
- Meze Audio LIRIC 2nd Generation Closed-Back Headphones Review
- ASRock NUC BOX-155H (Intel Core Ultra 7 155H) Review
- Montech Sky Two GX Review
- Cougar Hotrod Royal Gaming Chair Review
- Upcoming Hardware Launches 2023 (Updated Feb 2024)
- Alienware Pro Wireless Gaming Keyboard Review
- HYTE THICC Q60 240 mm AIO Review
- AMD Ryzen 7 7800X3D Review - The Best Gaming CPU
- Logitech G Pro X Superlight 2 Review - Updated with 4000 Hz Tested
Controversial News Posts
- Intel Statement on Stability Issues: "Motherboard Makers to Blame" (240)
- Windows 11 Now Officially Adware as Microsoft Embeds Ads in the Start Menu (167)
- AMD to Redesign Ray Tracing Hardware on RDNA 4 (137)
- Sony PlayStation 5 Pro Specifications Confirmed, Console Arrives Before Holidays (117)
- AMD's RDNA 4 GPUs Could Stick with 18 Gbps GDDR6 Memory (114)
- NVIDIA Points Intel Raptor Lake CPU Users to Get Help from Intel Amid System Instability Issues (106)
- AMD Ryzen 9 7900X3D Now at a Mouth-watering $329 (104)
- AMD "Strix Halo" Zen 5 Mobile Processor Pictured: Chiplet-based, Uses 256-bit LPDDR5X (103)