 5
5
Bykski FOUR Founders GTX 1080 GPU Waterblock Review
Installation »Closer Examination

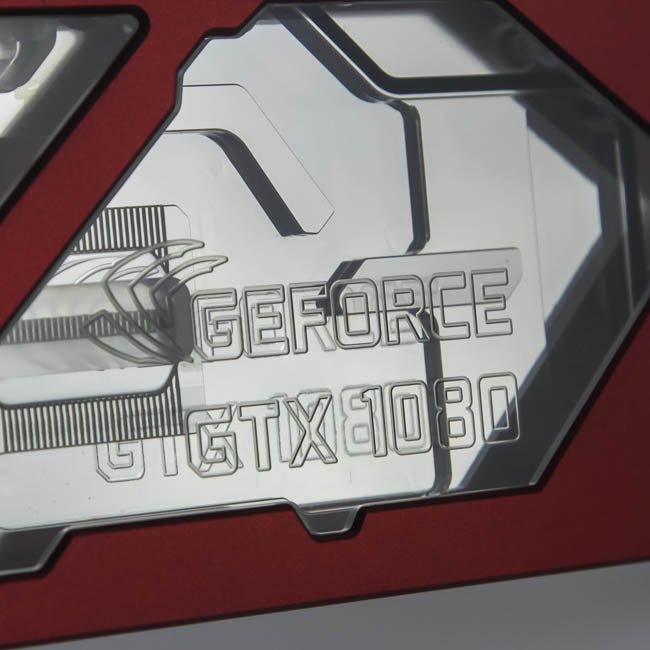

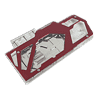
Having removed the water block from its protective wrap, we see a similar design as for the GPU backplate and CPU block from earlier. There is an acrylic top with an anodized aluminum cover to add some flair, and the GPU name has been etched into the middle, which leaves a shadow on the cold plate if put under a direct light source. The only branding from the front is a laser-engraved Bykski metal stamp in the lower-left corner. The acrylic has been given a polish so that the coolant can be seen through the gaps in the top cover.


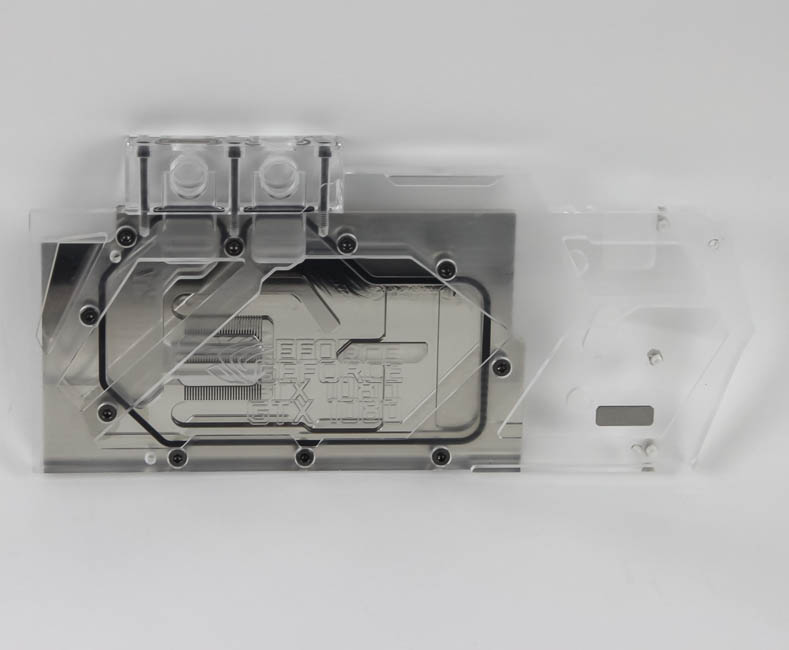
The I/O port manifold has three screws similar to the EKWB design, but is made out of acrylic by default, which fits in better, but does allow for the possibility of micro-fractures if the fittings/stop plugs used on the four BSP G1/4" ports are screwed in tighter than necessary. Using the provided 14 mm hard tube fittings, we can actually see that the red colors on the fittings and the GPU block do not match up exactly, which is a shame considering the whole point here was to have color-coordinated watercooling parts. I did let Bykski know and was informed that they are going to implement stricter QC to ensure this does not happen in the future, but for now, be aware of this possibility. There is one more brand badge here, so you will see one irrespective of how you end up mounting the GPU.


Flipping over the block, we see the contact side of the nickle-plated cold plate with its raised surfaces that make contact with the GPU core, VRAM modules, and VRMs, with thermal paste or thermal pads in between. The surface has been given a mirror-like polish and feels completely flat and smooth to the touch. There are eleven standoffs on the cold plate and another three on the top's underside.


The top cover is held in place by four screws, so you can remove it completely without it affecting functionality. The water block does look weird to me now because of the indents in the acrylic where the cover fits in, but if this looks better to you, then so be it. Disassembly of the waterblock begins with the removal of the I/O port manifold, and we see that there are two oval O-rings to prevent leaks here.


Removing the rest of the screws holding the top and the cold plate together, we can now better examine the cooling engine on the GPU block. There is the usual large O-ring that prevents the coolant from escaping the confines of the channels machined into the nickel-plated copper, and Bykski has adopted a split central flow design here, which is similar to what a lot of other GPU block manufacturers are doing now. The left ports on the I/O manifold, as seen from the front, are the recommended inlet ports wherein the coolant enters and splits into two parallel streams through the jetplate that is placed over the 0.4 mm machined microfins/microchannels area over the GPU core. The two streams then further cool the VRAM and VRMs before combining and exiting through the right side ports. The 0.4 mm thick microchannels and split flow design will help keep liquid flow restriction relatively low respective to those blocks using thinner channels and a serial flow design.
When re-assembling, just remember to put the O-rings back in place if it got dislodged and reverse these steps accordingly. As always, TechPowerUp is not liable for any issues that arise from your disassembly of the waterblock.
May 6th, 2024 13:25 EDT
change timezone
Latest GPU Drivers
New Forum Posts
- Only some humans can see refresh rates faster than others, I am one of those humans. (176)
- CYBERPUNK 2077 O.F. (7)
- Envinda RX 580 2048SP 8GB no image (19)
- What's your latest tech purchase? (20447)
- Battery swap for cyberpower UPS (60)
- The Official Thermal Interface Material thread (1164)
- Overheating/undervolt/setup issues (7)
- What is this? (3)
- Apparently Valve is giving refunds on Helldivers 2 regardless of hour count. Details inside. (95)
- Strange system crashes out of nowhere, help (29)
Popular Reviews
- Finalmouse UltralightX Review
- ASRock NUC BOX-155H (Intel Core Ultra 7 155H) Review
- Meze Audio LIRIC 2nd Generation Closed-Back Headphones Review
- Cougar Hotrod Royal Gaming Chair Review
- Upcoming Hardware Launches 2023 (Updated Feb 2024)
- Montech Sky Two GX Review
- AMD Ryzen 7 7800X3D Review - The Best Gaming CPU
- HYTE THICC Q60 240 mm AIO Review
- ASUS Radeon RX 7900 GRE TUF OC Review
- Logitech G Pro X Superlight 2 Review - Updated with 4000 Hz Tested
Controversial News Posts
- Intel Statement on Stability Issues: "Motherboard Makers to Blame" (248)
- Windows 11 Now Officially Adware as Microsoft Embeds Ads in the Start Menu (167)
- AMD to Redesign Ray Tracing Hardware on RDNA 4 (165)
- Sony PlayStation 5 Pro Specifications Confirmed, Console Arrives Before Holidays (117)
- AMD's RDNA 4 GPUs Could Stick with 18 Gbps GDDR6 Memory (114)
- NVIDIA Points Intel Raptor Lake CPU Users to Get Help from Intel Amid System Instability Issues (106)
- AMD Ryzen 9 7900X3D Now at a Mouth-watering $329 (104)
- AMD "Strix Halo" Zen 5 Mobile Processor Pictured: Chiplet-based, Uses 256-bit LPDDR5X (103)