 12
12
Cherry MX Board Silent Review
Driver & Performance »Disassembly
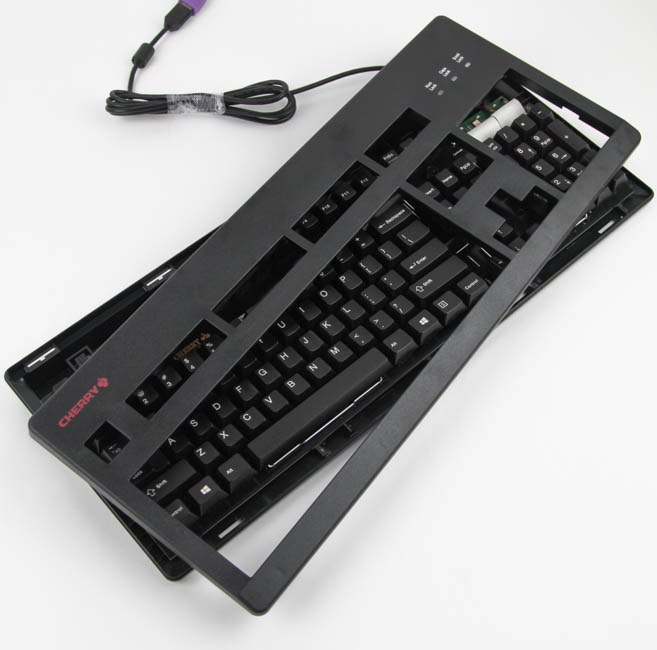
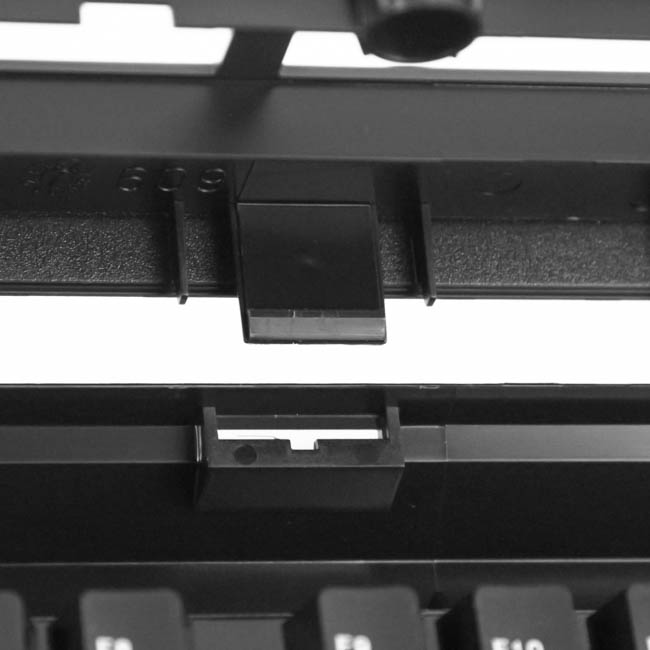

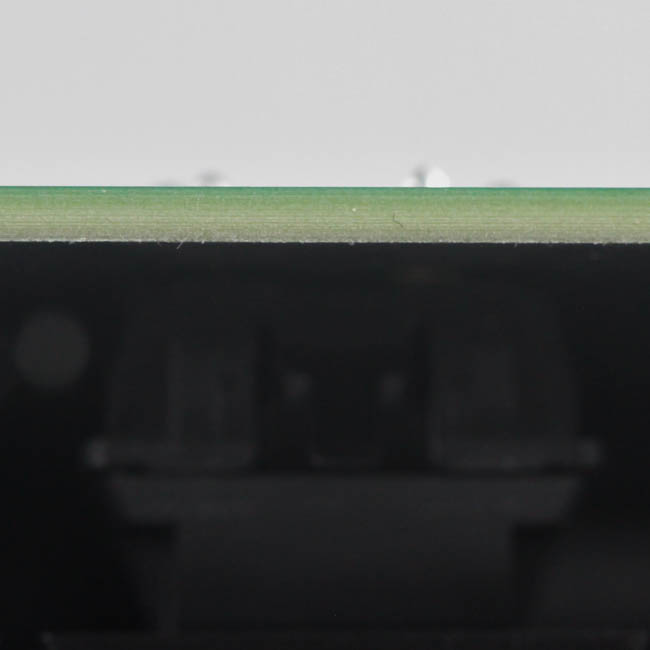
Disassembly of the Cherry MX Board Silent involves the separation of several large tabs on the top and bottom. These plastic tabs keep the two ABS plastic case panel pieces interlocked, and I recommend using a thin, flat object to do so. The tabs at the top are easier in that you simply need to clip them out of place, so start here and work your way around to the bottom where you have to dig into where the tabs are locked into place before applying more force to separate those. Once done, the top panel piece can be removed entirely, and here, we see that Cherry has used a diffuser piece for the indicator LEDs as well.
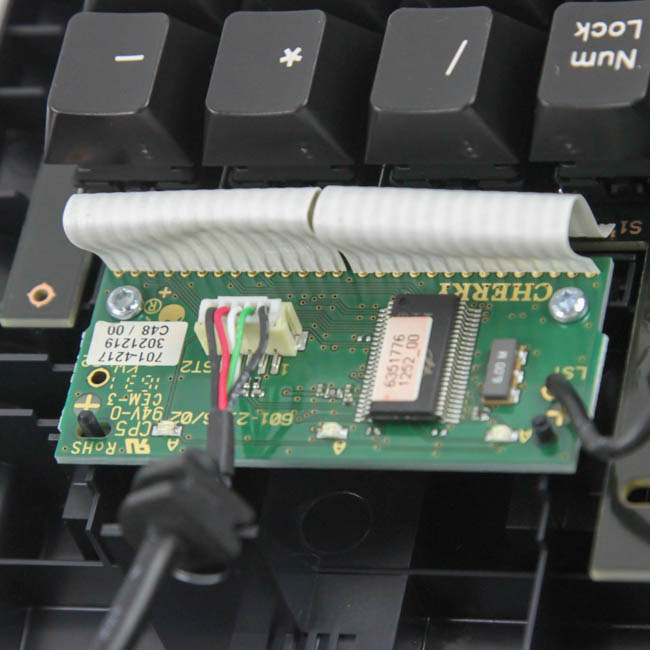
You now need to dislodge the internal USB connector to remove the keyboard's cable entirely, and will then have to use a Torx T8 driver to remove the two screws securing the daughter PCB in the top-right corner, which has two ribbon cables soldered onto it and the primary PCB.


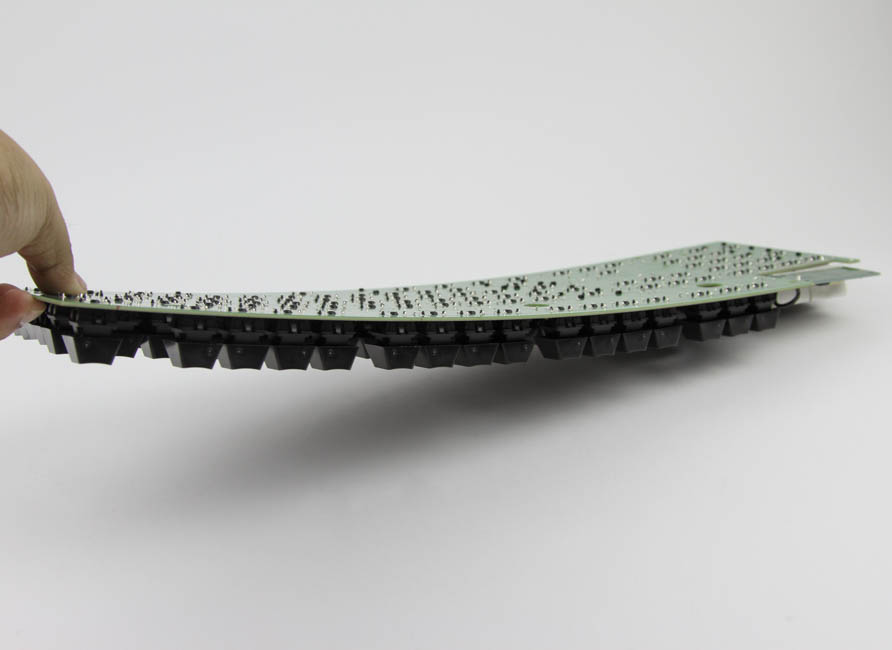

Now, we can take the two PCBs off the bottom case panel piece and see that there is really nothing at all in the space occupied by the top bezel. In fact, there isn't even a metal plate used here, with the primary PCB simply being given a black paint job on the front. Cherry says this is because they wanted to maintain the use of plastic throughout to keep the keyboard quiet in conjunction with the MX Silent switches, and this can also explain the larger case as it helps provide some much needed structural integrity to the keyboard. As it is, the PCB is extremely fragile and bends a lot simply due to gravity and the weight of the components on it, including the soldered switches and keycaps. I do not agree with Cherry's decision here, and I dare say most others would take a light ping on the downstroke when there is contact with a steel plate if it means a smaller, better-built keyboard that also weighs slightly more, which would in turn help prevent it from sliding on a desk. The PCBs are otherwise green in color on the business side of things.


Solder quality is average as there are some solder peaks, but they have been bent in the same direction and away from other pads. There is no visible excess flux to be seen either. The daughter PCB contains the internal USB connector as well as the microcontroller, and we see that the MX Board Silent is powered by a Holtek HT82K95E 8-bit USB MCU on a multi-layered PCB. The controller is the same as what was used on the MX Board 3.0 from four years ago, but given the extremely basic functionality here, it is plenty enough.
Before we move on, be advised that disassembly will void the warranty and that TechPowerUp is not liable for any damages incurred if you decided to go ahead and do so anyway.
Apr 27th, 2024 05:05 EDT
change timezone
Latest GPU Drivers
New Forum Posts
- Post your Speedtest.net Speeds! (2256)
- Should I install Windows 10 or 11 for my new device (5)
- TechPowerUp Screenshot Thread (MASSIVE 56K WARNING) (4214)
- Ryzen Owners Zen Garden (7246)
- wireless mic for pc (1)
- My mouse randomly stops working (2)
- Horizontal black lines popping up on my screen? (14)
- MSI Stealth GS65 9SF settings after repaste (0)
- Which terminal emulator do you use the most? (10)
- Browser startup performance test (4)
Popular Reviews
- Ugreen NASync DXP4800 Plus Review
- HYTE THICC Q60 240 mm AIO Review
- MOONDROP x Crinacle DUSK In-Ear Monitors Review - The Last 5%
- Upcoming Hardware Launches 2023 (Updated Feb 2024)
- Thermalright Phantom Spirit 120 EVO Review
- FiiO K19 Desktop DAC/Headphone Amplifier Review
- Quick Look: MOONDROP CHU 2 Budget In-Ear Monitors
- AMD Ryzen 7 7800X3D Review - The Best Gaming CPU
- Alienware Pro Wireless Gaming Keyboard Review
- ASUS Radeon RX 7900 GRE TUF OC Review
Controversial News Posts
- Windows 11 Now Officially Adware as Microsoft Embeds Ads in the Start Menu (137)
- Sony PlayStation 5 Pro Specifications Confirmed, Console Arrives Before Holidays (117)
- NVIDIA Points Intel Raptor Lake CPU Users to Get Help from Intel Amid System Instability Issues (106)
- AMD "Strix Halo" Zen 5 Mobile Processor Pictured: Chiplet-based, Uses 256-bit LPDDR5X (103)
- US Government Wants Nuclear Plants to Offload AI Data Center Expansion (98)
- AMD's RDNA 4 GPUs Could Stick with 18 Gbps GDDR6 Memory (95)
- Developers of Outpost Infinity Siege Recommend Underclocking i9-13900K and i9-14900K for Stability on Machines with RTX 4090 (85)
- Windows 10 Security Updates to Cost $61 After 2025, $427 by 2028 (84)