 28
28
Cooler Master HAF 700 EVO Review
Software & HAF 700 Evo Display »Review System
| System Parts for Case Reviews | |
|---|---|
| Processor: | ATX: Intel Core i5-11600K mATX/ITX: Intel Core i5-10600K Provided by: Intel |
| Motherboards: | ATX: Gigabyte Z590 AORUS PRO AX ITX: Gigabyte Z590I Vision D Provided by: Gigabyte mATX: ASRock B560M Steel Legend Provided by: ASRock |
| Graphics Card: | Gigabyte Radeon RX 6600 Eagle Provided by: Gigabyte ZOTAC GAMING GeForce RTX 3060 Ti Twin Edge OC Provided by: Zotac |
| Memory: | 16 GB XPG SPECTRIX D50 3200 MHz 16 GB XPG SPECTRIX D60G DDR4 3000 MHz 16 GB XPG GAMMIX D20 DDR4 3200 MHz Provided by: ADATA |
| HDD: | Toshiba MG08ADA400E 7200 RPM SATA III Provided by: Toshiba |
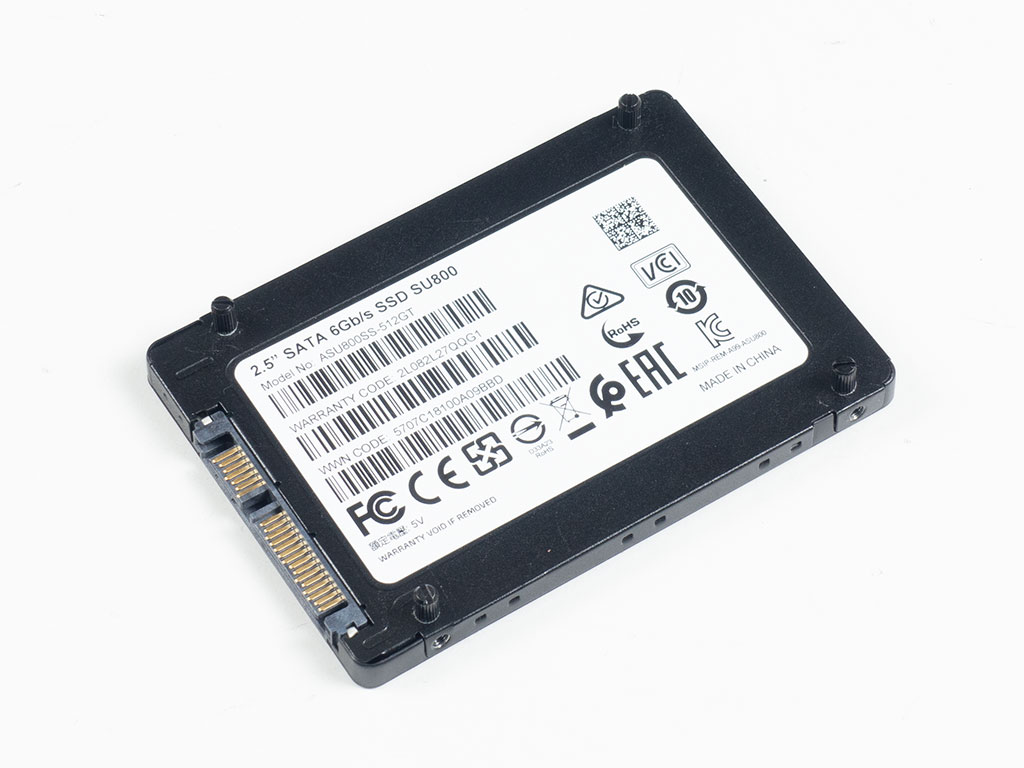
| SSD: | ATX:XPG SPECTRIX S20G 500 GB mATX: XPG GAMMIX S50 Lite 1 TB ITX: ADATA Falcon 512 GB ADATA Ultimate SU800 512 GB ADATA Ultimate SU720 500 GB Provided by: ADATA |
| Power Supply: | ATX: Fractal Design ION+ 650W 80 Plus Gold SFX: Fractal Design ION SFX-L 650W 80 Plus Gold Provided by: Fractal Design |
| Cooling: | be quiet! Pure Loop 120, 240, 280, or 360 Provided by: be quiet! |
Assembly


Adding a motherboard is done by using traditional screws and spacers. As you can see, the ATX board looks minuscule inside, and even E-ATX variants will have their own dedicated cable routing. Having a mechanism to hold expansion slots in place without any screws is always met with skepticism. However, Cooler Master embedded metal pins into the frame on which each expansion slot cover sits, and the spring-loaded lock pushes down on the covers with so much force that it results in a rock-solid hold of the GPU, for example. Due to the sheer size of the HAF 700 EVO, you have all the room you could ever need for the GPU.
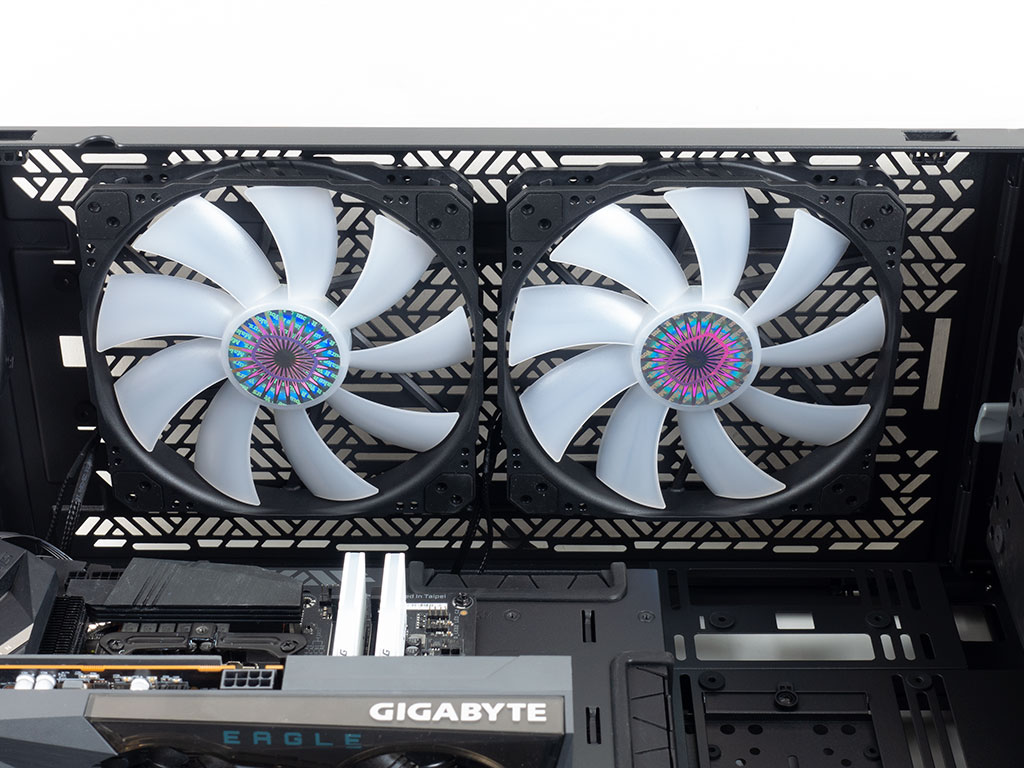
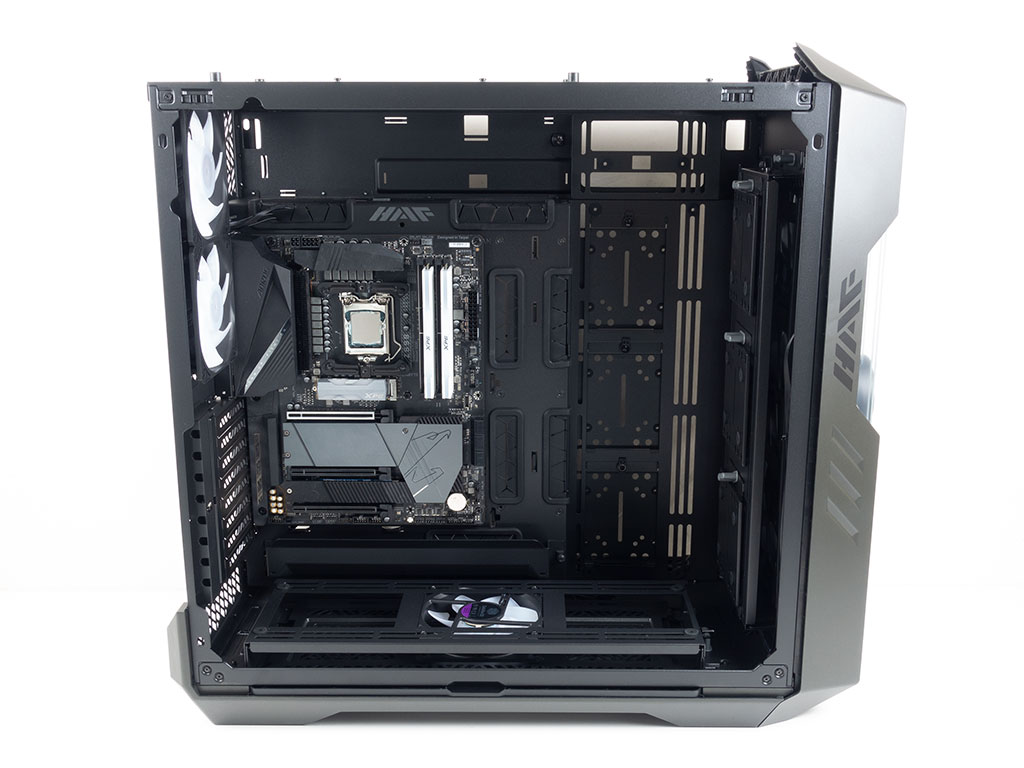
We went ahead and installed the two 200 mm SickleFlow fans we were provided in the ceiling. Next, a 360 mm AIO was installed in the side position, which may also easily fit a 420 mm variant. You can clearly see that such a unit would not get in the way of the GPU even if the highest-end variant.

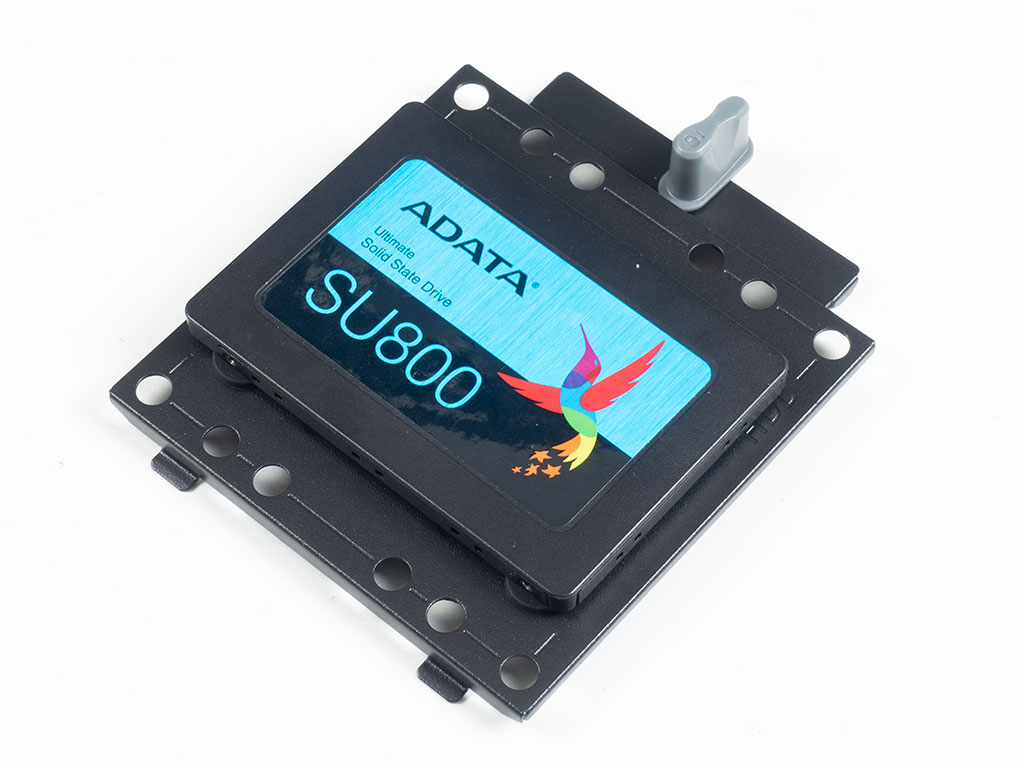
The mounting plates come with a set of holes for SSDs and multiple sets for a 3.5" drive, so choose which way the connectors face once mounted on the plate. Adding an SSD is rather easy as you attach Cooler Master's unique pins to the drive and simply push it onto the plate.


Once done, put the plate on any of the three air or radiator mounting plates. We tried this out by popping it into the front and then the floor of the HAF 700 EVO.


The other variant of storage mounting is the 3.5" tray. It also comes with holes for a 2.5" unit instead. No tools are needed if you use spinning rust as you may just snap the tray onto the drive with embedded metal pins. Once in place, slide it right back into the cage until it clicks into place securely.

Adding a power supply requires no tools, either. While some brands attempt to go tool-less by using a tension-locking mechanism, Cooler Master simply offers a pair of pre-installed, captive thumb screws. Some may argue that two screws are not enough, but you will not move your build of nearly 46 kg around much anyway, so that is certainly not an issue.


Thanks to the large number of hooks, the final build, which took quite a bit of time to finish, looks immaculate on the interior—not a single cable looks out of place. The mirror clearly gives you that unique view of the GPU fans, which users with embedded ARGB elements should benefit from. The only downside is that the bottom fan is no longer useful in this setup. On the backside, things also look immaculate. There are almost no visible leads once you put the central plate back into place. If it weren't for the required vents, Cooler Master could have gone with glass on this side, too. The finished build would look beautifully clean regardless.

Last but not least, thanks to the included vertical mounting kit, you may set your system up so that the GPU is completely visible instead. Doing so will naturally block every other motherboard expansion slot, but with lots of space underneath of it all, one could actively cool the GPU through the floor rather easily.
Finished Looks


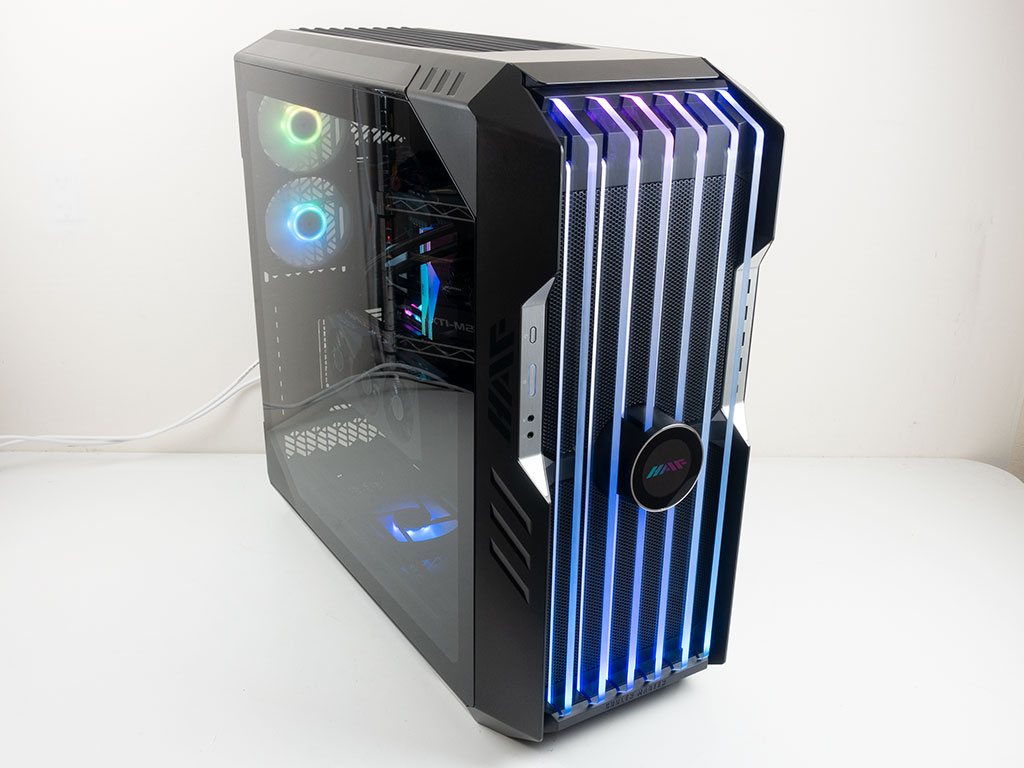
With the system turned on for the first time, you are greeted by a very cool booting animation on the central screen and gentle, yet nicely visible, clean lighting throughout the glass elements in the front of the HAF 700 EVO. Naturally, the ARGB fans in the interior further add to this, and a white LED around the power button lets you know your system is up and running.
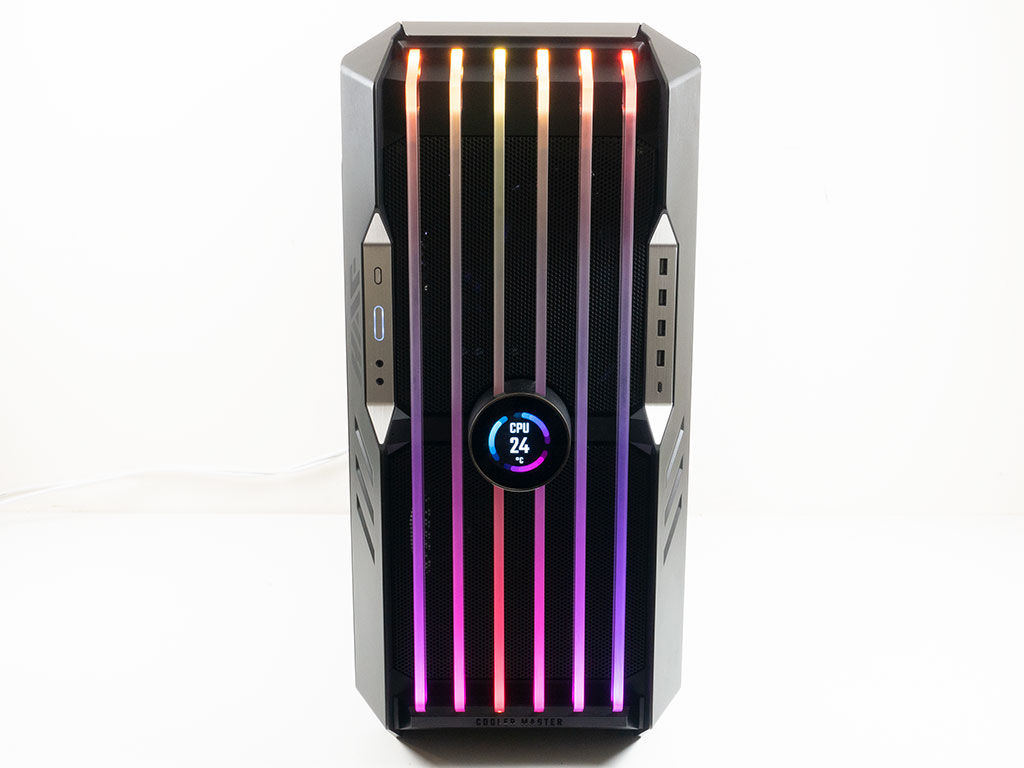

Looking at the Cooler Master HA 700 EVO from the front, the thick glass elements are lit from the top and bottom of the case, and the material allows for a beautifully clean fade towards the center, with plenty of brightness to make the most of that effect. In the rear, everything is where you would expect of a very tall sandwich chassis.
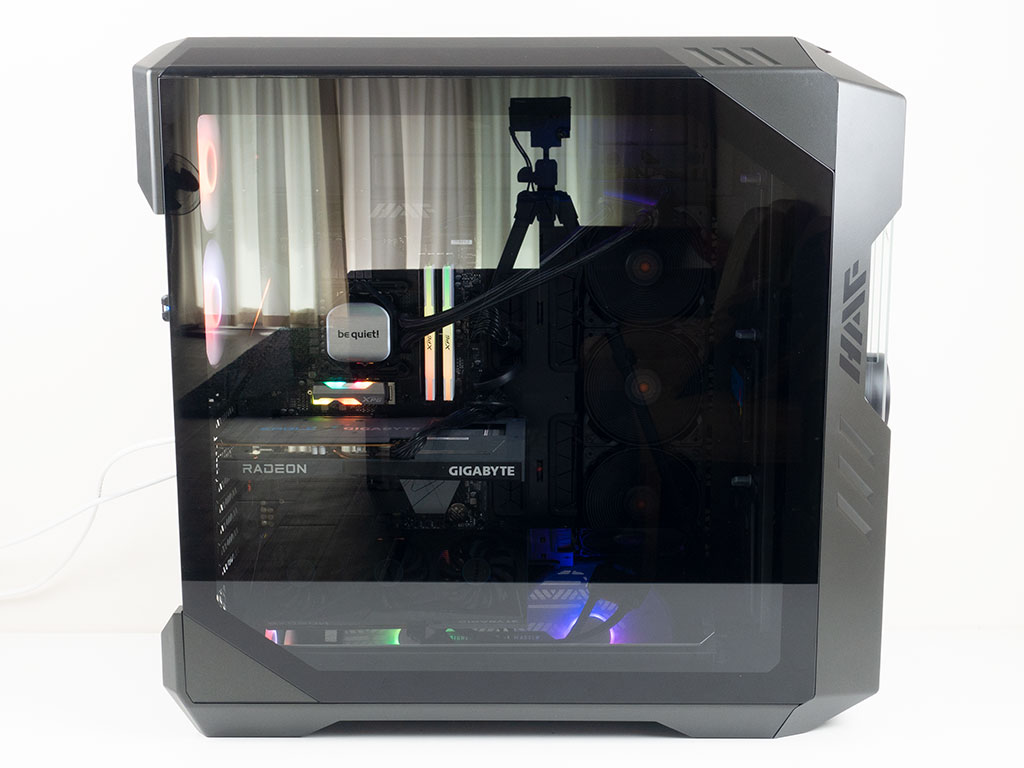

The main glass side panel allows you to see the interior of the system even with sunshine reflecting on the glass from behind the photo-shooting area, while the other side of the HAF 700 EVO is functional but understated with none of the ARGB glow visible.

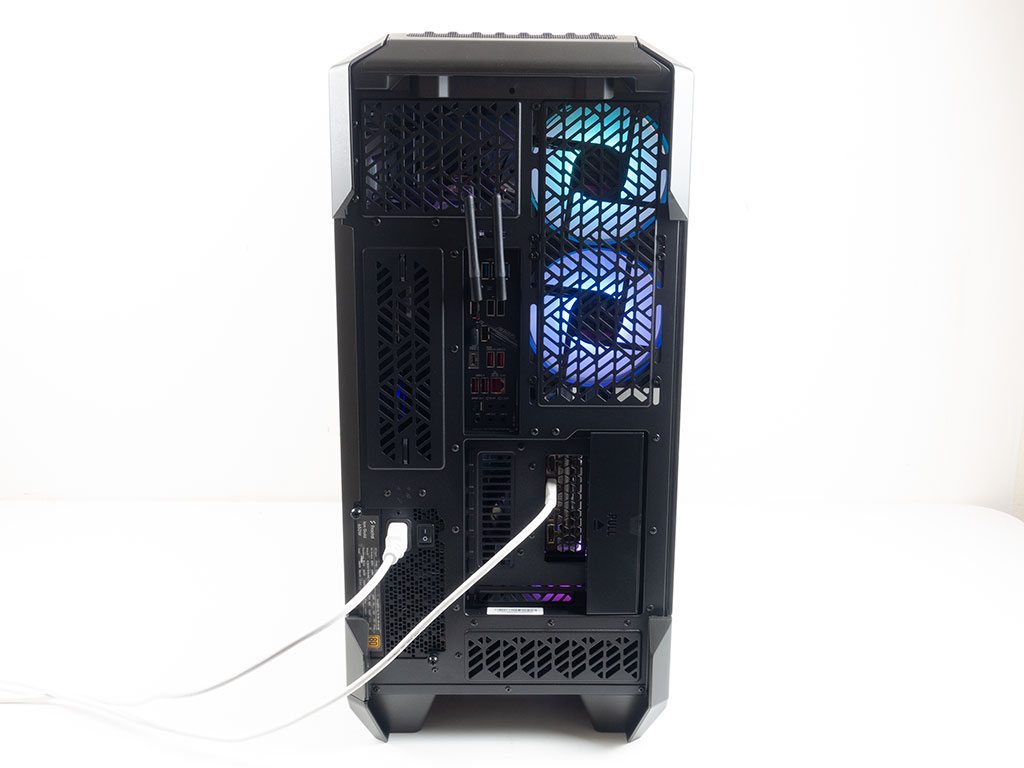
When going with a vertical GPU, we didn't use the mirror and had the bottom fan do its job of pulling cool air from the bottom of the chassis. In the rear, you can clearly see the unique layout around the expansion slots with the vertical GPU taking up that space.
May 21st, 2024 07:30 EDT
change timezone
Latest GPU Drivers
New Forum Posts
- Does a faster NVMe make any difference? (14)
- Dell 5400 TPL Help (5)
- EK seems to be having major issues (126)
- My anti budget PC (58)
- Would you pay more for hardware with AI capabilities? (50)
- Lenovo Workstations Owners Club (29)
- Looking to get a new GPU for the next year. (4)
- SunSpider 1.0 JavaScript benchmark results (31)
- Cooling 7800X3D with Thermalright Phantom Spirit EVO and idle temp is around 60c. Is this normal? (8)
- 20 Years? (51)
Popular Reviews
- Ghost of Tsushima Performance Benchmark Review - 35 GPUs Tested
- Ghost of Tsushima: DLSS vs. FSR vs. XeSS Comparison Review
- PNY XLR8 Gaming EPIC-X RGB DDR5-6400 CL32 32 GB Review
- TerraMaster D8 Hybrid Review
- Silverstone Shark Force 120 mm Fan Review
- Homeworld 3 Performance Benchmark Review - 35 GPUs Tested
- Upcoming Hardware Launches 2023 (Updated Feb 2024)
- Lofree Edge Ultra-Low Profile Wireless Mechanical Keyboard Review
- AMD Ryzen 7 7800X3D Review - The Best Gaming CPU
- AMD Ryzen 7 7700 Review - Affordable Zen 4 Powerhouse
Controversial News Posts
- Intel Statement on Stability Issues: "Motherboard Makers to Blame" (269)
- AMD to Redesign Ray Tracing Hardware on RDNA 4 (227)
- Windows 11 Now Officially Adware as Microsoft Embeds Ads in the Start Menu (173)
- NVIDIA to Only Launch the Flagship GeForce RTX 5090 in 2024, Rest of the Series in 2025 (154)
- AMD Hits Highest-Ever x86 CPU Market Share in Q1 2024 Across Desktop and Server (140)
- AMD RDNA 5 a "Clean Sheet" Graphics Architecture, RDNA 4 Merely Corrects a Bug Over RDNA 3 (139)
- AMD's RDNA 4 GPUs Could Stick with 18 Gbps GDDR6 Memory (114)
- AMD Ryzen 9 7900X3D Now at a Mouth-watering $329 (104)