 10
Cooler Master MasterFrame 360 Panorama Review
Review System Setup »A Closer Look - Inside
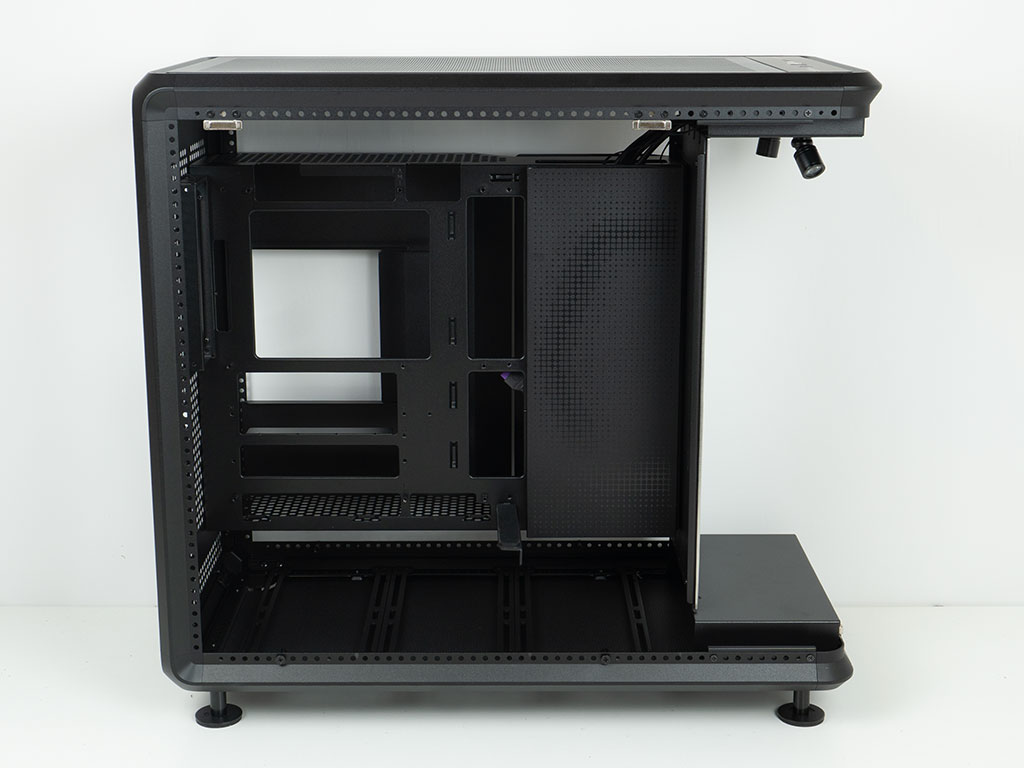
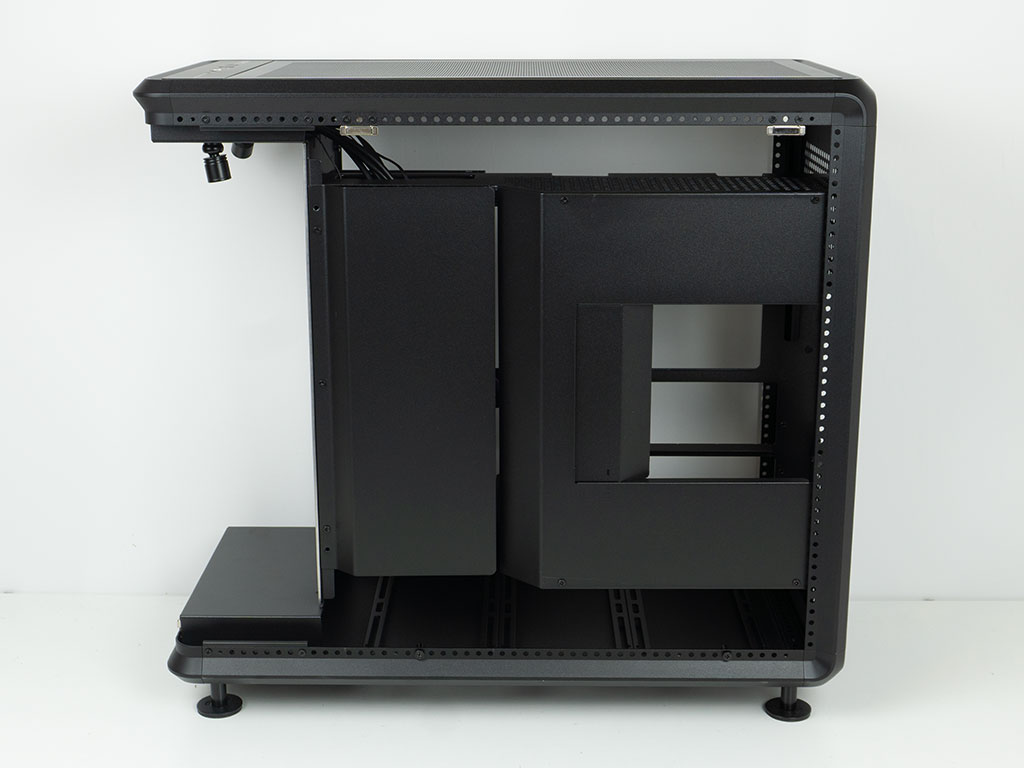
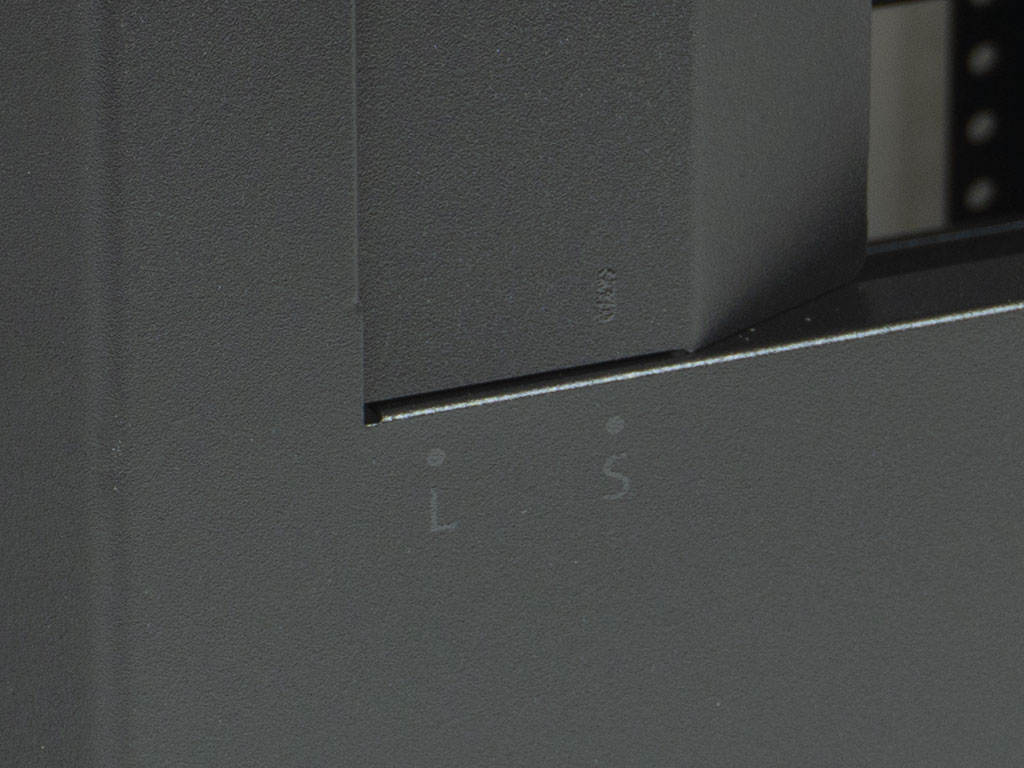
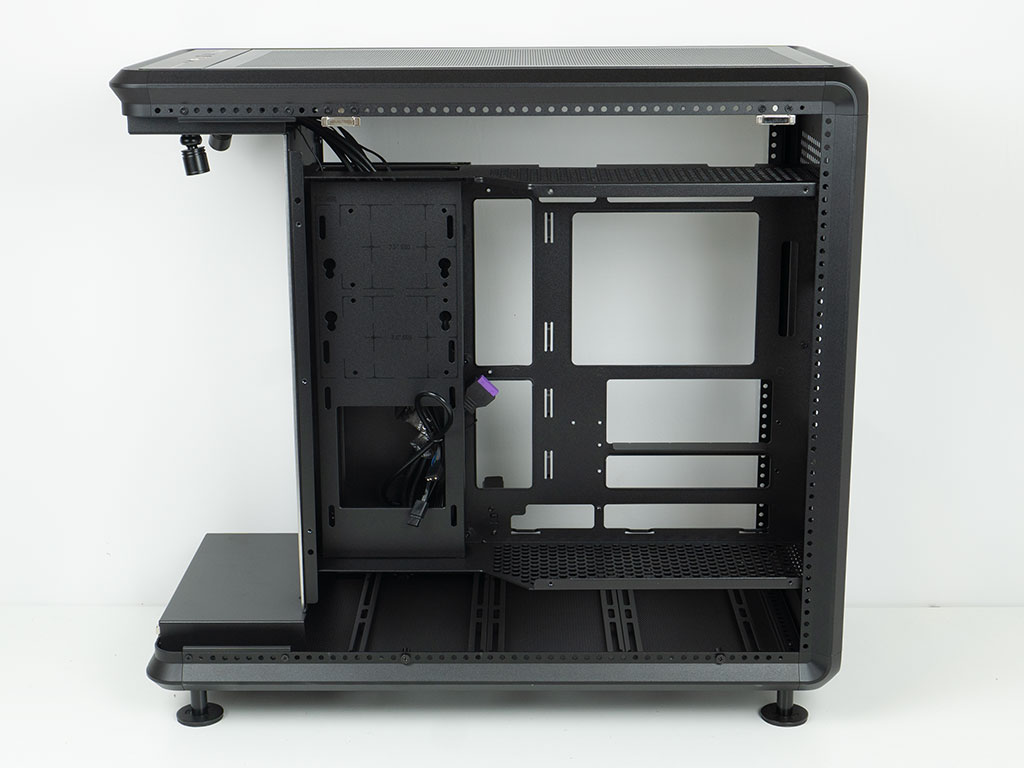
To gain access to the interior, simply pull off all the glass panels. It is also wise to take off the curved glass panel in the front to avoid damaging it when handling the case during assembly. The general layout within the MasterFrame 360 Panorama is traditional, supporting an upright motherboard with the right cutouts in place to allow for the use of BTF equipped models. To the right of it, there is a cover with a more artistic rendition of the brand logo shape printed on it. On the backside, there are two metal covers which will hide all your cables. This is needed as everything would be visible due to the glass panel as an exterior shell. There is an opening for the power supply, with a small cover that can be moved to allow for longer PSUs to fit nicely. To take off these covers, you have to remove a total of seven screws, which is a bit of contrast, considering you can get this far into the case without the need for any tools.
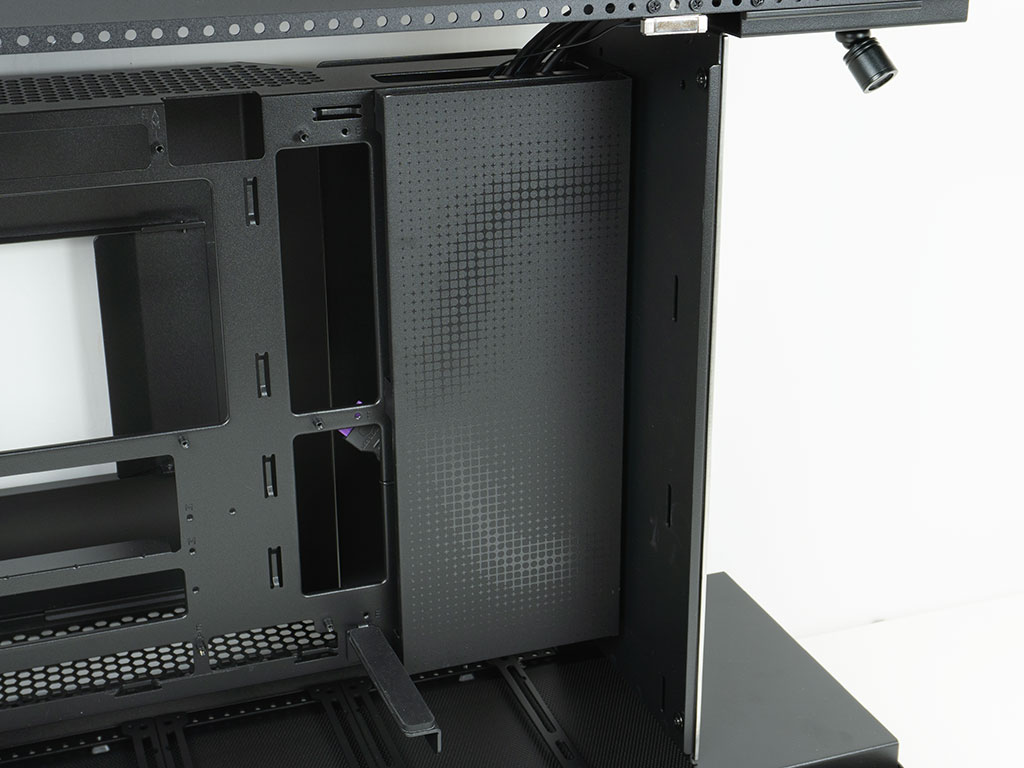
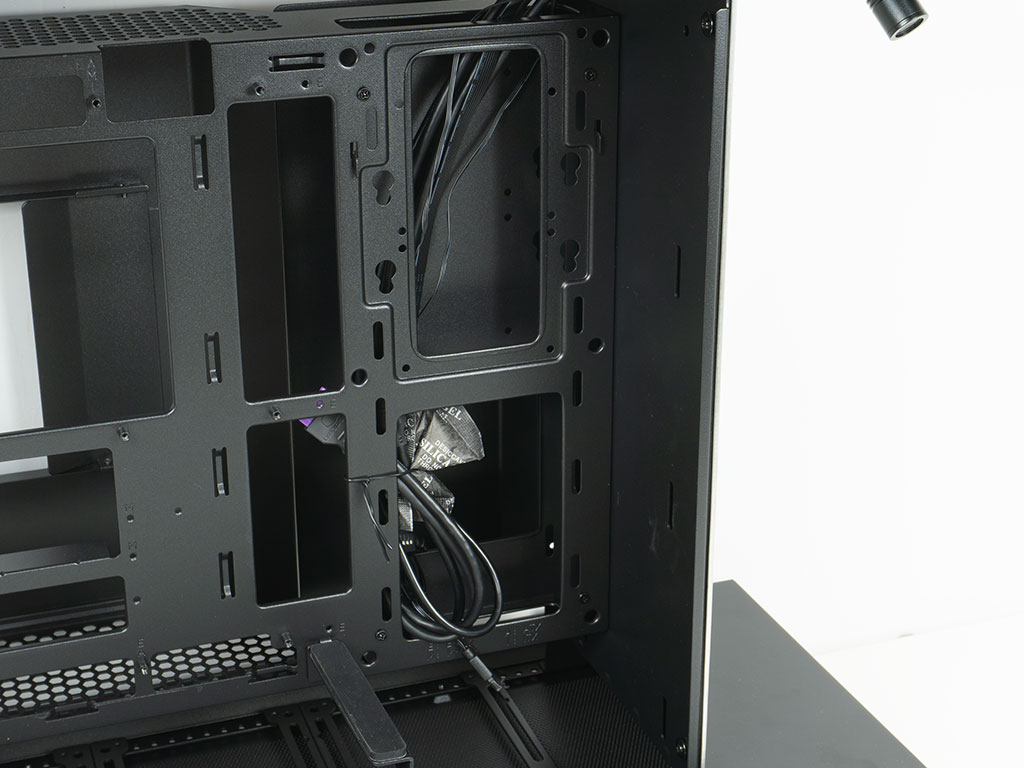
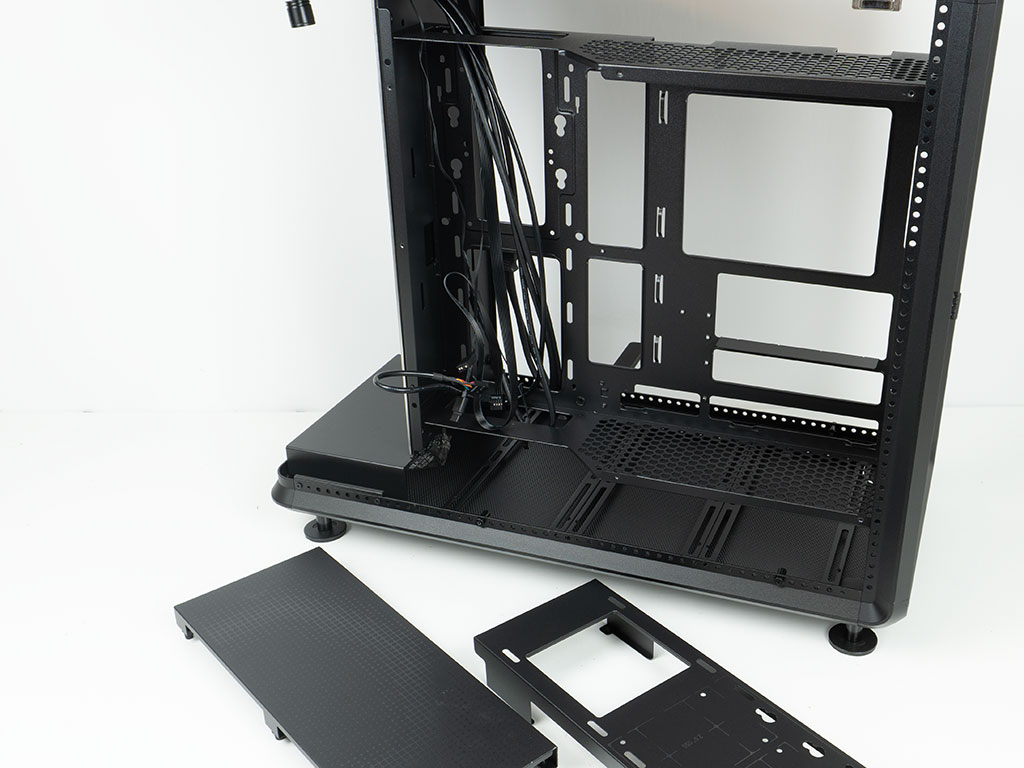
The cable cover on the main side of the MasterFrame 360 Panorama on the other hand is only held in place by friction, using rubber lined pins. As such, you can easily pull it off, but that is also why it popped off during transport. If you look closely, you can see the bare steel in the top left corner, as that is what scraped along the glass. The main purpose of this cover is to hide any cables and wiring, but it also needs to be taken off to give you access to the two sets of mounting holes for 2.5" drives. This part of the metal plate also has cutouts to allow for fans to be mounted, with plenty of room all around it, so there is no reason you could not opt for a 240 mm radiator assembly here - even if Cooler Master doesn't seem to advertise this possibility. Maybe it is simply left over from tooling for this structural component, as there is really no need to install fans here without any direct access to cool air.
But, even though you can see the mounting holes now, doesn't mean you have access to the storage placement themselves as you still have to remove one more cover. This one is held in place by four screws and hooked into place. So to recap, just to get to these drive bays, you need to remove both glass panels, two cable cover panels on the backside held in place by seven screws, the Cooler Master branded cover held in place by rubber pins, then this last cover held in place by four more screws - its like peeling an onion and feels a bit unnecessary.
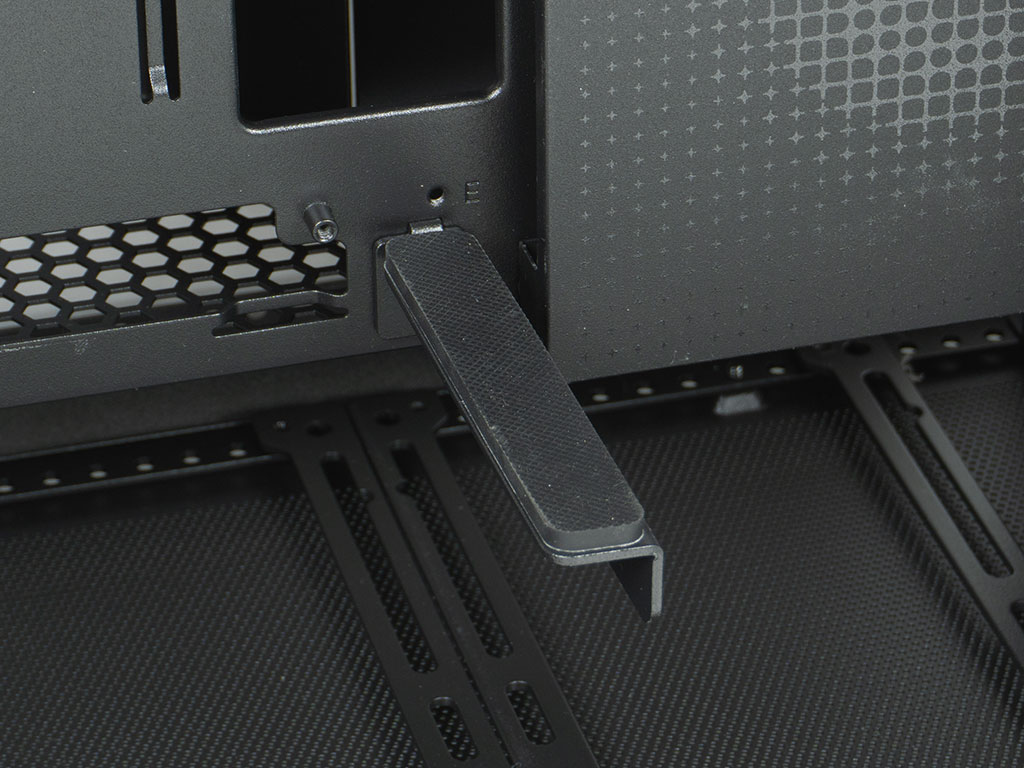
Inside the main area of the MasterFrame 360 Panorama, you will also find a simple, but sturdy and functional GPU support bar. It is lined with rubber and meant for you to rest your vertical GPU on. It is spaced far enough from the expansion slots to still be of use when using long enough GPUs.
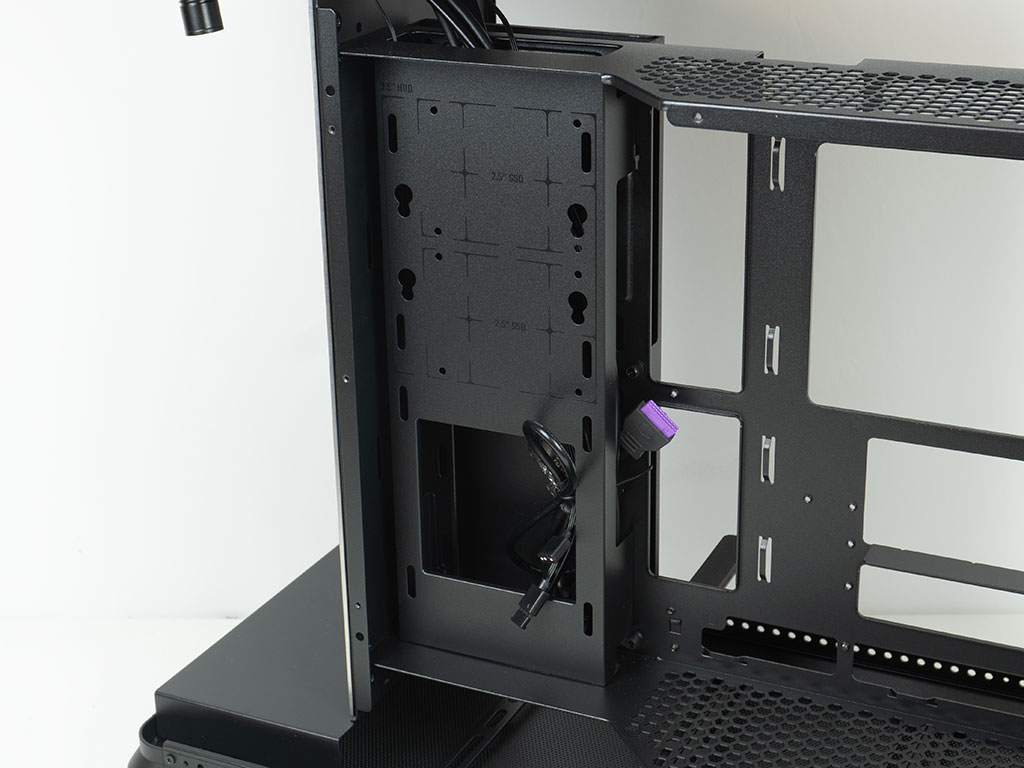
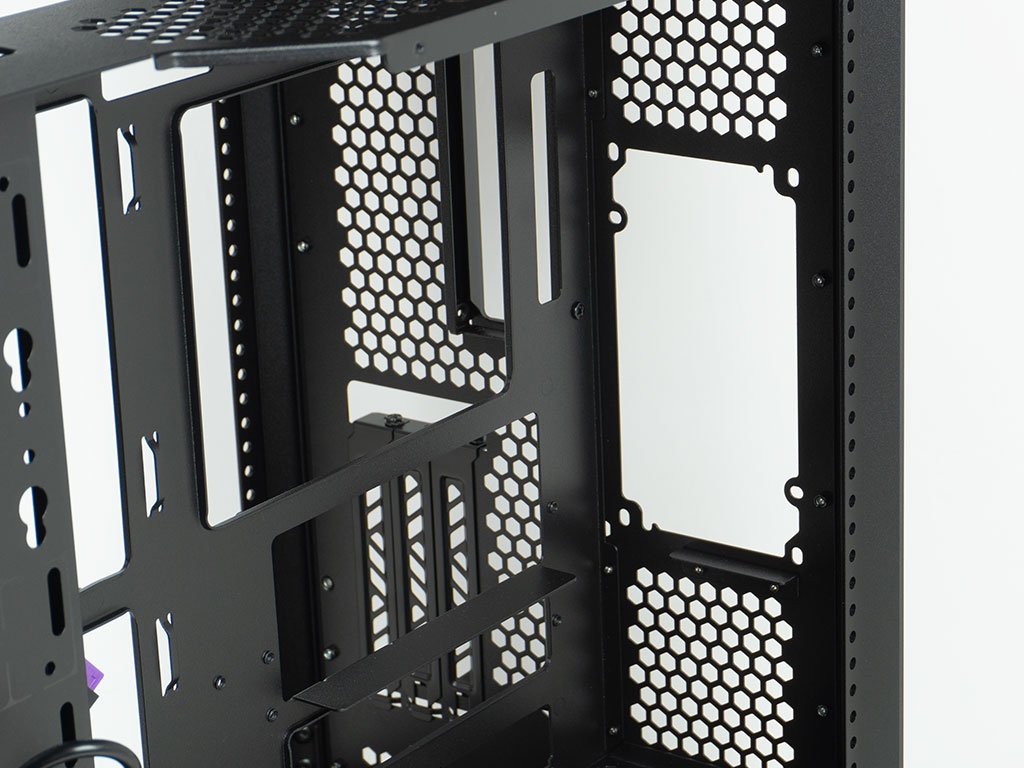
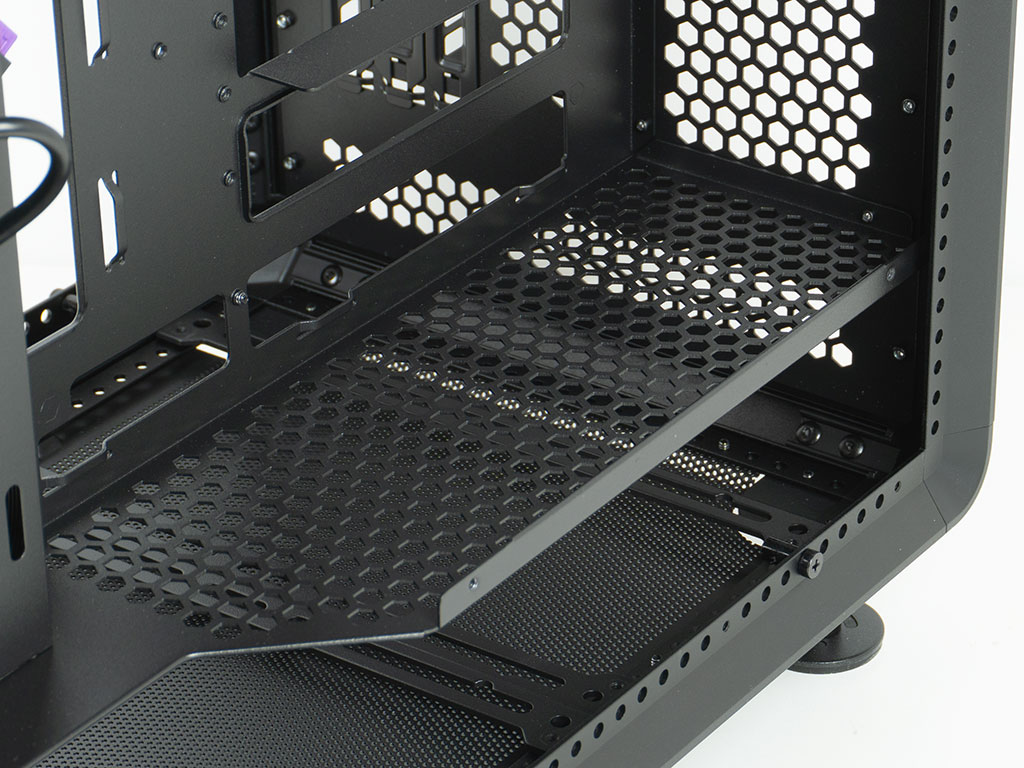
Turning our focus back to the area for storage and power, that aforementioned internal cover that is secured by screws is meant to hold either two 2.5" drives or one 3.5" unit. As you can see, there is also a second set of holes to allow you to hang a 3.5" drive, which is why we were surprised that Cooler Master only included the hardware for one such drive. The PSU bay is simple but functional, as it comes with two sets of mounting holes to give you all the flexibility necessary regardless of the type of unit, while also providing a little shelf for the power supply to rest on. As previously mentioned, its vertical position is perfect, so that it won't get in the way of BTF based connectors of your motherboard.
Below that, Cooler Master has decided to place a vented metal plate. This is generally perfectly fine and is shaped exactly like the one at the top. These are used to secure the larger, inner cover around the PSU to. The issue is that Cooler Master has not included a cutout to allow you to route your GPU power cable nicely, and have it come up behind the vertical GPU. Funnily enough the equivalent area in the top does have several holes to route wiring from fans or AIOs nicely.
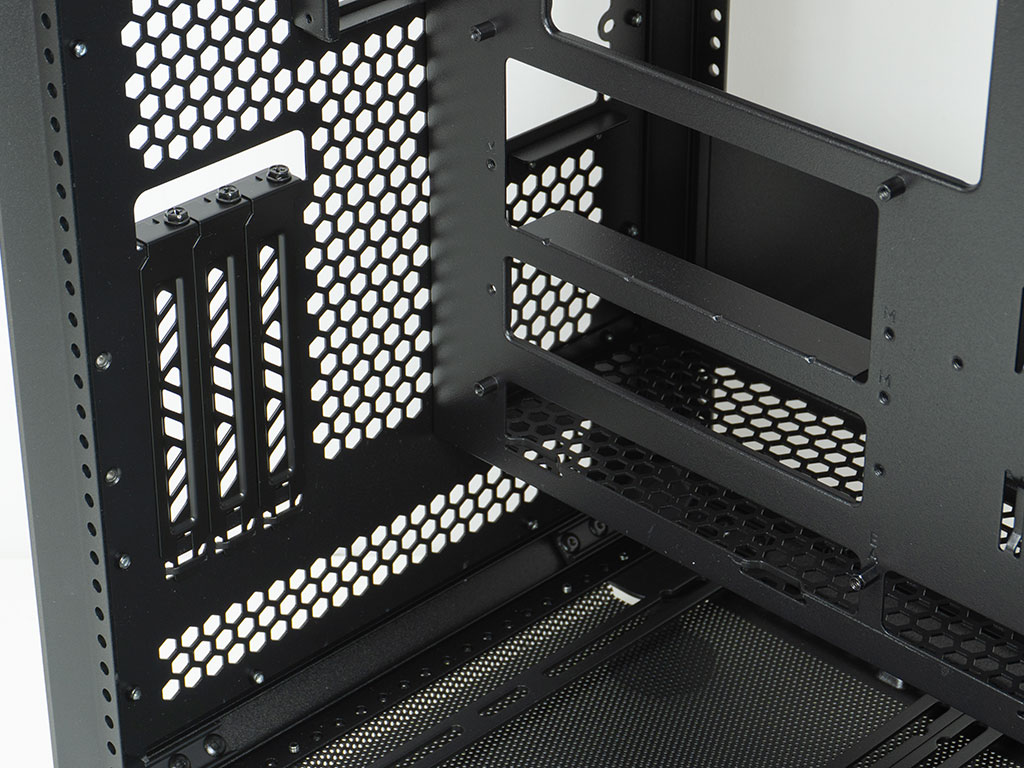
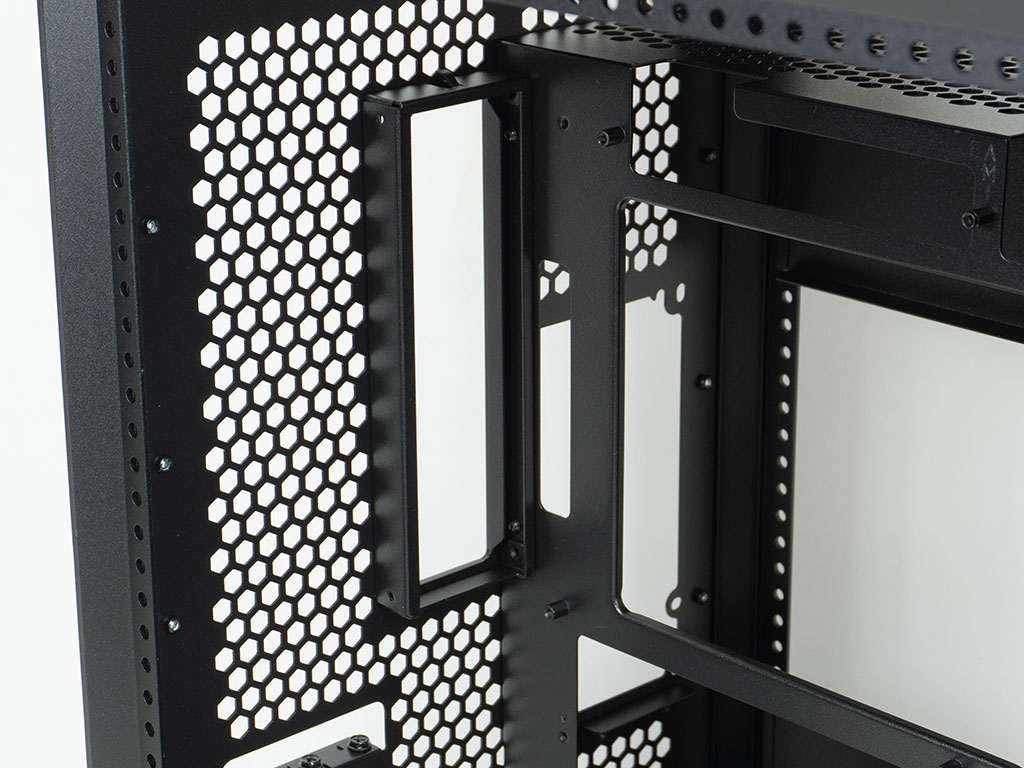
The expansion slots are protected by individual covers held in place using classic case screws. These are placed fairly far away from the motherboard, so that the PCIe ribbon cable doesn't get squished, forcing an unhealthy bend radius. Above that, there isn't much else as there isn't enough room to install a fan. That is perfectly fine as that would be quite unnecessary in a chassis that can hold up to twelve 120 mm units with ease. However, that also means that the Cooler Master MasterFrame 360 Panorama only has enough clearance for a 145 mm high air cooler, suggesting you are best advised to employ liquid cooling in this chassis.
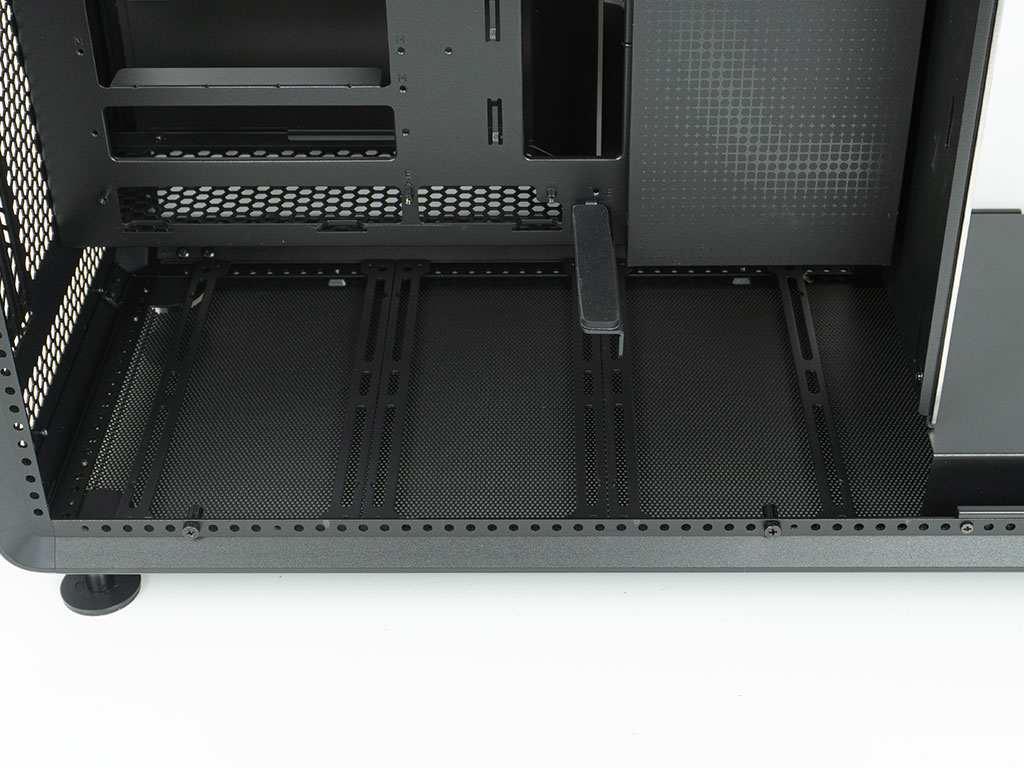
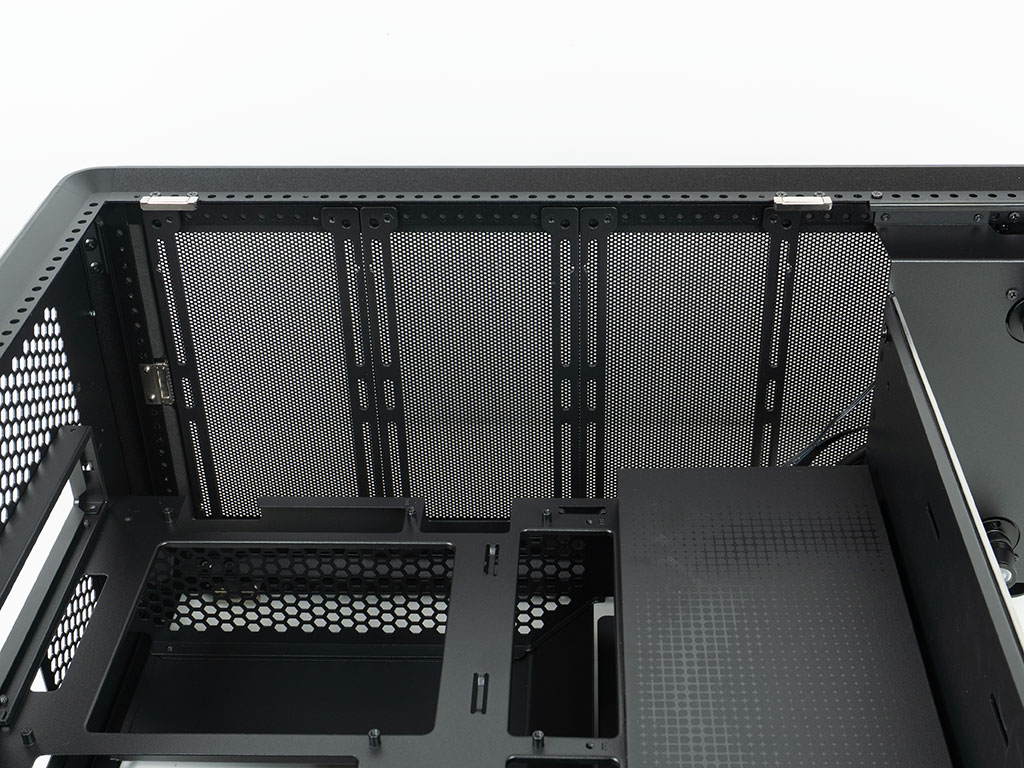
The floor of the MasterFrame 360 Panorama has an identical set of crossbars as the top, so you have the same possibility of six 120 mm or two 140, 180 or 200 mm fans. That also holds true for liquid cooling, as you have the same amount of clearance here as in the top.
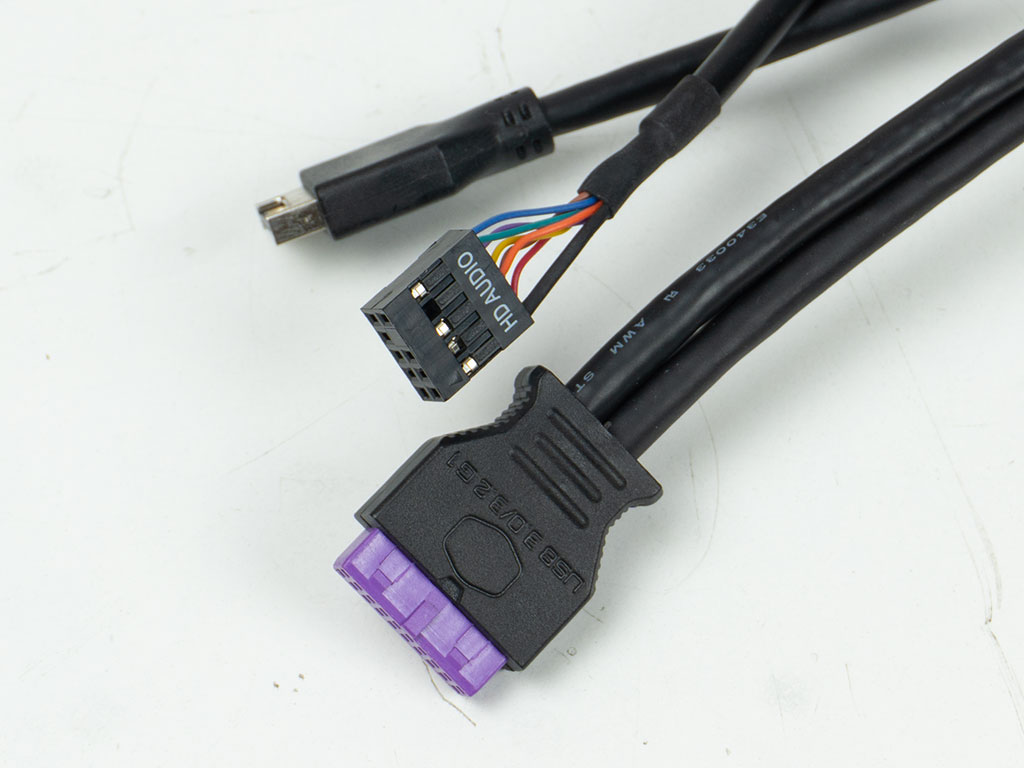
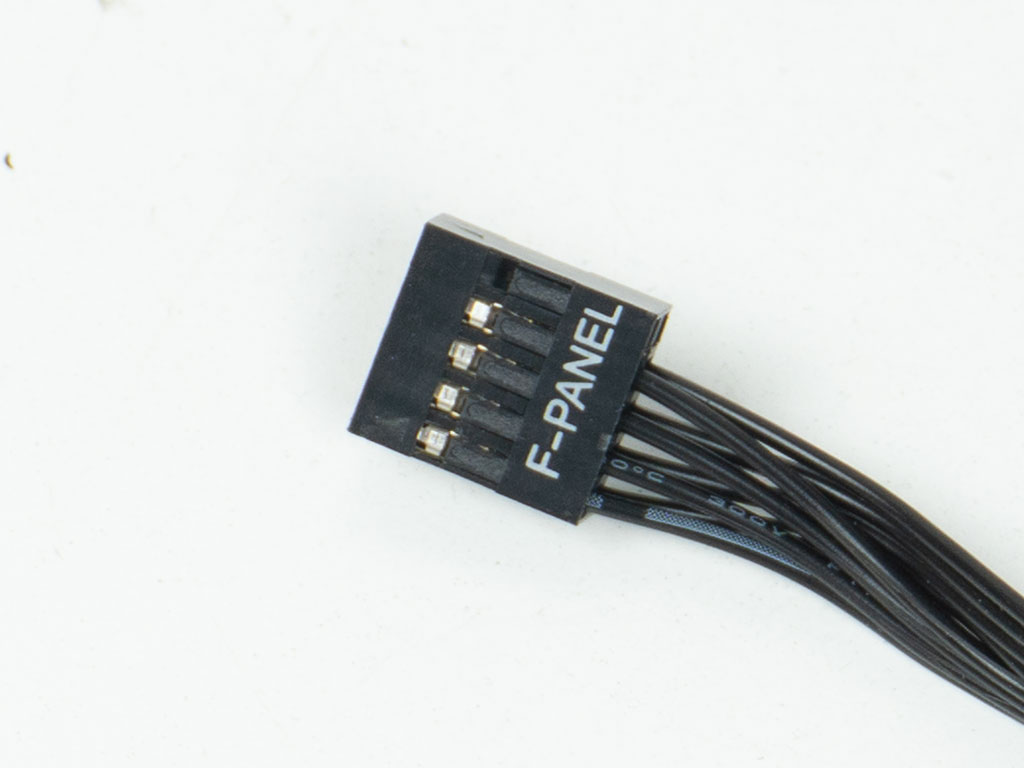
All the wiring within the Cooler Master MasterFrame 360 Panorama is sleeved black. On one hand, it is great to see a unified front panel connector for ease of assembly, but on the other hand it would have been nice if the USB and audio wires were of the flat-band kind, as BTF setups benefit from the added flexibility these types of cables provide.
Nov 21st, 2026 04:53 PST
change timezone
Latest GPU Drivers
New Forum Posts
- Anthrophics IPO (29)
- WarpCoreBench scores! (88)
- What's your latest tech Freebie? (86)
- TPU's Nostalgic Hardware Club (22179)
- [Poll] 12V-2x6 Connector Protection: What Are You Using? (WireView / Ampinel / Equalizer / Other / Nothing) (50)
- UPS what one to get? (1)
- RX 9000 series GPU Owners Club (2252)
- Windows 11 General Discussion (7743)
- Without Jensen, PC gaming will be (52)
- Zen 3 IF/IMC degradation (242)
Popular Reviews
- Microsoft Surface Laptop Ultra Review - The Next-gen Arm Laptop
- Ugreen NASync DXP4800 GT Review
- Corsair RM1200e (Second Generation) Review
- Pulsar Office Tour & First Look at P1 Dual-Sensor Mouse
- Upcoming Hardware Launches 2027 (Updated Nov 2026)
- Acemagic Retro X3 Review
- Biwin Black Opal NV7400 2 TB Review
- AMD Ryzen 7 9800X3D Review - The Best Gaming Processor
- AMD Zen 6 Technical Deep Dive
- Chieftec Iceberg PRO 360 DARK Review
TPU on YouTube
Controversial News Posts
- NVIDIA Co-Founder and CEO Jensen Huang Officially Resigns (491)
- Report: Jensen Huang Eyes NVIDIA Comeback (257)
- Open Letter Asking NVIDIA to Reinstate Jensen Huang Passes 115,000 Signatures (184)
- OpenAI CEO Argues Home PCs Waste the World's Limited DRAM Supply (152)
- NVIDIA Launches Investigation Into Jensen Huang's Relationship With Suspected Chinese Spy (136)
- Intel "Raptor Lake Next" 16-Core and 20-Core CPUs Surface (130)
- Legendary Game Studio BioWare Shuts Down Following EA Layoffs (104)
- NVIDIA GeForce RTX 50-Series Scheduled for up to $500 Price Hike This Week (89)