 5
5
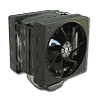
Cooler Master V6GT Review
Performance »Assembly

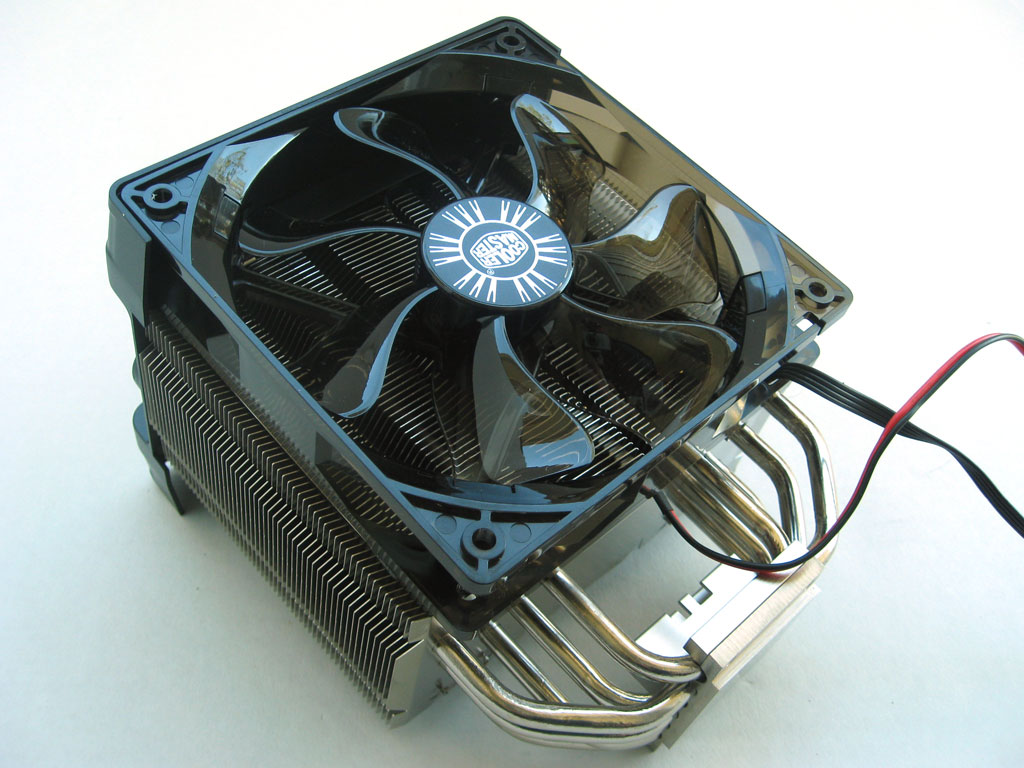

While the cooler does come near fully assembled, tinkerer types like myself can't help but disassemble things just to figure out how they go back together. A simple yet effective black plastic fan shroud not only helps direct airflow but also holds the fan to the cooler while allowing quick disassembly for cleaning. To install the fans, simply affix them into the upper shroud's pegs and clip the shroud over the front of the fan. Quality of this setup is rather high and would likely stand through a bit of abuse if needed.

On the base of the cooler you will see four screw holes. These are for mounting the optional AMD AM2/AM2+/AM3 bracket which allows you to mount the cooler either horizontal or vertical orientated, a feature that not many coolers have. This often aids in clearance issues on AMD platforms due to most coolers only being able to be mounted in one fixed orientation. This setup is used with the included backplate and four nuts to ensure proper mounting to the board.


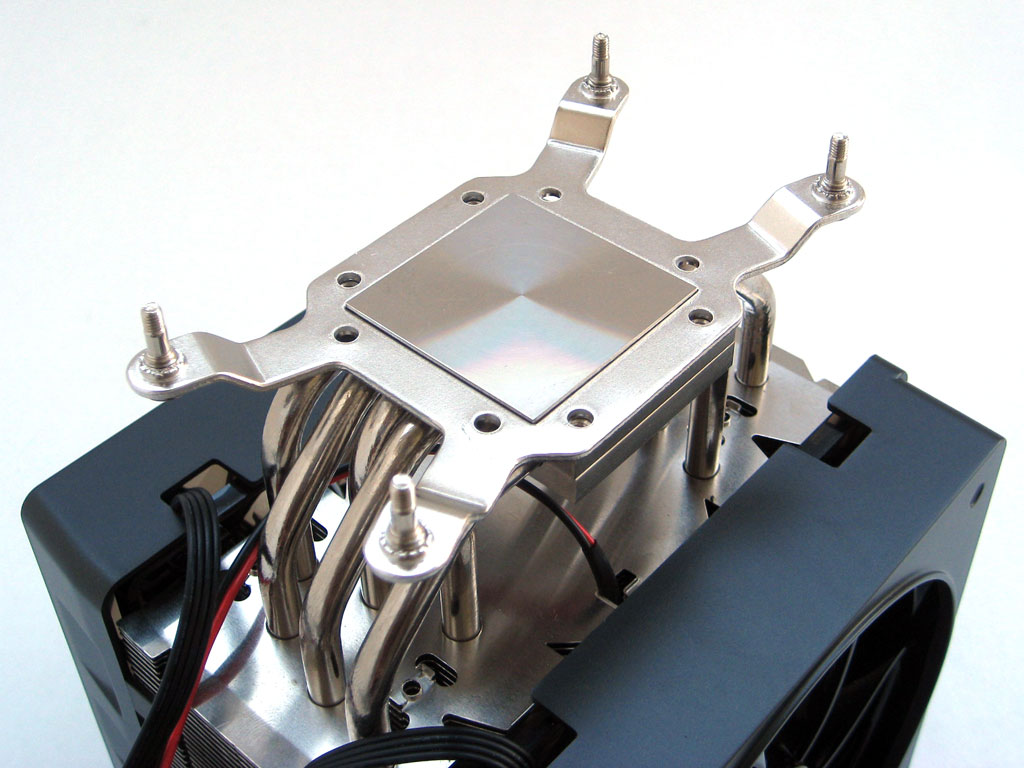
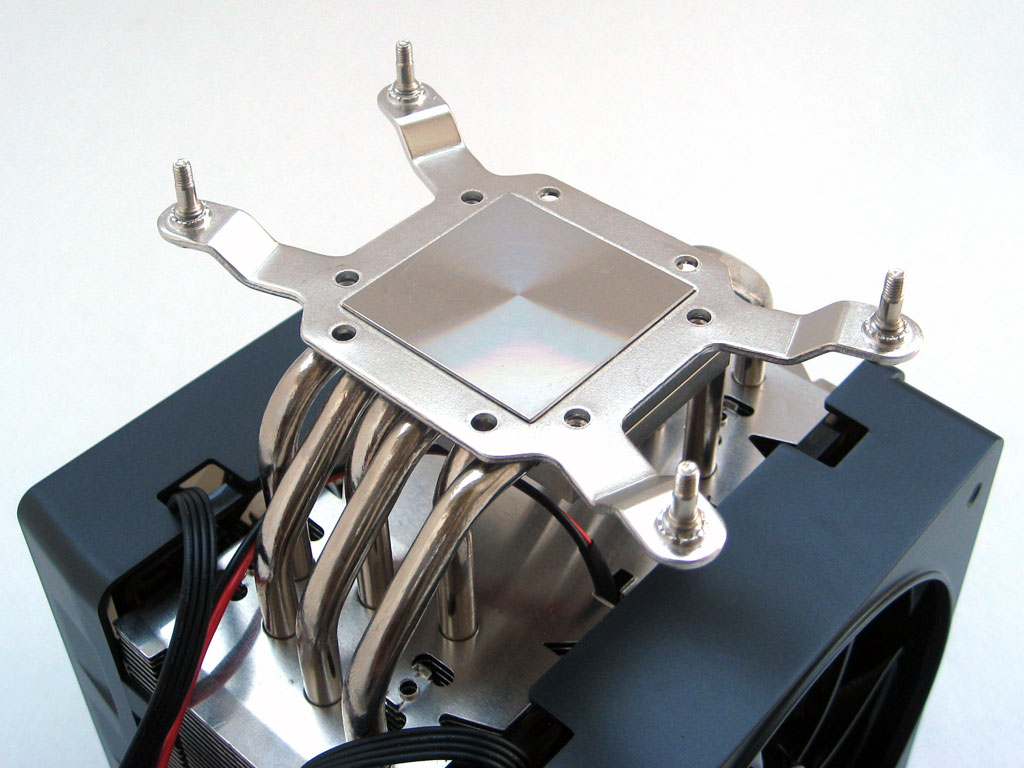
If you don't need special orientation for mounting the V6GT to your AMD setup, you can also make use of this particular included bracket. A simple crossbar holds the cooler down via two spring loaded pressure points. The crossbar is inserted through the bottom of the cooler and two positioning pins are used to make sure it is centered properly on the cooler's base. This crossbar is also used for mounting the cooler with the included Intel mounting kit.
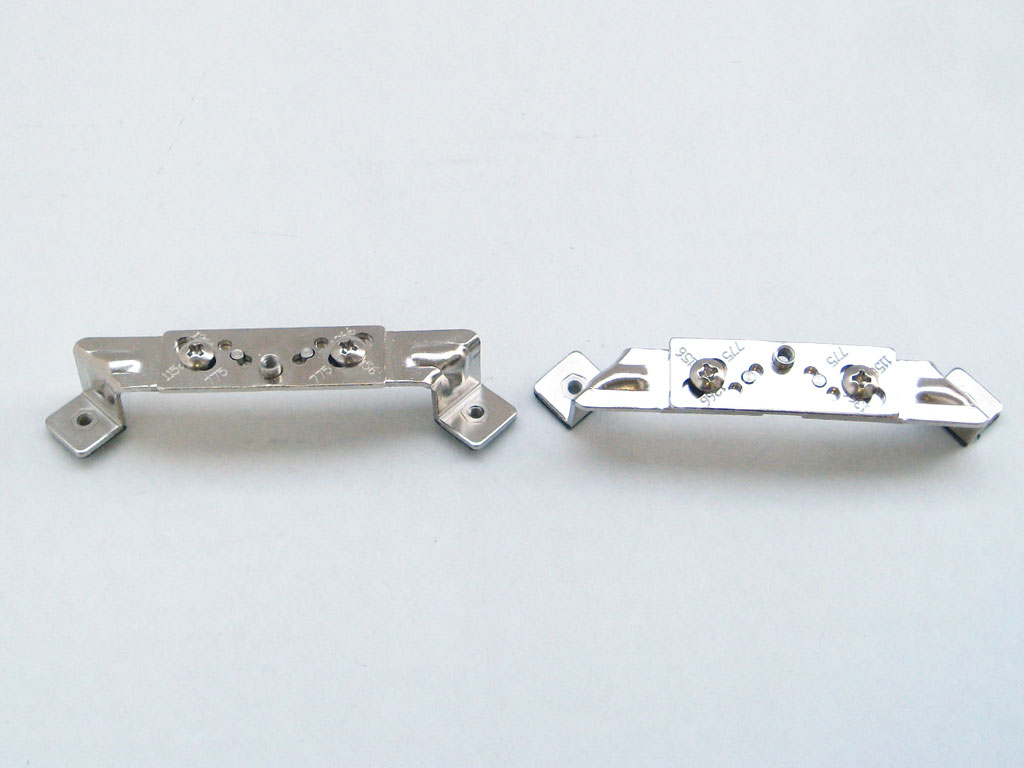

While these two little mounting brackets look simple they actually have three different settings that make them able to work on Intel 775, 1156, and 1366 Sockets. Simply loosen the screw and slide the bracket to the position that corresponds with the socket you are mounting the cooler to and tighten it back down.
Installation

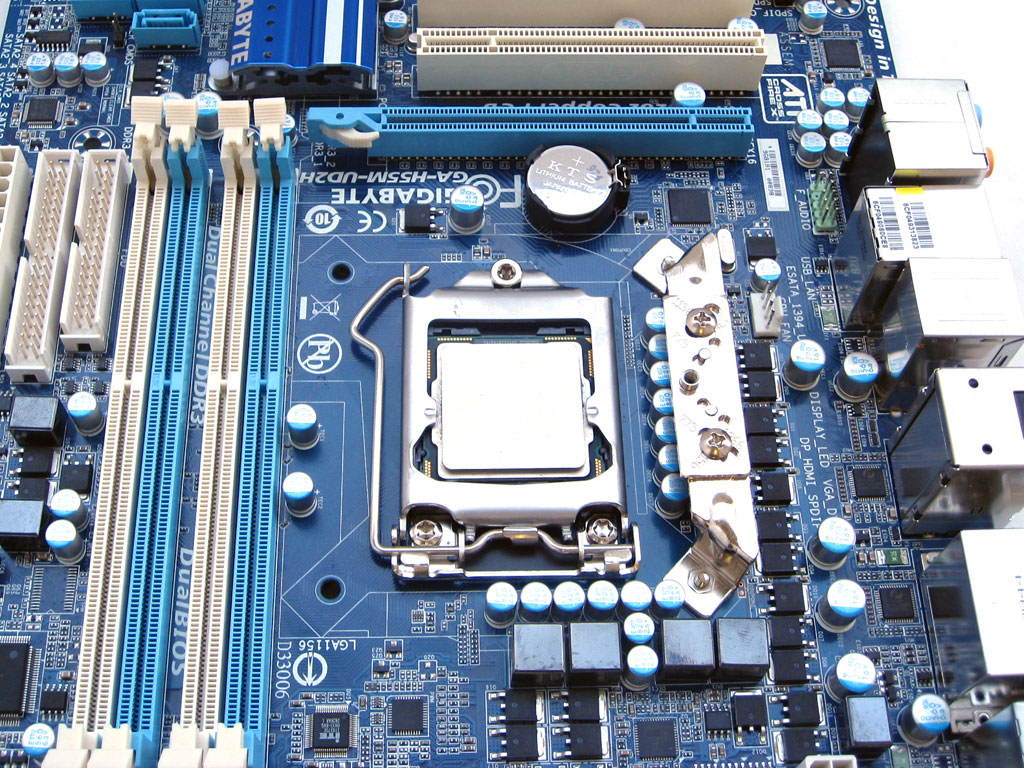


First step in installation is to properly orientate the backplate according to your setup. In this case the cooler will be installed onto an Intel Socket 1156 motherboard. Next up, decided which direction you want the cooler to be mounted to the board and orientate the brackets accordingly. Four screws secure the two upper brackets and the backplate to the motherboard. This is one of those jobs where you could use an extra hand to help but is manageable with a little bit of patience.

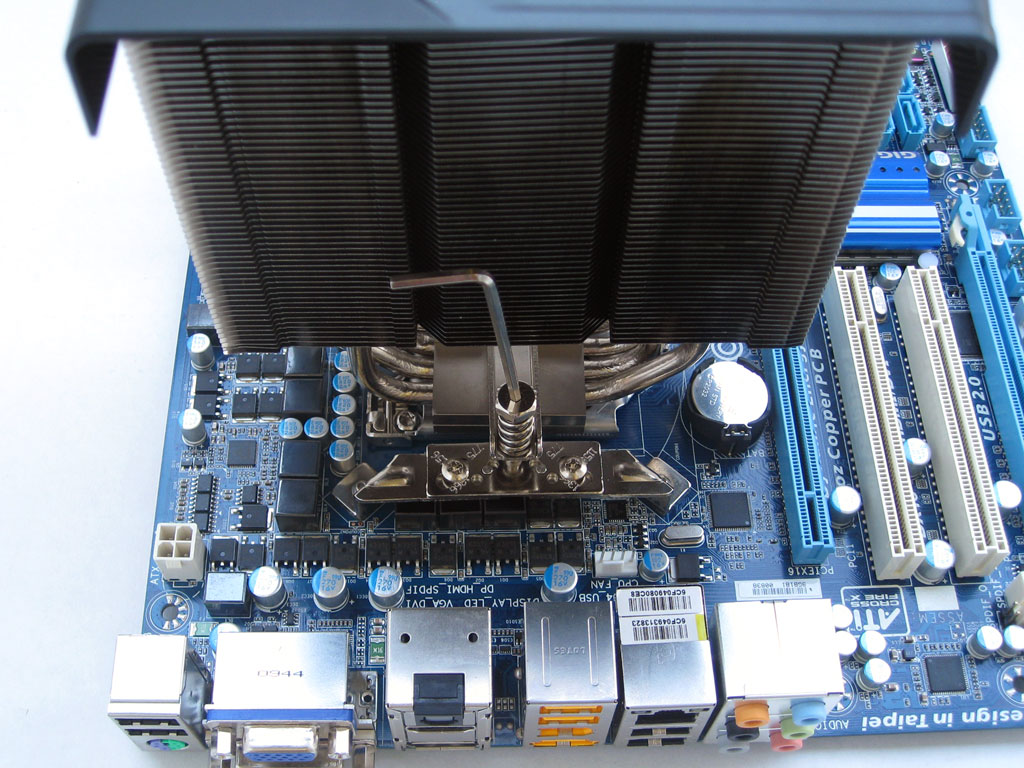
There are many methods to applying Thermal Insulation Material (TIM) but I have found the one I like the most is to apply a small line the size of a small grain of rice in the center of the Integrated Heat Spreader (IHS) of the CPU to ensure the best possible spread. After inserting the mounting crossbar over the base of the cooler, use one of two methods of mounting to the previously installed brackets. Cooler Master provides both an Allen key as well as a socket that allows you to use either a Phillips or flat head screwdriver to secure the cooler properly.

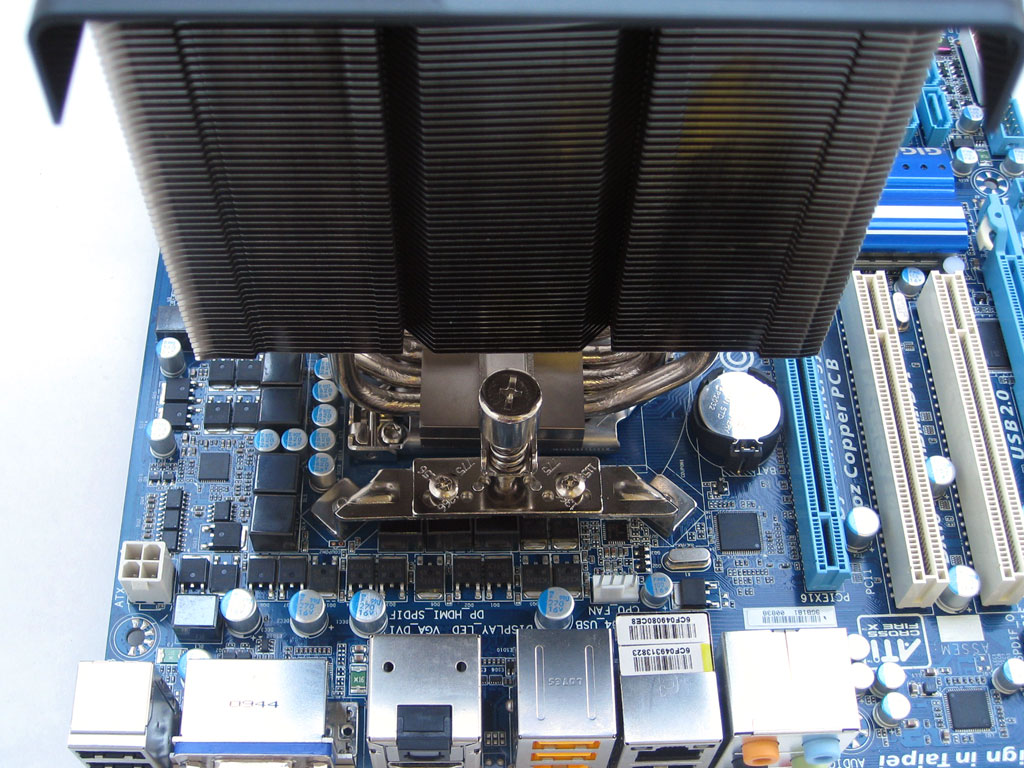
Once you have the mounting tightened up you can reinstall the fans. As previously mentioned, affix the fans to the upper mounting pegs then slide the shroud over the fan until it clips onto the aluminum fins of the cooler. Be sure both fans are directing airflow the same direction or the cooler may not cool properly. After connecting the four pin fan wire to the corresponding header on the motherboard you are ready to power the machine up for the first time.


In our testing, a quick removal of the heat sink to check for even TIM spread will indicate whether or not the cooler is being properly mounted and enough mounting pressure is applied. Due to the mounting system used, I found it difficult to get an ideal spread due to the cooler shifting around during the mounting procedure. To be sure I mounted the cooler five times with the same result. While this is not ideal, it is plenty good to allow the cooler to work properly.
Finished look


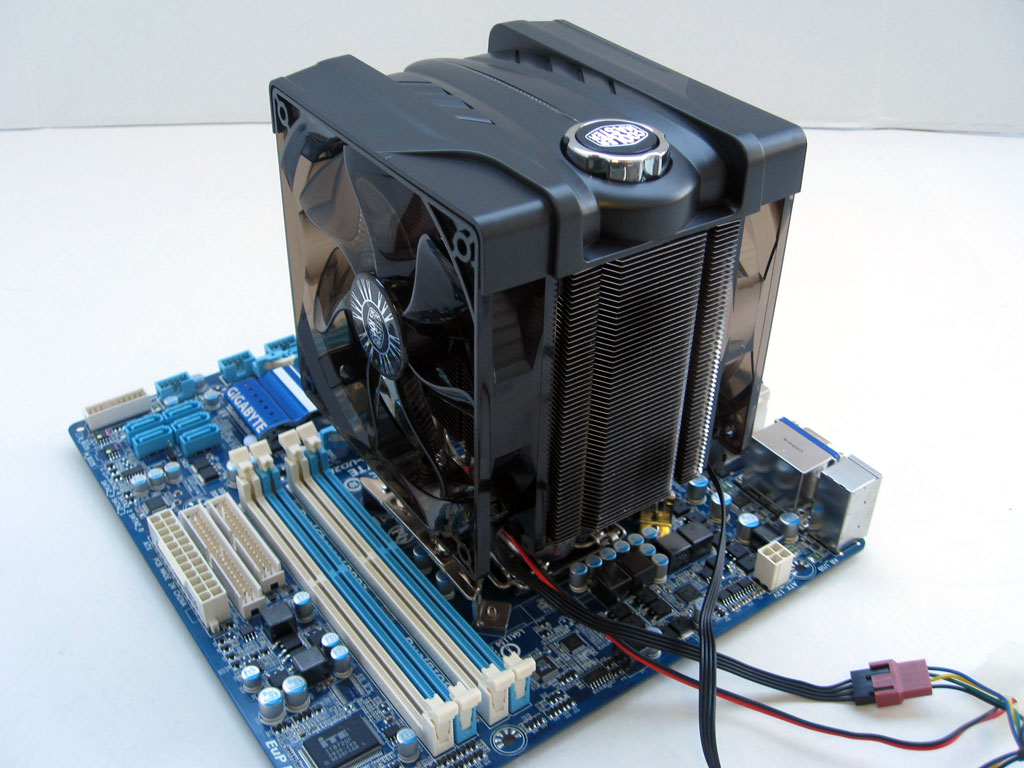
Fully installed the cooler looks great. The all black color scheme compliments even the oddest colored components. Mounting is quite secure and the cooler does not move hardly at all. Overall, the V6GT looks excellent mounted up to the Gigabyte H55 motherboard.
While not typically a situation we like to see, for the sake of this review I allowed this Dominator GT stick to lean a bit during this picture. Clearance of the memory modules is becoming more an issue these days due to coolers growing larger and larger while companies still try to constrain their size within a pretty limited amount of area. Conflict with other components is a common issue and in this case memory in in direct conflict with the fan on the front of the V6GT. However, that said, I purposely use tall modules for my reviews to illustrate this exact issue. Many standard sized modules will fit fine underneath the fan shroud so unless you have tall memory like seen here you should be fine.
May 21st, 2024 20:43 EDT
change timezone
Latest GPU Drivers
New Forum Posts
- Post your cooling. (8)
- 3DMARK "LEGENDARY" (196)
- Been away from PC gaming, a bit lost... (5)
- Post Your TIMESPY, PCMARK10 & FIRESTRIKE SCORES! (2019) (229)
- Free Games Thread (3822)
- Can't set PROCHOT offset (1)
- pc started to blue screen, cpu usage spikes with system stutterings, and now only displays with one ram stick. (0)
- What's your latest tech purchase? (20619)
- Gigabyte am5 motherboard ddr5 not posting when rebooting (9)
- For general use - moving files around and playing games, would you have an Optane boot drive or PCie gen 5? (73)
Popular Reviews
- Ghost of Tsushima Performance Benchmark Review - 35 GPUs Tested
- Ghost of Tsushima: DLSS vs. FSR vs. XeSS Comparison Review
- PNY XLR8 Gaming EPIC-X RGB DDR5-6400 CL32 32 GB Review
- AMD Ryzen 7 7800X3D Review - The Best Gaming CPU
- TerraMaster D8 Hybrid Review
- CHERRY XTRFY M68 Pro Review
- Upcoming Hardware Launches 2023 (Updated Feb 2024)
- Senua's Saga: Hellblade II Performance Benchmark Review
- Homeworld 3 Performance Benchmark Review - 35 GPUs Tested
- Silverstone Shark Force 120 mm Fan Review
Controversial News Posts
- Intel Statement on Stability Issues: "Motherboard Makers to Blame" (269)
- AMD to Redesign Ray Tracing Hardware on RDNA 4 (227)
- Windows 11 Now Officially Adware as Microsoft Embeds Ads in the Start Menu (173)
- NVIDIA to Only Launch the Flagship GeForce RTX 5090 in 2024, Rest of the Series in 2025 (154)
- AMD Hits Highest-Ever x86 CPU Market Share in Q1 2024 Across Desktop and Server (140)
- AMD RDNA 5 a "Clean Sheet" Graphics Architecture, RDNA 4 Merely Corrects a Bug Over RDNA 3 (139)
- AMD's RDNA 4 GPUs Could Stick with 18 Gbps GDDR6 Memory (114)
- AMD Ryzen 9 7900X3D Now at a Mouth-watering $329 (104)