 10
10
Corsair Crystal 280X RGB Review
Value & Conclusion »Test System
| System Parts for Case Reviews | |
|---|---|
| Processor: | Intel Core i7-8600K |
| Motherboards: | ATX: MSI Z370 GAMING PRO CARBON AC MATX: Z370M GAMING PRO CARBON Mini-ITX: MSI Z370i GAMING PRO CARBON Provided by: MSI |
| Graphics Card: | Long: NVIDIA GeForce GTX 280 OEM Short: HIS Radeon 5350 HD |
| Memory: | 16 GB XPG Dazzle DDR4 2800 MHz CL17-17-17 1.25 V 32 GB GB XPG SPECTRIX D40 3000 MHz. CL16-18-18 1.35 V 16 GB XPG GAMMIX D10 DDR4 2400 MHz CL16-16-16 1.20 V Provided by: ADATA |
| HDD: | Western Digital 320 GB 7200 RPM |
| SSD: | ADATA XPG SX950 256 GB ADATA Ultimate SU800 3D 256 GB ADATA Ultimate SU700 240 GB Provided by: ADATA |
| Power Supply: | Antec High Current Gamer 650 W Antec High Current Gamer 750 W Provided by: Antec |
| Cooling: | be quiet! Pure Rock be quiet! Pure Slim be quiet! Shadow Rock 2 be quiet! Shadow Rock LP Provided by: be quiet! |
Assembly

Installing the motherboard is done by traditional means, with the use of pre-applied spacers and included black screws. The compact nature of the Crystal 280X forces you to use a compact air cooler or go straight for liquid cooling. In our case, we were easily able to go with a 90 mm-fan-based tower cooler, but you will also be able opt for a top down unit if you like as 150 mm is more than enough for those as well.


The same assembly principle applies to the 2.5" drive bay, so you won't need any screws or tools to fill these trays. Once done, simply drop the tray back into its original position.


You also do not need any tools or screws to install a 3.5'' drive. Simply use the plastic tray of your choice and drop the drive into it. Pins will hold it in place, while rubber rings make sure no vibrations get to the chassis itself. Once filled, slide the drive back into one of three slots via the opening in the rear. Back in 2014, with the Air 240, I also mentioned that it would be really cool if Corsair could offer hot-swap brackets for these drives, at least as an optional accessory, so that you could technically hot-swap these bays, which content creators could be interested in. This still holds true today.

Last, but not least, installing the power supply is also done by employing traditional methods. You may even put longer unit into the bay as there is loads of space for such variants. As you can see, I chose to have the fan of the Antec unit face the air vent on the side.


With everything in place, the main motherboard compartment looks extremely clean, allowing for the two fans to create an upward airflow across the motherboard without running into any major obstructions. All the cable mess has been tucked away and out of sight as it is inside the other half of the chassis. I used a few zip ties but then left the PSU cables just bunched up, which won't make a difference at all as it is all nicely hidden away anyways.
Finished Looks


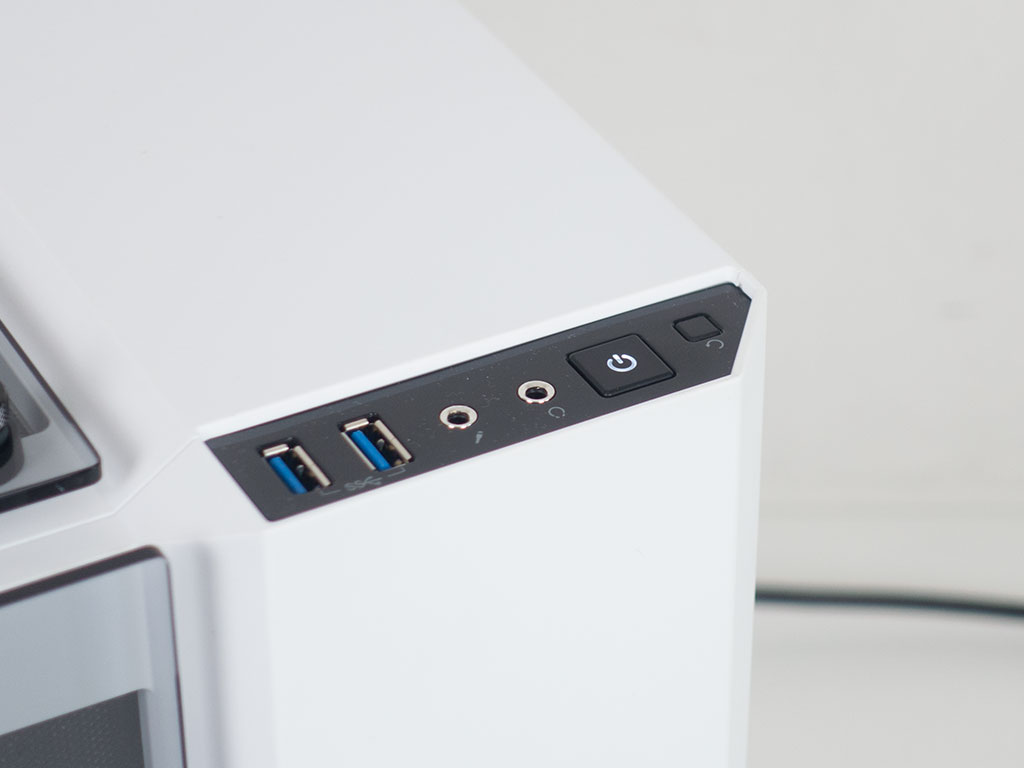
Once the panels are put back in place and the whole system is turned on, the Corsair Crystal 280X RGB really shines as one of the more beautiful enclosures of this summer. The RGB fans in the front and top shine through nicely due to the elaborate metal mesh shapes and solid glass panels. A white LED inside the power button lets you know that the system is running properly as well.
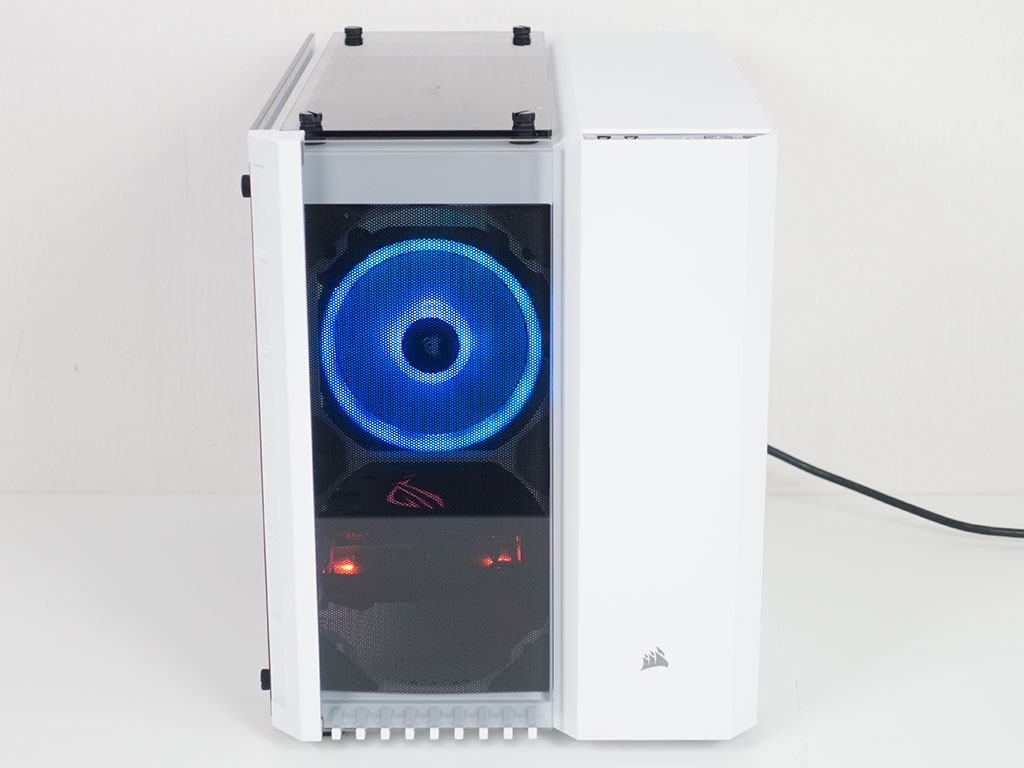


In front, you can clearly see the ring of light from the fan, as well as the system components behind it if no cooling unit is present. However, the beauty can clearly be seen when viewing the system through the big side window. Thanks to excellent cable-routing possibilities, everything looks roomy and tidy. In the rear, everything is where you would expect it to be with the PSU on the bottom left and the GPU on the right of it.
May 6th, 2024 02:52 EDT
change timezone
Latest GPU Drivers
New Forum Posts
- MSI 5700XT rom flash issue (5)
- Only some humans can see refresh rates faster than others, I am one of those humans. (145)
- [HELP] AMD GPU FINDING BIOS PROBLEM (12)
- Adventure: Running 8/9th gen Coffee Lake CPUs on Z170 motherboard (ASUS Maximus VIII Ranger) (337)
- Apparently Valve is giving refunds on Helldivers 2 regardless of hour count. Details inside. (89)
- Strange system crashes out of nowhere, help (28)
- reinstalled kingdom come deliverance and getting very poor fps (0)
- How to check flatness of CPUs and coolers - INK and OPTICAL INTERFERENCE methods (113)
- Trouble Getting Vega Rig Running (0)
- Overheating/undervolt/setup issues (3)
Popular Reviews
- Finalmouse UltralightX Review
- ASRock NUC BOX-155H (Intel Core Ultra 7 155H) Review
- Meze Audio LIRIC 2nd Generation Closed-Back Headphones Review
- Cougar Hotrod Royal Gaming Chair Review
- Upcoming Hardware Launches 2023 (Updated Feb 2024)
- Montech Sky Two GX Review
- AMD Ryzen 7 7800X3D Review - The Best Gaming CPU
- HYTE THICC Q60 240 mm AIO Review
- ASUS Radeon RX 7900 GRE TUF OC Review
- Logitech G Pro X Superlight 2 Review - Updated with 4000 Hz Tested
Controversial News Posts
- Intel Statement on Stability Issues: "Motherboard Makers to Blame" (240)
- Windows 11 Now Officially Adware as Microsoft Embeds Ads in the Start Menu (167)
- AMD to Redesign Ray Tracing Hardware on RDNA 4 (156)
- Sony PlayStation 5 Pro Specifications Confirmed, Console Arrives Before Holidays (117)
- AMD's RDNA 4 GPUs Could Stick with 18 Gbps GDDR6 Memory (114)
- NVIDIA Points Intel Raptor Lake CPU Users to Get Help from Intel Amid System Instability Issues (106)
- AMD Ryzen 9 7900X3D Now at a Mouth-watering $329 (104)
- AMD "Strix Halo" Zen 5 Mobile Processor Pictured: Chiplet-based, Uses 256-bit LPDDR5X (103)