 6
Cougar CFV235 Mesh Vision Review
Thermal Stress Test »Assembly
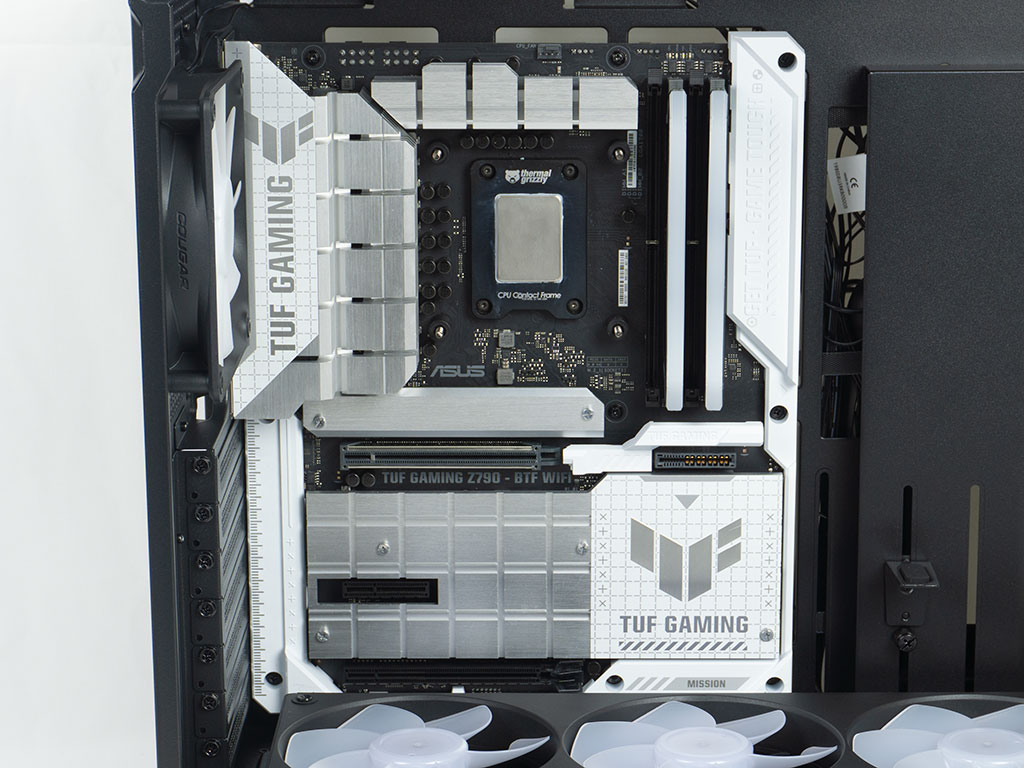
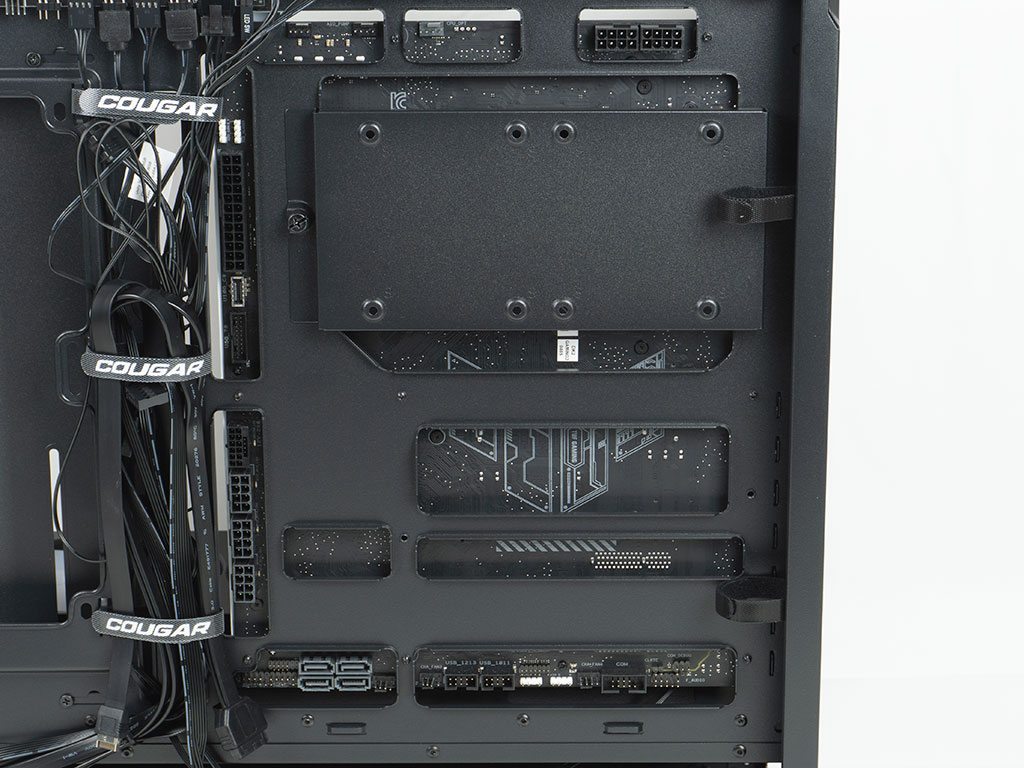
Installing the BTF-equipped ATX board is uneventful, using the provided spacers and screws. All the connectors are accessible in the rear and the board fits well overall. We did have to remove the fan frame on the floor temporarily to secure the board completely.
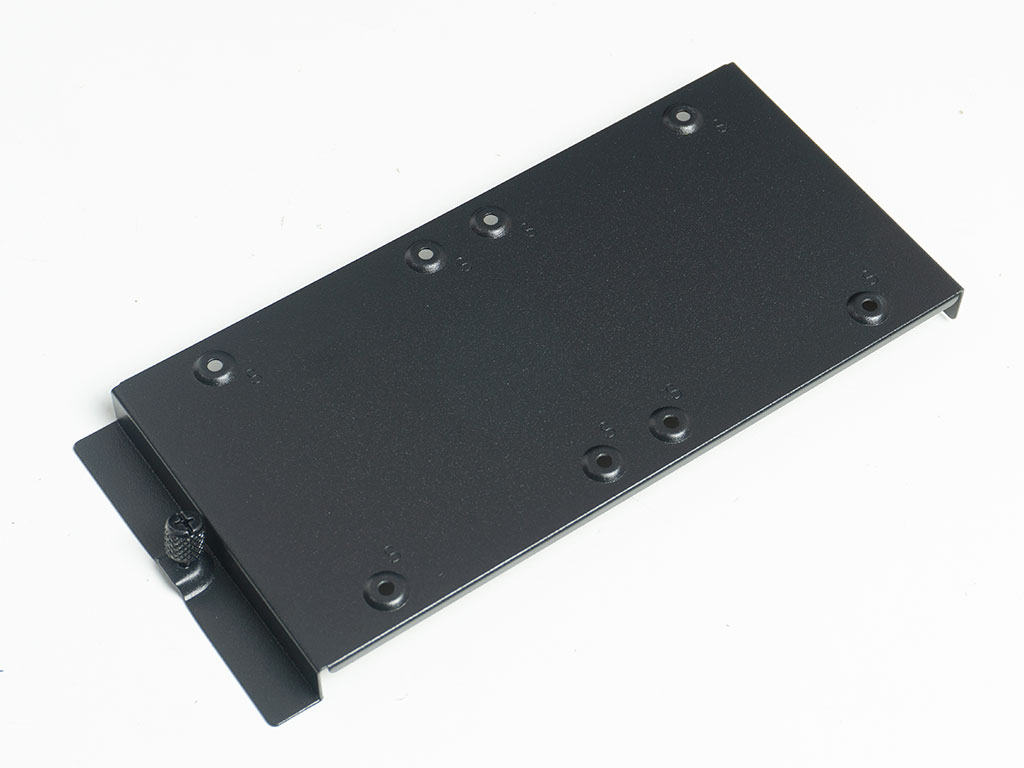
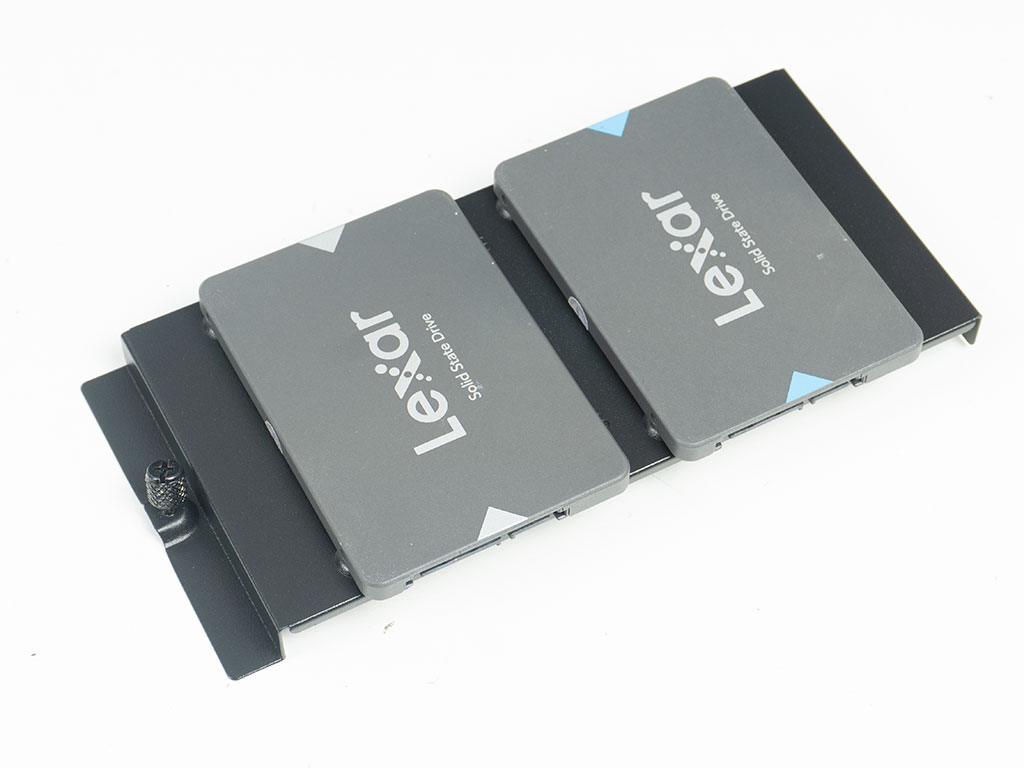
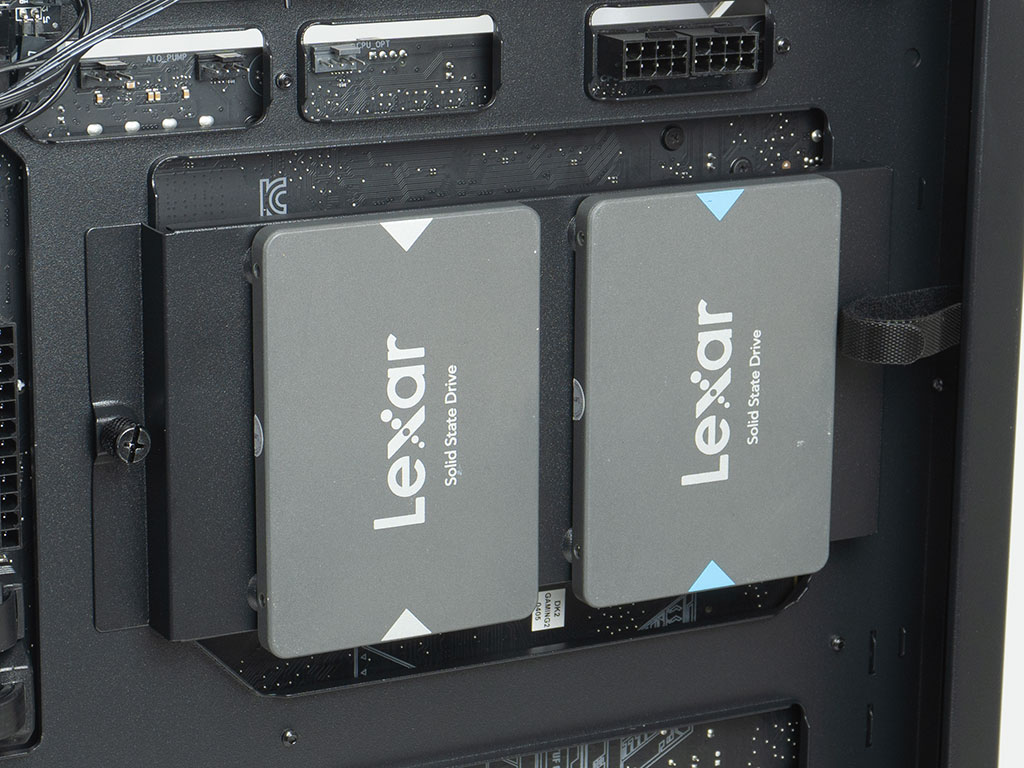
Adding SSDs is achieved by using screws to pin them to the mounting plate. This then just goes back right where you found it, and the thumb screw does its job to keep it there securely.
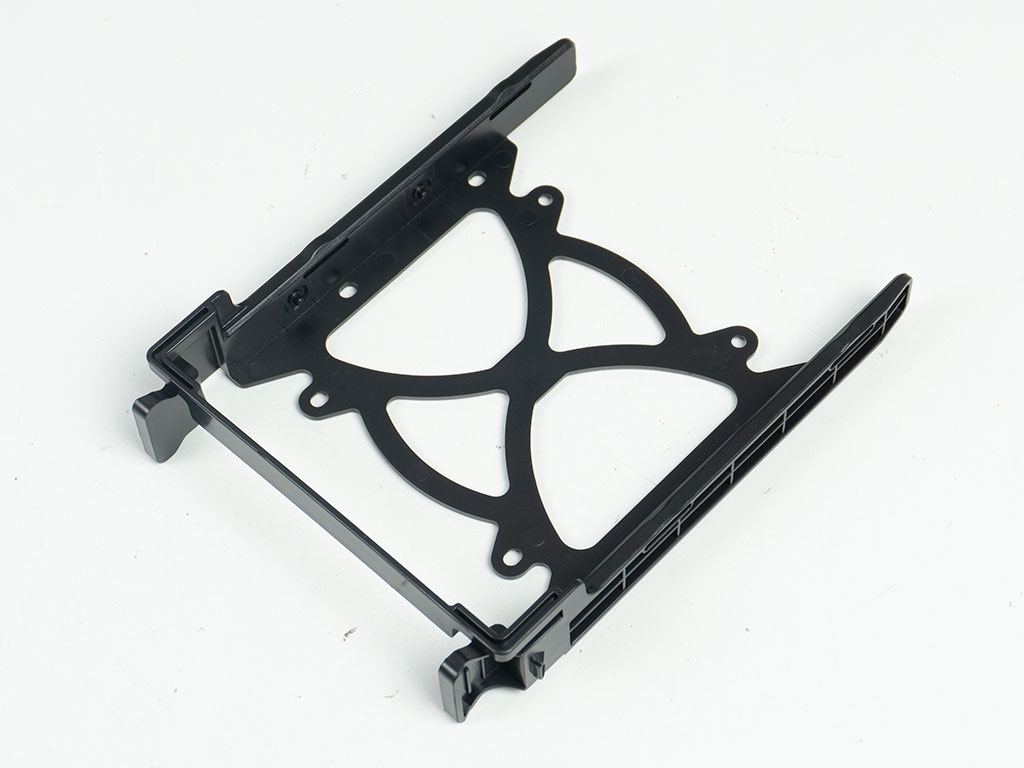
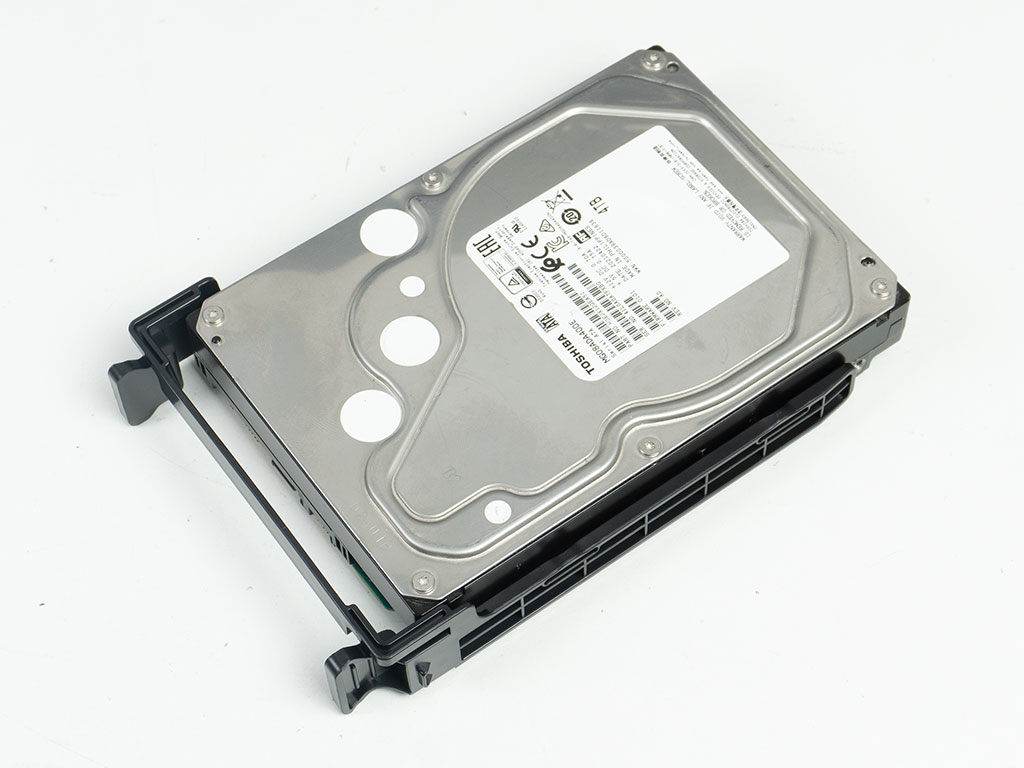
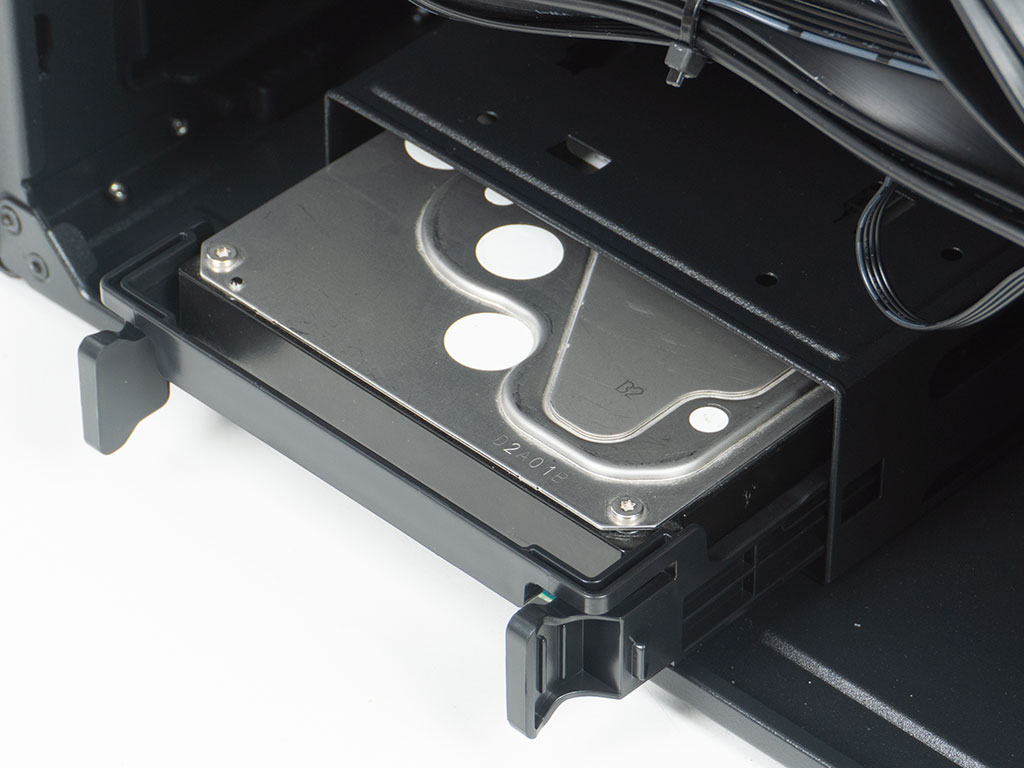
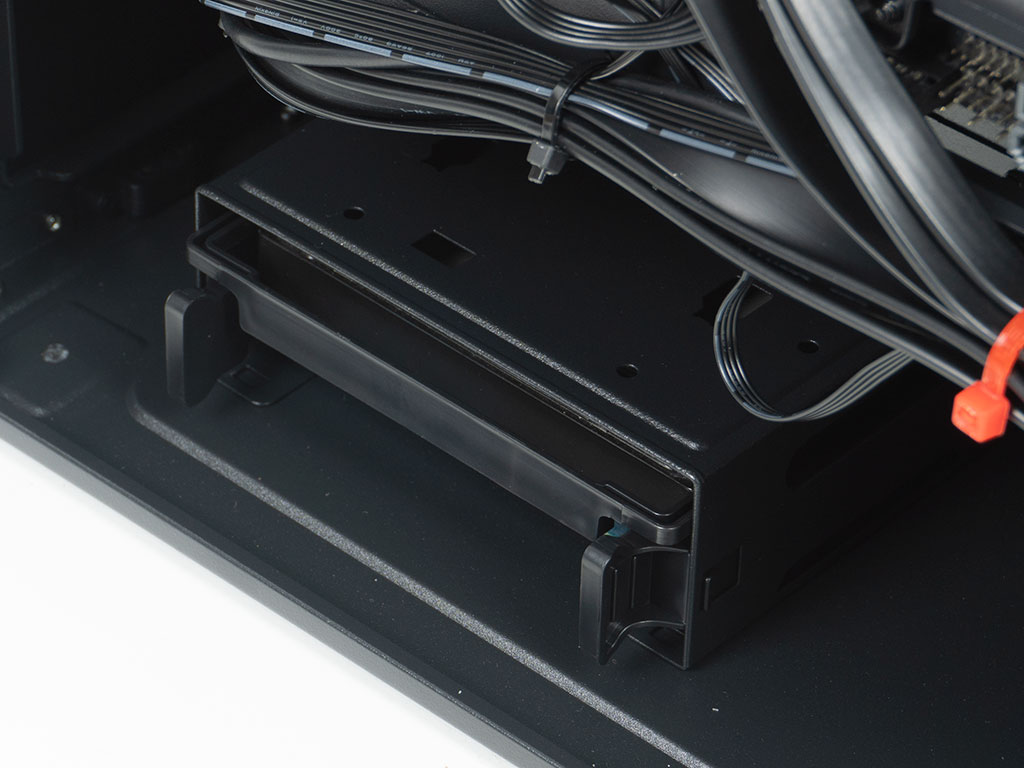
While you do have to remove the whole metal cage if you want to screw down a drive on top of it, you can skip tools when utilizing the plastic tray for your 3.5" drive. That just snaps into place, and you can then slide it back into the cage body until its clips pin the filled tray into place.
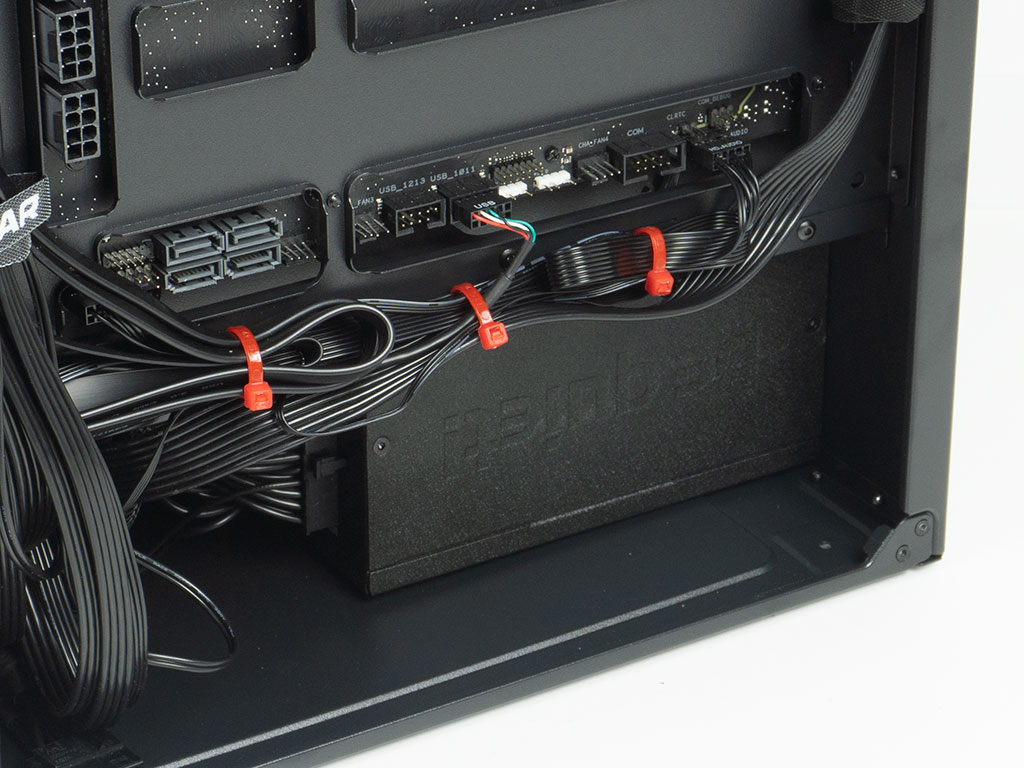
Installing the PSU is straightforward using the supplied screws. There is plenty of room in terms of length, so you can pick from the vast majority of power supplies out there. On top of that you have lots of room on the side of the unit in case you want to store cables there, for example.
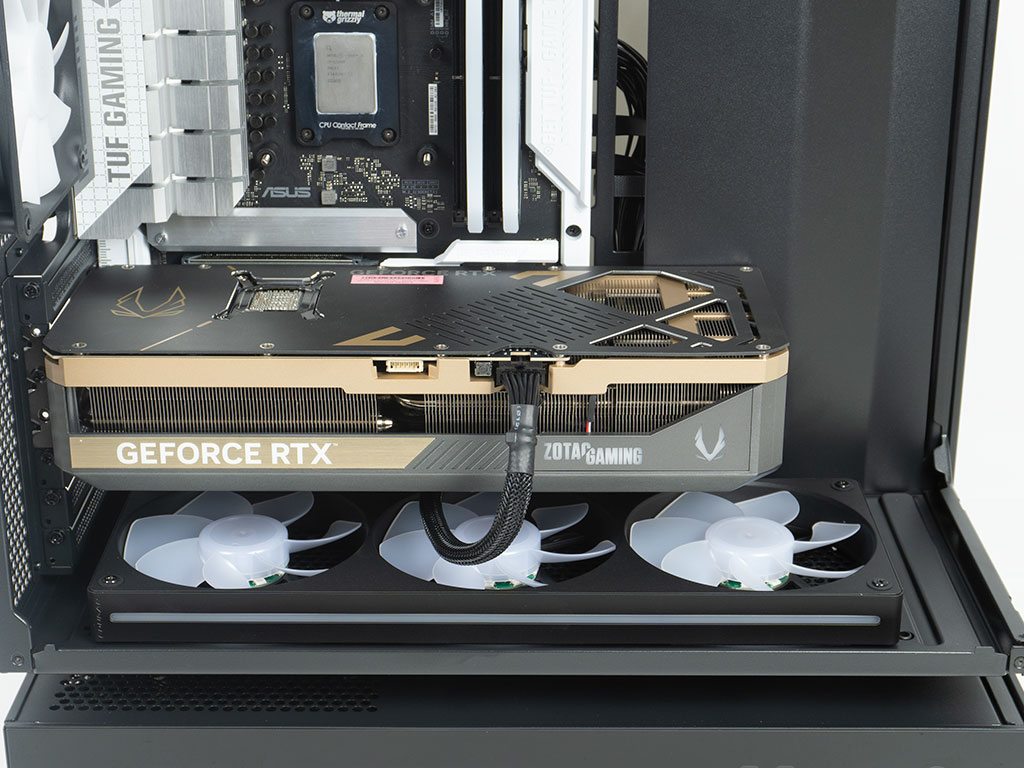
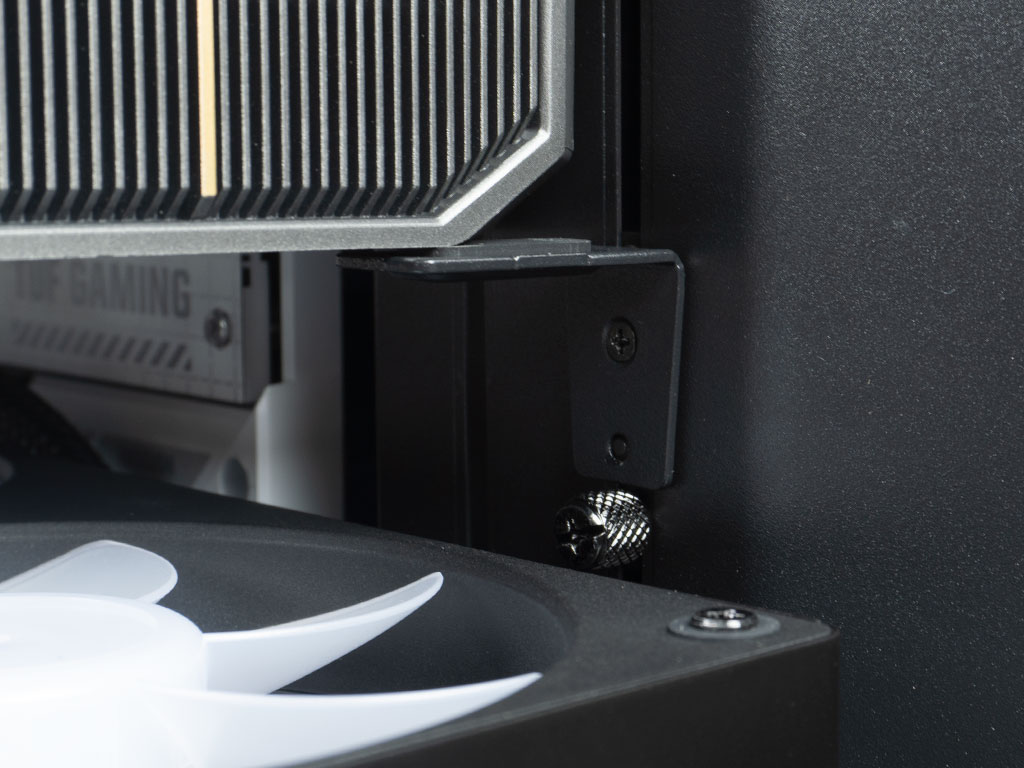
Unsurprisingly, big and bulky GPUs also fit perfectly fine inside the CFV235 Mesh Vision. Thanks to the ability to move the GPU support over, we were also able to utilize it with the Zotac GeForce RTX 5070 Ti without interfering with one of its fans.
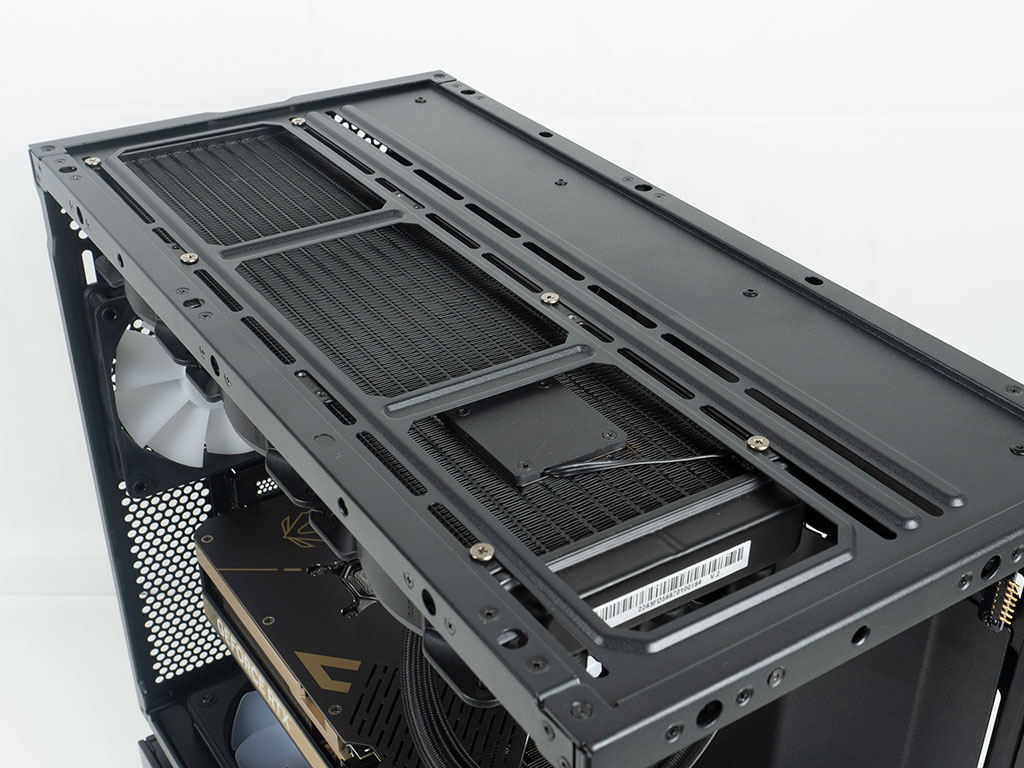
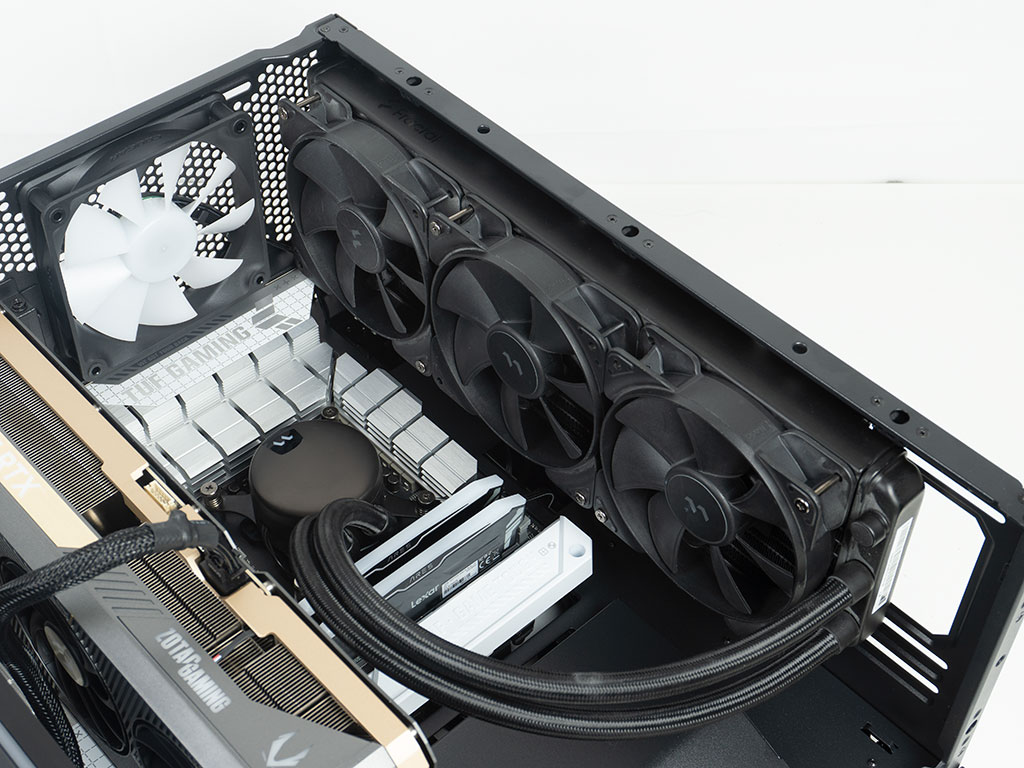
A 360 mm AIO will fit in the ceiling with room to move it back and forth a bit as well. That said, your access to motherboard headers at the top edge of the boards will be considerably limited by such a setup, so you will have to make sure to wire it all up before the radiator and fans go into the chassis. You can see how the rear fan of the AIO overlaps with the motherboard heatsink, which is a good way to judge the clearance, even at this angle of the photo taken.
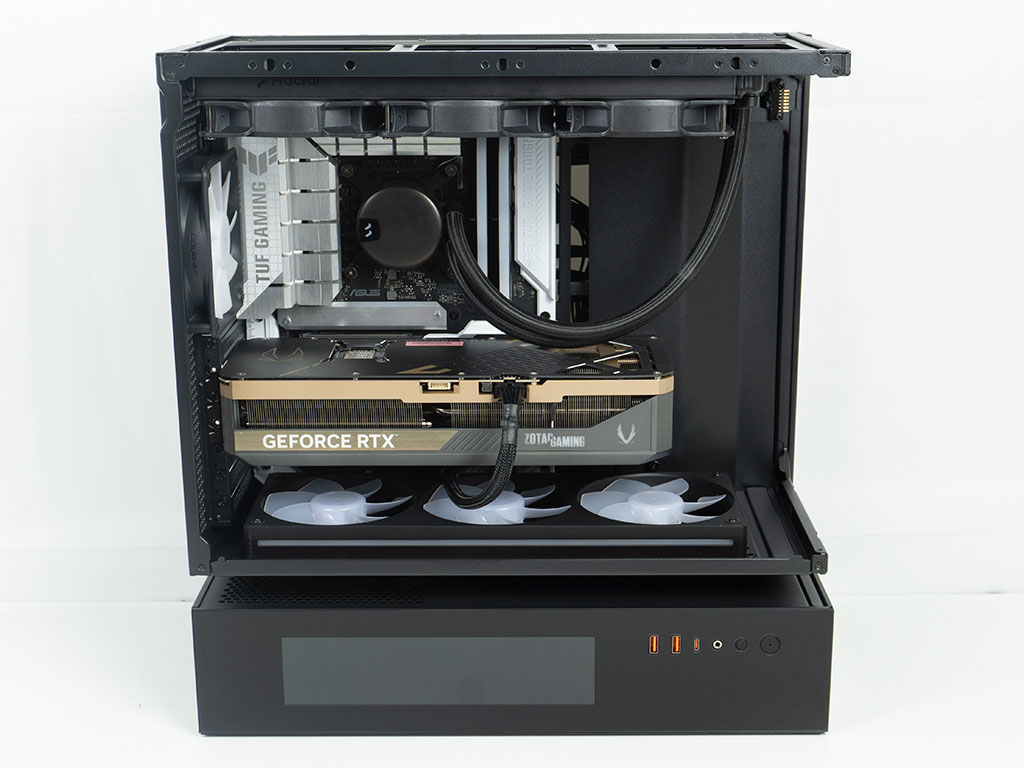
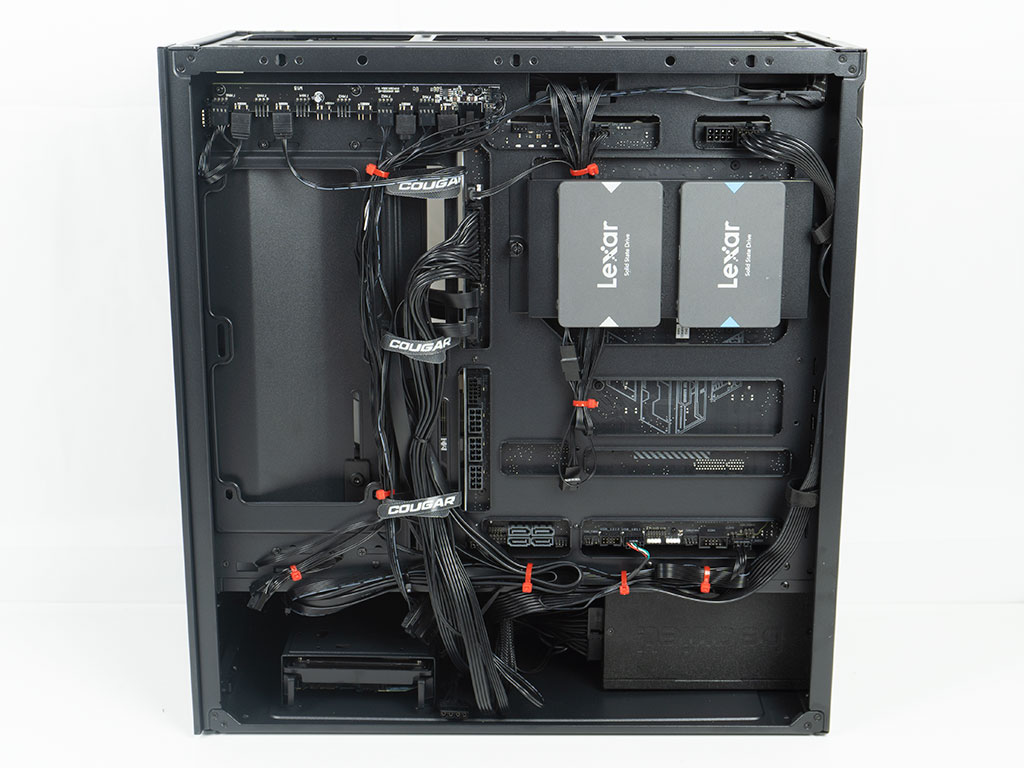
With everything installed, the interior of the Cougar CFV235 Mesh Vision makes a very clean impression, which is obviously helped by the fact we used a BTF board. But even so, the metal cover on the side and the fact that the floor fans will also hide any wiring at the bottom edge of the motherboard, means that your build should also look nice with classic board layouts. On the backside, we managed to spread the cables around nicely and did end up using every Velcro strip, as well as all the available hooks for zip ties. We did try to keep the cable mess away from the openings, but in our scenario we could have slid the metal cable cover towards the motherboard, as no wiring was passing through the openings anyway.
Finished Looks
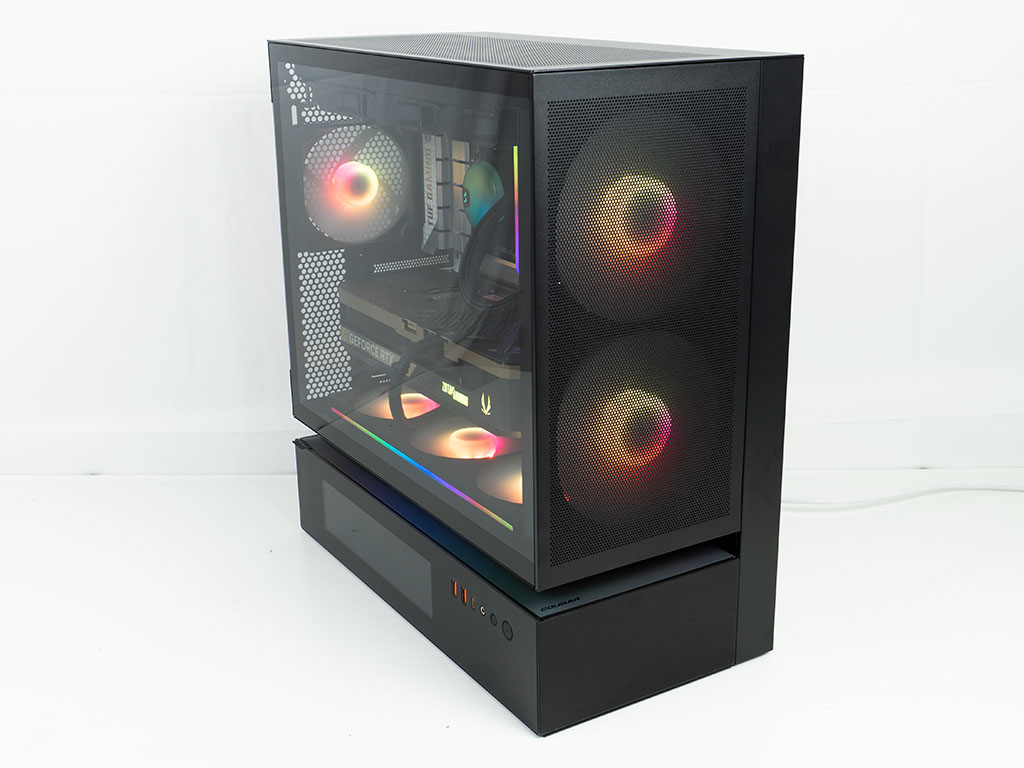
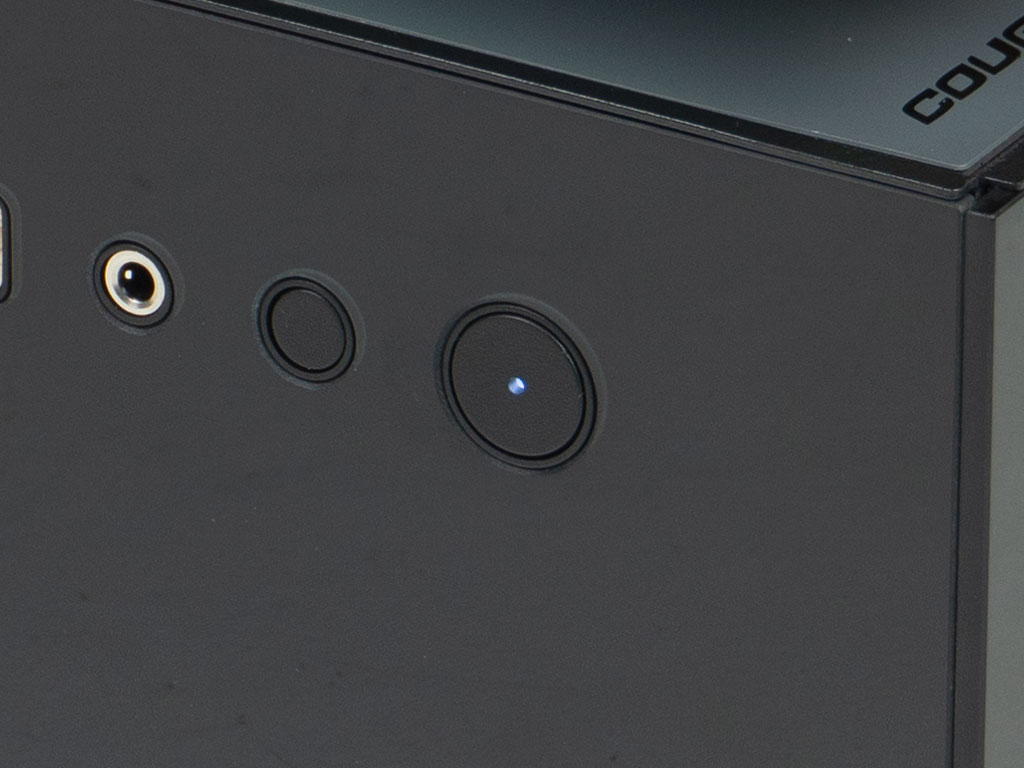
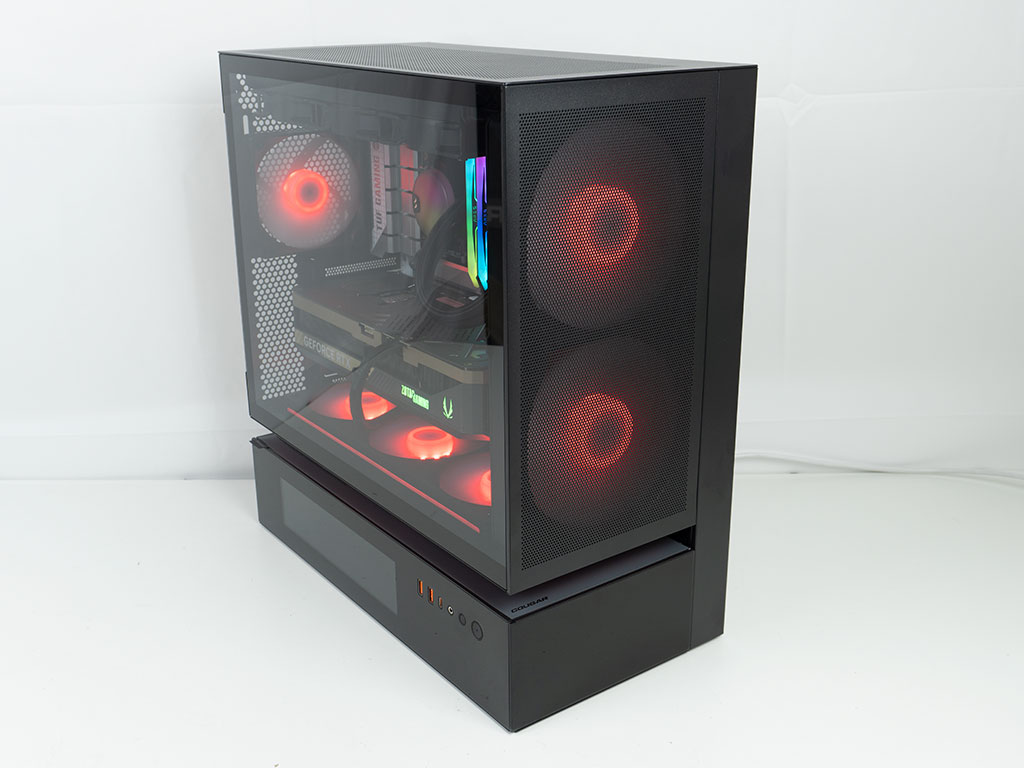
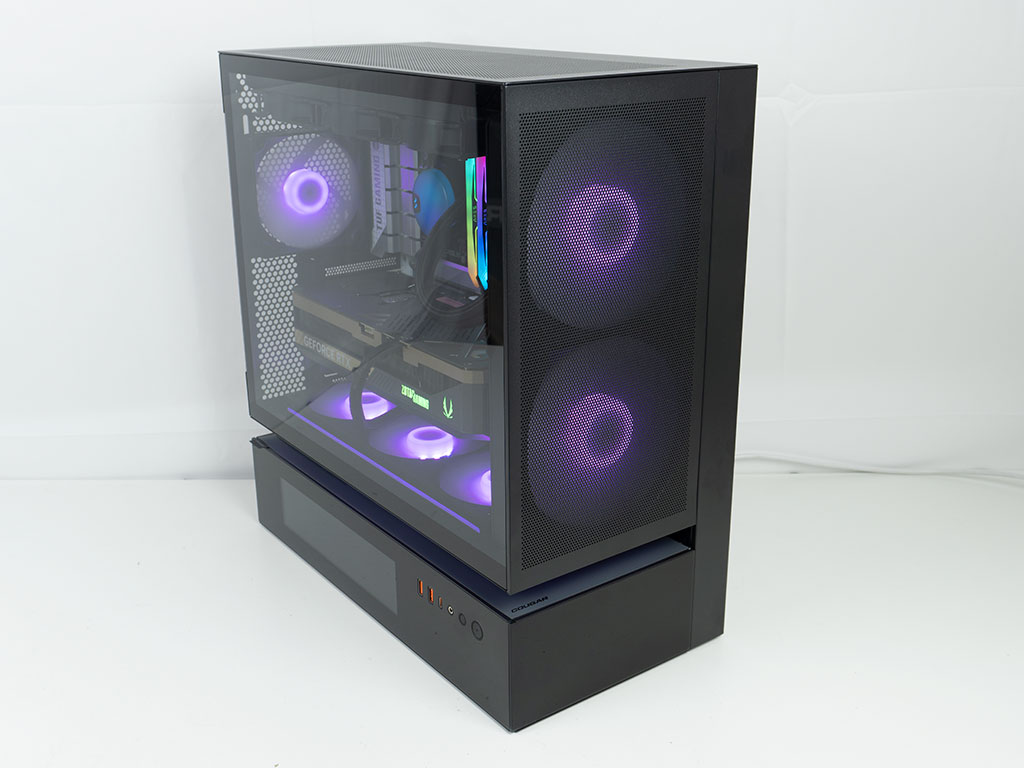
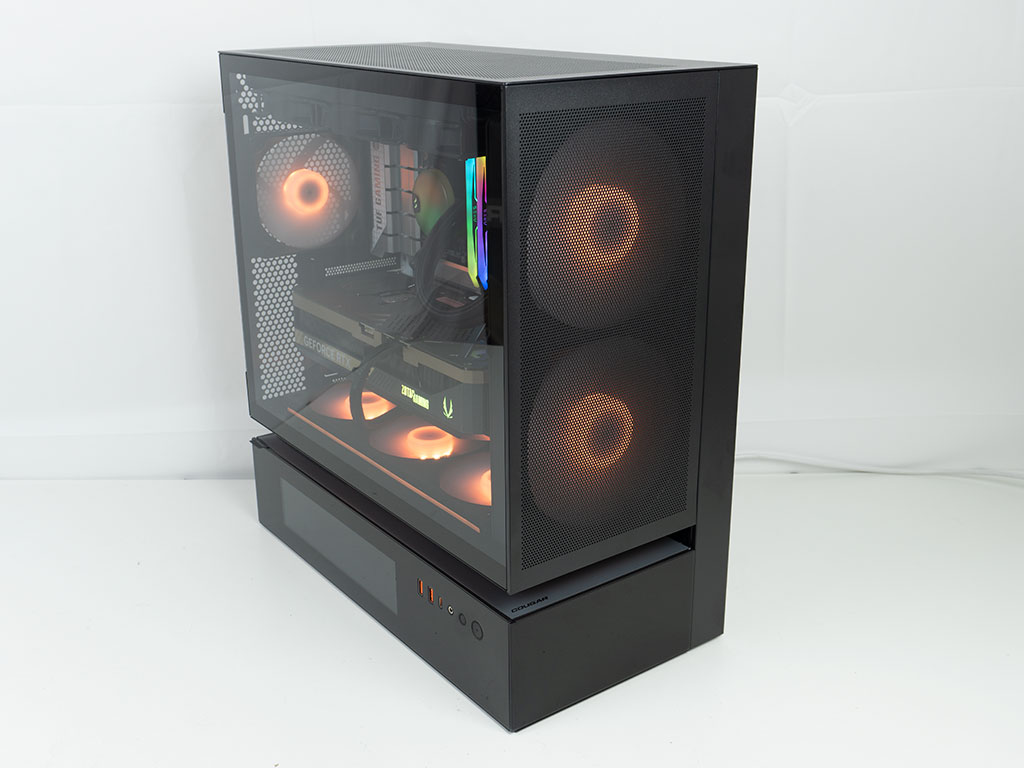
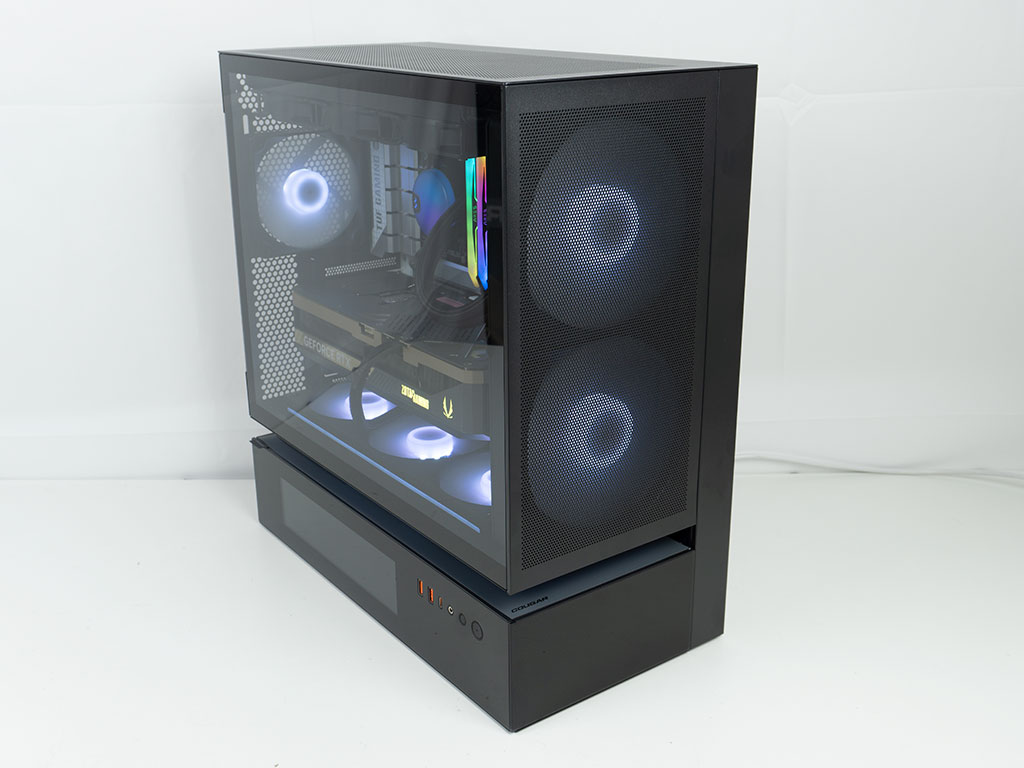
As soon as you turn the CFV235 on, everything lights up all around, thanks to the RGB in the fans as well as the frame. The white power button LED will also let you know that your system is up and running. If you look closely, you will notice that we also placed the gray mat on top of the lower compartment.
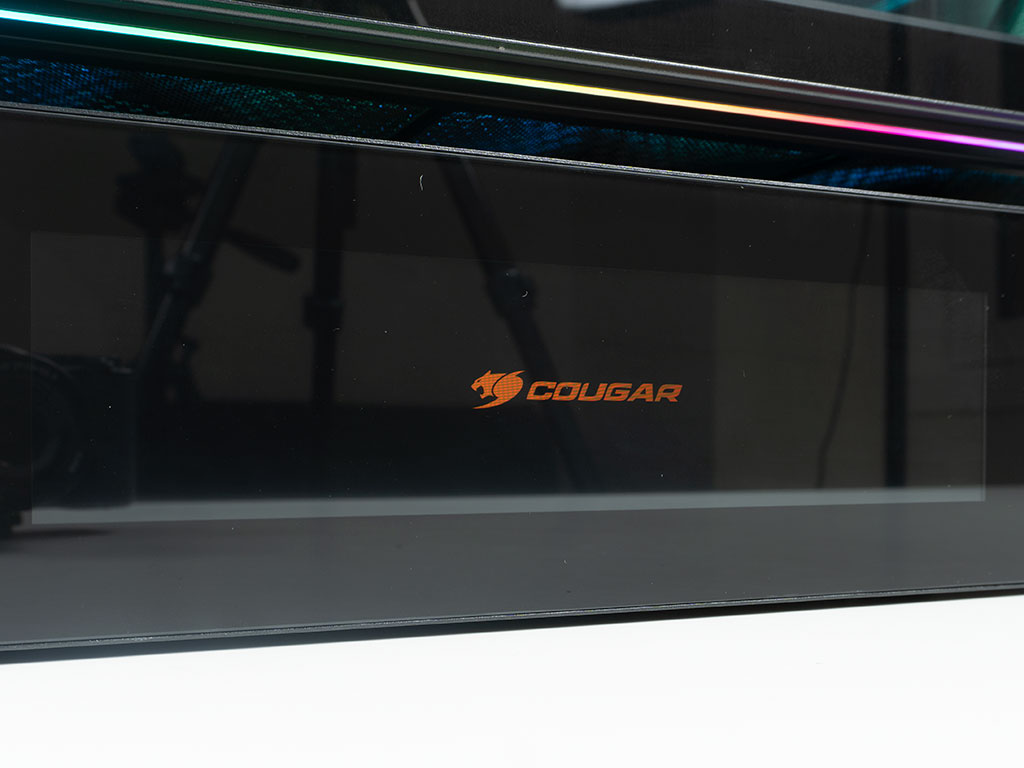
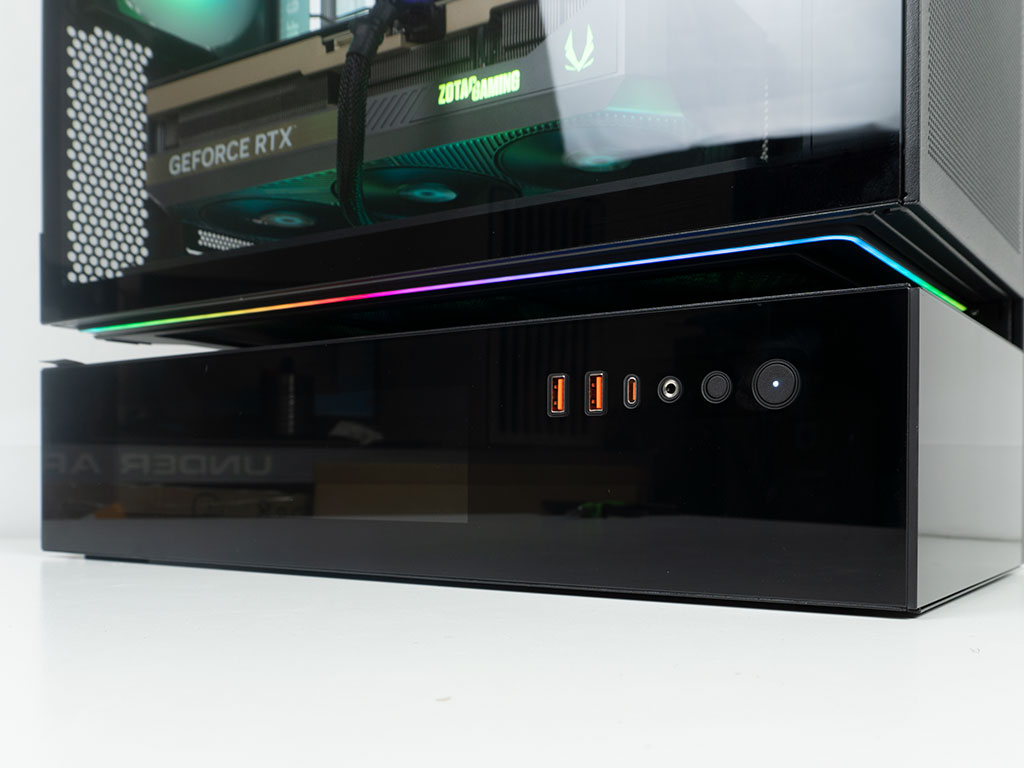
The screen automatically turns on once there is power delivery and the magnetically attached ARGB strip fits perfectly, giving you a pretty nifty downward ARGB glow around the gap.
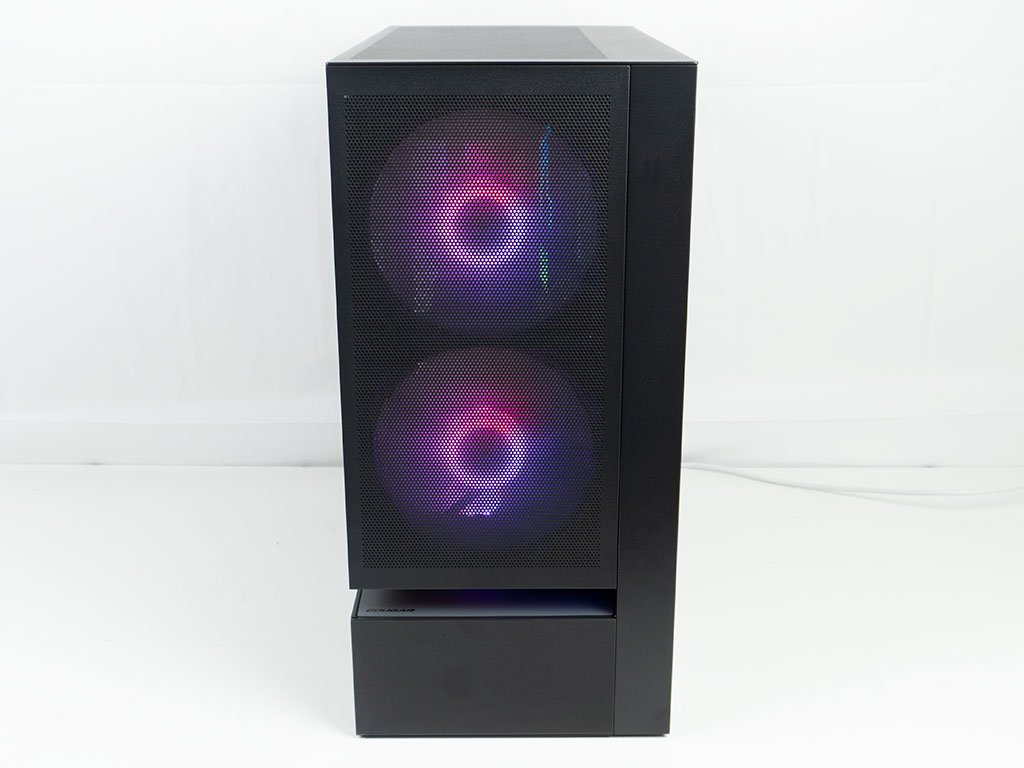
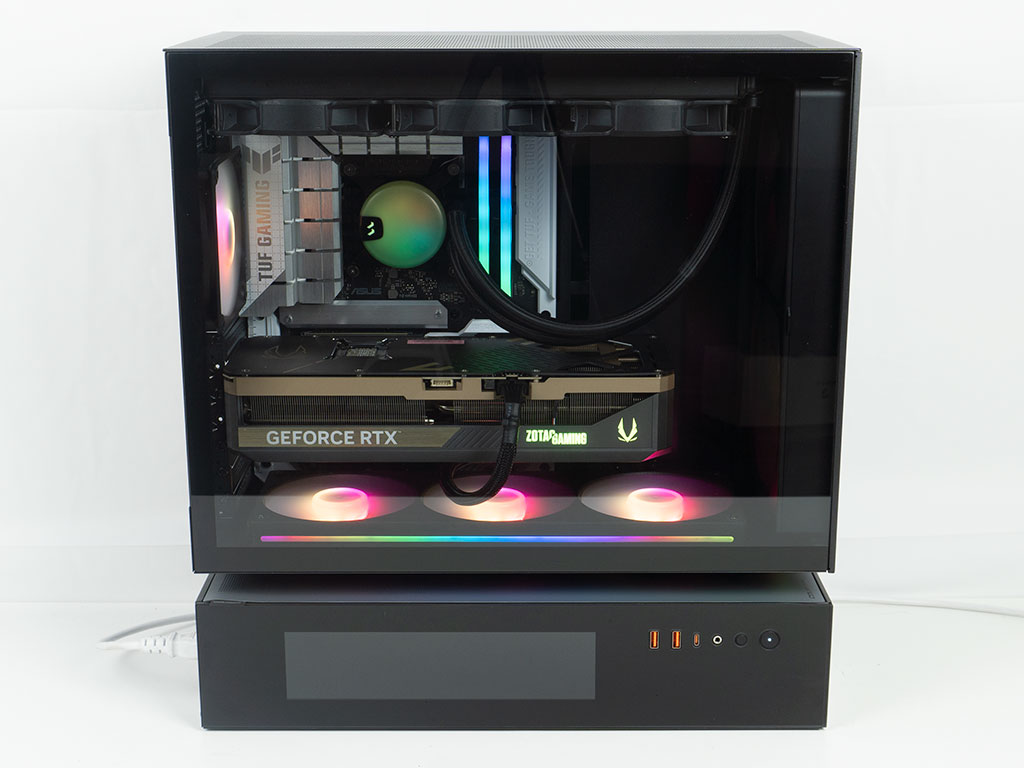
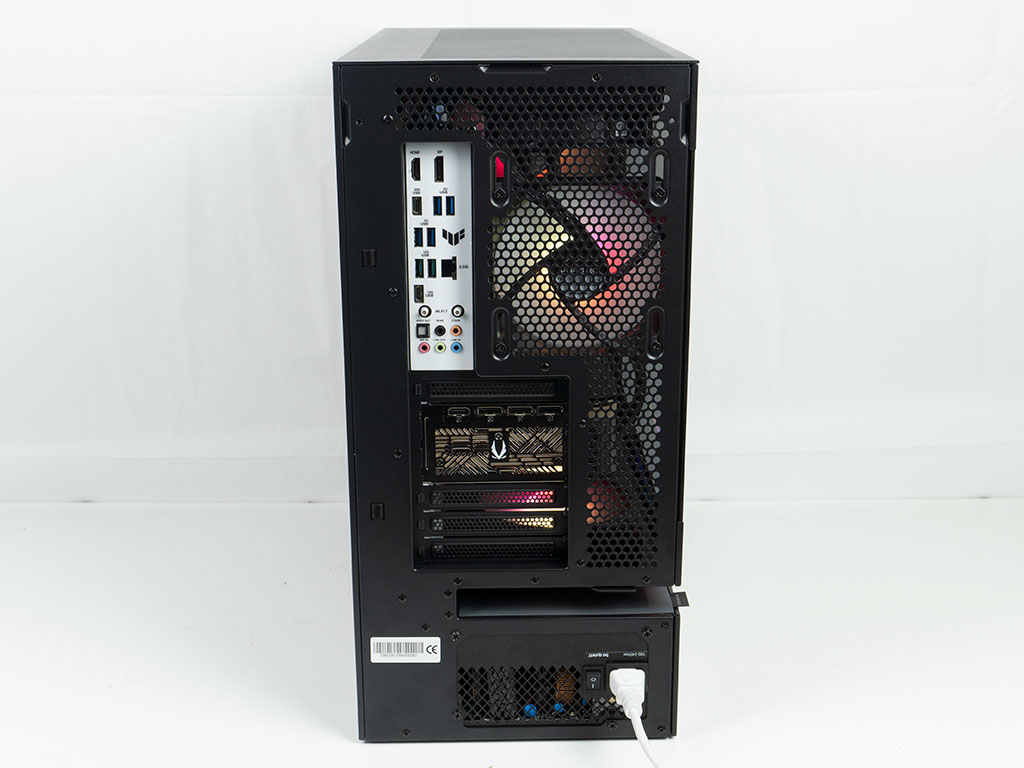
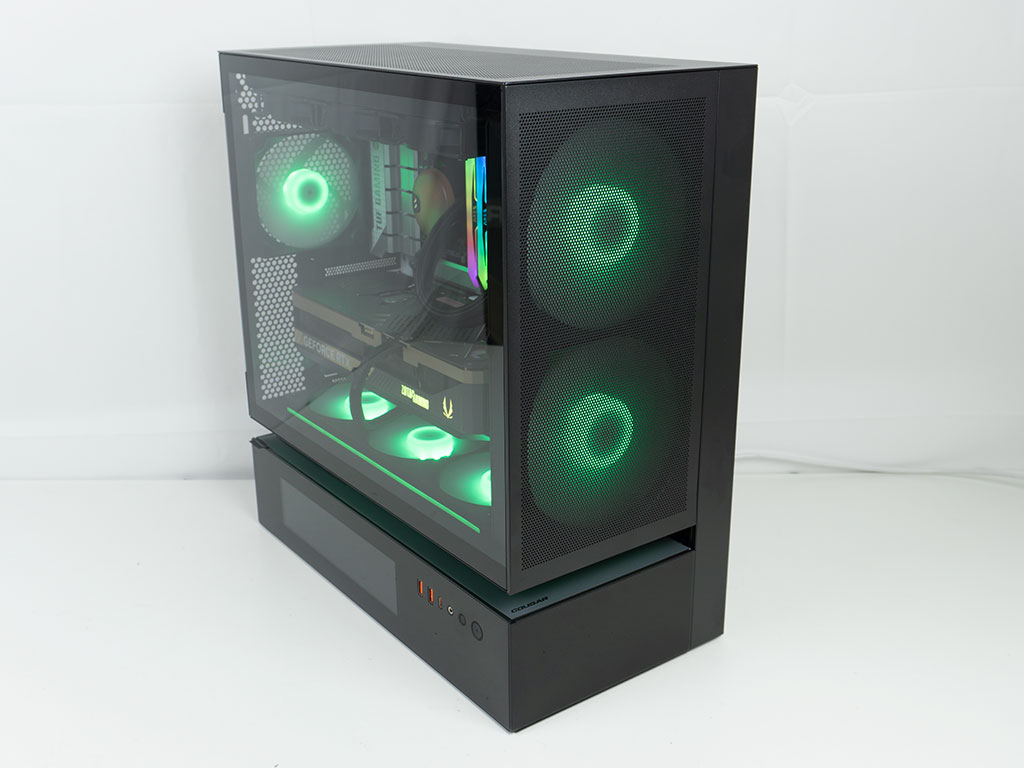
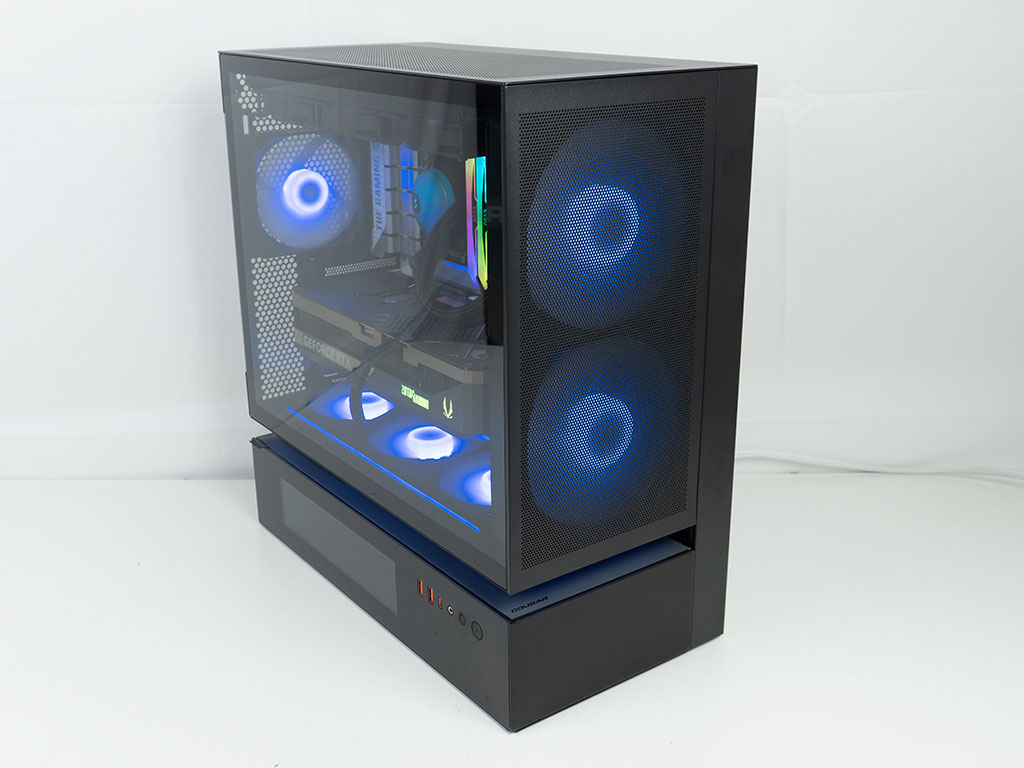
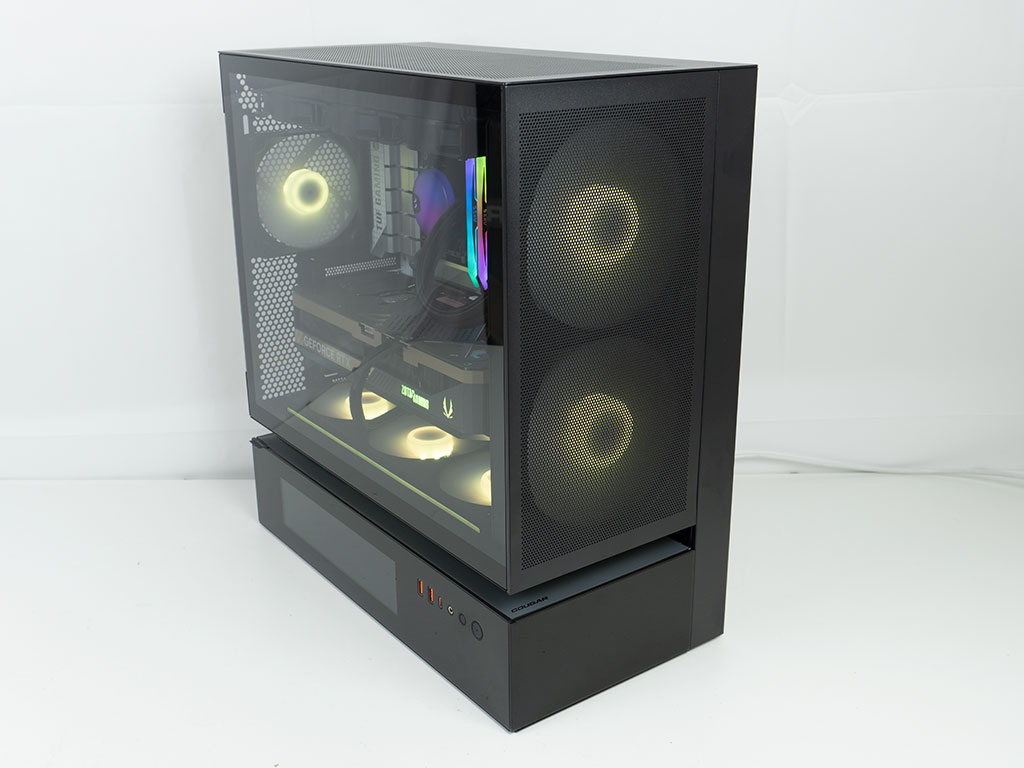
Thanks to the design of the front fan bracket, you can clearly see these 160 mm fans doing their job, without any unsightly obstructions through the fine meshed front panel. From the side, all your hardware and the fan frame on the bottom are clearly visible, as the glass has no visible tinting to it. In the rear, everything is essentially where you would expect it from a modern mid-tower case, as the gap just adds a bit of distance, but doesn't change the overall layout.
Thanks to the built-in controller, you can also cycle through a lot of different color animations. On top of that, you may select one of seven solid color options shown below.

Cougar LCD Editor App
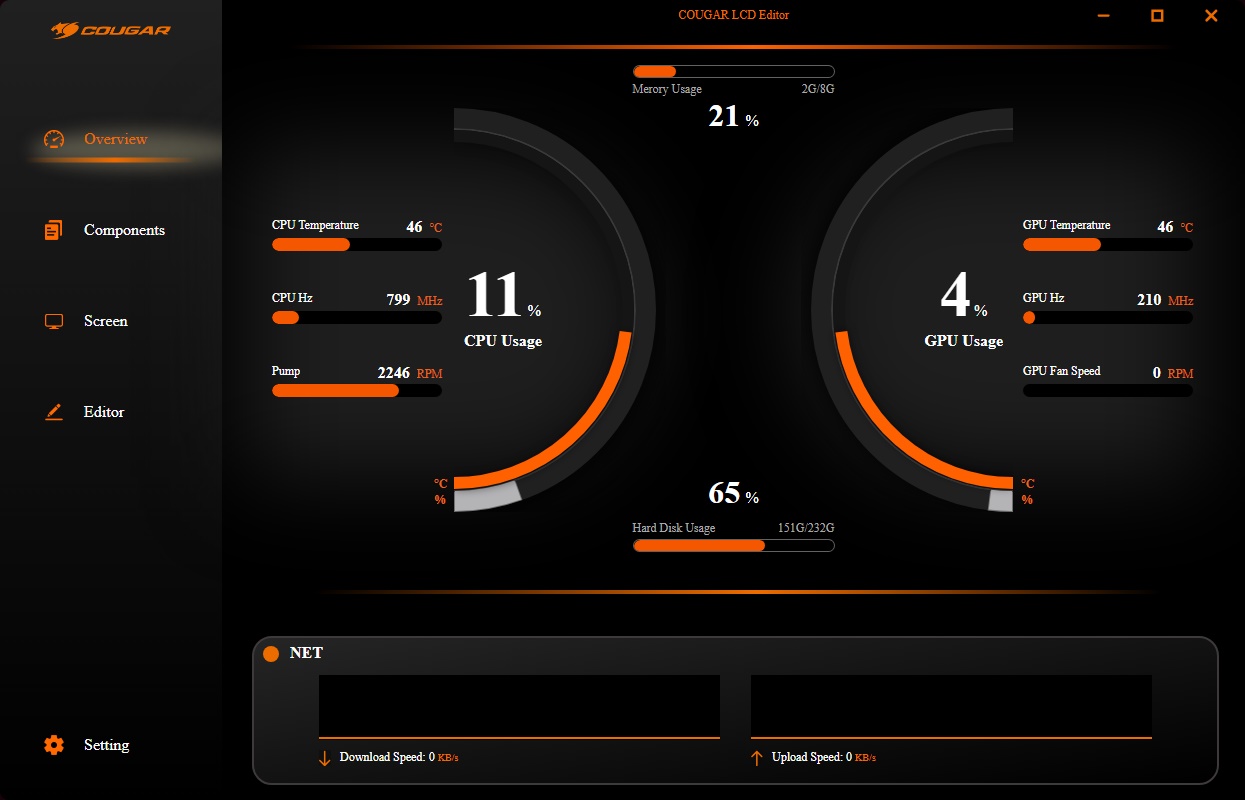
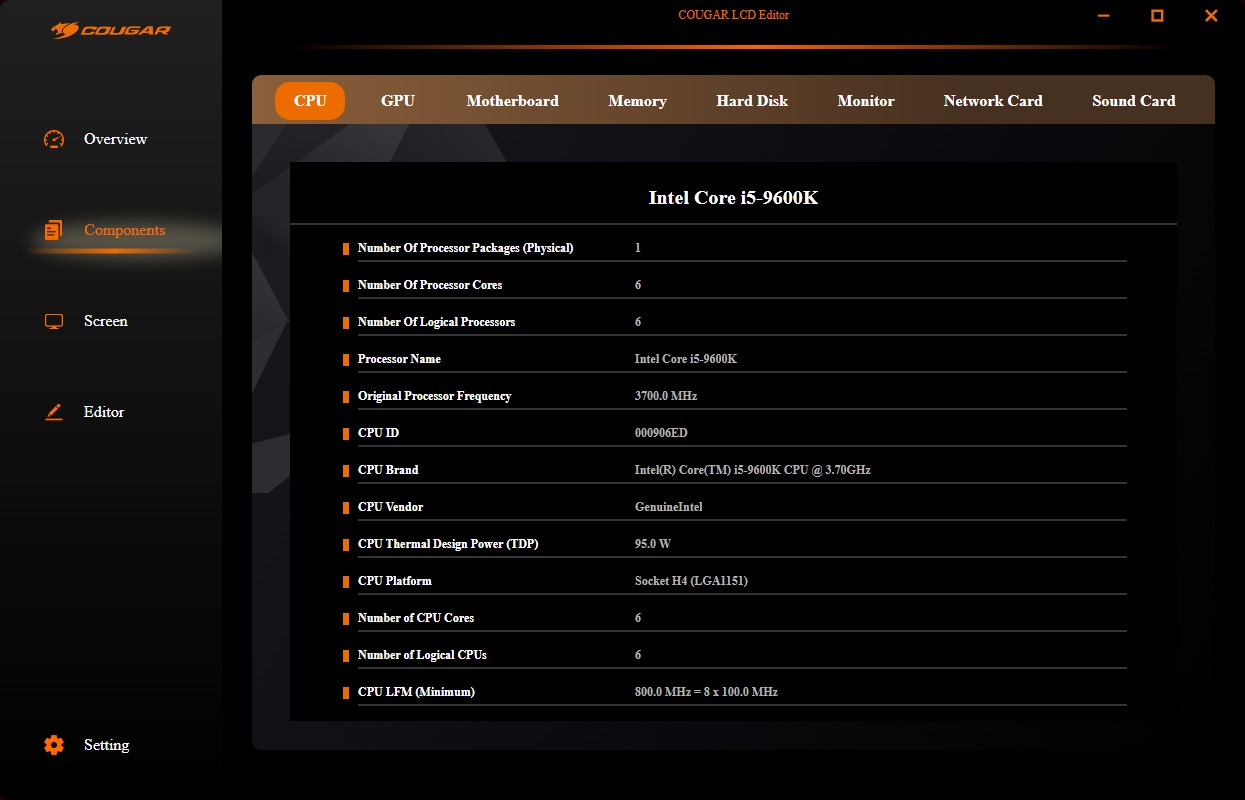
To drive the screen, Cougar has created its own app and—as we all know—making an easy to use, functional, lightweight and stable app is probably the hardest aspect for hardware. With screens being put on everything from cases, AIOs, fans and even memory, the software side is usually what makes or breaks the usability of that display for everyday life. The Cougar app is fairly basic, but feels sufficient to drive the screen and its contents. One could argue that the font choice is bad, and the UI is focused on looking fancy instead of making good use of the overall real-estate. Even though this is meant to drive the LCD screen and allow you to configure the display, it also sports an Overview screen with system stats. Odds are you won't be opening that up to view your actual stats.
Similarly, there is also a screen dedicated to your system component information. As we are running this on the thermal testing rig, the information you see is exactly what we have listed in our table for that system. While it is nice to have all of this information, it isn't likely something that will drive you to the app first and foremost. The rule of thumb of software development is to put the most used feature or function front and center, which in this case would be the ability to edit what is visible on the LCD screen.
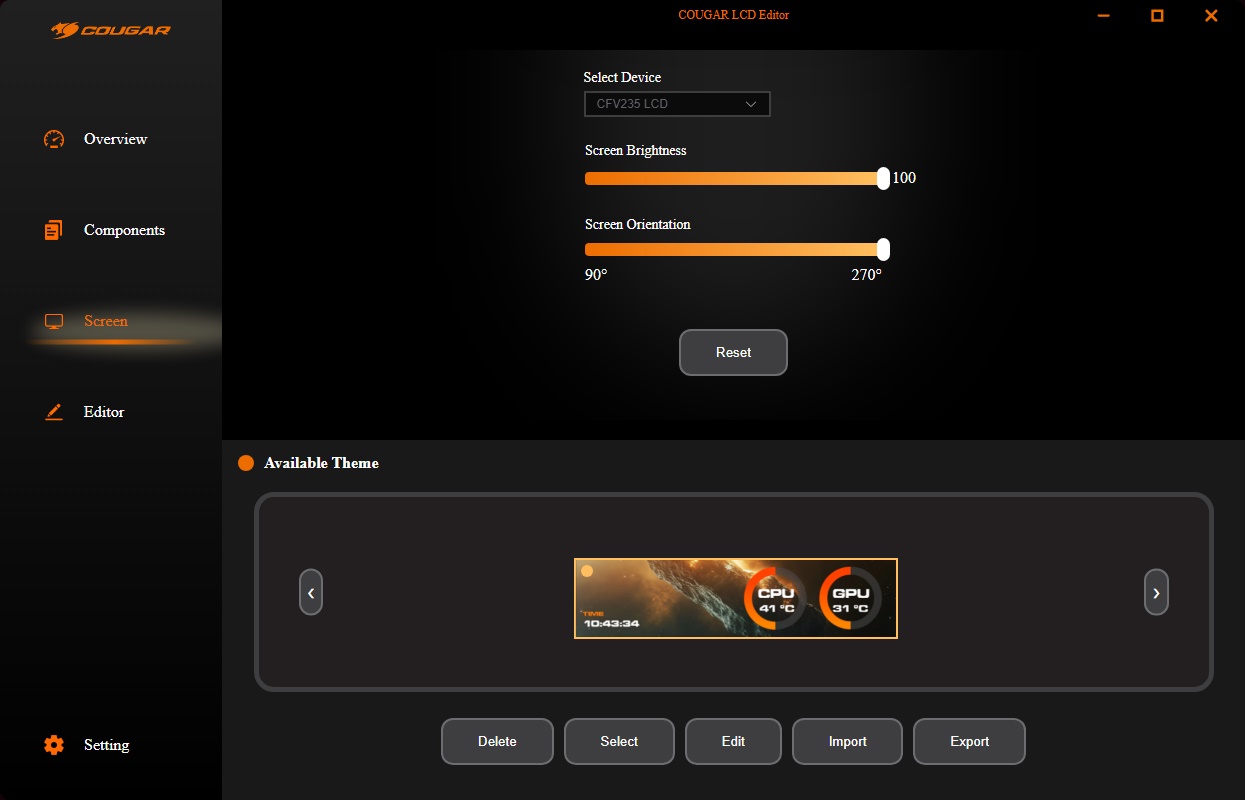
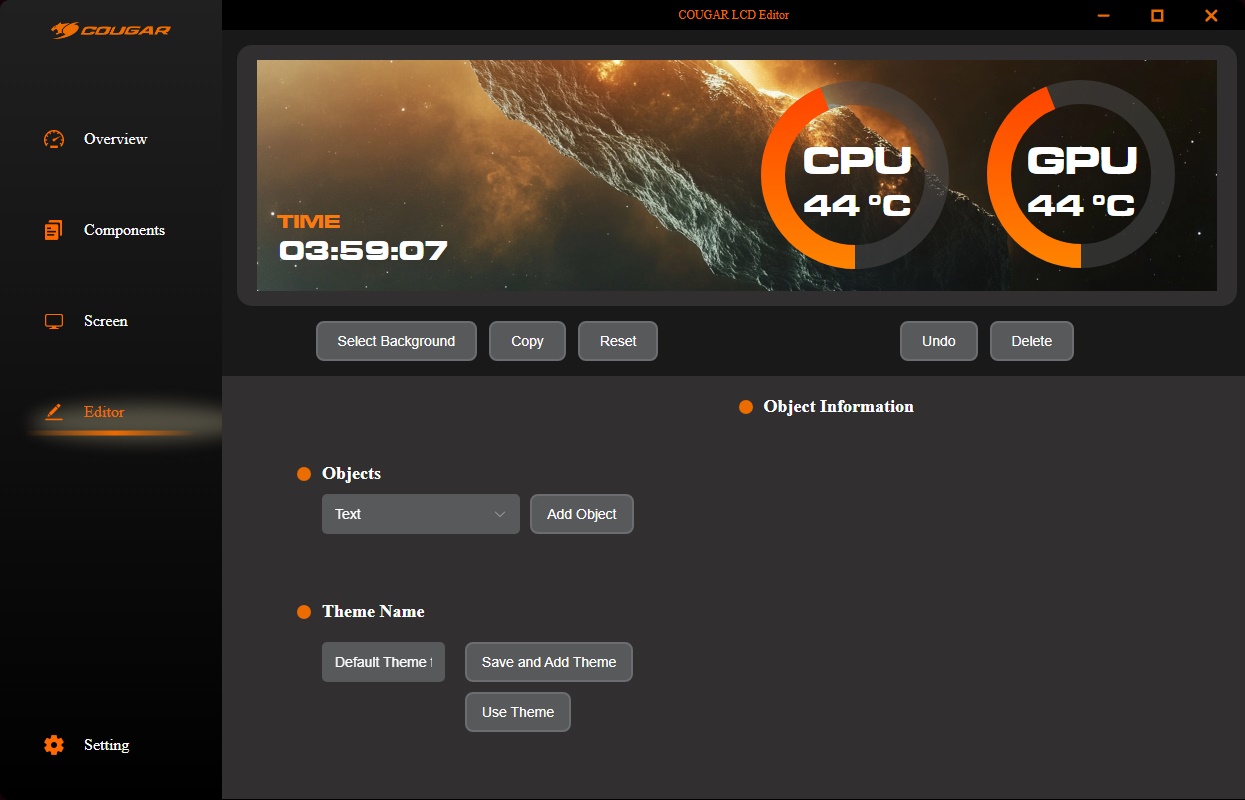
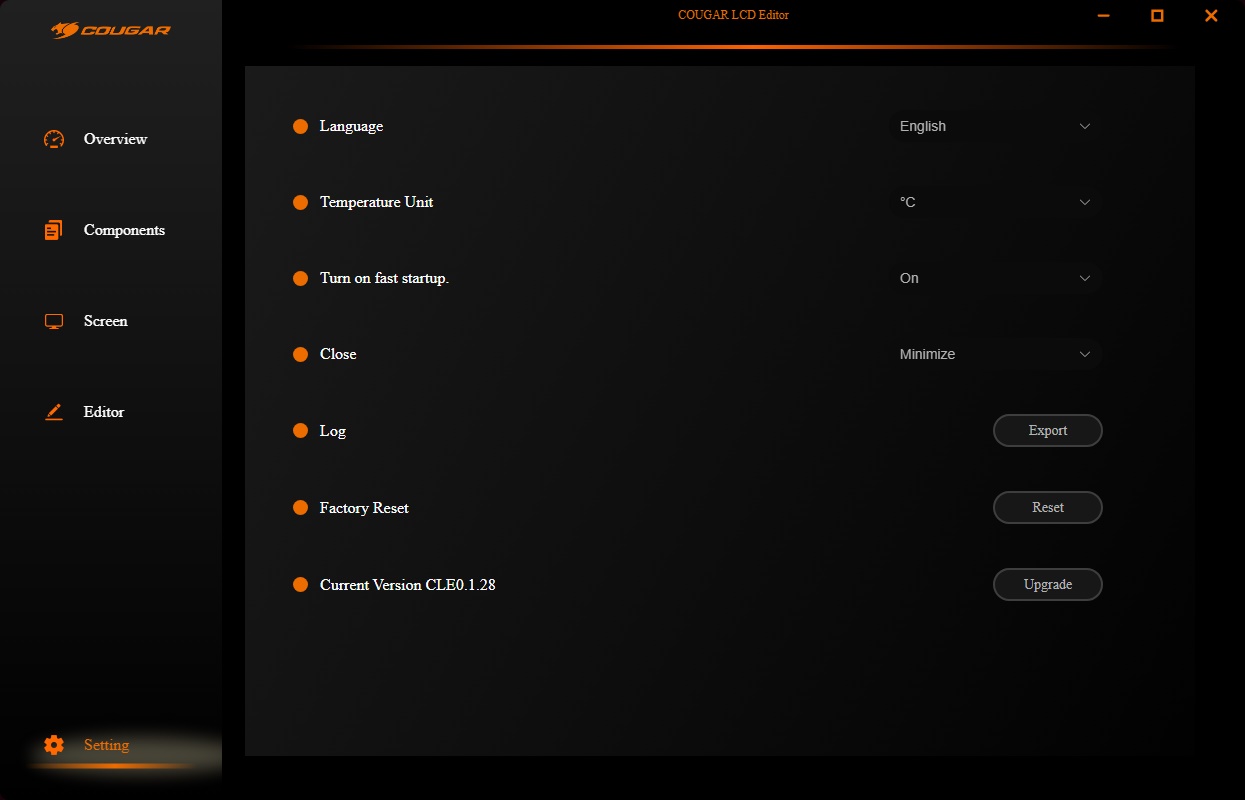
The next main menu item is simply called "Screen" and will allow you to adjust the templates used along with the brightness and orientation of the display. The app allows for this type of control across multiple separate Cougar displays in your system. Besides the templates, there is an editor, which allows you to put various objects on the screen and save that setup as a template of your own. There are plenty of things to pick from besides utilization or thermals monitoring. In the settings menu you have the ability to select the units shown, update the app, or reset the device. It also allows you to set the behavior when hitting the X on the window, as the screen doesn't store the template or functions on its own, so you will have to keep the app running in the background.
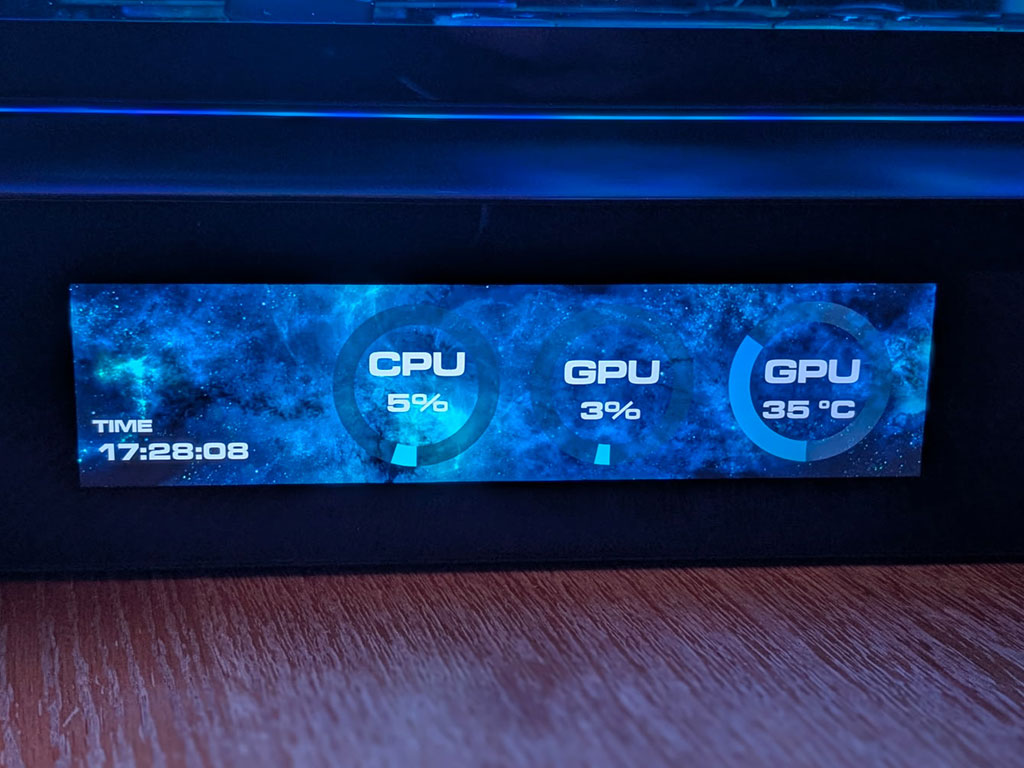
We just ended up tweaking it slightly, with a blue themed background and illumination, showing CPU utilization alongside the GPU temperature and its utilization. We also included the time, to make sure we don't stay up too late during an evening gaming session. The 9.16-inch IPS TFT LCD sports a 1920 × 462 resolution, so all the information is nice and crisp. While it is also advertised as having a 60 Hz refresh rate, it doesn't matter too much, as you can't really drive this as a secondary screen on Windows anyway as it uses USB and a companion app, not HDMI for example.
Nov 20th, 2026 23:14 PST
change timezone
Latest GPU Drivers
New Forum Posts
- How to prevent OLED burn damage due to PC freezes or power outtages? (50)
- Anthrophics IPO (27)
- RX 9000 series GPU Owners Club (2251)
- Cpu waterblock water shows some tinting = Bad? (17)
- WarpCoreBench scores! (87)
- What are you playing? (26238)
- TPU's Nostalgic Hardware Club (22174)
- Intel Core Ultra 5 processor 250K Plus (14)
- Honestly, do you care about GTA VI? (219)
- SATA drive 1.4 GBps with Intel X25-E on Windows 98! (37)
Popular Reviews
- Microsoft Surface Laptop Ultra Review - The Next-gen Arm Laptop
- Ugreen NASync DXP4800 GT Review
- Corsair RM1200e (Second Generation) Review
- Pulsar Office Tour & First Look at P1 Dual-Sensor Mouse
- Upcoming Hardware Launches 2027 (Updated Nov 2026)
- Acemagic Retro X3 Review
- Biwin Black Opal NV7400 2 TB Review
- AMD Ryzen 7 9800X3D Review - The Best Gaming Processor
- AMD Zen 6 Technical Deep Dive
- Chieftec Iceberg PRO 360 DARK Review
TPU on YouTube
Controversial News Posts
- NVIDIA Co-Founder and CEO Jensen Huang Officially Resigns (491)
- Report: Jensen Huang Eyes NVIDIA Comeback (257)
- Open Letter Asking NVIDIA to Reinstate Jensen Huang Passes 115,000 Signatures (184)
- OpenAI CEO Argues Home PCs Waste the World's Limited DRAM Supply (152)
- NVIDIA Launches Investigation Into Jensen Huang's Relationship With Suspected Chinese Spy (136)
- Intel "Raptor Lake Next" 16-Core and 20-Core CPUs Surface (130)
- Legendary Game Studio BioWare Shuts Down Following EA Layoffs (104)
- NVIDIA GeForce RTX 50-Series Scheduled for up to $500 Price Hike This Week (89)