 19
Cougar OmnyX Review
Thermal Stress Test »Assembly

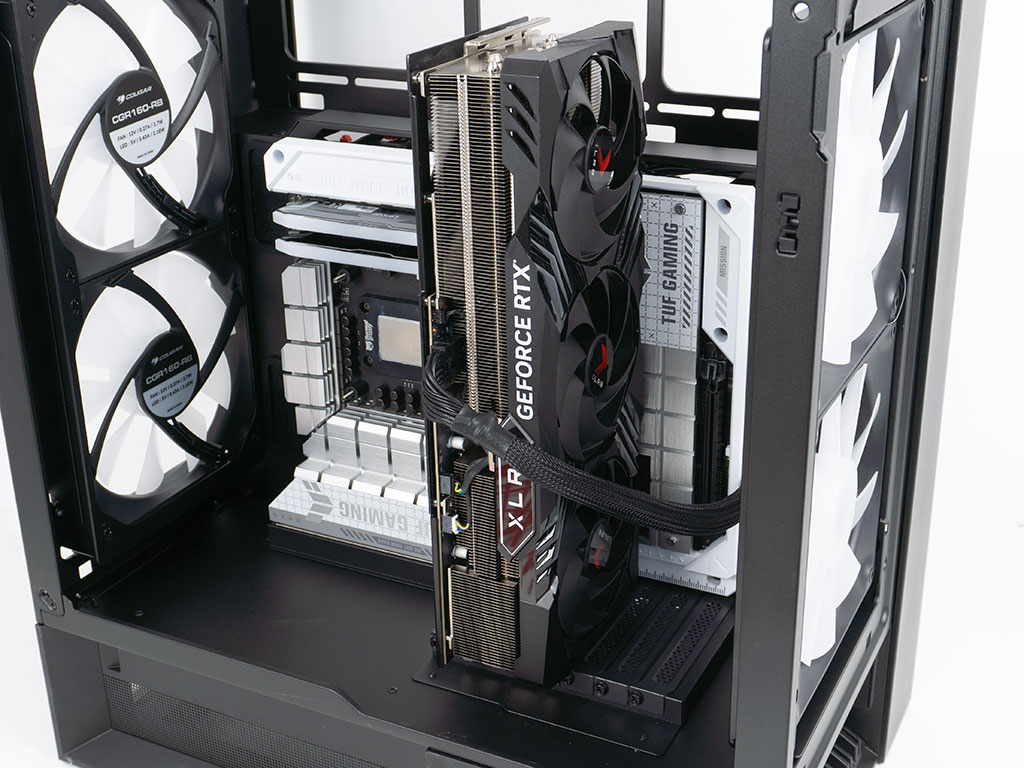
Installing the motherboard is straight forward using the pre-installed spacers and provides screws. The BTF board fits perfectly and looking at the grommets to the left, you will also retain all the cable routing potential along this side of the board when going for a classic ATX variant. On the opposite edge - what is now the left - there is just a larger gap to route wiring. Cougar could have just provided the same setup on this side. At the top, odds are pretty high, that you will have to remove the compact cable cover so that things like the thick ATX cable could be routed into the interior of the chassis. Cougar could have just cut out a bit more of the cover to give users that bit of extra wiggle room.
Adding the GPU is straight forward, as you simply secure it with the screw at the bottom. The fans are facing the two 160 mm intake units, so it will be interesting to see what the thermals will be like. In a chassis with a classic layout such fans don't usually tend to make much of a difference due to blocking components and lack of direct access to outside air, but as these are on the front of the chassis, none of these issue exist.
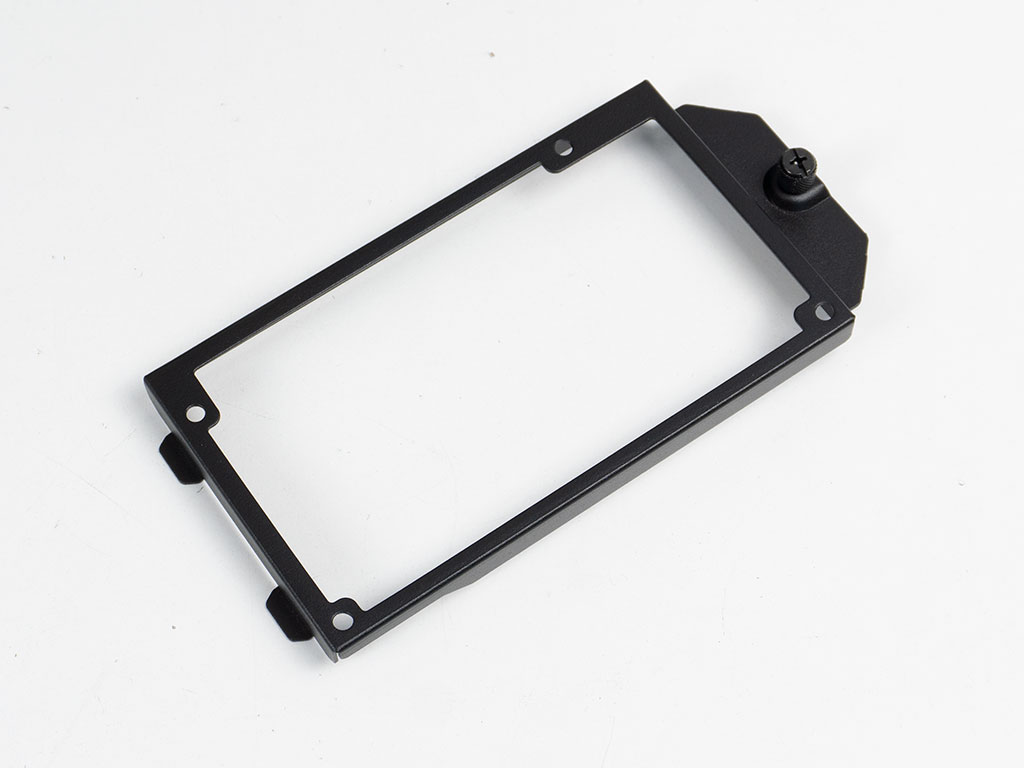
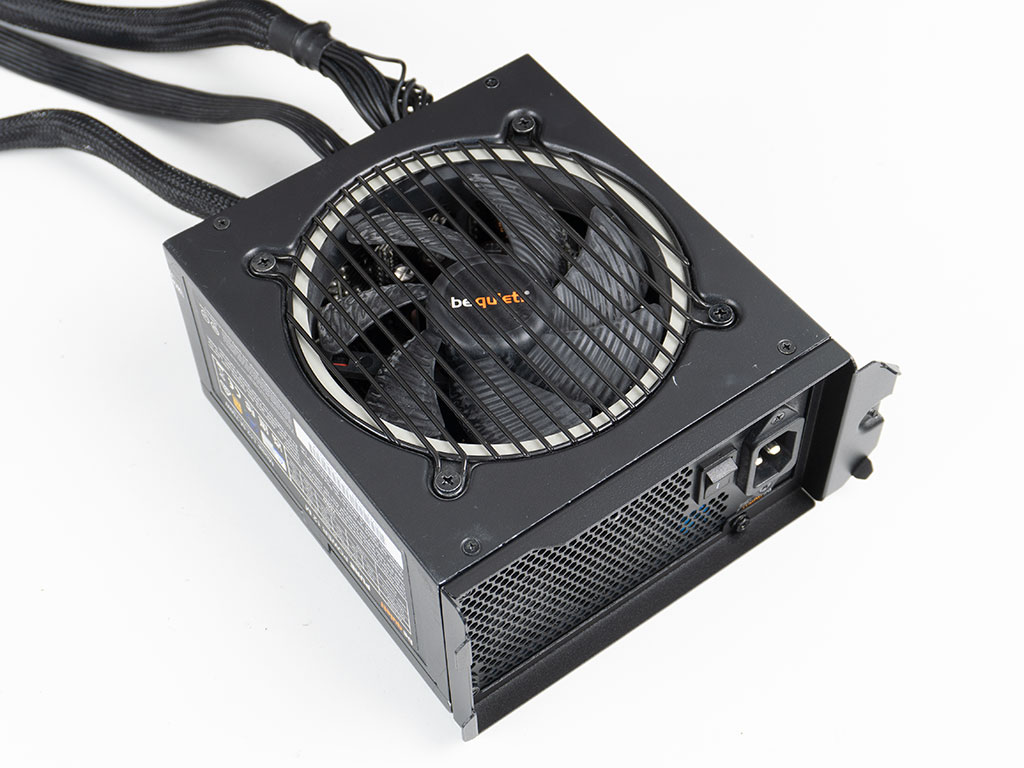
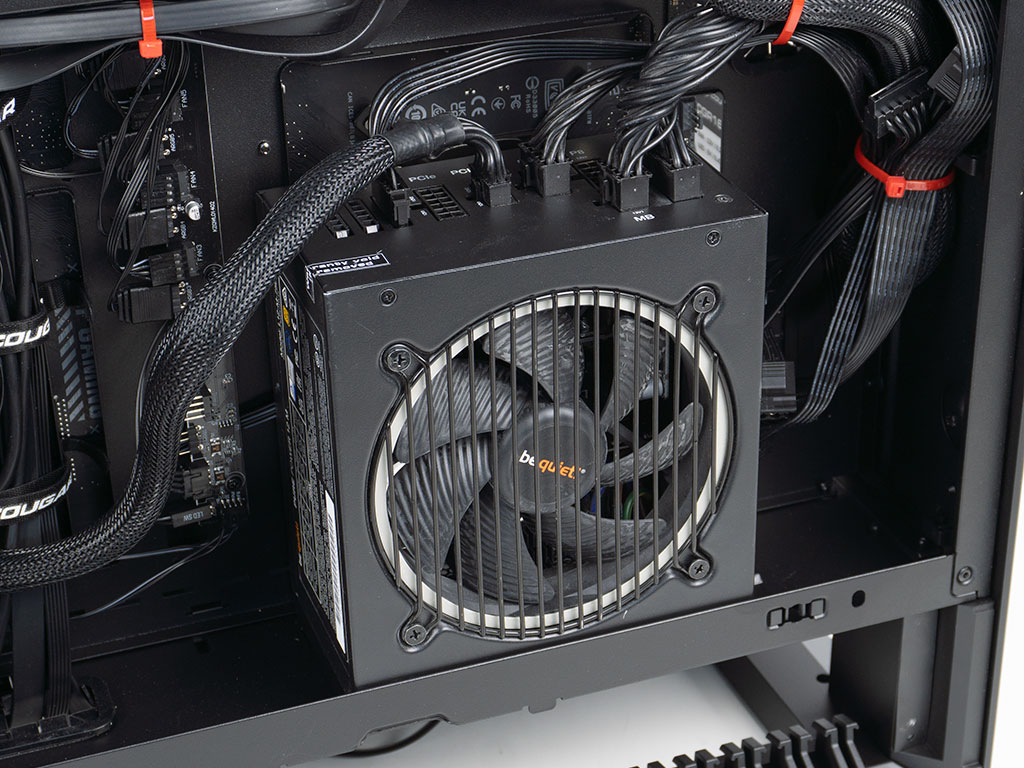
Thanks to the removable mounting frame, you can prepare your PSU outside the OmnyX and just drop it int place. The single, captive thumbscrew means you don't even need any tools to get it in and out of the confines of the chassis body. As the OmnyX can fit a power supply of up to 200 mm length, our 160 mm unit has more than enough room as well. On top of all that, there is enough clearance for the 360 to squeak past the front and rear fans, so that you should be able to go for thick radiators or powerful push/pull configurations.
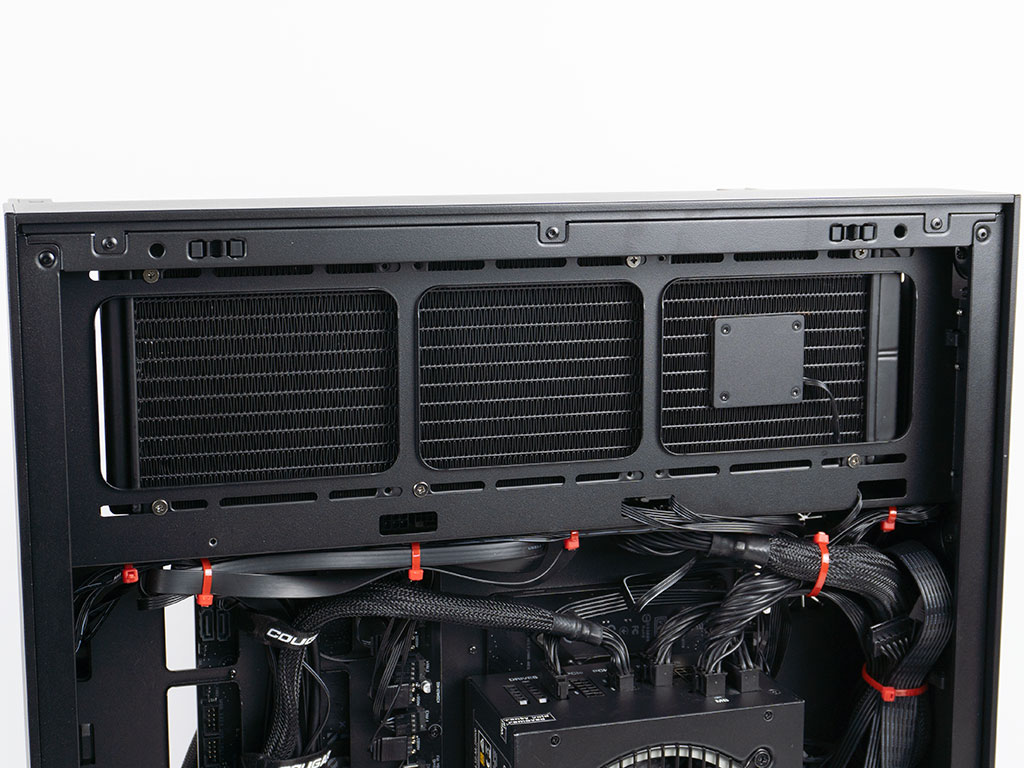
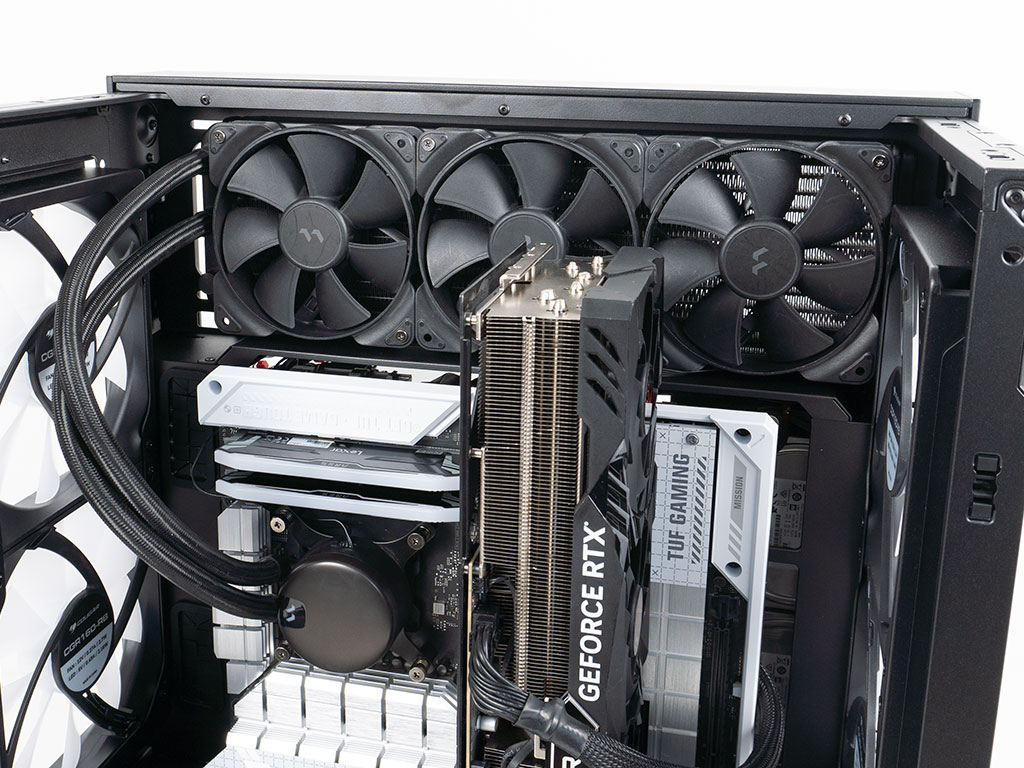
Installing a 360 mm AIO is actually much easier than with classic cases, thanks to it being side mounted above the motherboard. The fact that you can remove the top cover of the Cougar OmnyX completely means you have unobstructed access and are also easily able to route any wires regardless how complicated the rest of your setup is.
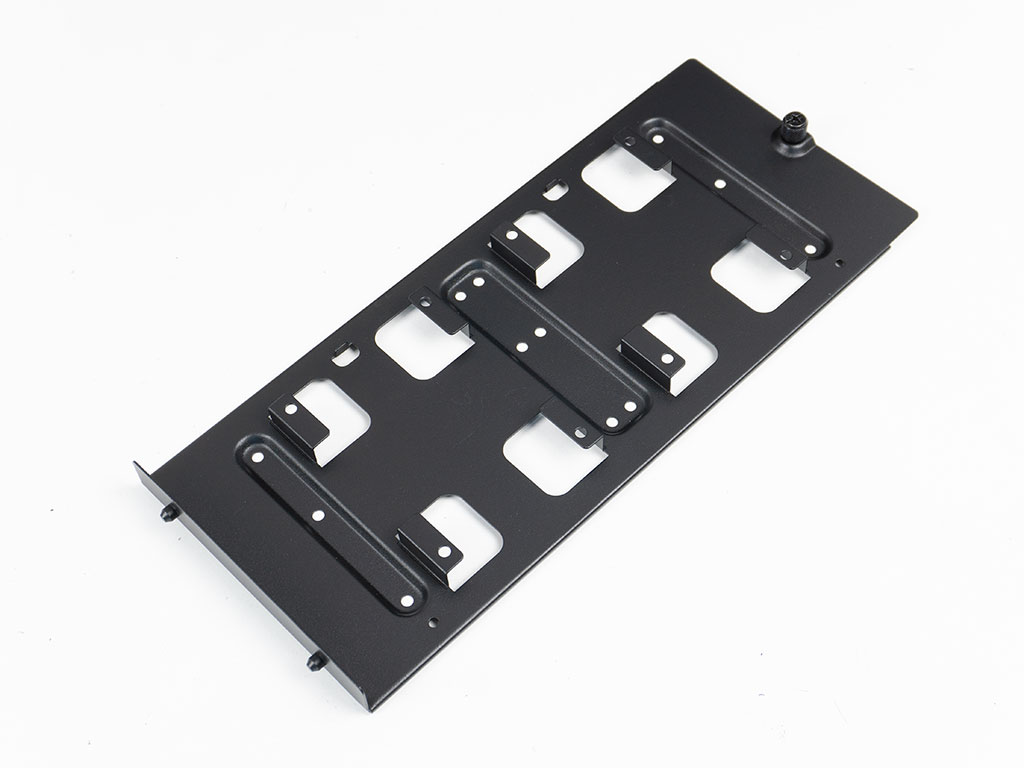
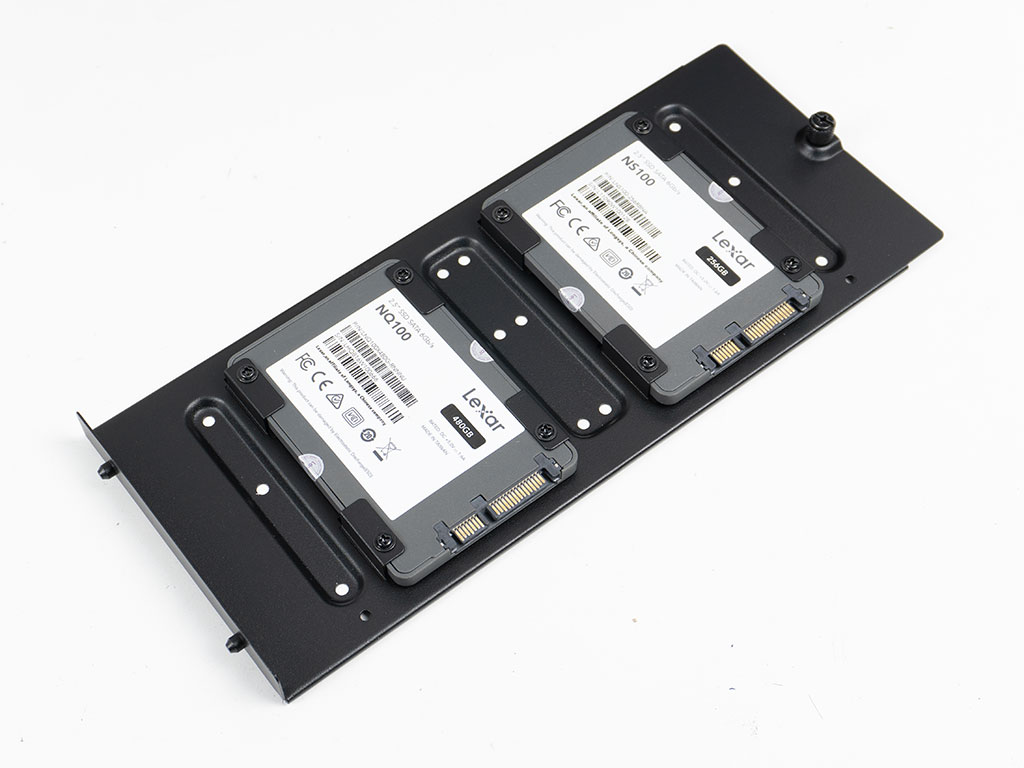
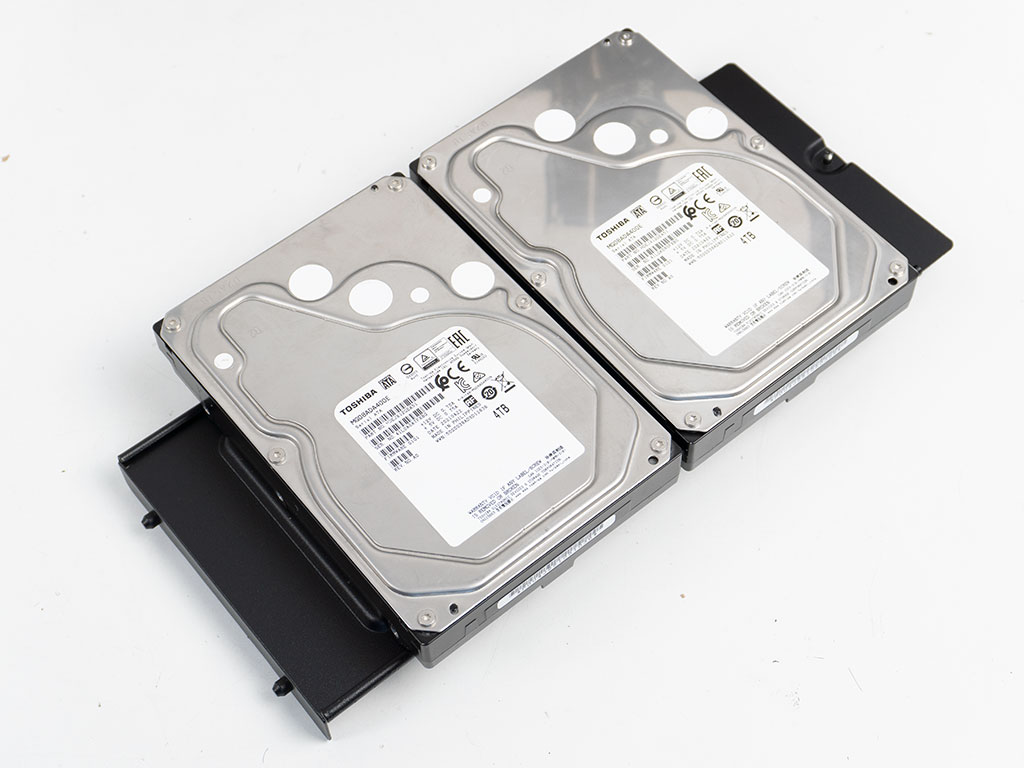
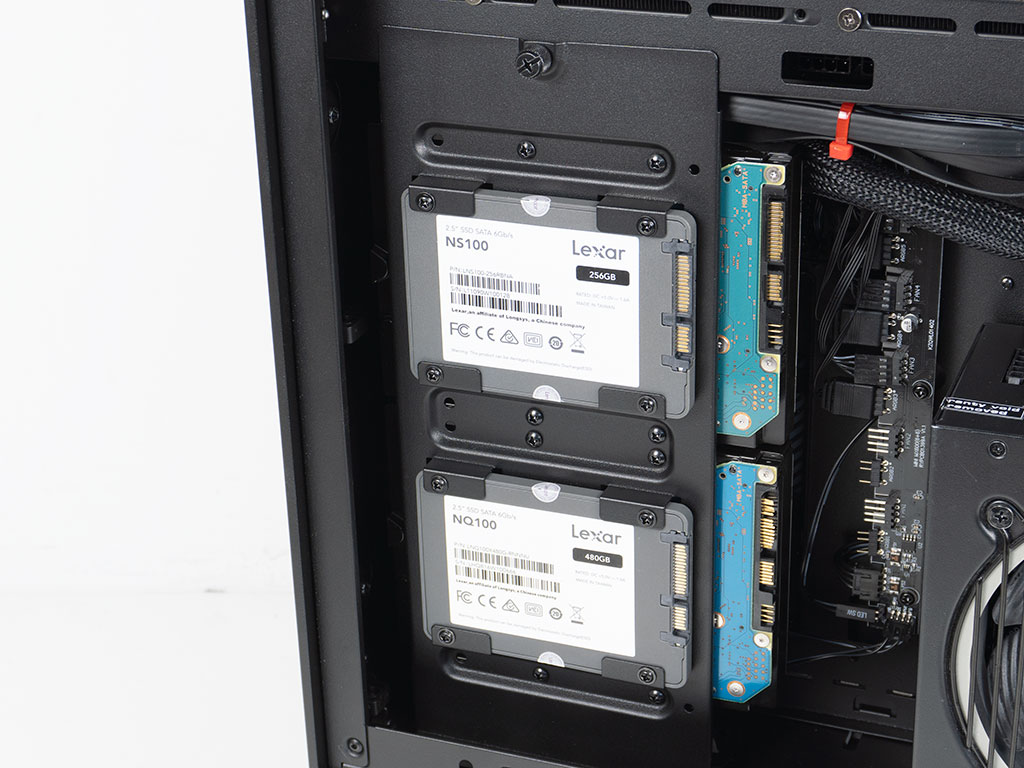
Adding storage to the Cougar OmnyX is straight forward as well using the traditional approach of screws. The tray is designed so you can add any size drive in any order as neither blocks any mount holes of the other. Filling it with four drives is easy and popping it back unto the chassis straightforward thanks to the single, captive thumbscrew.
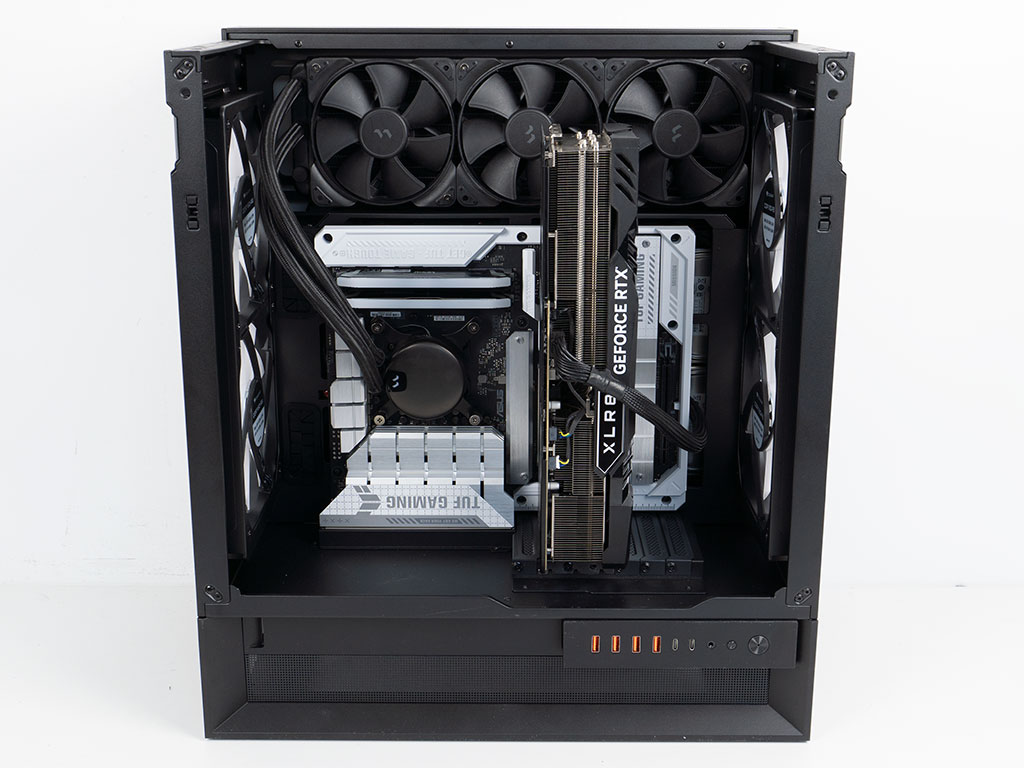
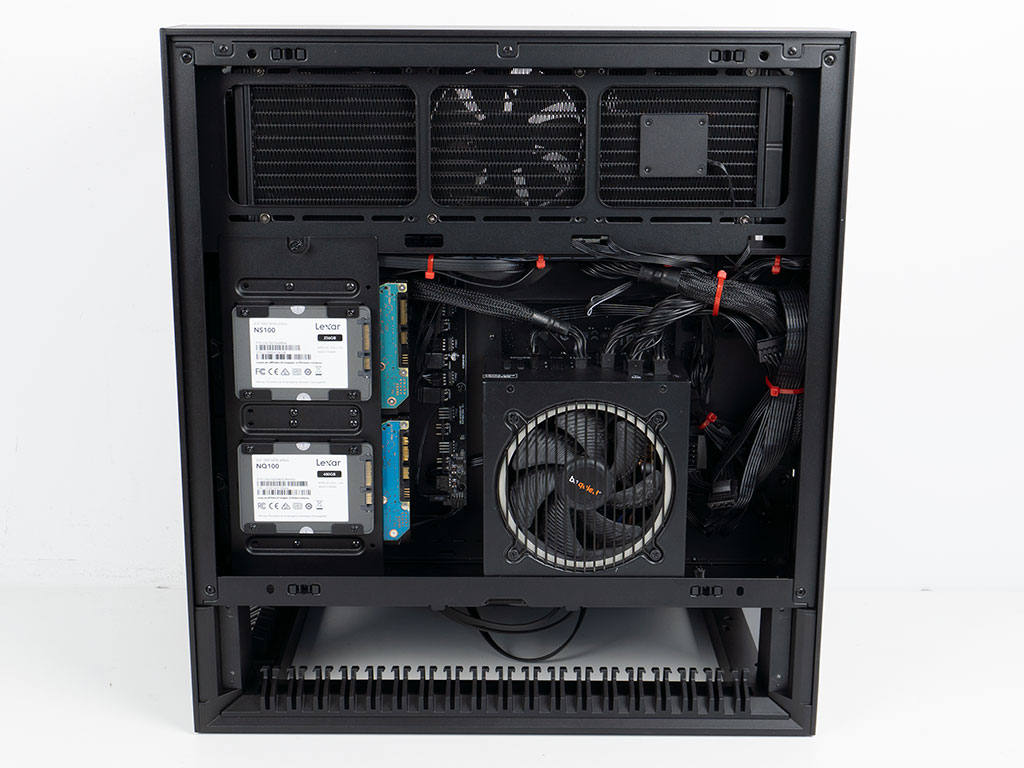
With everything assembled, not only does the BTF board mean you don't have any visible wires going to the edges of the board, but thanks to the recessed AIO, its wiring is not visible either. That leaves just the GPU power cable, meaning the Cougar OmnyX makes a super clean impression when filled. On the backside we did have to spend a bit of extra time to figure out a good way to wire things up and as such did so in stages, first securing things like the ARGB and PWM cables from the fans, then wiring up the motherboard component cables, followed by any power wiring and lastly the cable set from the AIO. As such, we used a few more zip ties than strictly necessary, but the result is a clear space all around the PSU at the center.
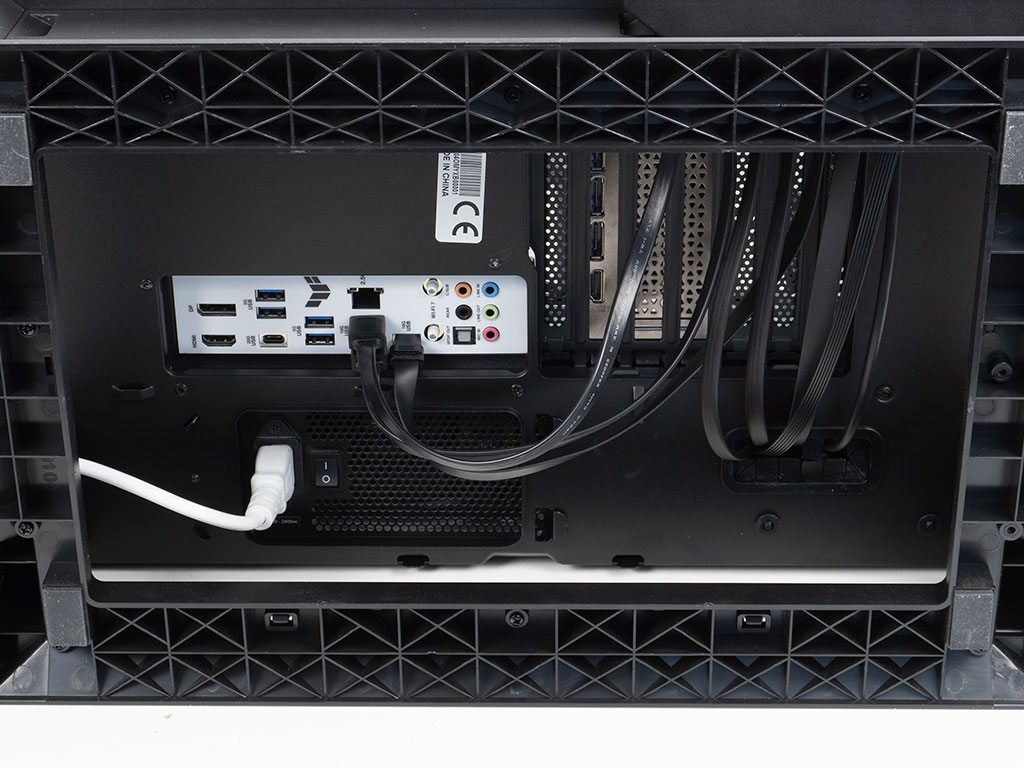
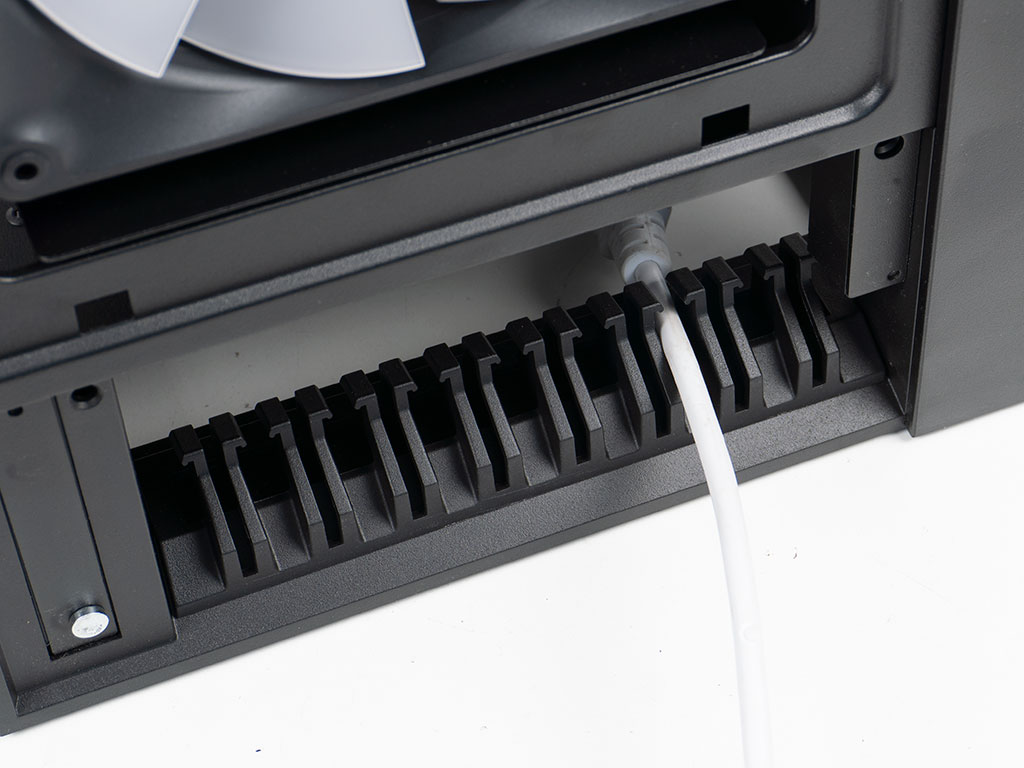
An additional step of wiring things up is required due to the motherboard facing downward. The additional IO ports are connected straight to the backplate of the board. As you can see, we did not bunch up the wires to minimize the mess in front of the expansion slots, as we want to slide the IO around to show you how the case looks in two placement scenarios. Cougar could have explored moving the grommet covered opening to the left of the PSU bay instead, to avoid this issue altogether. The plastic cable guides will work well in keeping things tidy as well, and we opted to use it in the back of the chassis instead of the front for our finished images.
Finished Looks
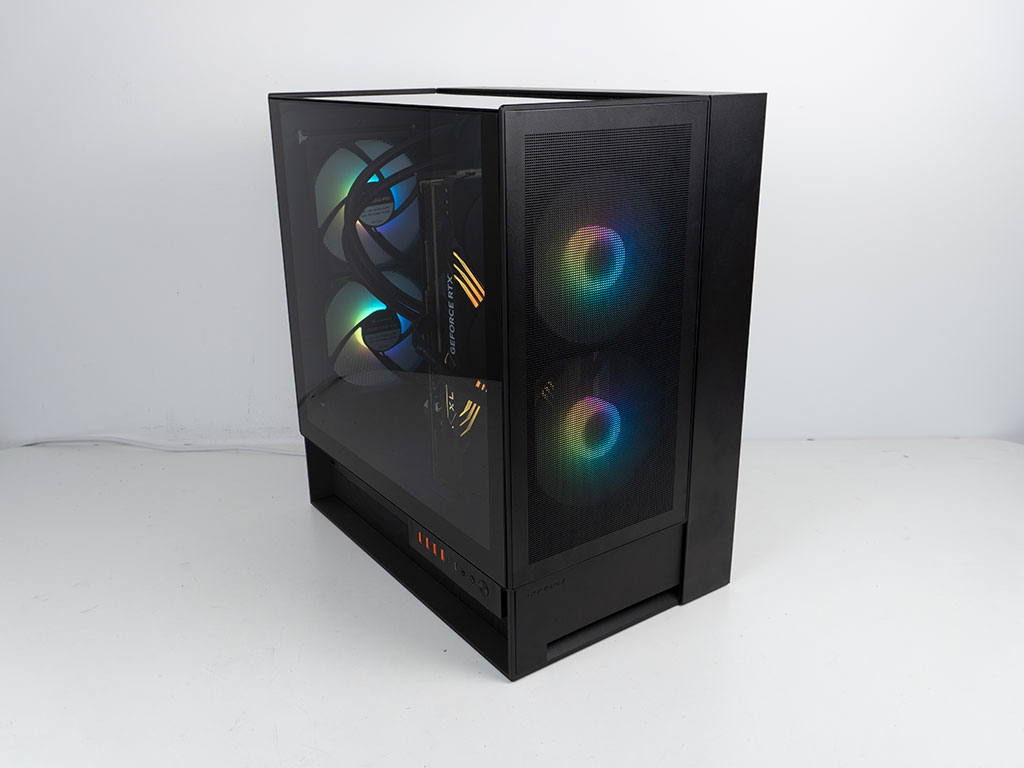
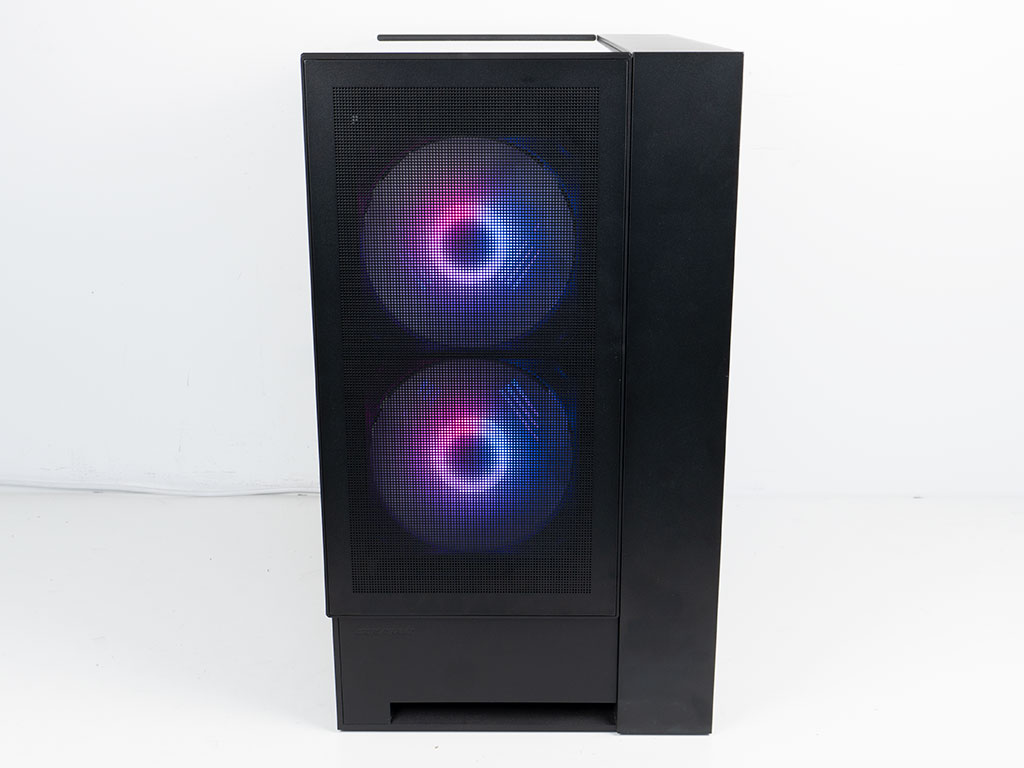
Turning the system on in the classic setup with the system on the right of your desk, the IO is in the right position right out of the box. You can clearly see the glow of the fans through the front, but also the spines of the hub on the cooling units in the back. Your best bet is to rotate the inverse ones, so you get the benefit of air input for the CPU as well as seeing th clean side of the fans in this configuration.
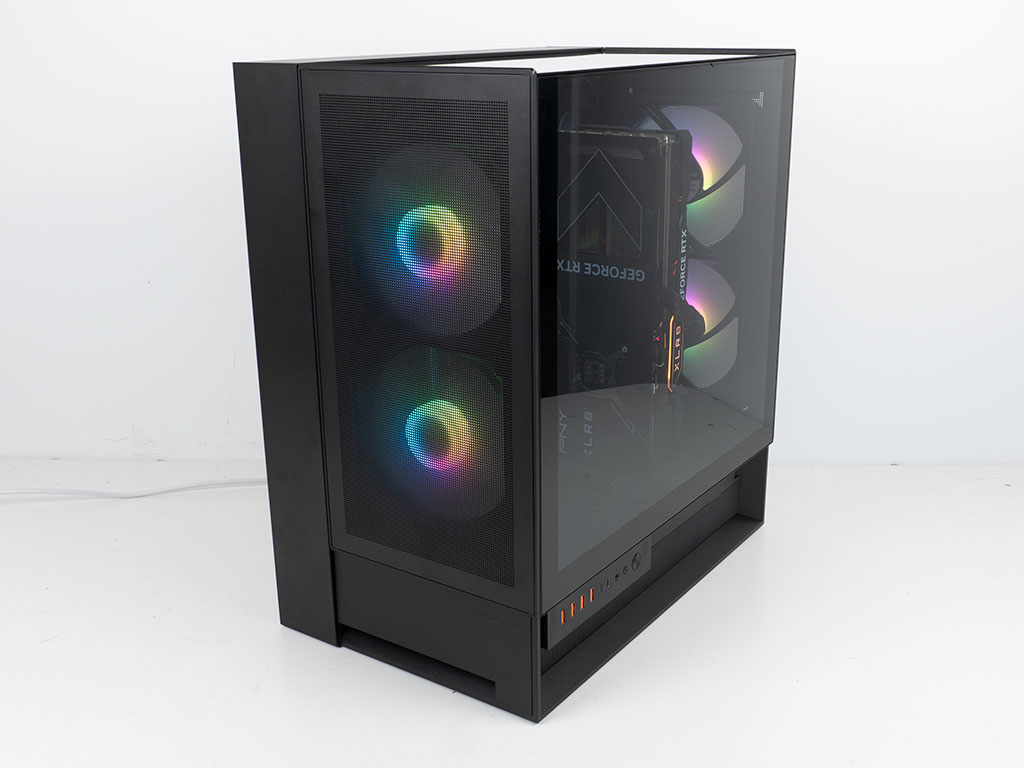
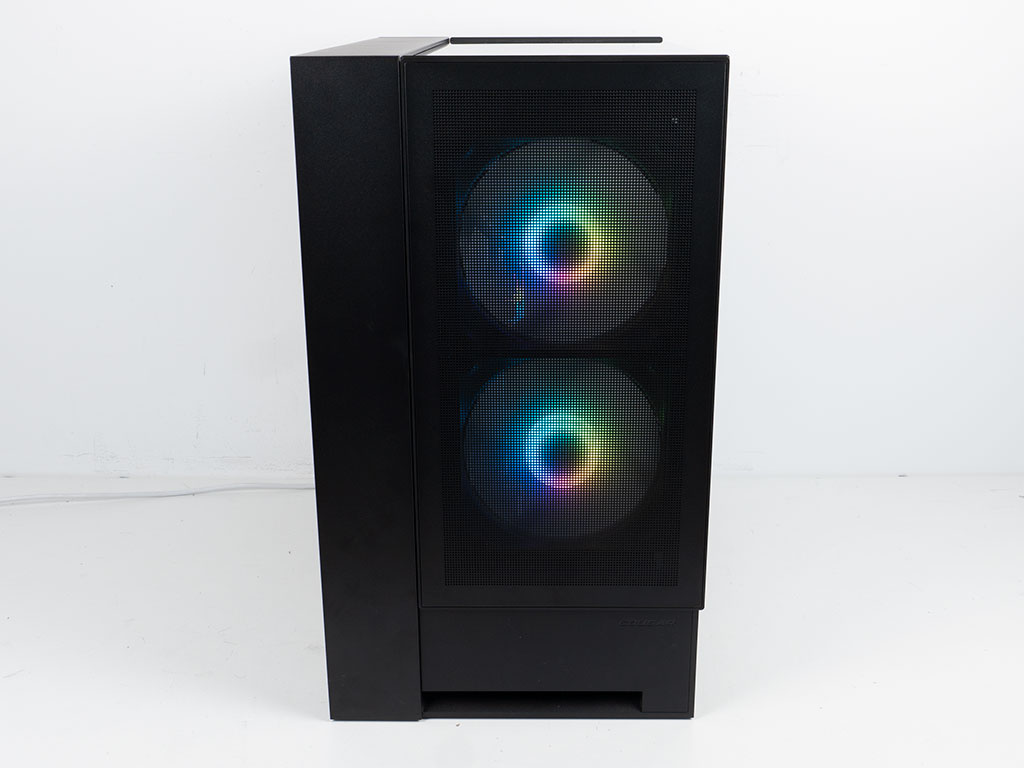
Turning the case around and sliding the IO panel over, you have a perfect setup to put it to the left on your desk. In this scenario it would be best to physically swap the front and rear fans and then also make sure to flip the ones in the back around, giving you that exact same thermal setup and cleanliness as the other placement scenario.
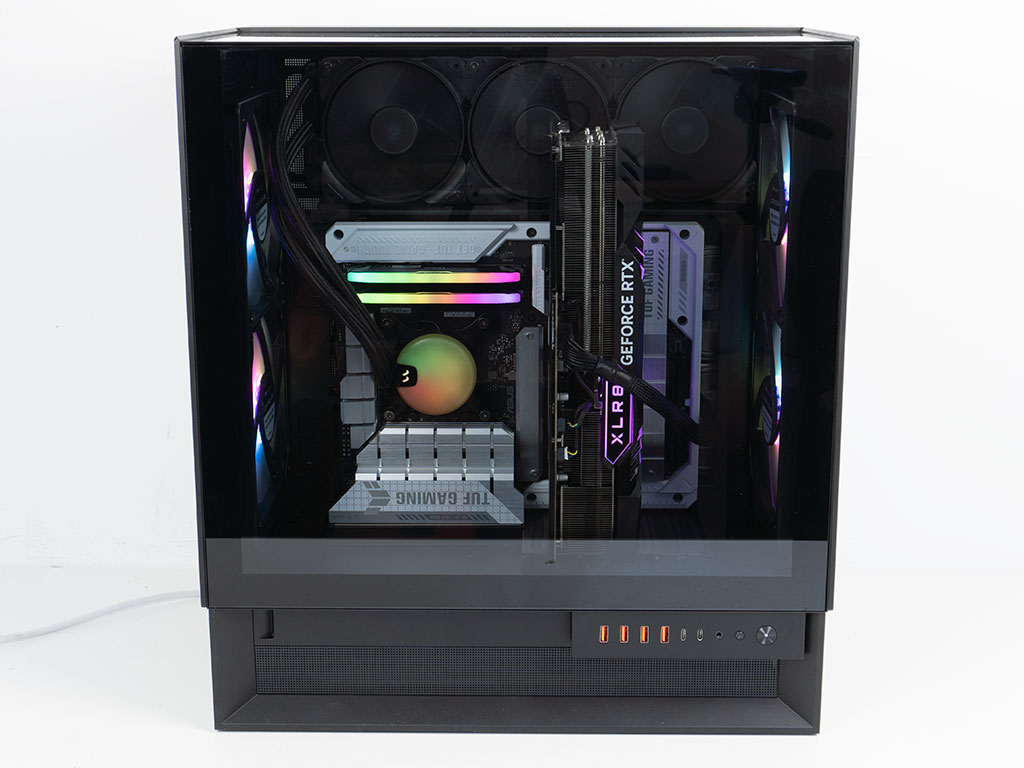
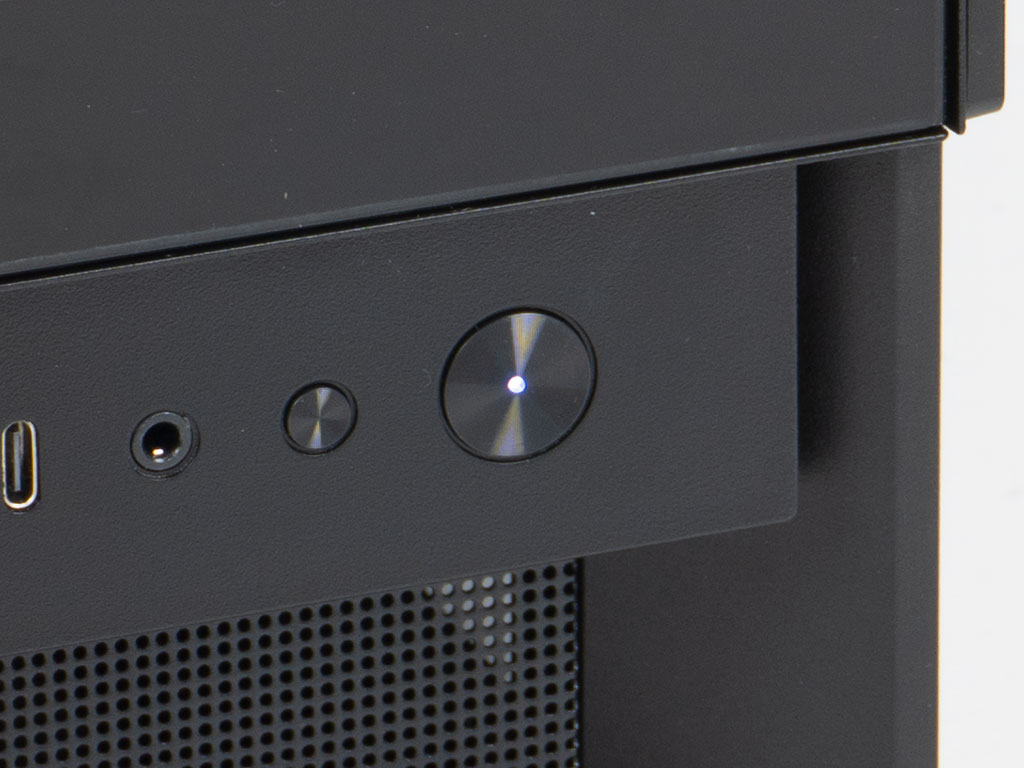
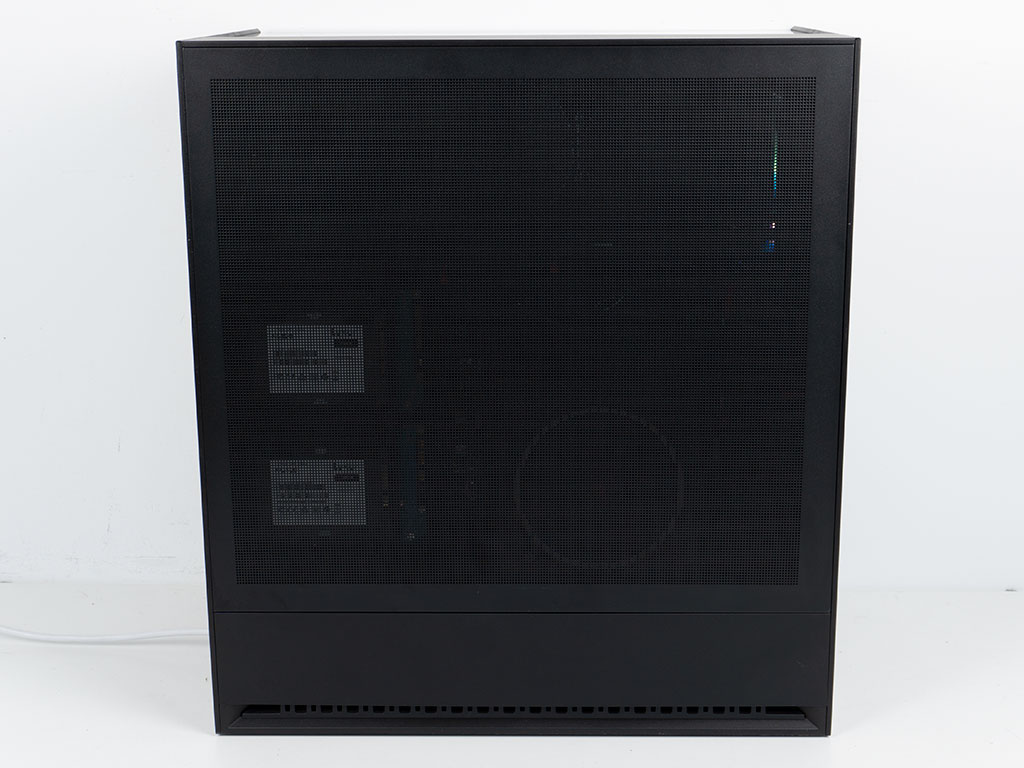
A third way of placing the case would be facing it straight on. This could be interesting for home theater setups. We did rout the power cable out the side as well for maximum effect. While this is the one placement setup where you want the clean look of the fans on the sides, it is also the least likely placement choice of the Cougar OmnyX.
Cougar could have gone for a forth option if they had included four feet, so you could have placed the case on its side with the main glass panel facing upward as well. You could achieve this yourself by buying four rubber feet with adhesive. The only downside for such a setup is the fact the IO would then be at the rear of the top instead of the front. For future versions of their "Omnidirectional Dynamic Flow System (ODF) structure" as they call it, they could make the IO detachable, so it could be placed in side the solid piece next to the smaller glass panel, as that would be facing forward in such a configuration.
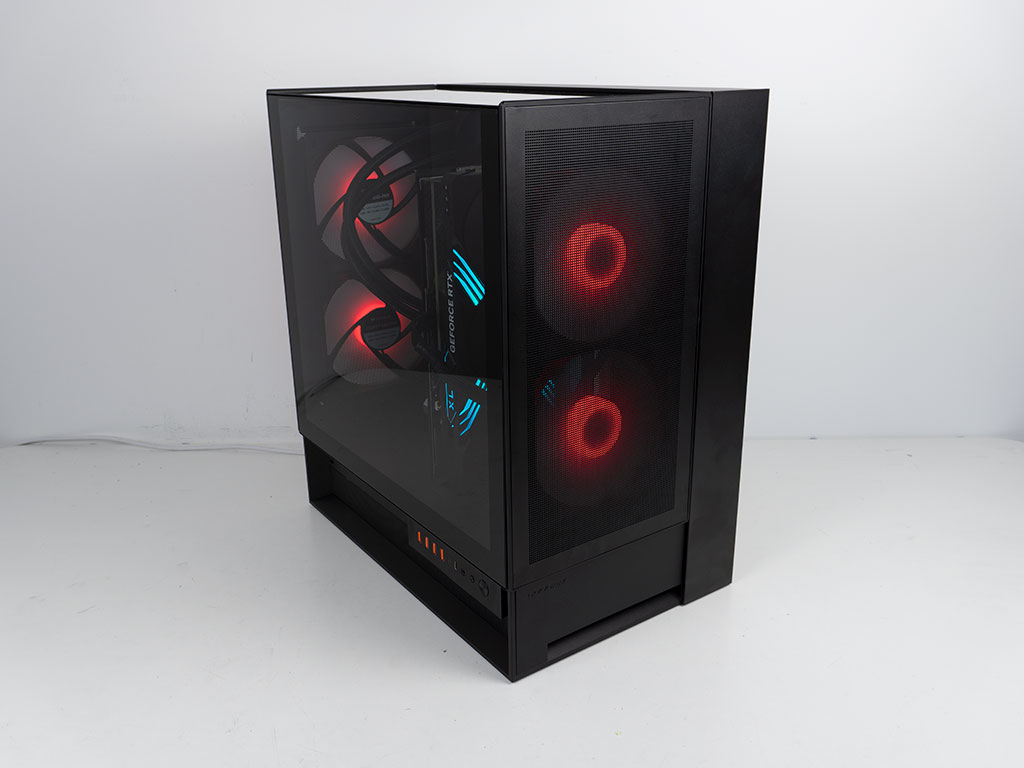
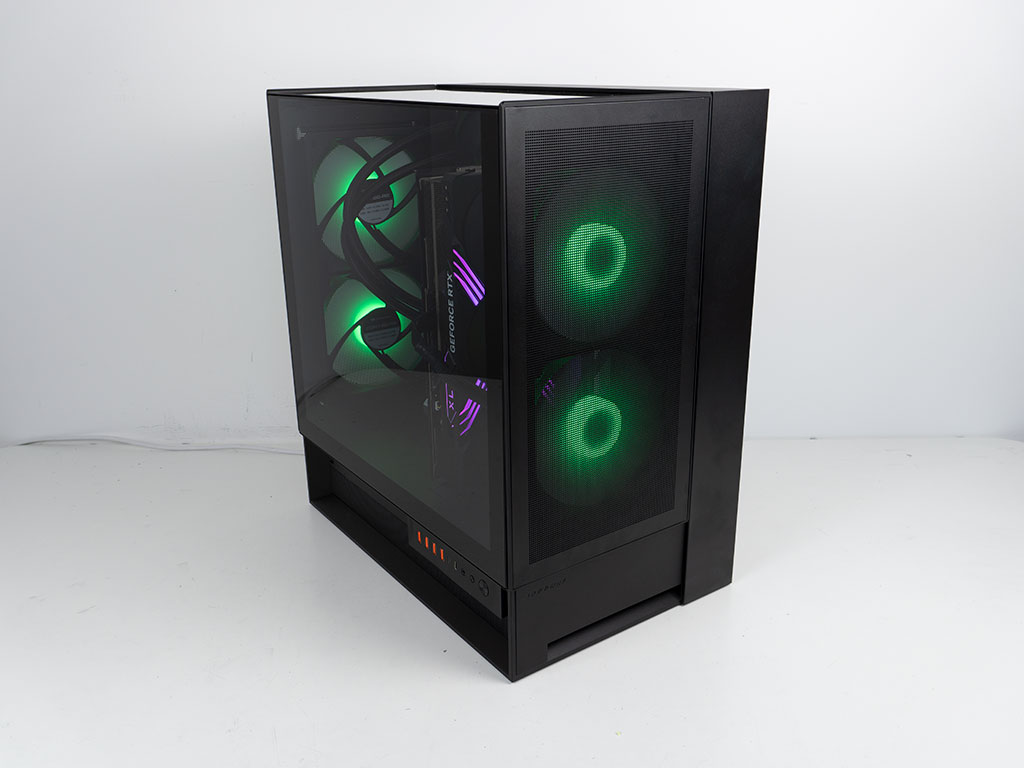
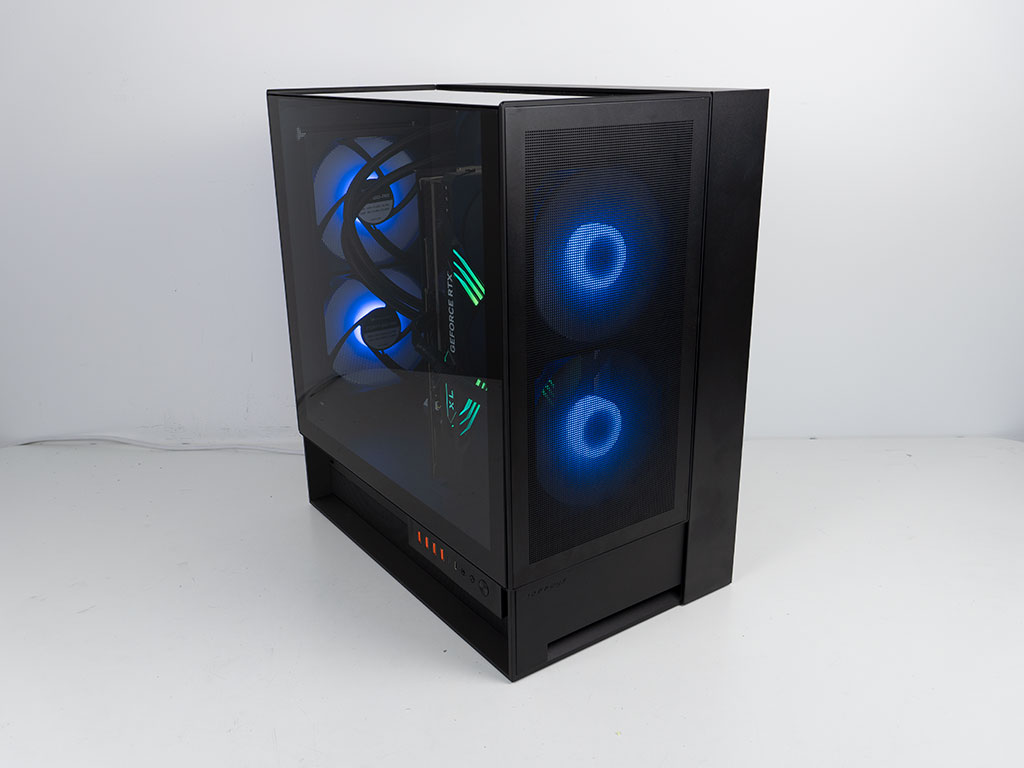
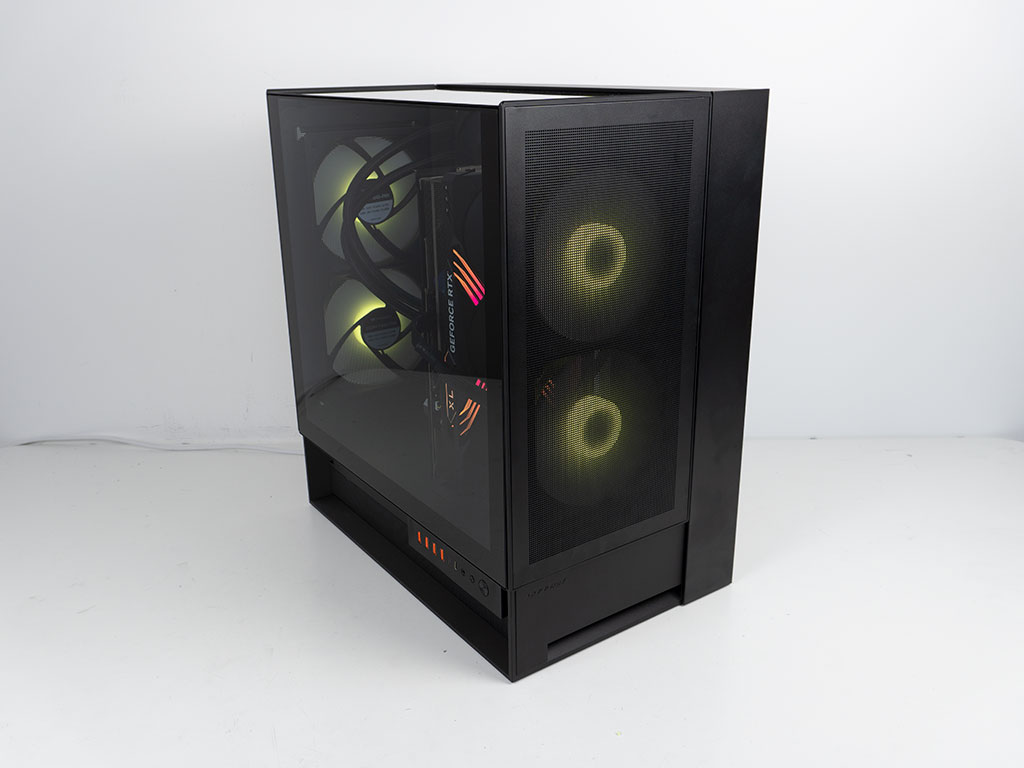
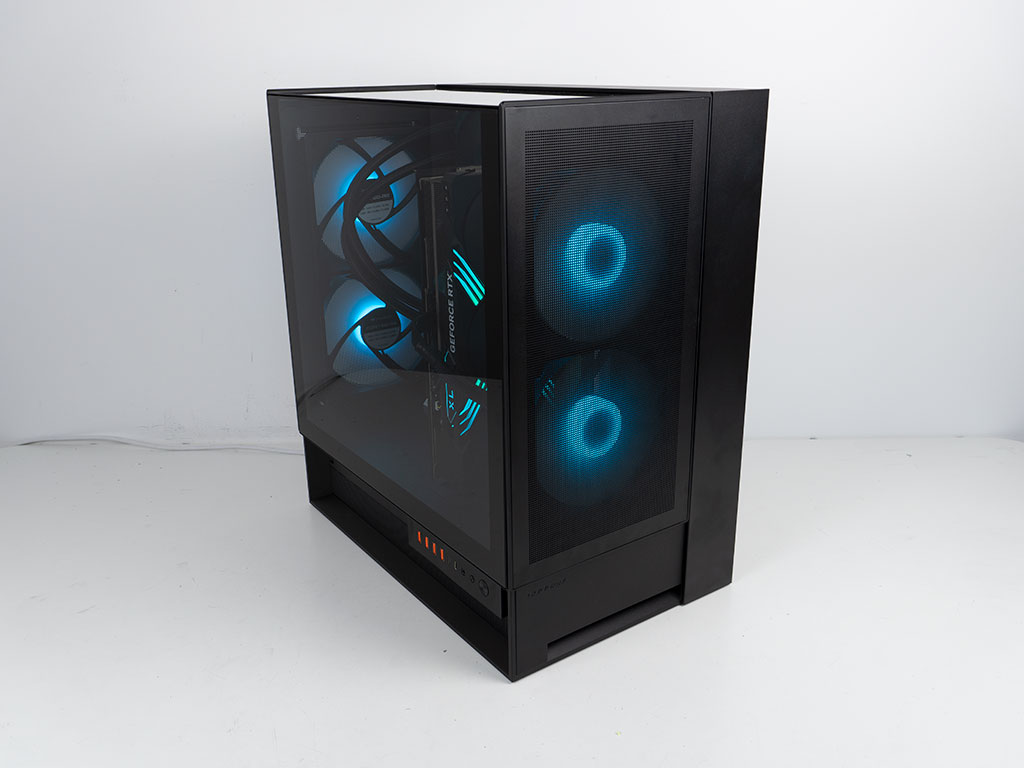
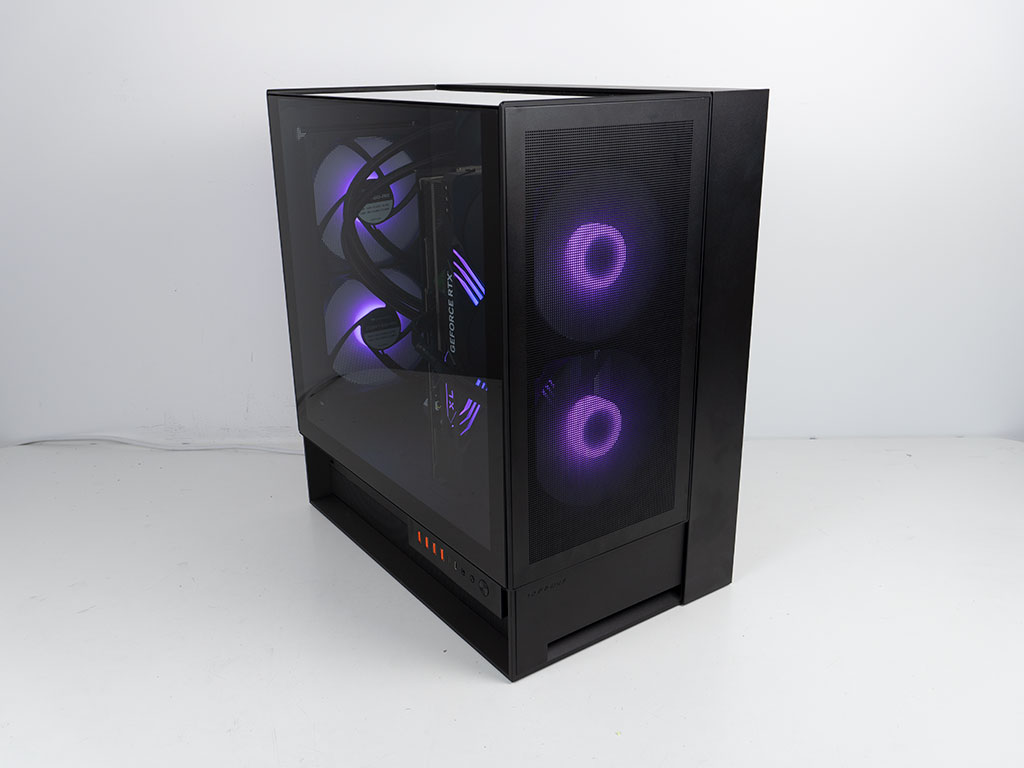
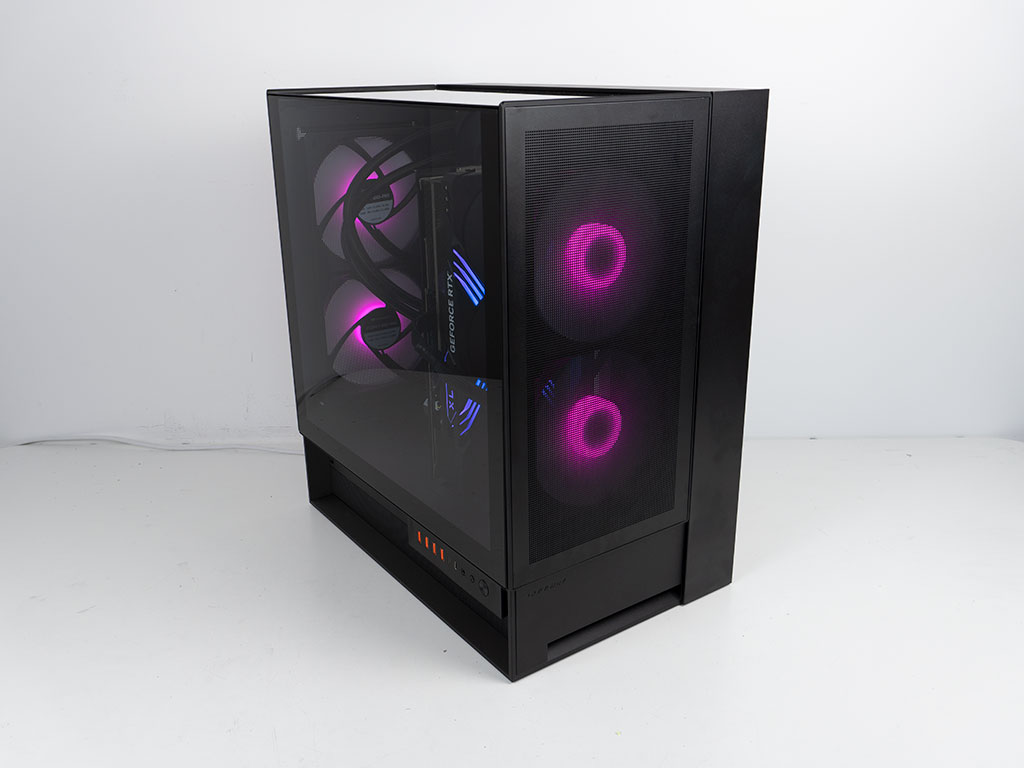
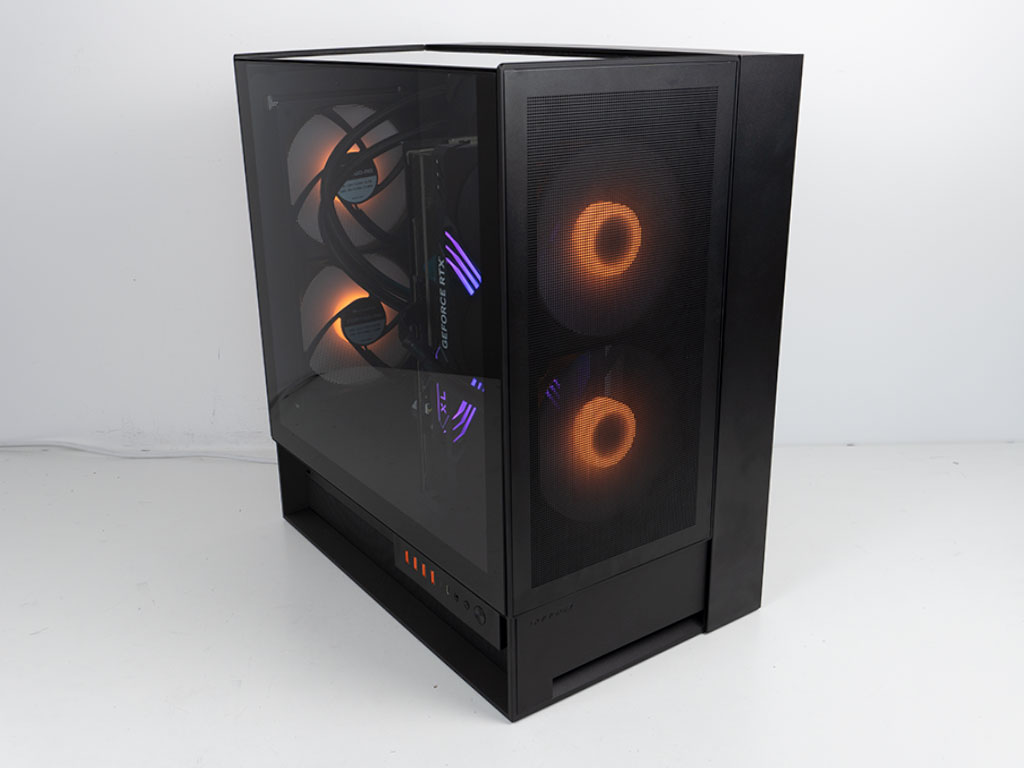
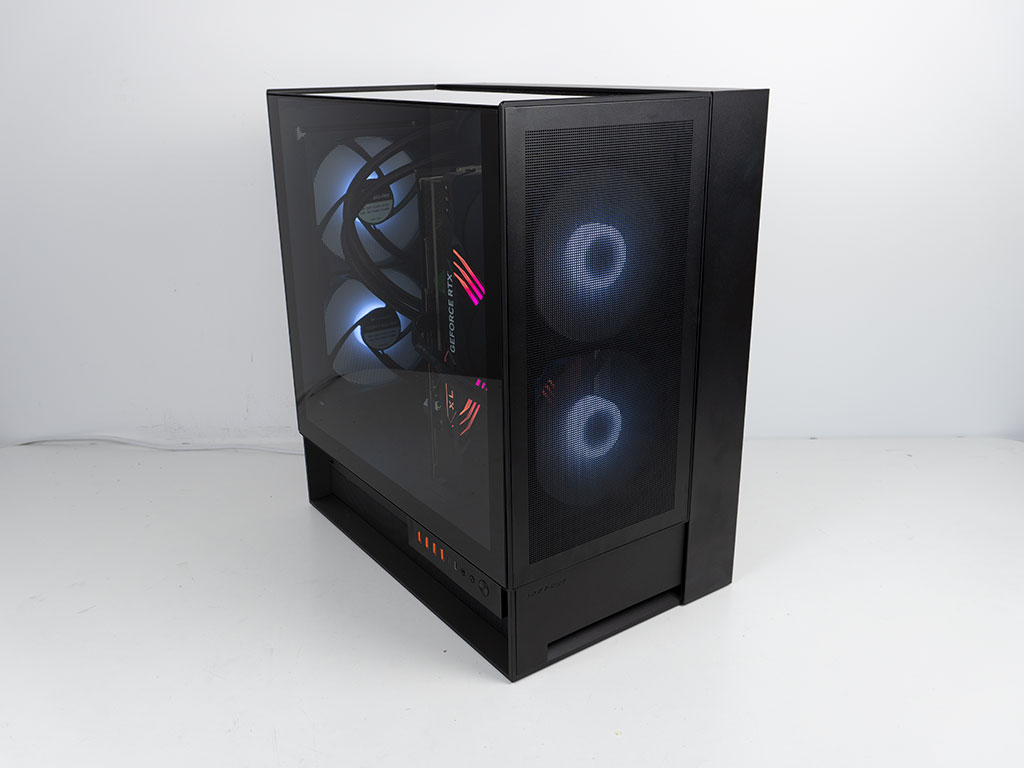
Thanks to the built-in ARGB controller, you may cycle through several single- and multicolored animation as well as nine solid color with a press of the ARGB control button. These solid color options are shown below.
Nov 20th, 2026 00:54 PST
change timezone
Latest GPU Drivers
New Forum Posts
- Intel Core Ultra 5 processor 250K Plus (1)
- How to prevent OLED burn damage due to PC freezes or power outtages? (41)
- WarpCoreBench scores! (79)
- RX 7600 + Ryzen 5 5600GT getting the same FPS as my old RX 6500 XT – What am I missing? (7)
- What are you playing? (26236)
- Warning for Windows 10 and 11 users running newer AMD GPU drivers (65)
- Honestly, do you care about GTA VI? (178)
- Anthrophics IPO (10)
- Upgrade Considerations: CPU (12/13/14) and Motherboard (B660/B760 and Z690/Z790) (62)
- TPU's Nostalgic Hardware Club (22172)
Popular Reviews
- AMD Zen 6 Technical Deep Dive
- Ugreen NASync DXP4800 GT Review
- Acemagic Retro X3 Review
- Corsair RM1200e (Second Generation) Review
- Upcoming Hardware Launches 2027 (Updated Nov 2026)
- Pulsar Office Tour & First Look at P1 Dual-Sensor Mouse
- Biwin Black Opal NV7400 2 TB Review
- Chieftec Iceberg PRO 360 DARK Review
- AMD Ryzen 7 9800X3D Memory Performance Scaling
- AMD Ryzen 7 9800X3D Review - The Best Gaming Processor
TPU on YouTube
Controversial News Posts
- NVIDIA Co-Founder and CEO Jensen Huang Officially Resigns (490)
- Report: Jensen Huang Eyes NVIDIA Comeback (224)
- Open Letter Asking NVIDIA to Reinstate Jensen Huang Passes 115,000 Signatures (184)
- OpenAI CEO Argues Home PCs Waste the World's Limited DRAM Supply (152)
- NVIDIA Launches Investigation Into Jensen Huang's Relationship With Suspected Chinese Spy (136)
- Intel "Raptor Lake Next" 16-Core and 20-Core CPUs Surface (130)
- Legendary Game Studio BioWare Shuts Down Following EA Layoffs (104)
- Dell CEO Says the Memory Shortage Will Get Worse in 2027 (95)