 20
20
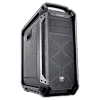
Cougar Panzer Max Review
Value & Conclusion »Test System
| System Parts for Case Reviews | |
|---|---|
| Processor: | Intel Core i5-6600K |
| Motherboards: | ATX: Fatal1ty Z170 Gaming K6+ mATX: ASRock Z170M Pro4S mini-ITX: ASRock Z170M-ITX/ac Provided by: ASRock |
| Graphic Card: | Long: NVIDIA GeForce GTX 280 OEM Short: HIS Radeon 5350 HD |
| Memory: | 16 GB ADATA XPG Dazzle DDR4 2800 MHz CL17-17-17 1.25V 16 GB ADATA XPG Z1 DDR4 3000 MHz CL18-18-18 1.35V 16 GB ADATA XPG Z1 DDR4 2400 MHz CL16-16-16 1.20V Provided by: ADATA |
| HDD: | Western Digital 320 GB 7200 RPM |
| SSD: | ADATA Premier Pro SP920 MLC 256 GB ADATA Ultimate SU800 3D TLC 256 GB ADATA Premier SP550 TLC 240 GB Provided by: ADATA |
| Power Supply: | Thermaltake Smart SE 630W ATX 2.3 |
| Cooling: | Air Cooling Mini-ITX: Thermalright AXP-100R Air Cooling mATX: Thermalright Macho 90 Air Cooling ATX: Thermalright Macho 120 Provided by: PC-COOLING.de |
Assembly
Installing the motherboard is done by traditional means, with included screws and spacers. There is plenty of space on the top, right, and bottom edge to work with, but even though I have directly connected the I/O and case cables to the board, you will see that I re-routed them through the opening in the shroud for a cleaner look.
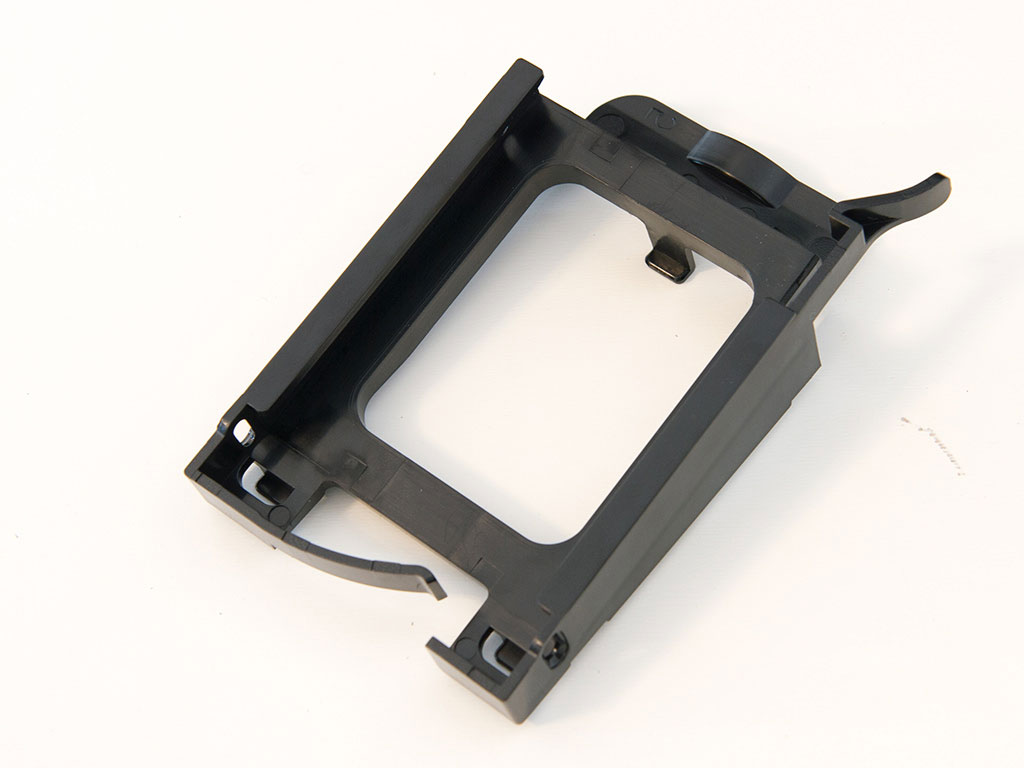
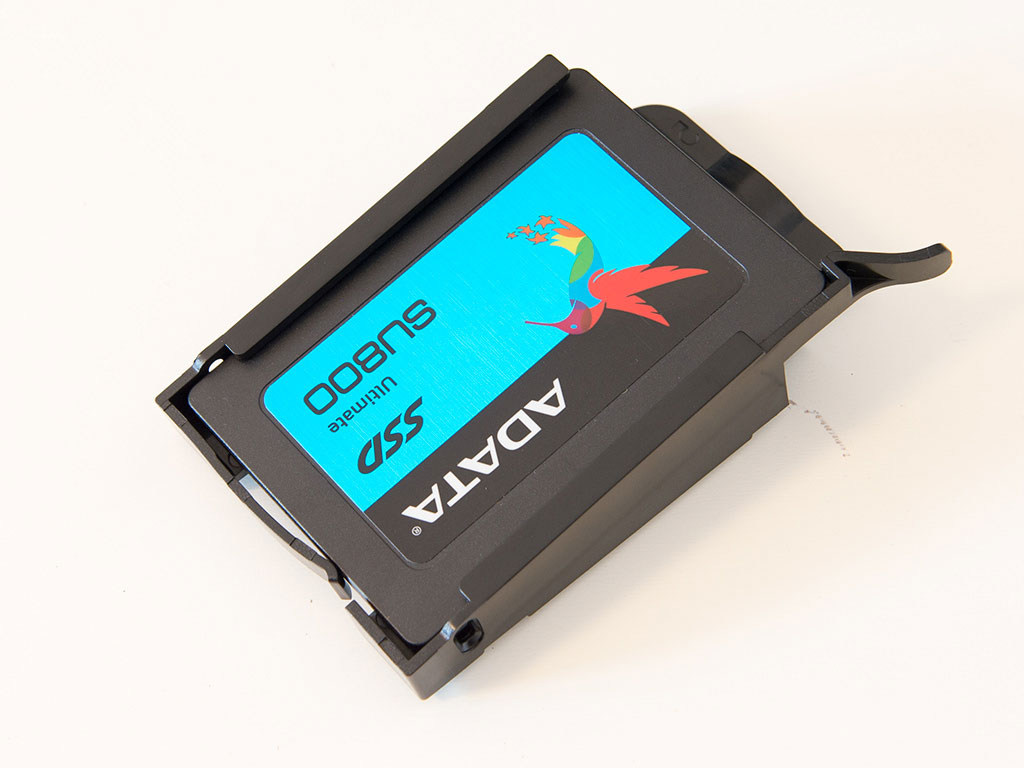

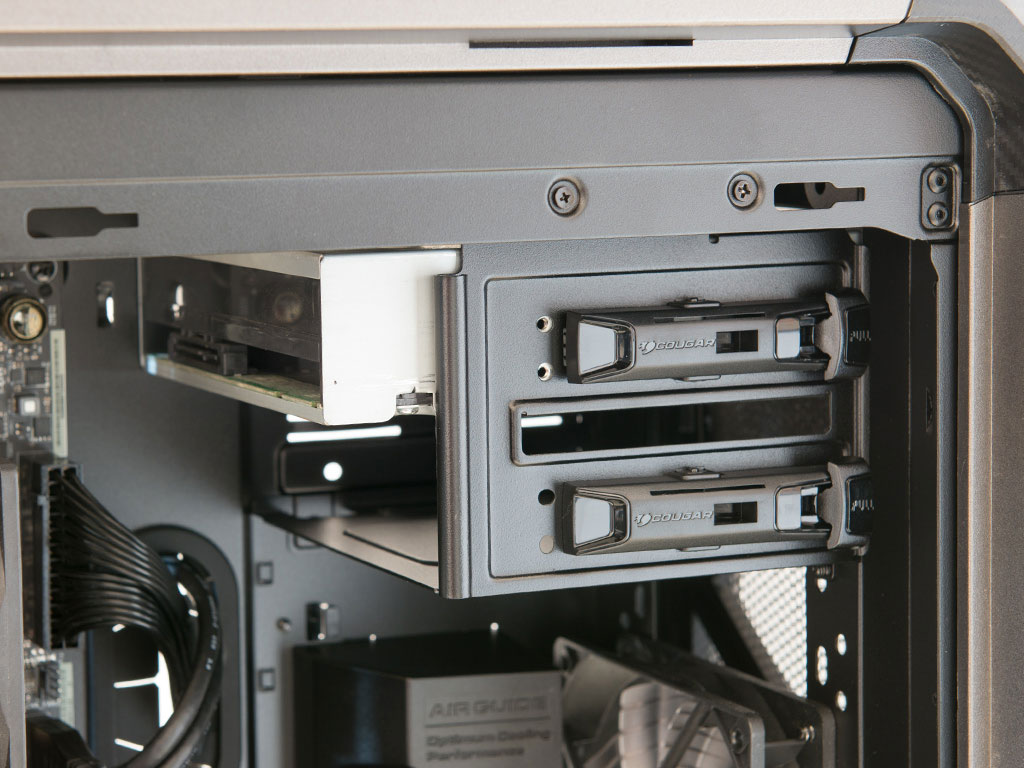
You do not even need to take the bracket out to install any 2.5'' drives, but we have done so to give you a better look at the assembly process. Simply slide the drive into place and let the plastic clip snap down. The only downside is the fact that the brackets are meant to be able to take thick, old-fashioned drives too, so you may want to use a single screw or so to hold thin and light SSDs in place properly. Once filled, simply place the bracket back into its original position and use the thumbscrew to secure the whole contraption.


The 3.5" trays are actually completely tool-less by default. Simply pluck them from the chassis wall, snap a drive into place, and put it back. Gravity and friction hold things in place well enough, but a drop will probably be enough to shake it loose. But if that happens, you probably need to worry about your heavy GPU or CPU cooler more.
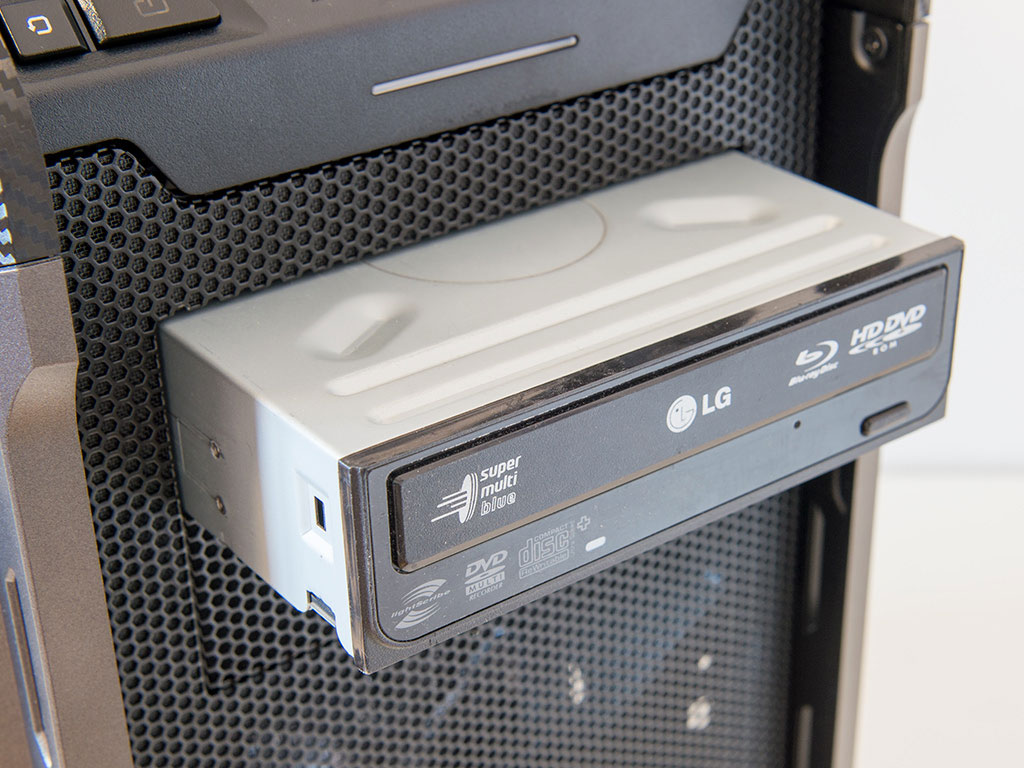
Installing an optical drive holds no surprises either. Simply free the bay and slide the drive in until the tool-less mechanism locks it in place. It works fairly well, but I always suggest using a single screw to really pin it down properly.

There is plenty of space for a power supply, and you are to use normal screws to secure it in place as well. Thanks to the dimensions of the Cougar Panzer Max, any PSU will fit just fine - even the longest ones.


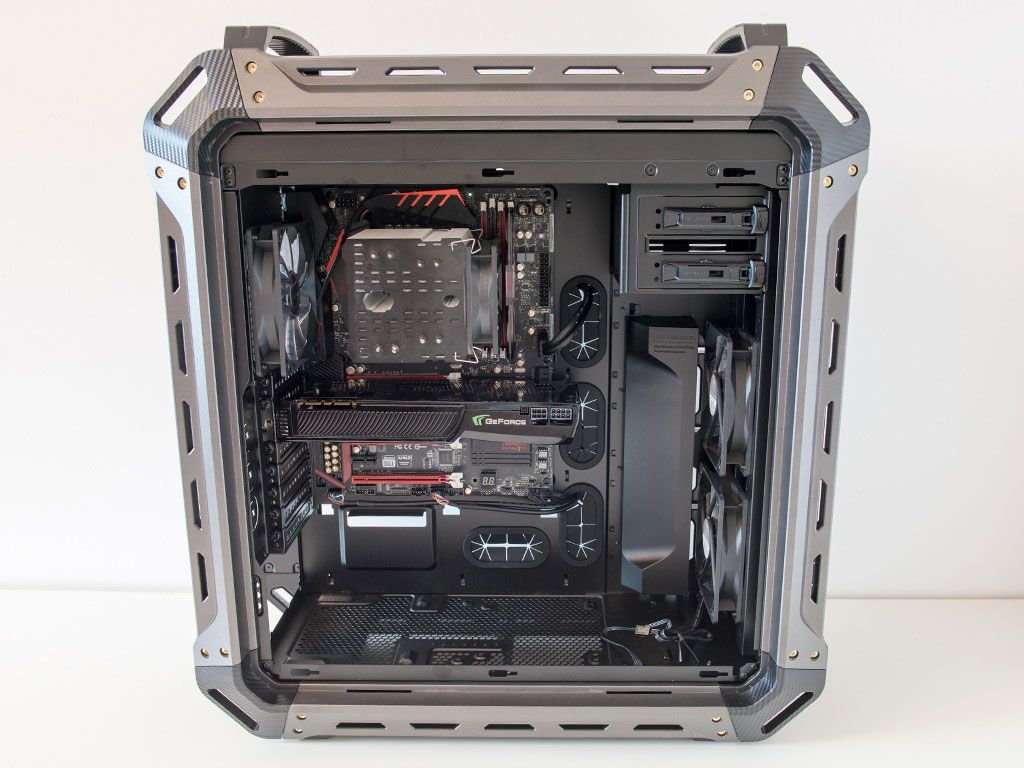
With the shroud back in place, the interior of the Panzer Max looks really clean, while the backside of the motherboard tray holds all the cable mess. I did not spend too much time trying to tie down the cables because - quite frankly - you don't have to. There is so much space that you will be able to close the side panel without issue.
Finished Looks

With everything installed, the fairly intricate design elements of the Cougar Panzer Max take over again. You can see the glow of the hardware LEDs within, and the light of the embedded white power LED underneath the button itself.


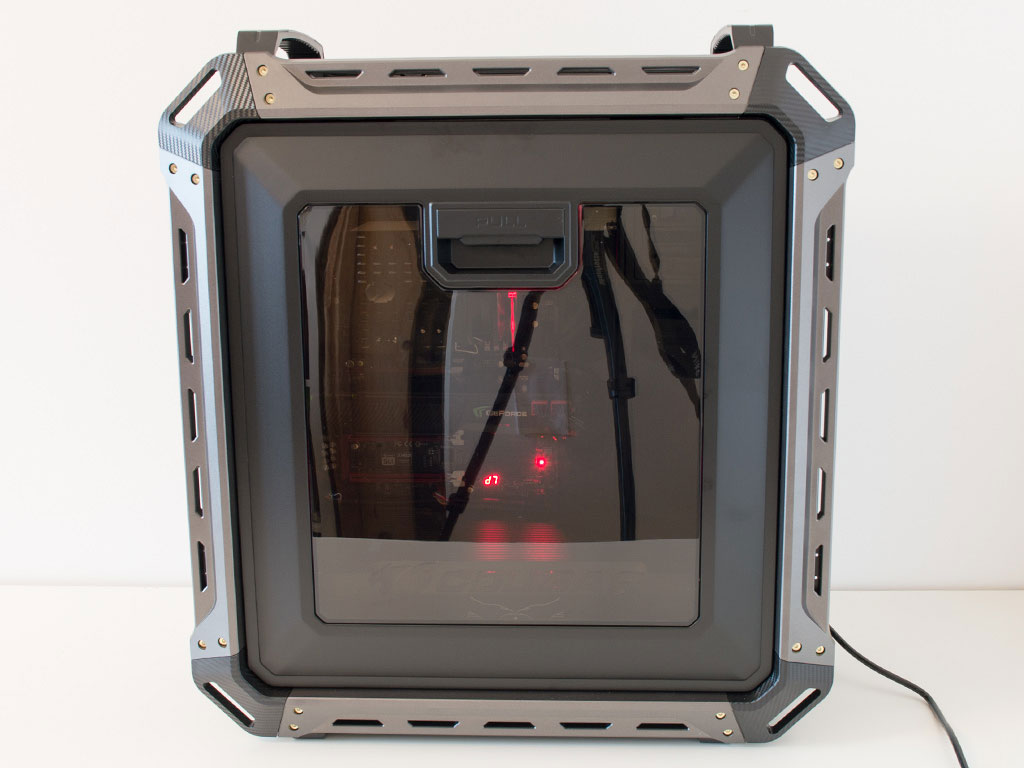
In the front, the drive looks like it belongs, and only very little light from the interior bleeds through. When viewed from the rear, things look quite traditional as everything is where you would expect it to be.

Last but not least, the little plastic bit found inside the box of extras is intended as a hook for your headset. You may install it to either the left or right edge of the front, meaning that you can choose whatever works best for you.
May 17th, 2024 09:58 EDT
change timezone
Latest GPU Drivers
New Forum Posts
- What's your latest tech purchase? (20545)
- 20 Years? (40)
- RX7900XT stealth update and adrenalin left on old version (5)
- Do you use Linux? (257)
- Finally a lithium starting battery (4)
- Hi, my GPU suddenly dropped in performance 2 days ago and i have been trying to fix it since then, my GPU clock is capped at 300 MHz (5)
- LOL ASUS says this is $200 in repair, Steve from gamers Nexus smokes ASUS, Steam Deck til I die boys!!!! (104)
- EULA in Games (28)
- Sapphire Rx 6700 XT (2)
- Would you pay more for hardware with AI capabilities? (28)
Popular Reviews
- Homeworld 3 Performance Benchmark Review - 35 GPUs Tested
- Enermax REVOLUTION D.F. X 1200 W Review
- Lofree Edge Ultra-Low Profile Wireless Mechanical Keyboard Review
- Silverstone Shark Force 120 mm Fan Review
- Upcoming Hardware Launches 2023 (Updated Feb 2024)
- Ghost of Tsushima Performance Benchmark Review - 35 GPUs Tested
- AMD Ryzen 7 7800X3D Review - The Best Gaming CPU
- ZMF Caldera Closed Planar Magnetic Headphones Review
- Corsair MP700 Pro SE 4 TB Review
- Horizon Forbidden West Performance Benchmark Review - 30 GPUs Tested
Controversial News Posts
- Intel Statement on Stability Issues: "Motherboard Makers to Blame" (268)
- AMD to Redesign Ray Tracing Hardware on RDNA 4 (227)
- Windows 11 Now Officially Adware as Microsoft Embeds Ads in the Start Menu (172)
- NVIDIA to Only Launch the Flagship GeForce RTX 5090 in 2024, Rest of the Series in 2025 (154)
- AMD Hits Highest-Ever x86 CPU Market Share in Q1 2024 Across Desktop and Server (138)
- AMD RDNA 5 a "Clean Sheet" Graphics Architecture, RDNA 4 Merely Corrects a Bug Over RDNA 3 (130)
- AMD's RDNA 4 GPUs Could Stick with 18 Gbps GDDR6 Memory (114)
- AMD Ryzen 9 7900X3D Now at a Mouth-watering $329 (104)